Domains
The Domains feature lets you configure a custom domain name for accessing ThingsBoard. Once a domain is registered, users can access the ThingsBoard web interface using that domain instead of the default address.
Add a Domain
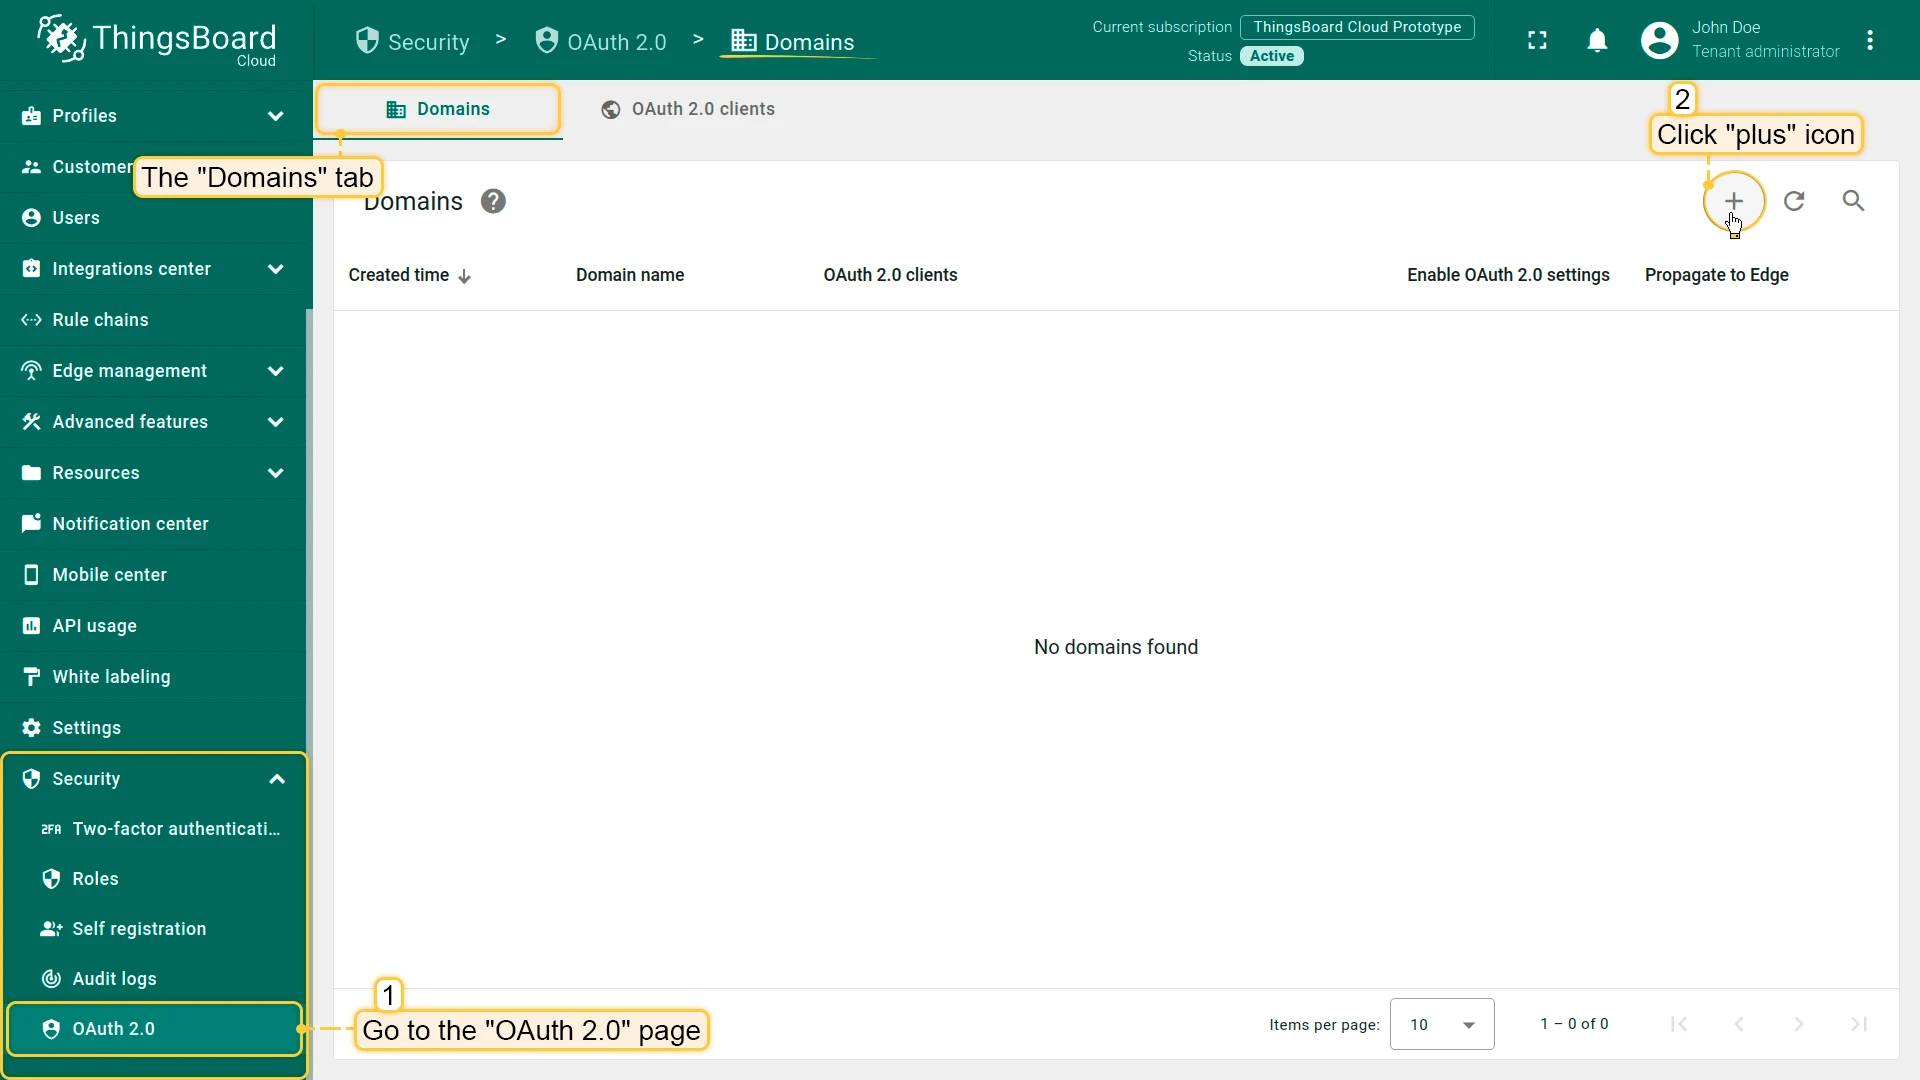
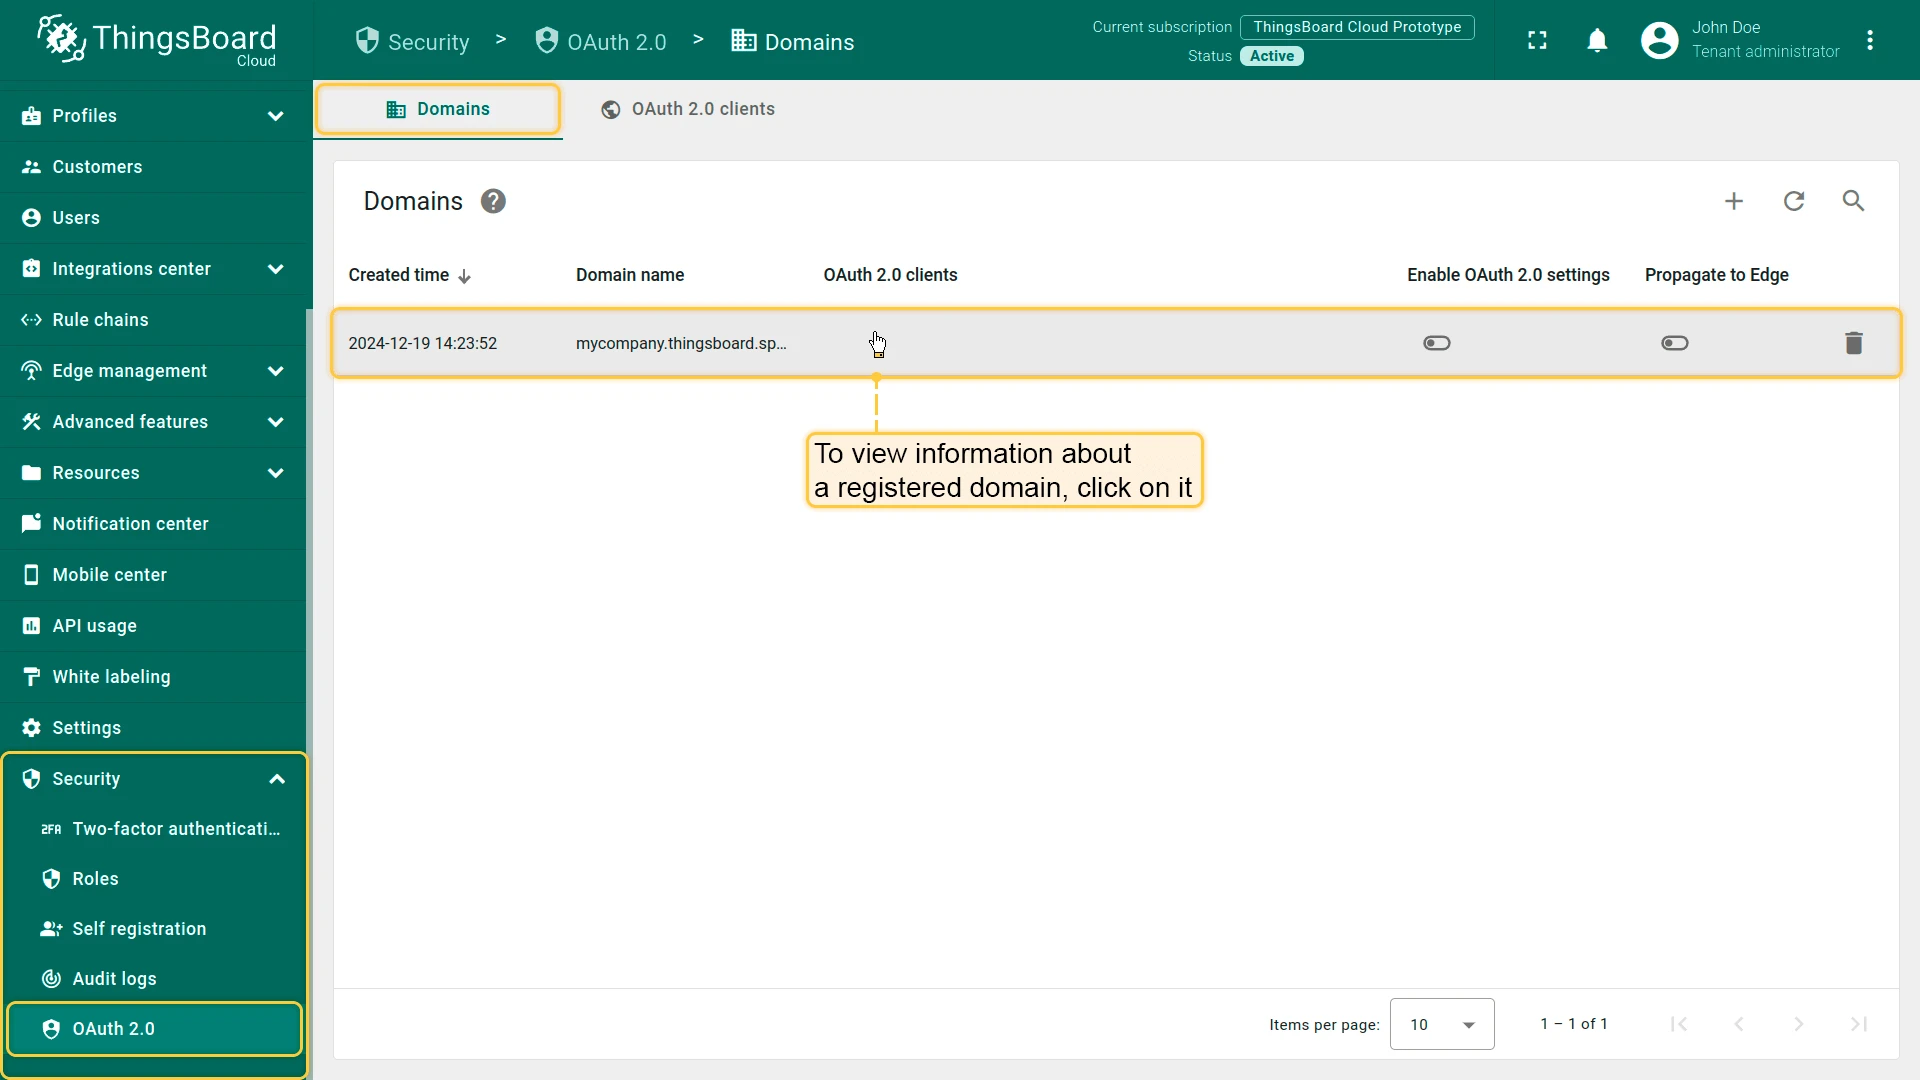
Section titled “Add a Domain”- Log in to ThingsBoard as a system administrator. Navigate to Security ⇾ OAuth 2.0 and open the Domains tab. Click the + icon.
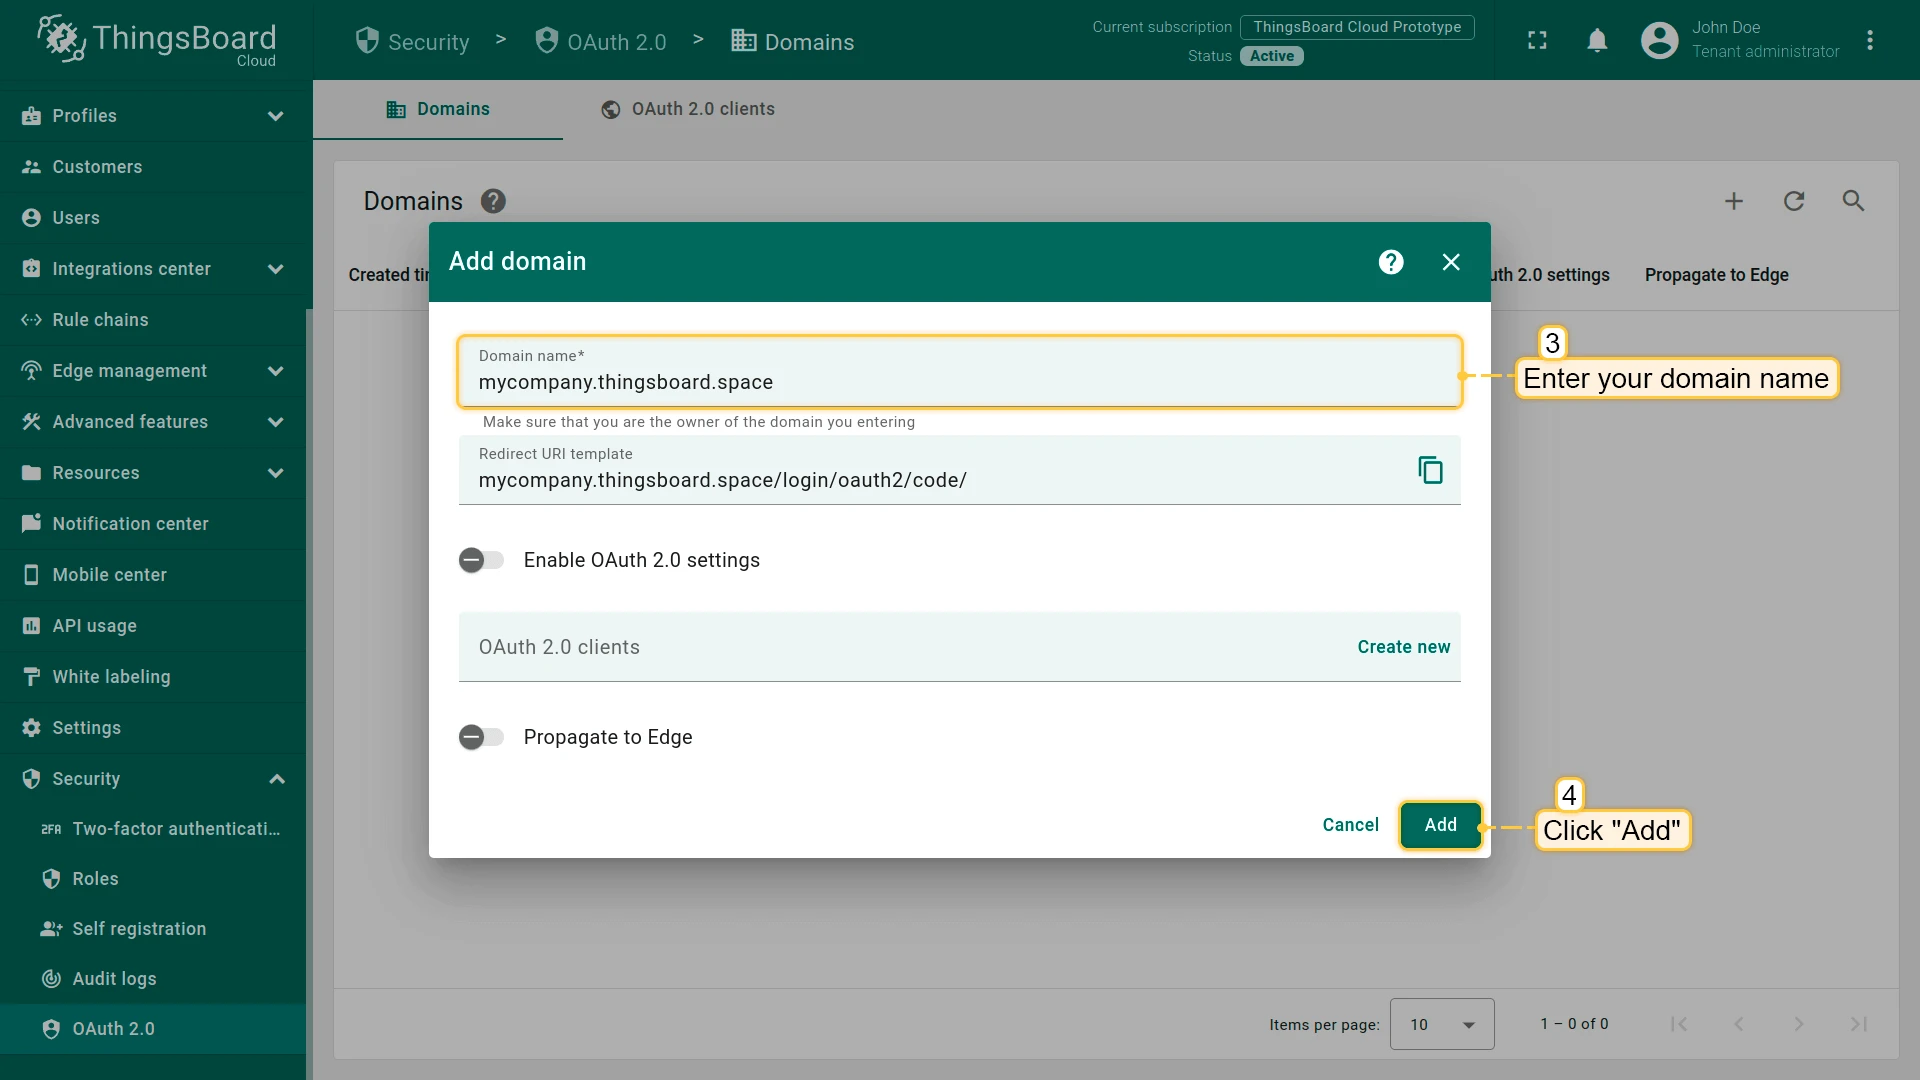
- Enter a valid domain name in the Domain name field and click Add.
Set Up a CNAME Record
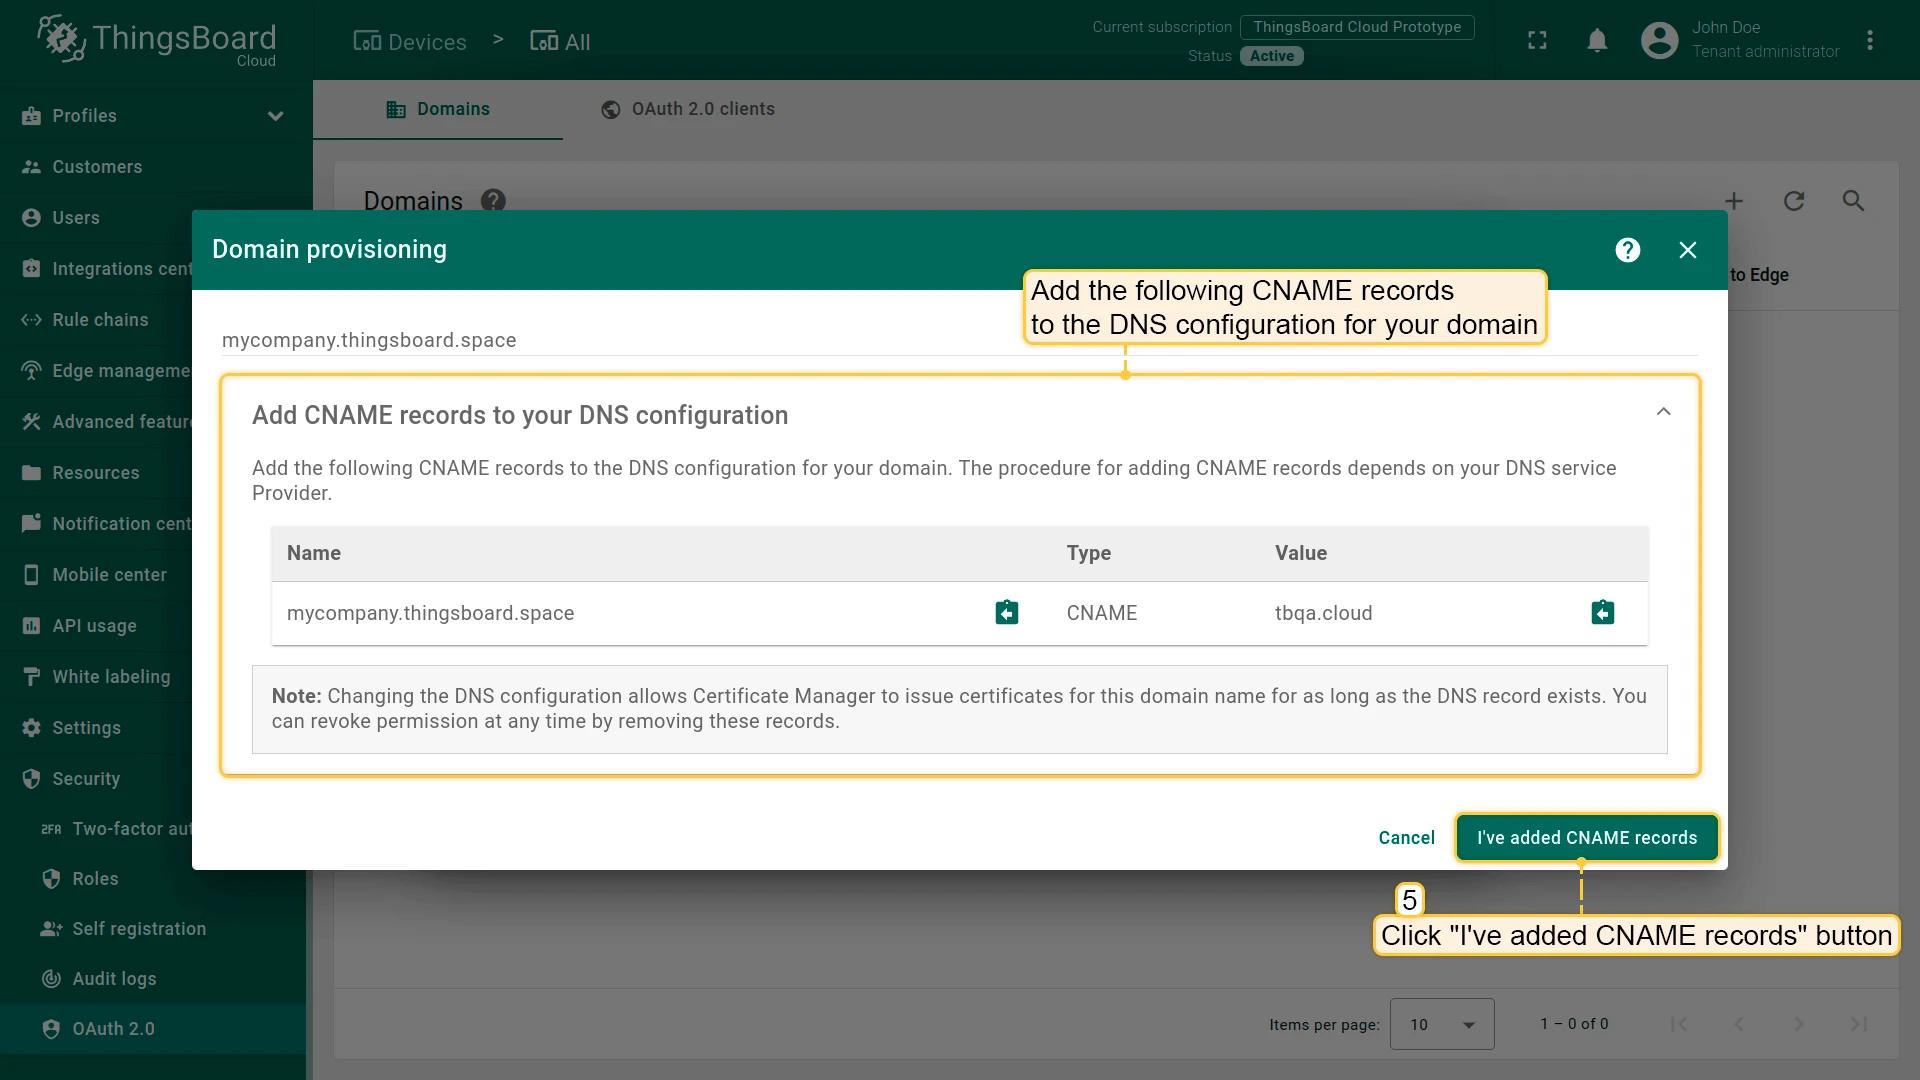
Section titled “Set Up a CNAME Record”To point your domain to ThingsBoard, add a CNAME record at your DNS provider:
| Field | Value |
|---|---|
| Type | CNAME |
| Name / Host | Your subdomain (e.g. mycompany) |
| Target / Value | See note below |
| TTL | 3600 (or your provider’s default) |
Instructions for common DNS providers:
- Amazon Route 53
- GoDaddy
- Cloudflare
- ClouDNS
- Google Cloud DNS
- Name.com
- easyDNS
- DNSimple
- DNSMadeEasy
- No-IP.com
- Infoblox NIOS
- Namecheap
Access ThingsBoard via Your Domain
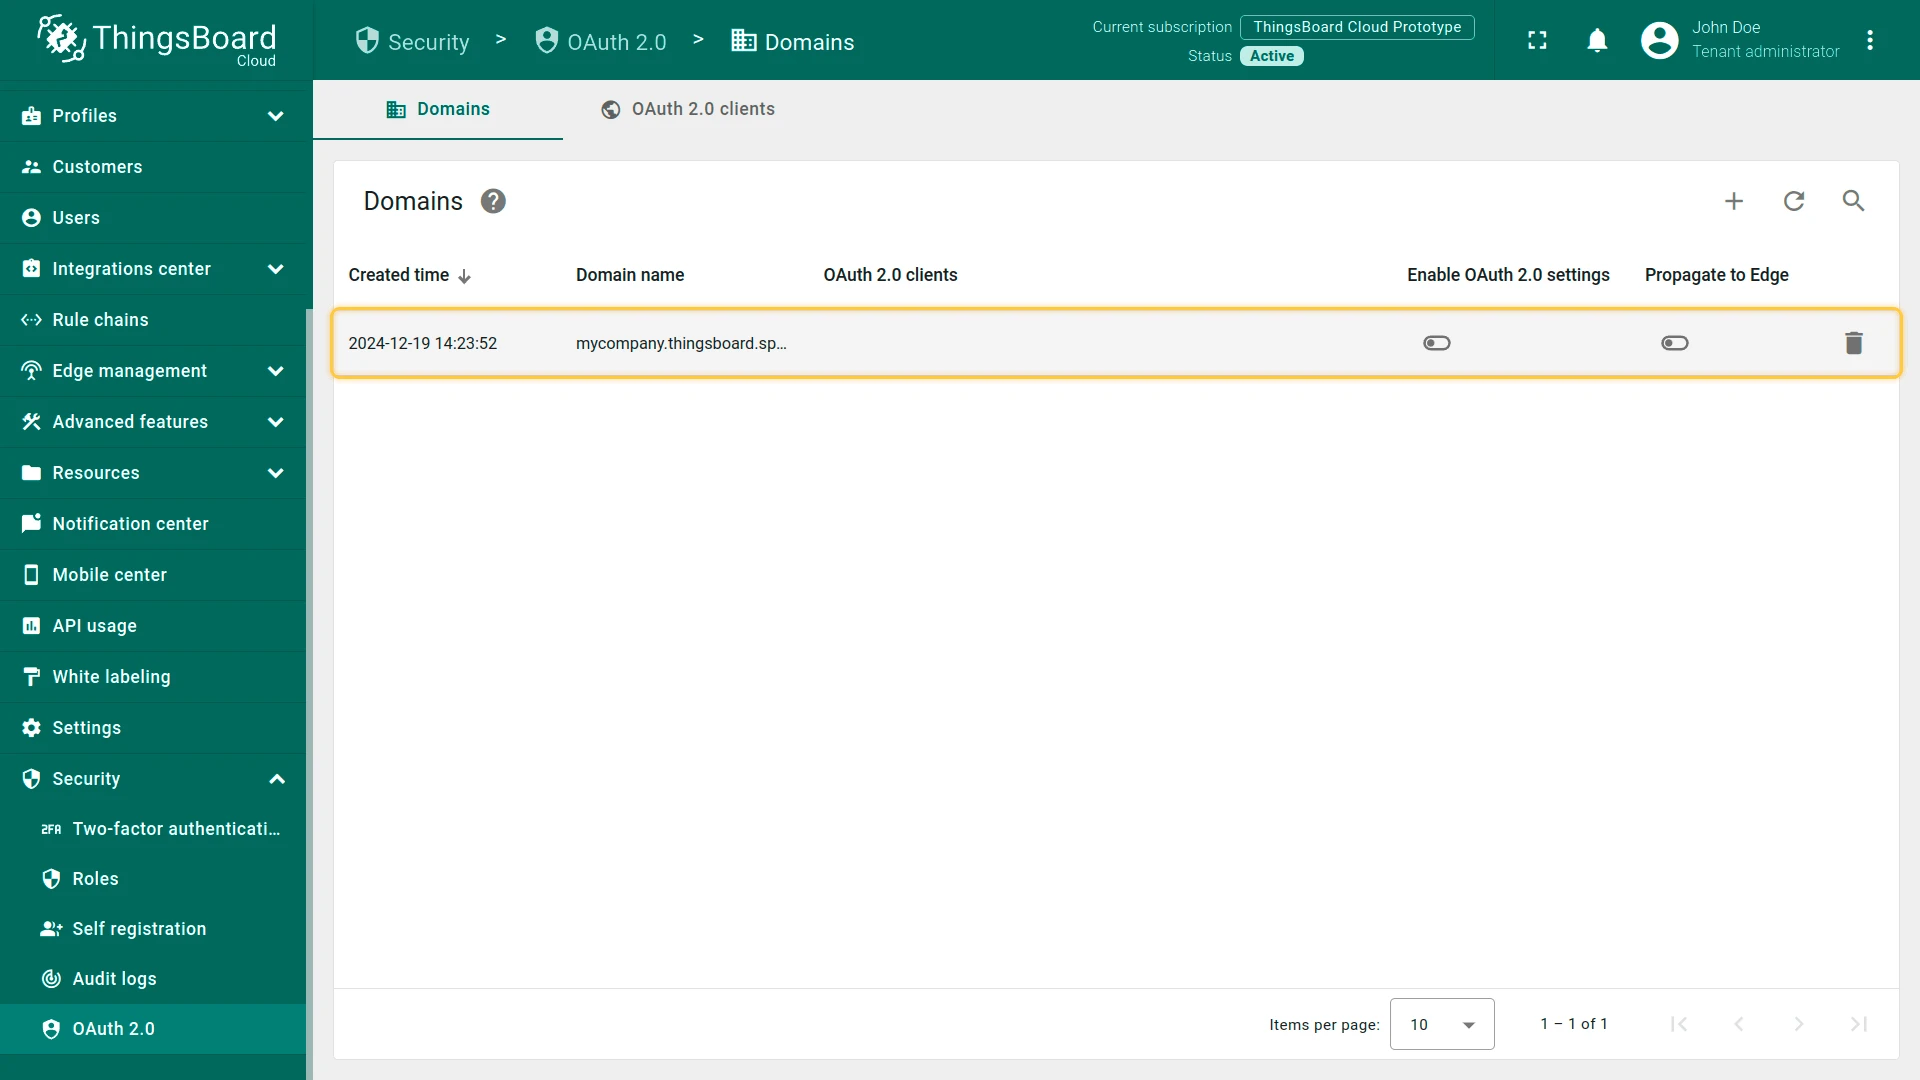
Section titled “Access ThingsBoard via Your Domain”Once the domain is registered, you can use it in your browser to access the ThingsBoard web interface and services.
Domain Details
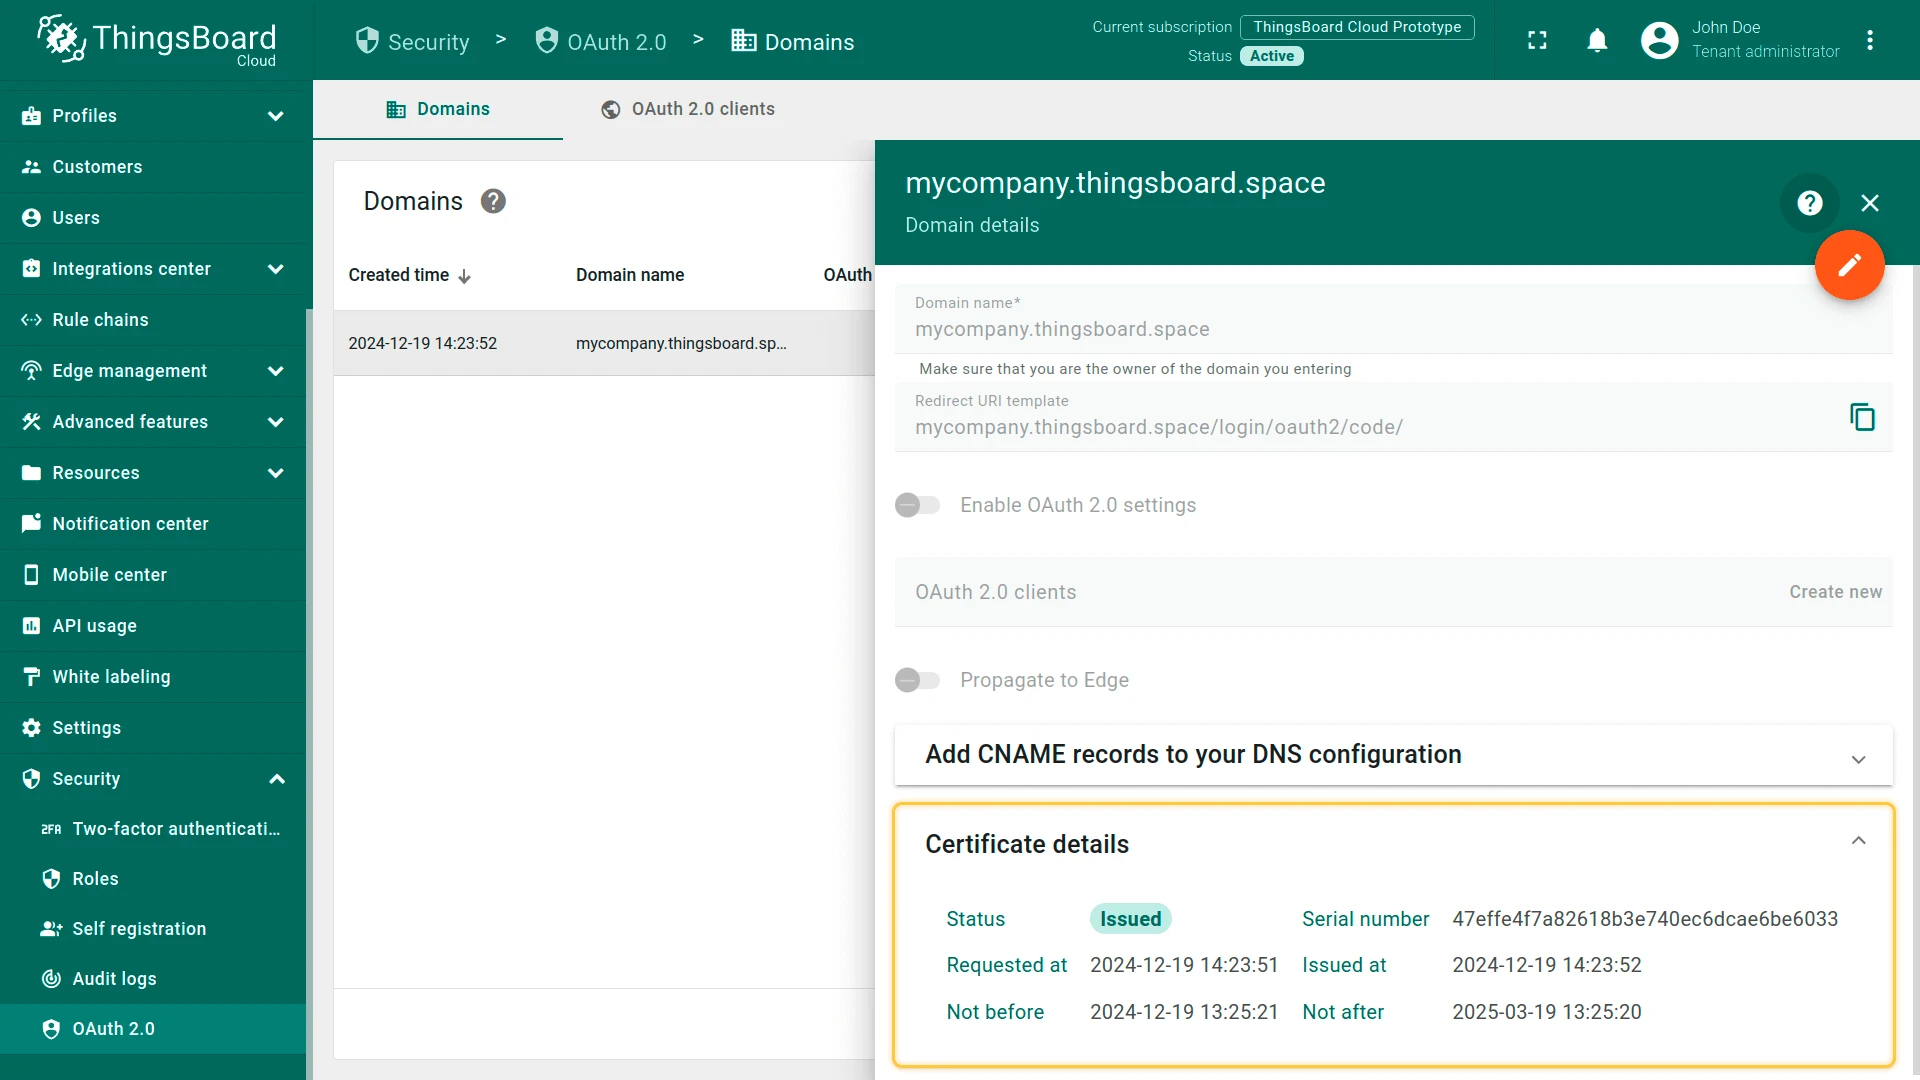
Section titled “Domain Details”Click a registered domain to open the details dialog. It displays:
- The CNAME record for the domain.
- The SSL certificate details, including the validity period (Not before and Not after dates).
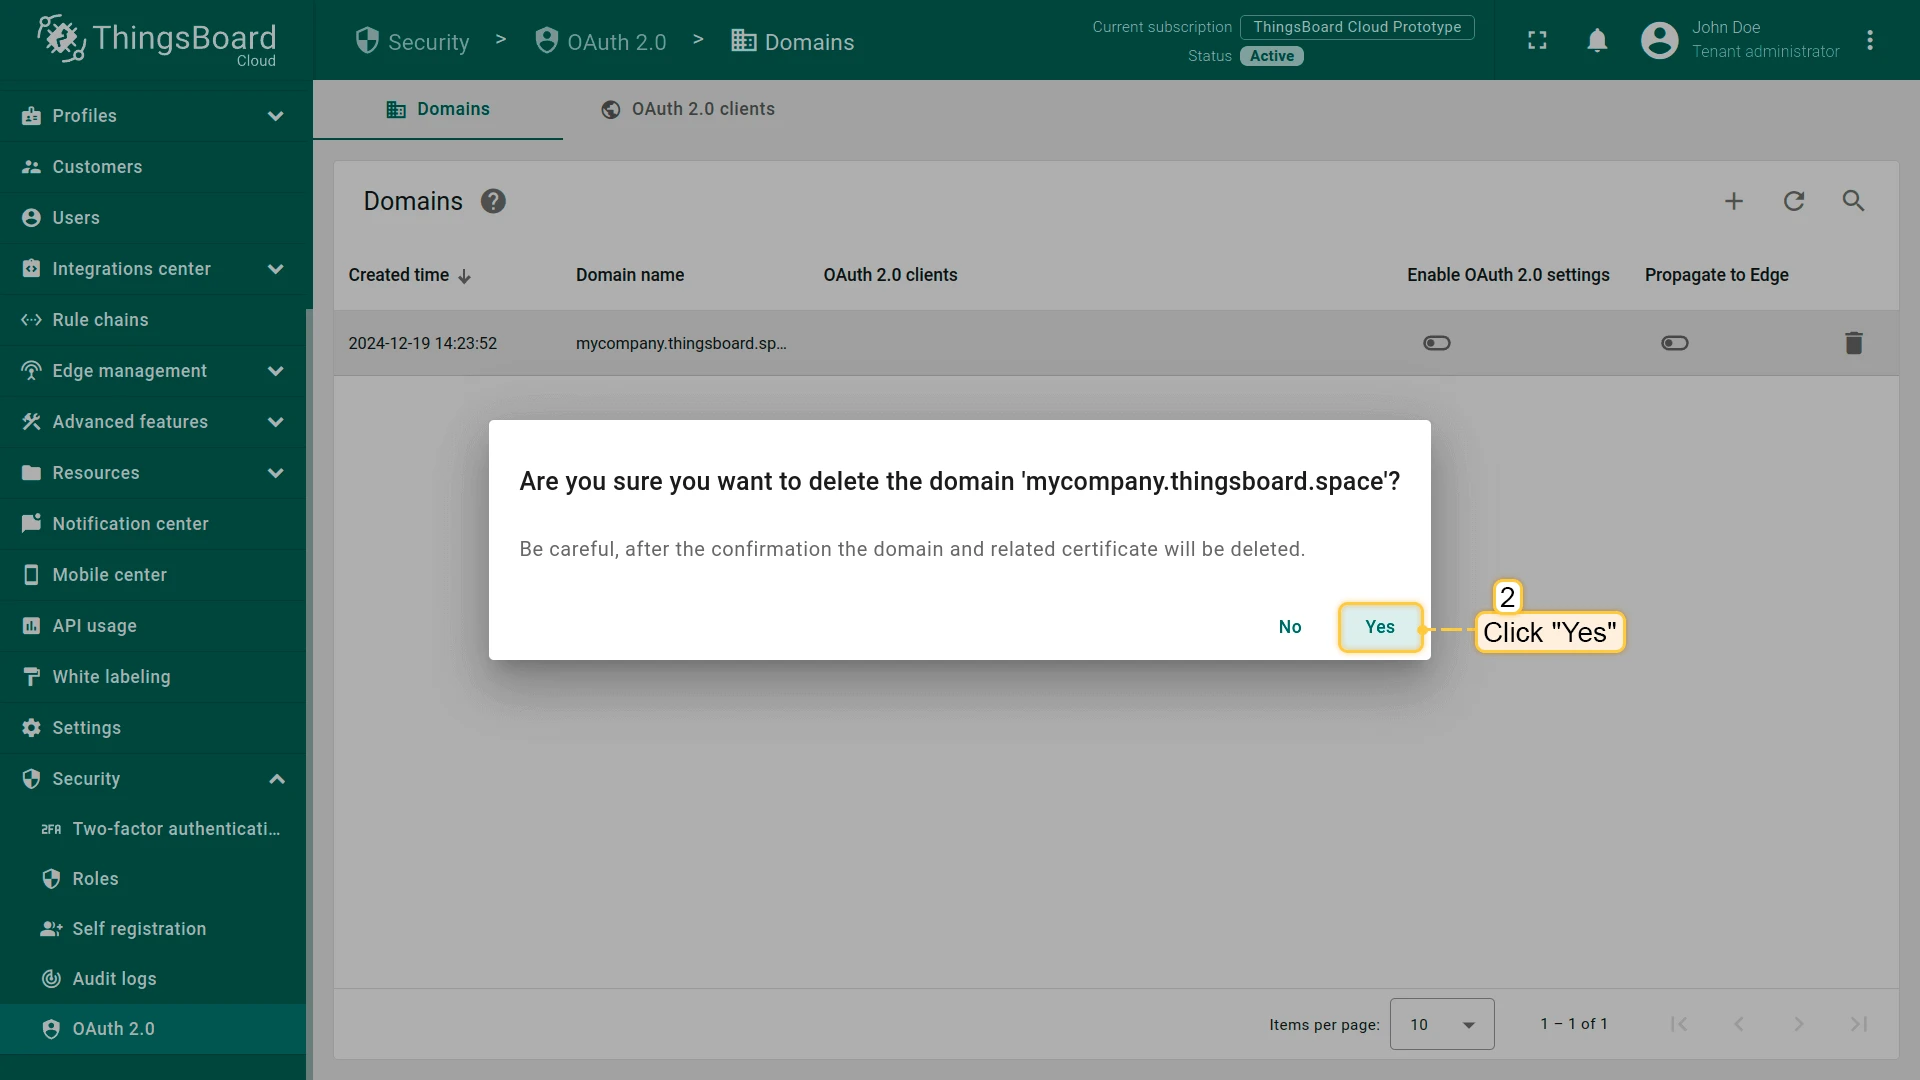
Delete a Domain
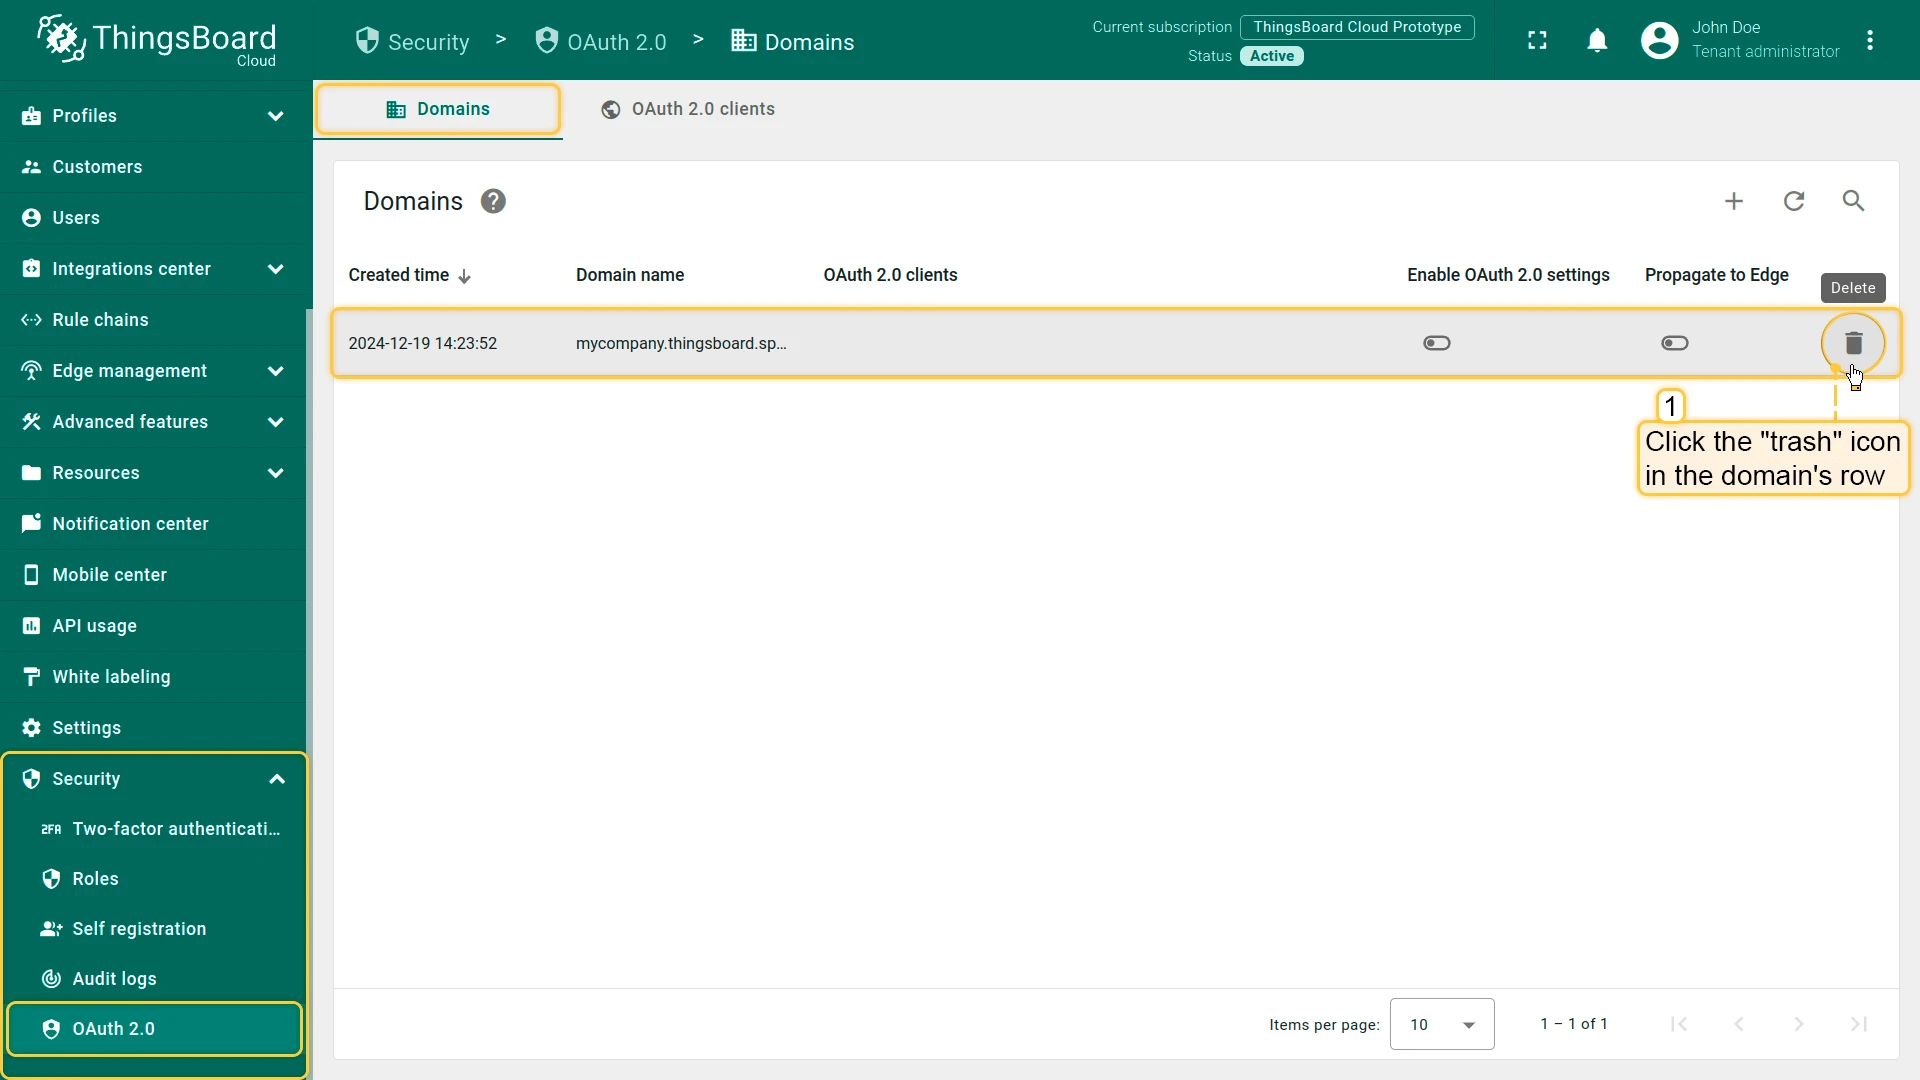
Section titled “Delete a Domain”To remove a registered domain, click the trash icon in its row and confirm the deletion. After deletion, the domain is no longer available and its SSL certificate is removed.
Troubleshooting
Section titled “Troubleshooting”If your domain is not resolving correctly, verify your CNAME record using Google Admin Toolbox or the dig command on Linux:
dig $YOUR_DOMAIN_NAME anyExample:
dig mycompany.thingsboard.space anyA correctly configured CNAME record produces output similar to:
;; ANSWER SECTION:mycompany.thingsboard.space. 3600 IN CNAME eu.thingsboard.cloudIf the answer section is missing or shows an HINFO record instead of CNAME, the DNS record is not configured correctly. Check your DNS provider settings and wait for propagation (up to 24–48 hours for some providers).
Was this helpful?