- Introduction
- Сreate new tenant
- Сreate tenant administrator
- Edit tenant or user
- Delete tenant or user
- Login as tenant administrator
Introduction
ThingsBoard supports Multi-tenancy right out of the box.
You can think of the ThingsBoard tenant as a separate business entity. This is the individual or organization that owns or manufactures the devices and assets.
Tenant may have multiple tenant administrator users, enormous number of customers, and an unlimited number of users, assets, and devices.
Сreate new tenant
The System administrator is able to create tenant entities.
To add a new tenant, you should:
- Login to your ThingsBoard instance WEB UI as a system administrator;
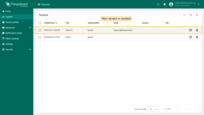
- Navigate to the Tenants page. Then click on the "plus" icon in the upper right corner of the screen;
- Specify a name for the Tenant. We keep the default tenant profile;
- Fill in the fields that you think are important. Then click "Add";
- New tenant is created.
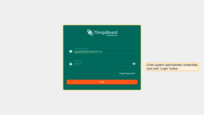
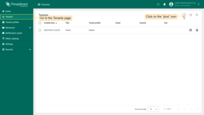
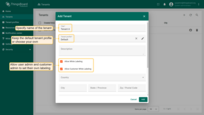
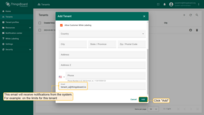
Learn more about tenant profiles here.
Сreate tenant administrator
System administrator can create multiple users with tenant administrator role for each tenant.
To add a user, you should:
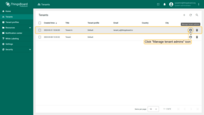
- Click the "Manage tenant admins" icon on the row of the tenant. The second option: choose the tenant and click on it. Then click on "Manage tenant admins" button;
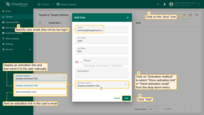
- Click on the "plus" icon in the top right corner. In "Add User" window specify user email, enter information about the new user and select "Show activation link" or "Send activation email" from the drop-down menu;
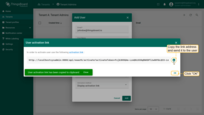
- If you selected the option "Show activation link", copy the link address and send it to the user. Click "OK";
- New user with tenant administrator role is created.
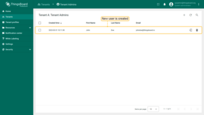
The tenant can have multiple users.
Edit tenant or user
In the Tenant details you can edit all fields.
Let’s see how to do this:
- Click on a tenant`s name to open their details. Click the "pencil" icon to enter edit mode;
- Edit the fields. For example, you can set up a home dashboard for all users of this tenant. After that, save all changes;
- You have updated tenant information.
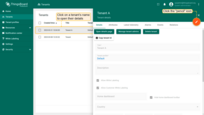
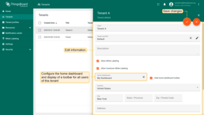
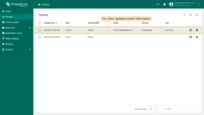
Also, you can edit the user.
The steps are similar to how we edit the tenant:
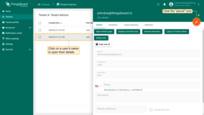
- Click on a user`s name to open their details. Click the "pencil" icon to enter edit mode;
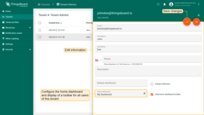
- Edit the fields. For example, you can set up a home dashboard for all users of this user. After editing, save all changes;
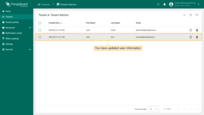
- You have updated user information.
Delete tenant or user
You can delete the Tenant at once with all its users. To do this, click on the “trash” icon and then also confirm the deletion by clicking on “Yes”.
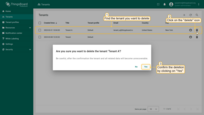
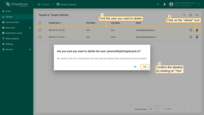
Also, you can delete any user from the Tenant. To do this, go to the Tenant, find the user you need and click on the “trash” icon. After clicking, a warning window will appear. If you are sure you want to delete the user, click on “Yes”.
Login as tenant administrator
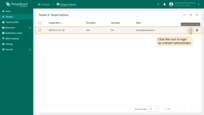
If you need to log in as a tenant, just open the tenant group and click the icon opposite to the user account to log in as this tenant.
Tenant Administrator is able to do following actions:
- Provision and Manage Devices.
- Provision and Manage Assets.
- Create and Manage Customers.
- Create and Manage Dashboards.
- Configure Rule Engine.
- Add or modify default widgets using Widget Library.
All actions listed above are available using REST API.
