ADAM-6717
ADAM-6717
Advantech
- Platform
- ThingsBoard
- Hardware Type
- Gateways
- Connectivity
- Ethernet, Wi-Fi, Modbus
- Industry
- Industrial Manufacturing, Energy Management, Smart Cities
- Use Case
- Smart Energy, Industrial Automation
Introduction
The ADAM-6717 is an intelligent data acquisition gateway from Advantech’s ADAM-6700 series. It features a built-in Node-RED graphic programming environment, making it straightforward to build data flows that send sensor and I/O data to cloud platforms over MQTT. This guide walks through creating a device in ThingsBoard, configuring MQTT credentials, and setting up a Node-RED flow on the ADAM-6717 to publish data to ThingsBoard.
Prerequisites
- ADAM-6717 connected to the local network
- ThingsBoard instance — use ThingsBoard Cloud or a local server
- A browser-accessible IP address for the ADAM-6717
Step 1: Create a device in ThingsBoard
-
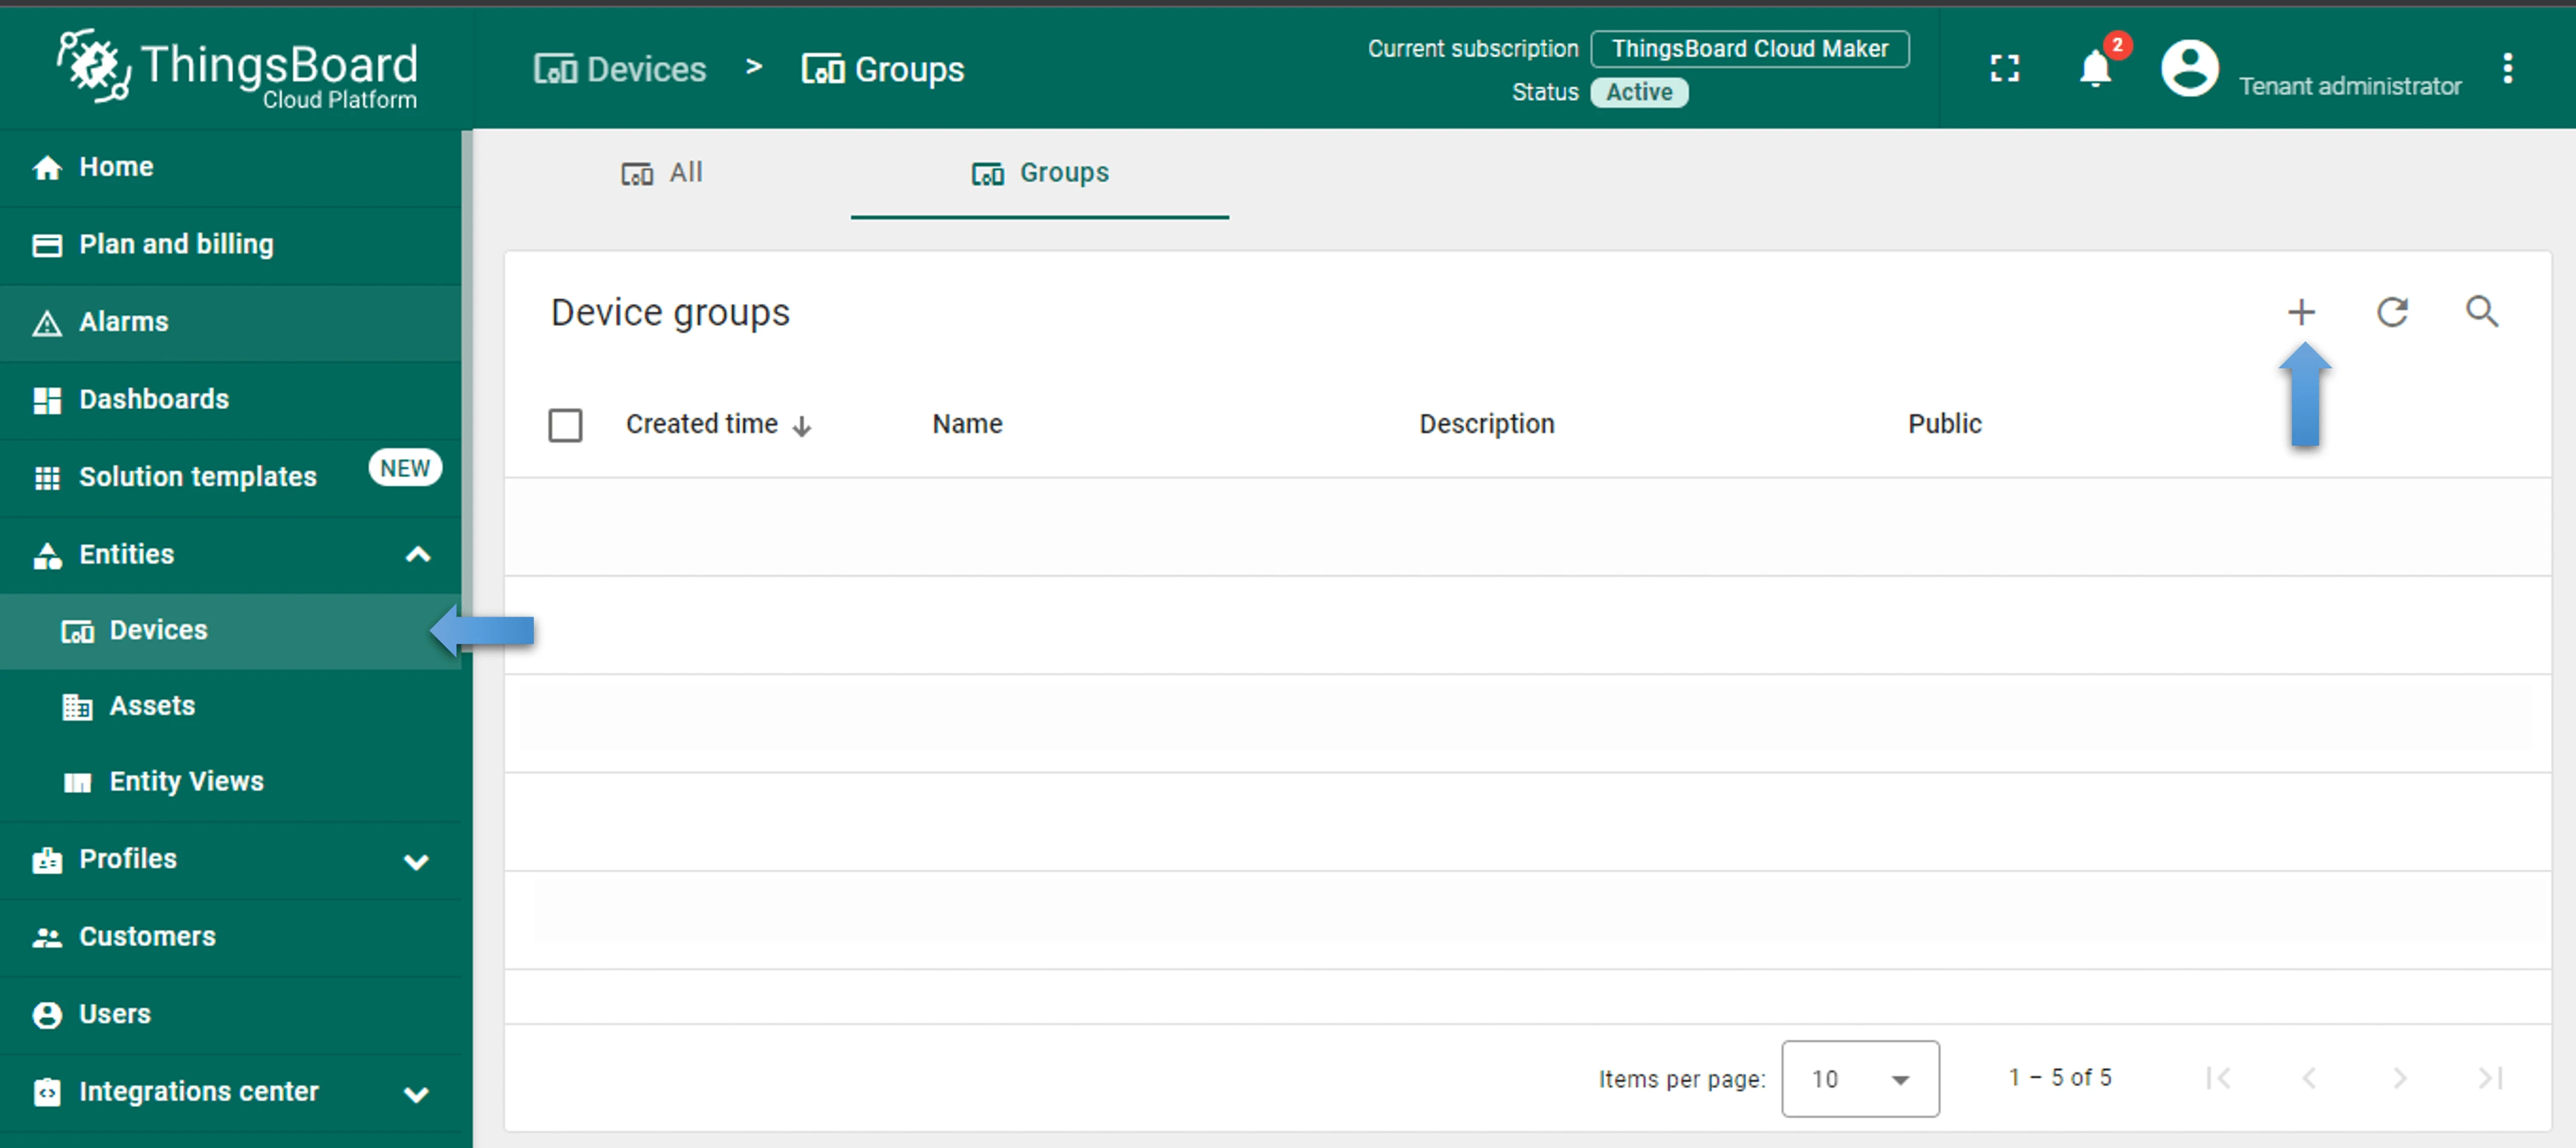
Log in to your ThingsBoard instance and go to Entities ⇾ Devices. Click + Add device ⇾ Add new device.

-
Enter the device name and any other relevant details, then click Next: Credentials.

-
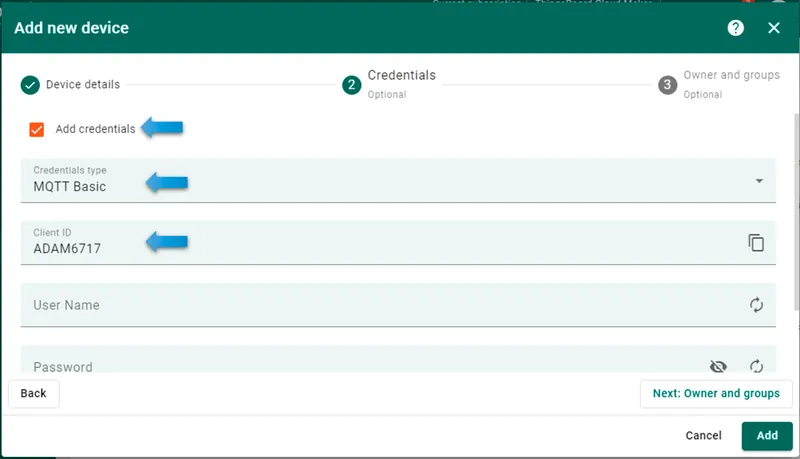
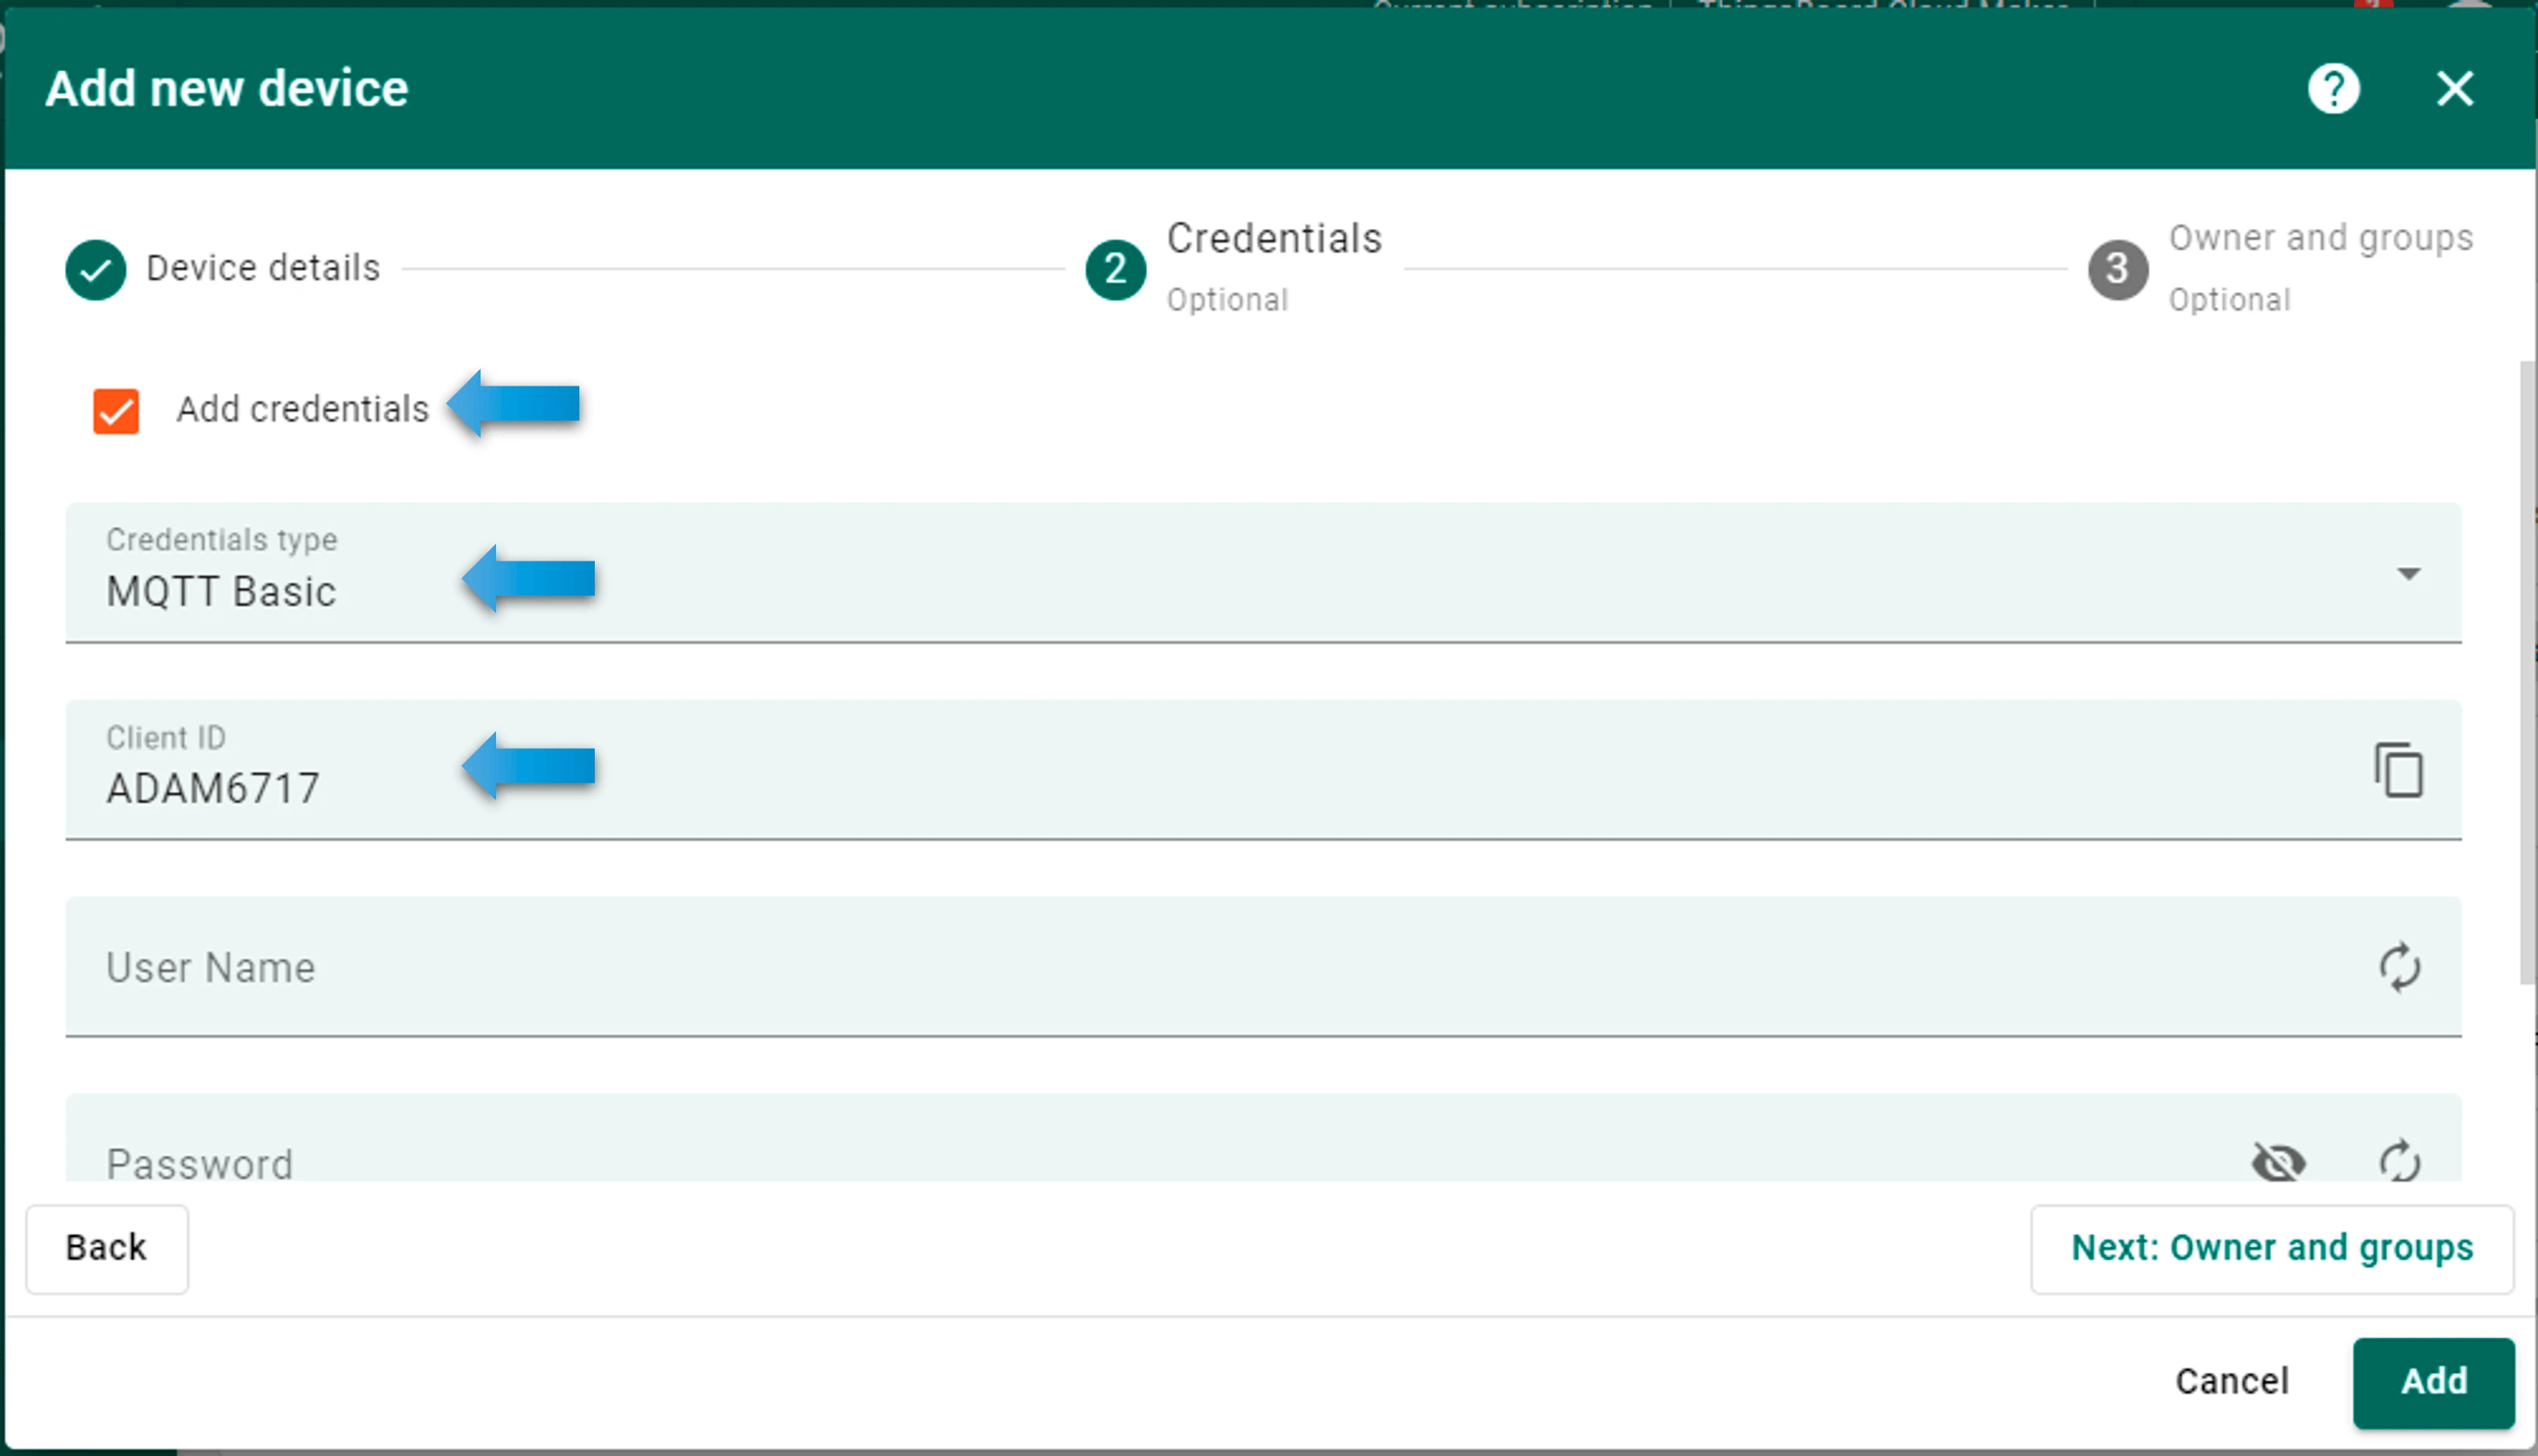
On the credentials page, set Credentials type to MQTT Basic. Enter a unique Client ID, and set a Username and Password for the device. Click Add.

Step 2: Access the ADAM-6717 Node-RED interface
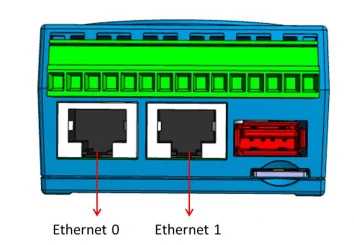
The ADAM-6700 series has two Ethernet ports with default IP addresses printed on the device label: 10.0.0.1 (Eth0) and 11.0.0.1 (Eth1).
-
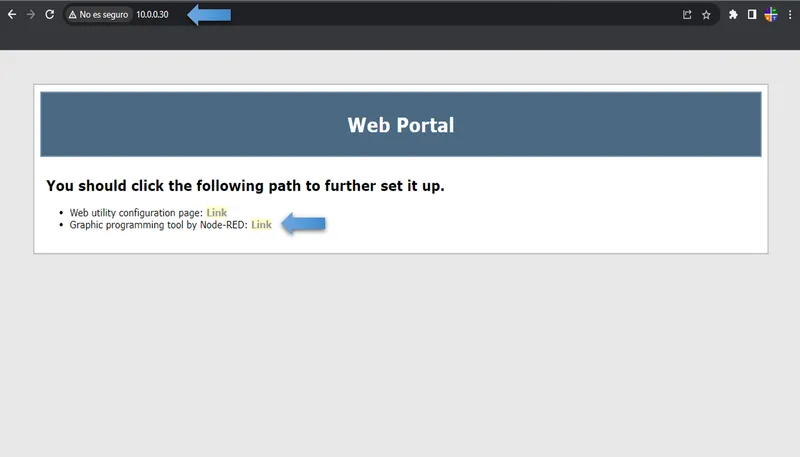
Open a browser and enter the IP address of the ADAM-6717 port you are connected to. Click Graphic programming tool by Node-RED in the web interface.
-
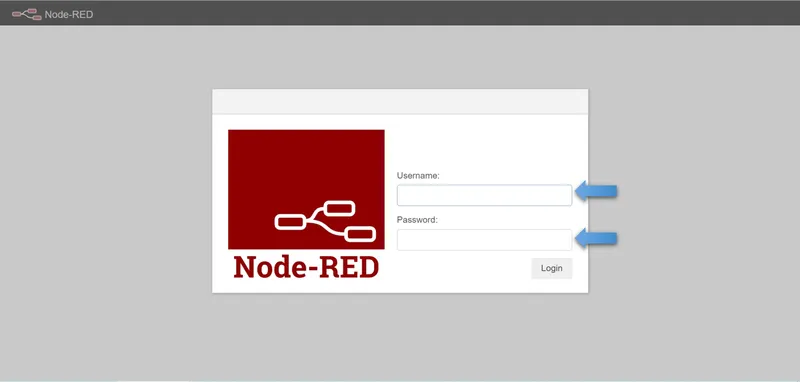
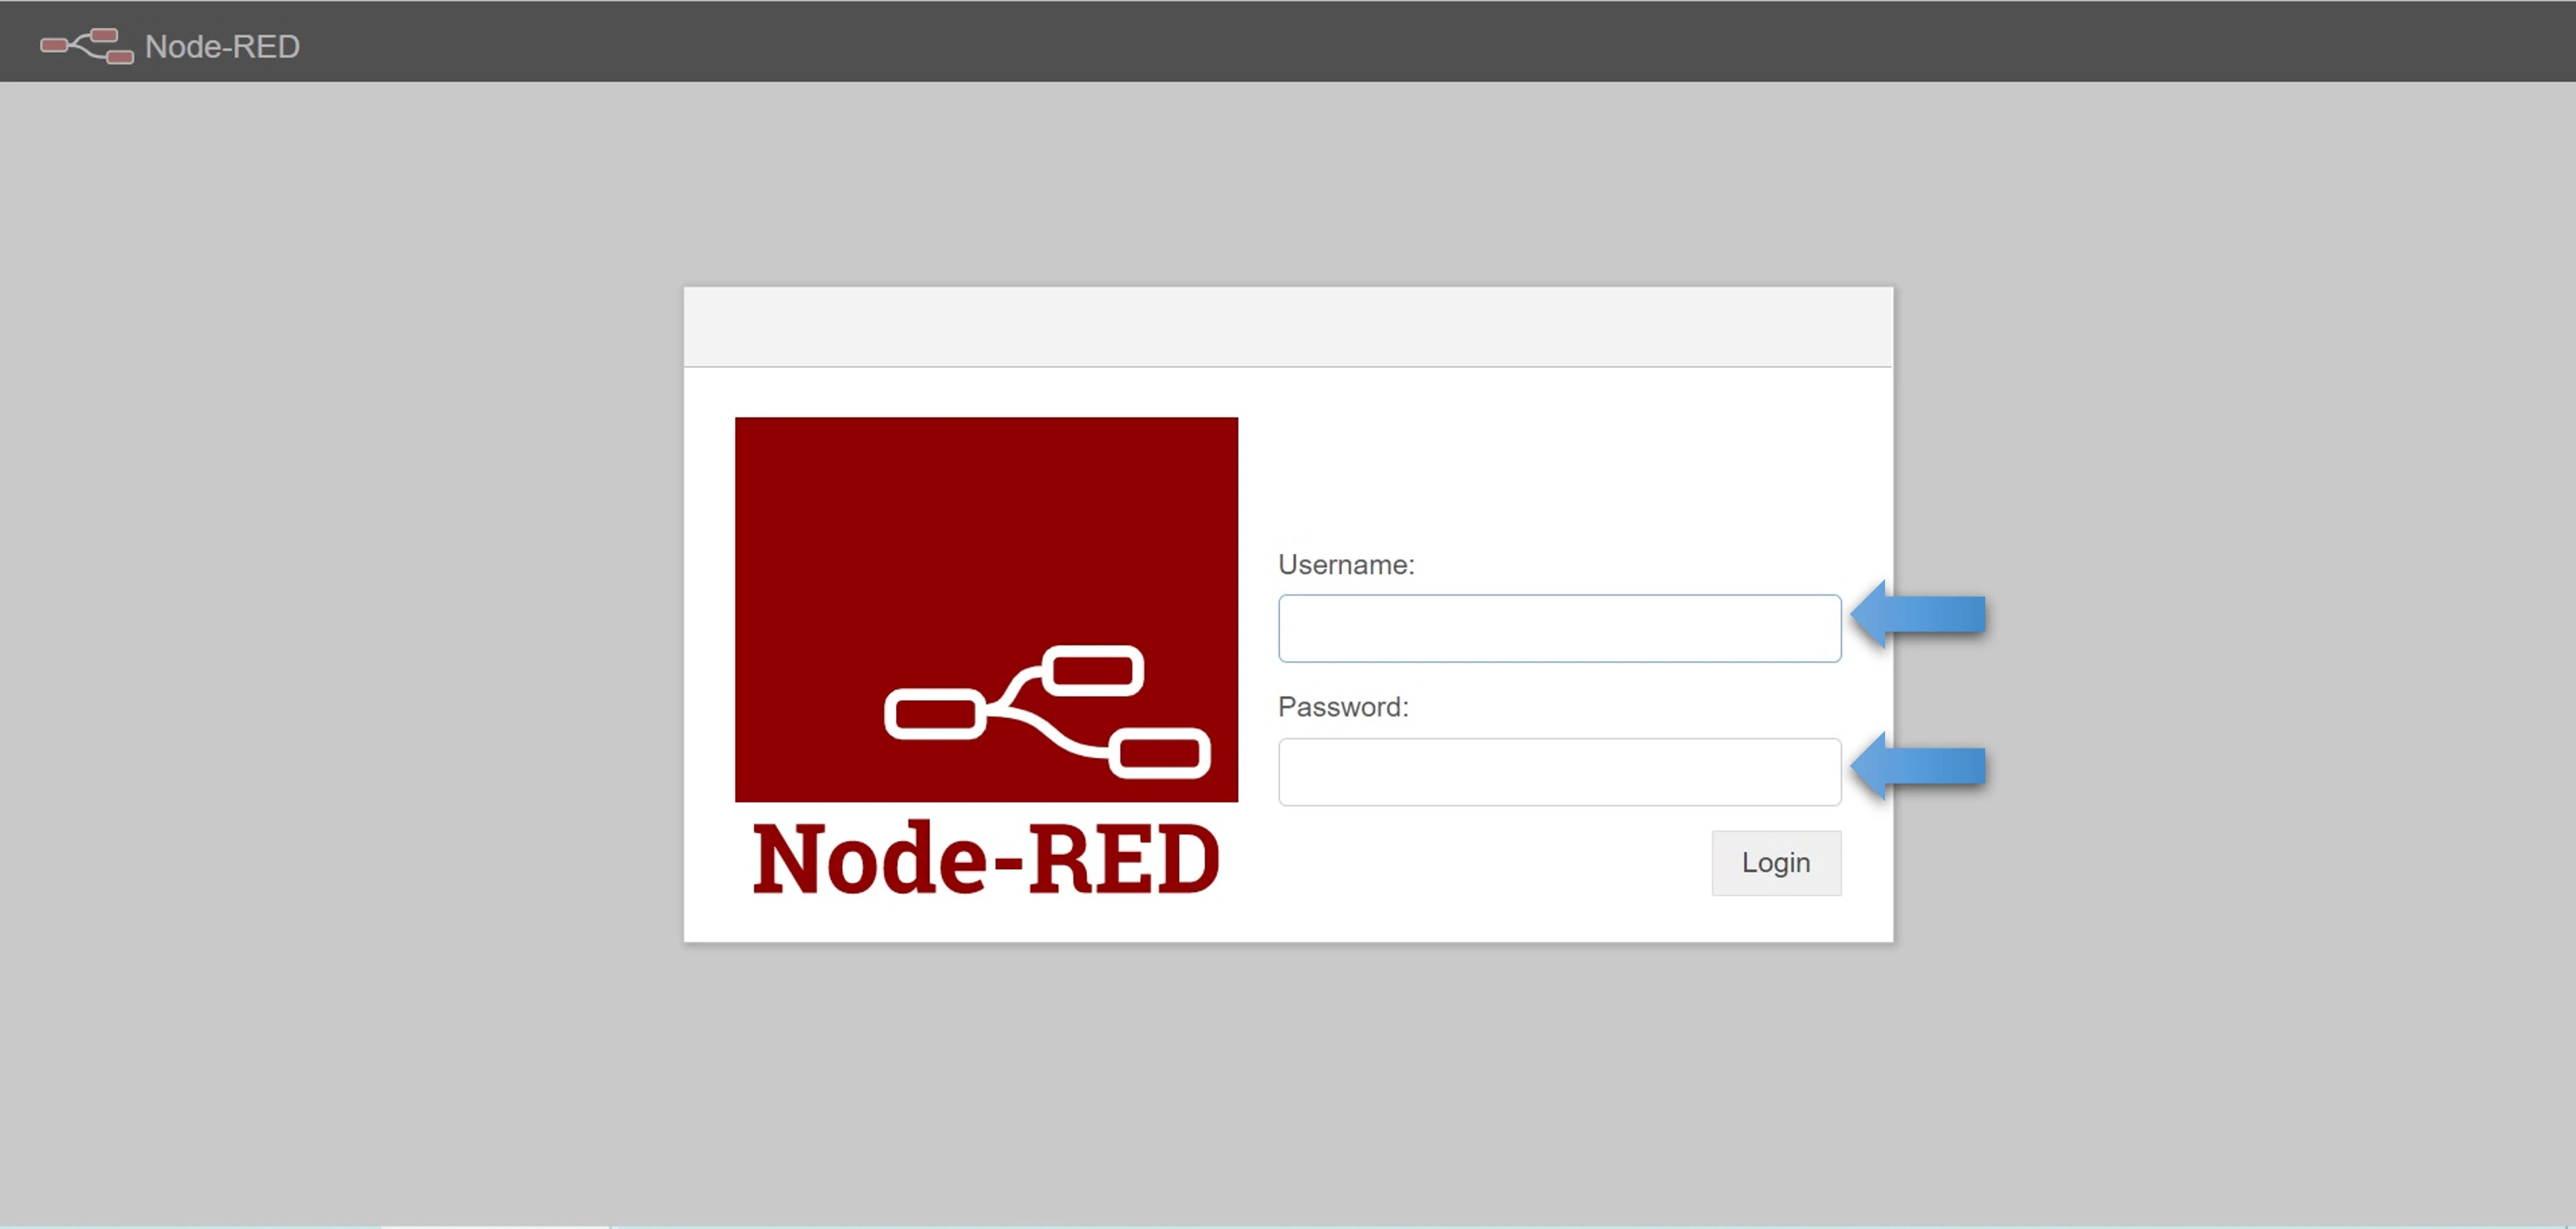
In the login popup, enter the default credentials and click Sign in:
- Username:
root - Password:
00000000
- Username:
-
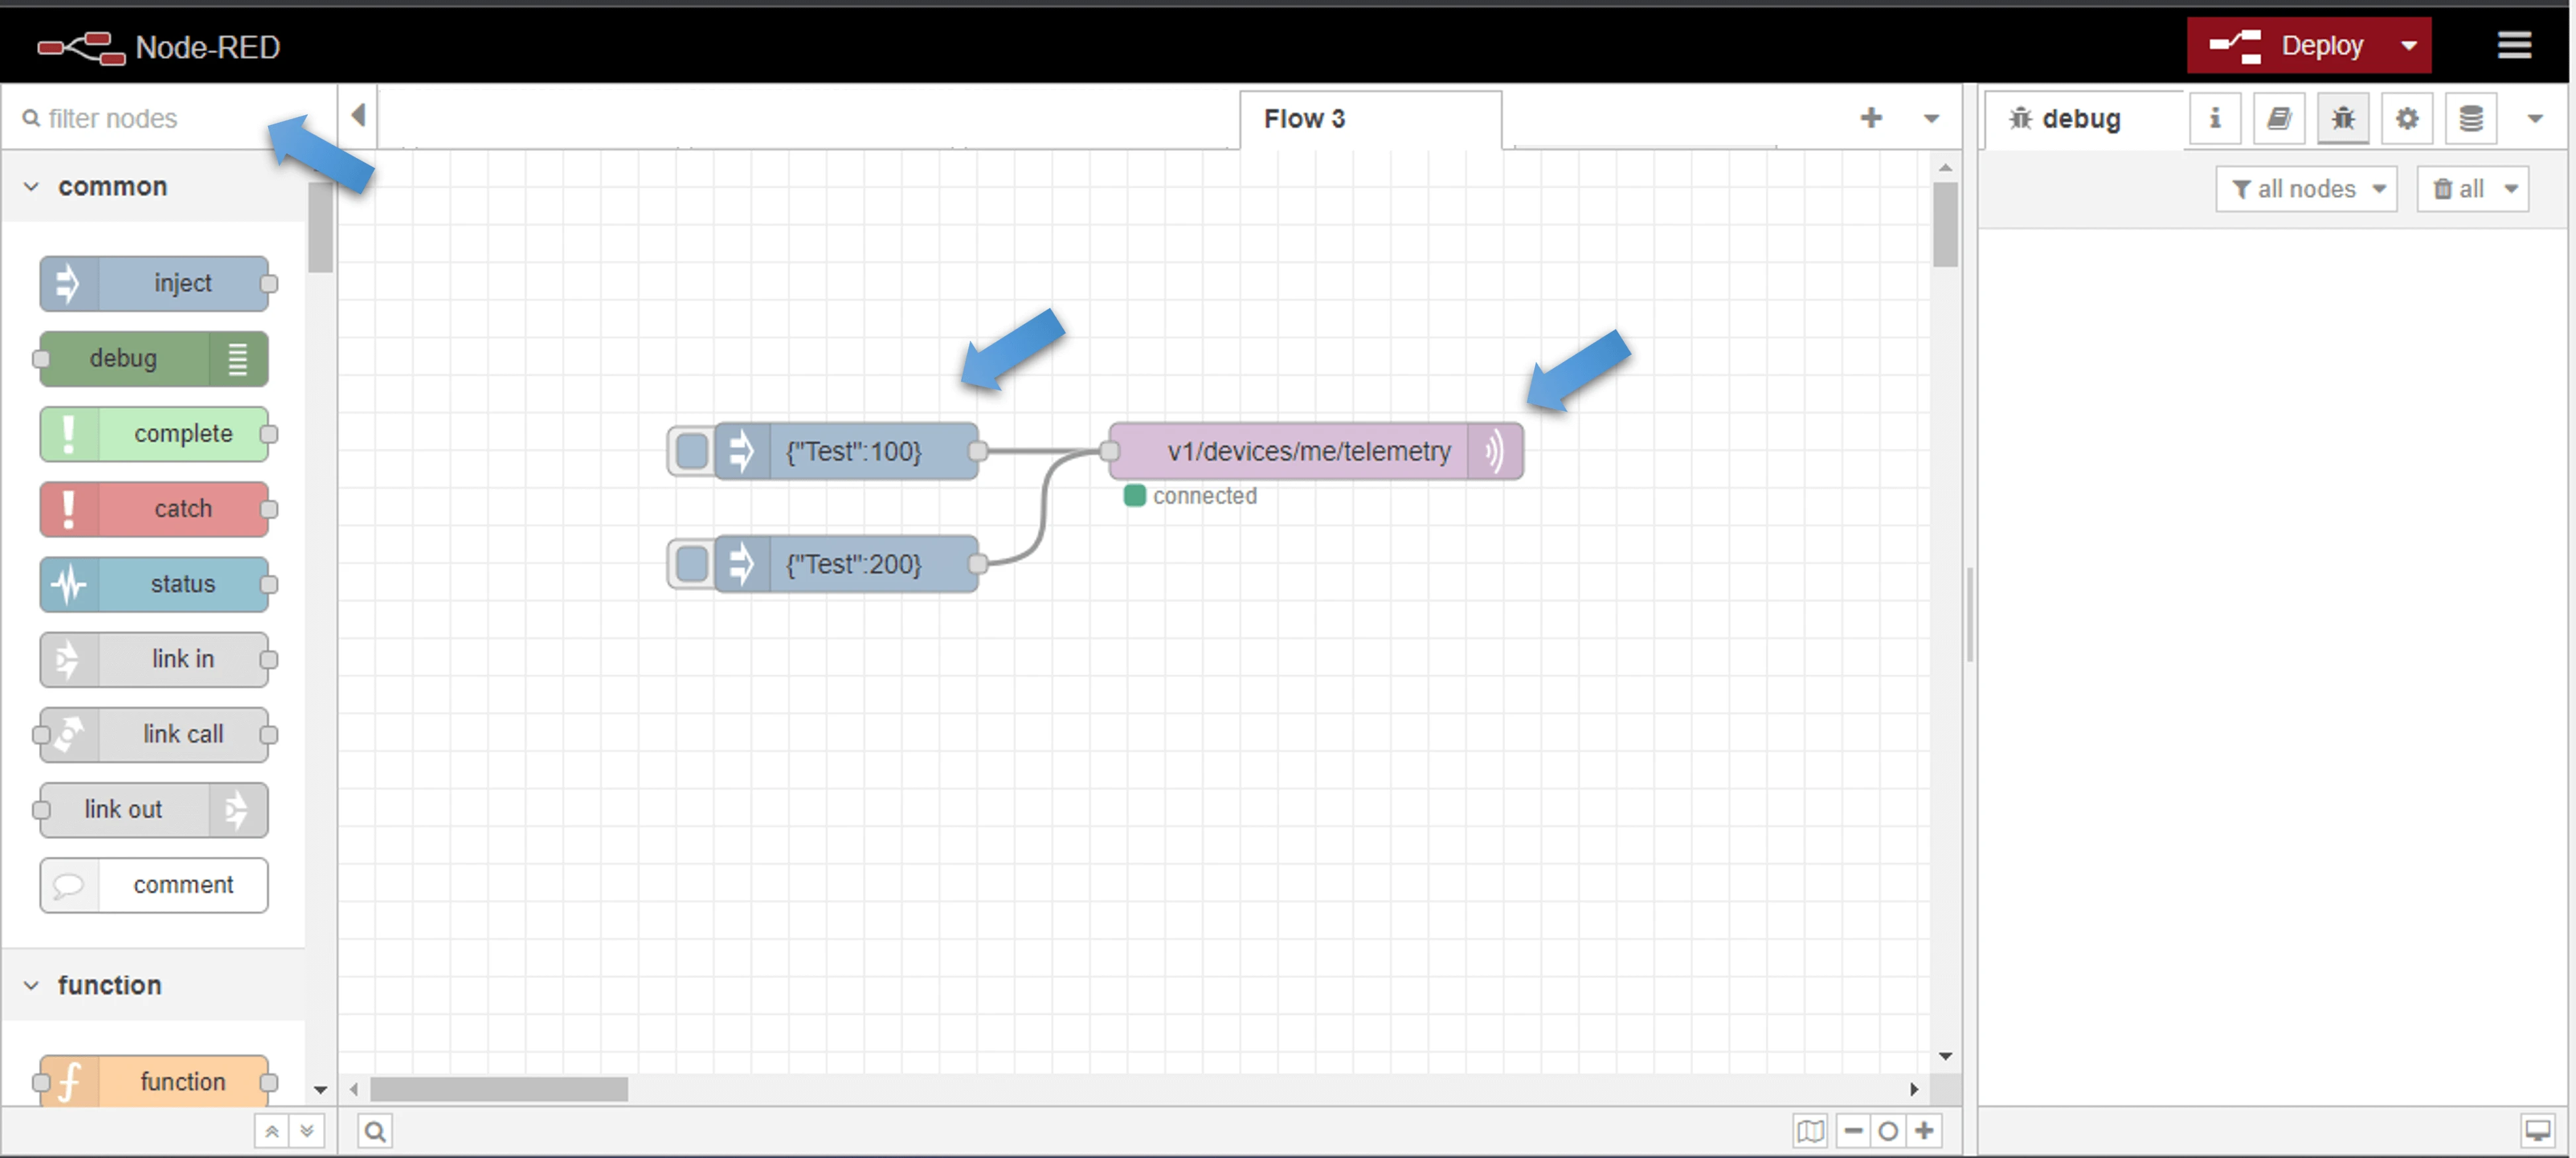
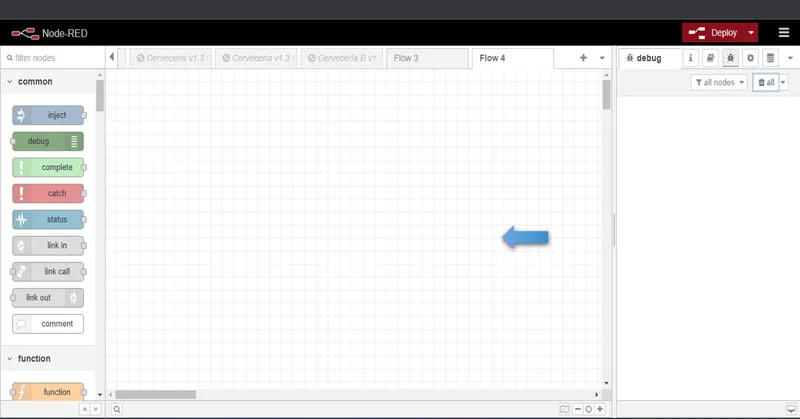
The Node-RED interface opens. It has three sections: the Nodes menu (left), the Programming area (center), and the Debug area (right).


Step 3: Configure the Node-RED flow
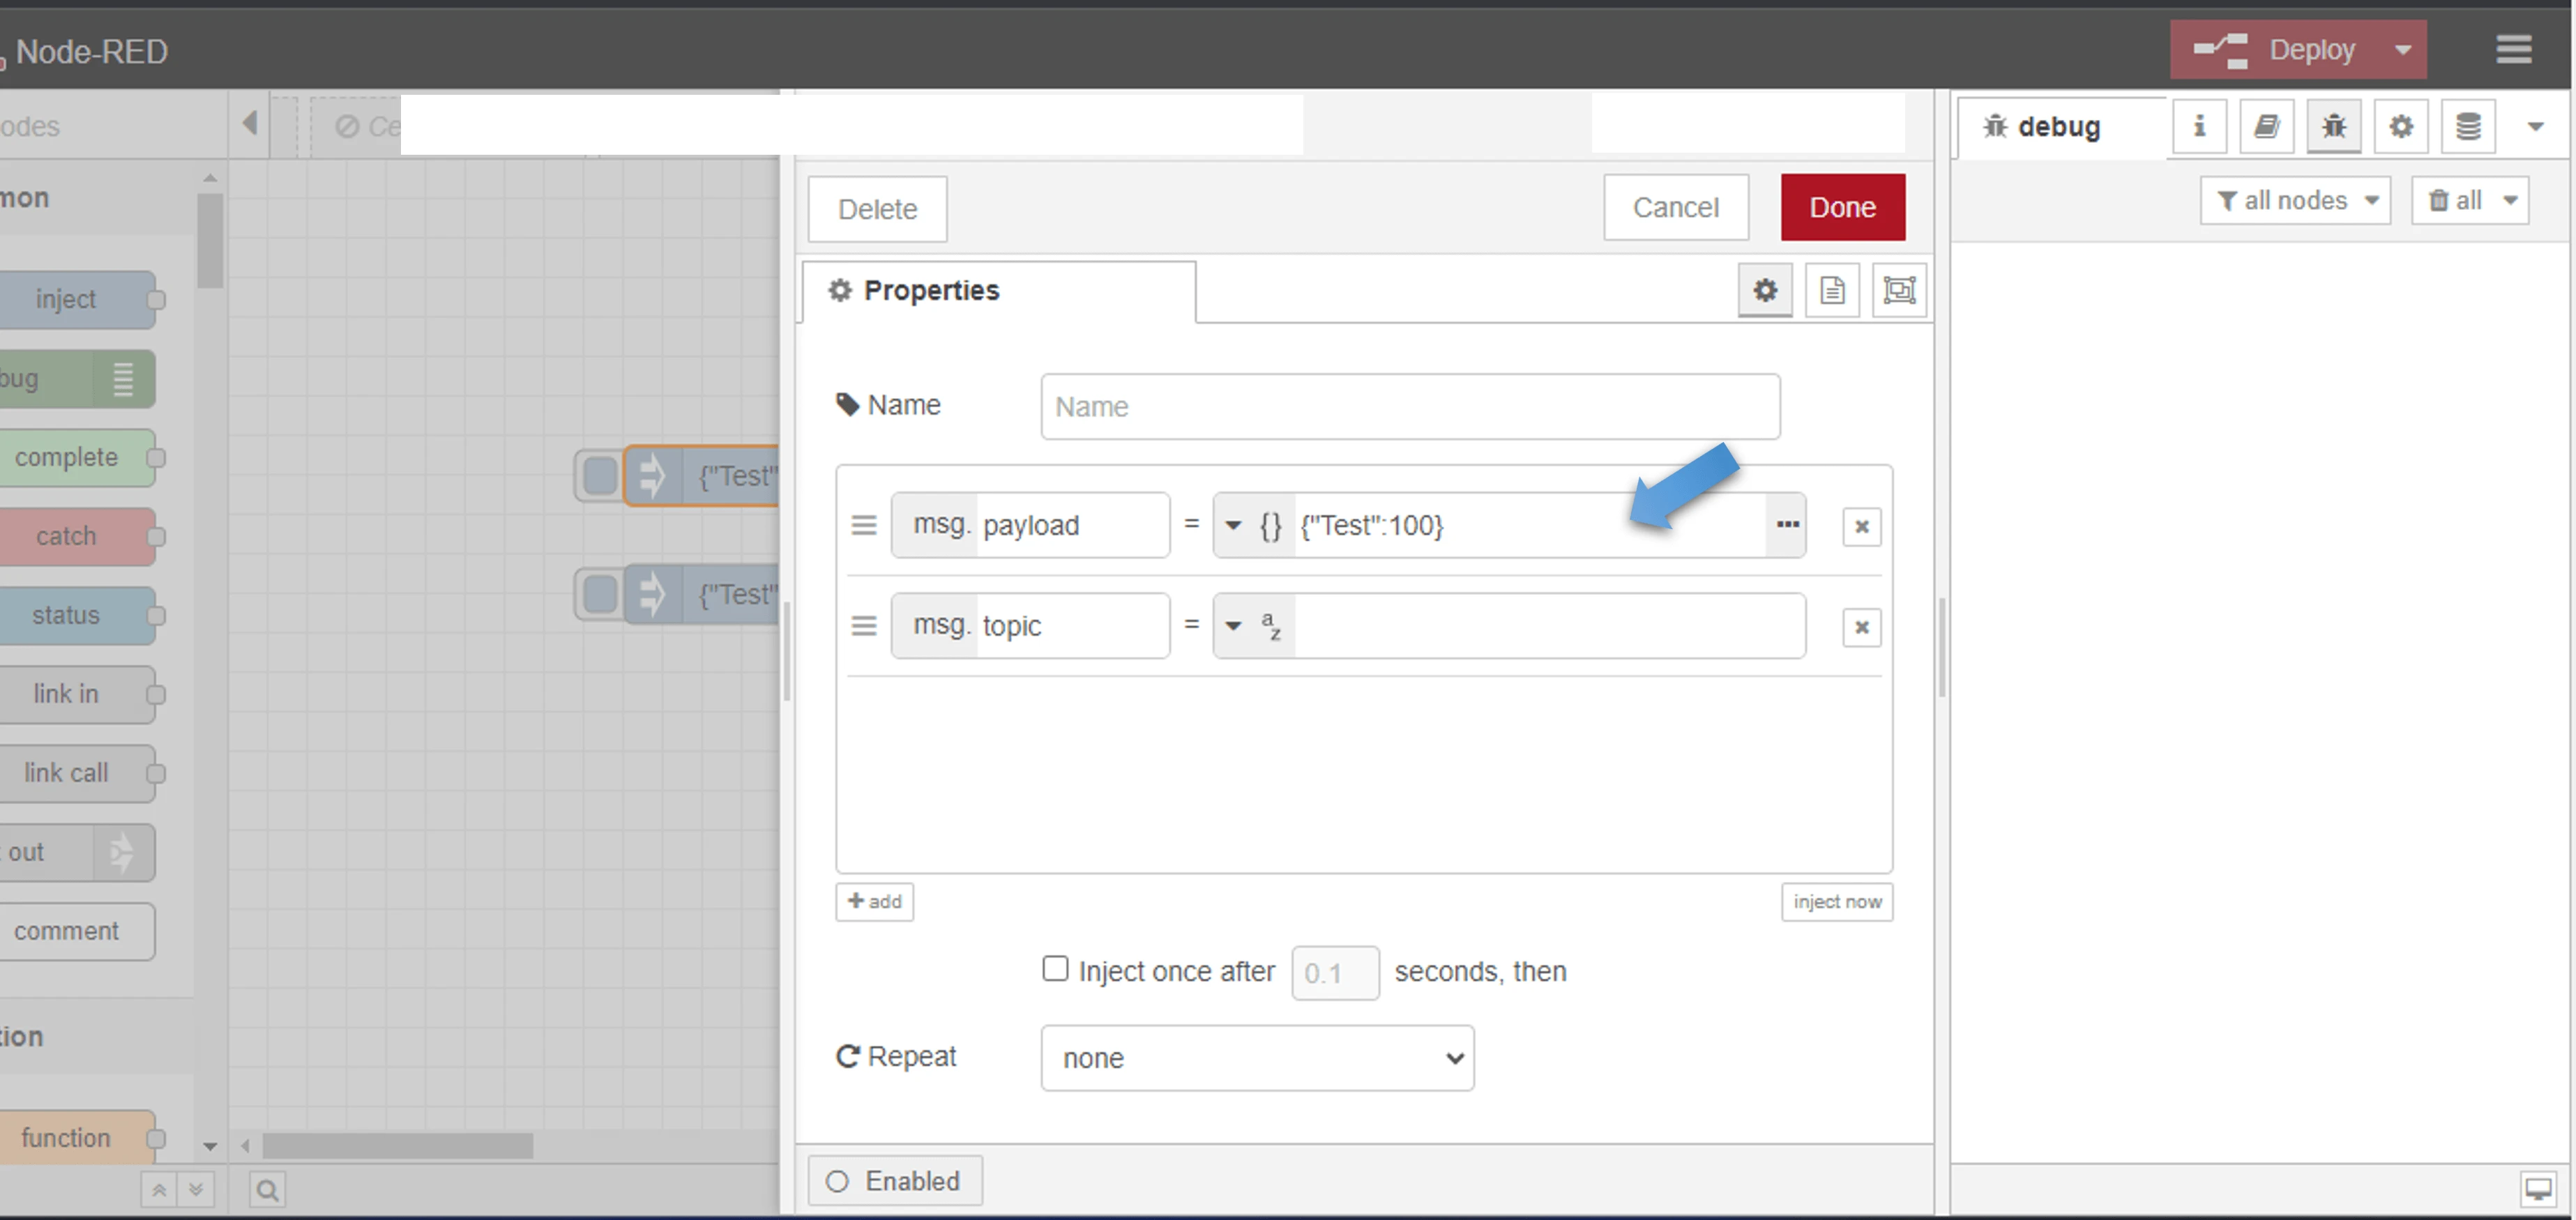
ThingsBoard receives telemetry in JSON format as key-value pairs. This step creates a minimal flow using an inject node and an MQTT out node to publish data.
-
Drag an inject node and an MQTT out node from the Nodes menu onto the workspace. Connect the output of the inject node to the input of the MQTT out node. Double-click the MQTT out node to open its settings.

-
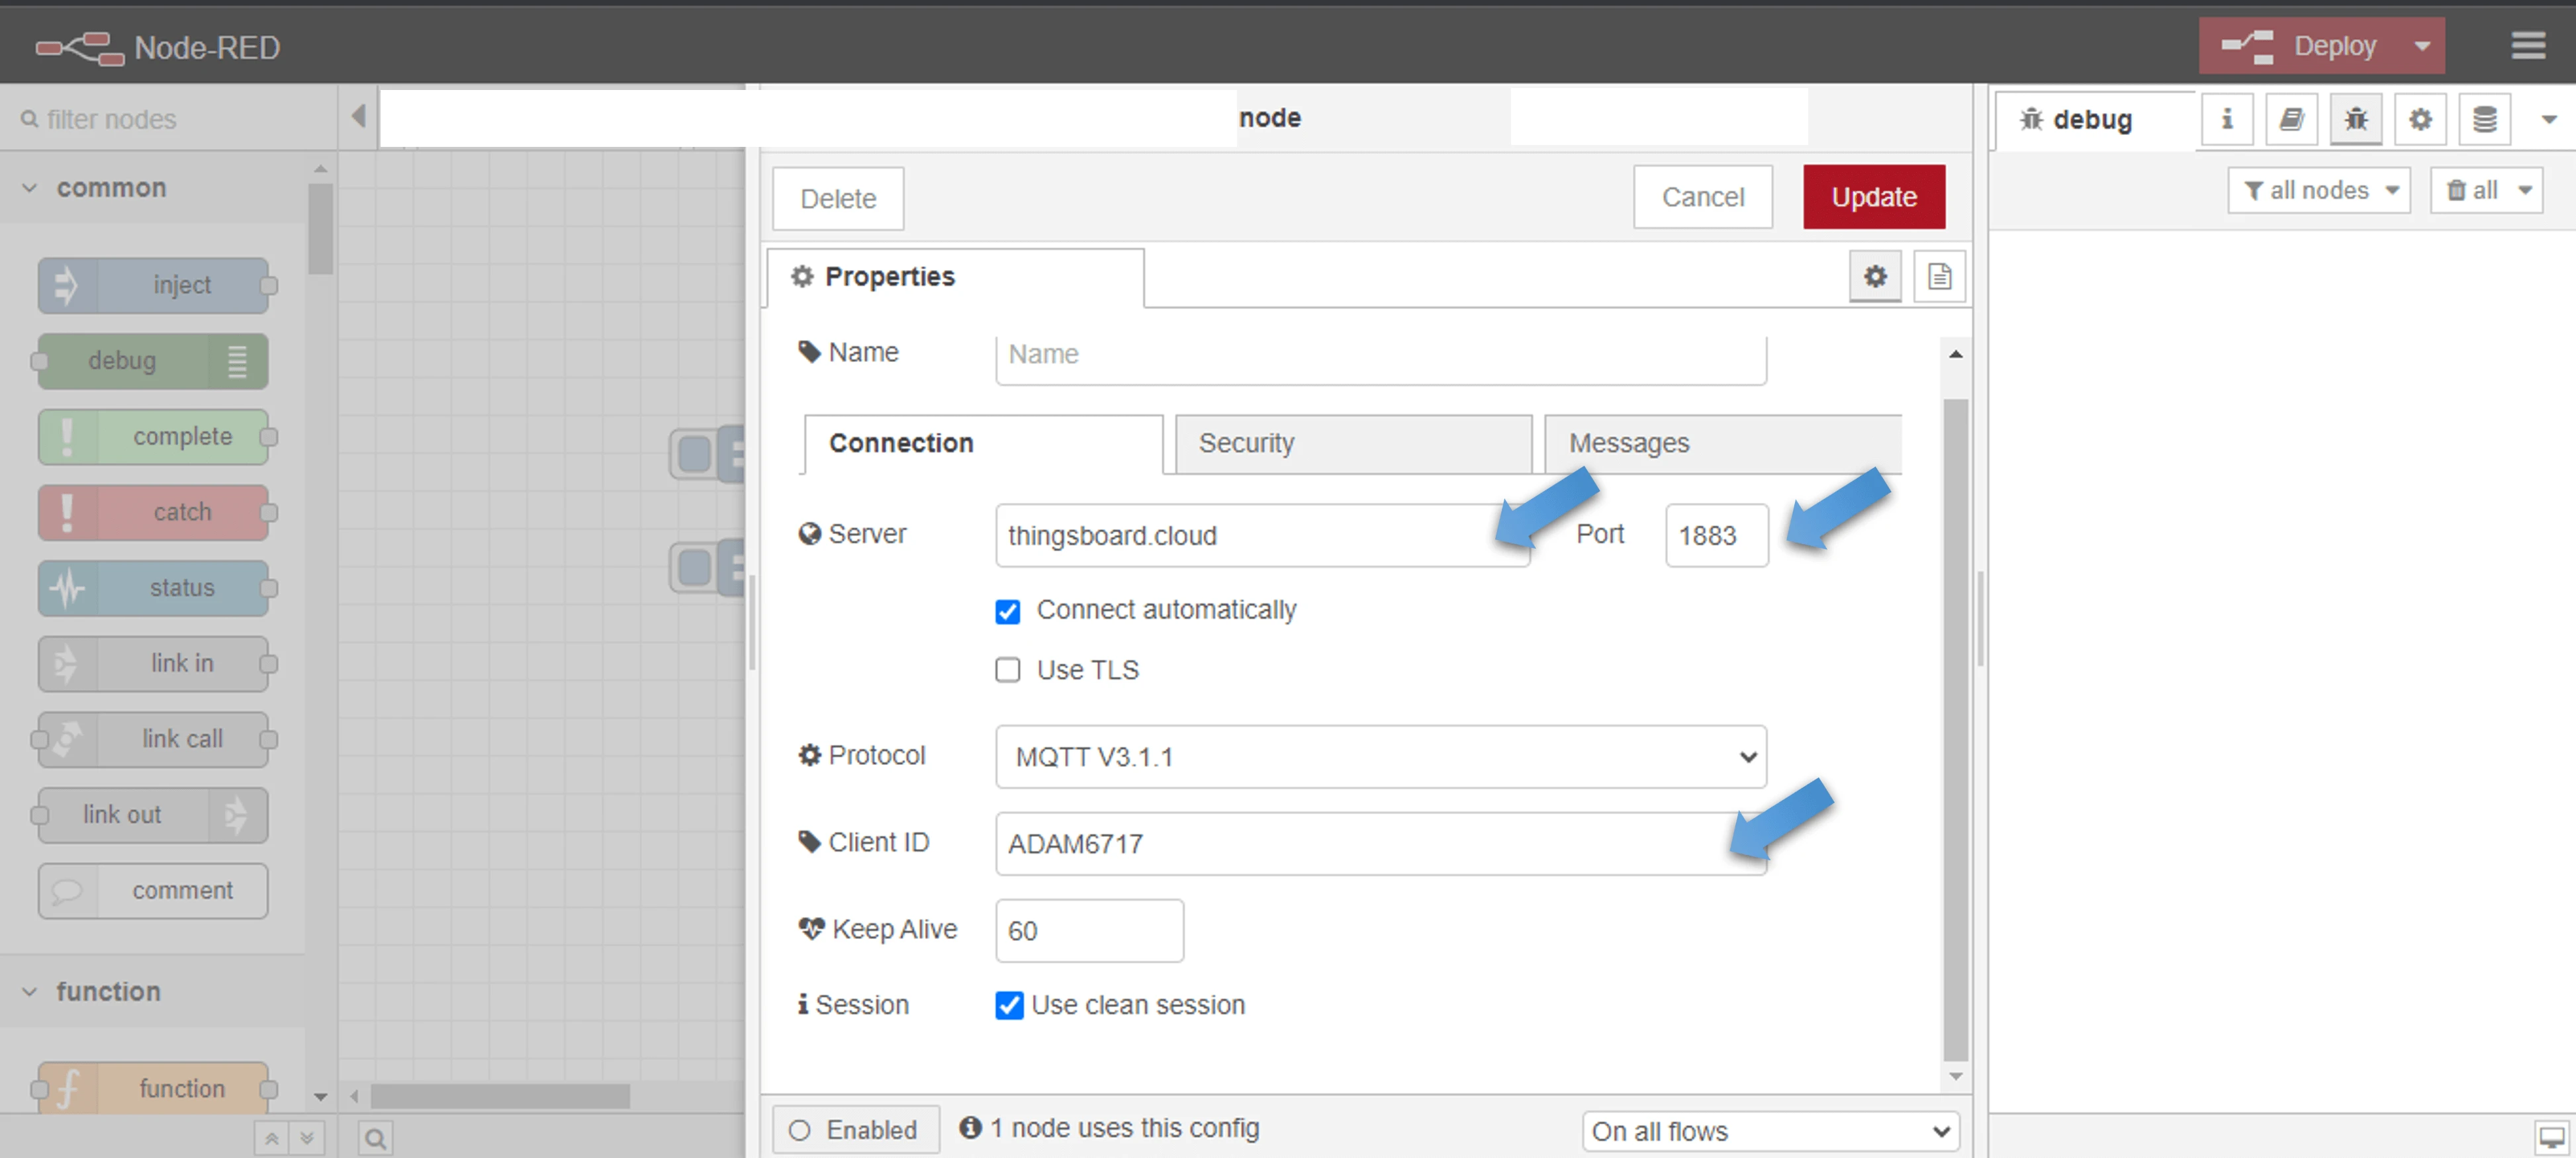
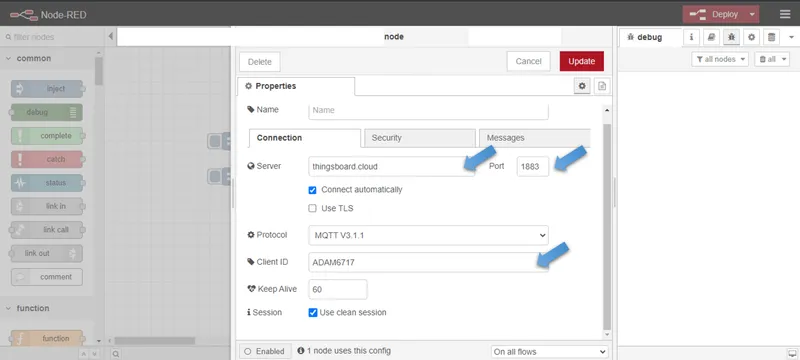
In the MQTT out node settings, click the pencil icon next to the broker field to add a new MQTT broker. Fill in the connection details:
Field Value MQTT Broker ThingsBoard Cloud host (e.g. mqtt.thingsboard.cloud)Port 1883Client ID The Client ID set in Step 1 
-
Set the Topic to
v1/devices/me/telemetryand the QoS to1.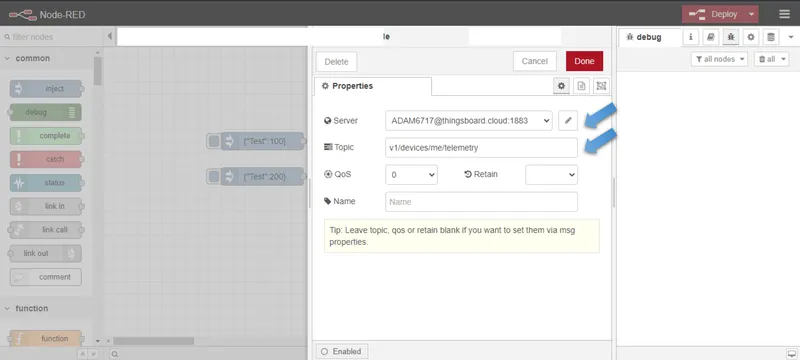
-
Switch to the Security tab and enter the Username and Password configured in Step 1. Click Done to save.
-
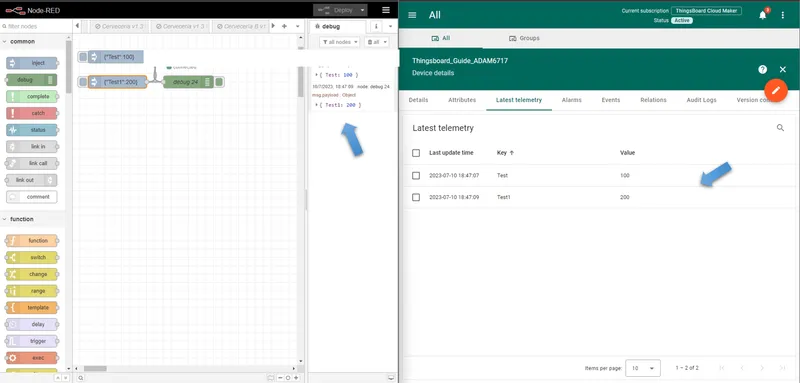
Click the inject button on the workspace to send a test payload to ThingsBoard. The inject node publishes JSON data to the MQTT topic, and ThingsBoard creates or updates the device telemetry.