Syrus 4G IoT Telematics Gateway

Syrus 4G IoT Telematics Gateway
Digital Communications Technologies
- Platform
- ThingsBoard
- Hardware Type
- Trackers
- Connectivity
- Cellular, Wi-Fi, MQTT
- Industry
- Transportation & Logistics, Smart Cities
- Use Case
- Fleet Tracking
Introduction
The Syrus 4G IoT Telematics Gateway is a rugged vehicle tracking and telematics gateway from Digital Communications Technologies (DCT). It runs Apex OS with a built-in SyrusJS application that processes events and transmits GPS position, ignition state, CAN bus data, and custom telemetry fields to cloud platforms over MQTT. This guide walks through provisioning the device in ThingsBoard and configuring a SyrusJS flow to publish data via MQTT.
Prerequisites
- Syrus 4G IoT Telematics Gateway with Apex OS (latest version)
- USB cable or network access to the Syrus 4 Management Tool at http://192.168.9.2
- ThingsBoard instance — use ThingsBoard Cloud or a local server
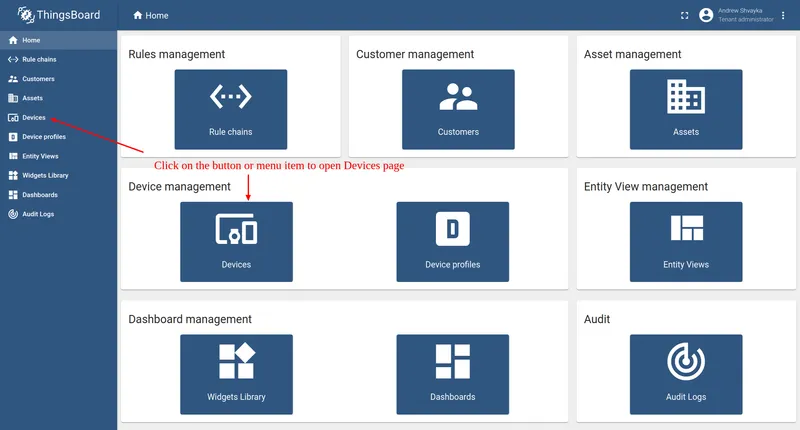
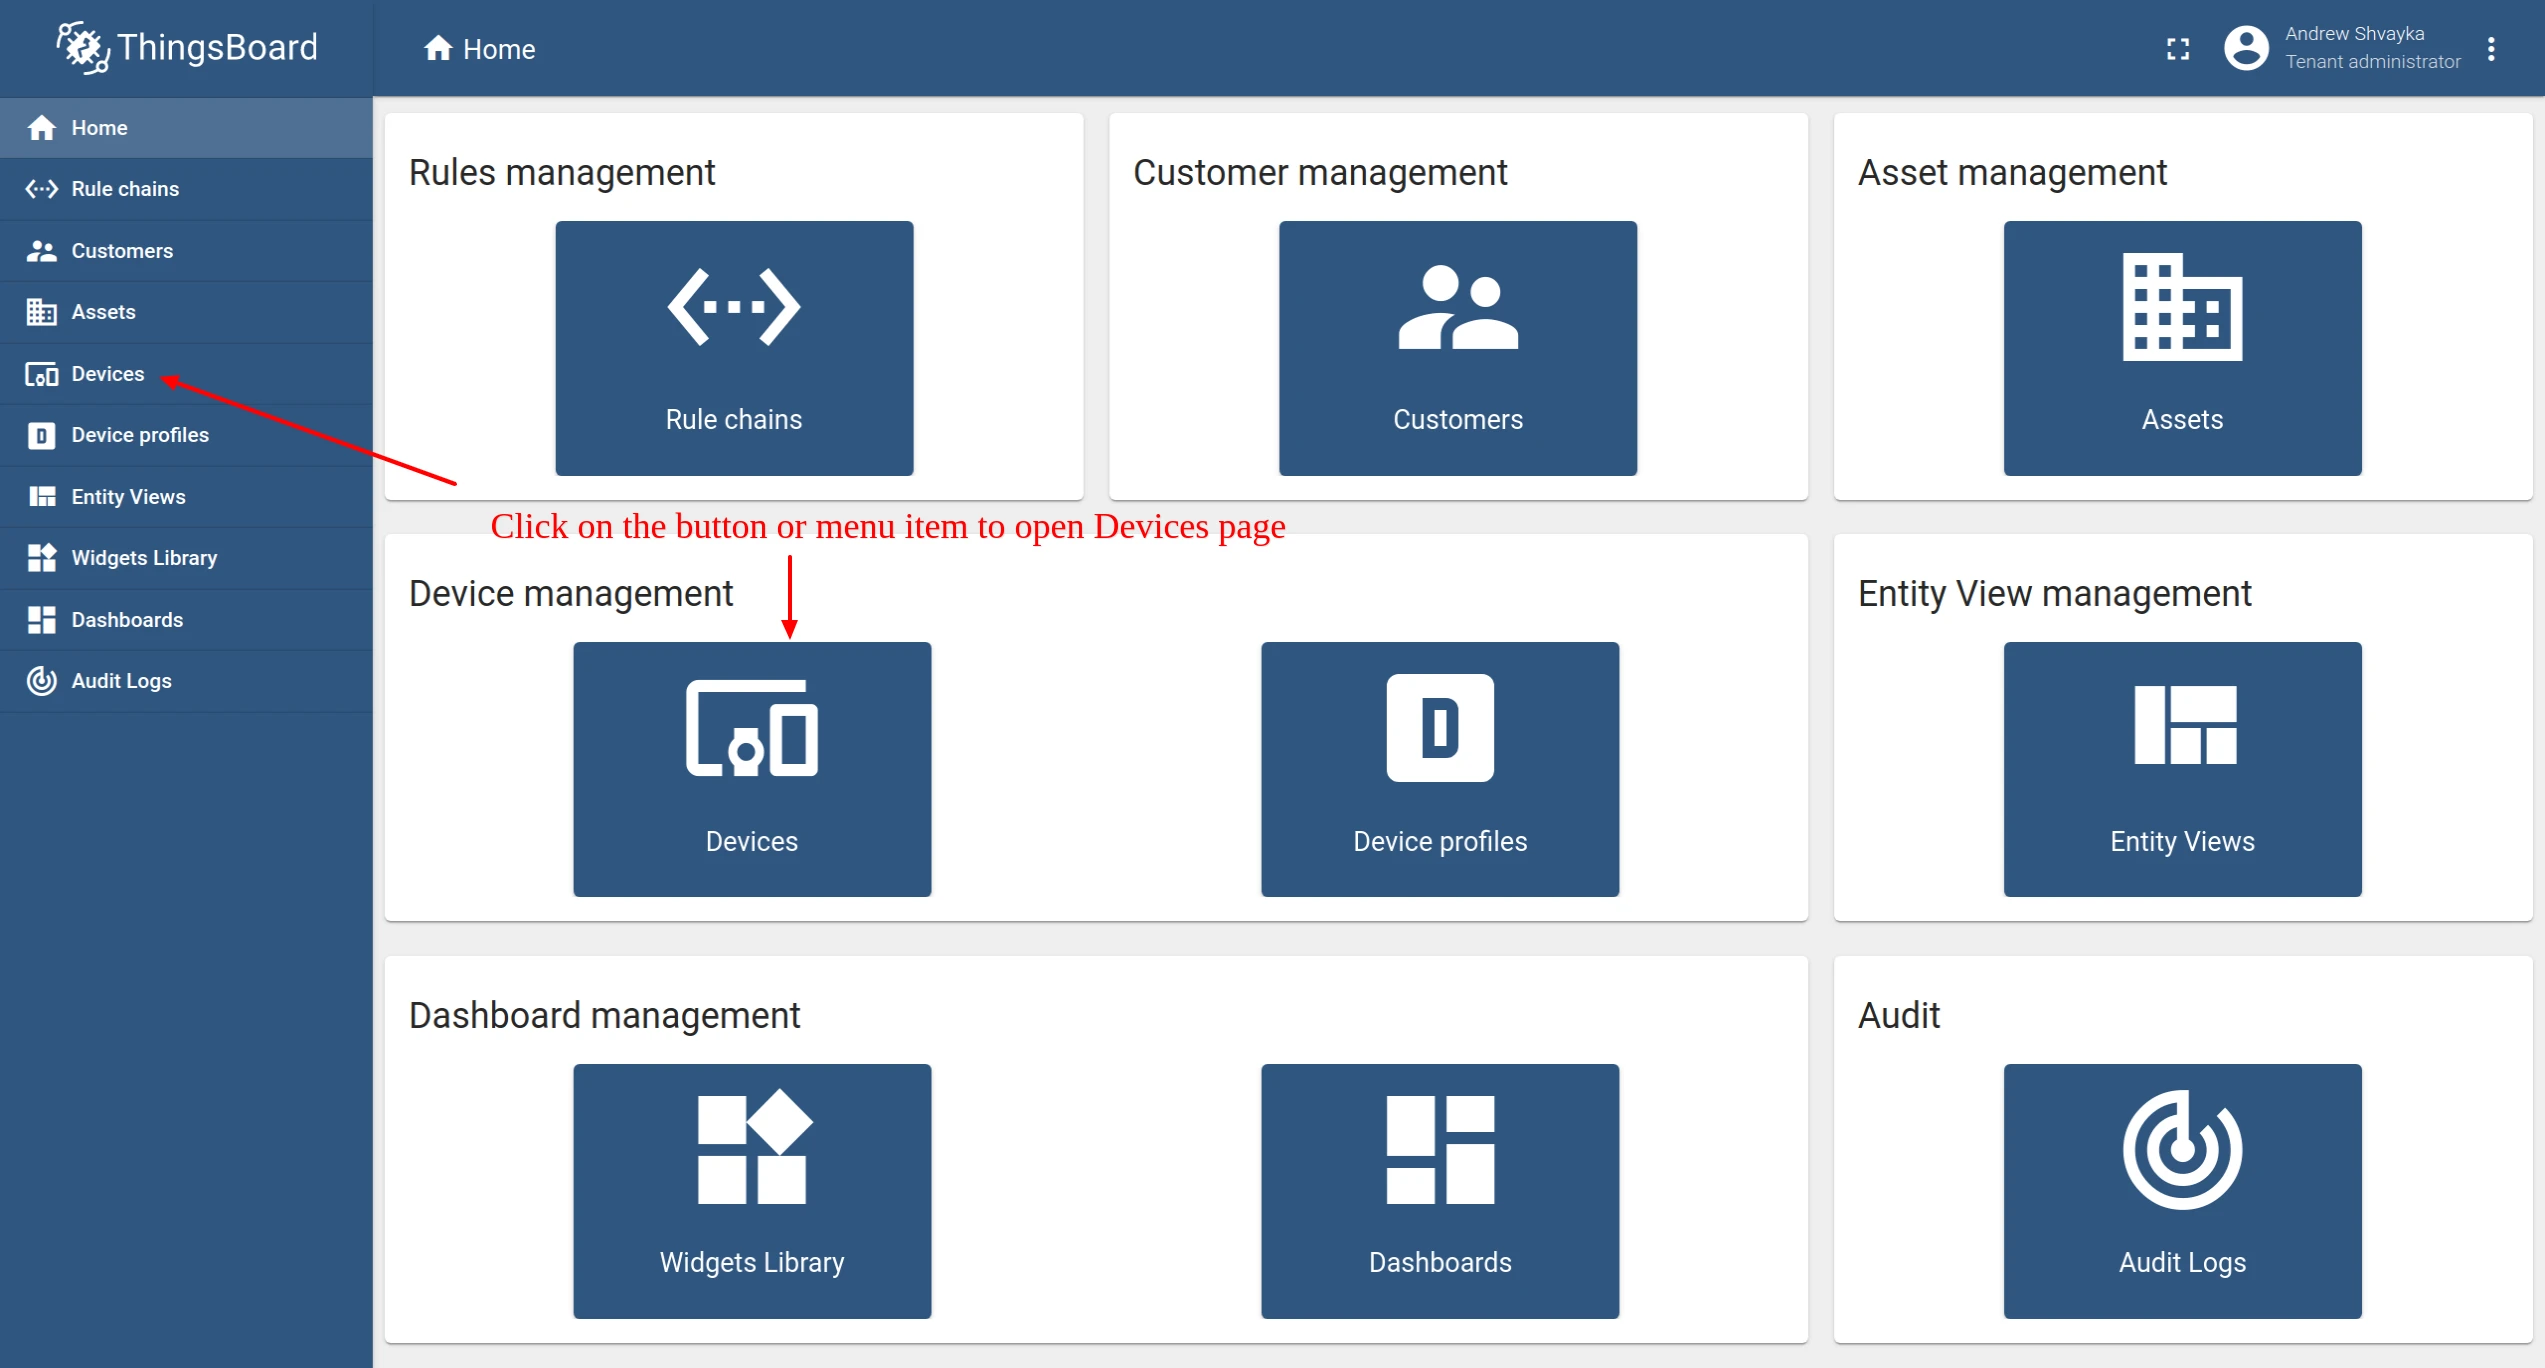
Step 1: Create a device in ThingsBoard
-
Log in to your ThingsBoard instance and go to Entities ⇾ Devices.
-
Click + Add device in the top right corner of the table and select Add new device.
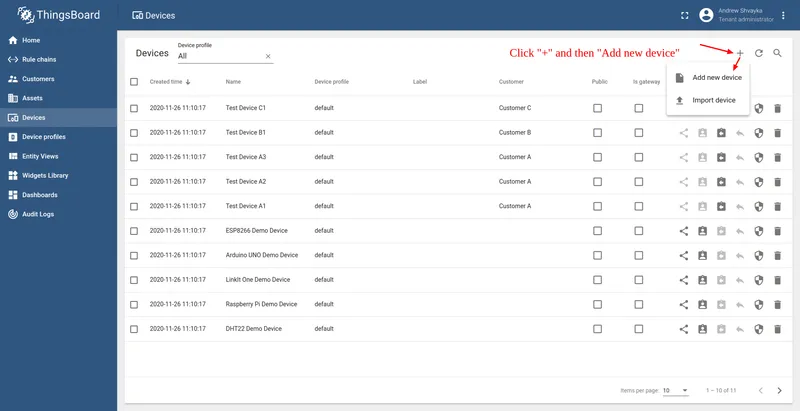
-
Enter a device name (e.g.
Syrus) and click Add.
-
The device appears at the top of the list.


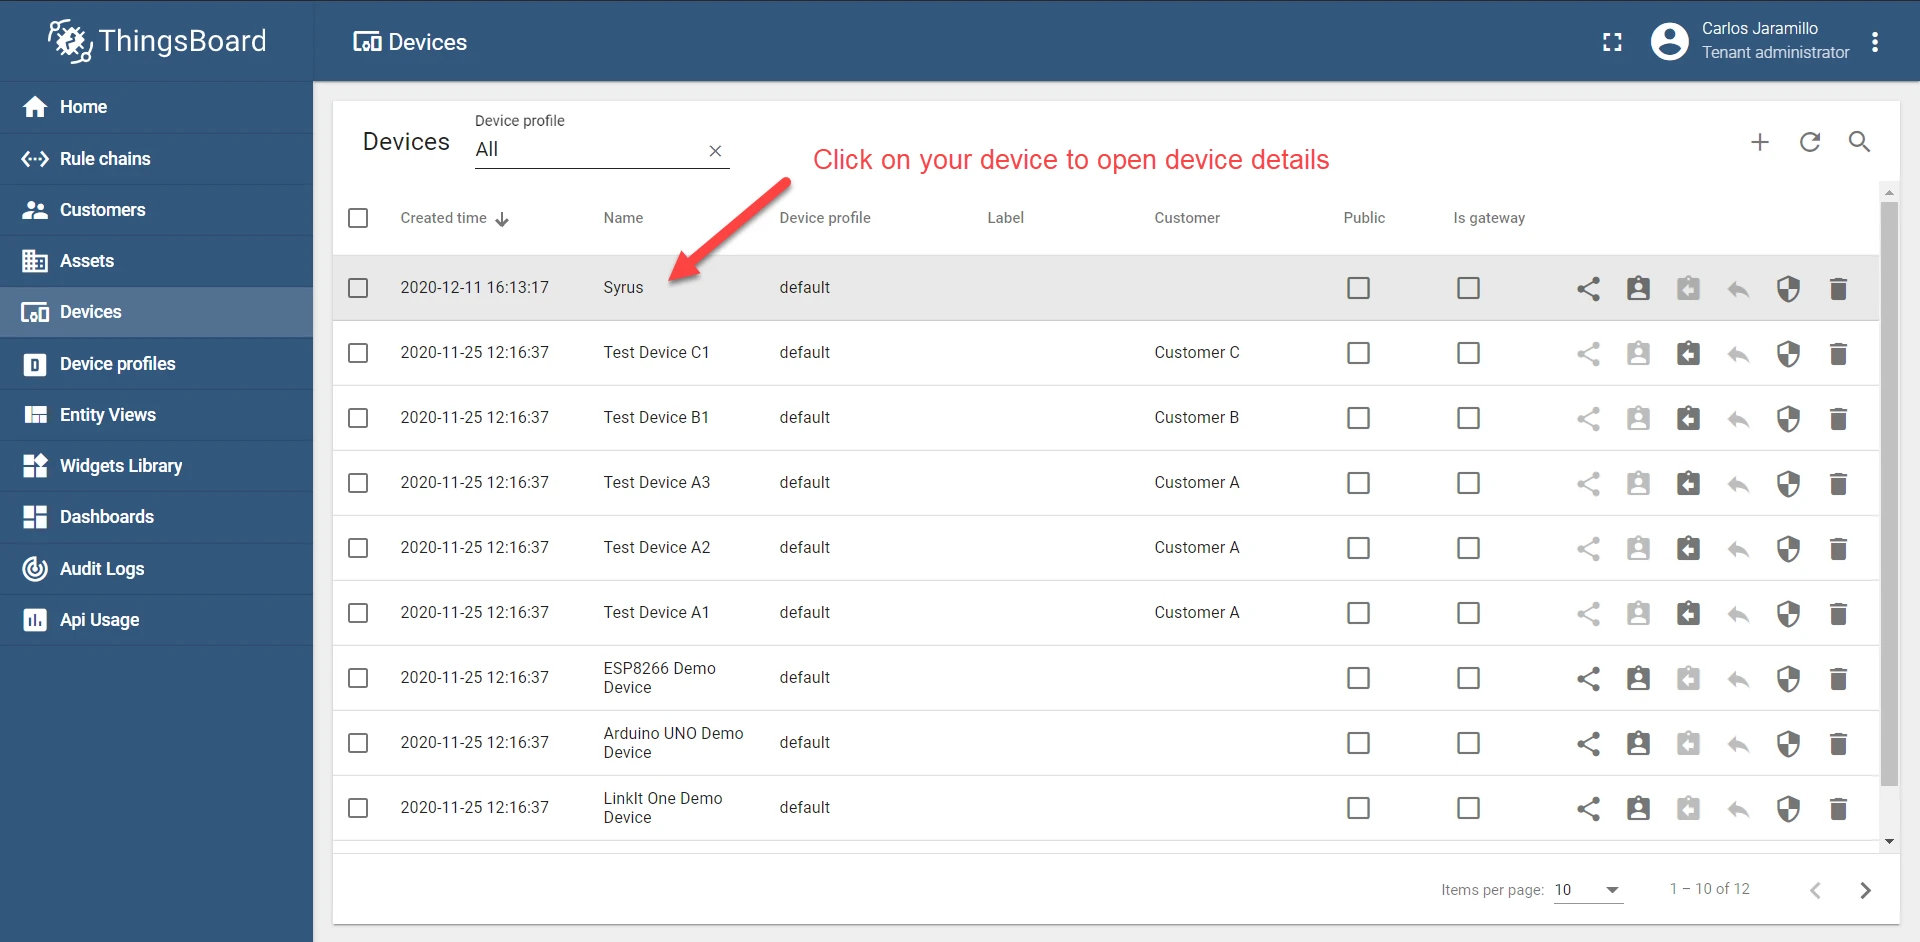
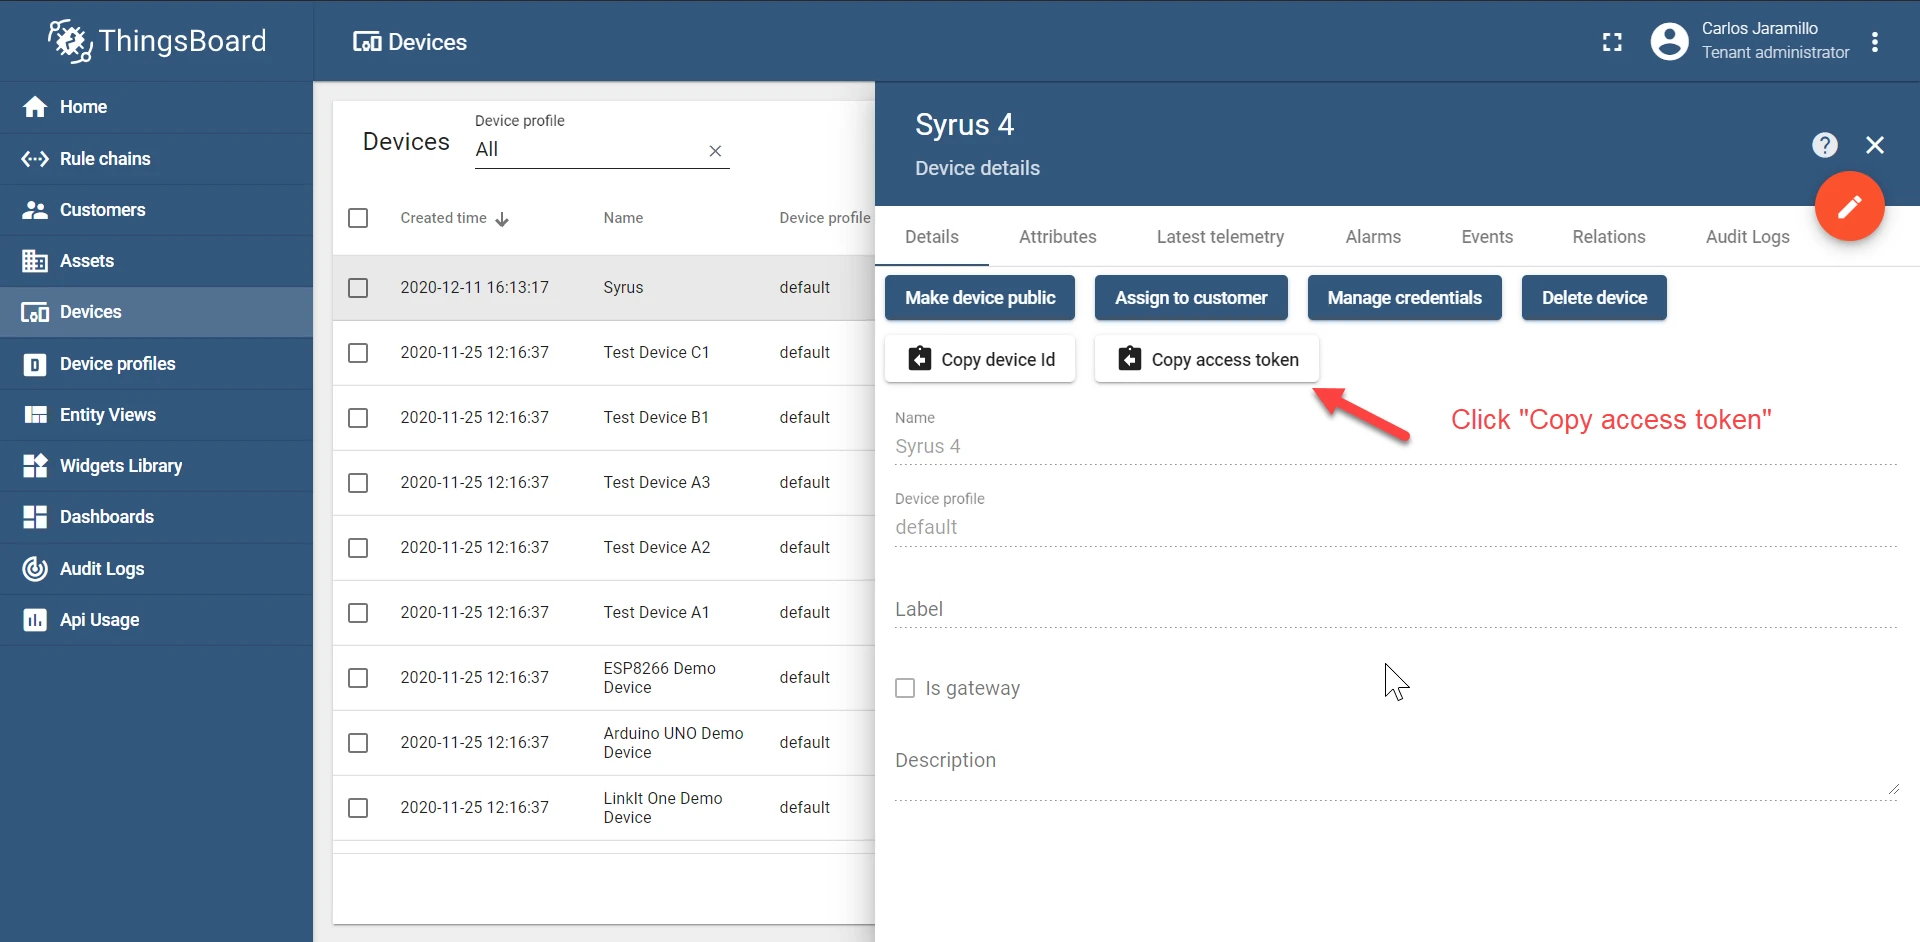
Step 2: Get the access token
-
Click the device row to open its details, then click Copy access token. Save the token — you will need it in the Syrus configuration.

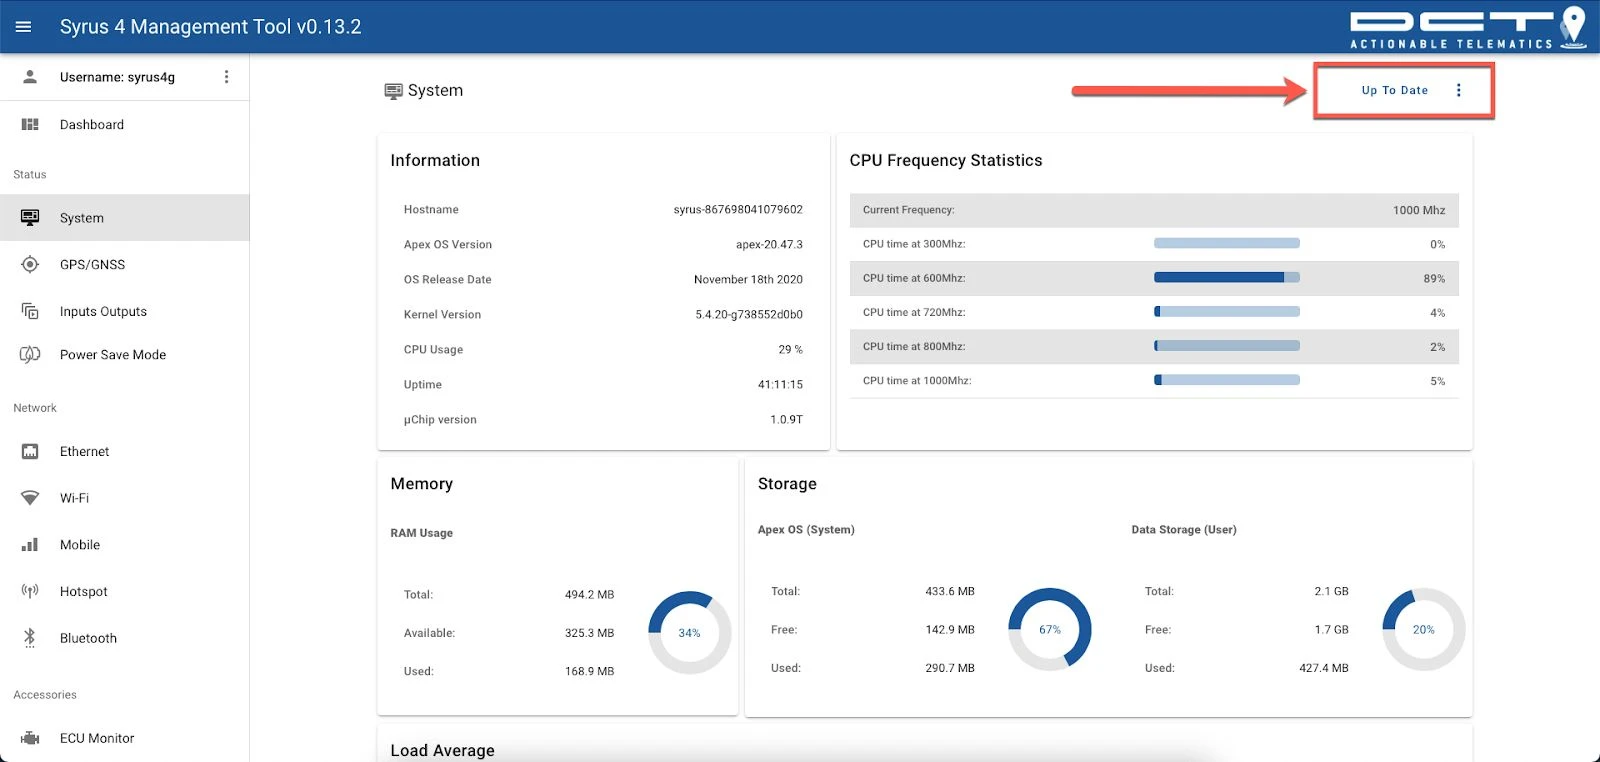
Step 3: Prepare the Syrus 4 system
-
Open the Syrus 4 Management Tool at http://192.168.9.2 (USB connection). Go to System and confirm the device runs the latest version of Apex OS.

-
Go to Applications Manager, check for updates, and confirm the latest version of SyrusJS is installed.
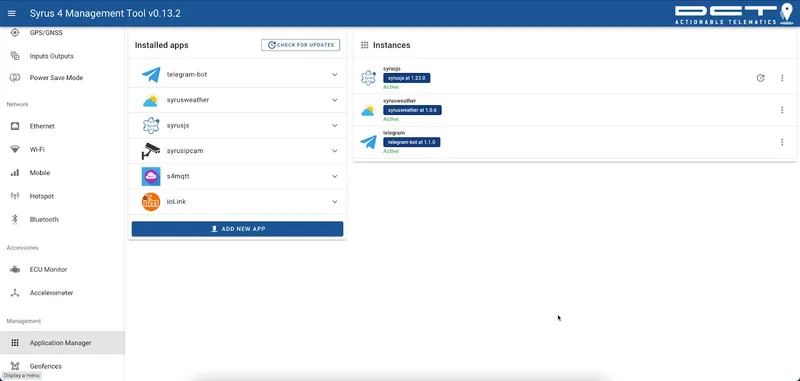
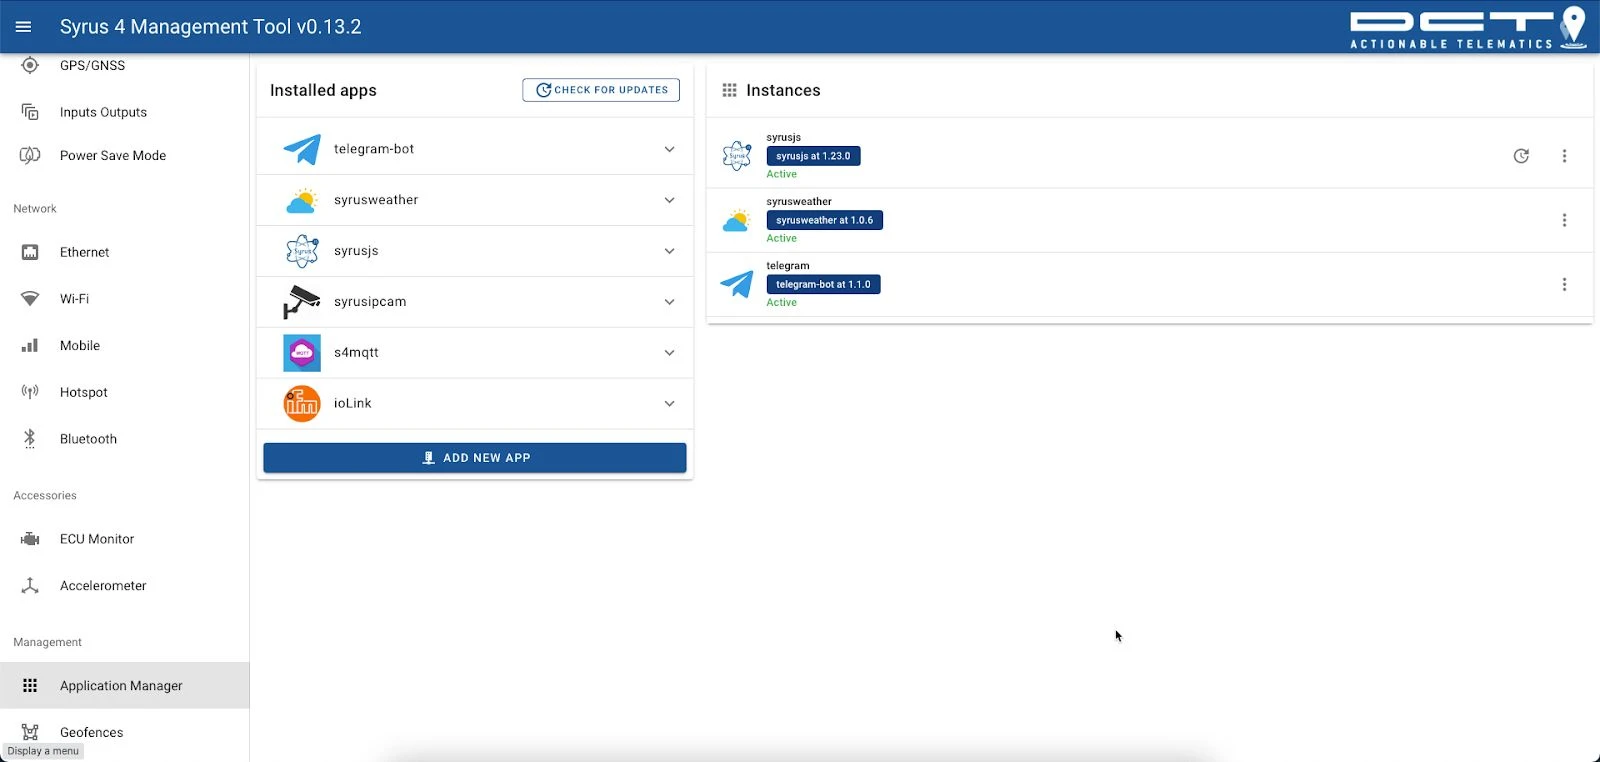
Step 4: Create a SyrusJS instance
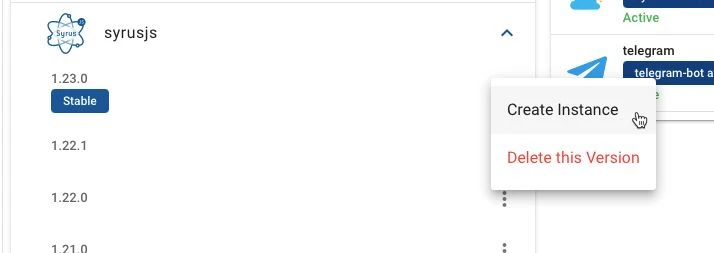
-
In Applications Manager, open the SyrusJS dropdown to see all installed versions. Select the latest version and click Create New Instance.

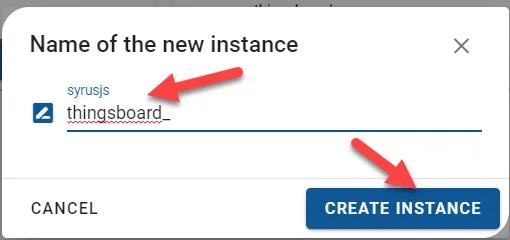
-
Enter a name for the instance and click Create Instance.
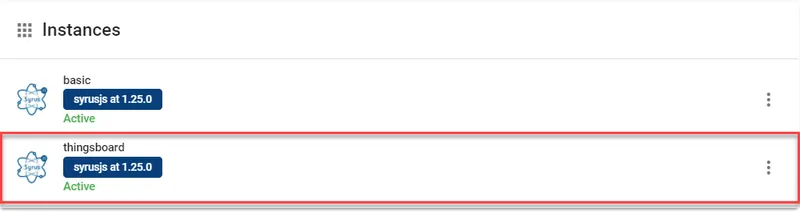
-
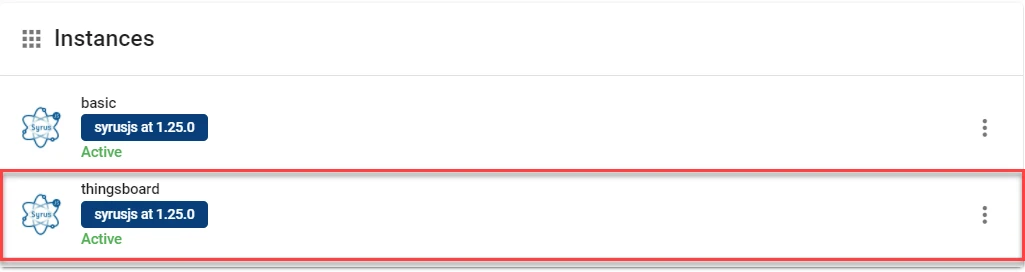
The instance is created and appears in the list.

Step 5: Create configuration files
Create two files with the .syrus.conf extension using any text editor.

File 1 — MQTT destination defines the protocol, broker URI, credentials, output format, and topics. Replace [YOUR_TOKEN] with the access token from Step 2.

For full destination options see the SyrusLang destinations documentation.
File 2 — Events defines the fieldset and events to transmit. The example below sends Ignition On/Off events and track points every 5 minutes:
define variable constant_1 1
define fieldset thingsboardfields="ident":$modem.imei,position.context.lat:$gnss.latitude,position.context.lng:$gnss.longitude,position.value:$variables.constant_1,"position.direction":$gnss.heading,"position.hdop":$gnss.hdop,"position.pdop":$gnss.pdop,"position.vdop":$gnss.vdop,"position.speed":$gnss.mph,"position.altitude":$gnss.altitude,"event.enum":code,"can.engine.rpm":$ecu.rpm,"can.throttle.pedal.level":$ecu.accel_pedal_position,"can.engine.temperature":$ecu.coolant_temp,"can.fuel.consumed":$ecu.fuel_total,"can.intake.map":$ecu.intake_manif_pressure,"can.vehicle.speed":$ecu.fe6c_7-8,"can.fuel.temperature":$ecu.fuel_temp,"can.engine.load":$ecu.engine_load,"can.engine.torque":$ecu.actual_engine_torque,"can.catalyst.outlet.temp":$ecu.aftmt_catalyst_outlet_gas_temp"can.fuel.rate":$ecu.fuel_rate,"can.engine.hours":$ecu.hours_total,"can.ambient.temp":$ecu.ambient_air_temp,"can.oil.pressure":$ecu.oil_pressure
define group thingsboardset destinations group=thingsboard thingsboarddefine tracking_resolution thingsboard_tracking 5m 25deg 1000mts
define signal ignitionON min_duration=5s $io.ign == truedefine signal ignitionOFF min_duration=5s $io.ign == false
define event ignitionONmqtt group=thingsboard fieldset=thingsboard ack=seq label=ignonmqtt code=102 trigger=ignitionONdefine event ignitionOFFmqtt group=thingsboard fieldset=thingsboard ack=seq label=ignoffmqtt code=103 trigger=ignitionOFF
define event trackingOffMqtt group=thingsboard fieldset=thingsboard ack=seq label=prdtst code=100 trigger=@tracking_resolution.thingsboard_tracking.signal,ignitionOFF,anddefine event trackingOnMqtt group=thingsboard fieldset=thingsboard ack=seq label=trckpnt code=101 trigger=@tracking_resolution.thingsboard_tracking.time,ignitionON,anddefine event trackingHeadingMqtt group=thingsboard fieldset=thingsboard ack=seq label=heading code=140 trigger=@tracking_resolution.thingsboard_tracking.heading,ignitionON,anddefine event trackingDistanceMqtt group=thingsboard fieldset=thingsboard ack=seq label=distance code=141 trigger=@tracking_resolution.thingsboard_tracking.distance,ignitionON,and
For a full reference of available events and SyrusLang syntax, see the SyrusLang documentation.
Step 6: Upload configuration files
-
In Applications Manager, click your SyrusJS instance to open it.

-
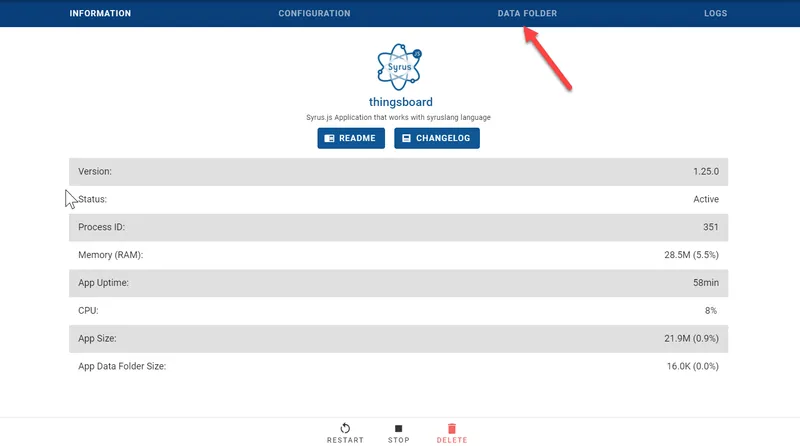
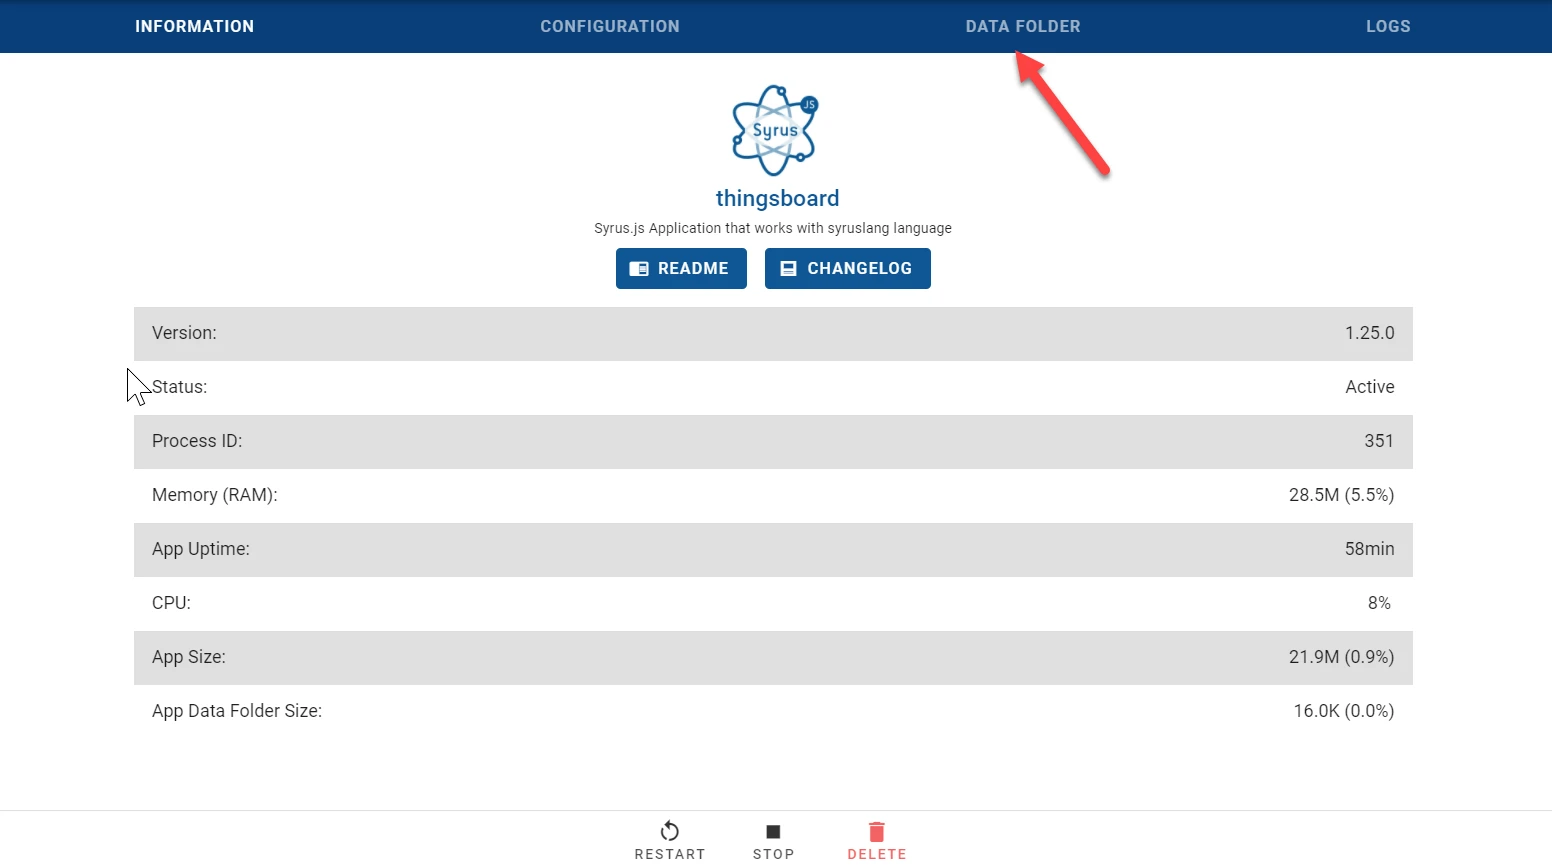
Go to the Data Folder tab.
-
Click Upload File.

-
Select each
.syrus.conffile from your local disk and upload them one by one.
-
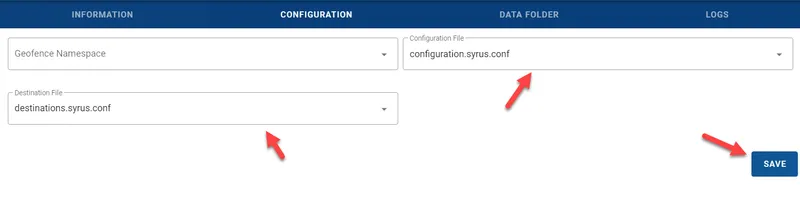
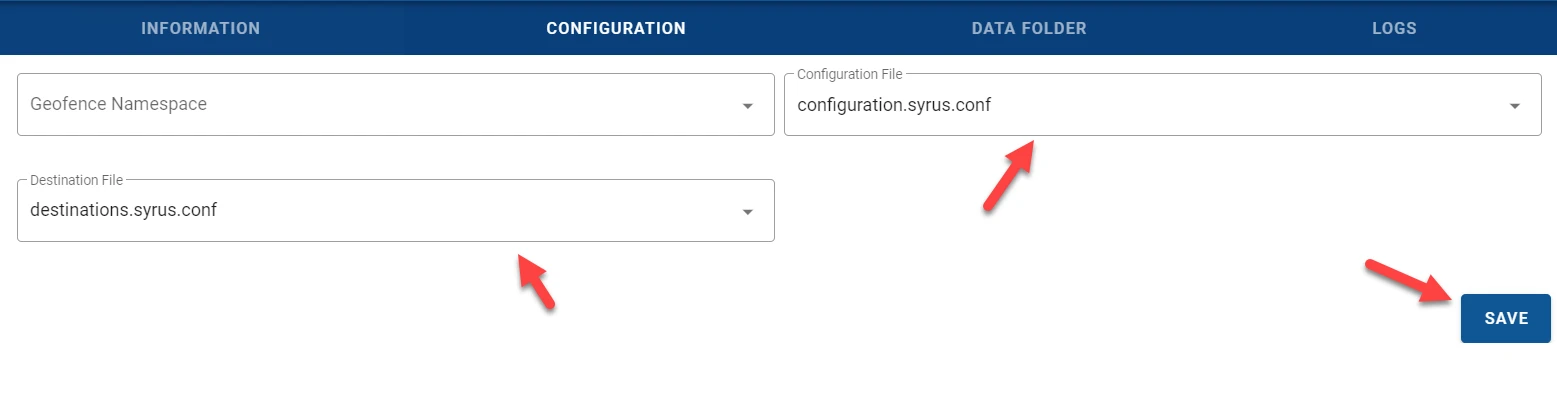
Go to the Configuration tab. Select the uploaded files in the Configuration and Destination File dropdowns, then click Save.


Step 7: Start the instance
-
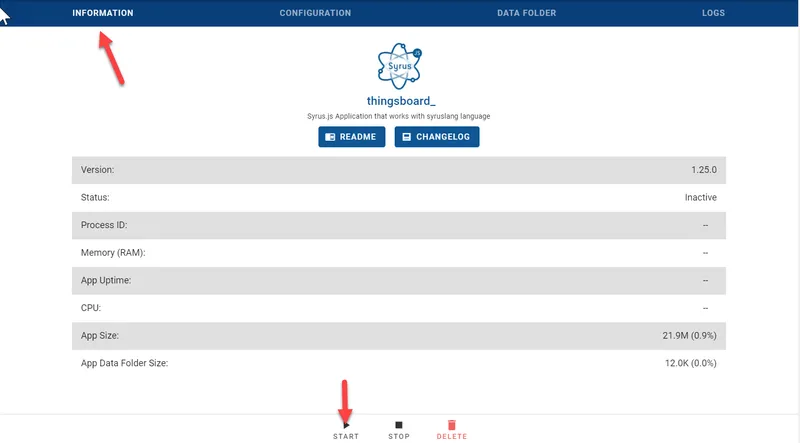
Go to the Information tab and click Start.

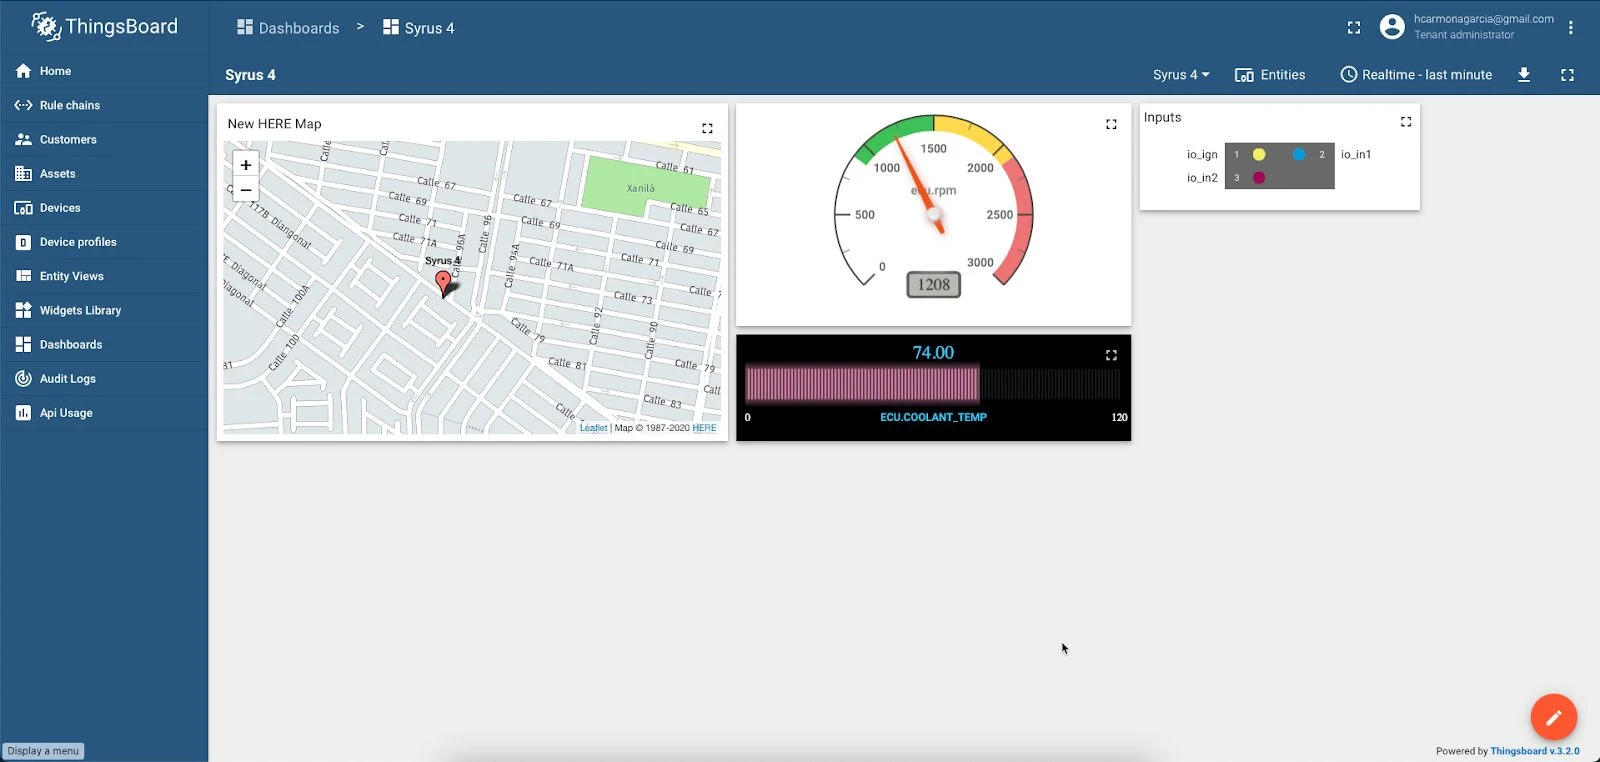
Verify data in ThingsBoard
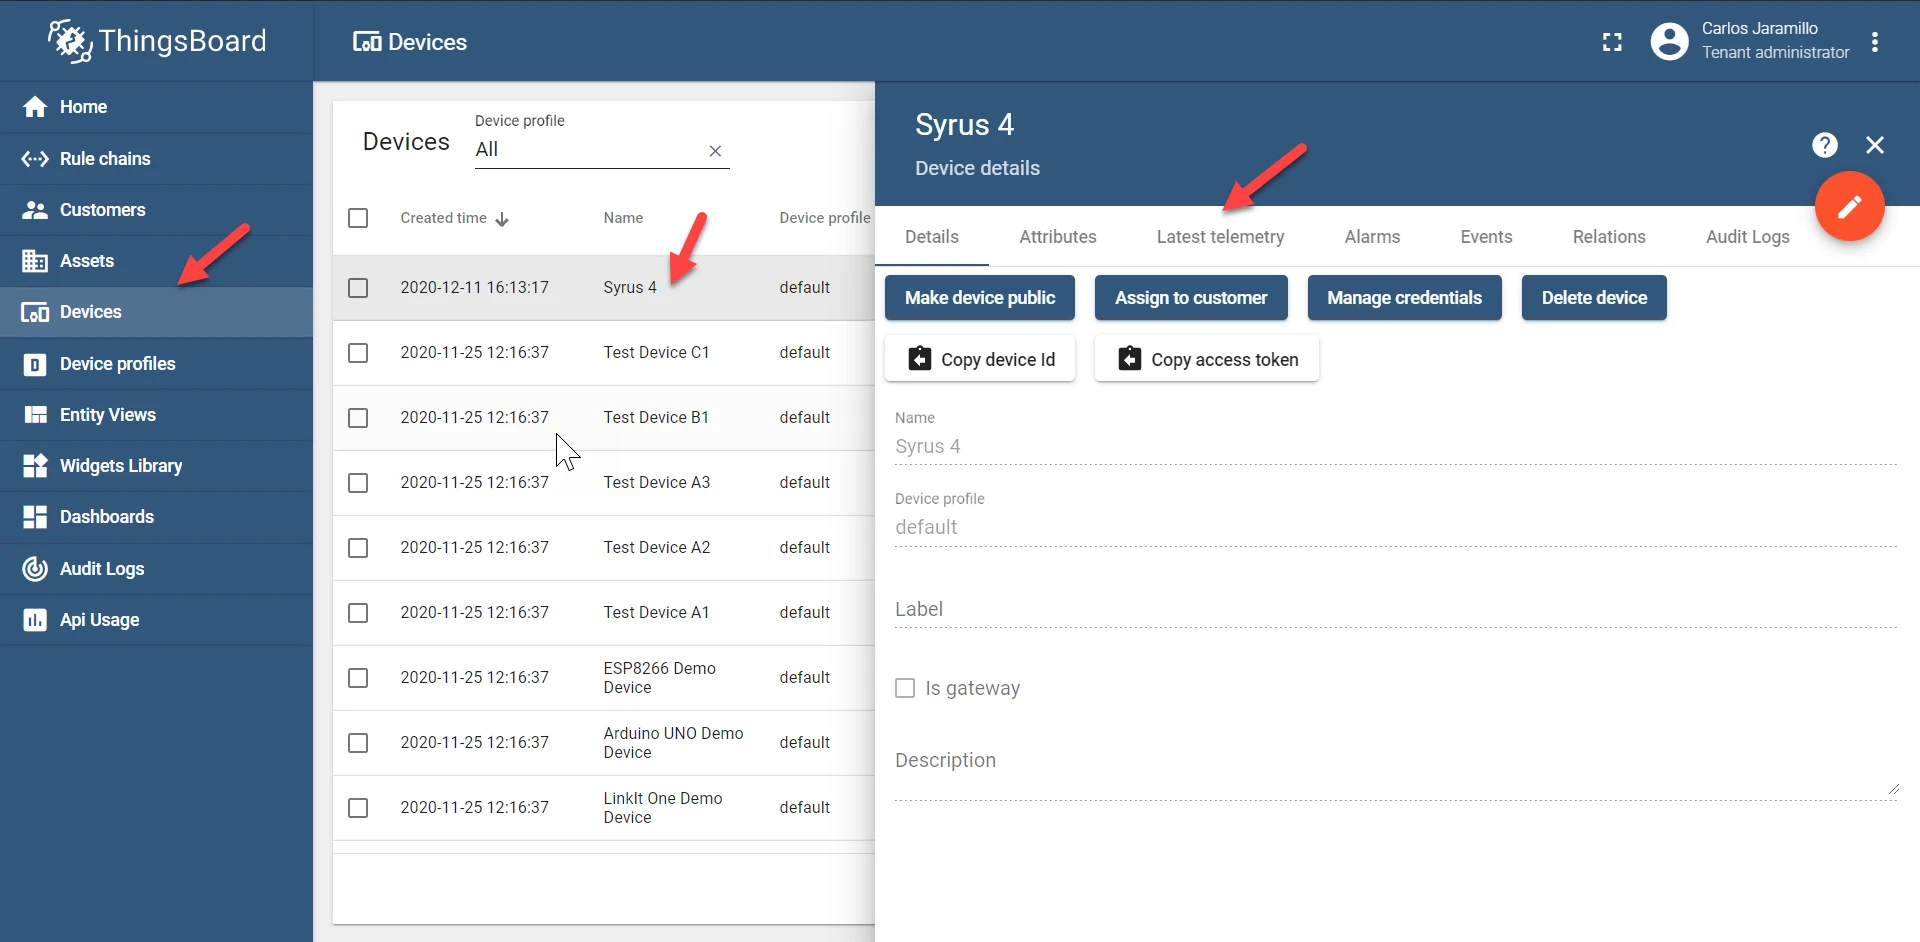
Telemetry keys are created automatically based on the fieldset definition. Go to Entities ⇾ Devices, open the Syrus device, and click the Latest telemetry tab to verify incoming data.
Use ThingsBoard dashboards to visualize the data in real time: