DSGW-210 Smart Gateway Hub
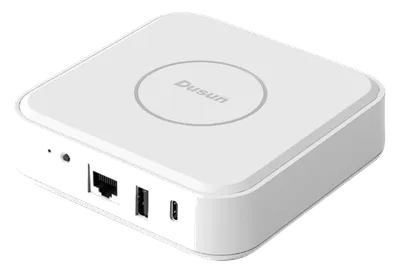
DSGW-210 Smart Gateway Hub
Dusun
- Platform
- ThingsBoard
- Hardware Type
- Gateways
- Connectivity
- Bluetooth, Zigbee, LTE, WIFI, Ethernet
- Industry
- Smart Buildings, Industrial Manufacturing
- Use Case
- Smart energy, Environment Monitoring, Smart Office, Smart Retail, Smart Farming, Fleet Tracking, Health Care, Air Quality Monitoring, Waste Management, Tank Level Monitoring
Introduction
DSGW-210 Smart Gateway Hub is IoT gateway with multiple protocol and edge computing function. It provides reliable connectivity for a wide range of wireless IoT devices. The gateway’s modular architecture provides the ability to customize many gateway features including Cellular, Bluetooth, Wi-Fi, Ethernet, USB, ZigBee, Z-wave and Li battery backup.
Prerequisites
To continue with this guide we will need the following:
- DSGW-210 Smart Gateway Hub
- DUSUN DSGW-210 Home Assistant Gateway Instruction Manual
-
ThingsBoard account at
YOUR_TB_HOST
Product Summary
• Support 5V USB type-c power supply
• Support IEEE802.11ac, IEEE802.11a, IEEE802.11n, IEEE802.11g, IEEE 802.11b Protocol
• Support 4G LTE CAT M1,CAT1
• Support Bluetooth 5.2
• Support ZigBee3.0
• Support Z-WAVE
• One WAN/LAN variable network port
• Support USB2.0
• Backup Li battery
Hardware block diagram

Integration with ThingsBoard
ThingsBoard configuration
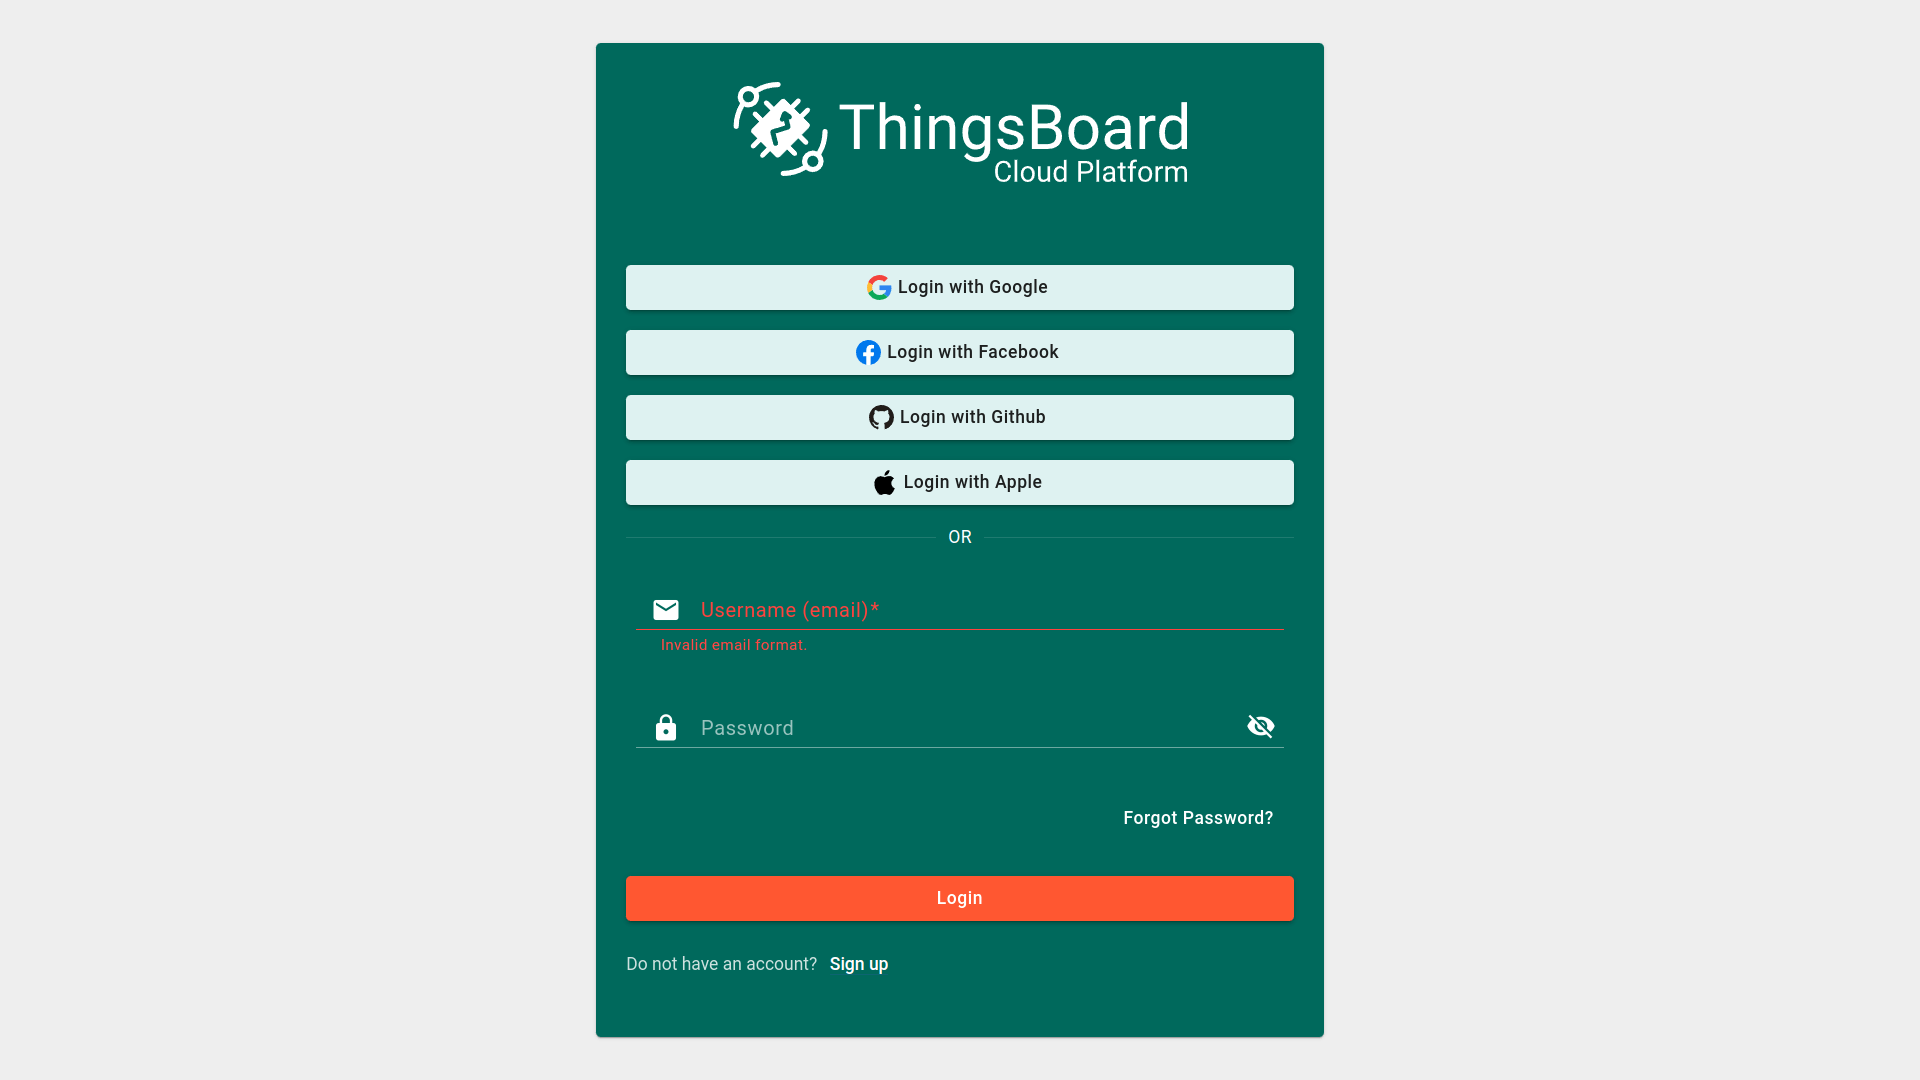
The configuration steps in ThingsBoard are shown below, we will demonstrate on the YOUR_TB_HOST server. You can use ThingsBoard Cloud or install your own platform instance.
-
[Step 1.1] Register and log in ThingsBoard Cloud;
-
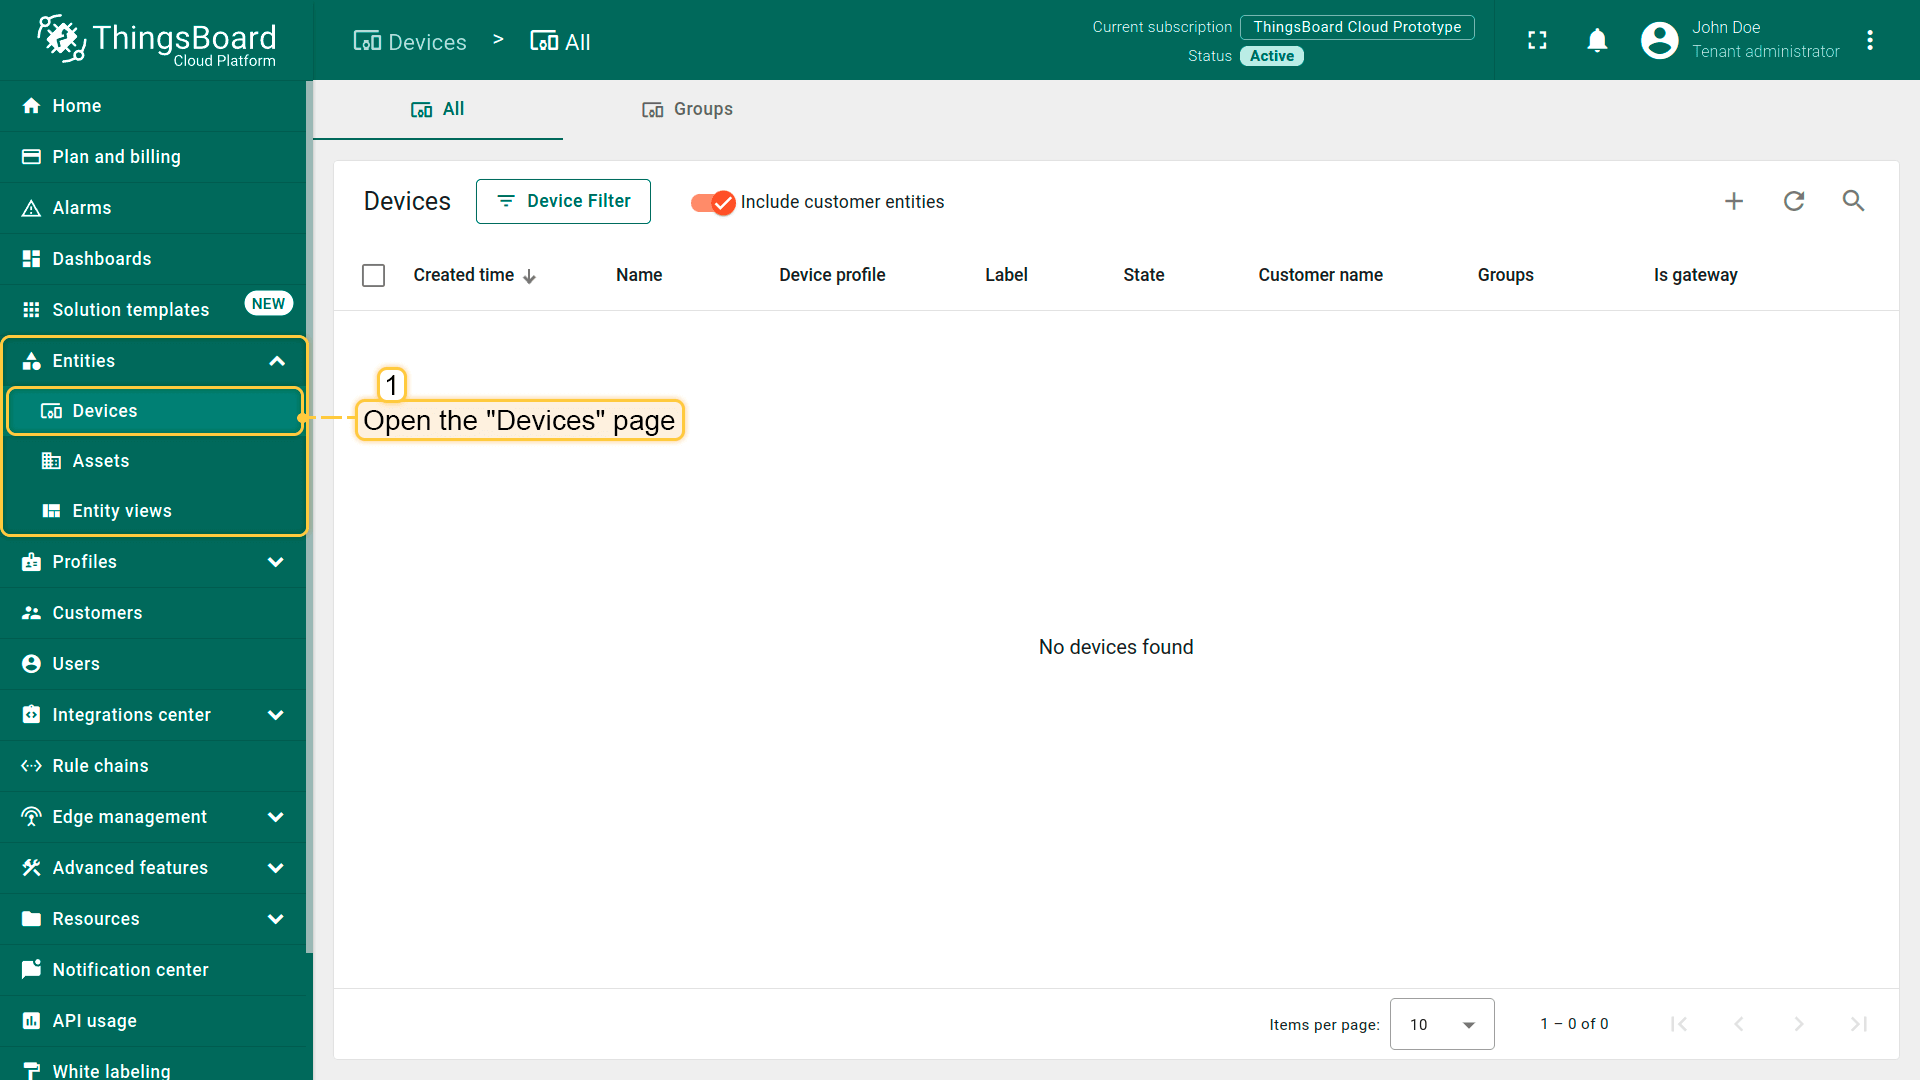
[Step 1.2] Go to the “Devices” page of the “Entities” section;
-
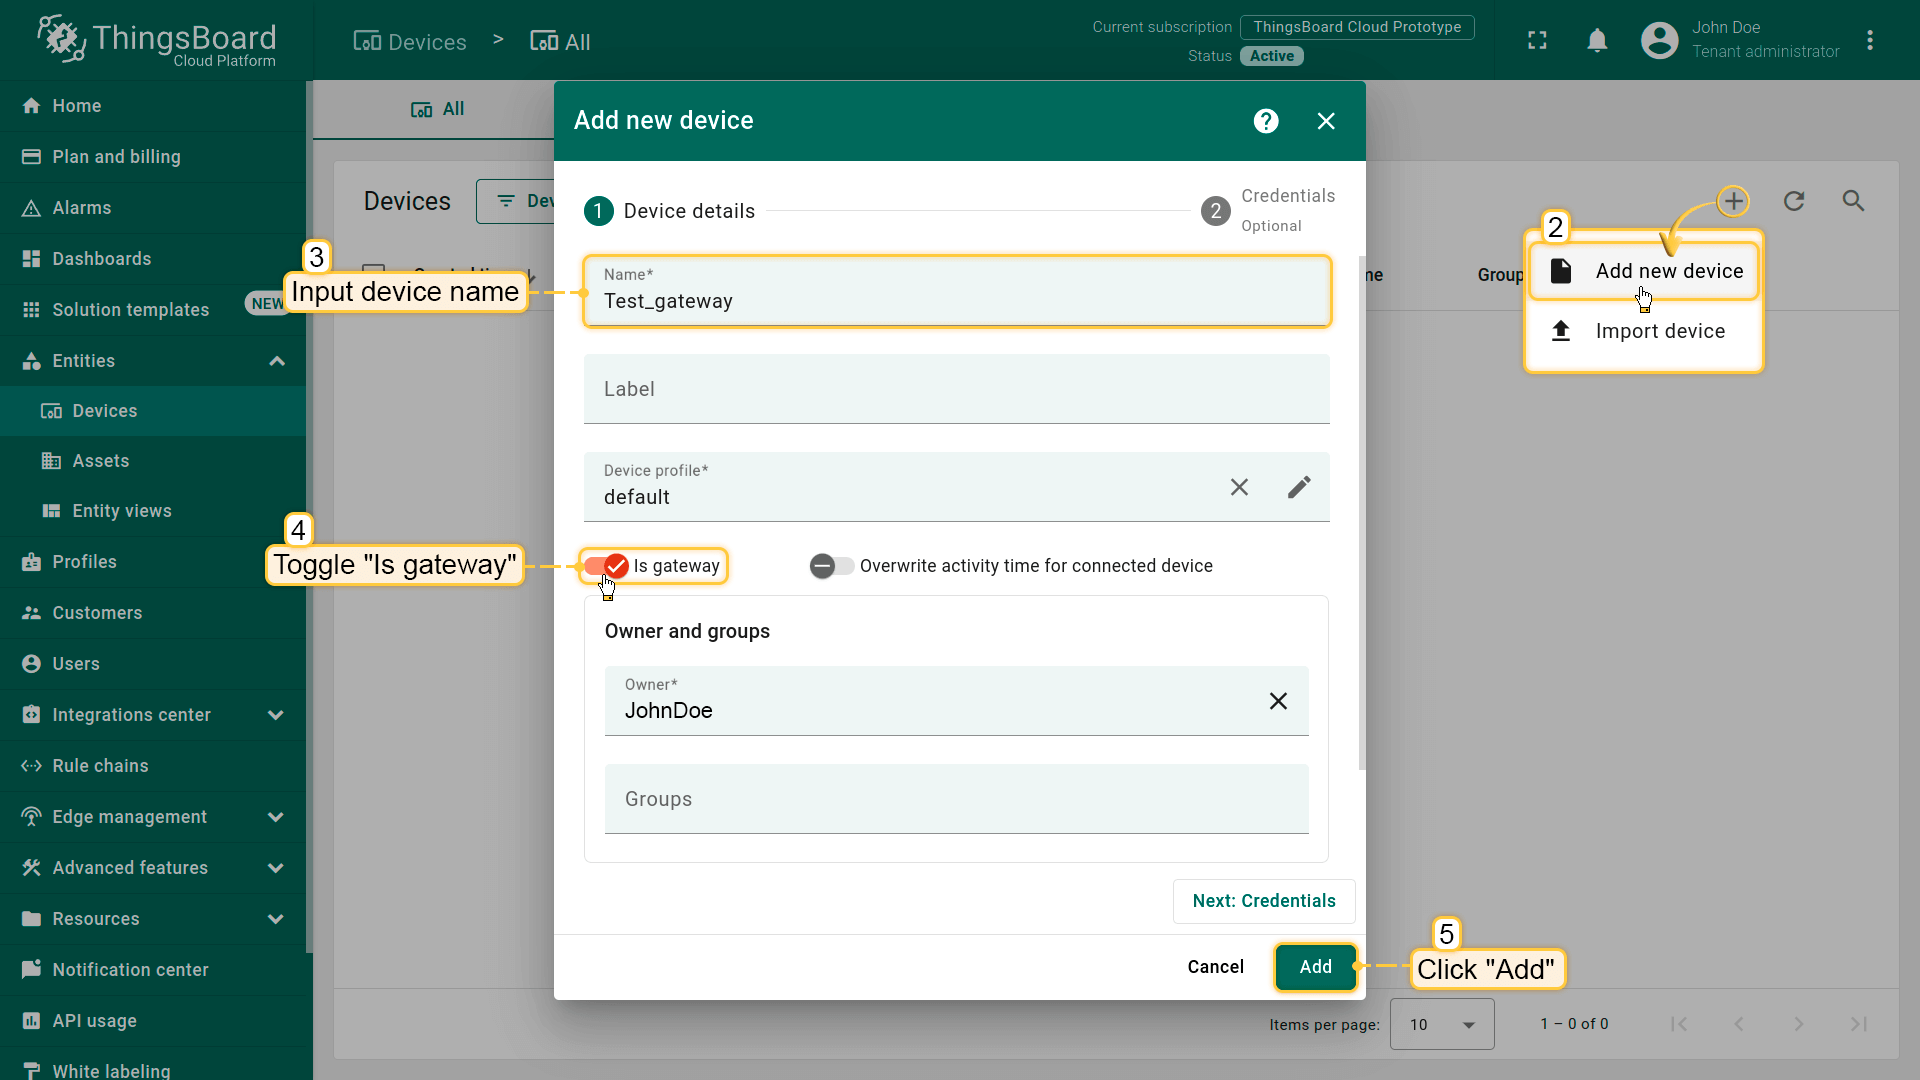
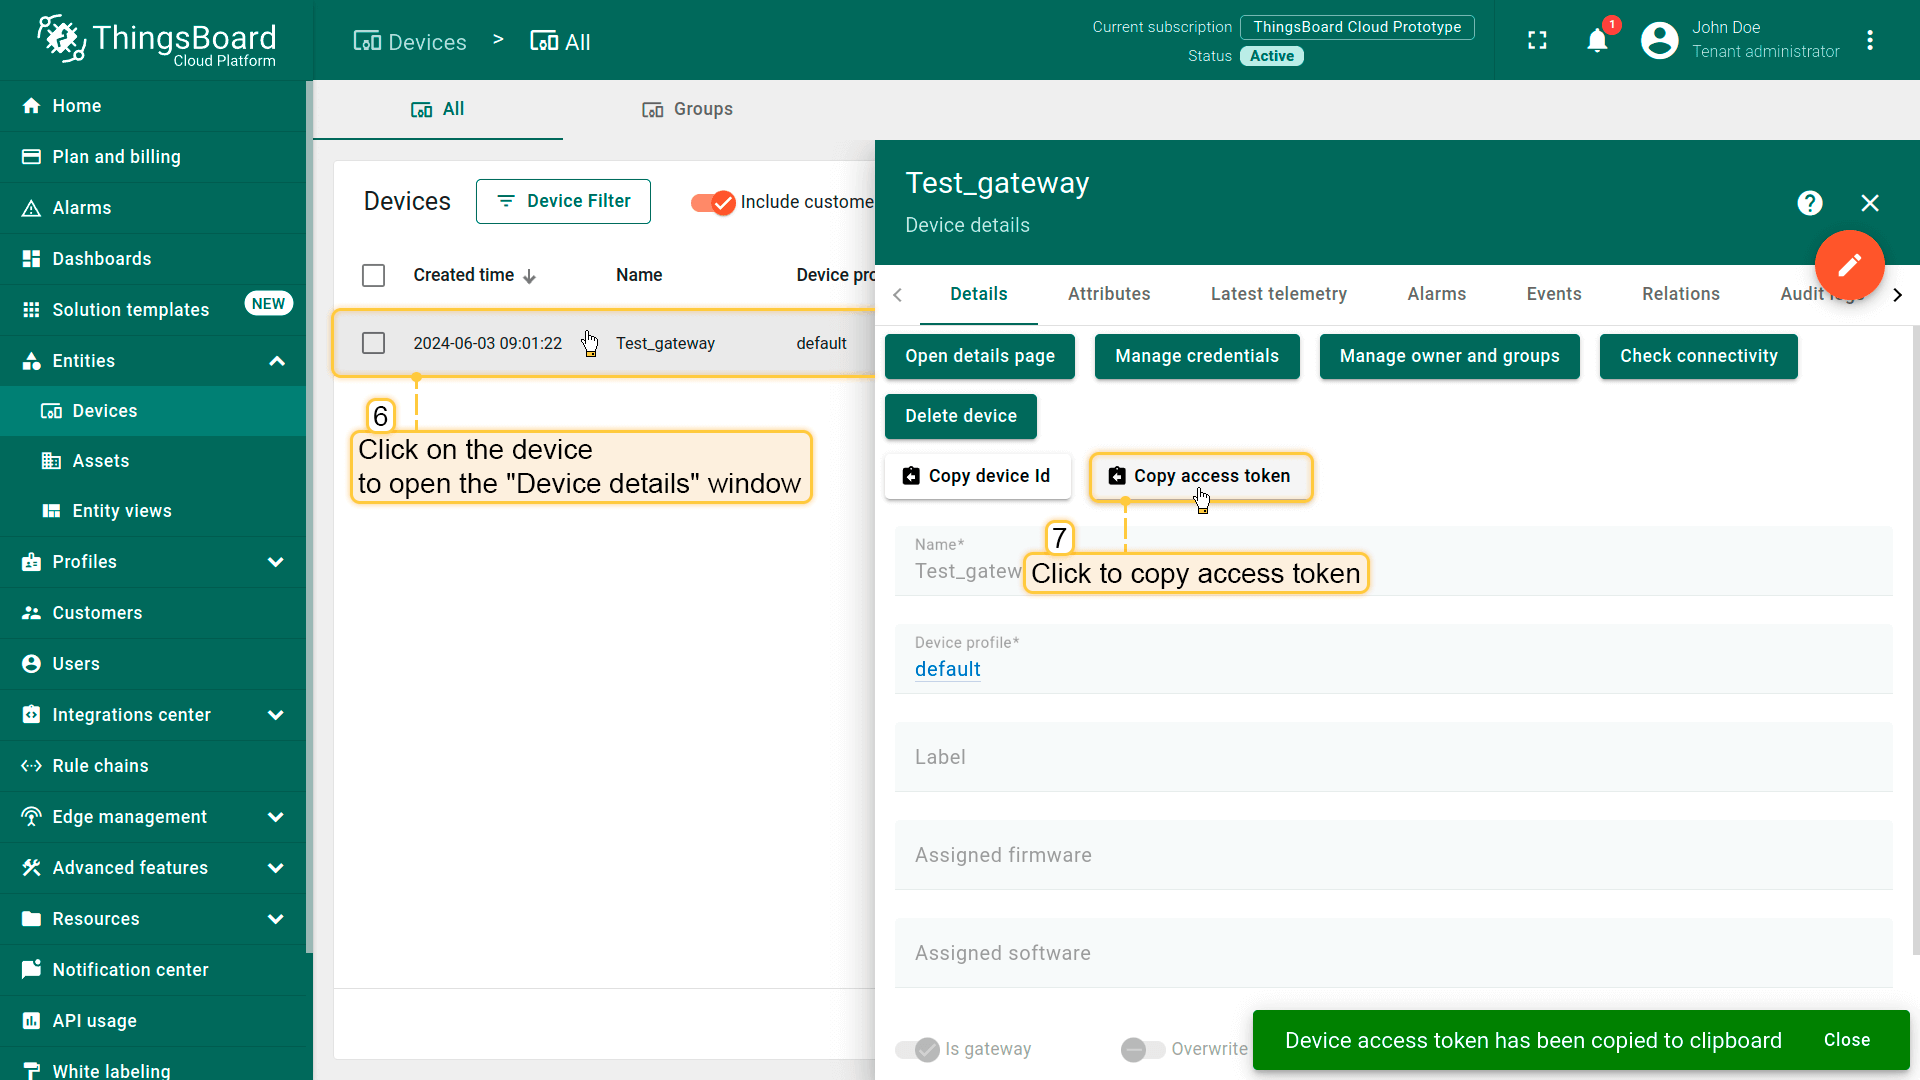
[Step 1.3] Add one more device by pressing the “plus” icon in the top right corner of the table and then select “Add new device” from drop-down menu. Fill in the device name, take the Test_gateway as an example, toggle “Is gateway”, and click “Add”;
-
[Step 1.4] Copy the access token, record it for gateway to connect to the ThingsBoard Cloud.
Device configuration
-
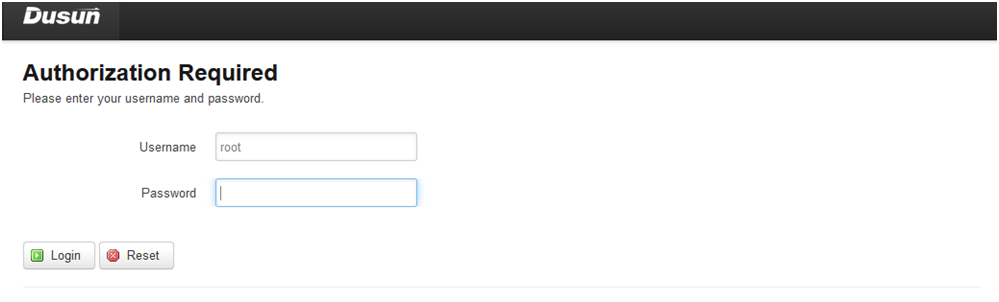
[Step 2.1] Log in to the gateway with the following credentials:
- username: root
- password: root
-
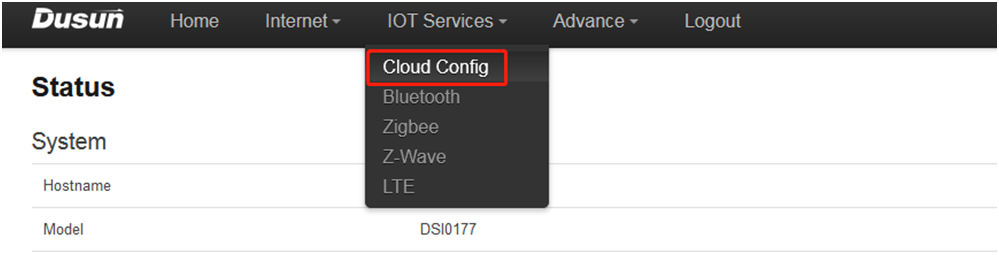
[Step 2.2] Switch to section “IOT Services” -> “Cloud Config”;
-
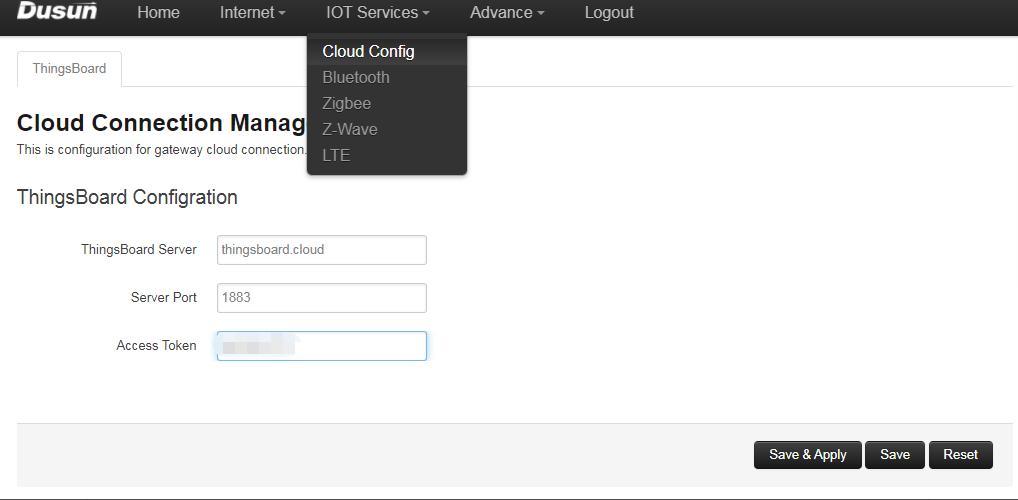
[Step 2.3] Fill in the credentials from the ThingsBoard Cloud:
- ThingsBoard Server: YOUR_TB_HOST
- Server Port: 1883
- Insert the access token obtained in step 1.4
Additional information
-
[Step 3.1] Check connection in the ThingsBoard Cloud;
-
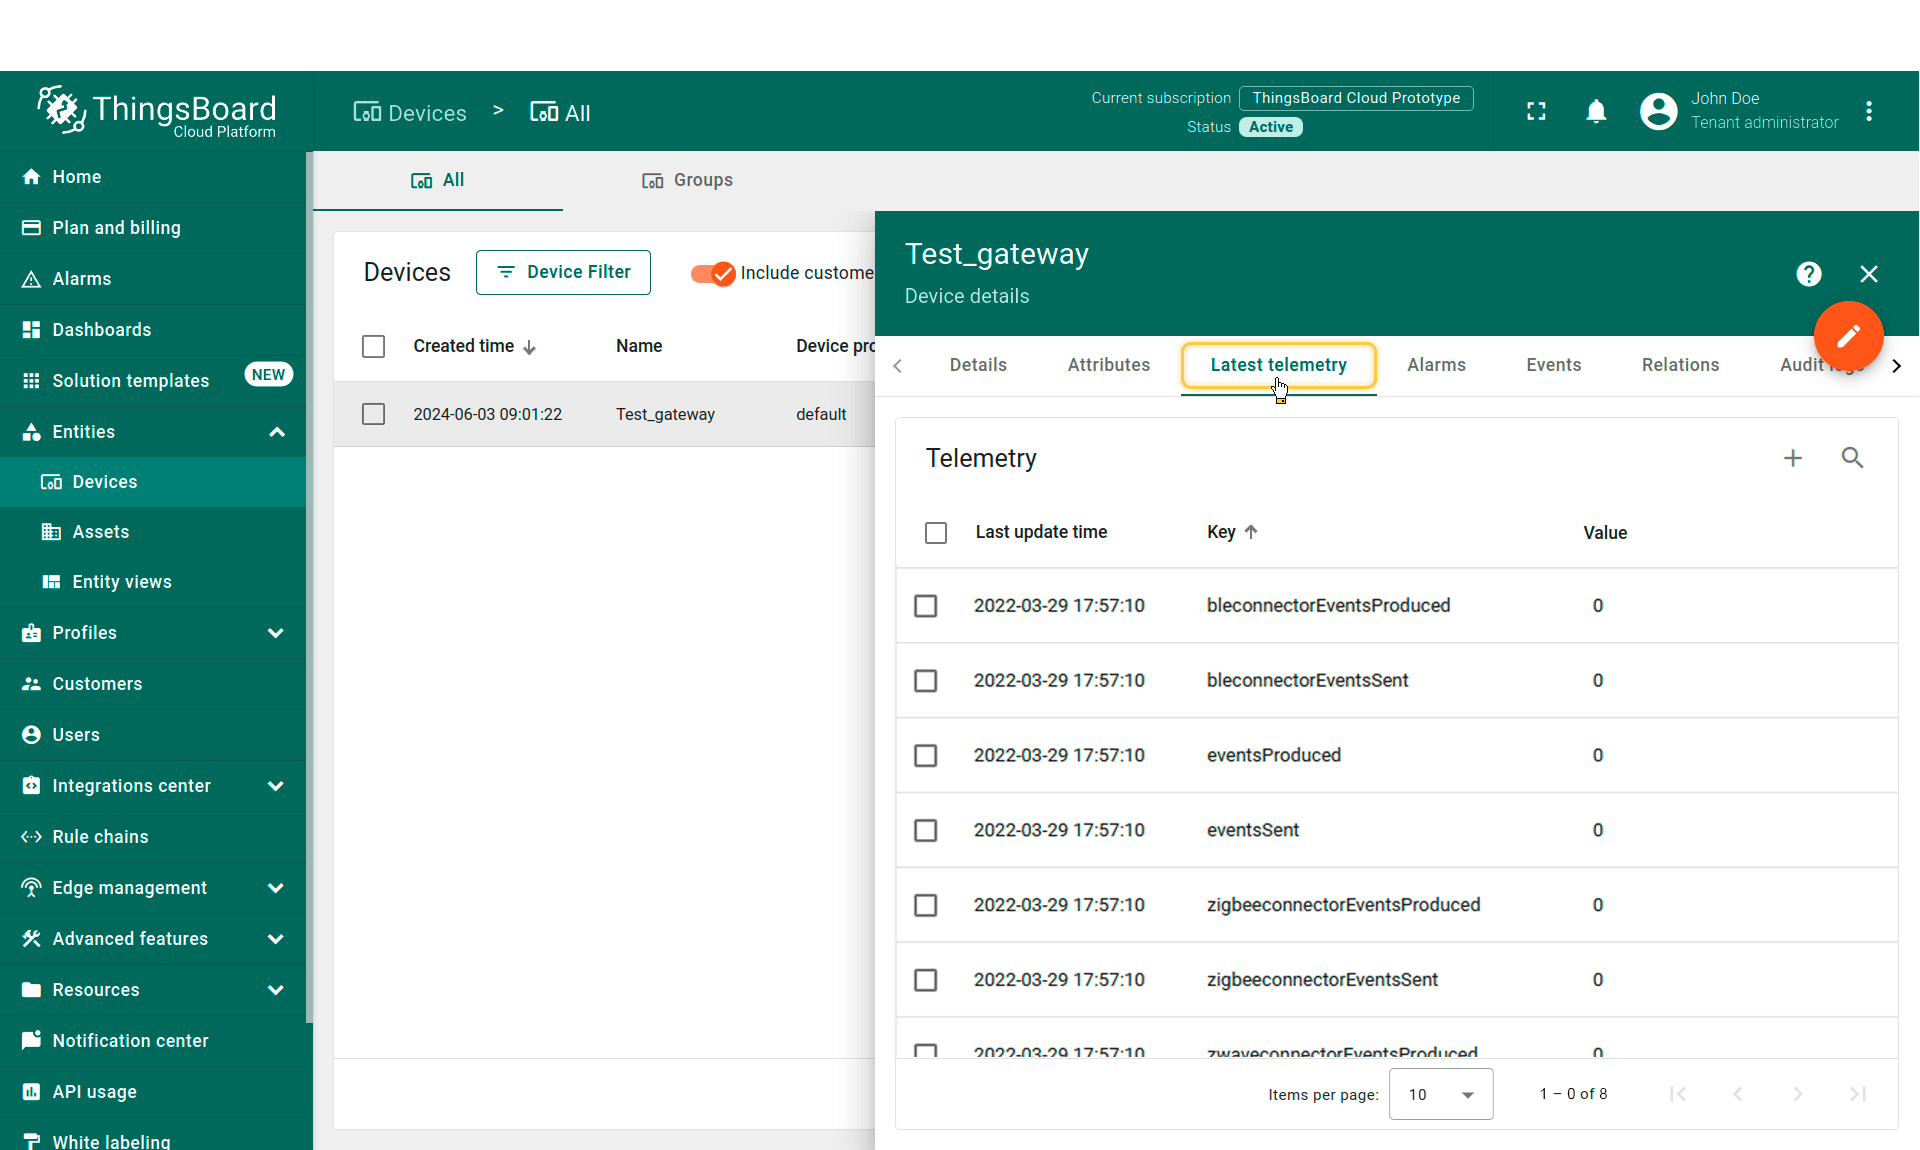
[Step 3.1.1] seen from the latest telemetry of the gateway, the information of connection is received correctly in the server;
-
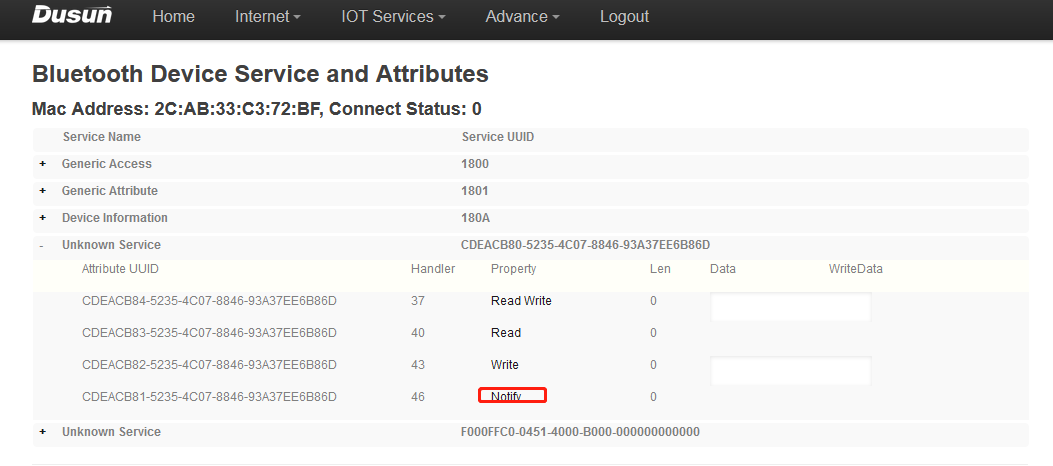
[Step 3.1.2] Active and connect a nearby oximter, notify the data from it;
-
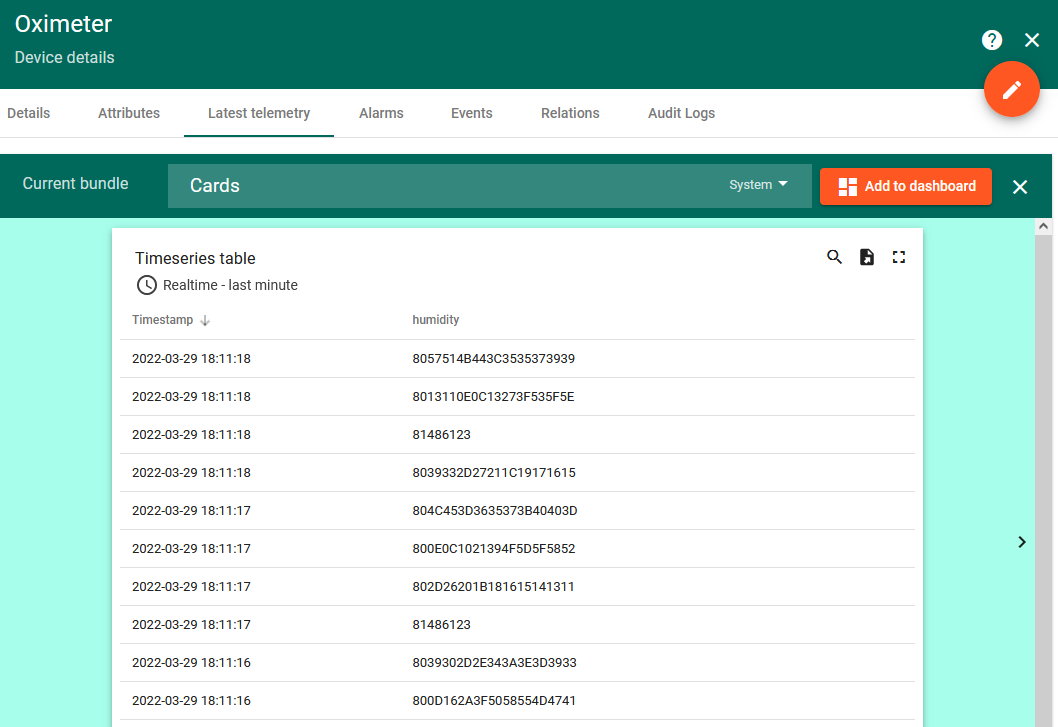
[Step 3.1.3] Device is correctly registered to the ThingsBoard server, and the oximeter data is received in the cloud;
-
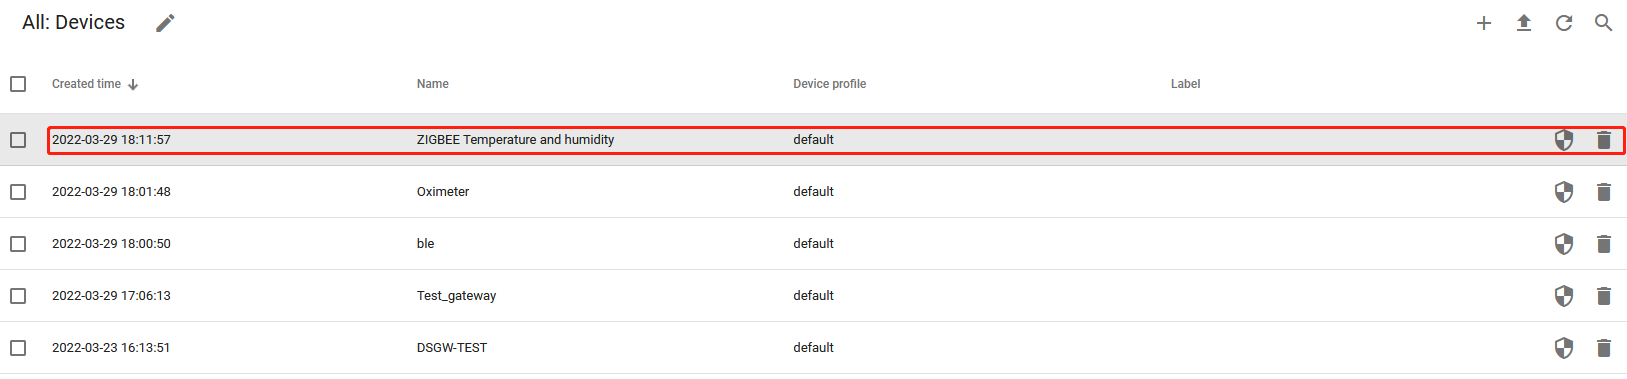
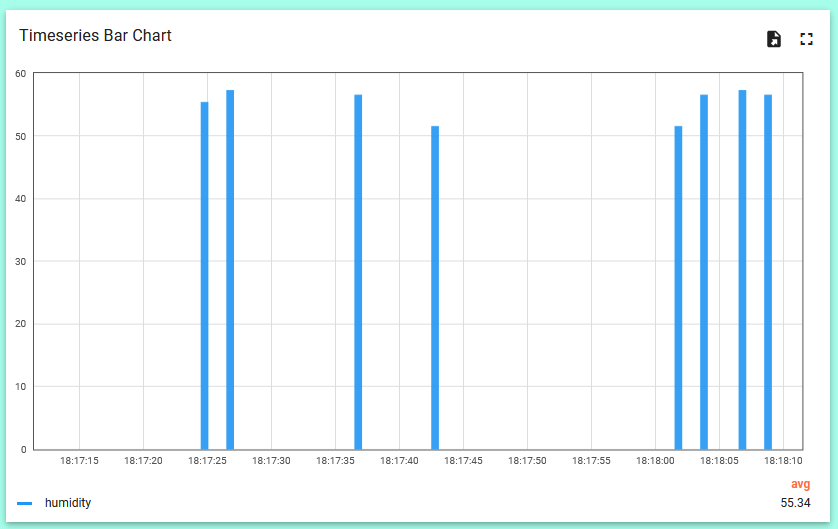
[Step 3.1.4] Test with another Zigbee temperature & humidity sensor;
-
[Step 3.1.5] Manually trigger the sensor to upload data, see the data uploaded in chart.
Troubleshooting
Error indicator
| Led status | Possible cause & solution |
|---|---|
| Blue led keep flashing | Gateway rebooting |
| Red Led flashing | Gateway not connecting to cloud server, trying to reconnect |
| Red Led steady | Internet is down, user need to check the internet connection |
| Yellow led on | Gateway is in low battery, user need to charge the gateway |
Contact Us
For other concerns about the integration, please consult sales@dusunremotes.com