This tutorial will show how to push downlink messages to devices connected via Sigfox integration when user updates device attribute using ThingsBoard UI
Use case
In this tutorial we will get a shared attribute of specified device using SigFox integration. SigFox backend will be simulated using Postman.
Prerequisites
We assume you have completed the following guides and reviewed the articles listed below:
Model definition
We will operate with device that has name “Thermostat A” which will be automatically created in the process of integration work.

Note: a shared attribute of this device has to be created.
Getting started
Creating converters
In order for integration to work, downlink and uplink converters should be created.
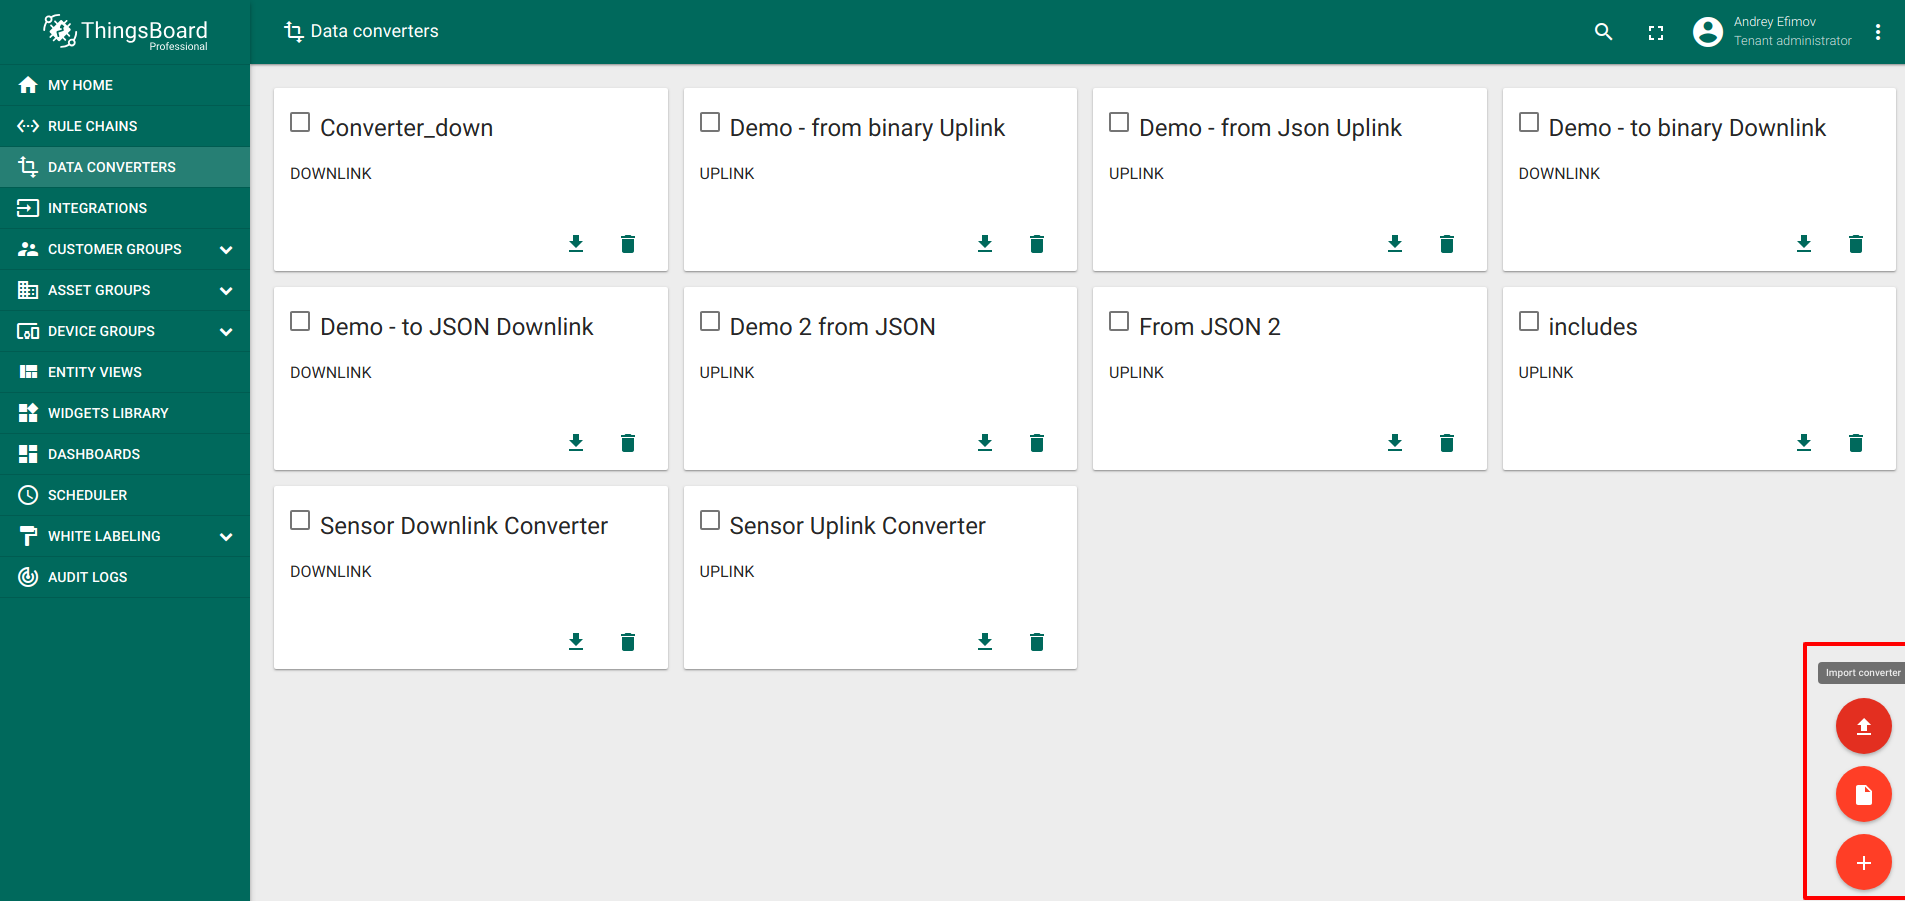
- Go to Data Converters -> Add new Data Converter -> Import Converter

- Import following files: uplink converter, downlink converter.
Uplink converter should look like this:

Downlink converter should look like this:

Creating integration
Integration should look like this:
- Go to Integrations -> Add new Integration

- Fill in the fields with the input data shown in the following table:
| Field | Input Data |
| Name | New SigFox Integration |
| Type | SigFox |
| Debug mode | False |
| Uplink data converter | New uplink SigFox converter |
| Downlink data converter | New downlink SigFox converter |
| Base URl | http://thingsboard.cloud |
| Enable secrurity | False |

Message flow
In this section, we explain the purpose of each node in this tutorial. There will be one rule chain involved:
- Root rule chain - rule chain that saves telemetry from devices into the database, and redirects the attribute updates to To SigFox integration chain.
- To SigFox integration - rule chain that sends all incoming data which has a specified key to integration.
The following screenshots show how the above Rule Chains should look like:
- To SigFox integration:

- Root Rule Chain:

Download and import the attached json file for the To SigFox integration rule chain.
Create Node C as shown on the image above in the root rule chain to forward attribute update messages to the imported rule chain.
The following section shows you how to create this rule chain from scratch.
Create new Rule Chain (To SigFox integration)
Go to Rule Chains -> Add new Rule Chain
Configuration:
- Name : To SigFox integration

New Rule Chain is created. Press Edit button and configure Chain.
Adding the required nodes
In this rule chain, you will create 2 nodes as it will be explained in the following sections:
Node A: Check existence filter
- Add the Check existence filter node and connect it to the Input node with a relation type Success. This rule node checks if incoming updated attribute is “status” or not.

- Fill in the fields with the input data shown in the following table:
| Field | Input Data |
| Name | Check status field |
| Message data | status |
Node B: Integration downlink
- Add the Integration downlink node and connect it to the Check existence filter node with a relation type Success. This rule node pushes message to specified integration.

- Fill in the fields with the input data shown in the following table:
| Field | Input Data |
| Name | Push to integration |
| Integration | New SigFox Integration |
Modify Root Rule Chain
The initial root Rule Chain has been modified by adding the following node:
Node С: Rule Chain
-
Add the Rule Chain node and connect it to the Message type switch node with a relation type Update attributes. This node forwards incoming Message to specified Rule Chain To SigFox integration.
-
Select the Rule Chain field: To SigFox integration.

The following screenshot shows how the final Root Rule Chain should look like:

Conclusion
Now when “status” attribute is updated, integration will send downlink message.
Next steps
-
Getting started guides - These guides provide quick overview of main ThingsBoard features. Designed to be completed in 15-30 minutes.
-
Installation guides - Learn how to set up ThingsBoard on various available operating systems.
-
Data visualization - These guides contain instructions on how to configure complex ThingsBoard dashboards.
-
Data processing & actions - Learn how to use ThingsBoard Rule Engine.
-
IoT Data analytics - Learn how to use rule engine to perform basic analytics tasks.
-
Hardware samples - Learn how to connect various hardware platforms to ThingsBoard.
-
Advanced features - Learn about advanced ThingsBoard features.