Only TBMQ Professional Edition supports Image gallery feature.
The Image Gallery serves as a centralized repository for managing images in the TBMQ application. It provides the source for logo and favicon images used in the White labeling feature on the application and login pages.
Add image
Add your images to the Image gallery serves in image file format (PNG, JPEG, GIF, etc.) or JSON file format.
Upload image
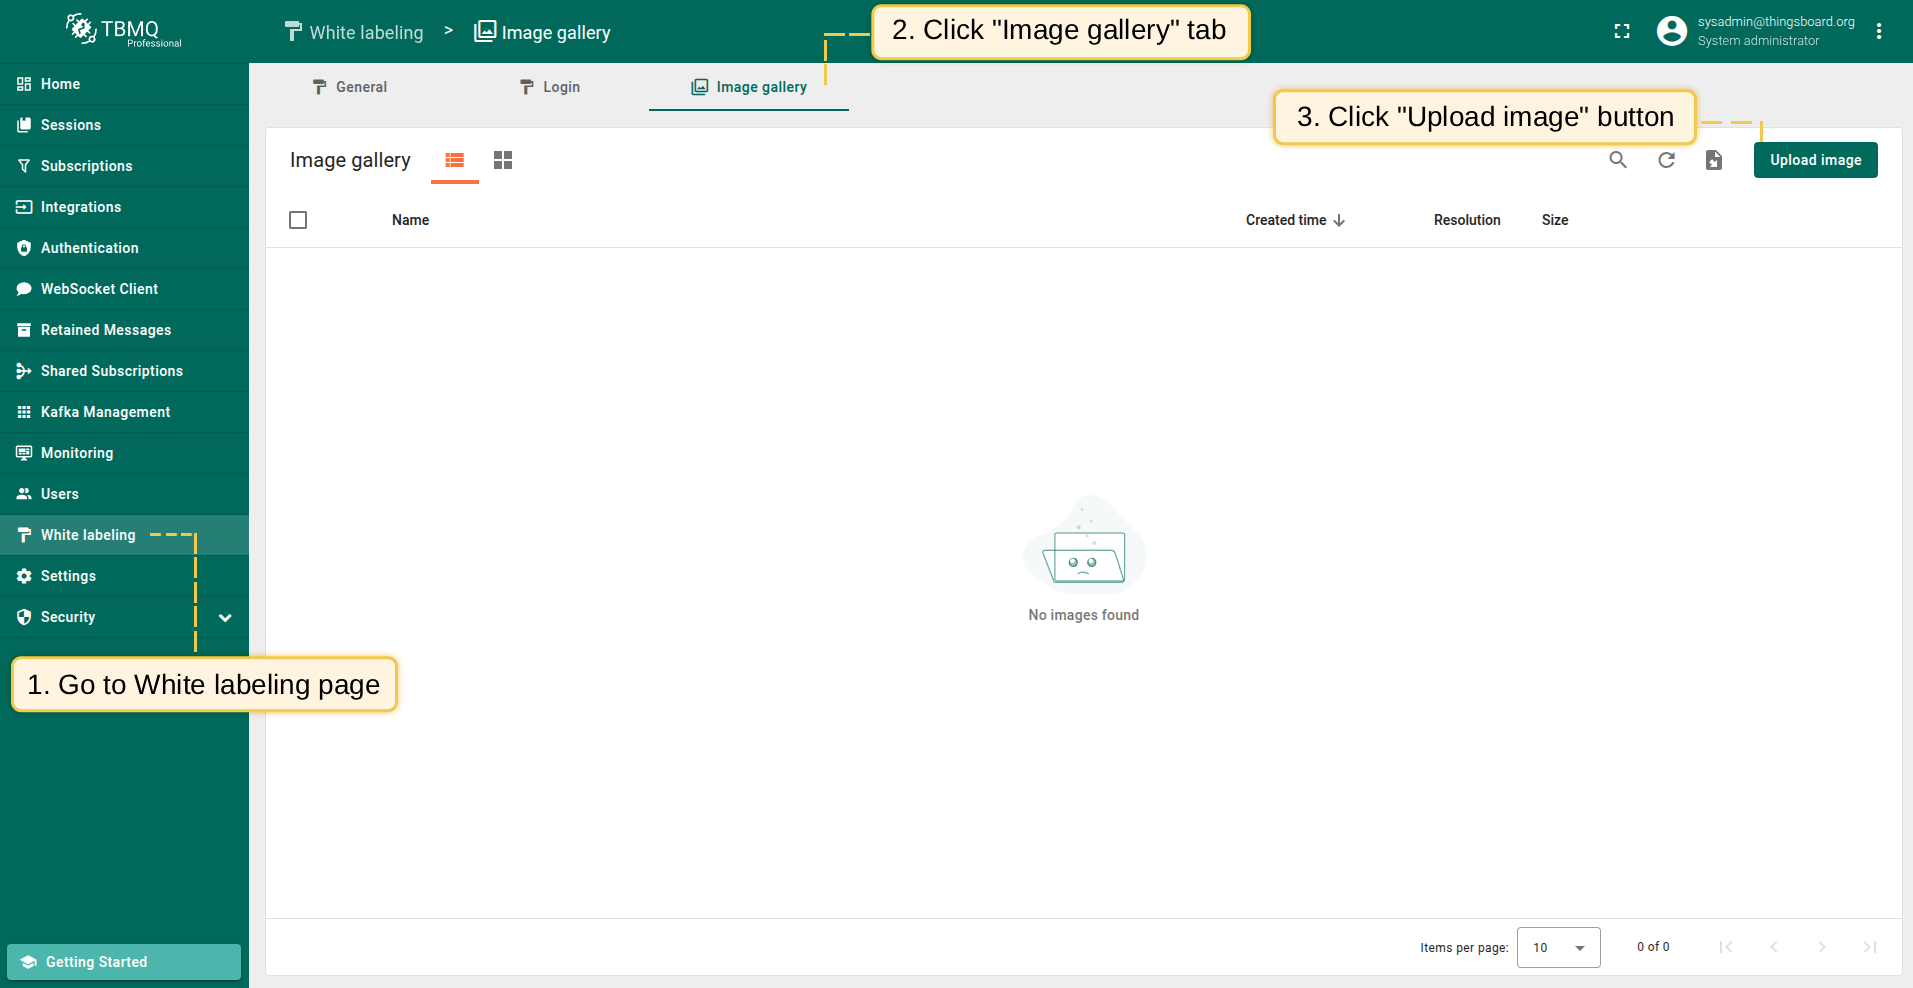
To upload new image in image file format, follow these steps:
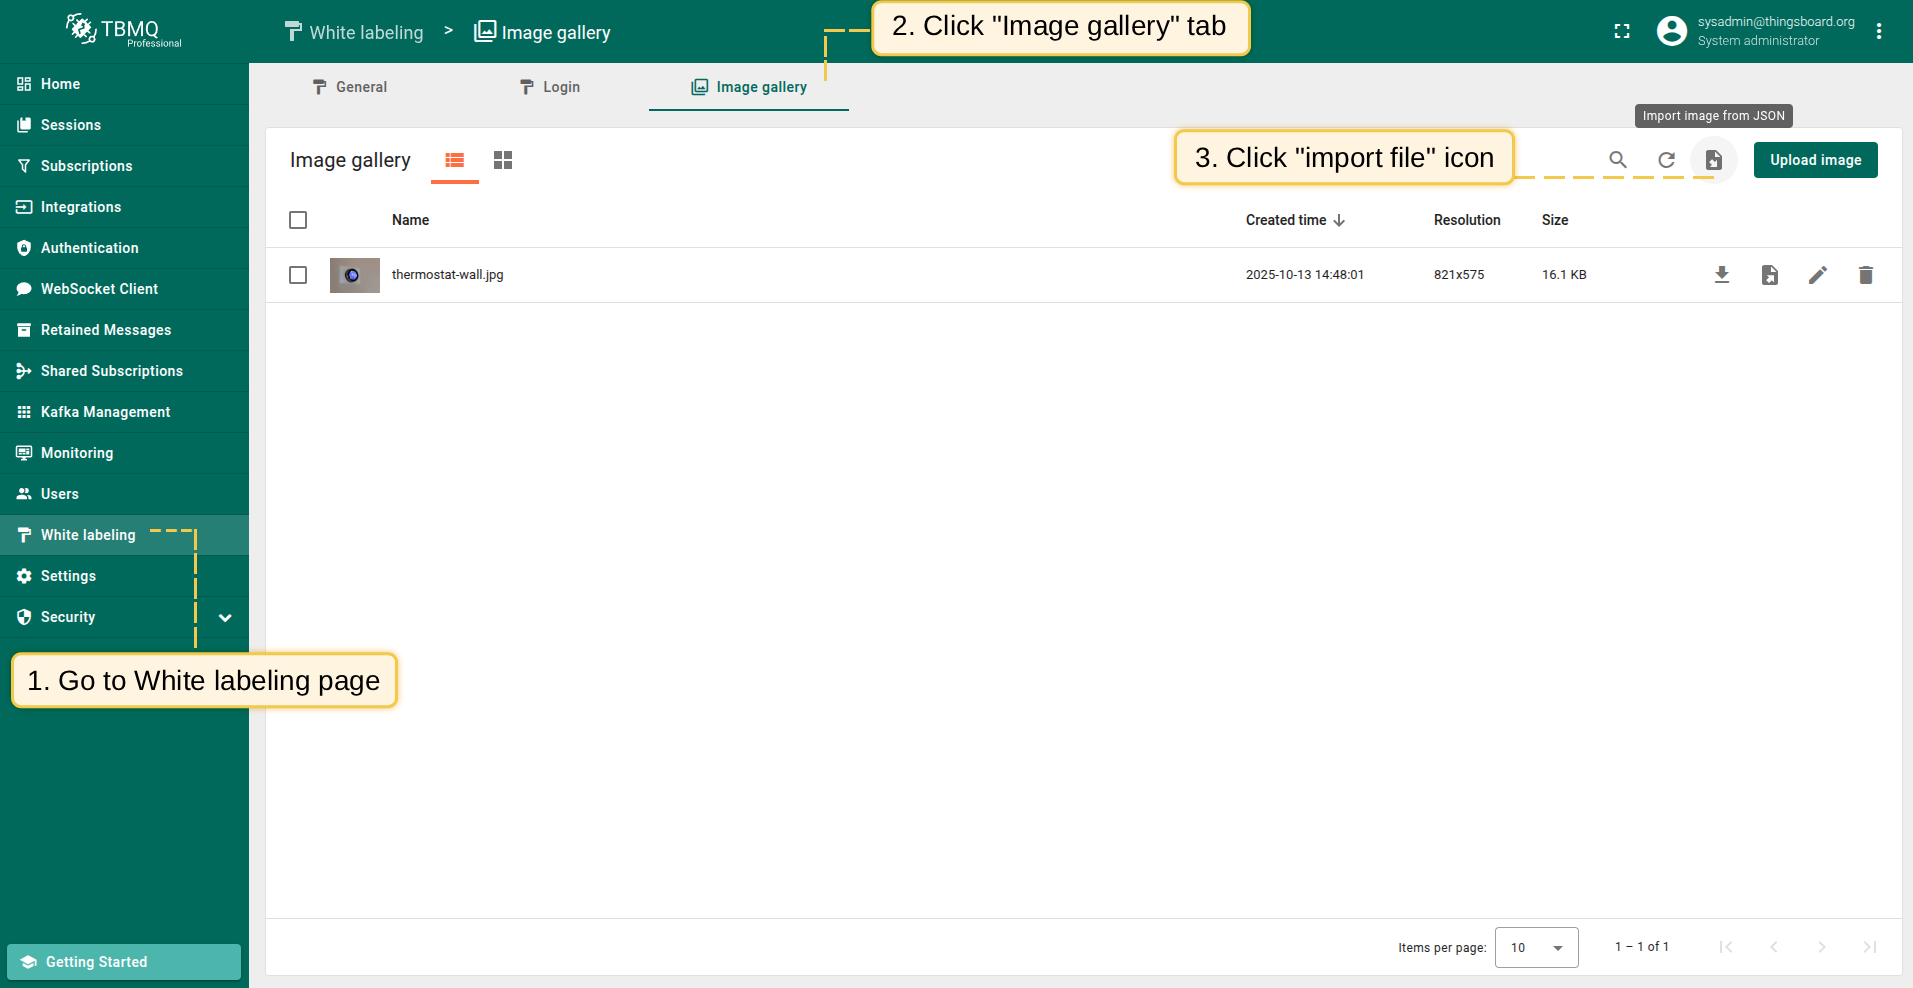
- Go to the "White labeling" page and click on the "Image gallery" tab. Then, click the “Upload image” button in the top right corner of the screen;
- Select an image or simply drag it to the "Upload image" window and click "Upload";
- The image has been uploaded.

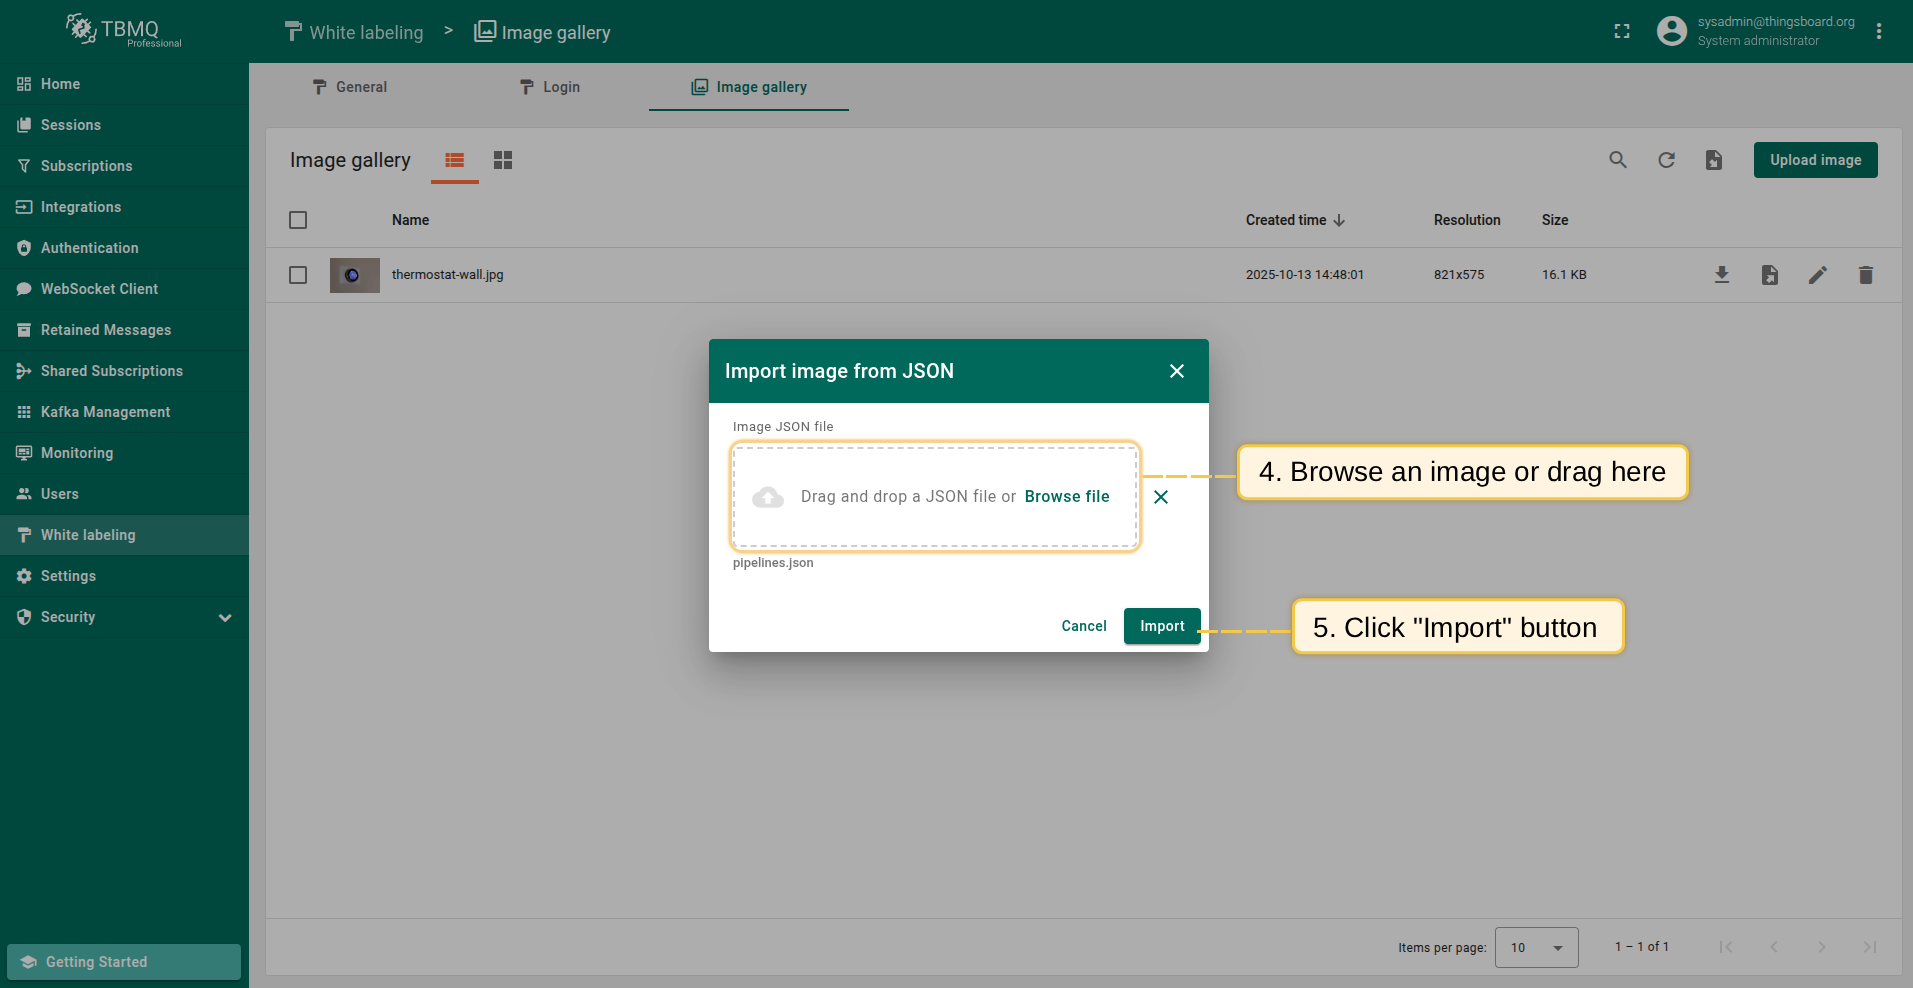
Import image from JSON
To import your images in JSON file format, follow these steps:
- Go to the "White labeling" page and click on the "Image gallery" tab. Then, click the "Import image" icon in the top right corner of the screen;
- In the "Import image" window, upload a JSON image file and click "Import";
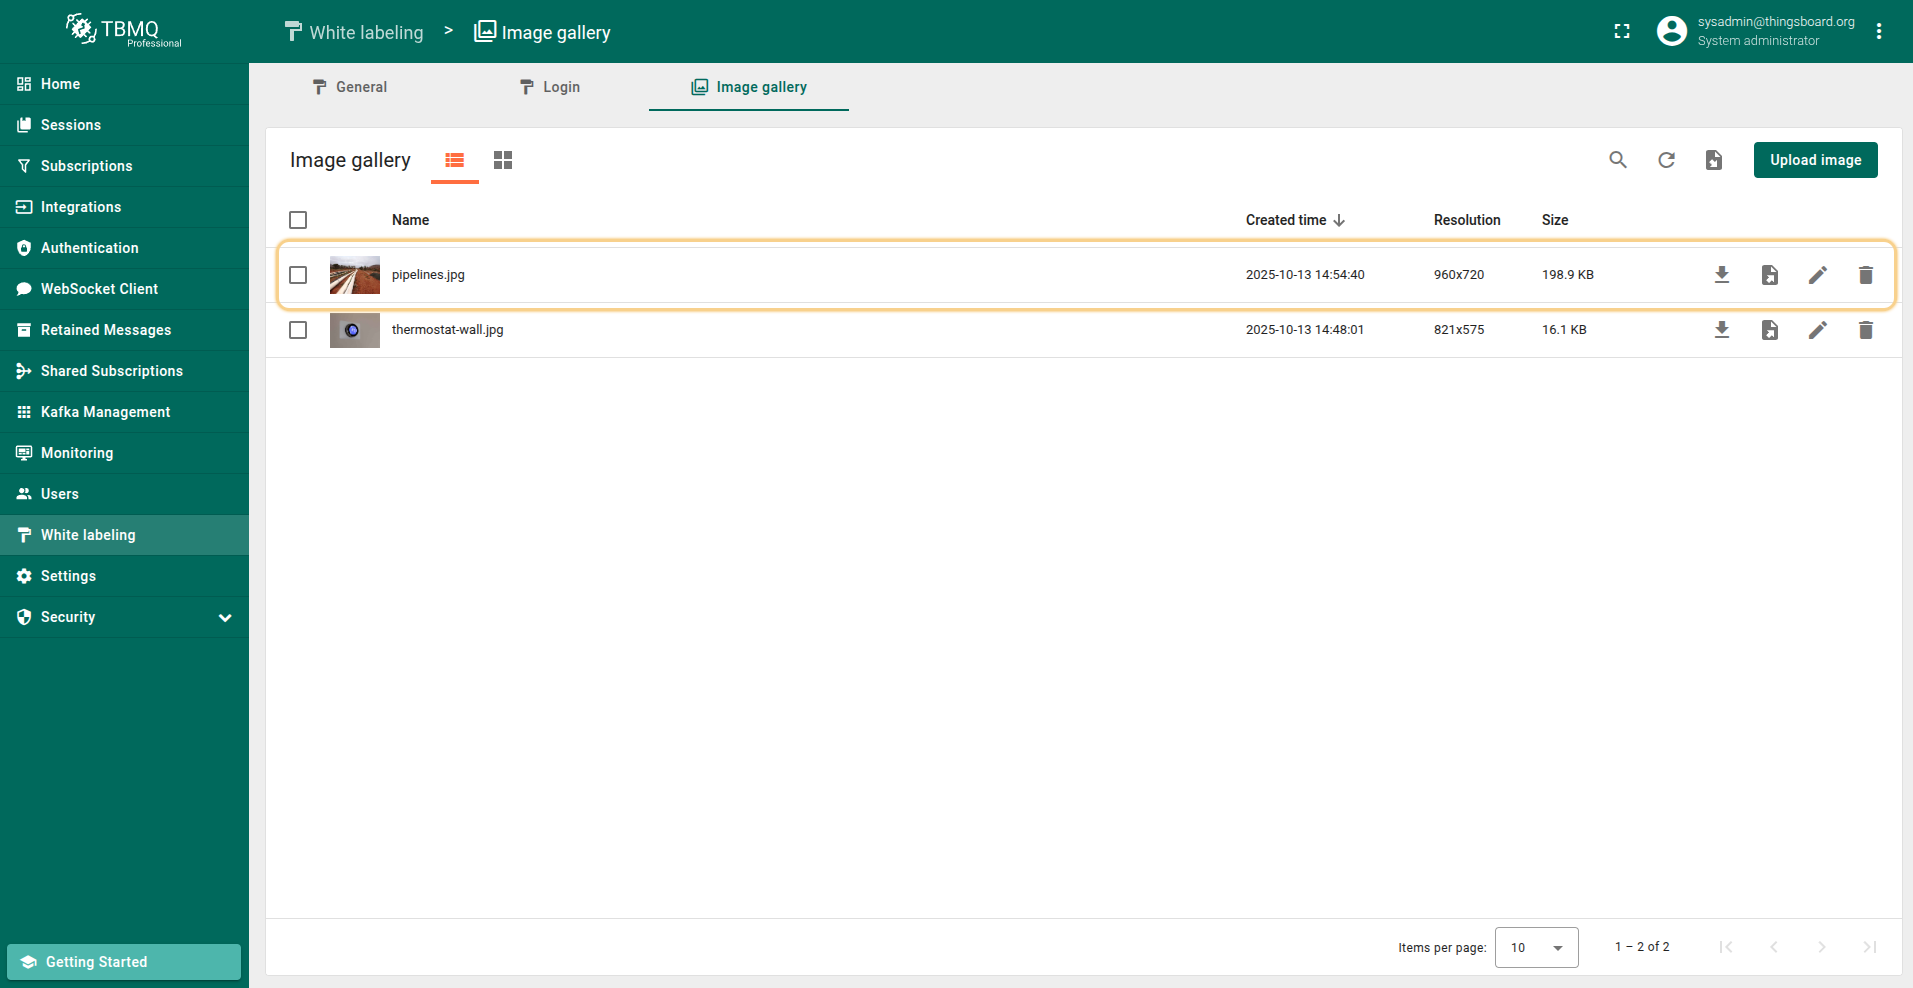
- The image has been imported.
Change the image view mode
You can view images in one of two modes: list or grid. To change the image viewing mode, simply select the mode that suits you in the top left corner of the Image gallery window.
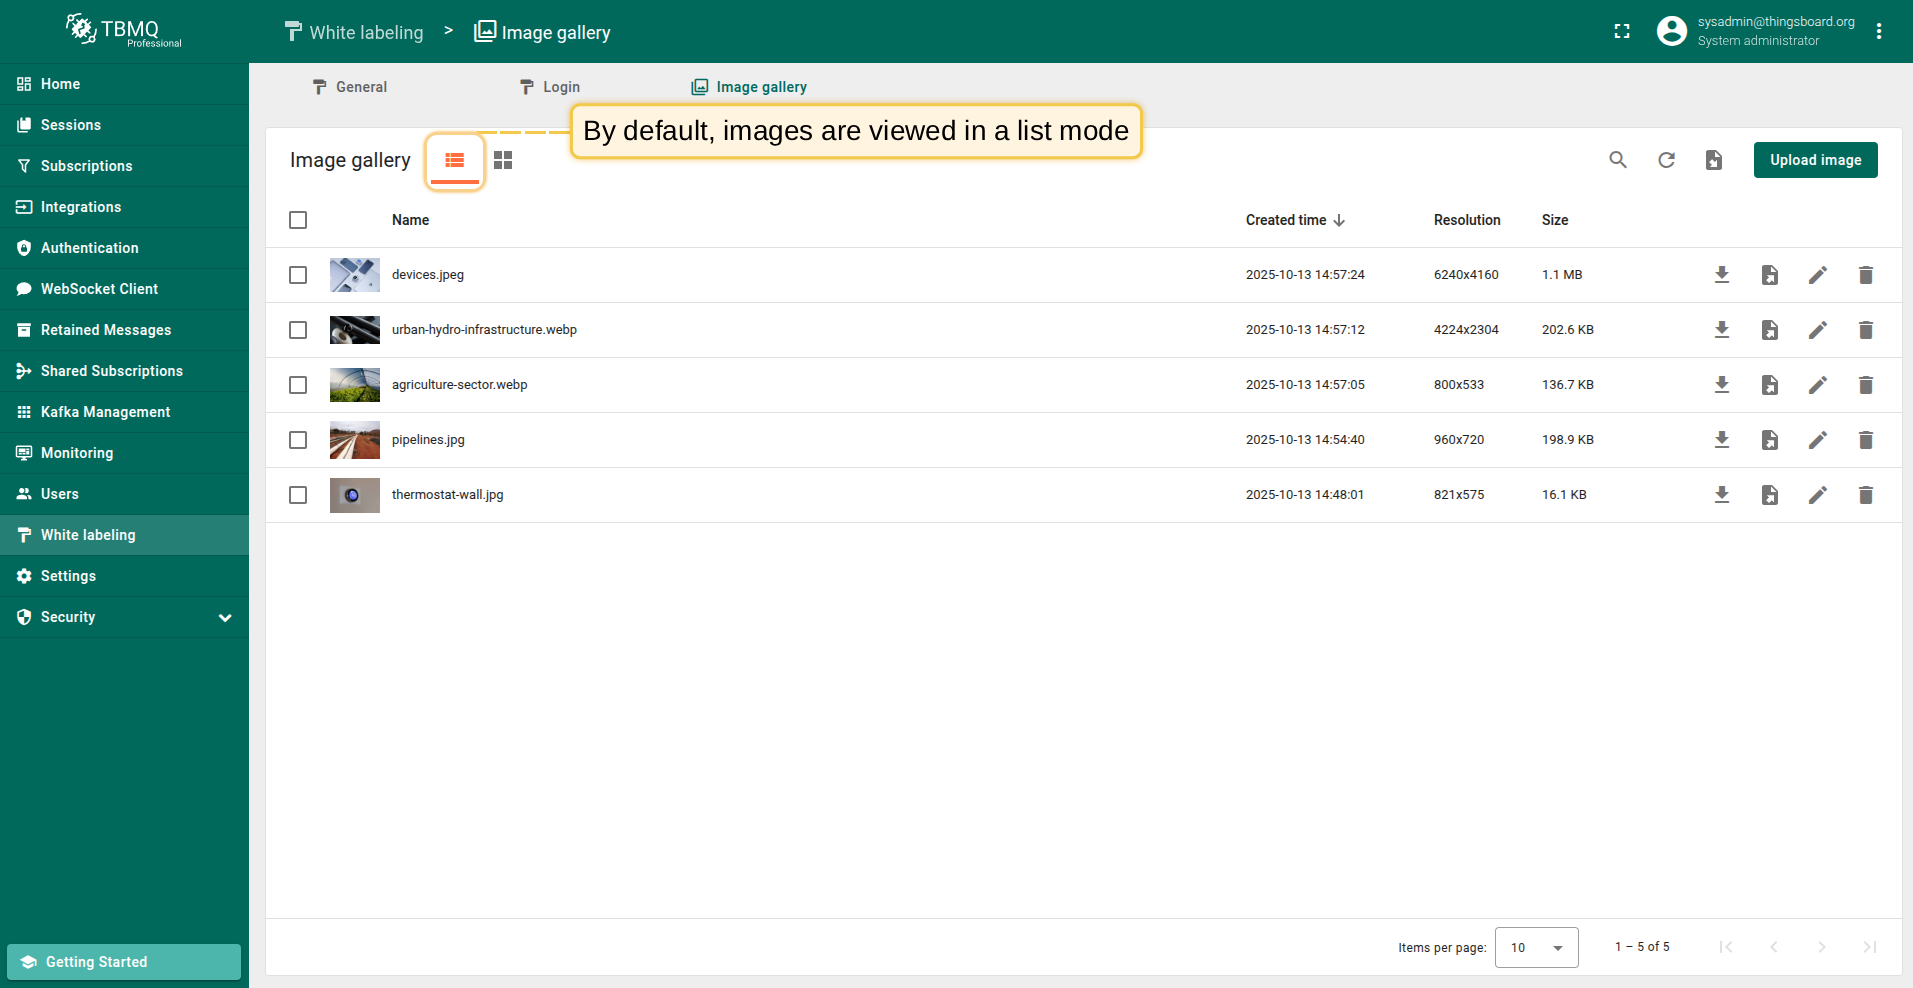
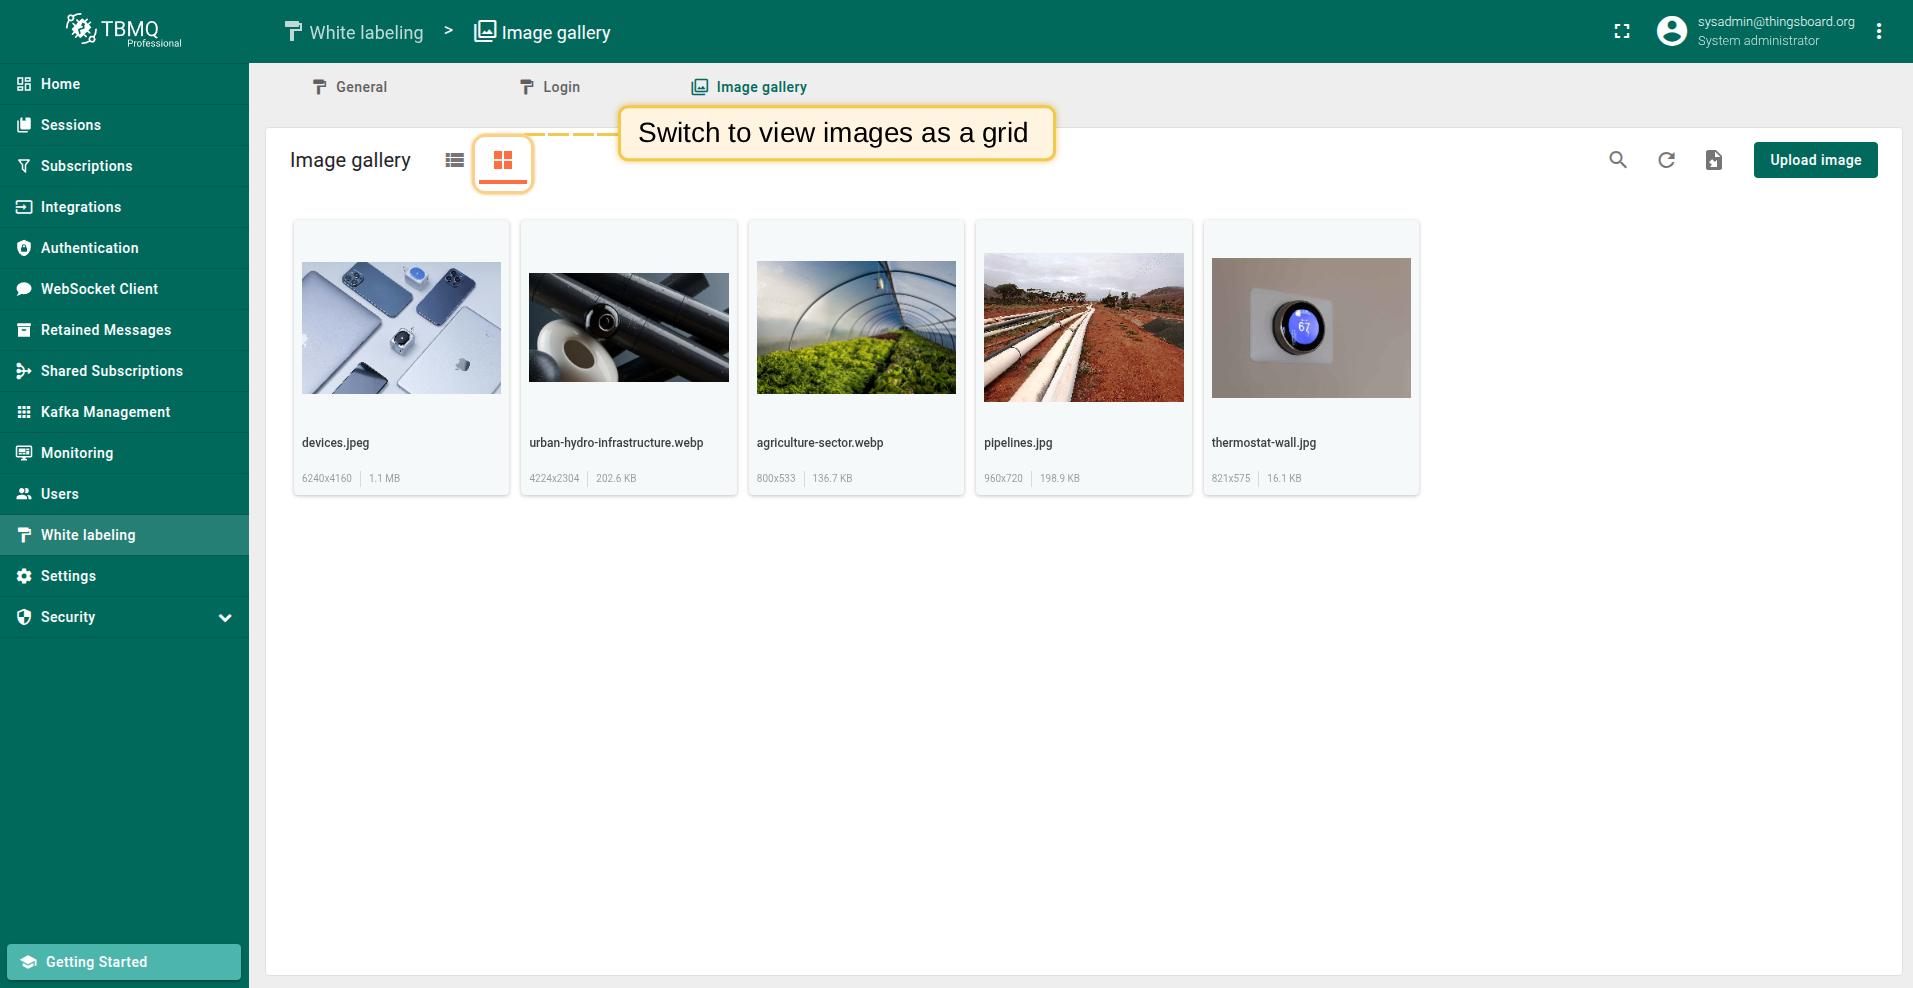
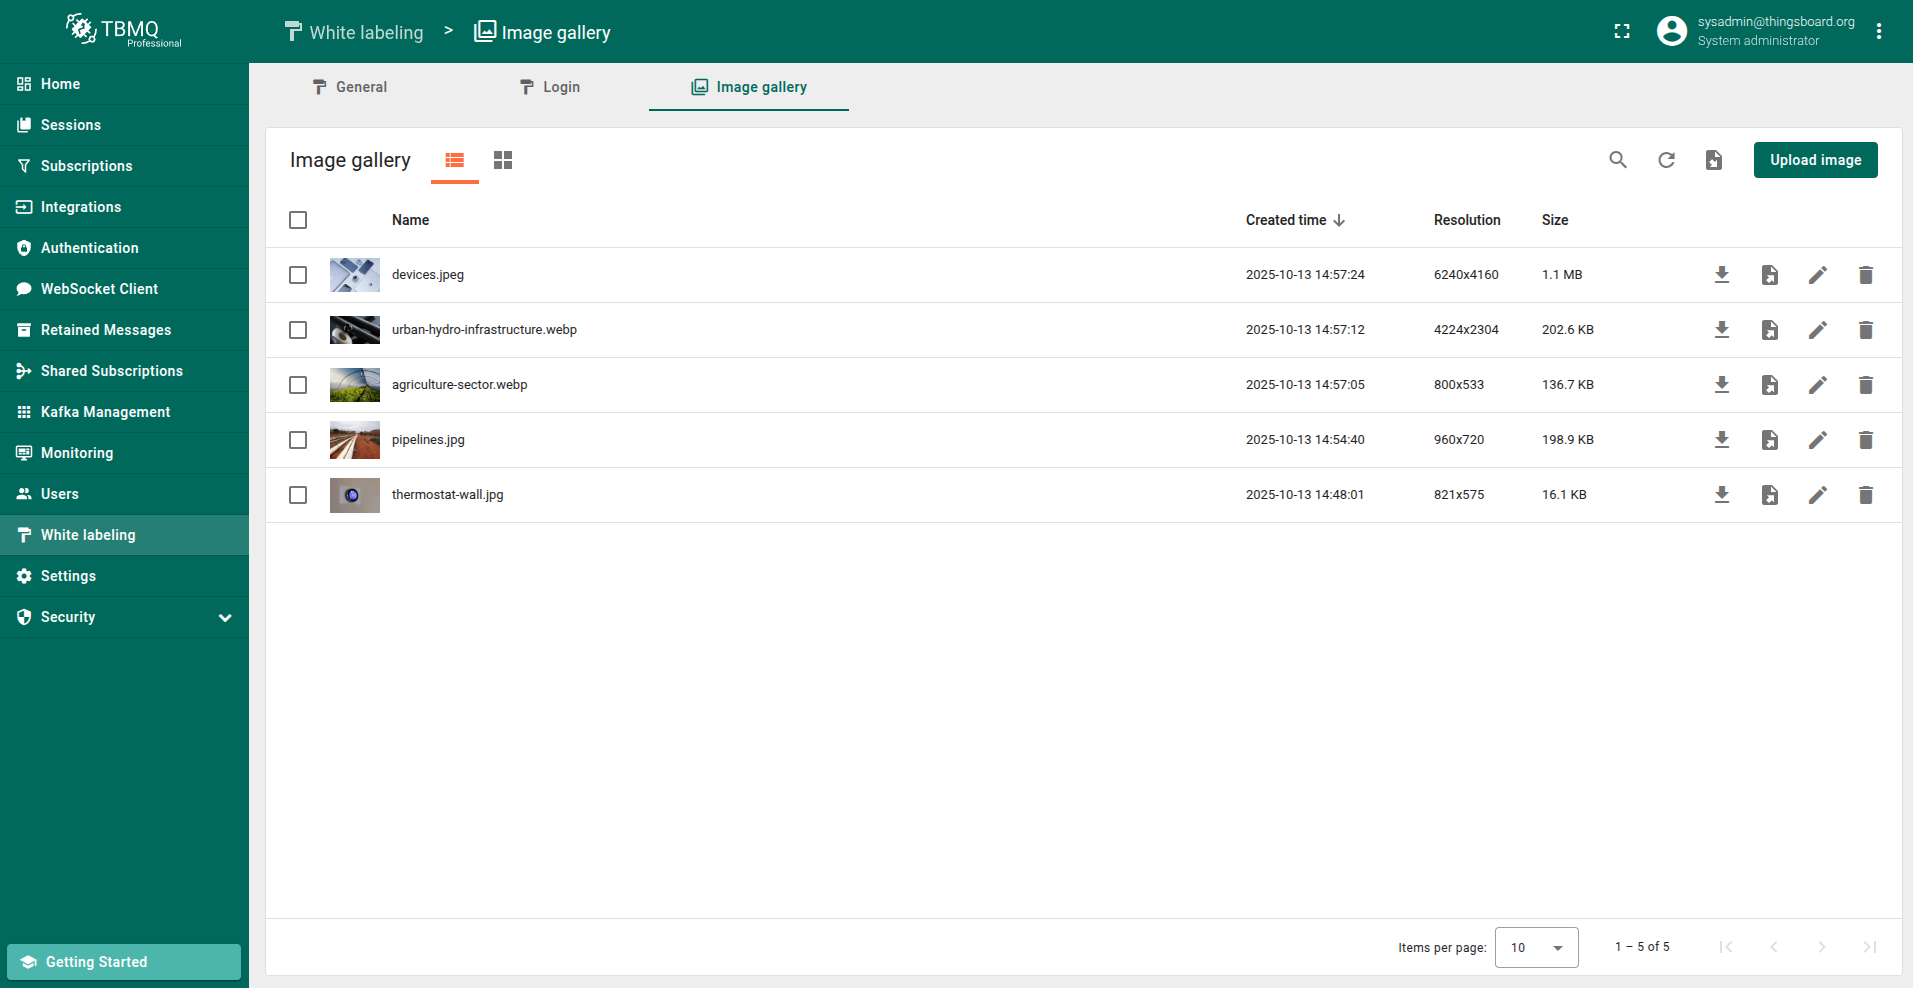
Image operations
You can download, export to JSON, edit, and delete image using the corresponding icon opposite the image’s name. Let’s take a closer look at each operation.
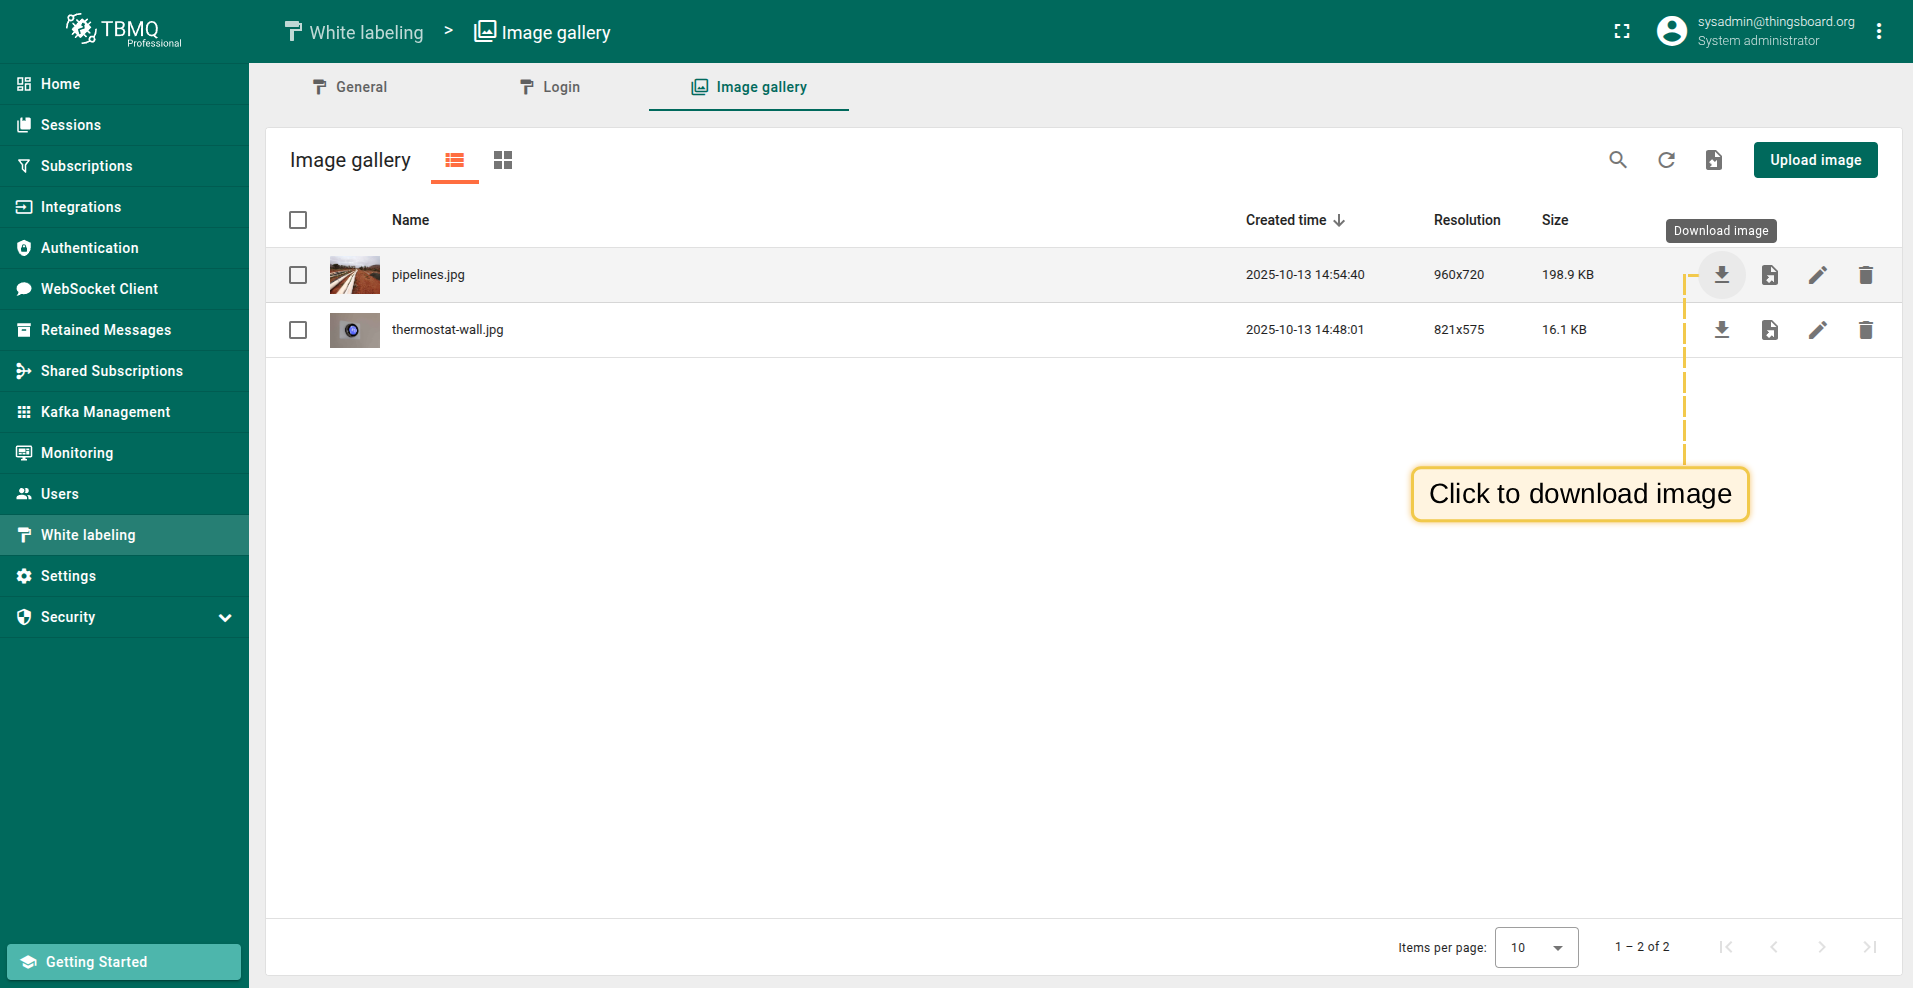
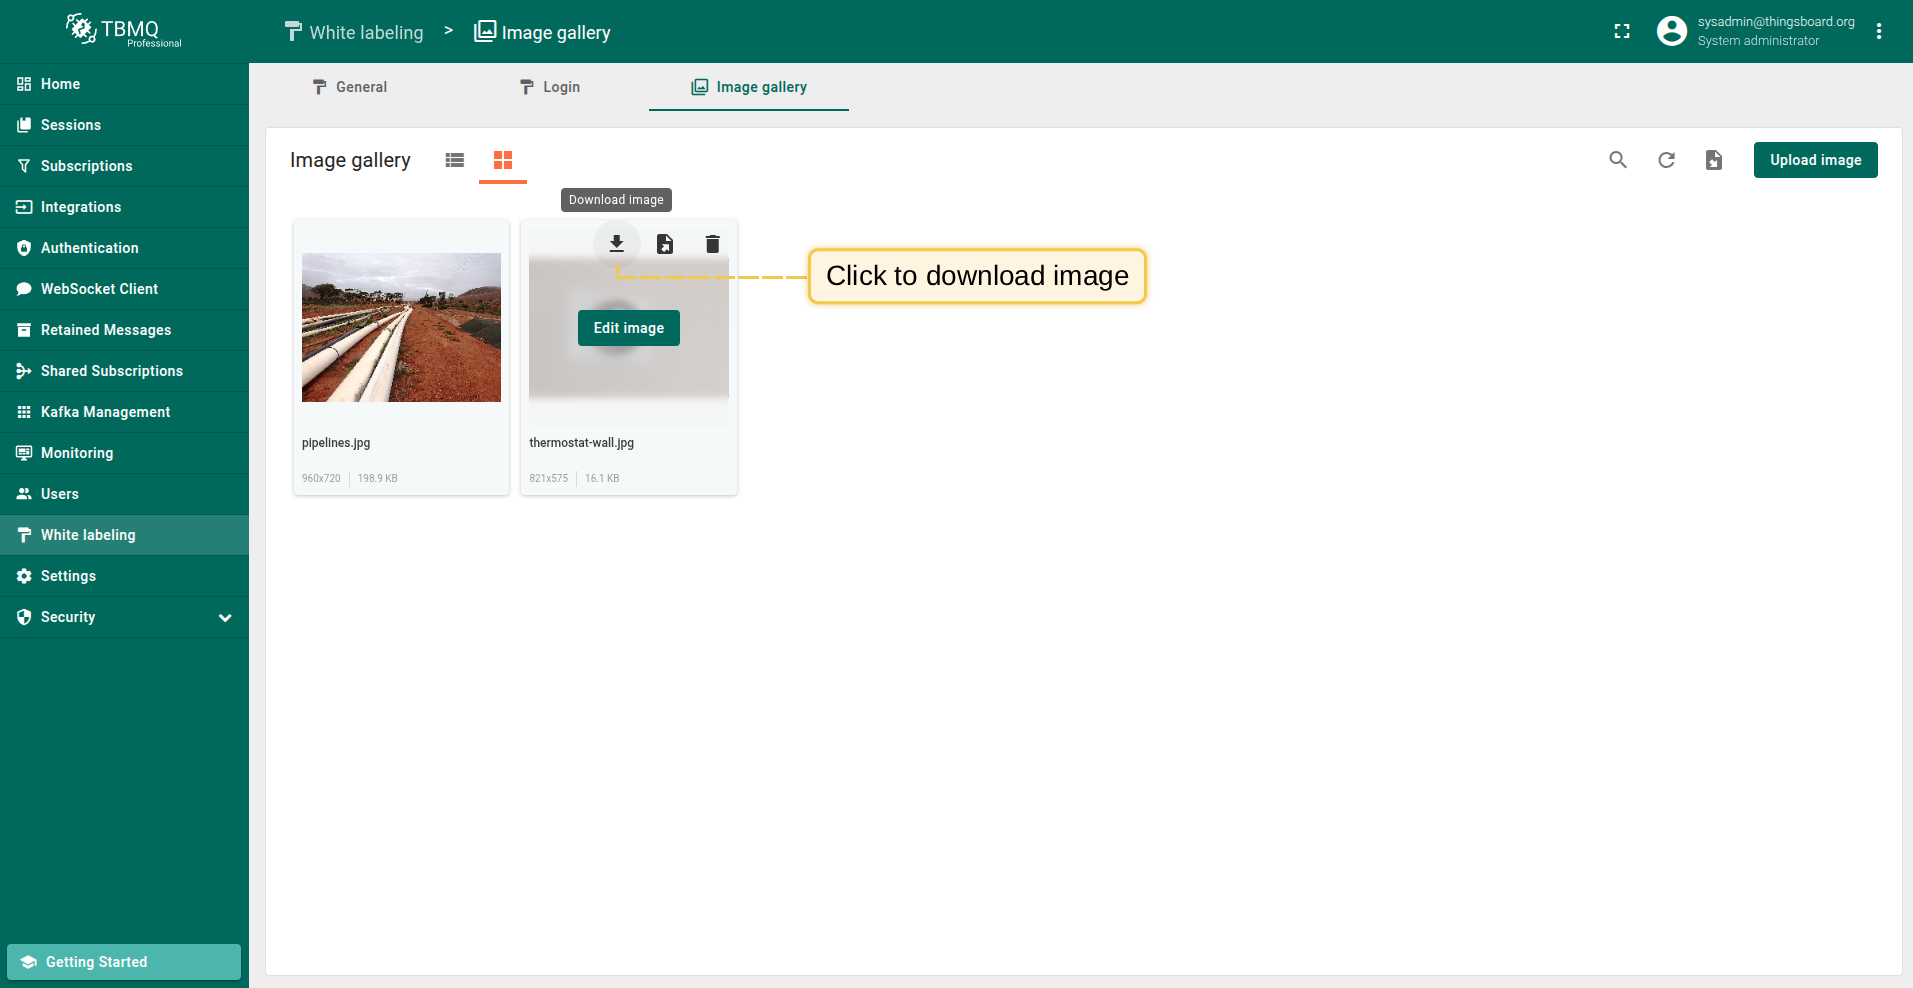
Download image
Downloading an image in image file format can be done in two ways, depending on the selected image viewing format:
- If you’re using the list view of images, click the “Download image” icon next to the image name that you want to export.
- If you’re using the grid view, hover your mouse pointer over the image you want to export and click the “Download image” icon.
The image in image file format will be saved to your PC.
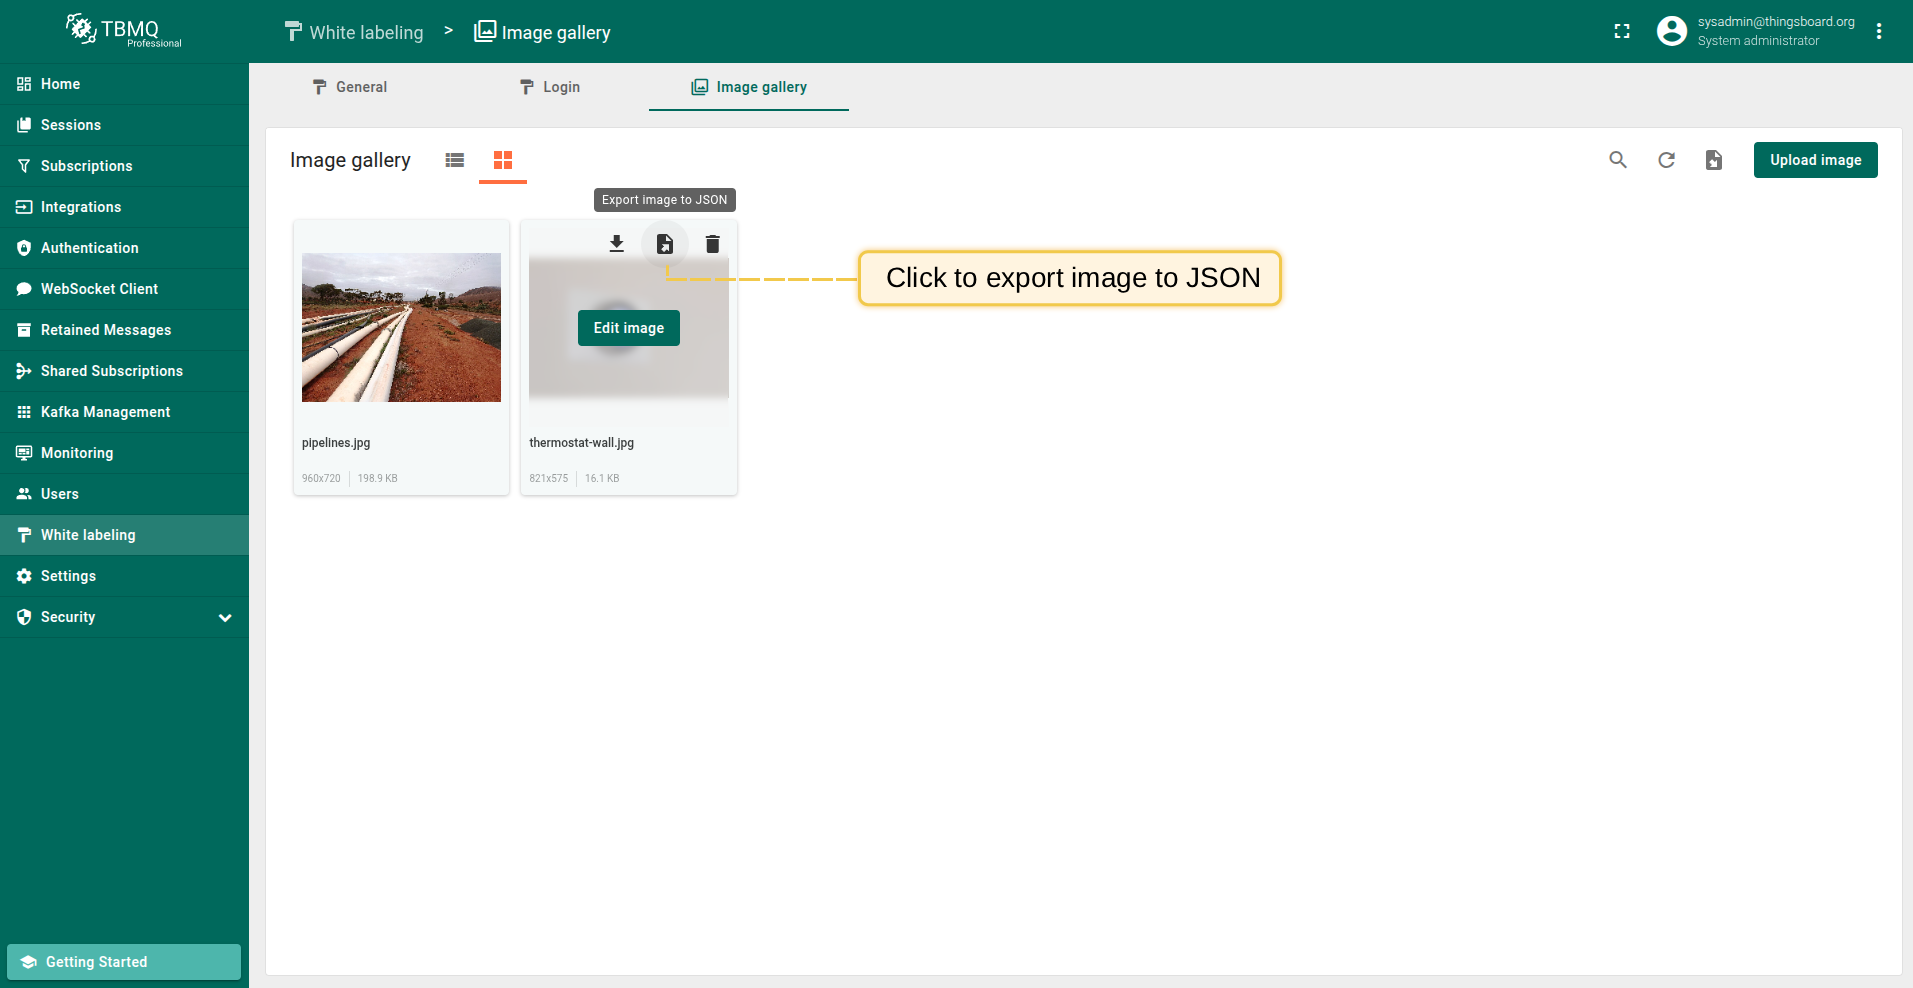
Export image to JSON
Exporting an image to JSON can be done in two ways, depending on the selected image viewing format:
- If you’re using the list view of images, click the “Export image to JSON” icon next to the image name that you want to download.
- If you’re using the grid view, hover your mouse pointer over the image you want to download and click the “Export image to JSON” icon.
The image in JSON format will be saved to your PC.

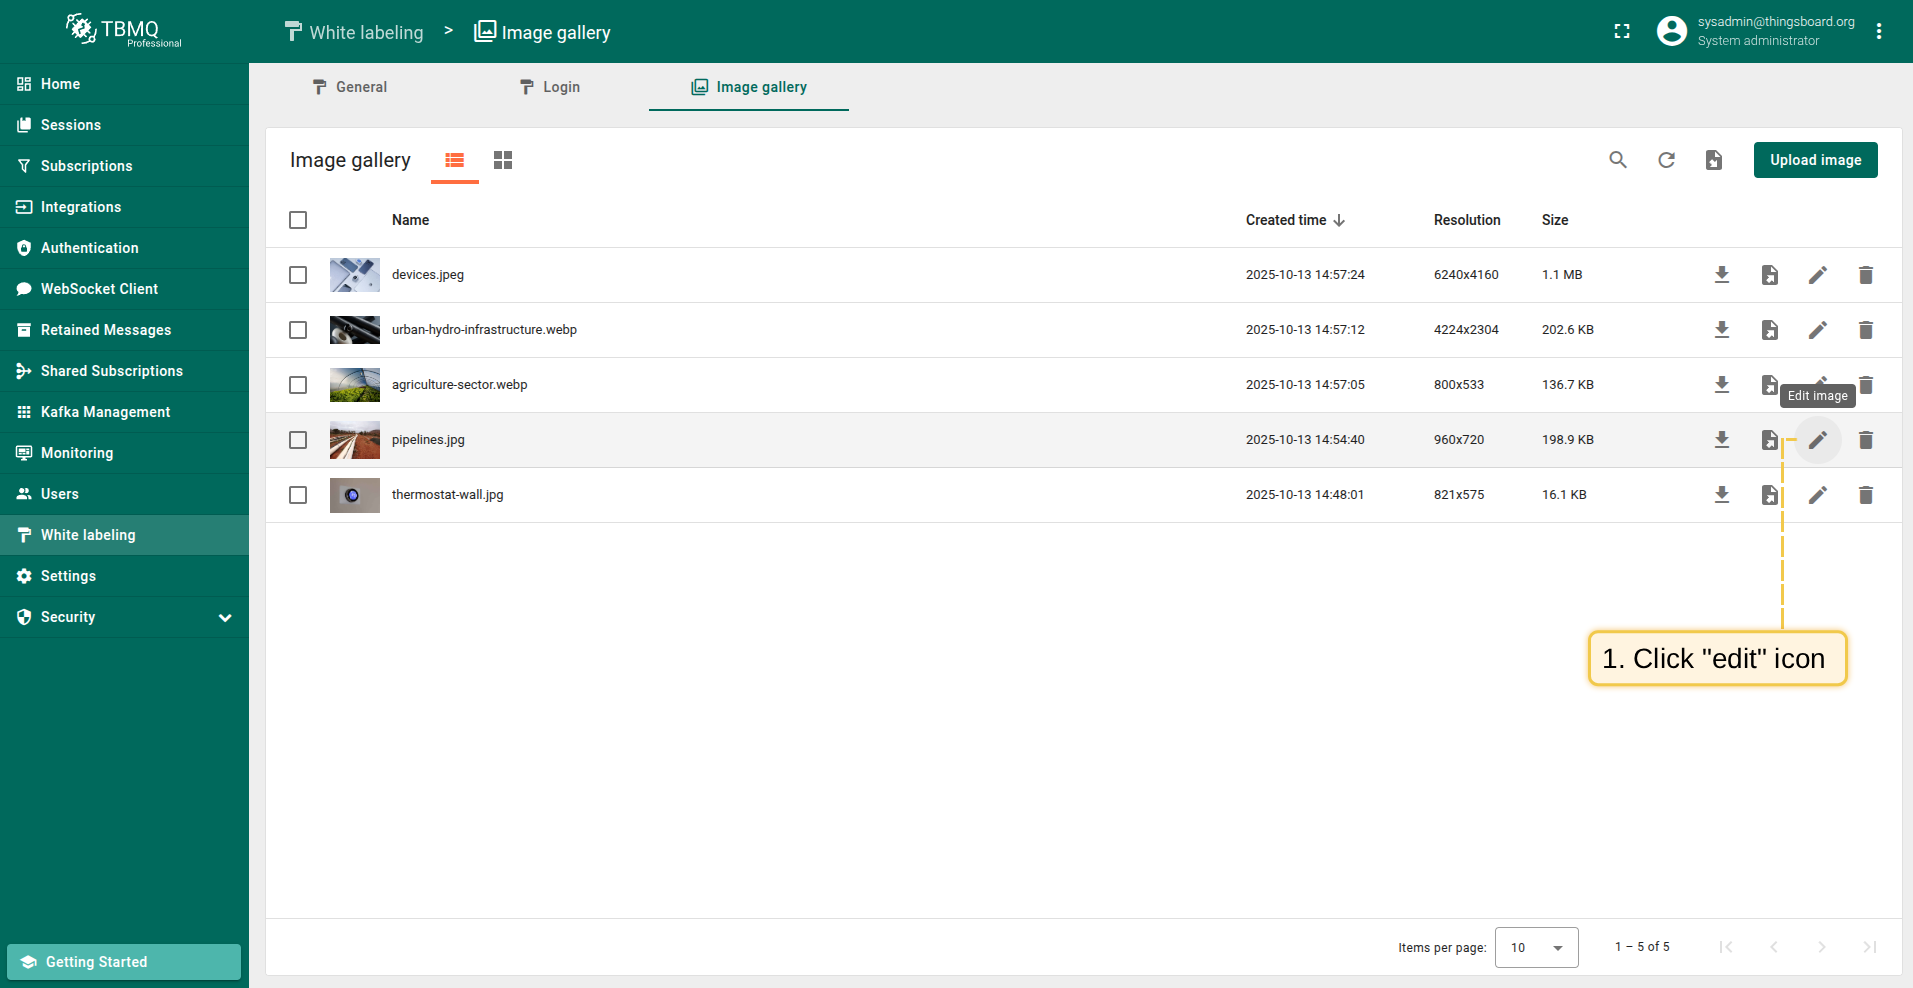
Edit image
To open editing an image window, click the “Edit image” icon next to the image name that you want to edit (if you’re using the grid view, hover your mouse pointer over the image you want to edit and click the “Edit image” icon). An editing window will open. In this window you can change the name, download, export it to JSON, and also update the image.
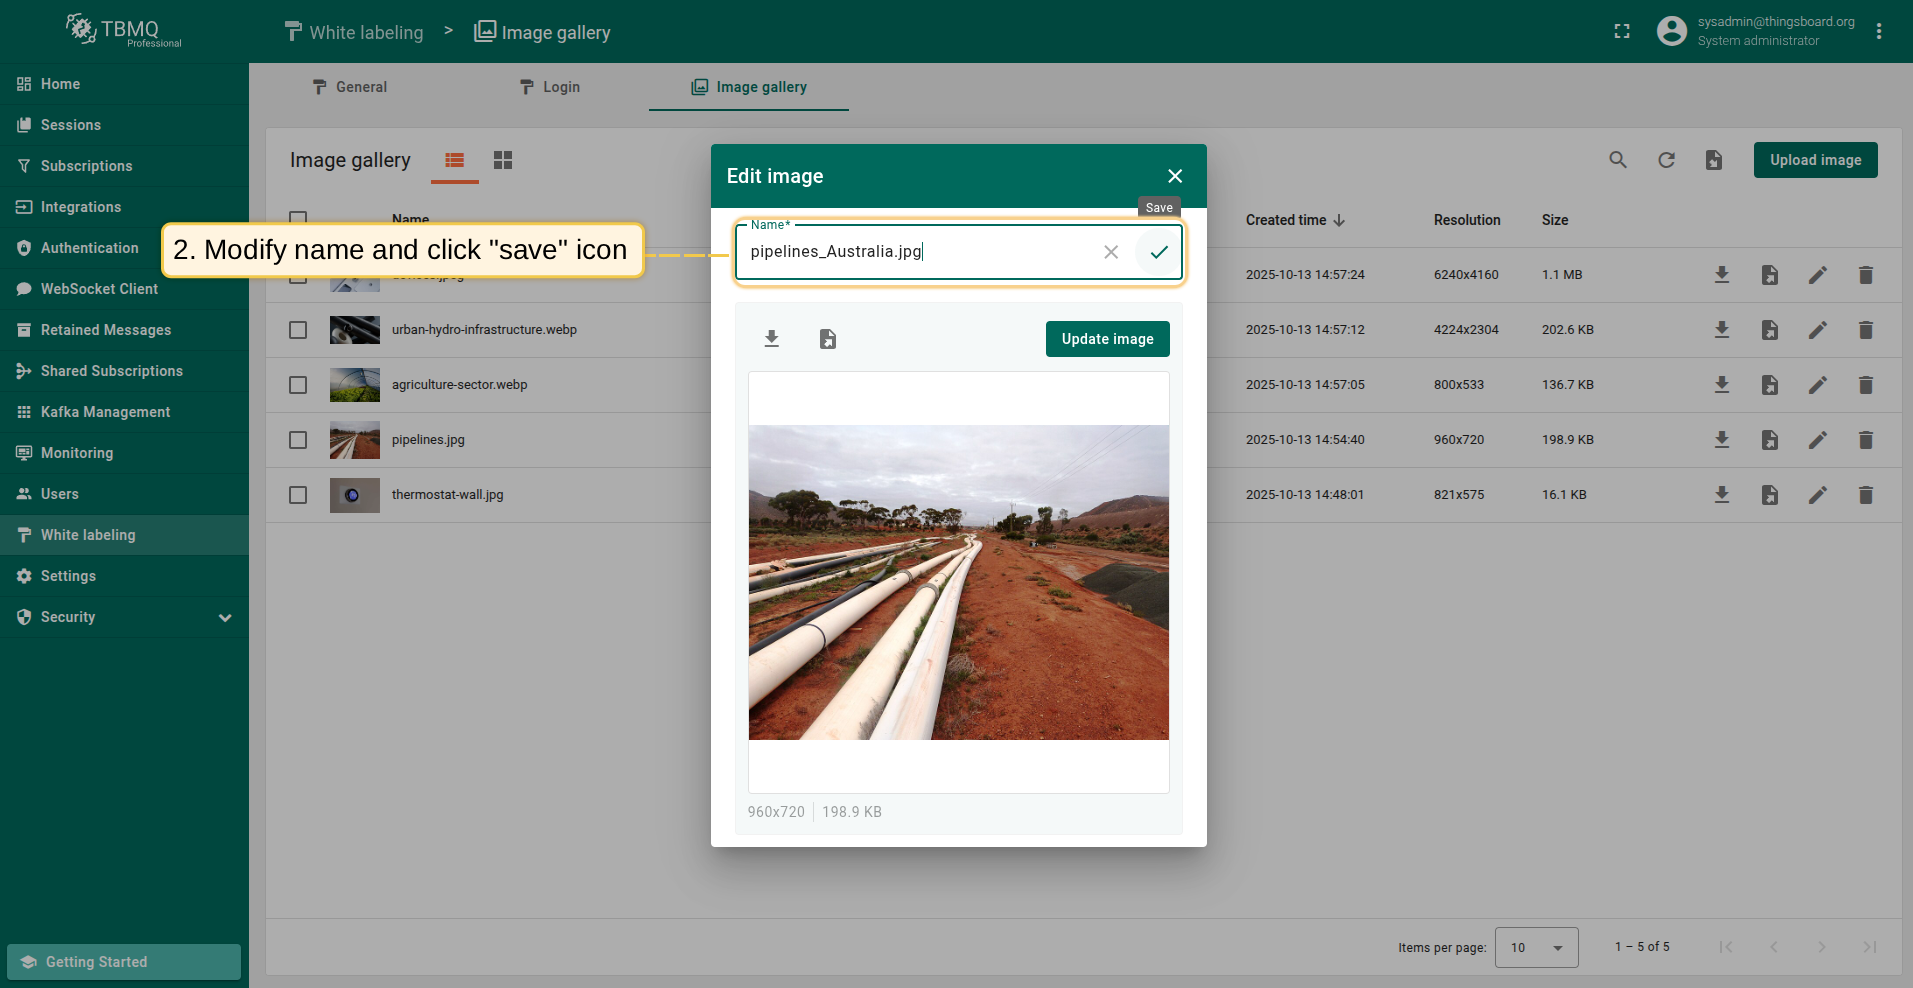
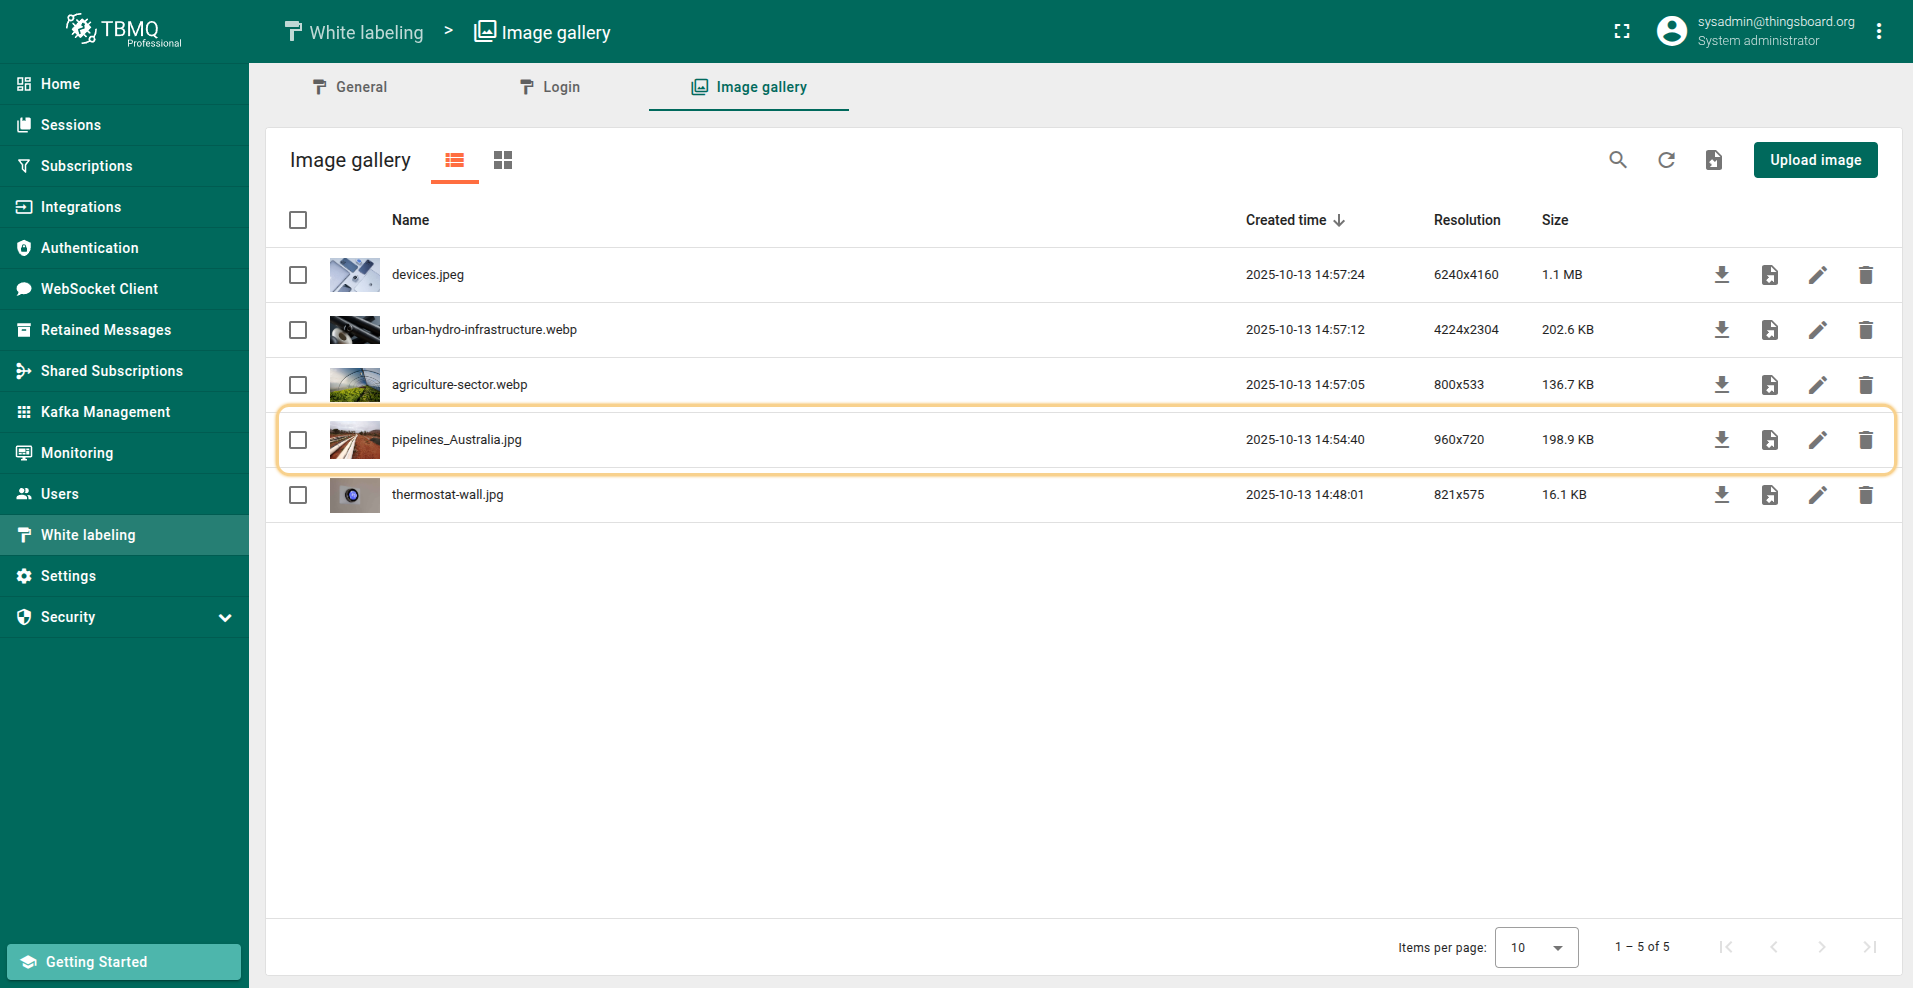
To change the name of the image, enter a new name and click the “Save” icon in the “Edit image” window.
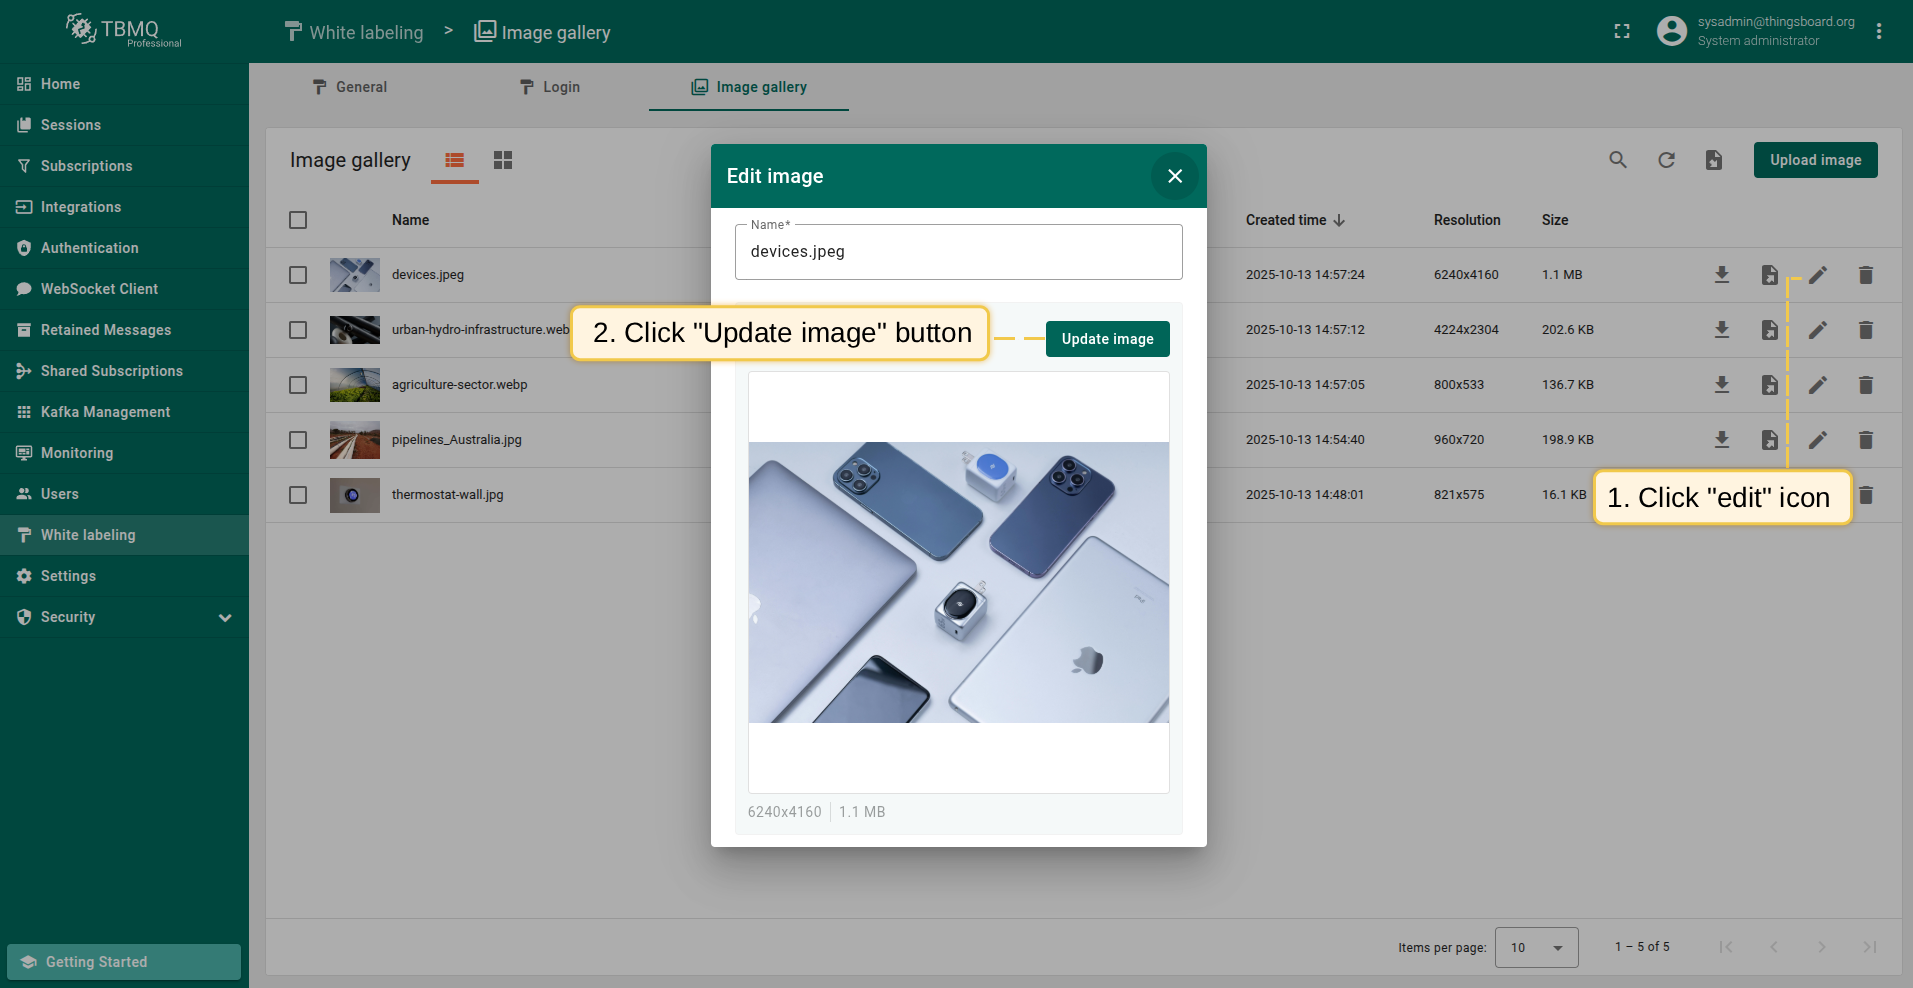
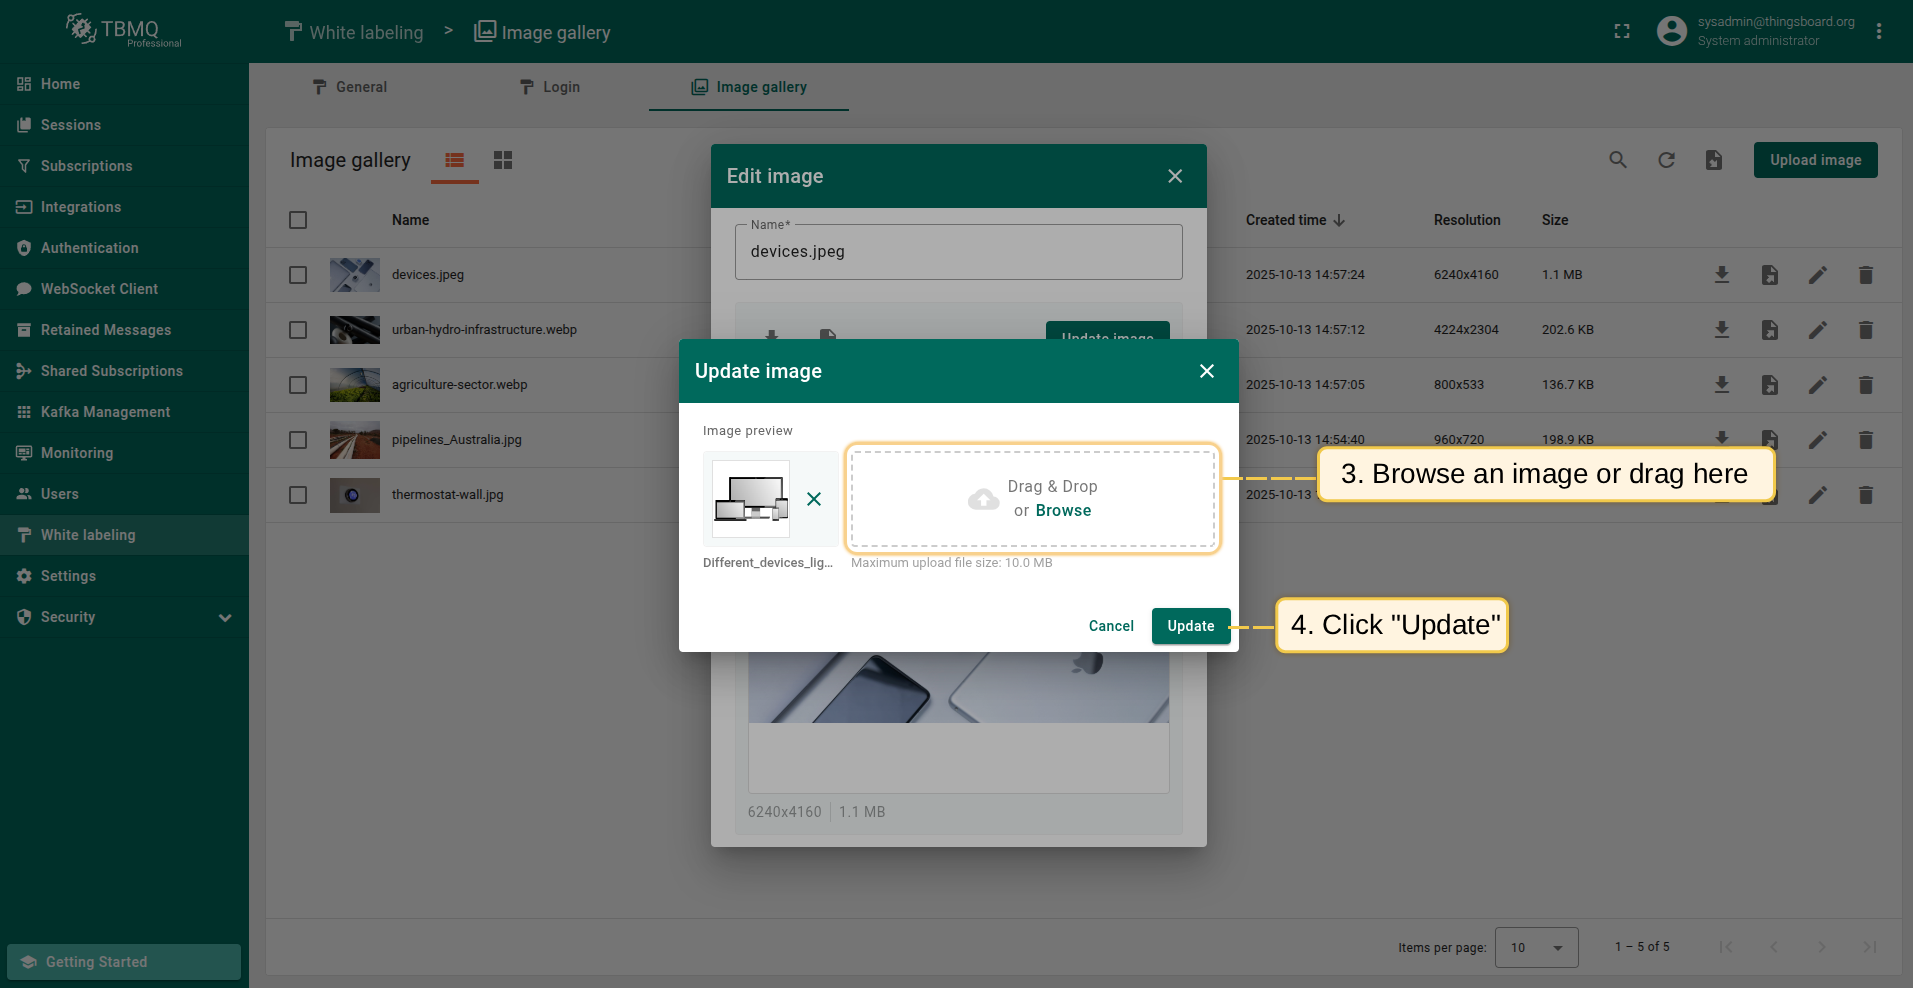
Update image
Updating the image can be useful, for example, when one picture serves as the background for multiple places. This allows you to make changes just once, and all places using that image will automatically receive the updated version, saving you the effort of editing each place individually.
To update the image, click the “Update image” button in the editing window. Select a new image or simply drag it to the “Update image” window and click “Update”.

Delete image
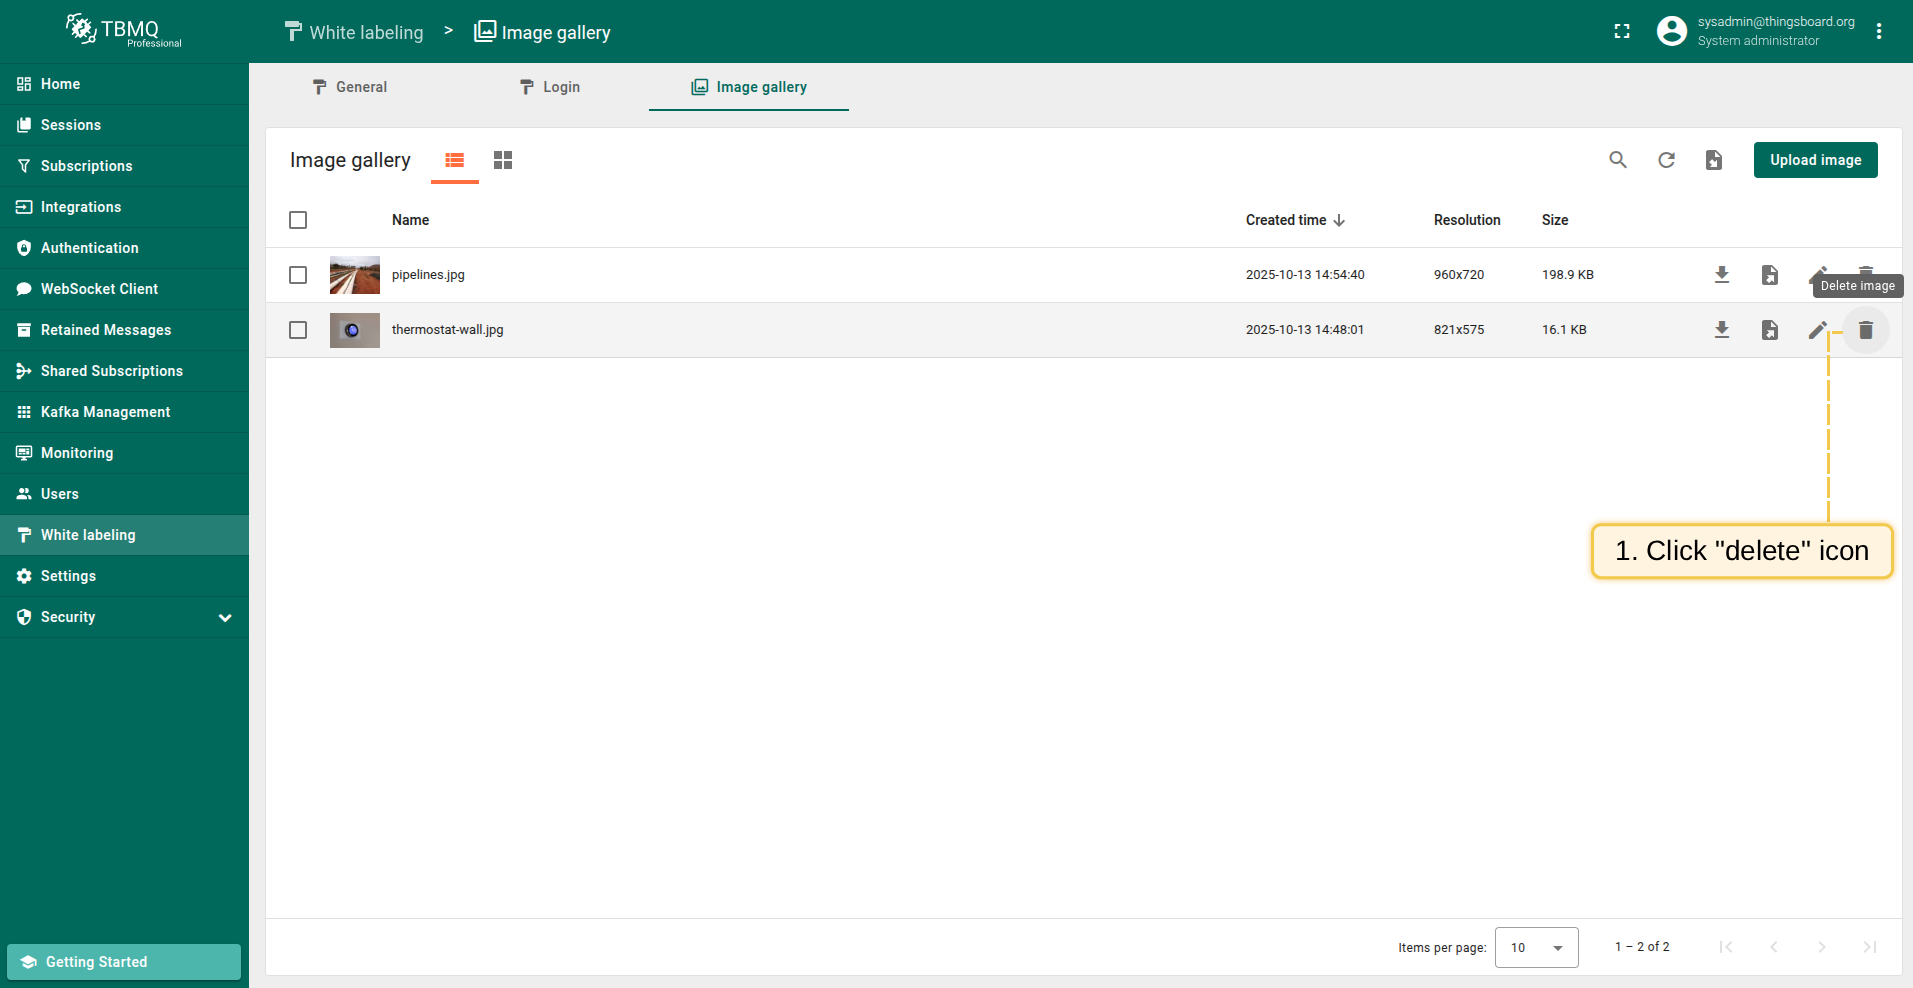
To delete an image from the image list, follow these steps:
- Click the "Delete image" icon opposite the image's name you want to delete;
- Confirm deleting the image in the dialog box

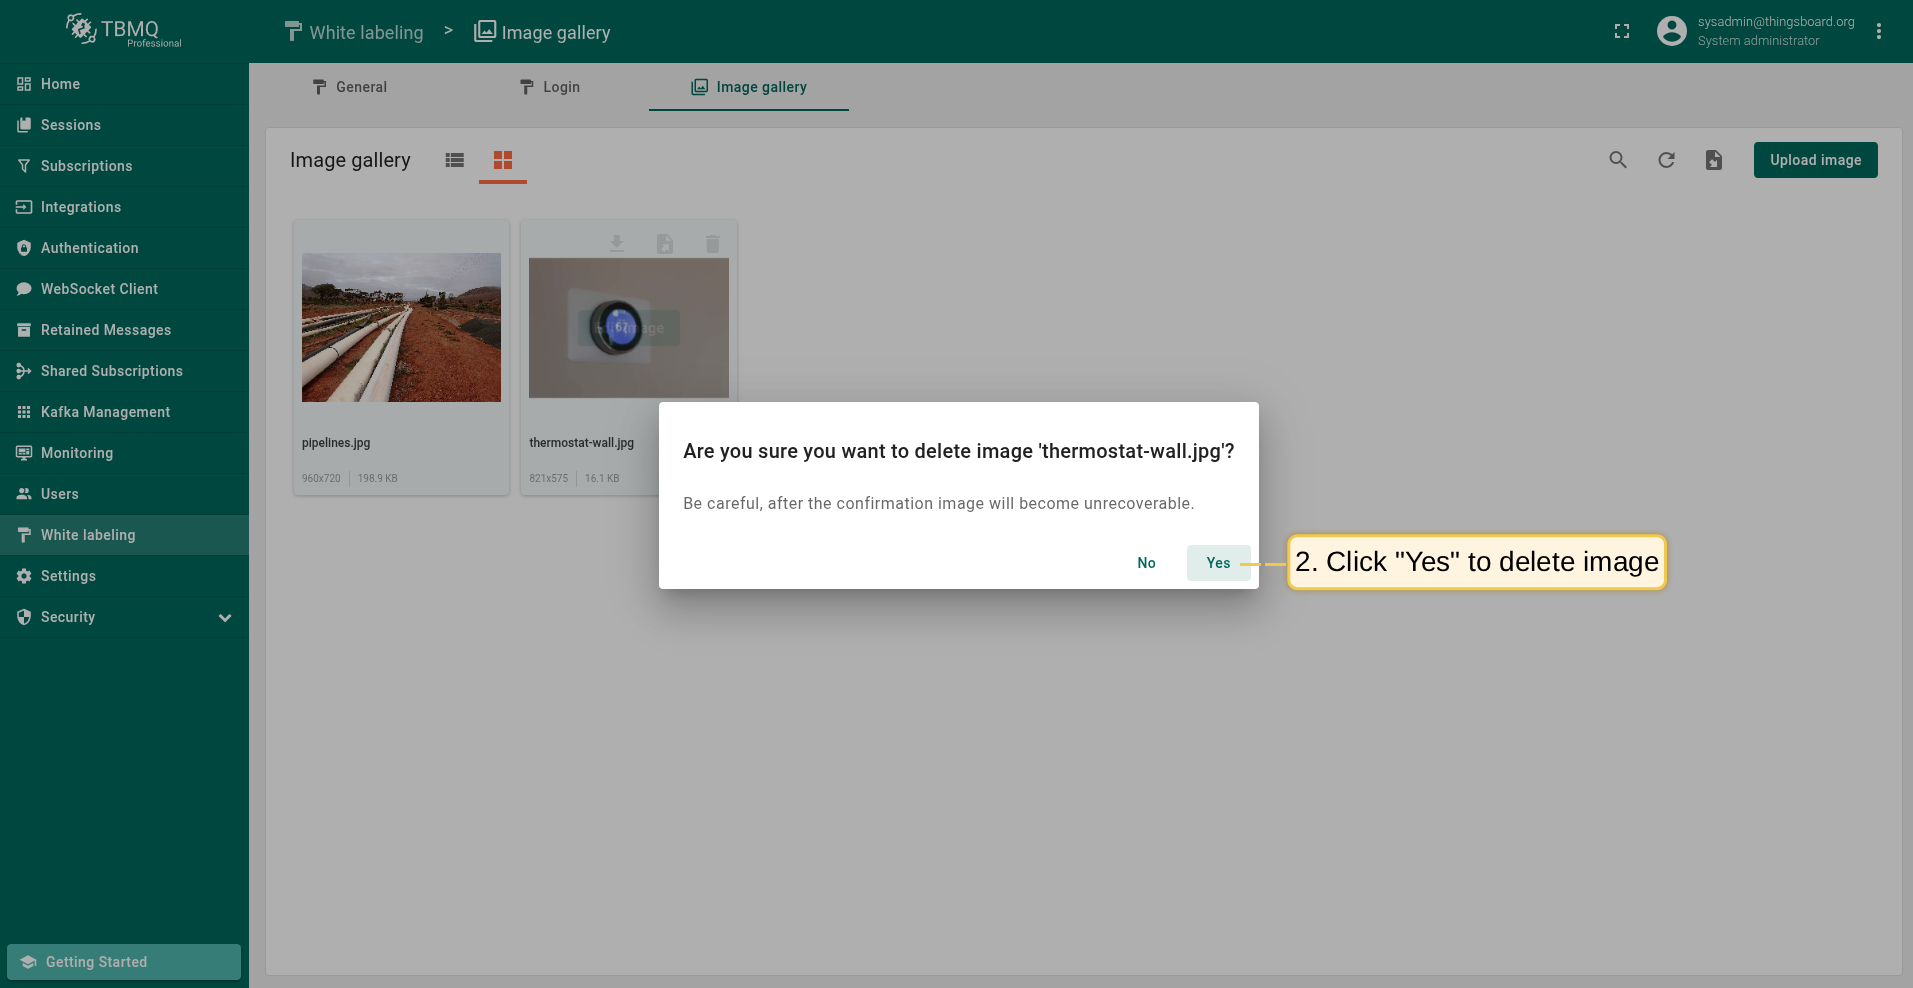
To delete an image that is displayed as an image grid, follow these steps:
- Hover your mouse over the image you want to delete and click the "Delete image" icon;
- Confirm deleting the image in the dialog box

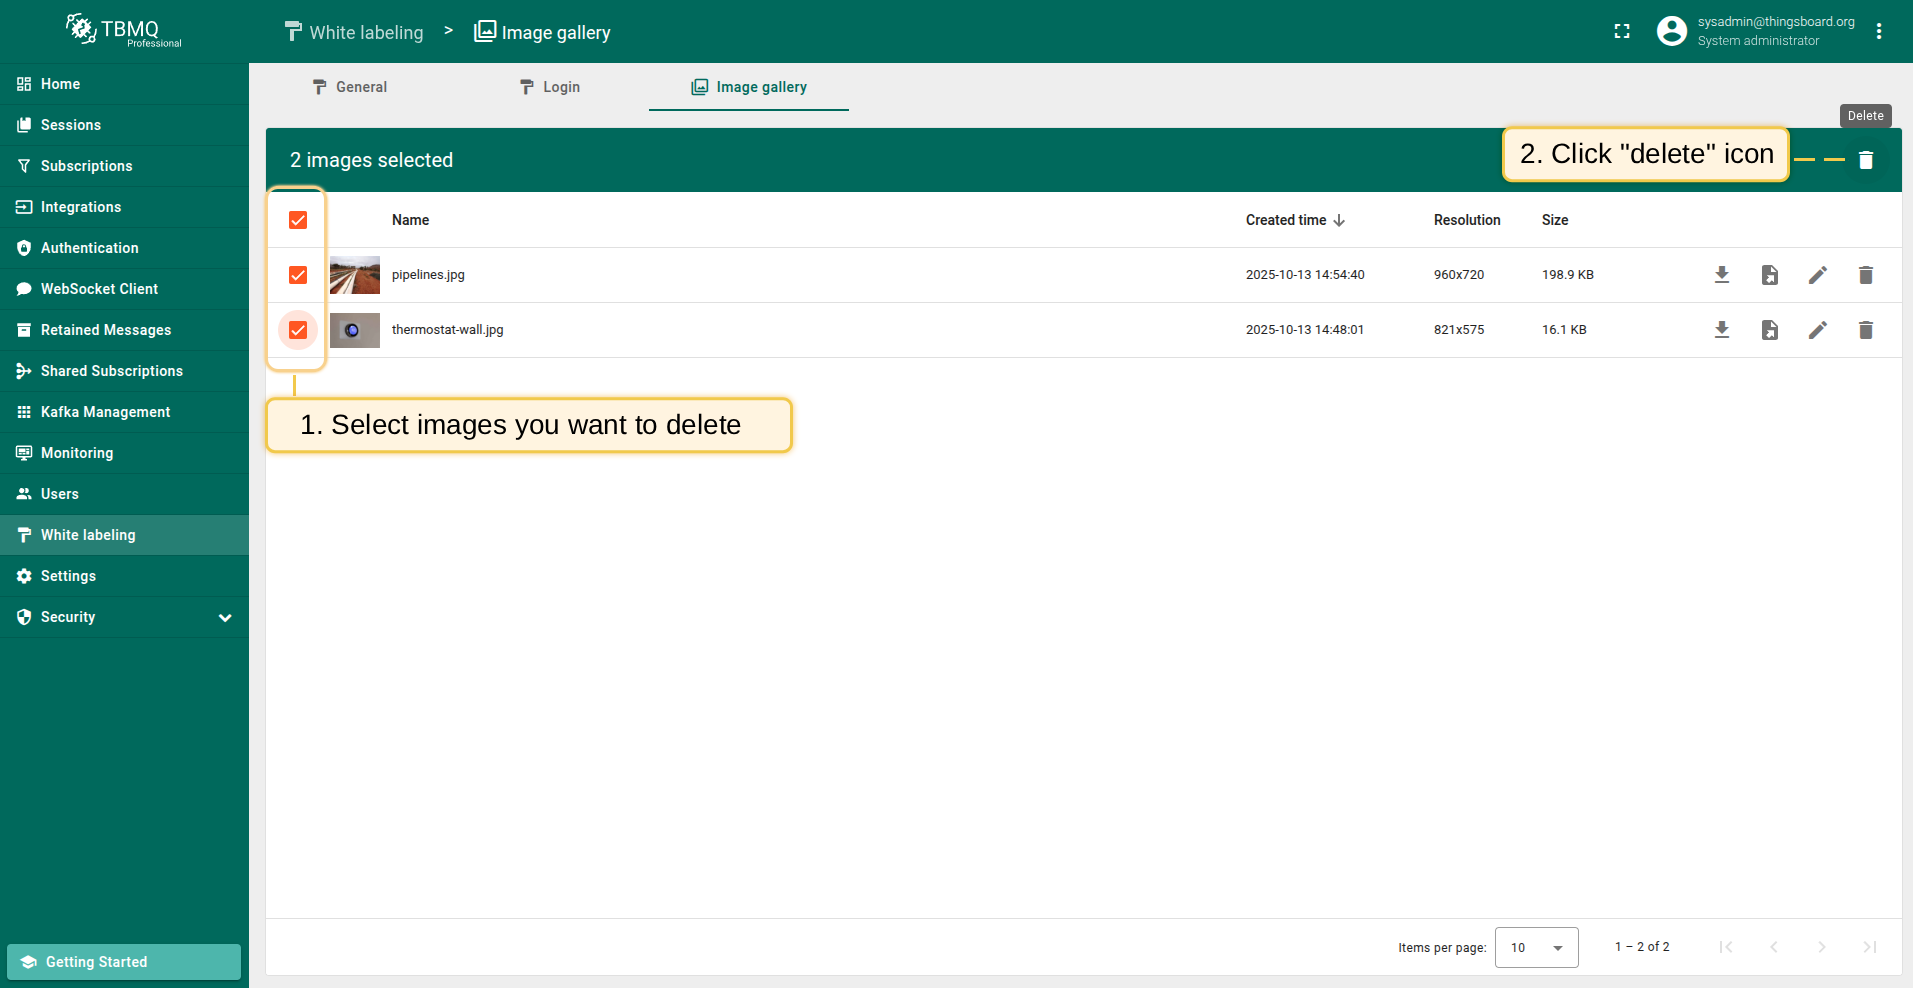
You can also delete multiple images (only via the image list view) at once:
- Mark one or multiple images you want to delete. Click on the "Delete" bin icon in the top right corner;
- Confirm deleting images in the dialog box