PLC KERNEL and ThingsBoard PE
Introduction
Section titled “Introduction”The Kernel Sistemi PLC KERNEL is a programmable logic controller with an ARM microprocessor and an Ethernet port. This guide walks through connecting a PLC KERNEL device to ThingsBoard PE via MQTT, configuring the LogicPaint application for telemetry reporting, and verifying data on the platform.
Prerequisites
Section titled “Prerequisites”- PLC KERNEL device with ARM microprocessor and Ethernet port
- LogicPaint programming software installed on your PC
- Serial cable for PC-to-PLC connection
- ThingsBoard PE instance
Create a device
Section titled “Create a device”-
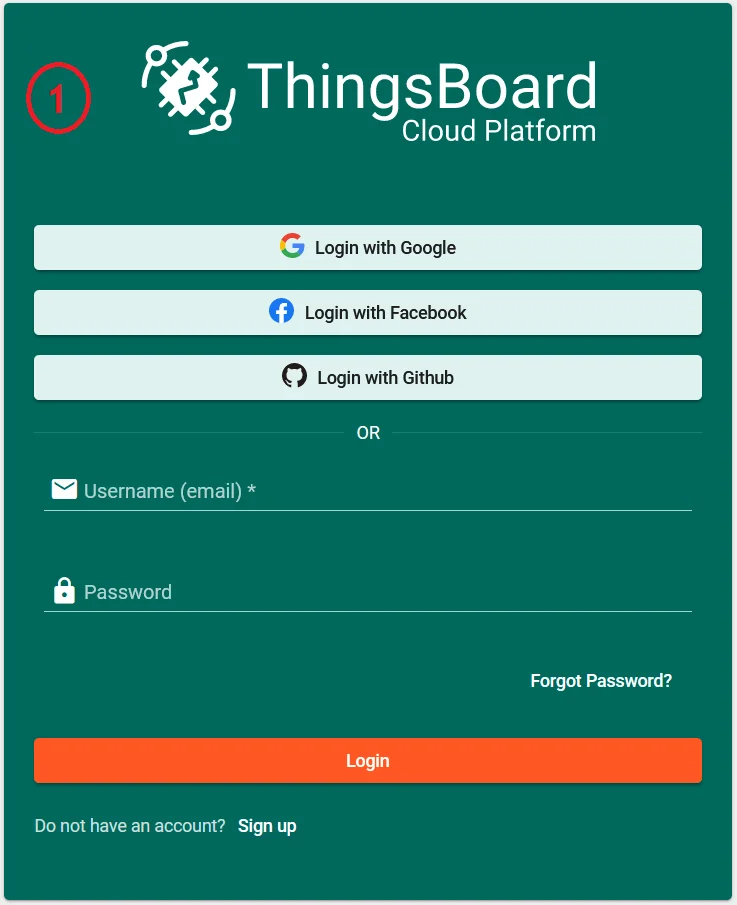
Log in to your ThingsBoard PE instance.
-
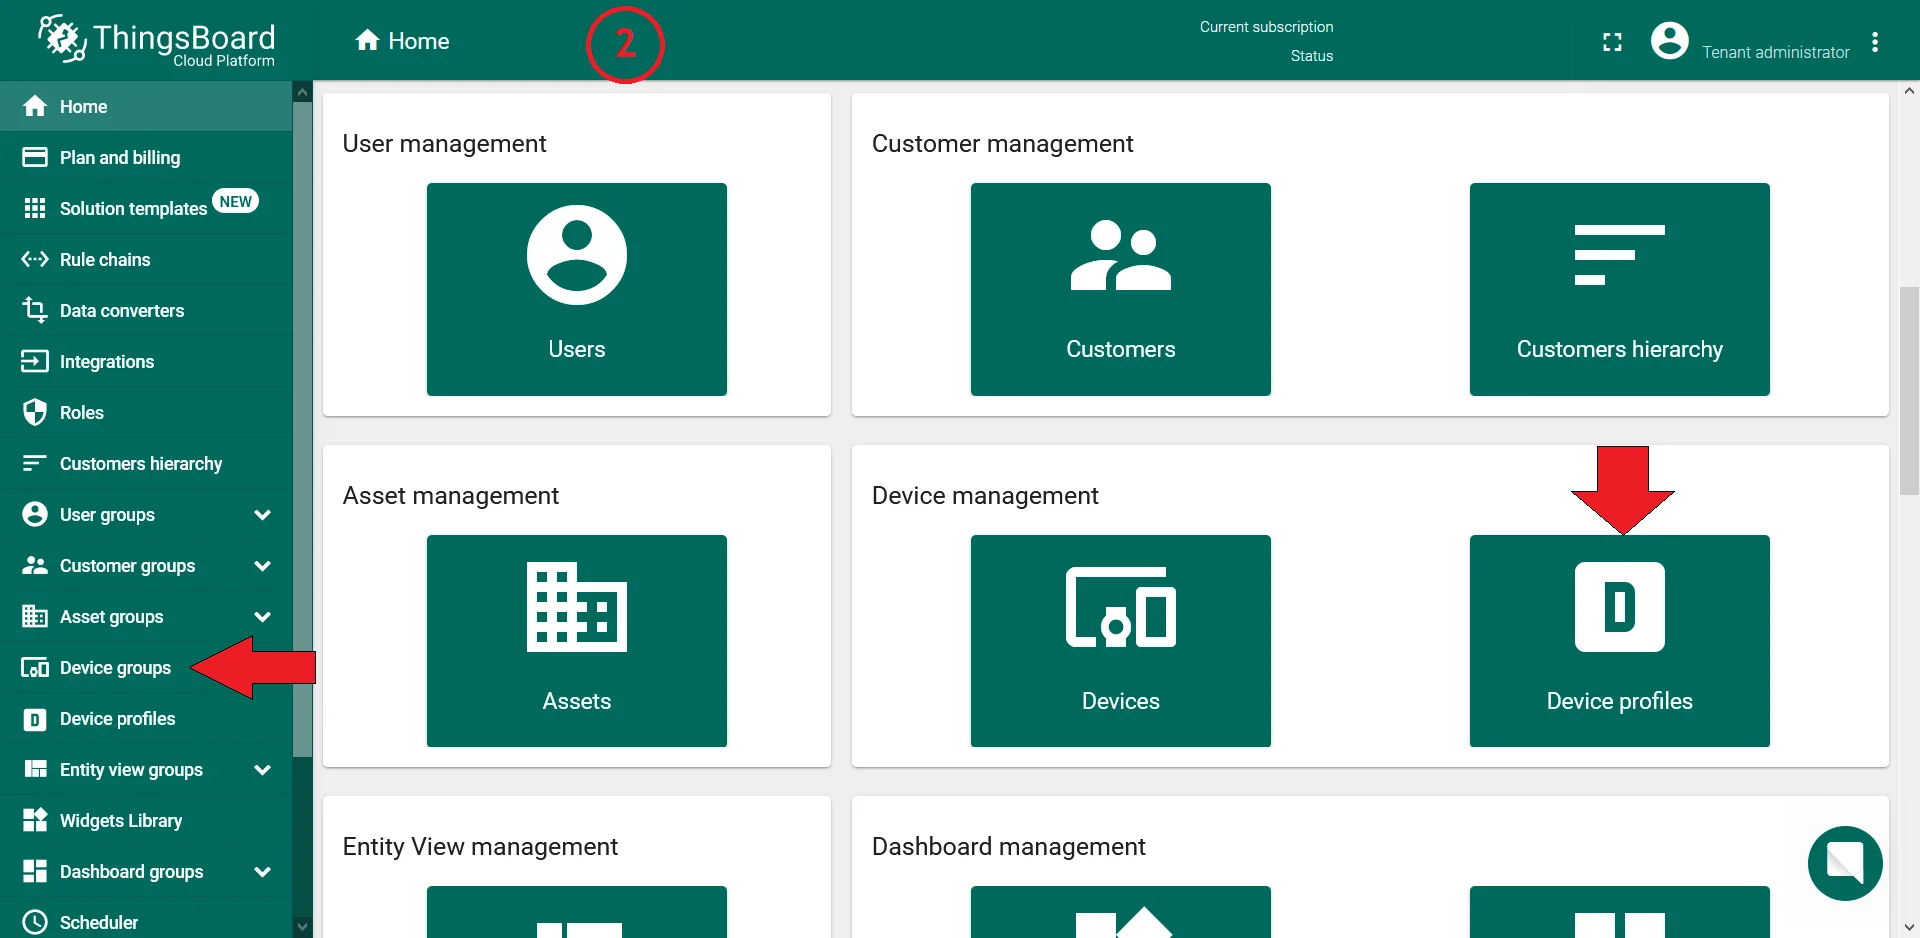
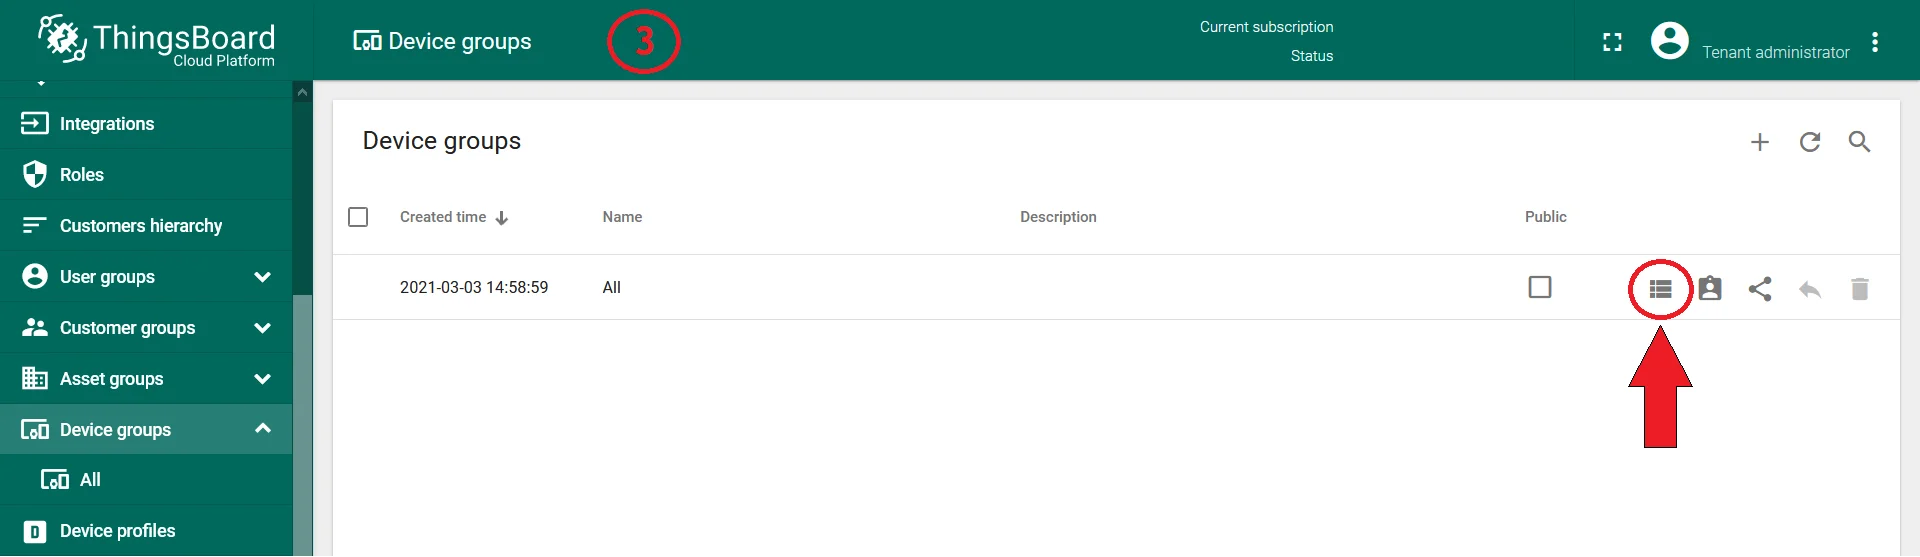
Go to Device Groups and open the ALL group.
-
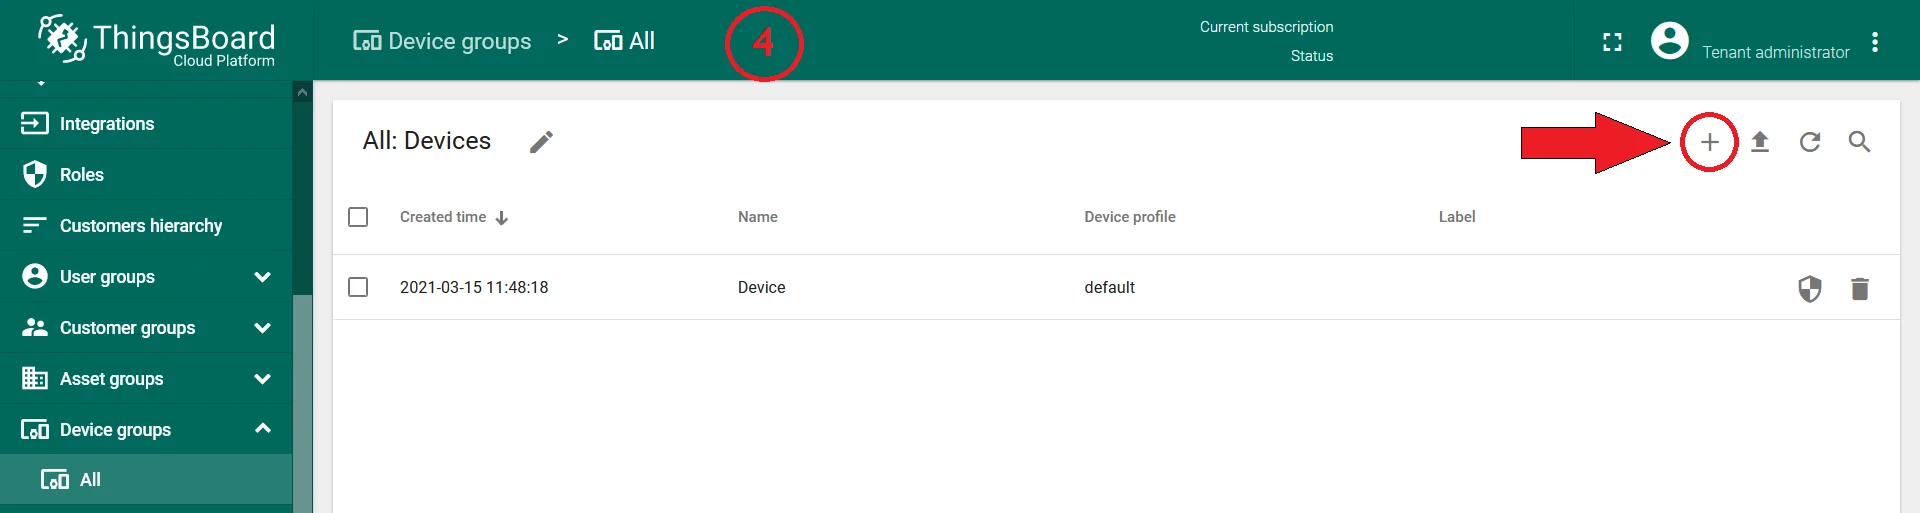
Click + in the top-right corner of the table, then select Add Device.
-
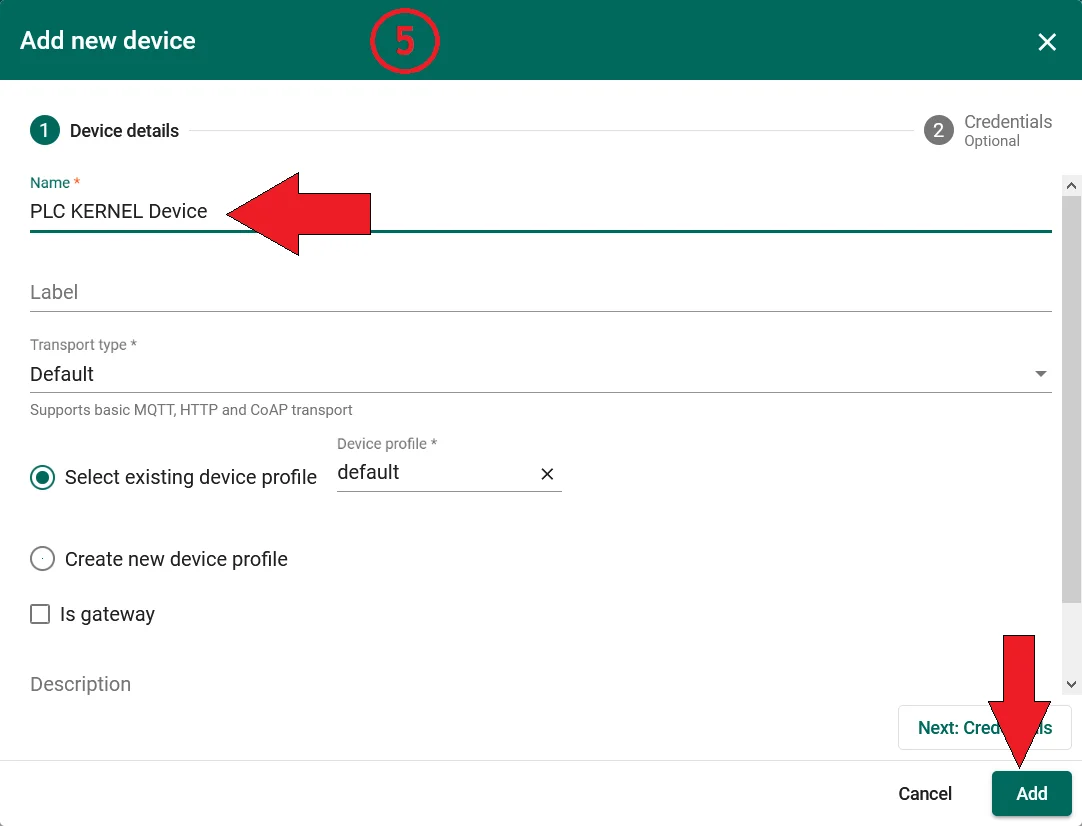
Enter a device name, for example
PLC KERNEL Device, and click Add. -
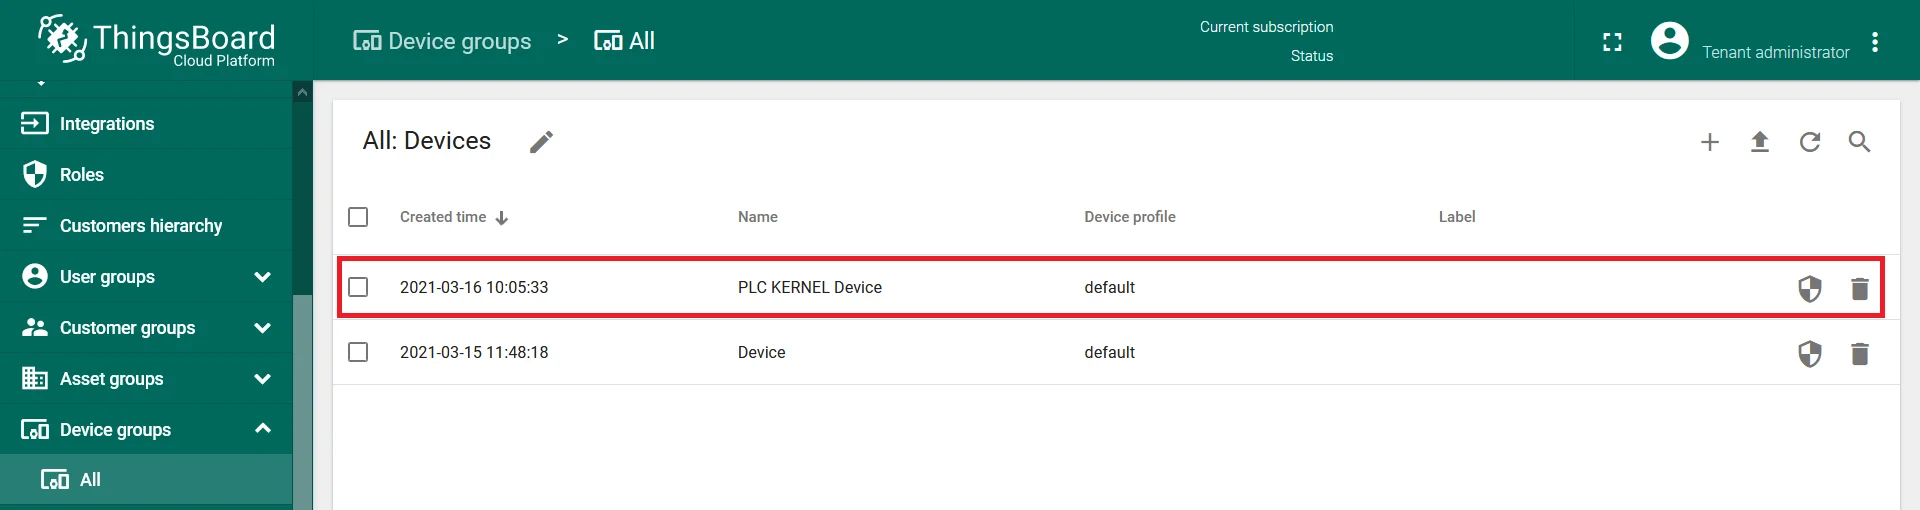
Confirm the new device appears at the top of the list.
Configure LogicPaint
Section titled “Configure LogicPaint”Get the access token
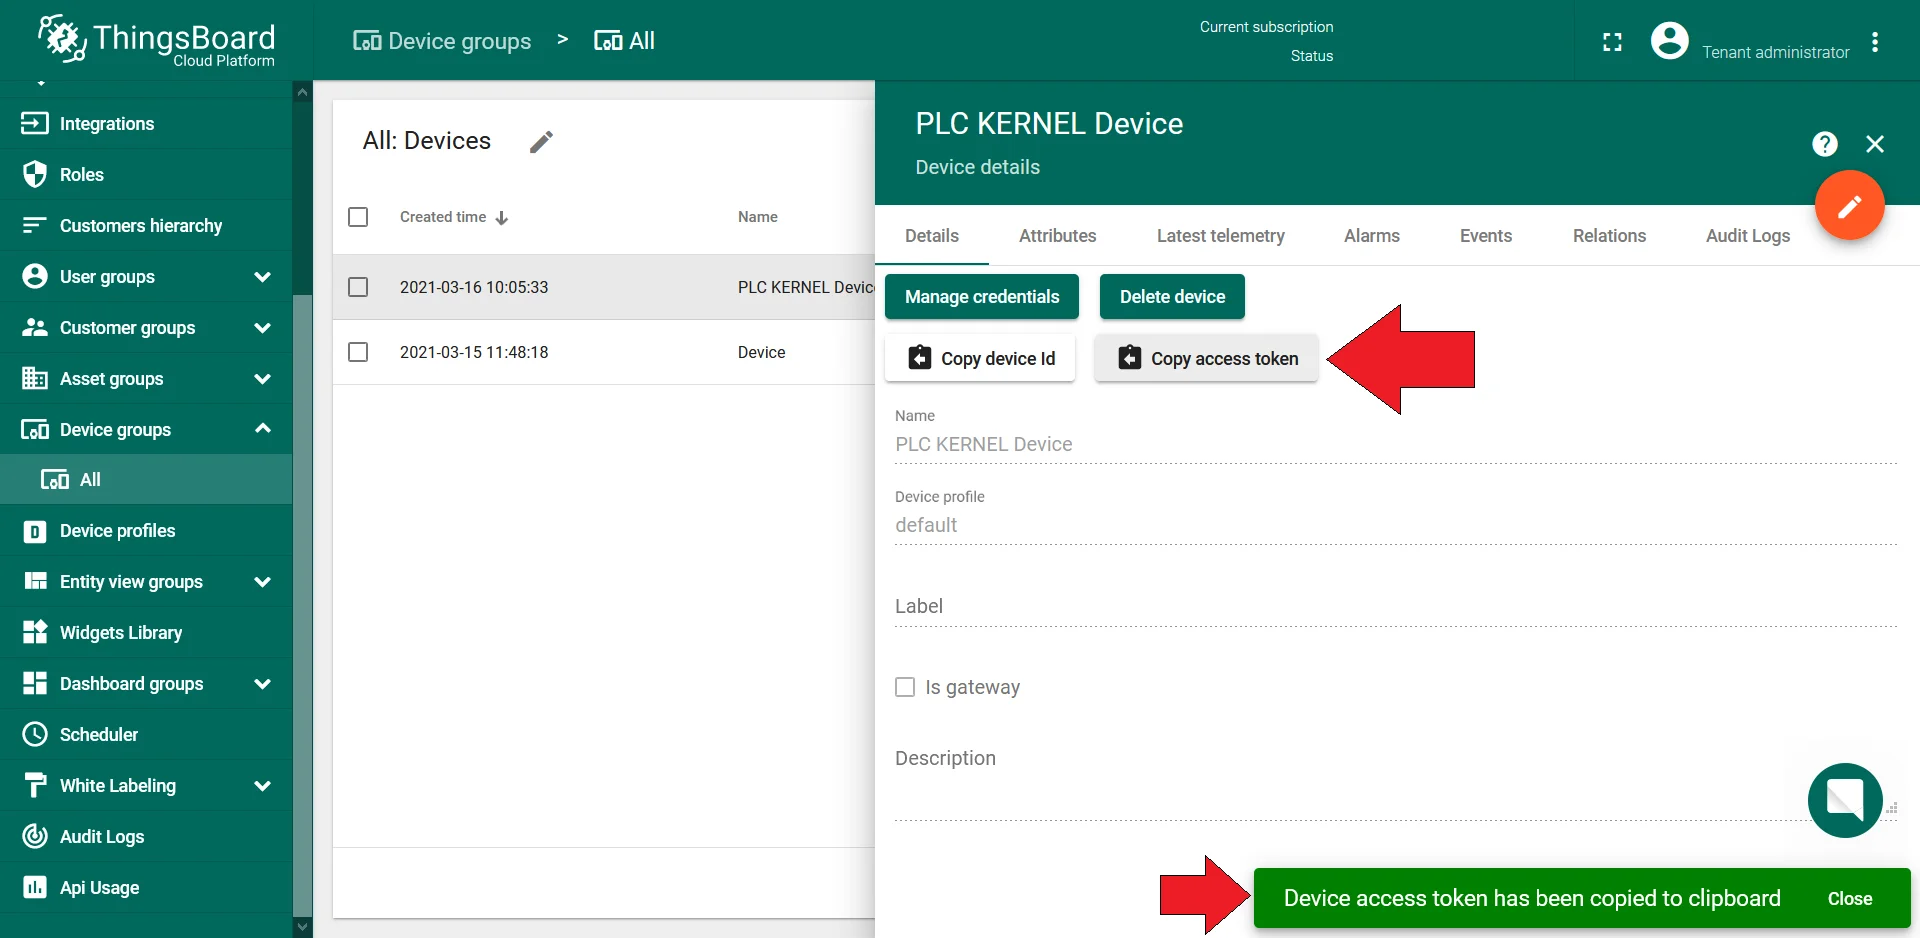
Section titled “Get the access token”ThingsBoard identifies and authenticates the device using an access token. Copy it from ThingsBoard before opening LogicPaint.
-
Click the device row to open device details.
-
Click Copy access token. Save the token to a safe place — you will need it in the next steps.
Configure MQTT settings
Section titled “Configure MQTT settings”-
Open LogicPaint.

-
Connect the PLC KERNEL to your PC via serial cable.
-
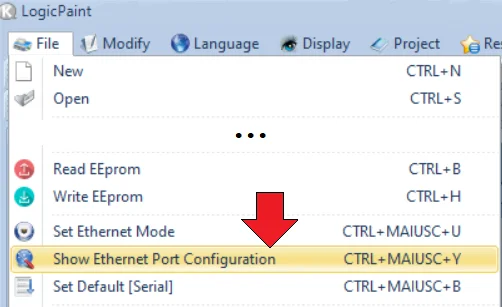
Go to File > Show Ethernet Port Configuration.
-
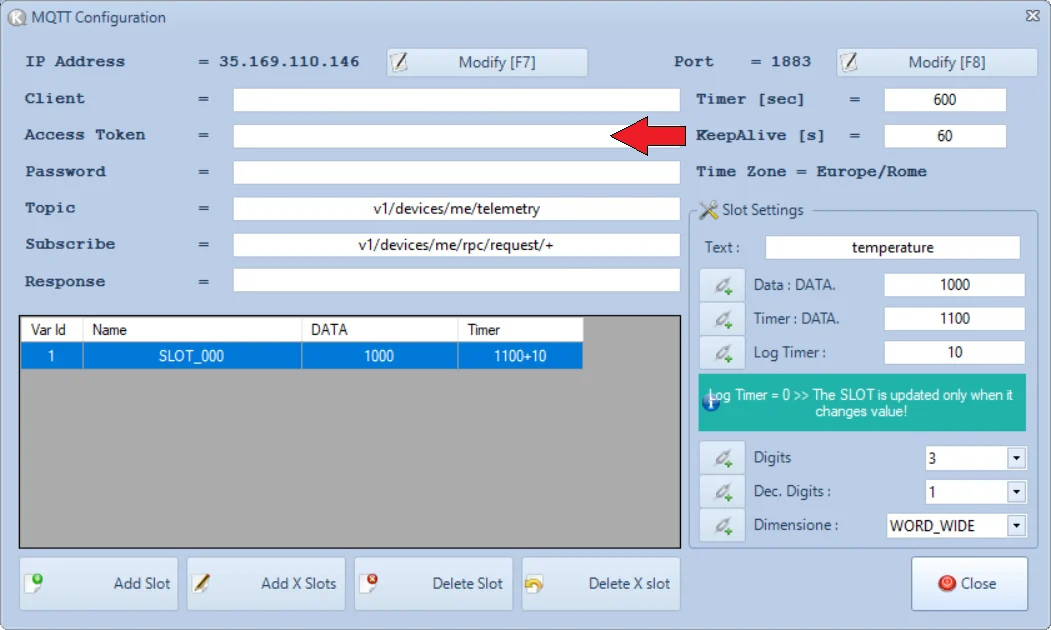
Click MQTT Configuration.

-
Paste the access token copied from ThingsBoard into the indicated field.
-
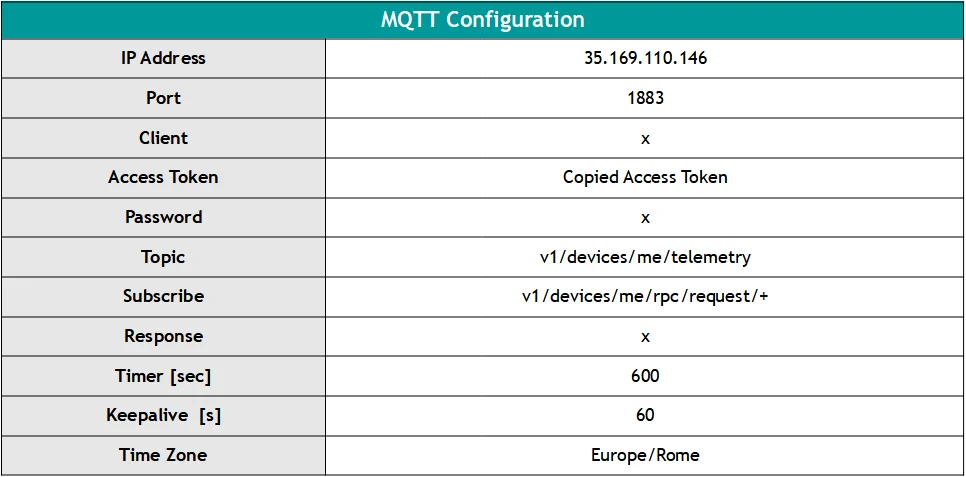
Fill in the MQTT connection fields: broker host, port, username, and password.
-
Add a slot for each value to be monitored.

-
Close both open windows with the Close button.
-
Click Compile + Send Application to compile and deploy the configuration to the PLC.
Verify telemetry
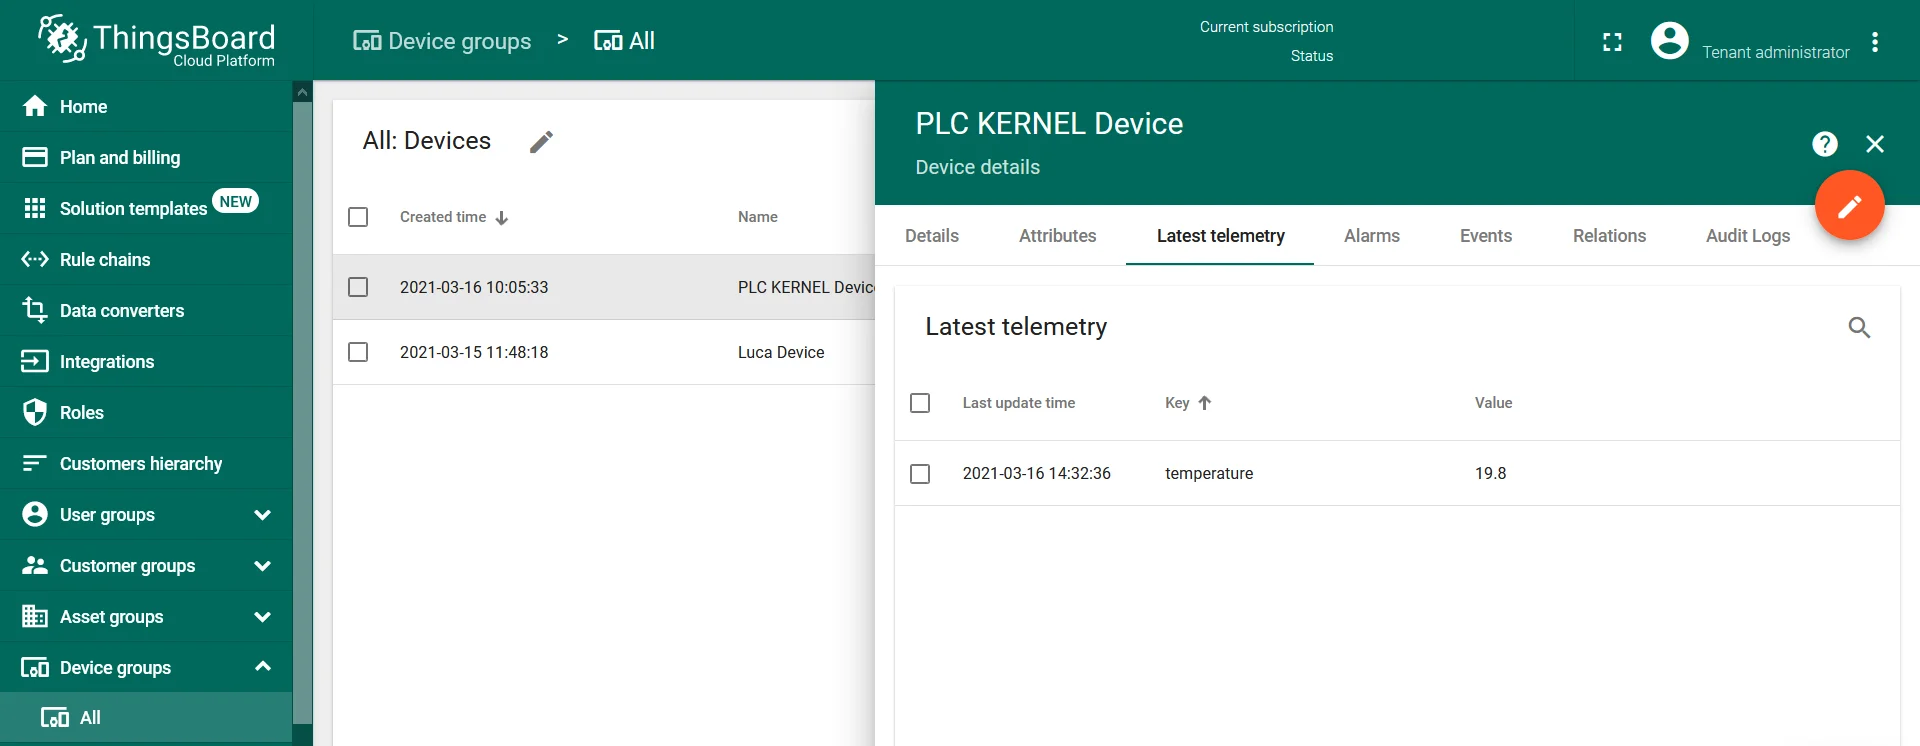
Section titled “Verify telemetry”Once the application is running on the PLC, telemetry data appears in ThingsBoard automatically.
-
Click the device row to open device details.
-
Go to the Latest telemetry tab to confirm incoming readings.
Create a dashboard
Section titled “Create a dashboard”Use ThingsBoard dashboards to visualize the telemetry from the PLC KERNEL device. Dashboards support a wide variety of widgets for real-time and historical data display.
- Working with dashboards — how to create and configure dashboards in ThingsBoard PE.