
- Hardware type: Sensors
- Connectivity: WIFI, Bluetooth
- Industry: Smart Cities, Agriculture, Industrial Manufacturing, Smart Buildings, Energy Management, Environmental Monitoring
- Use cases: Smart Energy, Environment Monitoring, Smart Retail, Smart Farming, Air Quality Monitoring
- Platforms: Community Edition, Professional Edition, Cloud
- Introduction
- Prerequisites
- Install required libraries and tools
- Create device on ThingsBoard
- Connect device to ThingsBoard
- Check data on ThingsBoard
- Conclusion
Introduction
The Sensy32 is an IoT board designed for sensor enthusiasts, developers, and IoT creators.
Powered by ESP32-S3 and packed with a wide array of sensors, it enables seamless monitoring, analysis, and visualization of real-world data.
The Sensy32 supports Wi-Fi and Bluetooth connectivity, complemented by two USB Type-C ports that enable charging and power supply, programming and firmware uploads, data communication, peripheral connectivity, and powering external devices such as sensors.
The Sensy32 board includes the following components and sensors:
- UV Light Sensor
- IR Motion and Human Presence Sensor
- Humidity and Temperature Sensor
- Altitude and Pressure Sensor
- 9-DOF Orientation IMU Sensor (Accelerometer/Magnetometer/Gyro)
- Microcontroller (ESP32-S3 Wi-Fi and Bluetooth)
- 32Mb Nor Flash Memory
- USB to Serial Converter
- Light Intensity Sensor
- Battery Charger
- RGB LEDs
- MEMS Microphone
- A built-in LCD screen that allows real-time monitoring and control.
In this guide, we will learn how to create a device on Thingsboard, install required libraries and tools.
After this we will modify our code and upload it to the device, and check the results of our coding and check data on ThingsBoard using imported dashboard.
Prerequisites
To continue with this guide, we will need the following:
- Editor Arduino IDE
- CP210xVCP Driver
- Sensy32 board (you can get it from Tindie or Elecrow)
- ThingsBoard account
Install required libraries and tools
Open the Arduino IDE and install the board package:
1. Go to File > Preferences and add the following URL to the Additional Boards Manager URLs field:
1
https://dl.espressif.com/dl/package_esp32_index.json

Go to File > Preferences and add the following URL to the Additional Boards Manager URLs field: https://dl.espressif.com/dl/package_esp32_index.json
2. Go to Tools > Board > Board Manager and install the ESP32 by Espressif Systems board.
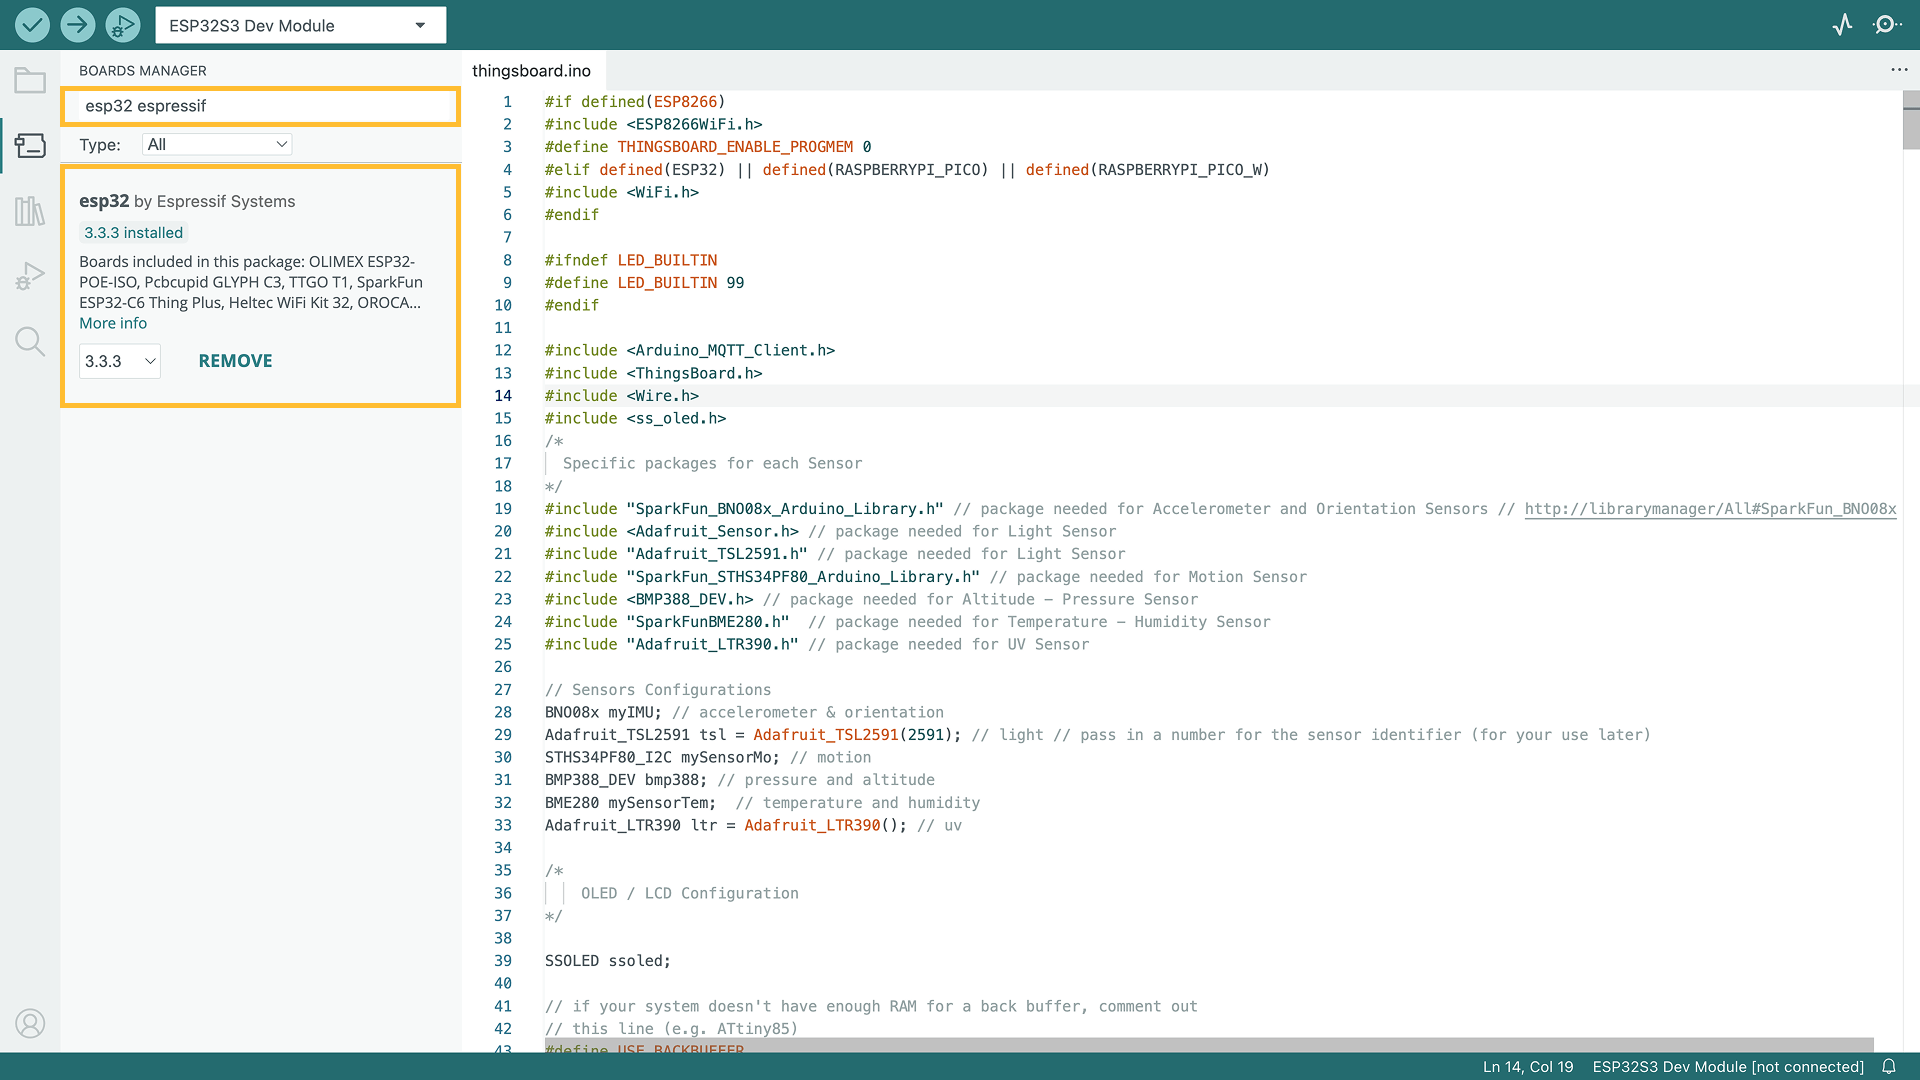
Then go to Tools > Board > Board Manager and install the ESP32 by Espressif Systems board.
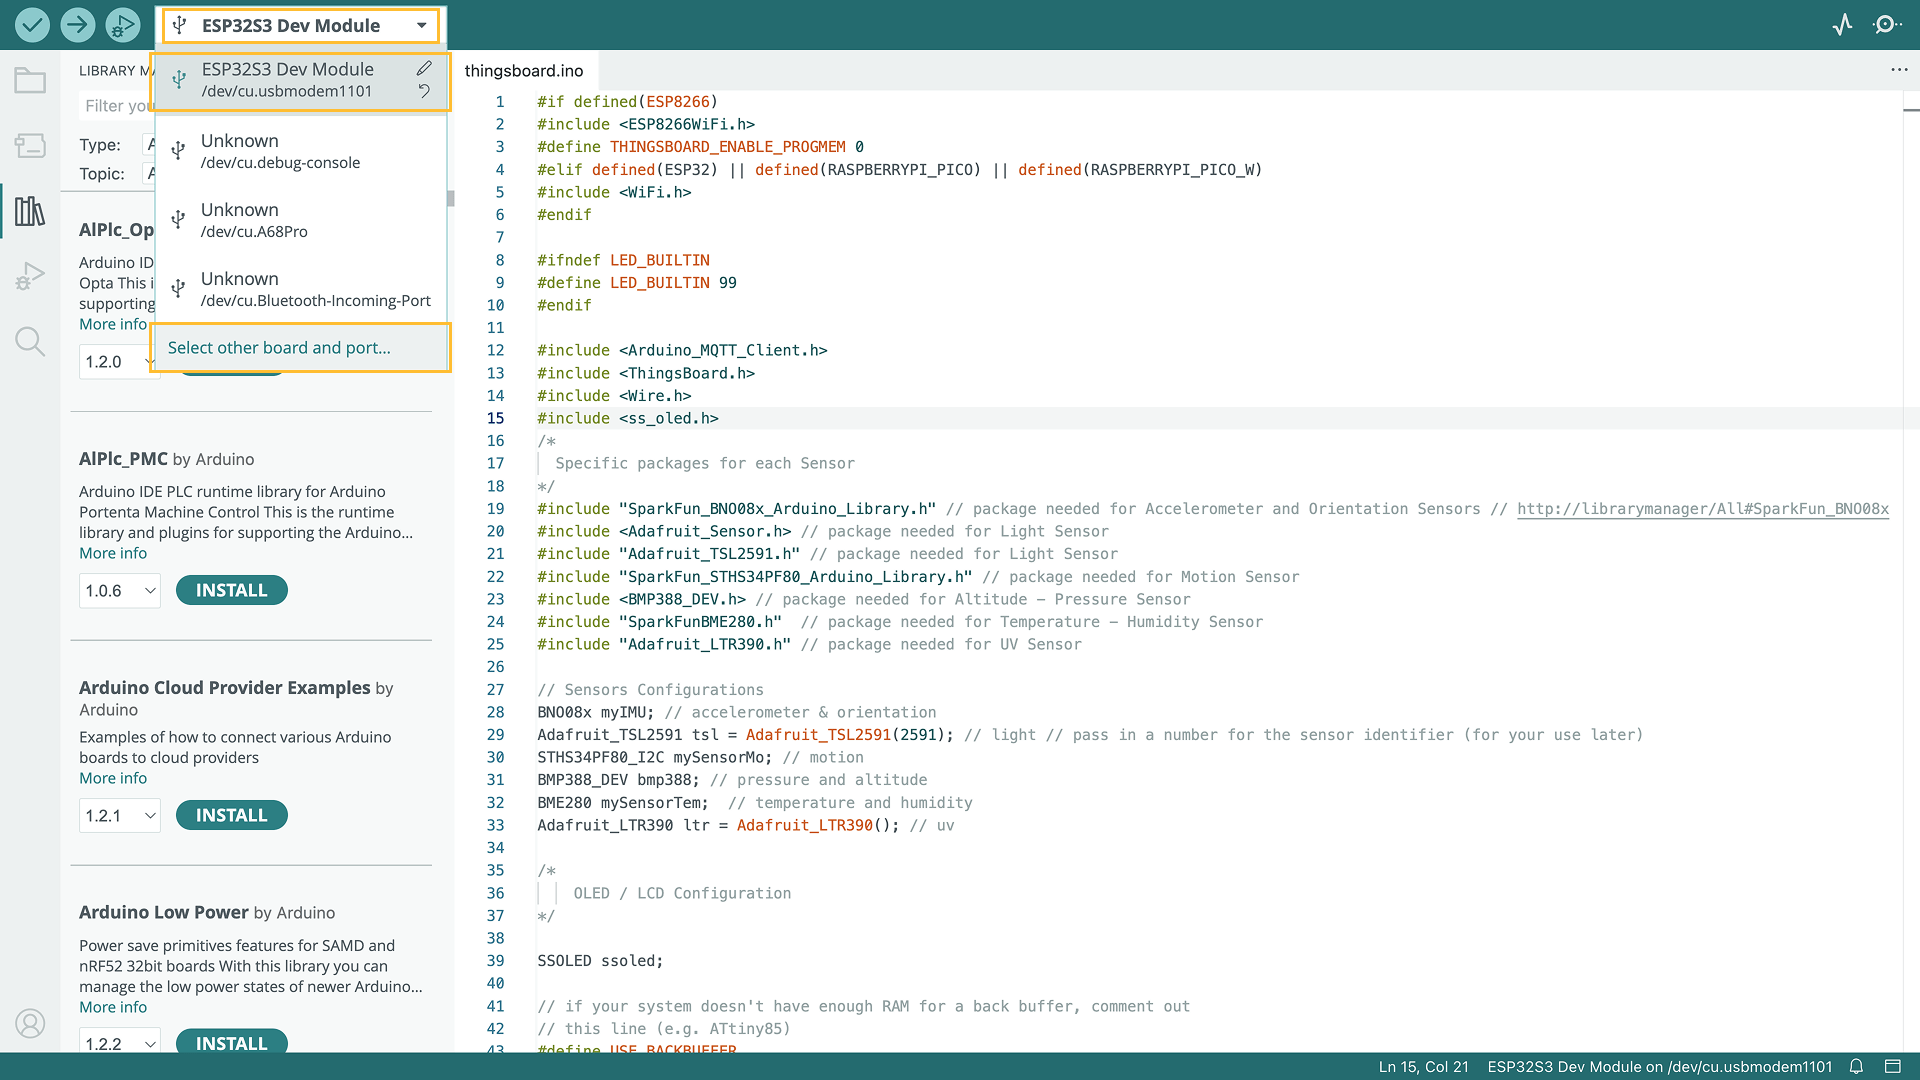
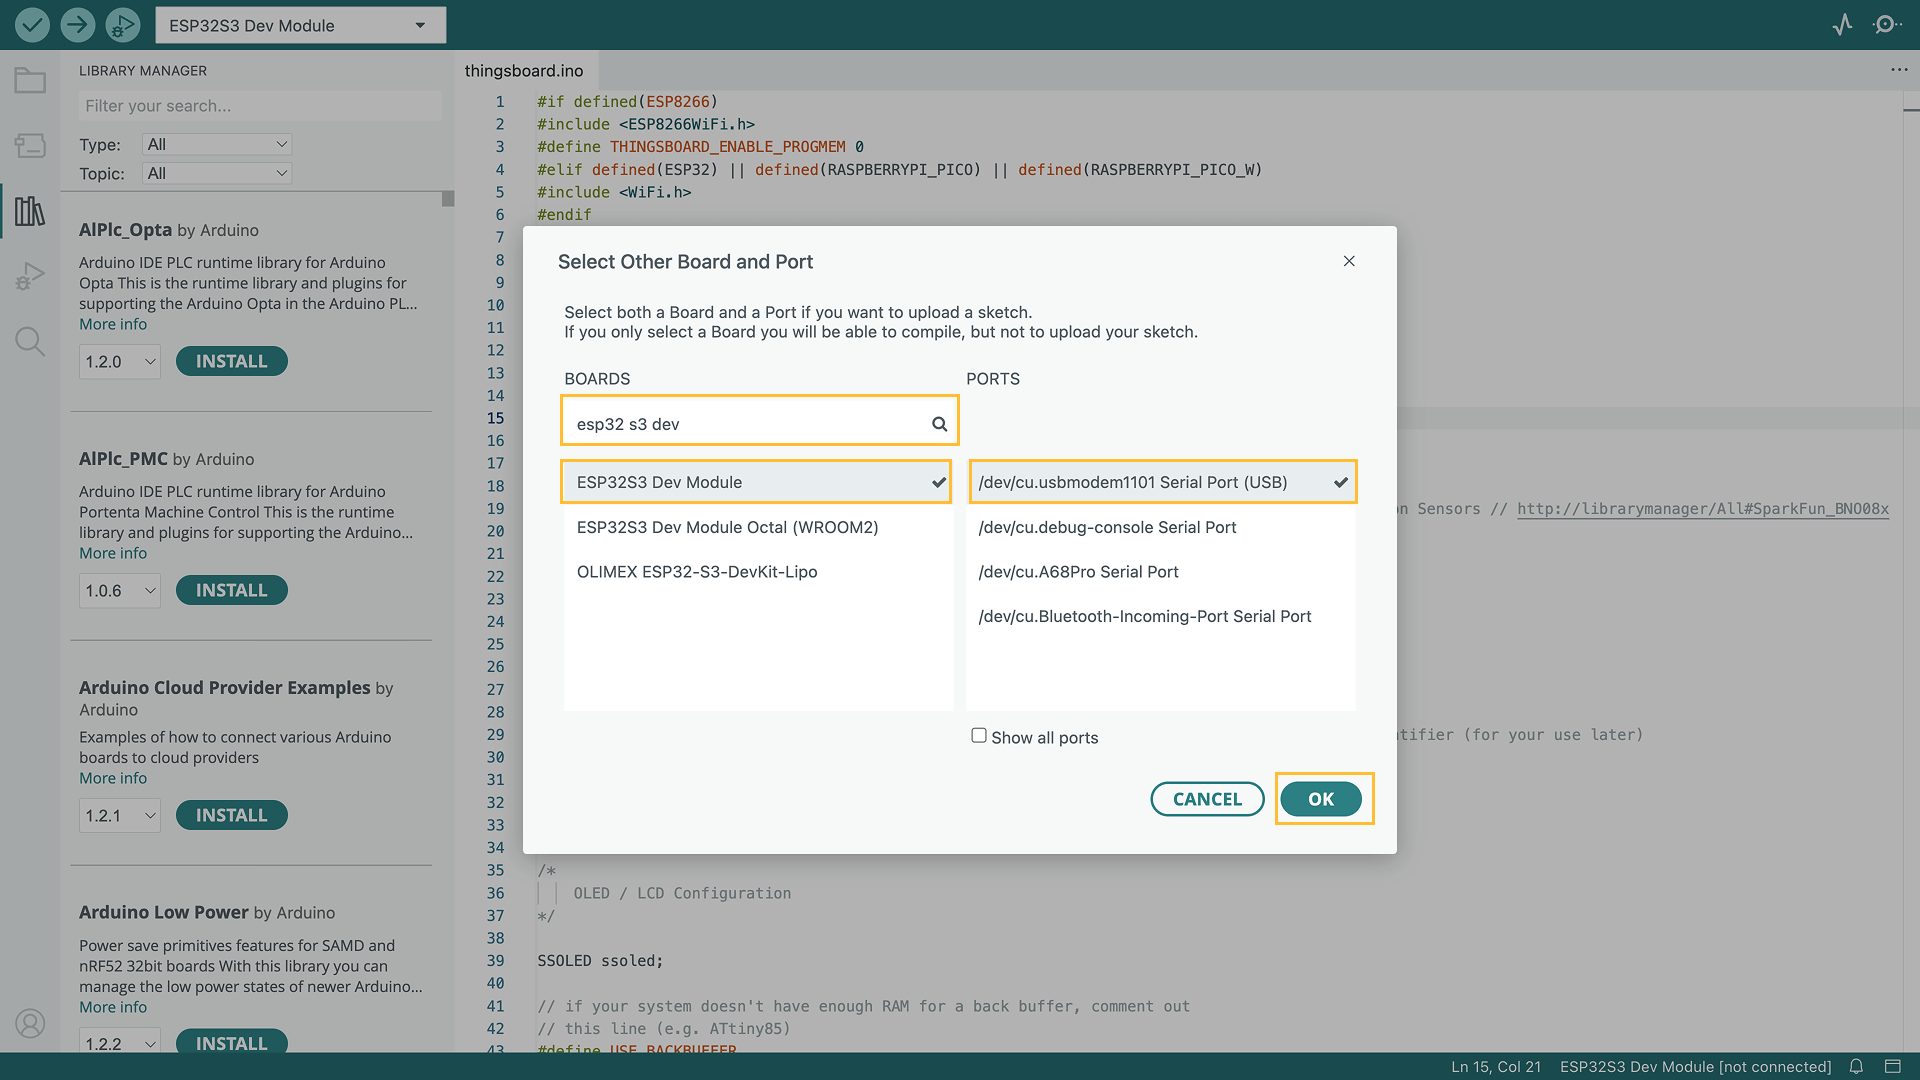
3. After the installation is complete, select the board by Board menu: Tools > Board > ESP32 > ESP32S3 Dev Module.
Connect the Sensy32 board to the computer using a USB cable and select the port for the device: Tools > Port > /dev/ttyUSB0.
Port depends on operation system and may be different:
- for Linux it will be /dev/ttyUSBX
- for MacOS it will be usb.serialX.. or usb.modemX..
-
for Windows - COMX.
- Where X - some number, that was assigned by your system.
4. To install the needed libraries - we will need to do the following steps:
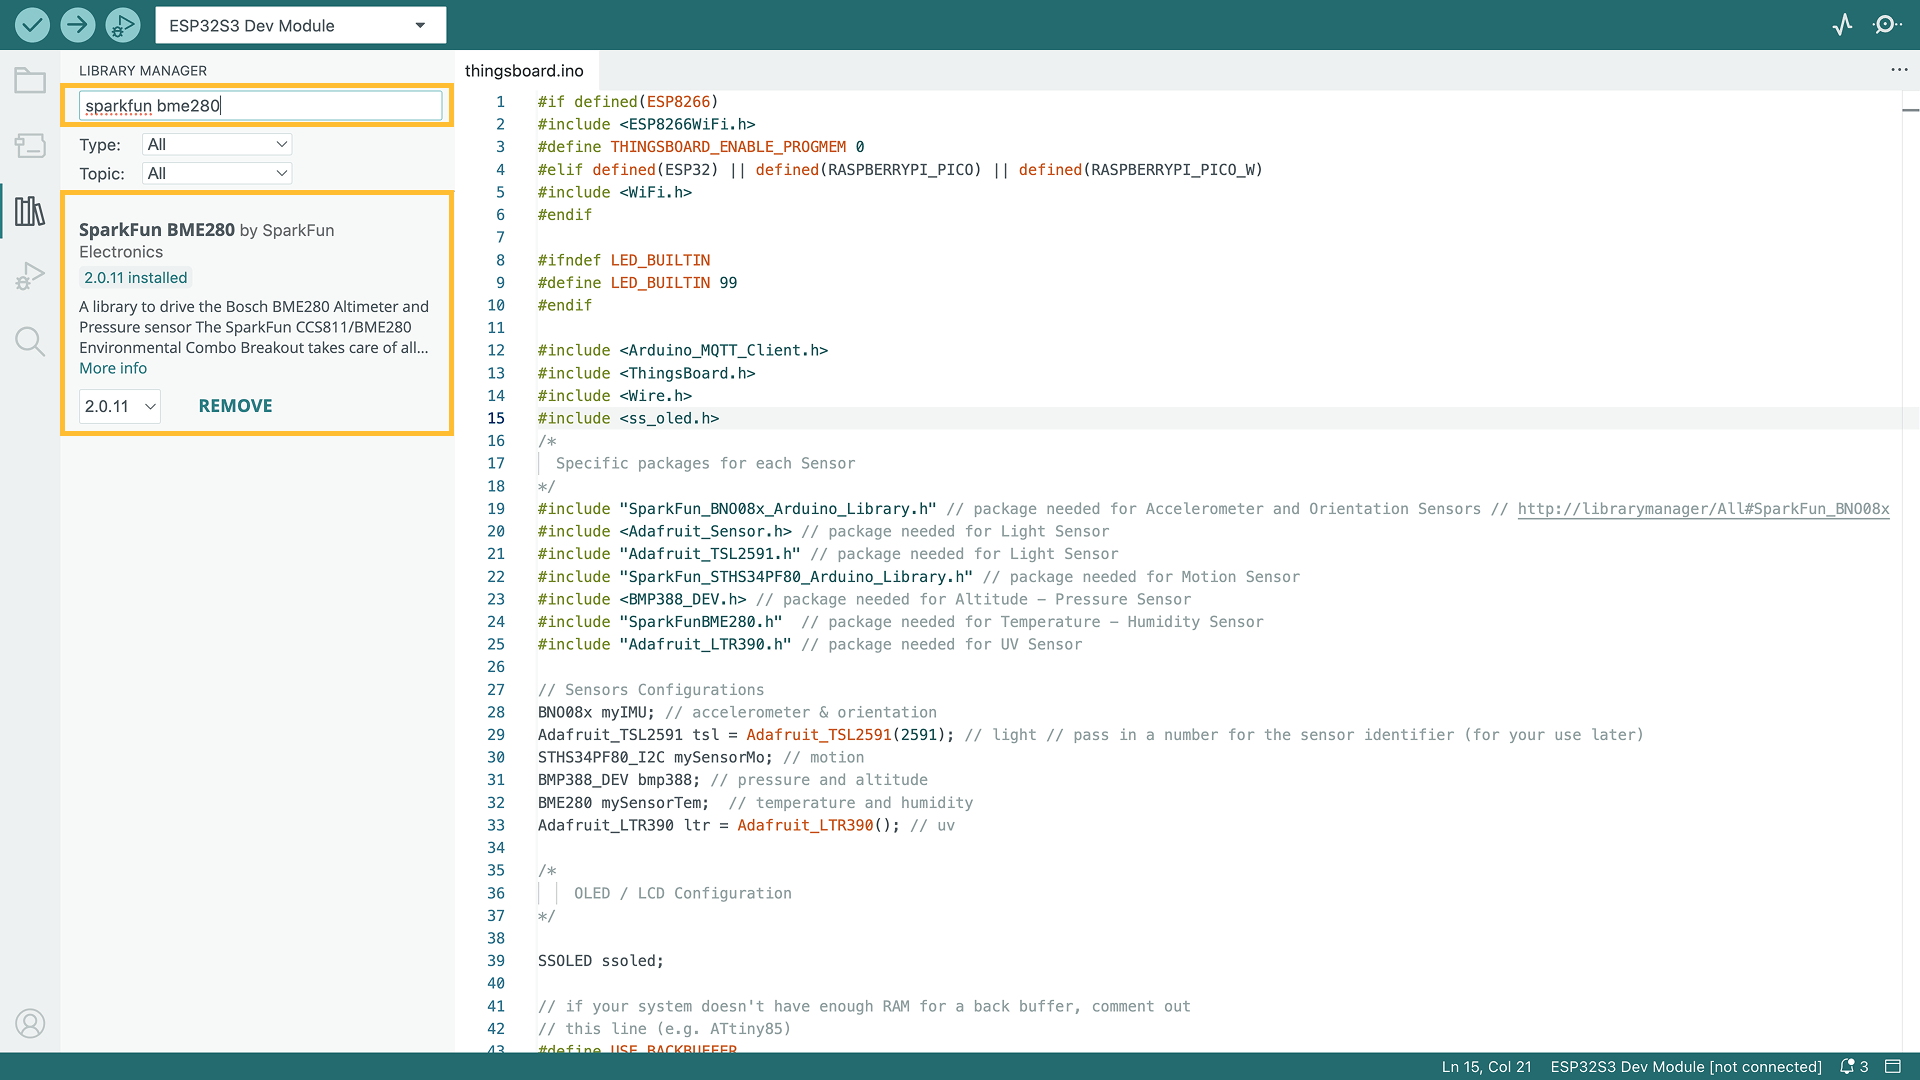
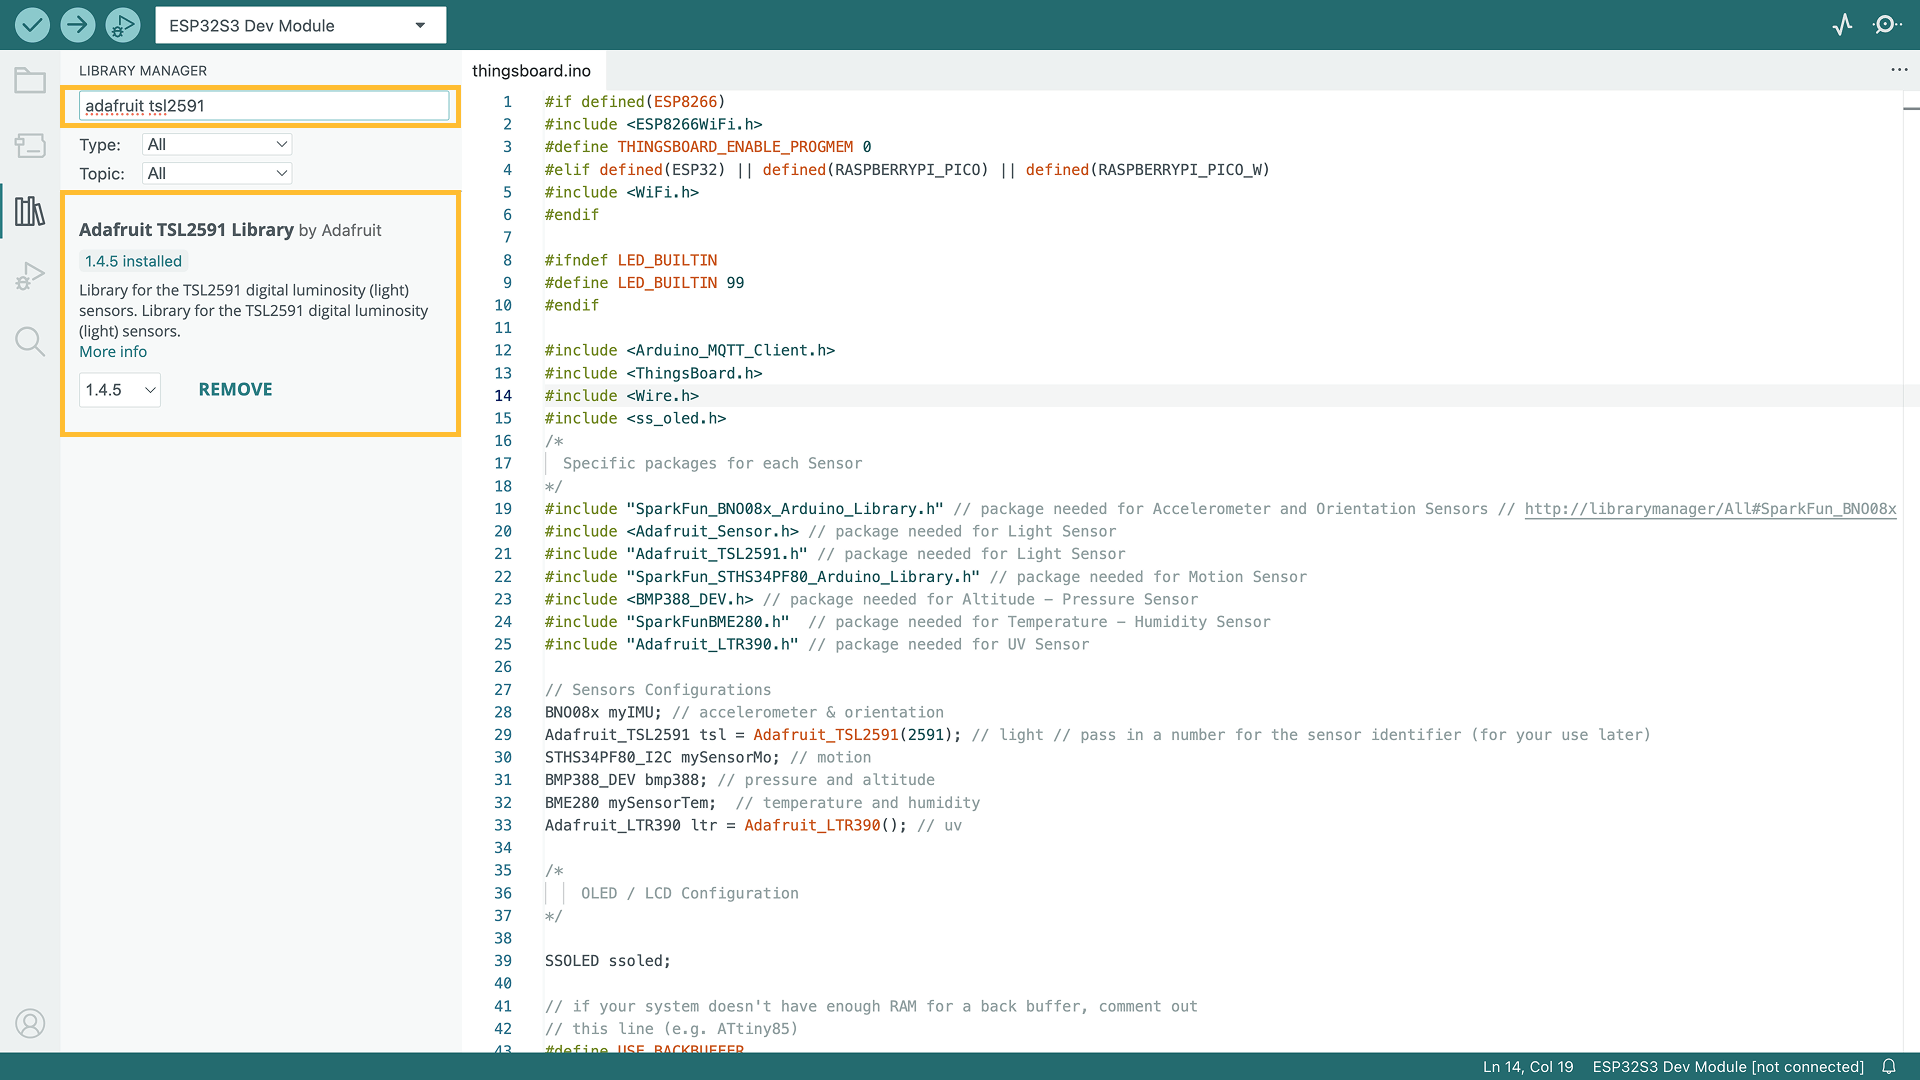
- Go to the Tools tab and click on Manage libraries.
- Enter the name of the following libraries in the search bar and click INSTALL: “ThingsBoard”, “ss_oled”, “Adafruit TSL259”, “SparkFun BNO08x”, “SparkFun STHS34PF80”, “BMP388_DEV”, “SparkFun BME280”, “Adafruit LTR390 Library”.
- If prompted to install library dependencies, simply click Install All to ensure all necessary libraries are installed.
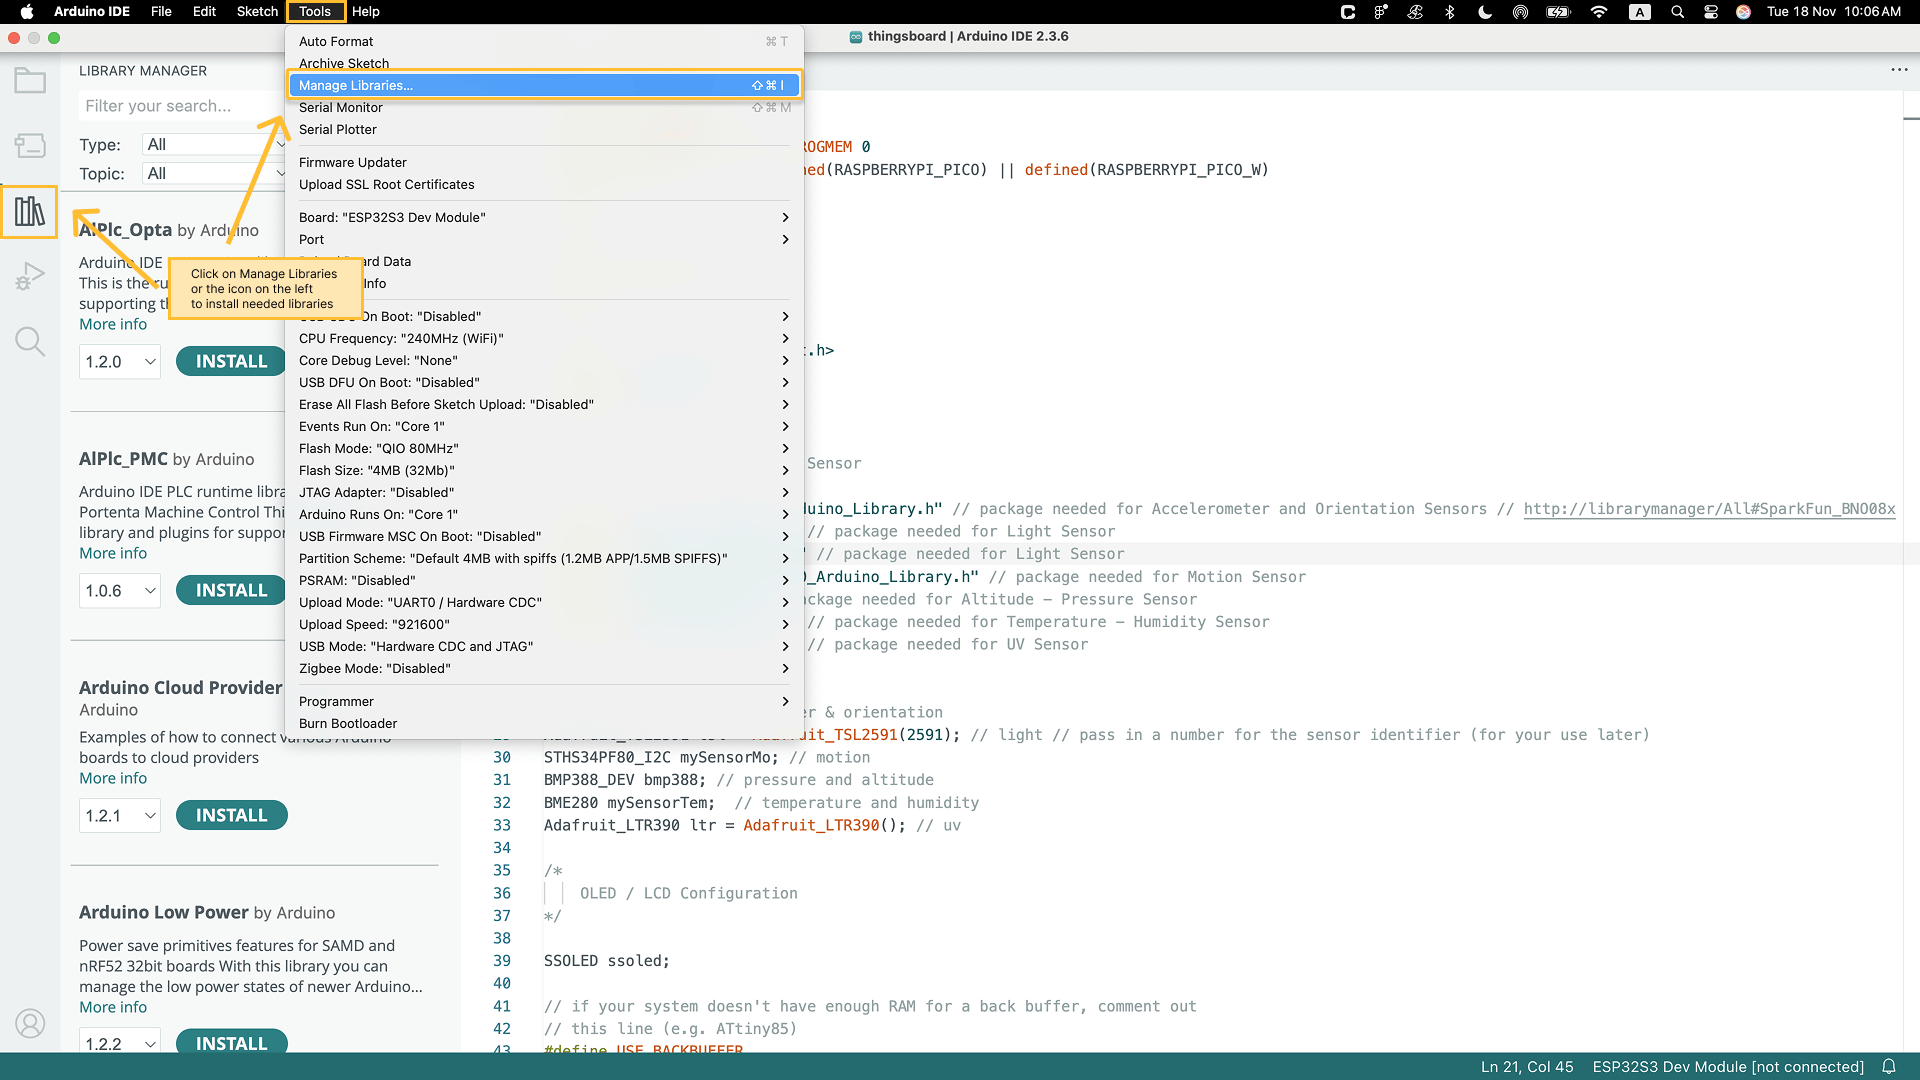
Go to the Tools tab and click on Manage libraries.
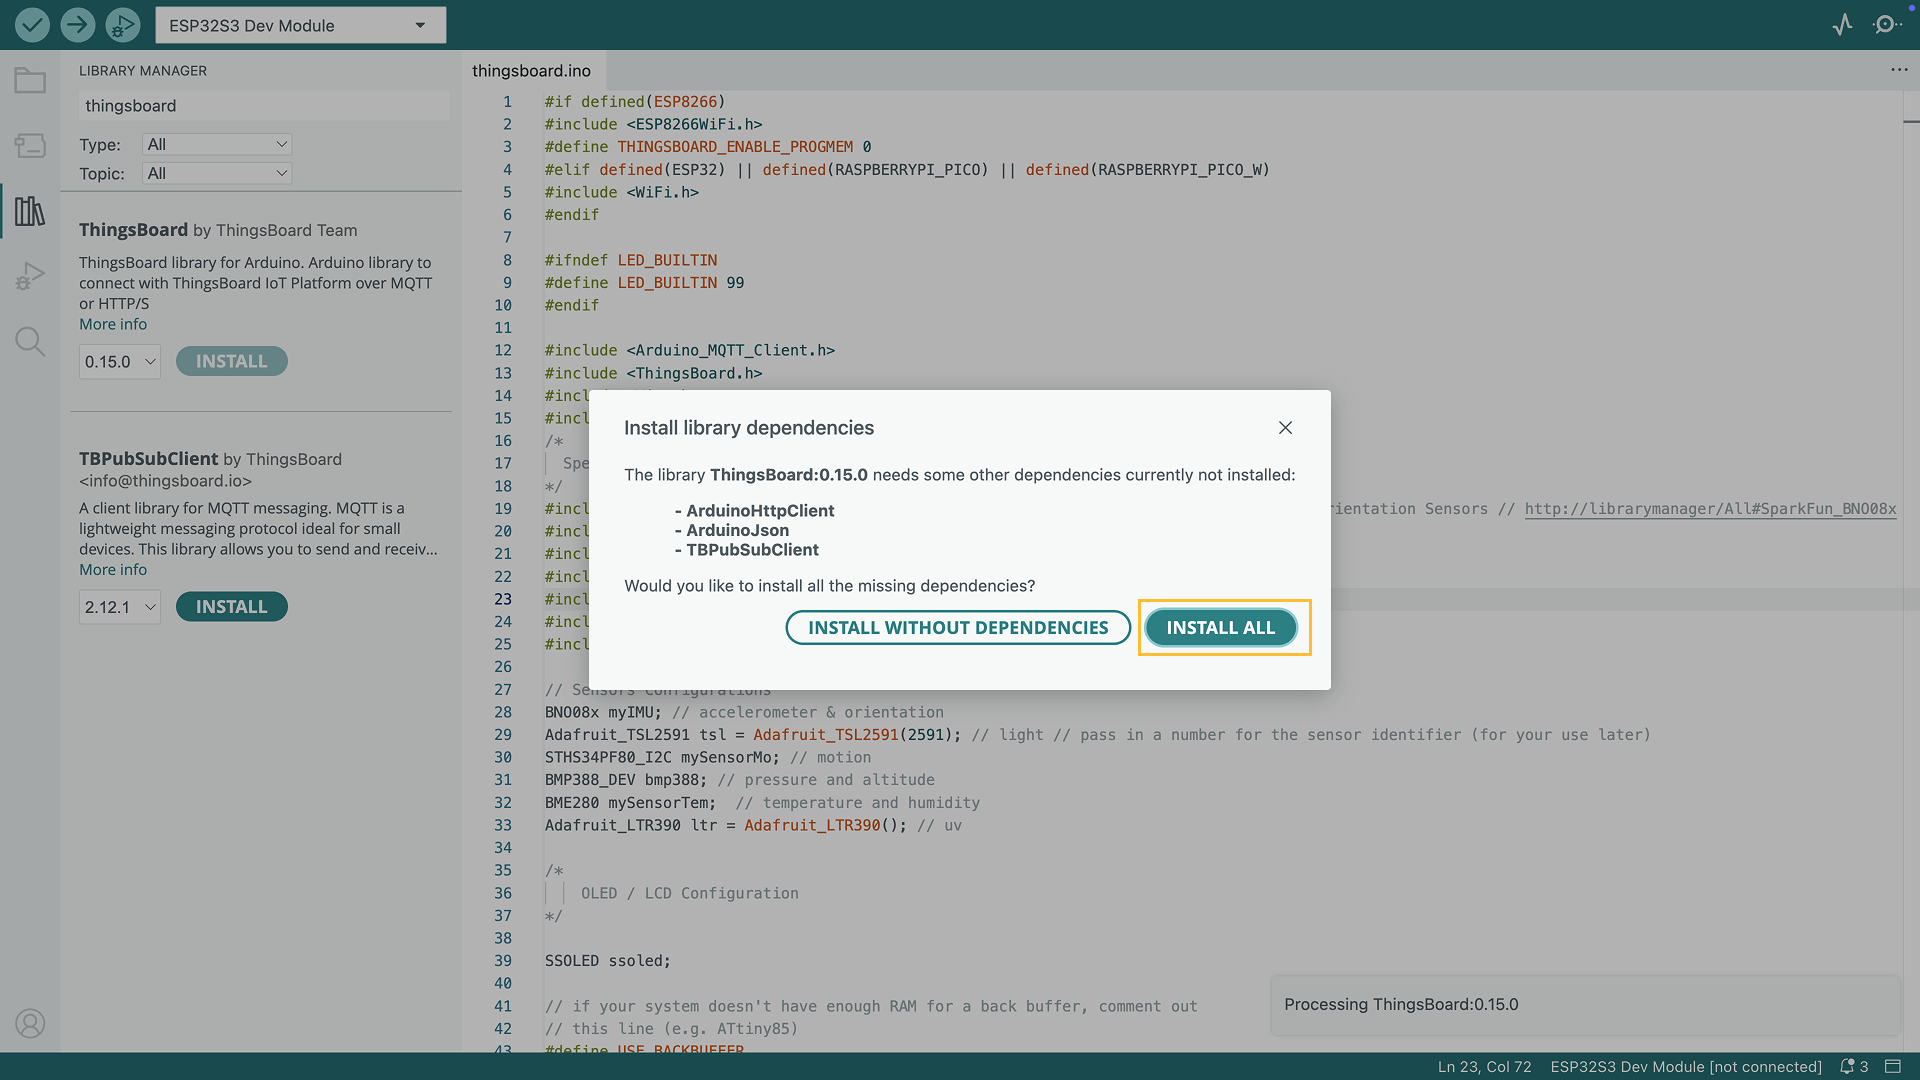
If prompted to install library dependencies, simply click Install All to ensure all necessary libraries are installed.
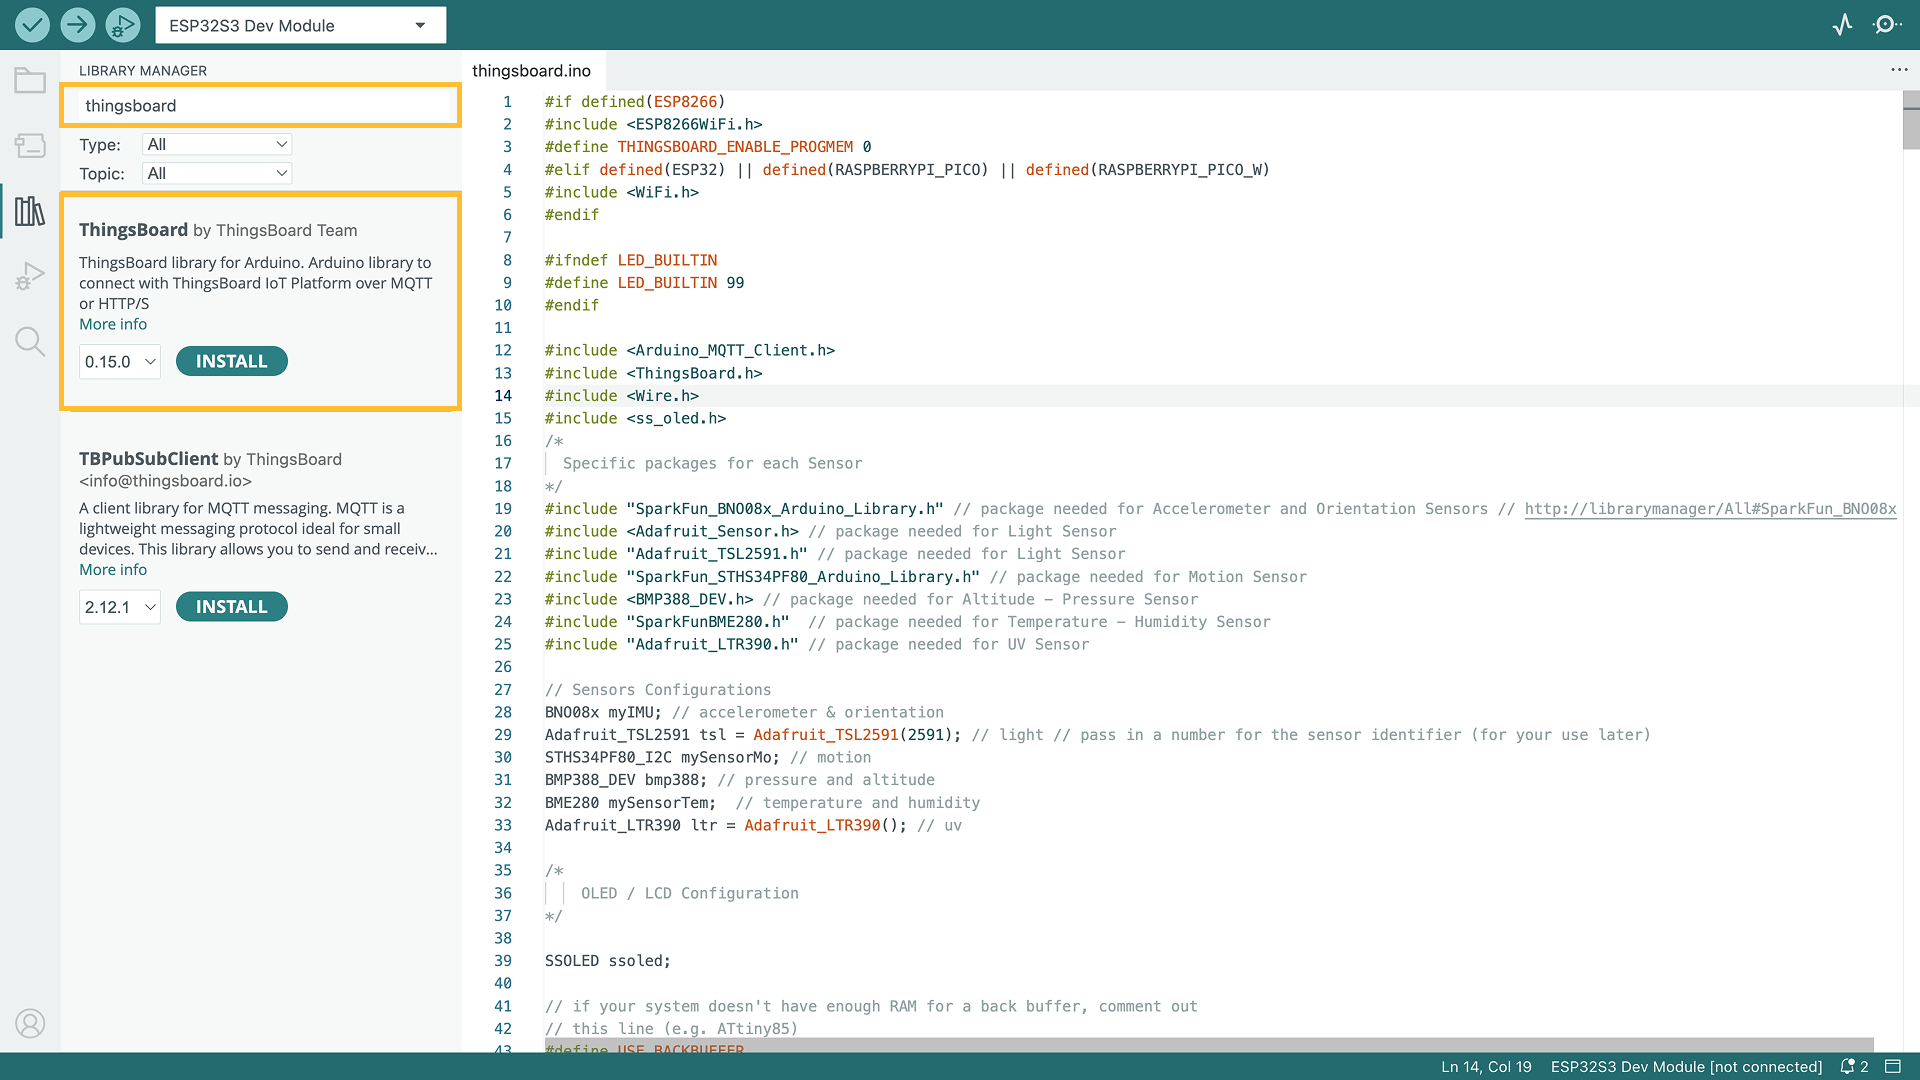
ThingsBoard: This is the ThingsBoard Arduino SDK, used to connect with the ThingsBoard Platform.
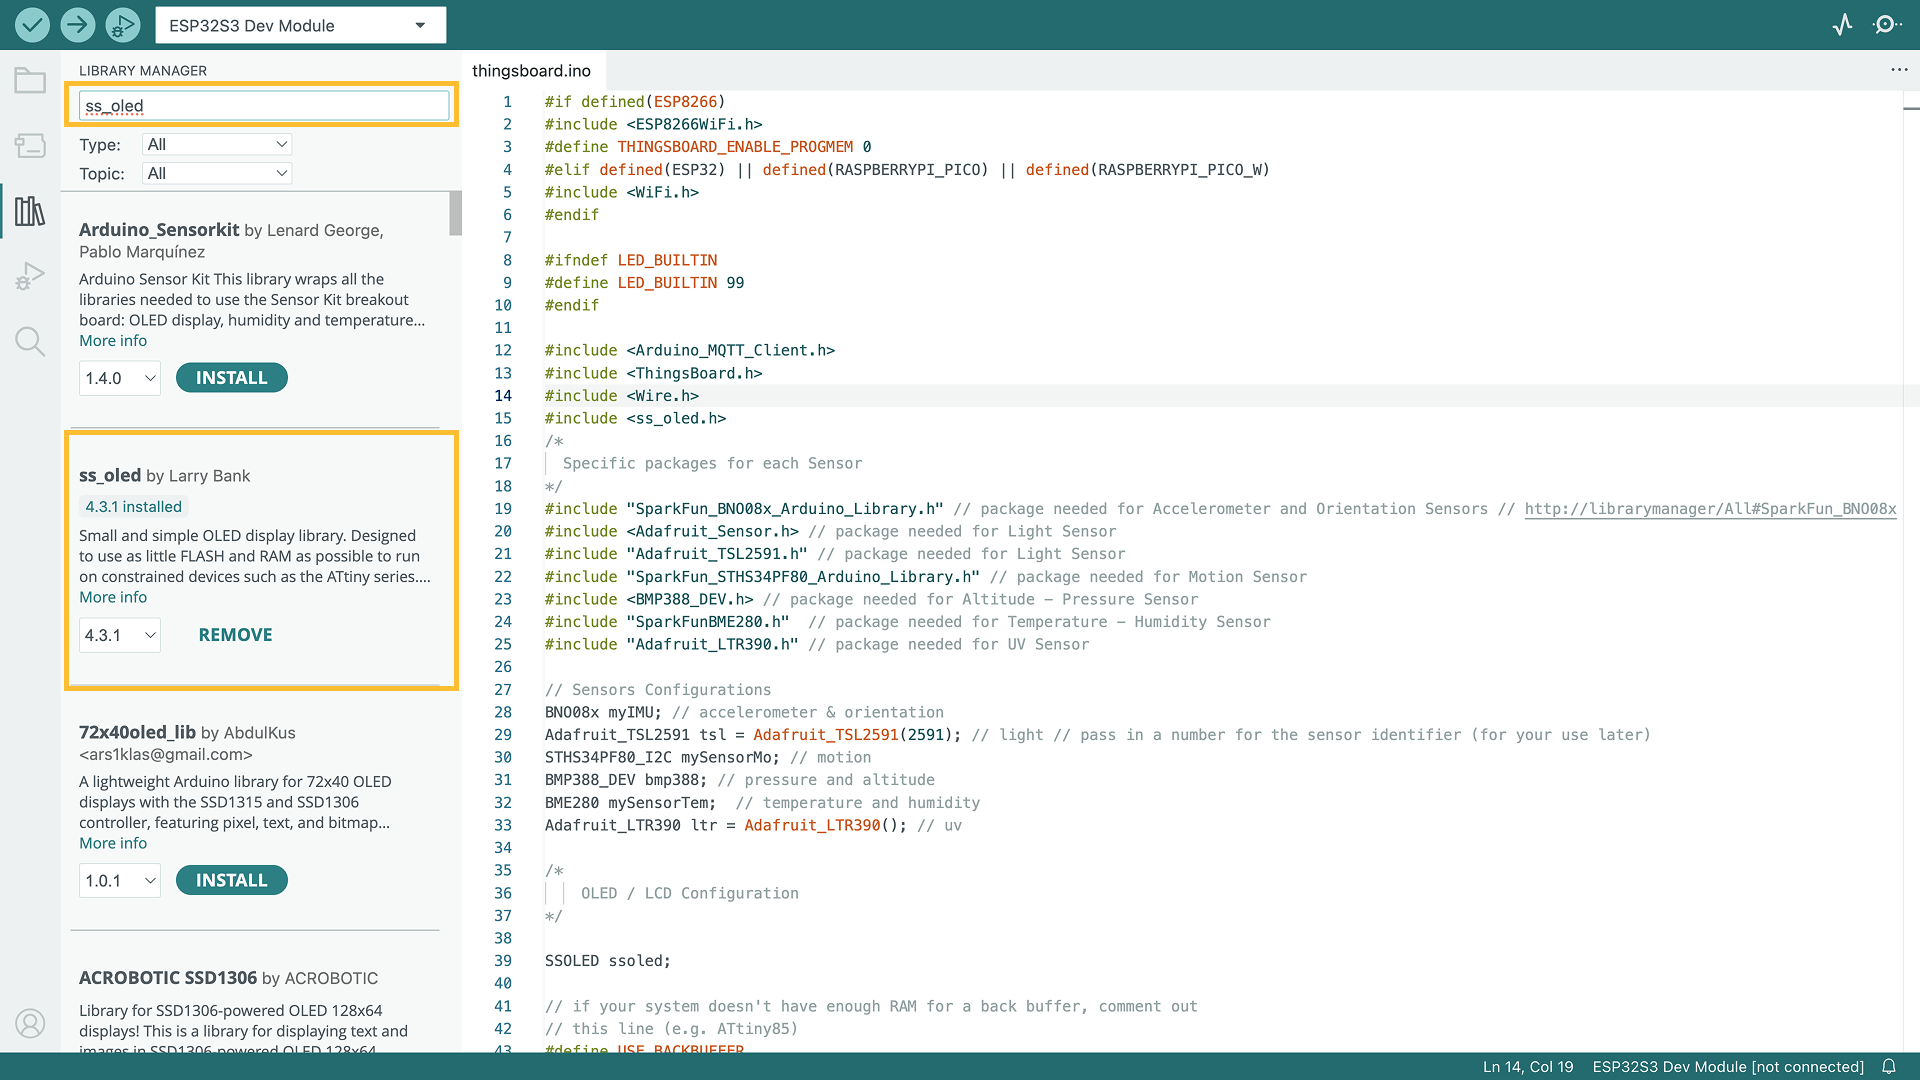
ss_oled.h: This library is used to configure and display data on the LCD screen.

Adafruit_LTR390.h: A library for communicating with the Adafruit_LTR390 UV sensor.
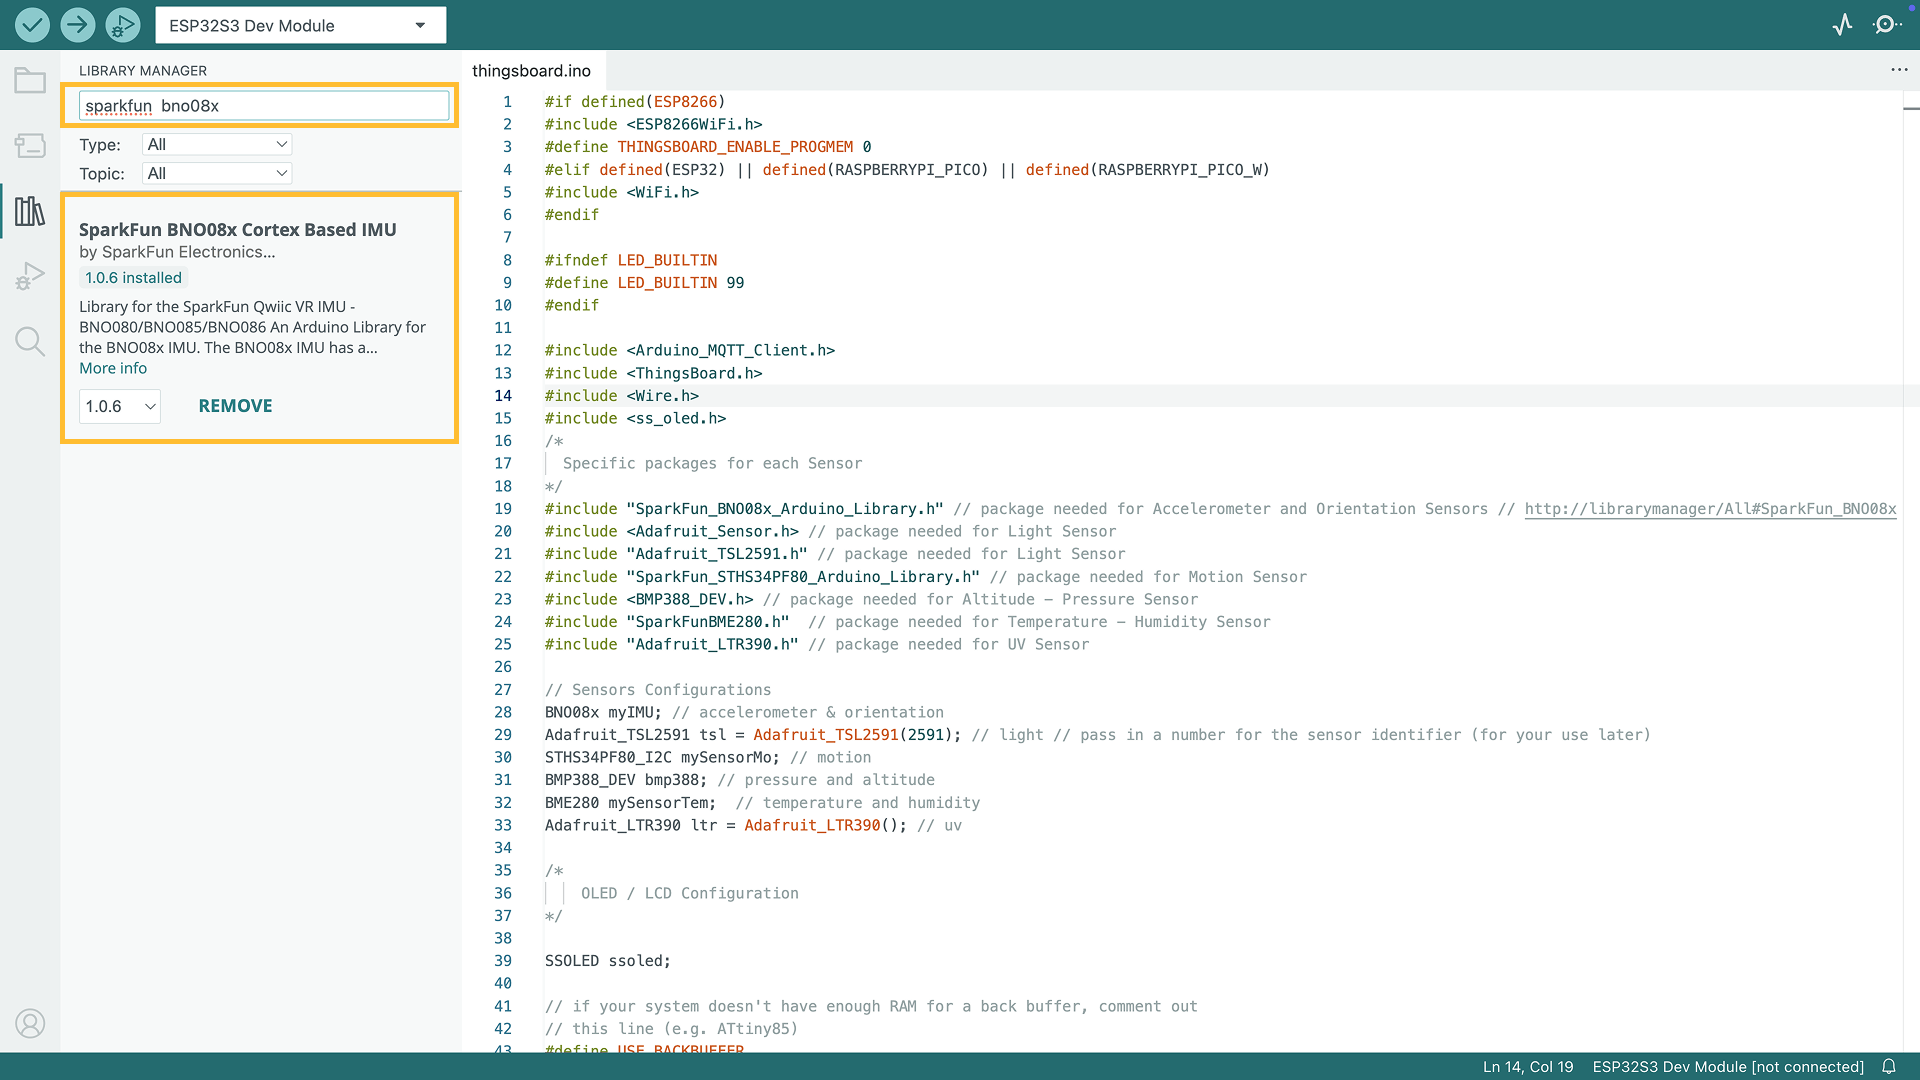
SparkFun_BNO08x_Arduino_Library.h: Simplifies interfacing with BNO08x series sensors in Arduino projects.

SparkFun_STHS34PF80_Arduino_Library.h: Simplifies interfacing with the STHS34PF80 sensor in Arduino projects.

BMP388_DEV.h: This library facilitates interaction with the BMP388 sensor module.
SparkFunBME280.h: This library helps work with the SparkFun BME280 sensor, allowing you to read temperature, humidity, and pressure data.
Adafruit_TSL2591.h: A library for communicating with the Adafruit_TSL2591 Light sensor.
Let's dive deeper to see what are these libraries are used for:
- ThingsBoard: This is the ThingsBoard Arduino SDK, used to connect with the ThingsBoard Platform.
- ss_oled.h: This library is used to configure and display data on the LCD screen.
- SparkFunBME280.h: This library helps work with the SparkFun BME280 sensor, allowing you to read temperature, humidity, and pressure data.
- BMP388_DEV.h: This library facilitates interaction with the BMP388 sensor module.
- Adafruit_LTR390.h: A library for communicating with the Adafruit_LTR390 UV sensor.
- Adafruit_TSL2591.h: A library for communicating with the Adafruit_TSL2591 Light sensor.
- Adafruit_Sensor.h: Provides common functionality for working without various sensors, simplifying sensor integration in projects.
- SparkFun_BNO08x_Arduino_Library.h: Simplifies interfacing with BNO08x series sensors in Arduino projects.
- SparkFun_STHS34PF80_Arduino_Library.h: Simplifies interfacing with the STHS34PF80 sensor in Arduino projects.
Please note: All provided code examples require ThingsBoard Library version 0.14.0
At this point, we have installed all required libraries and tools.
Create device on ThingsBoard
For simplicity, we will provide the device manually using the UI.
-
Log in to your ThingsBoard instance and go to the Entities > Devices section.
-
Click the “+” button in the top-right corner and select Add new device.
-
Enter a device name, for example “My New Device”. You can leave all other fields with their default values. Click Add to add the device.
-
Your first device has been added.

Log in to your ThingsBoard instance and go to the Entities > Devices section.

Click the “+” button in the top-right corner and select Add new device.

Enter a device name, for example “My New Device”. You can leave all other fields with their default values. Click Add to add the device.

Your first device has been added.
Connect device to ThingsBoard
To connect your device, you’ll first need to get its credentials. While ThingsBoard supports a variety of device credentials, for this guide, we will use the default auto-generated credentials, which is an access token.
-
Click on the device row in the table to open device details.
-
Click Copy access token. The token will be copied to your clipboard. Please save it in a safe place.
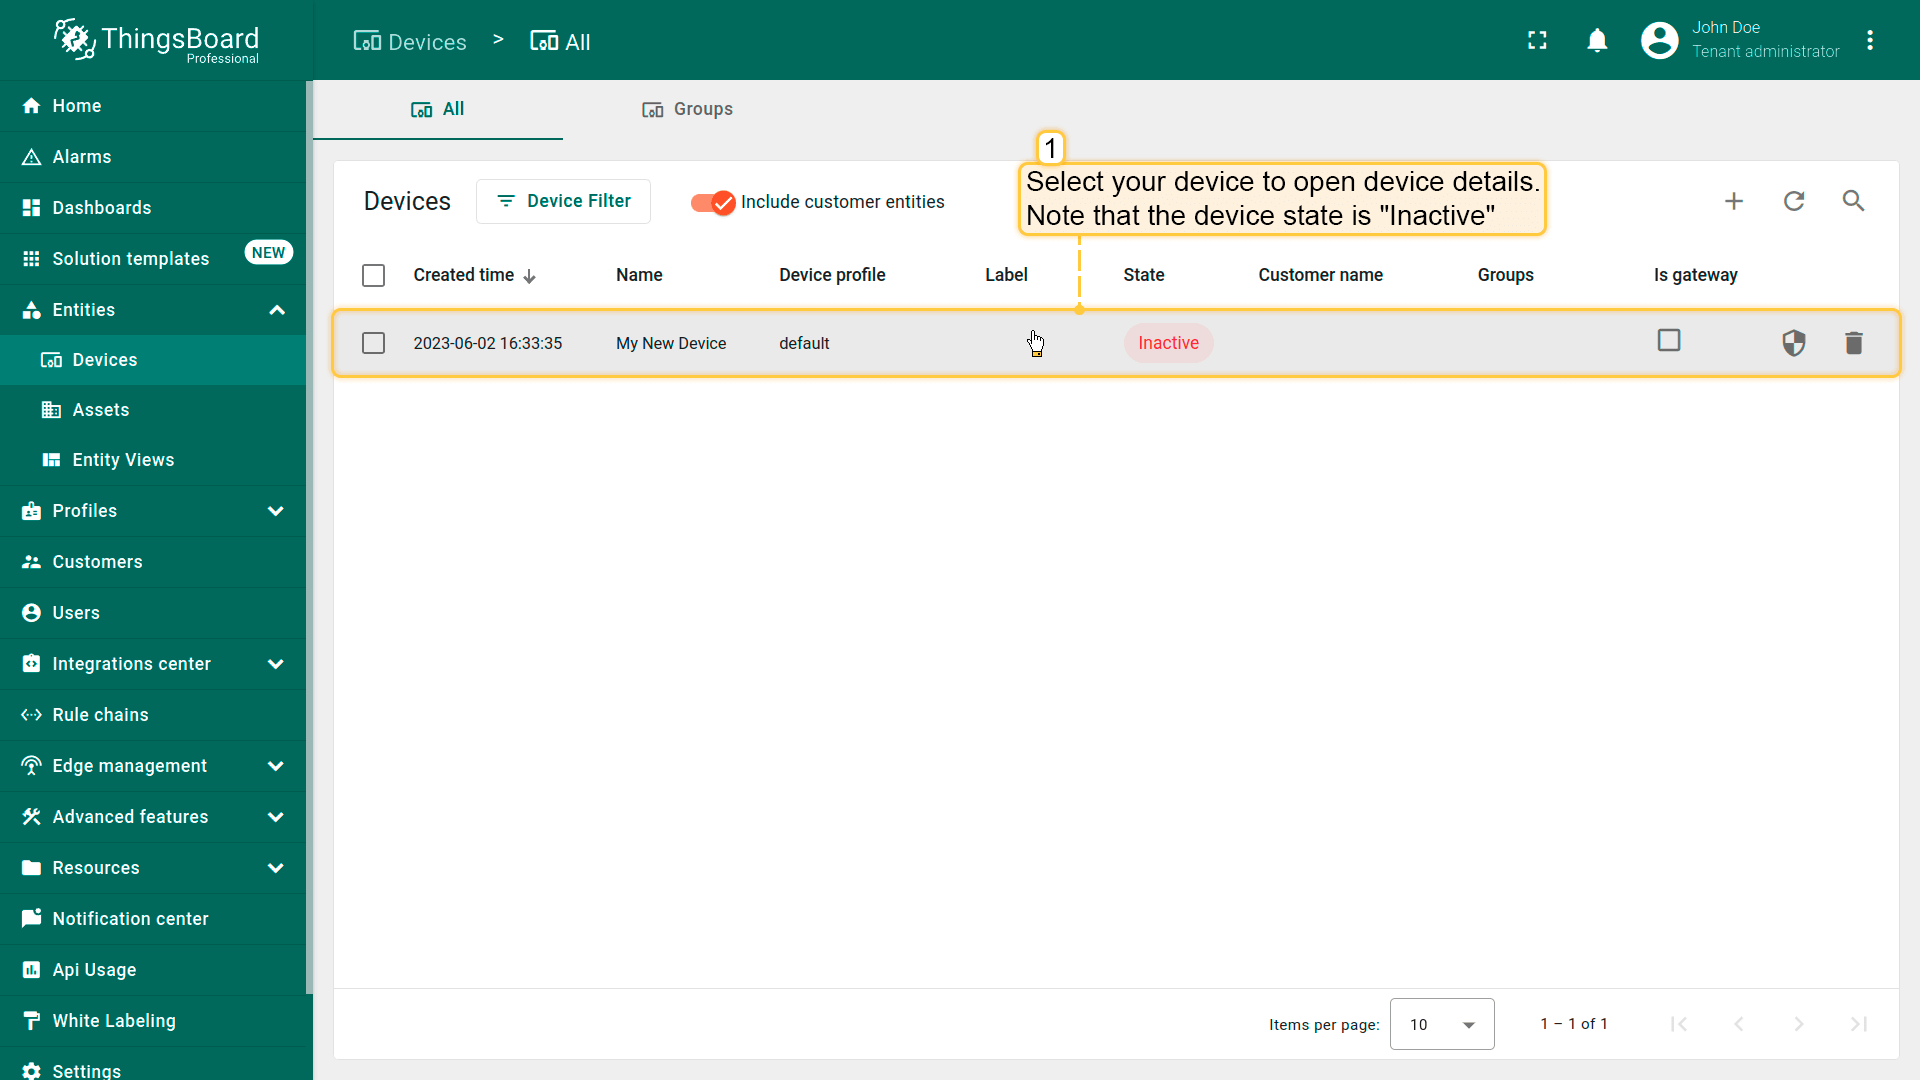
Click on the device row in the table to open device details.
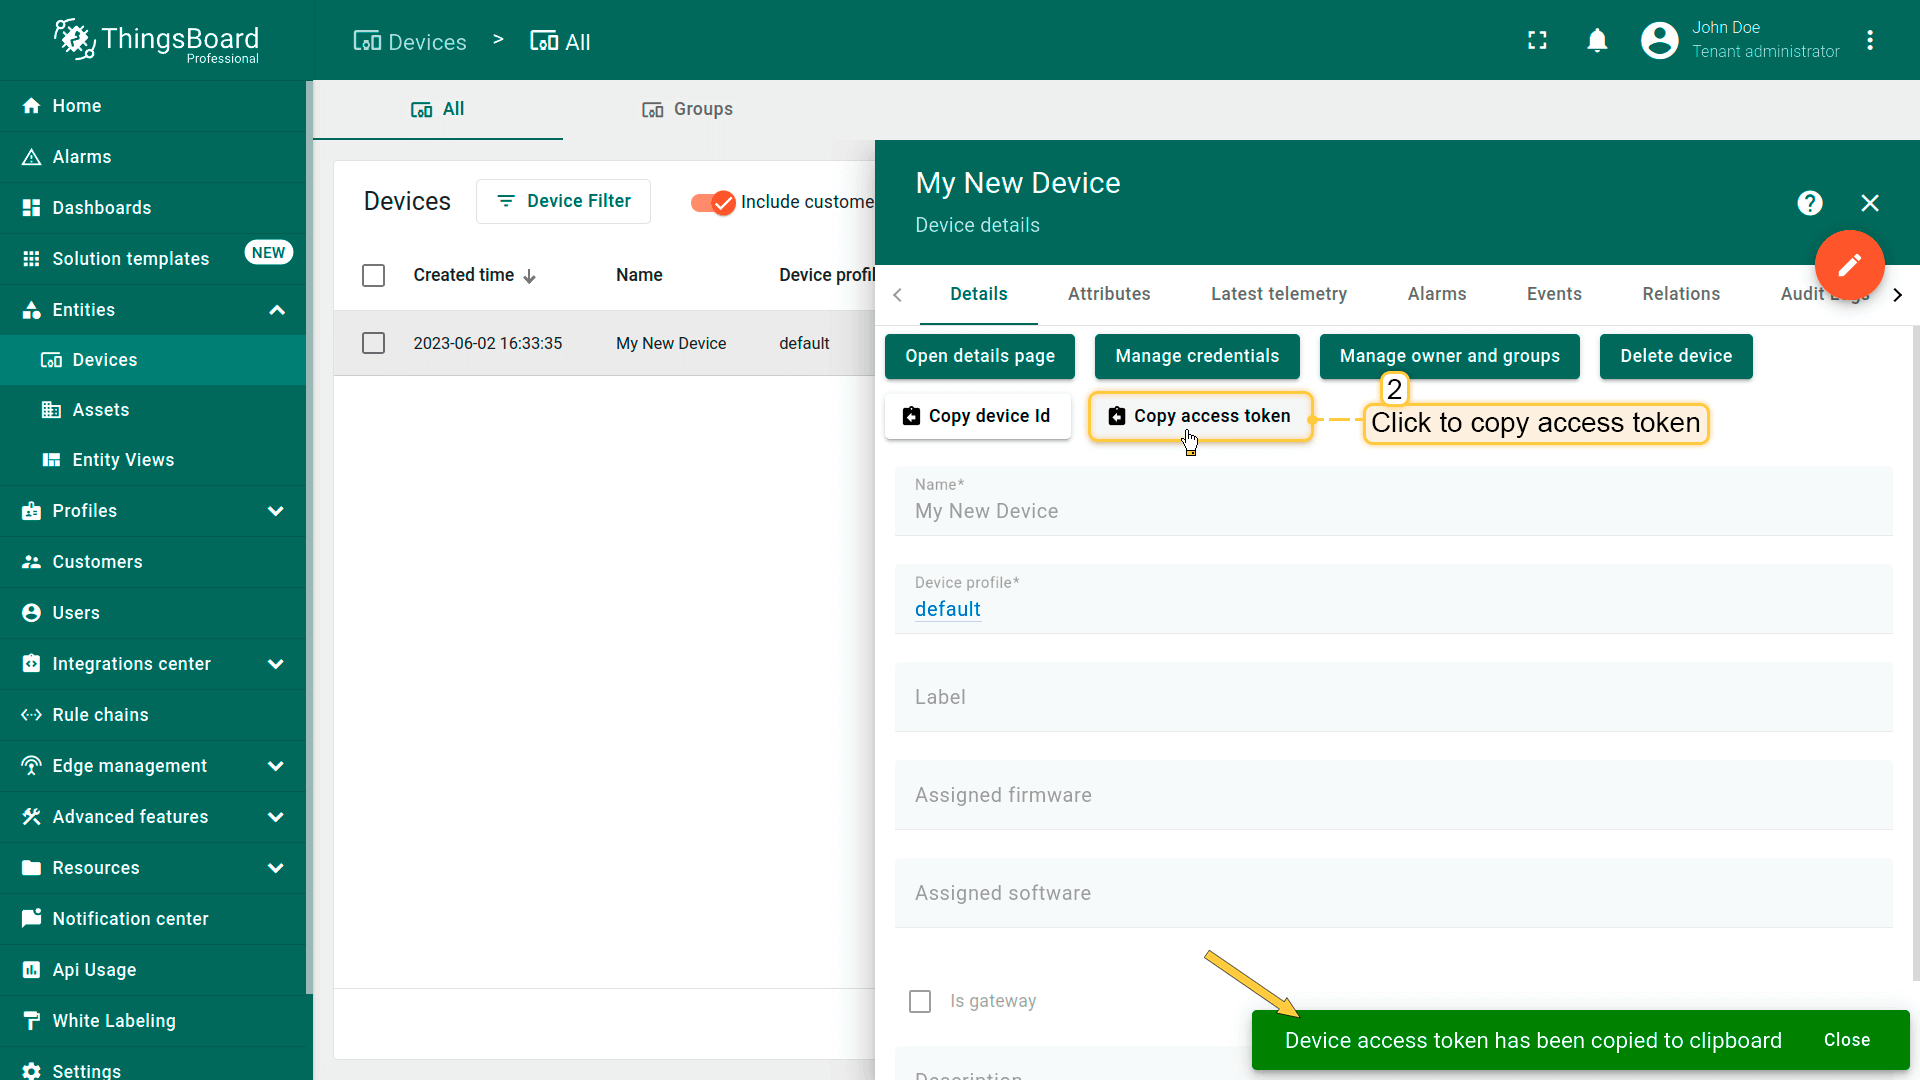
Click Copy access token. The token will be copied to your clipboard. Please save it in a safe place.
Now it's time to program the board to read data, display it on the Sensy board LCD screen, and connect to ThingsBoard.
To do this, you can use the code below. It contains all required functionality for this guide.
Click to download the source code: thingsboard.ino
⚠️ Don't forget to replace placeholders with your real WiFi network SSID, password, ThingsBoard device access token.
1
2
3
4
5
constexpr char WIFI_SSID[] = "YOUR_WIFI_SSID";

constexpr char WIFI_PASSWORD[] = "YOUR_WIFI_PASSWORD";

constexpr char TOKEN[] = "YOUR_ACCESS_TOKEN";
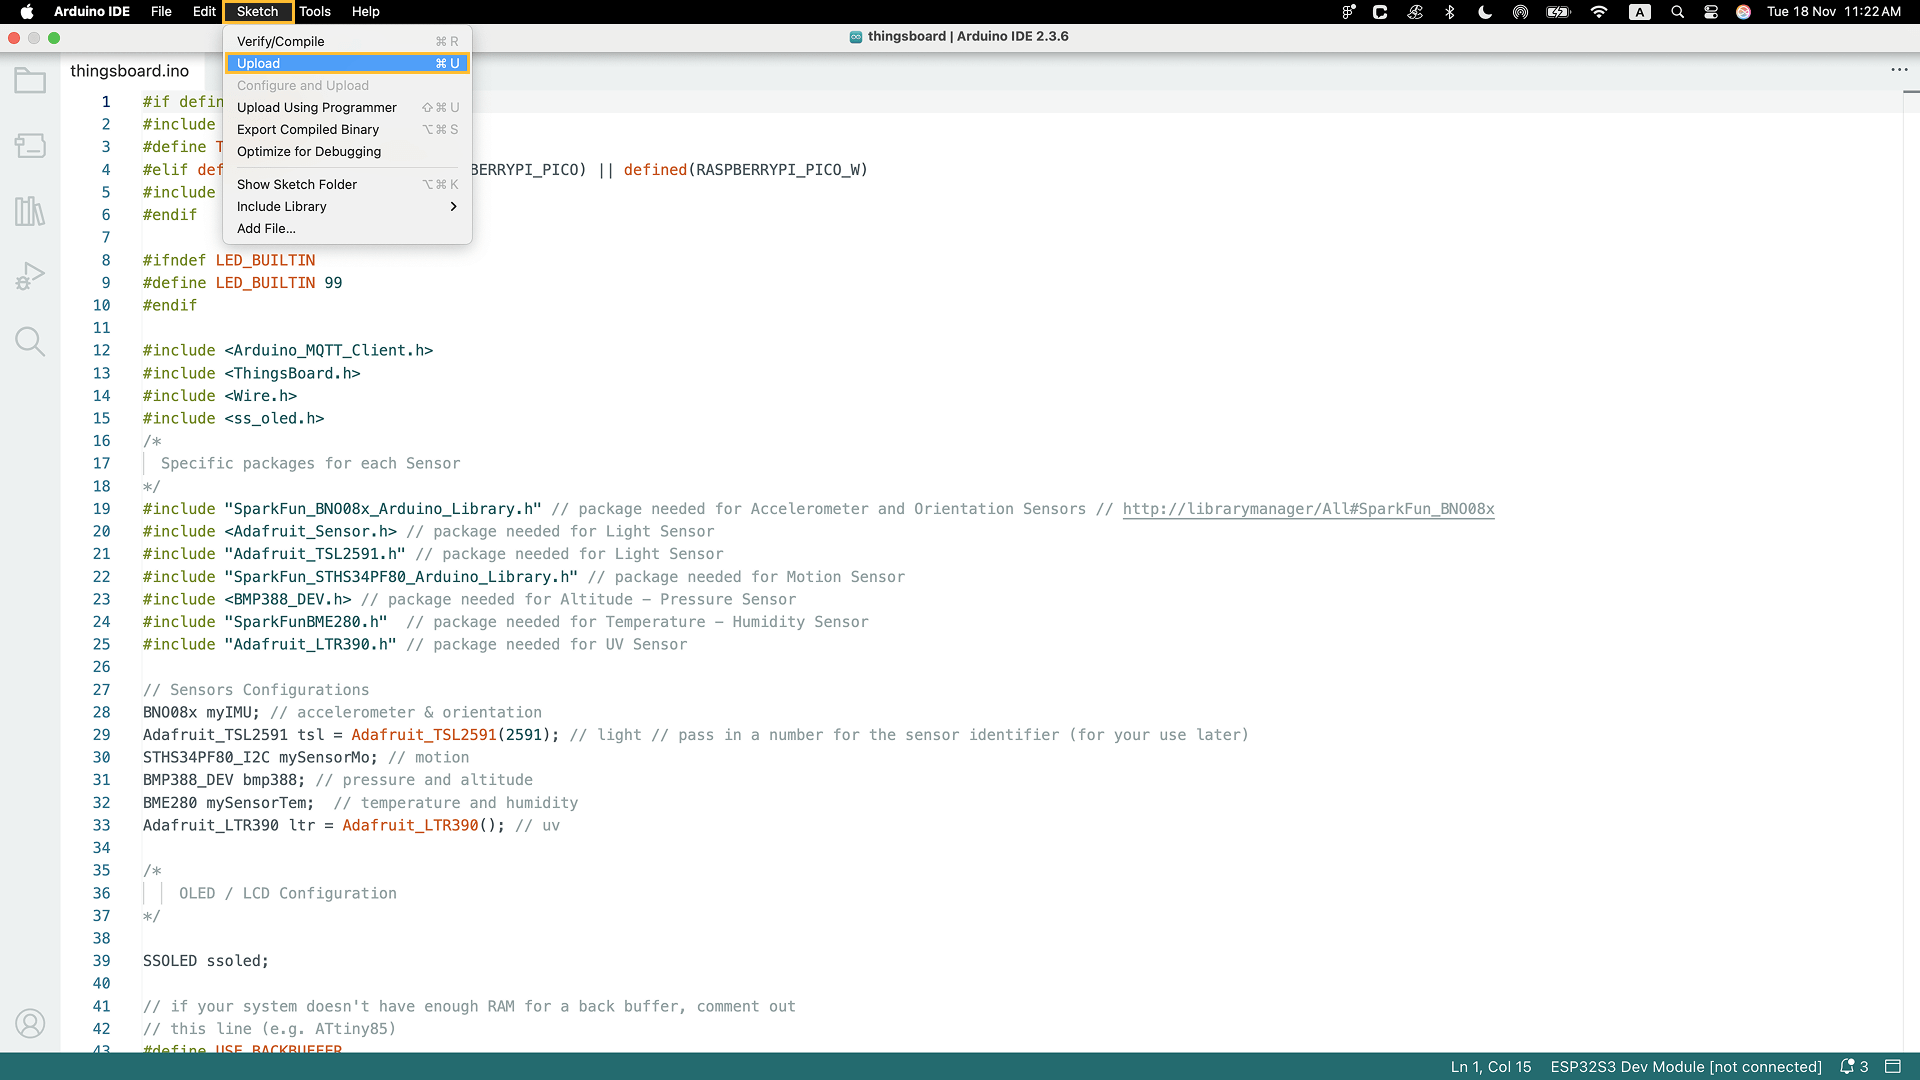
Then upload the code to the device by pressing the Upload button or keyboard combination Ctrl+U.
If you cannot upload the code and receive an error: Property 'upload.tool.serial' is undefined you can do the following:
-
Go to Tools > Programmer and select Esptool as a programmer.
-
Go to Sketch > Upload Using Programmer.
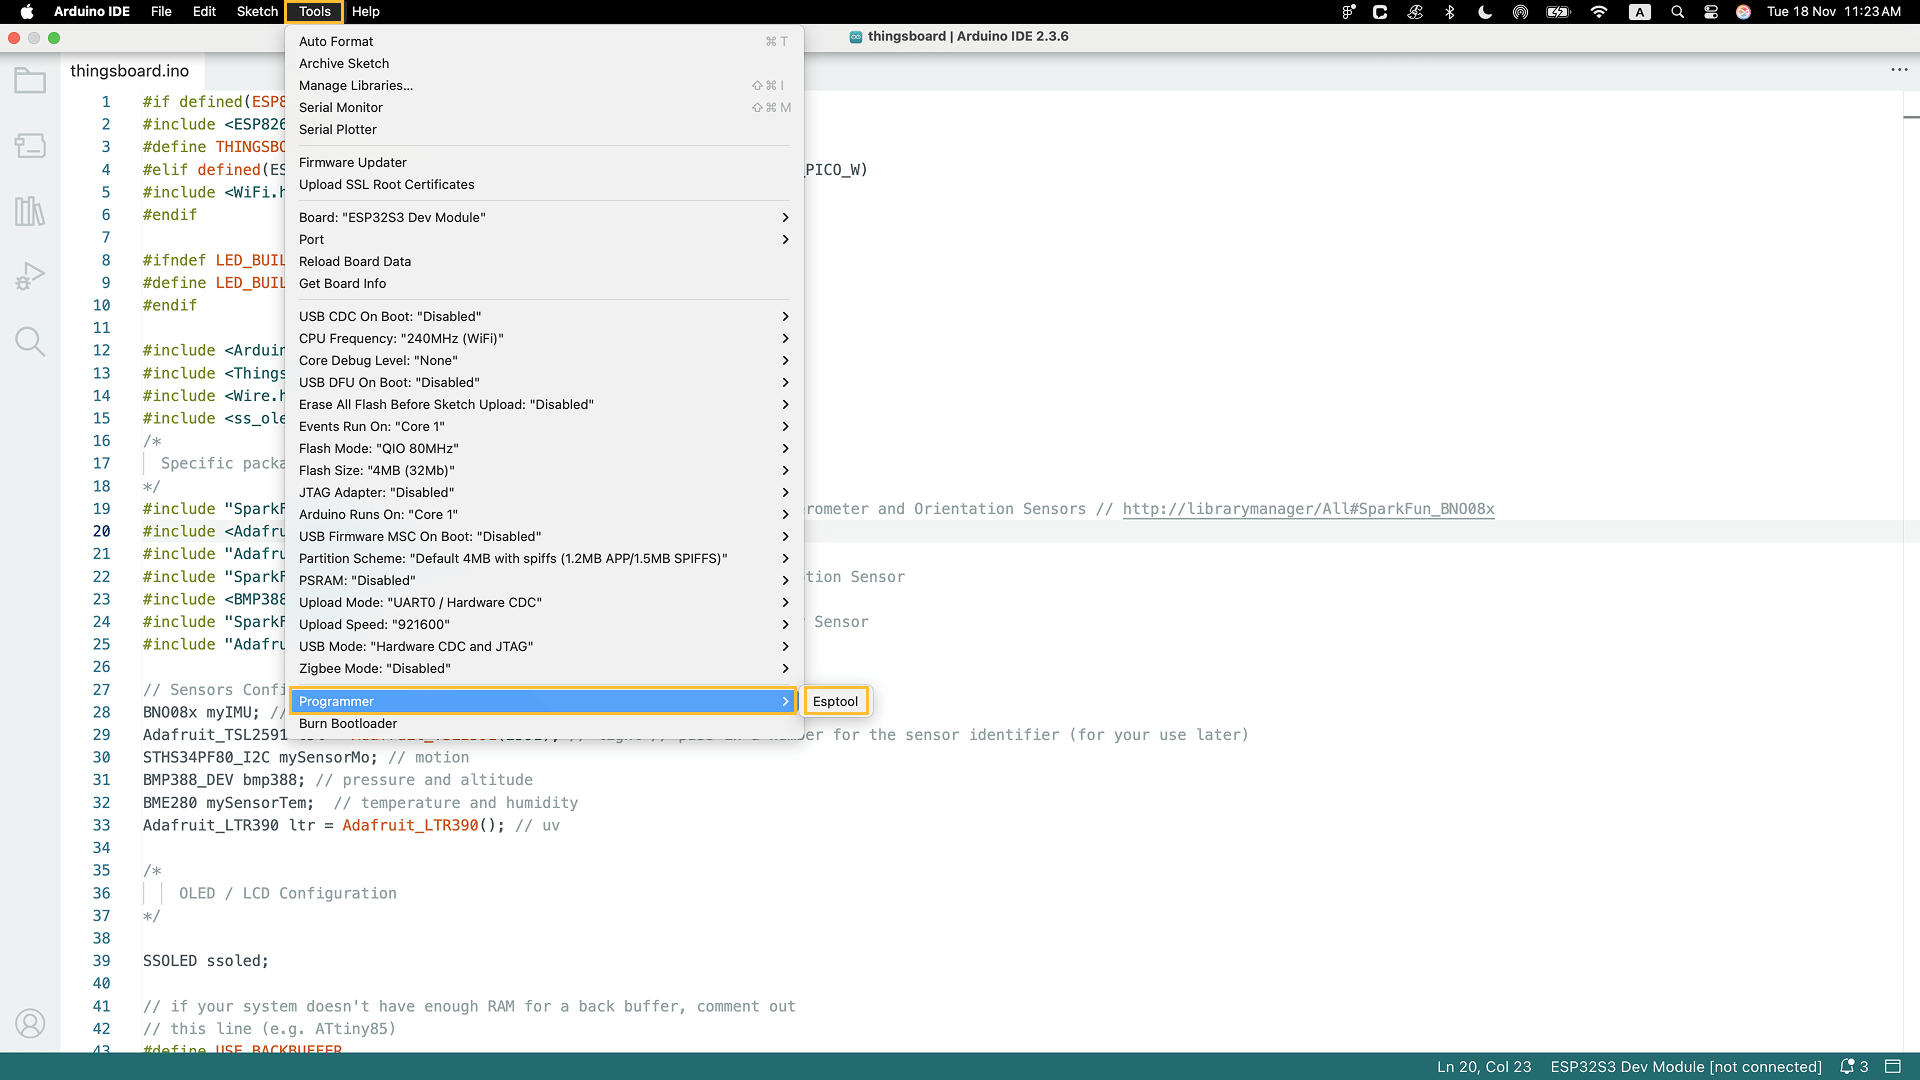
Go to Tools > Programmer and select Esptool as a programmer.
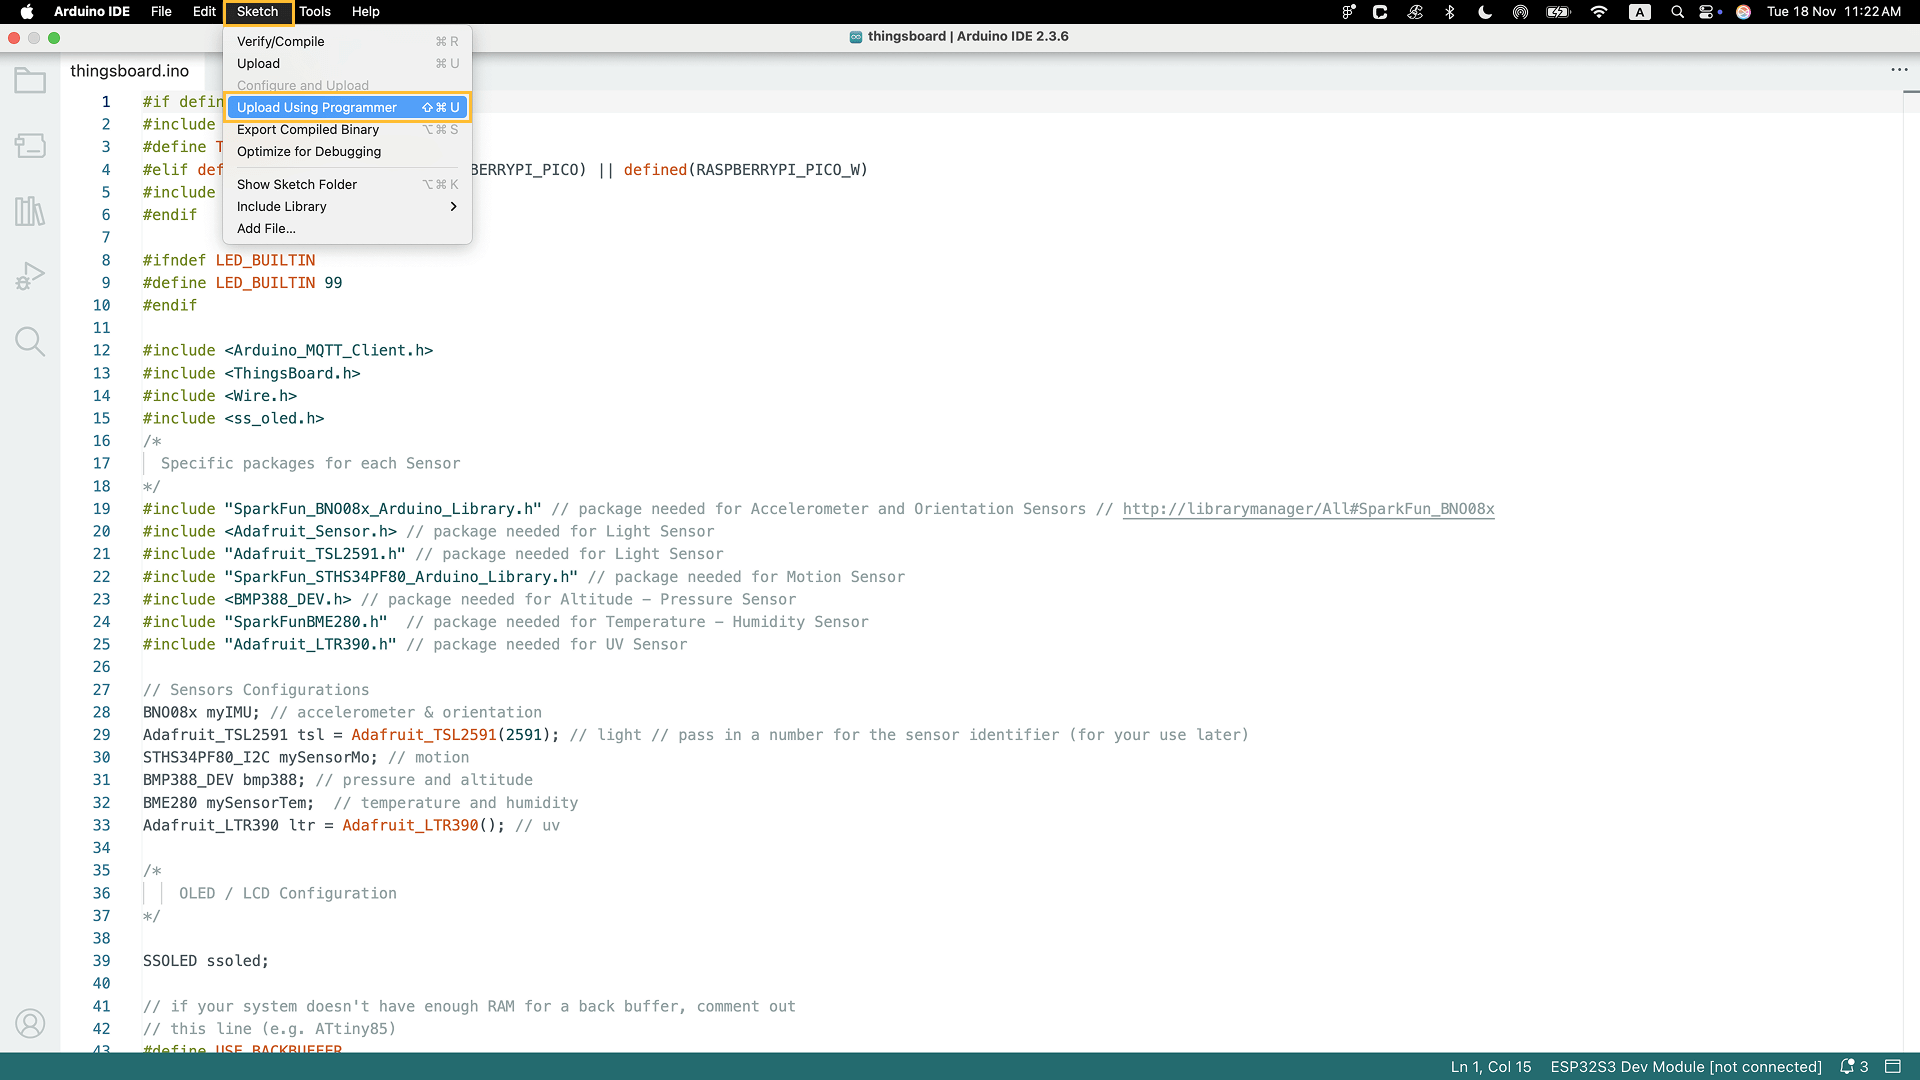
Go to Sketch > Upload Using Programmer.
Check data on ThingsBoard
ThingsBoard provides the ability to create and customize interactive visualizations (dashboards) for monitoring and managing data and devices.
Through ThingsBoard dashboards, you can efficiently manage and monitor your IoT devices and data. So, we will create the dashboard for our device.
To do this, you can either create your own dashboard using custom widgets or import a ready-made one.
In this example we will upload a ready-to-use dashboard. You can also customize it or create your own.
To import the ready-to-use dashboard, follow these steps:
- First download the My Dashboard file.
-
Navigate to the Dashboards page. Click on the “+” icon in the top right corner. Select Import dashboard.
-
In the dashboard import window, upload the JSON file and click the Import button.
-
Dashboard has been imported.
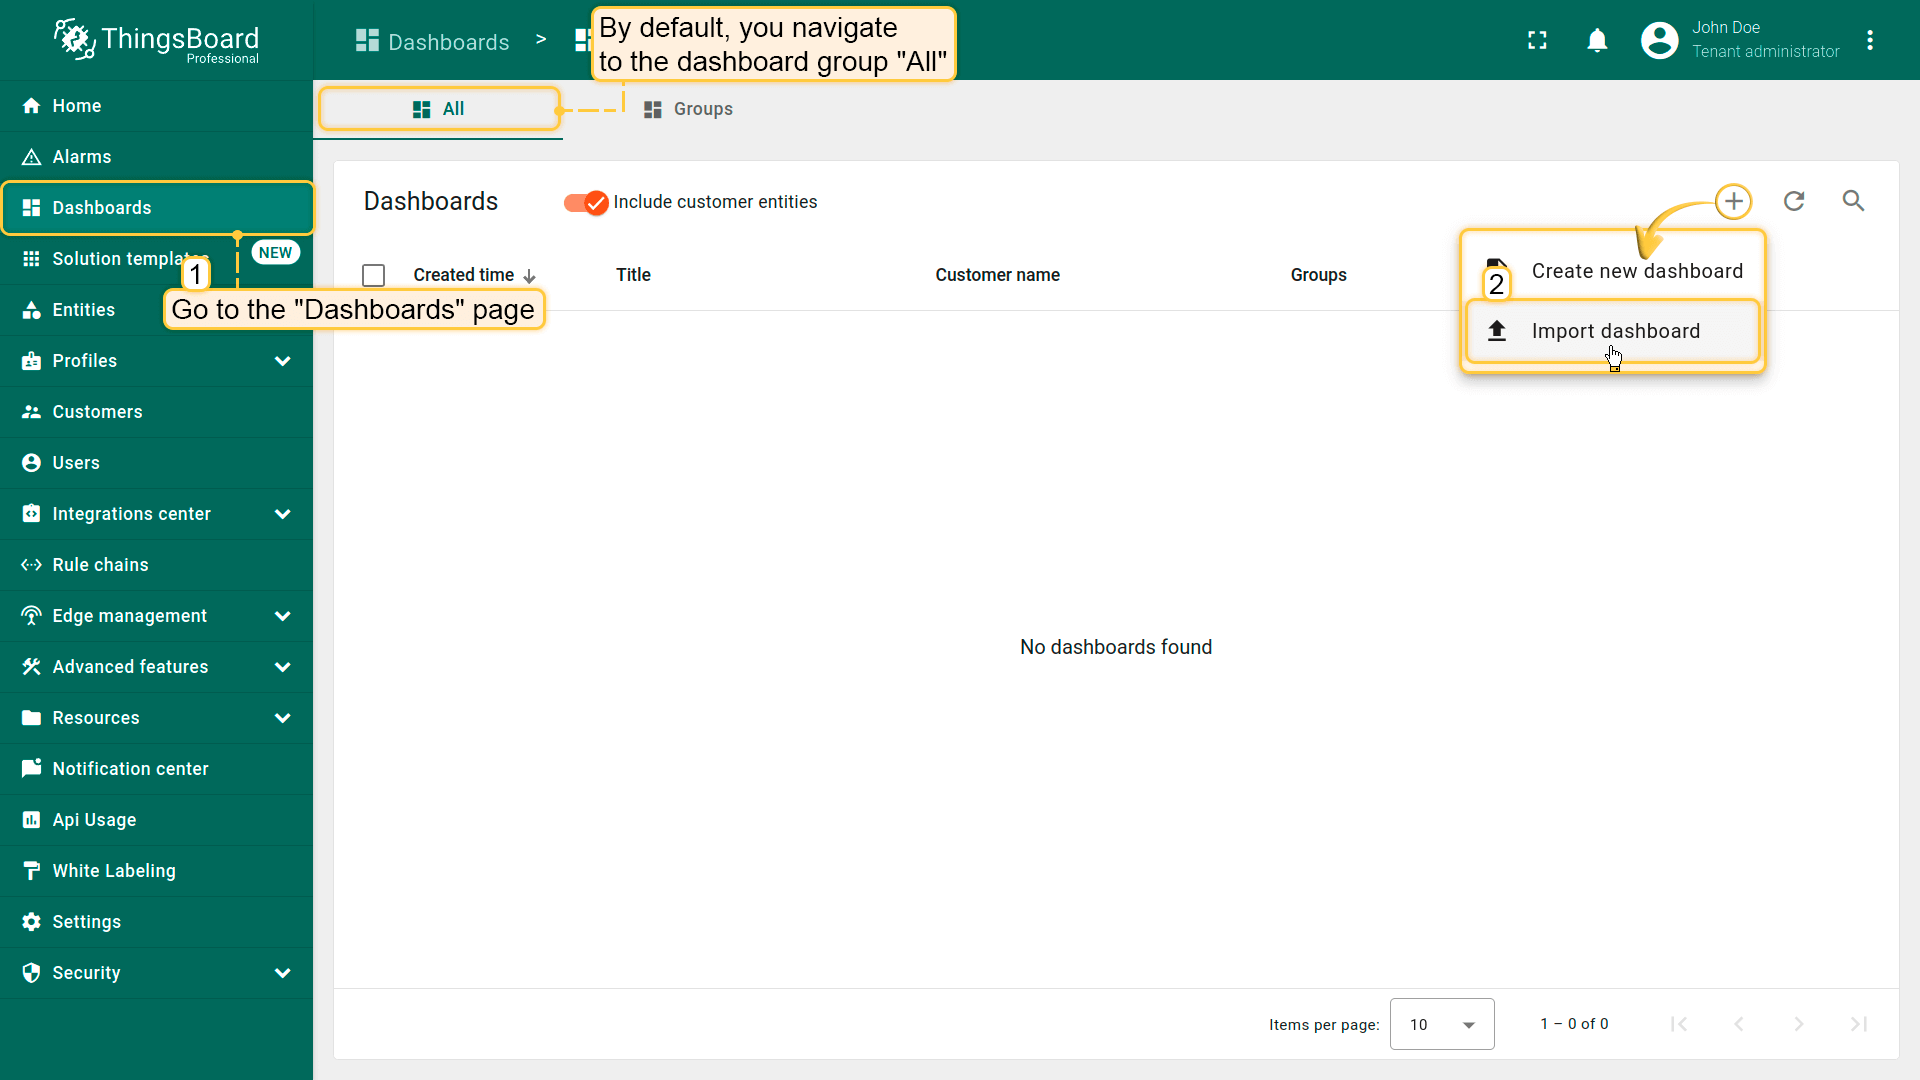
Navigate to the Dashboards page. Click on the “+” icon in the top right corner. Select Import dashboard.
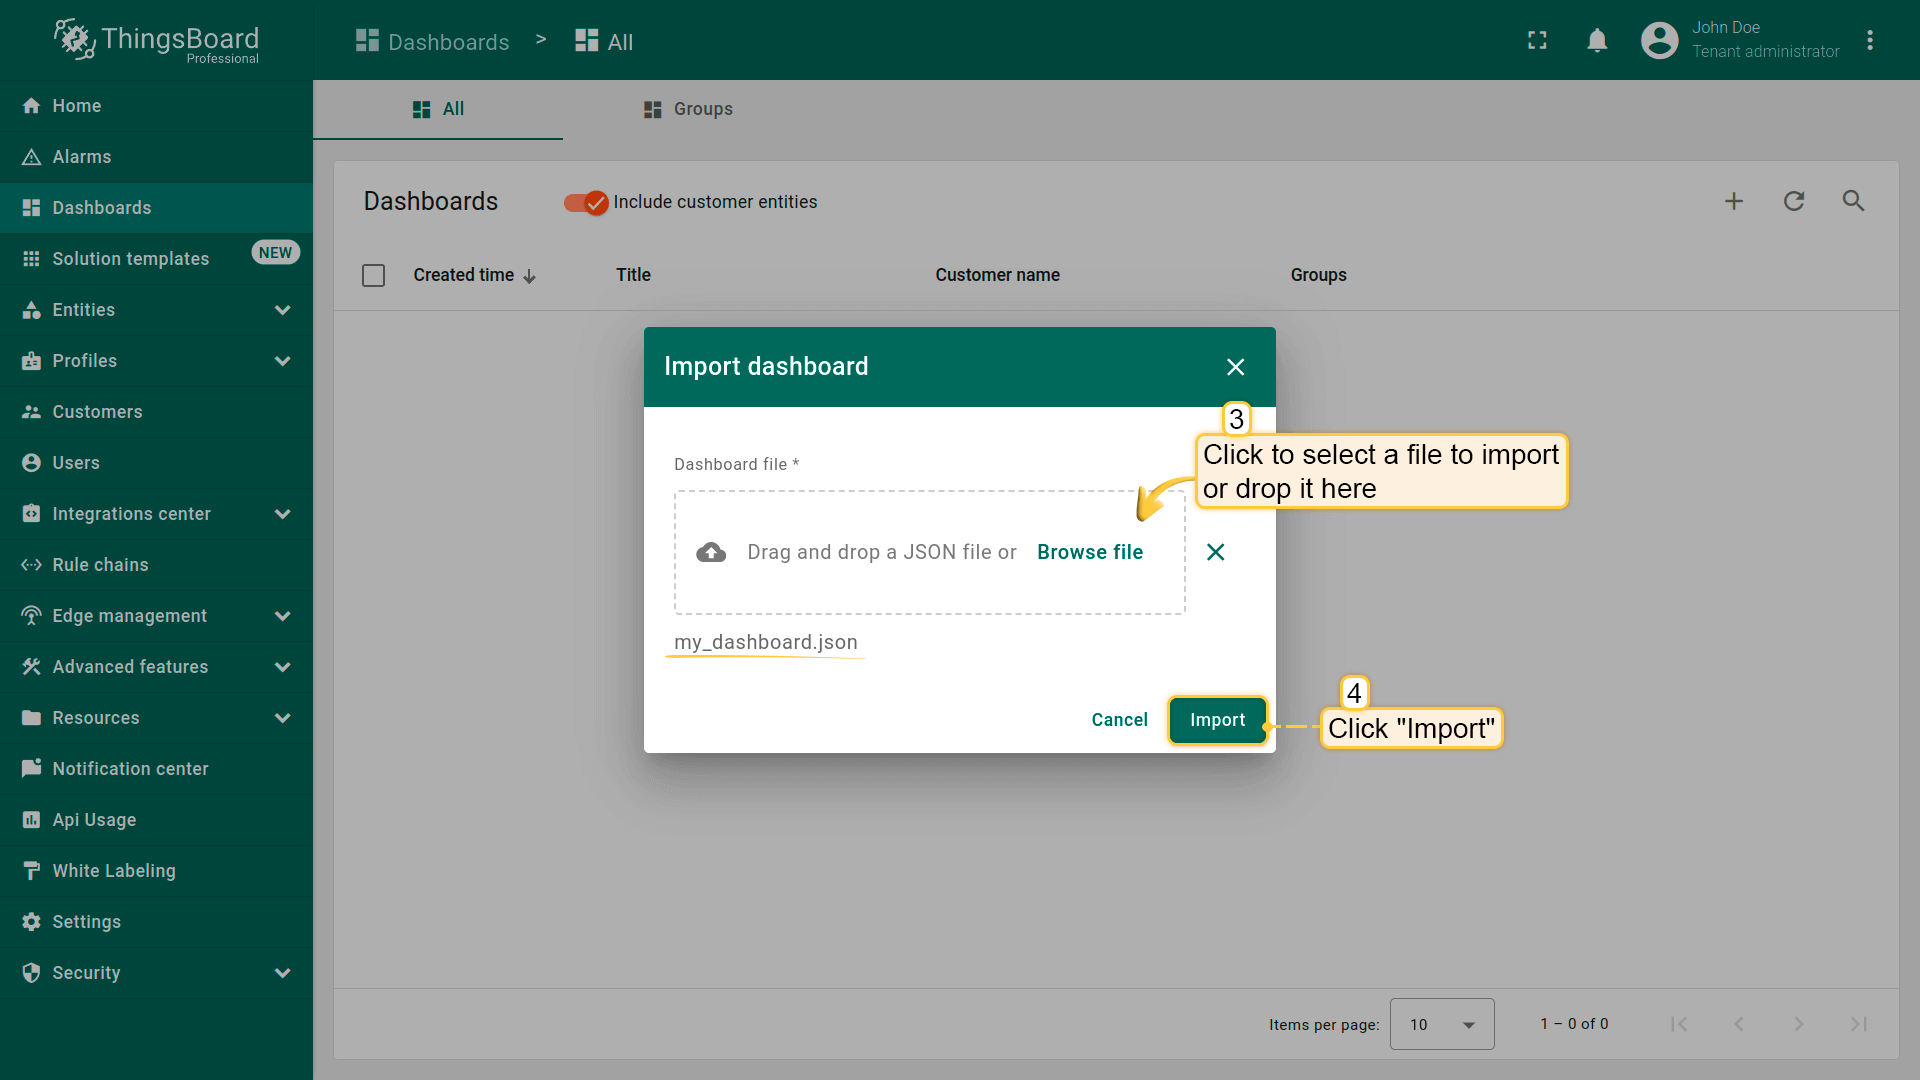
In the dashboard import window, upload the JSON file and click the Import button.
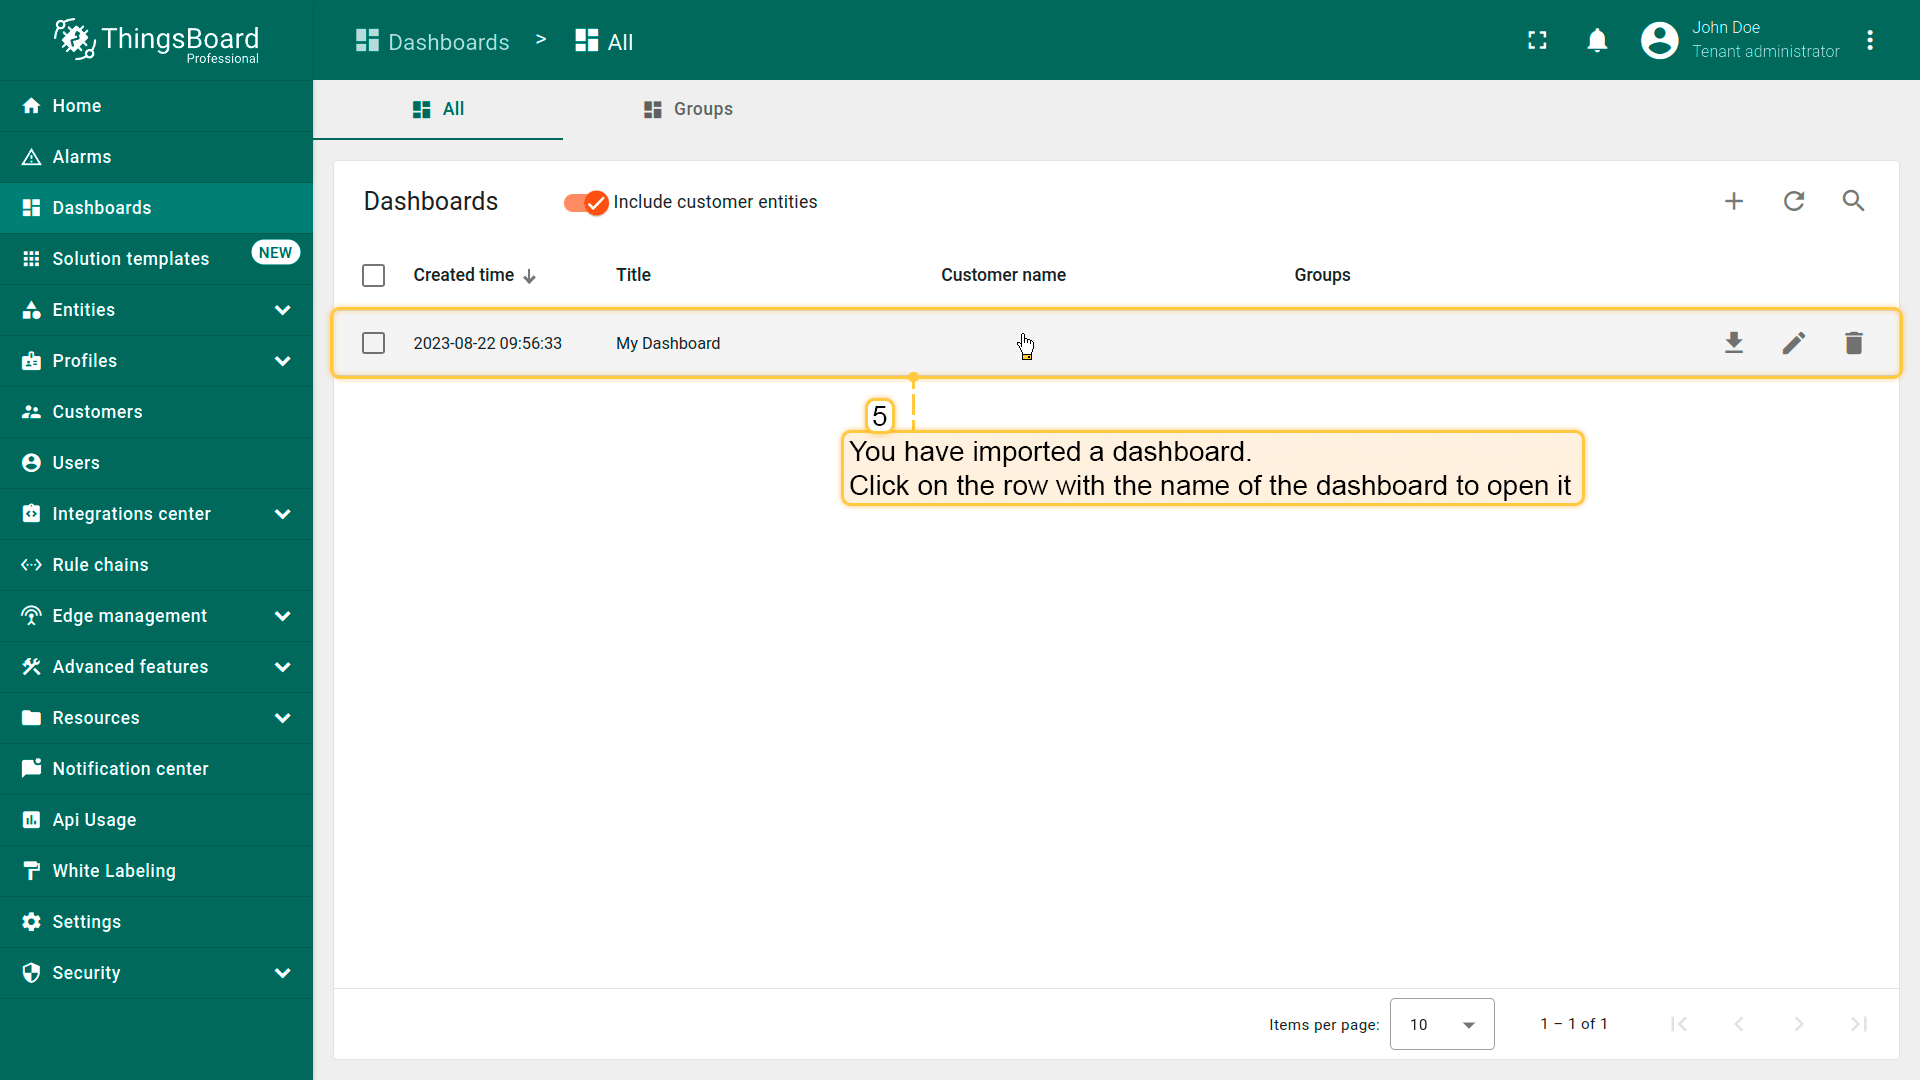
Dashboard has been imported.
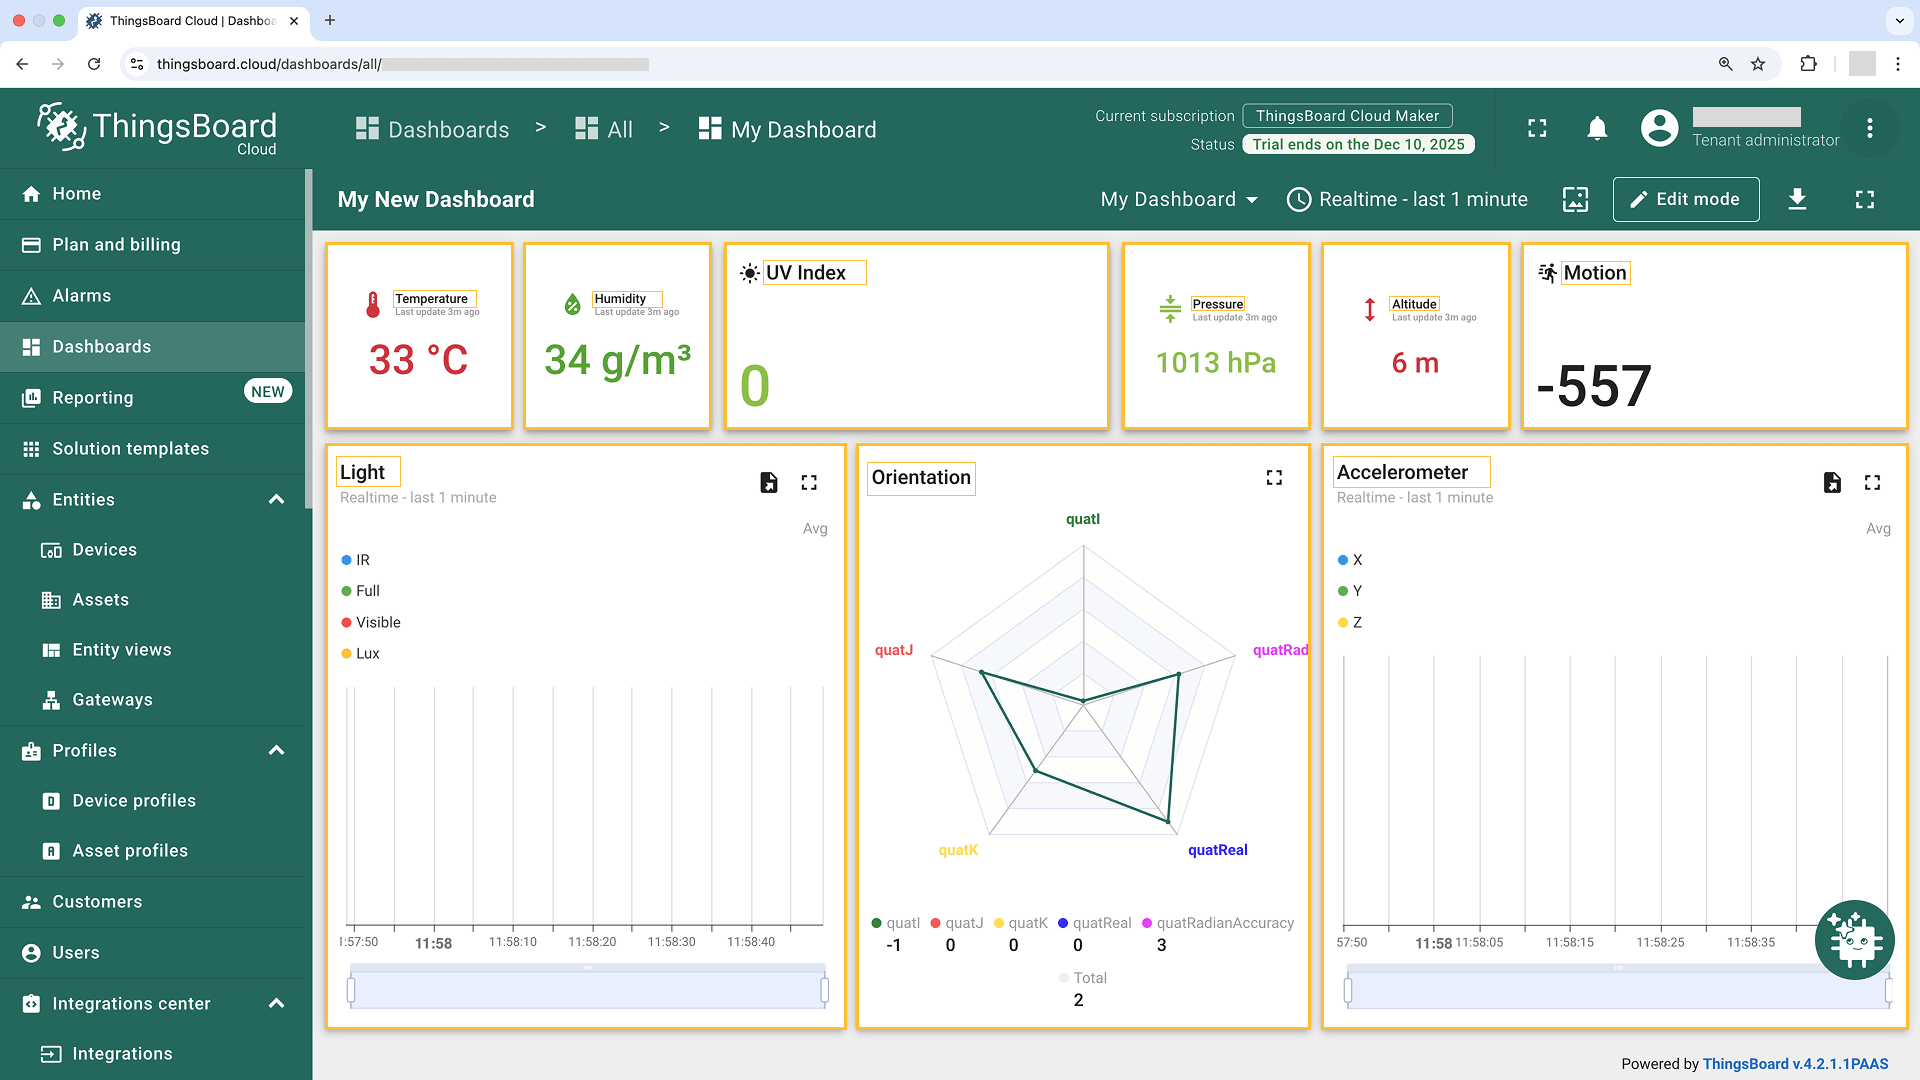
“sensy32-demo-dashboard” structure:
- To check the data from our device we need to open the imported dashboard by clicking on it in the table.
- The view of “sensy32-demo-dashboard” containing widgets representing the following telemetry values: temperature, humidity, altitude, pressure, motion, uv, accelerometer (valX, valY, and valZ), orientation (quatI, quatJ, quatK, quatReal, and quatRadianAccuracy), light (ir, full, visible, lux).
- You can also add a Widget to display device & Wi-Fi information.
Conclusion
Now you can easily connect your Sensy32 and start sending data to ThingsBoard.
To go further, explore the ThingsBoard documentation to learn more about key features, such as creating dashboards to visualize your telemetry, or setting up alarm rules to monitor device behavior in real time.