Only TBMQ Professional Edition supports White labeling feature.
Overview
White labeling lets you tailor your TBMQ instance to match your brand and preferences - especially useful for companies delivering IoT solutions to their customers.
Set your company or product name, upload your logo, choose color palettes.
Customize TBMQ web interface
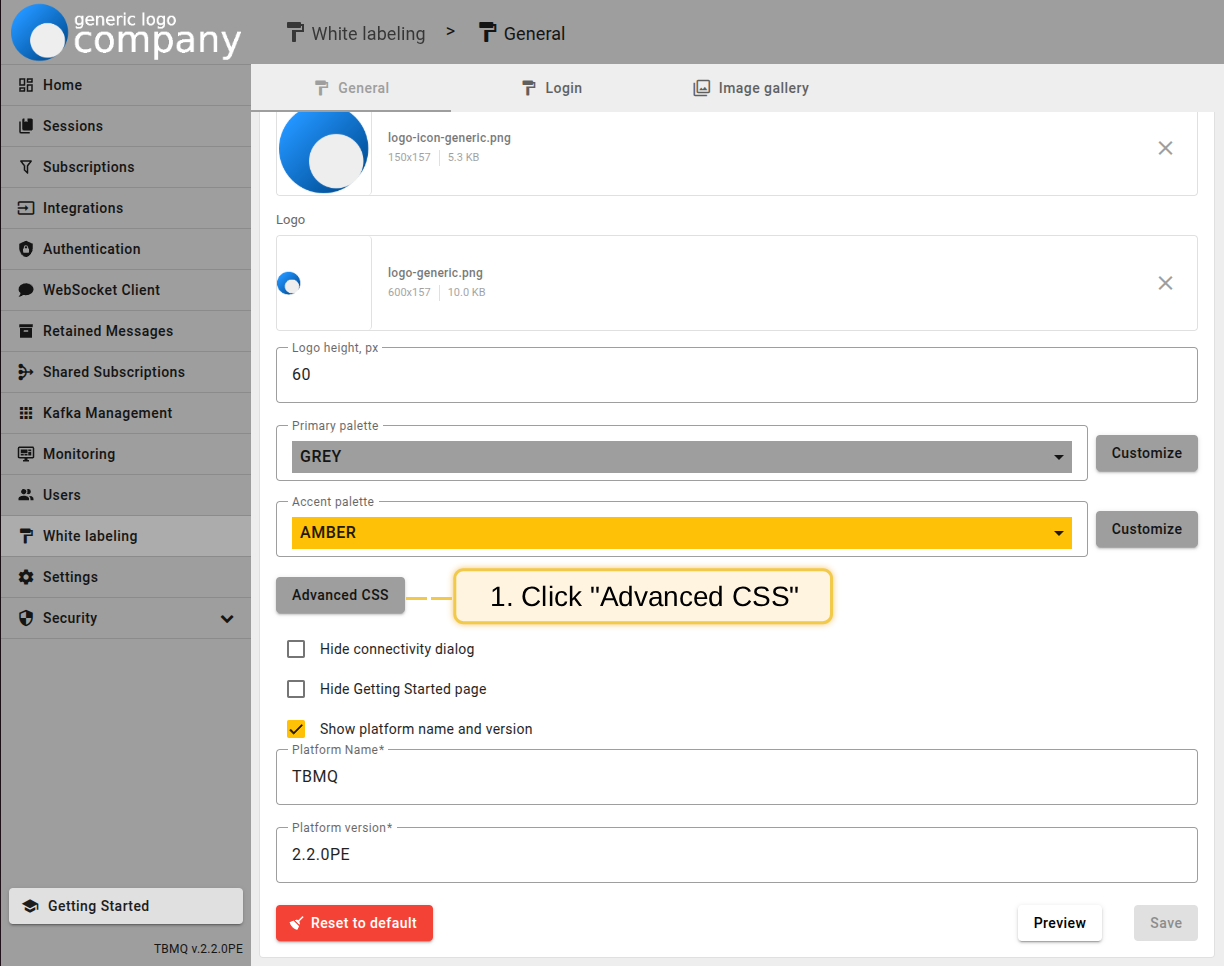
To configure your company or product logo and color scheme, go to the “White labeling” page.
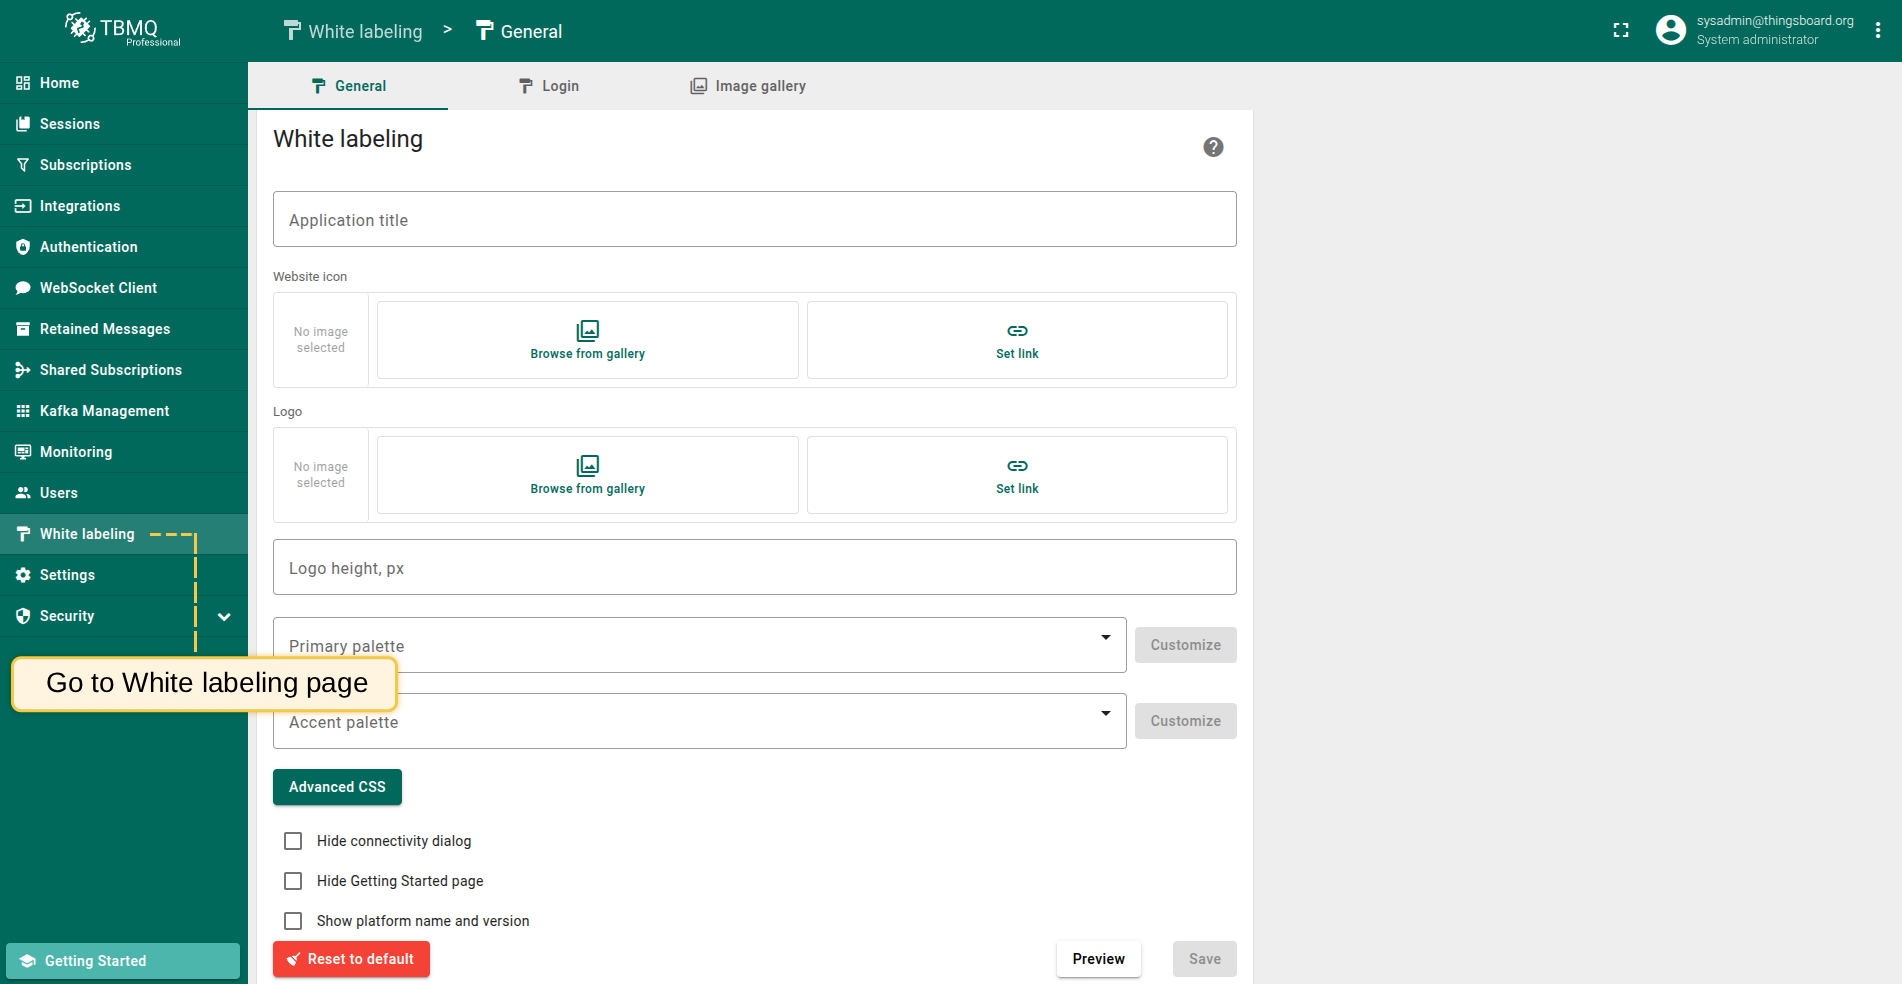
In the “General” tab you can set or change the following options:
- Application title - you can specify a custom page title, which is displayed in the browser tab;
- Favicon (website icon) - you can change the default website icon to your own;
- Logo - you can change the standard logo in the upper left corner to your company logo;
- Logo height - you can resize the logo;
![]()
-
White labeling allows you to customize the color theme by adjusting the primary and accent palettes to match your desired UI design.
- Primary palette - you can customize the background color and font color by choosing one of the suggested UI design options or customizing an existing one;
- Accent palette - you can customize the color for some elements, for example, for a toggle;

- Advanced CSS - you can stylize any elements of the TBMQ user interface as you wish. We will talk more about this functionality below;
-
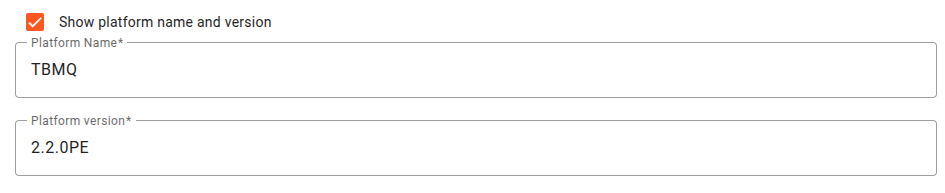
Show/hide platform name and version - by checking this option, the name of the platform and its current version will be displayed in the lower left corner.
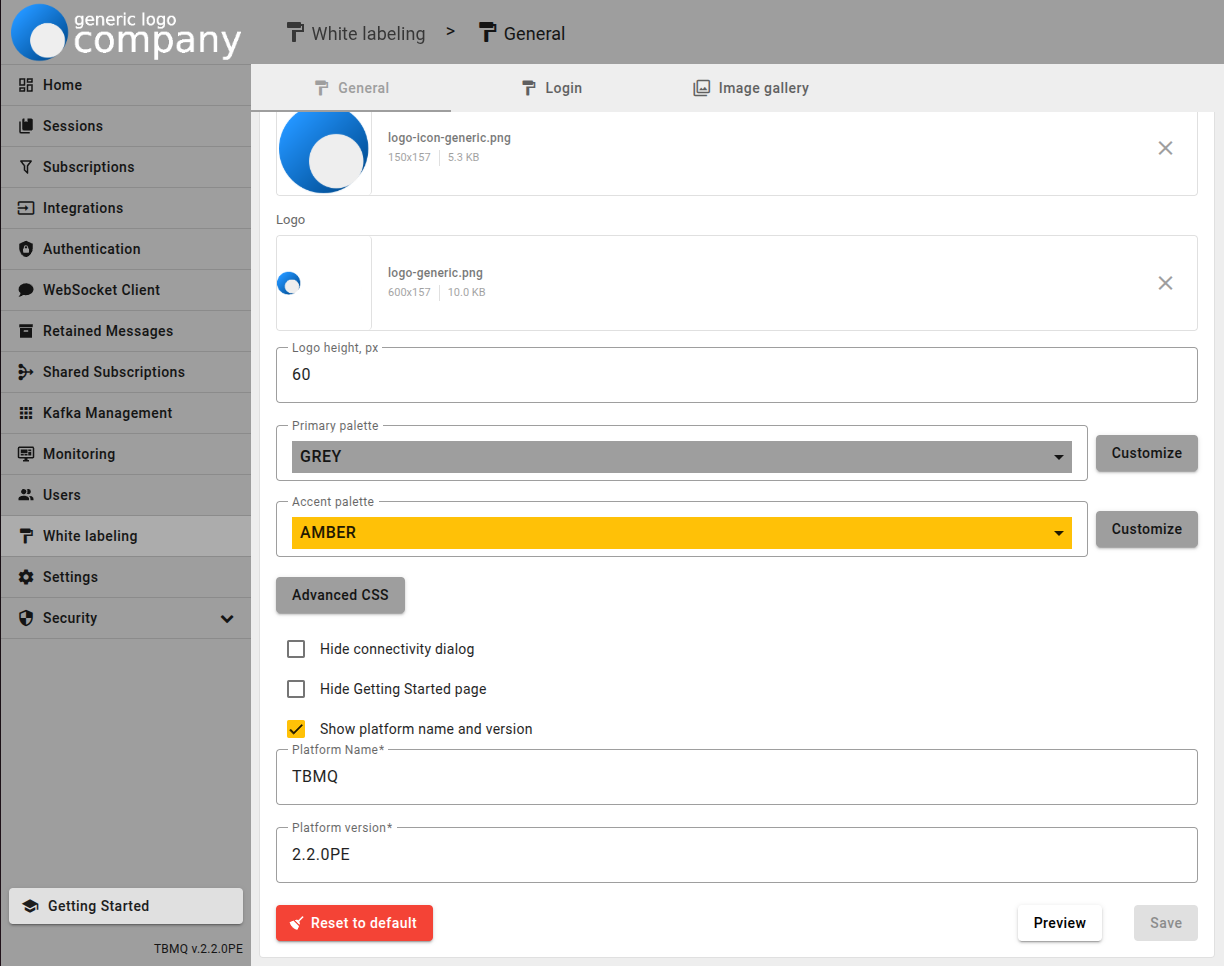
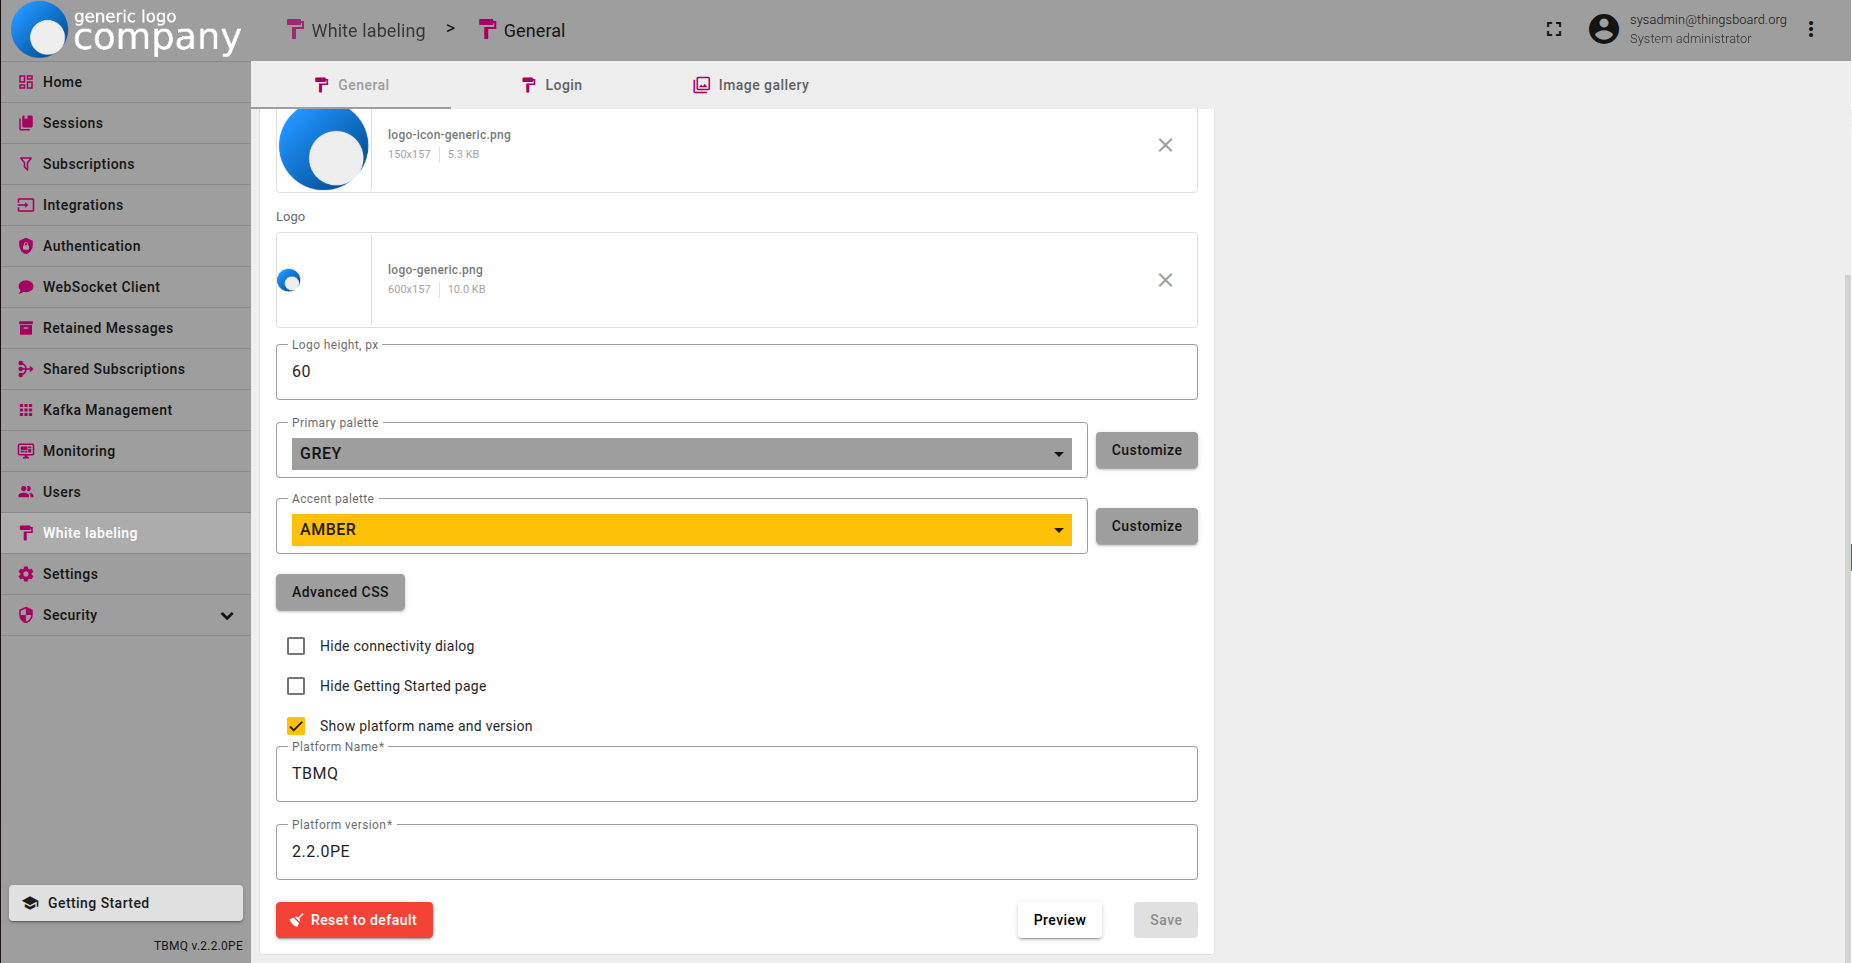
The final look of the customized user interface:
Advanced CSS
Using CSS, you can stylize any elements of the TBMQ user interface as you wish. Such elements can be background, icons, fonts, etc.
To use CSS in your UI design, do the following:
- Click on the "Advanced CSS" button;
- Paste the CSS code with the style for the user interface into the "Advanced CSS" pop-up window and click "Save". Then save all changes;
- As you can see, icons color changed to purple and the color of the active menu button (White labeling) changed to white.
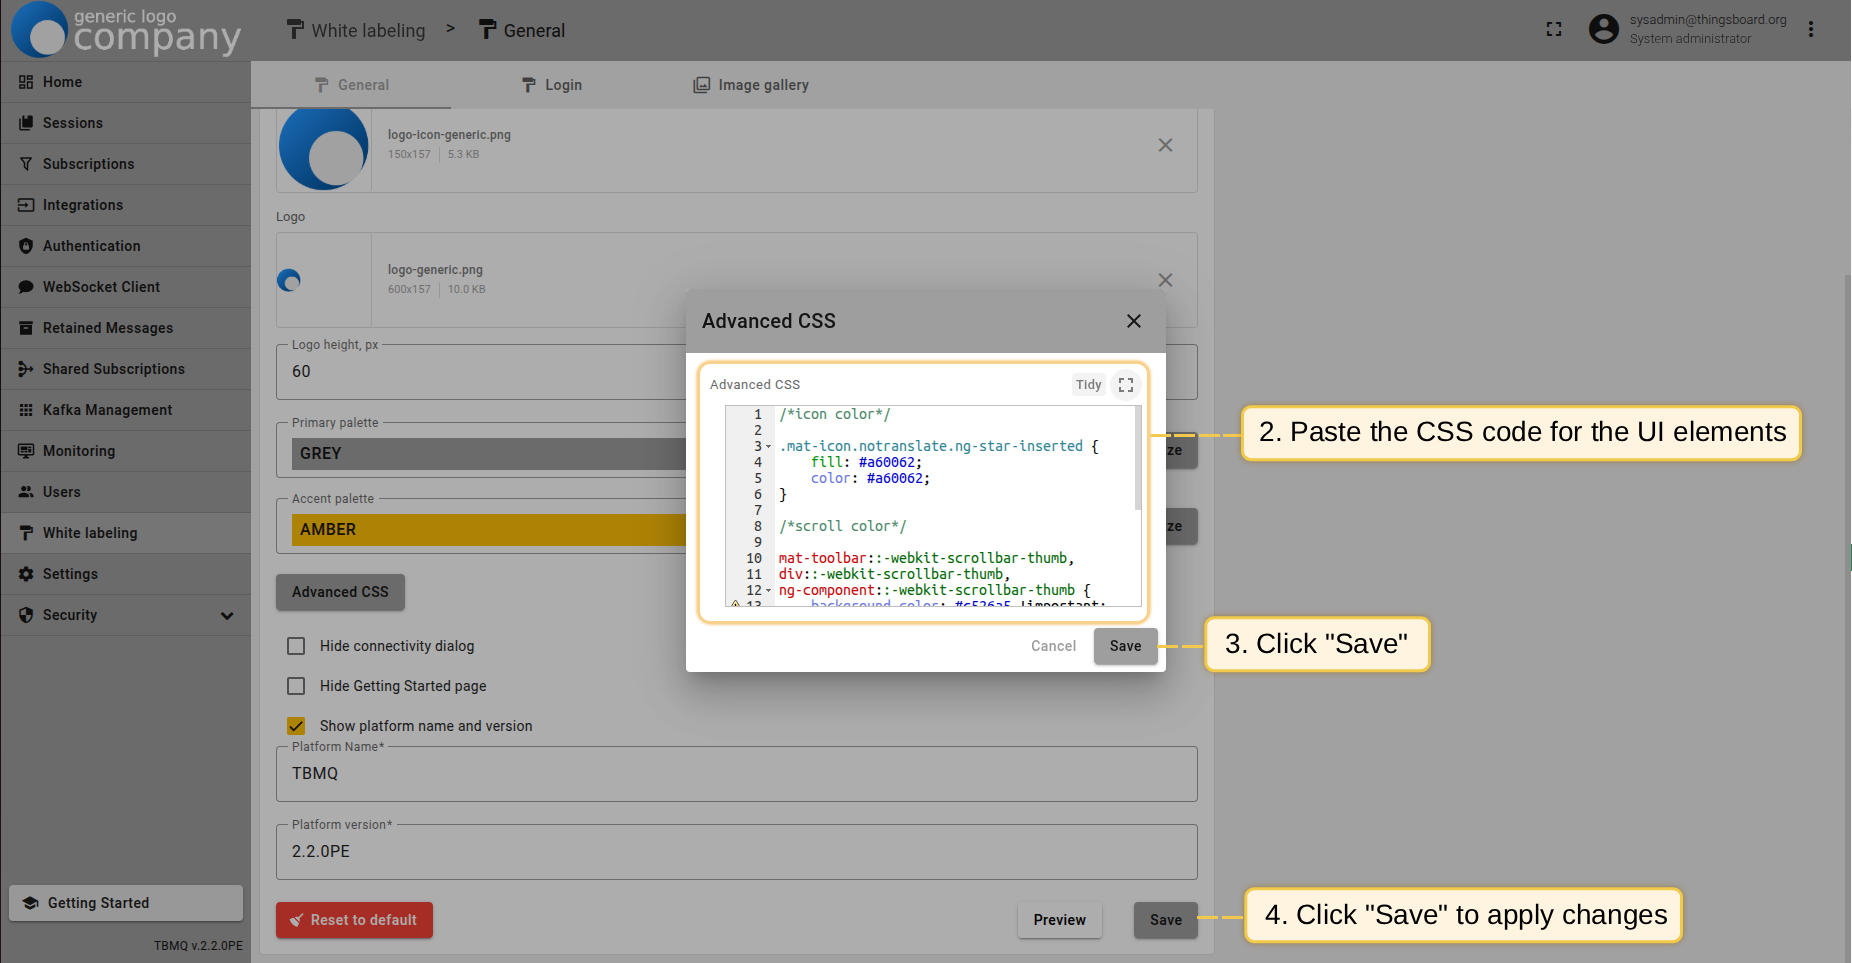
CSS code example for customize icons color, scroll color and active button:
1
2
3
4
5
6
7
8
9
10
11
12
13
14
15
16
17
18
19
20
21
22
/*icon color*/

a.mat-mdc-button.mat-mdc-button-base .mat-icon {
    color: #a60062;
}

/*scroll color*/

mat-toolbar::-webkit-scrollbar-thumb,
div::-webkit-scrollbar-thumb,
ng-component::-webkit-scrollbar-thumb {
    background-color: #c526a5 !important;
    background-image: linear-gradient(#e72c83, #a742c6);
    border-radius: 200px/300px !important;
    border: 0.1rem linear-gradient(#e72c83, #a742c6);
}

/*active button color*/

.mat-mdc-button.mat-mdc-button-base.tb-active{
    color: #a60062;
}
Using the functionality described in this documentation, you can customize the appearance of the TBMQ UI according to your preferences.
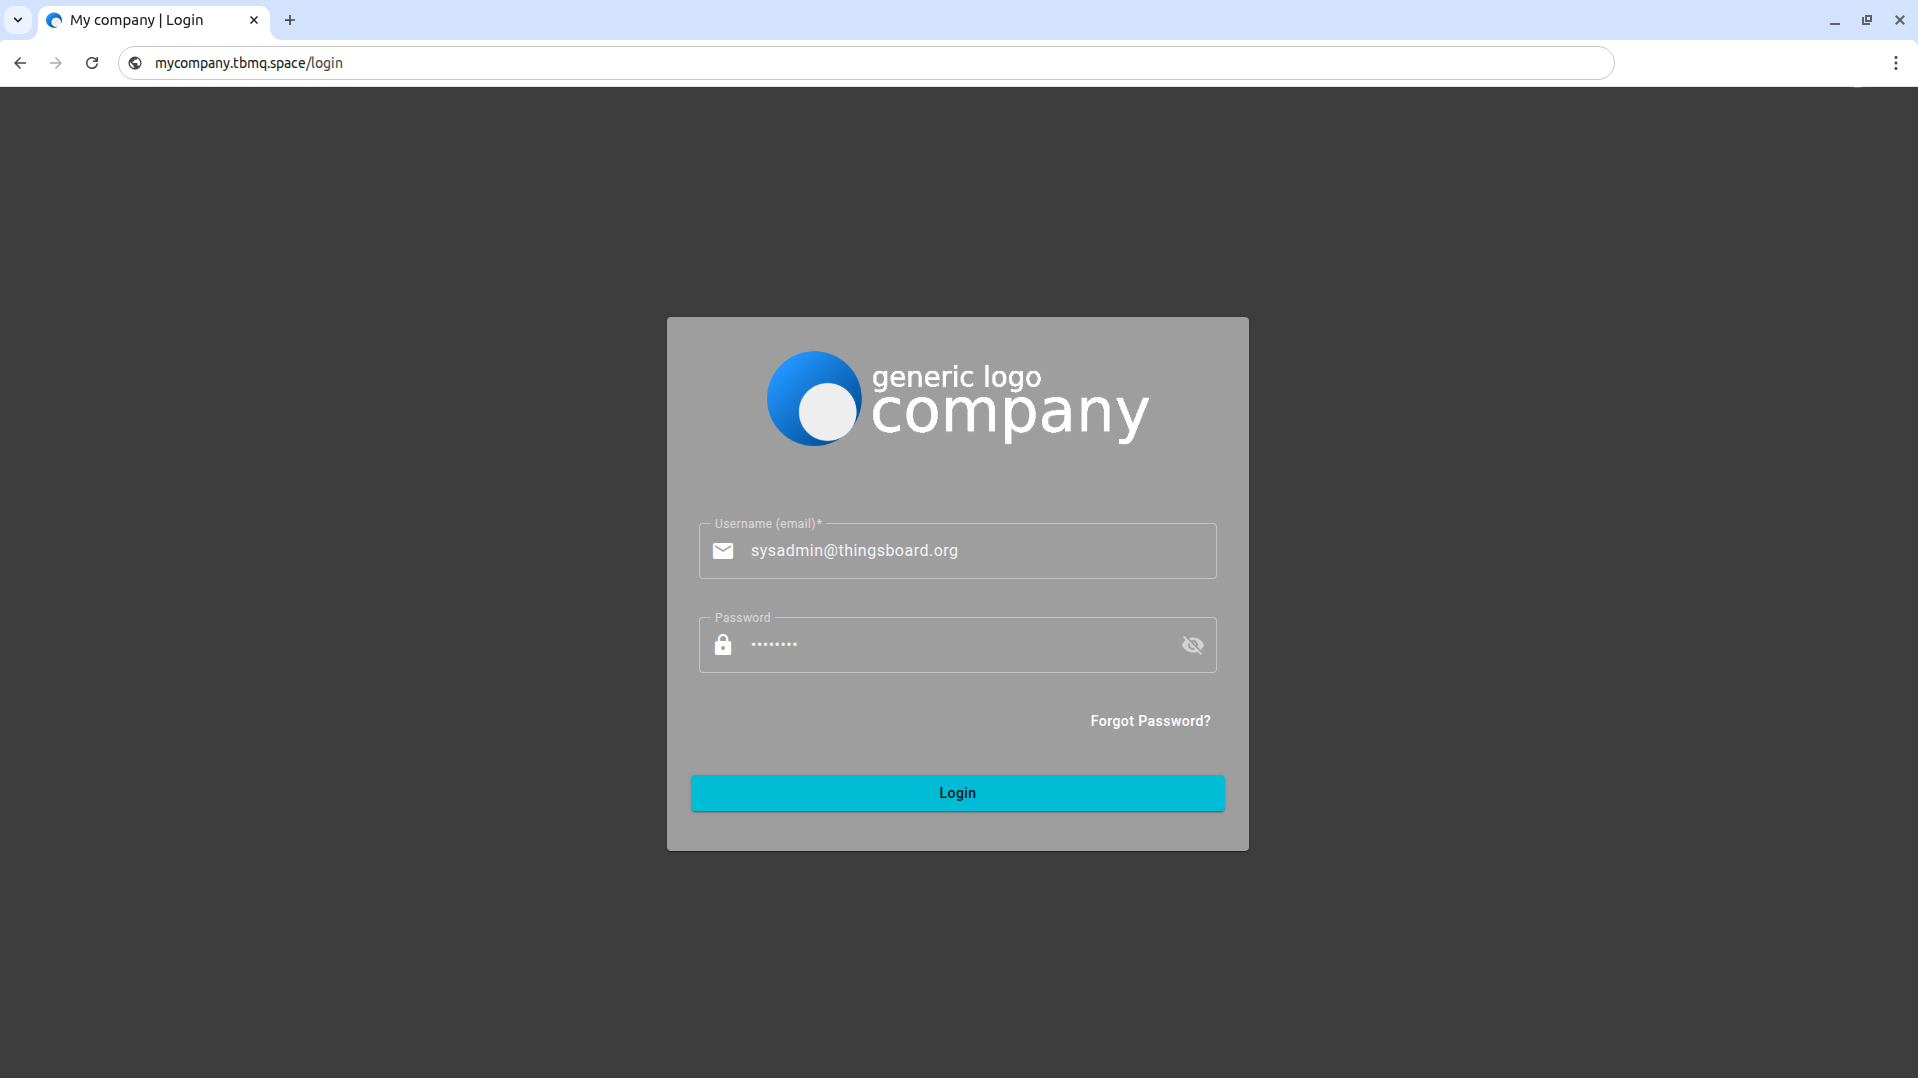
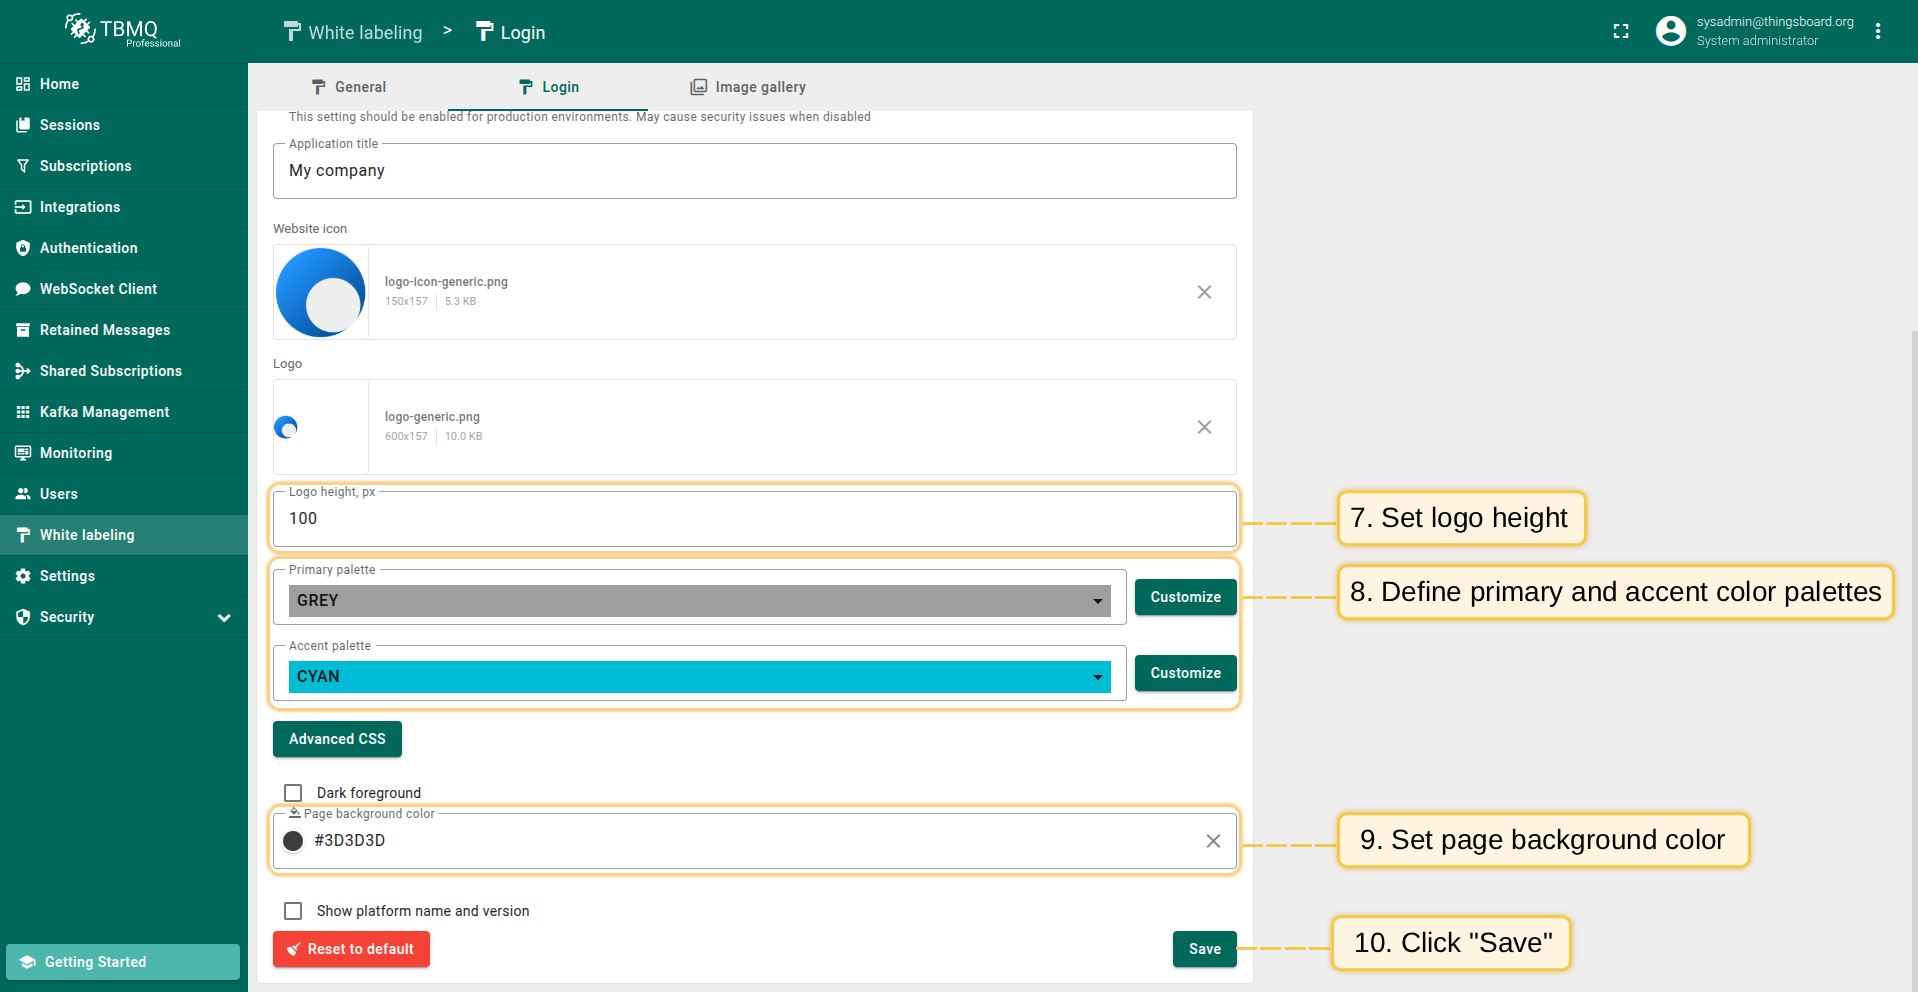
Customize the login page
On the “Login” tab, you can configure the TBMQ login page.
- Enter the registered domain name, or refer to this documentation to learn how to register a new domain;
- It is recommended to prevent usage of hostnames from headers of the request;
- Enter a custom application title;
- Replace the default website icon and logo with your own;
- Define the primary and accent color palettes;
- Set the page background color.
Once done, save the changes.
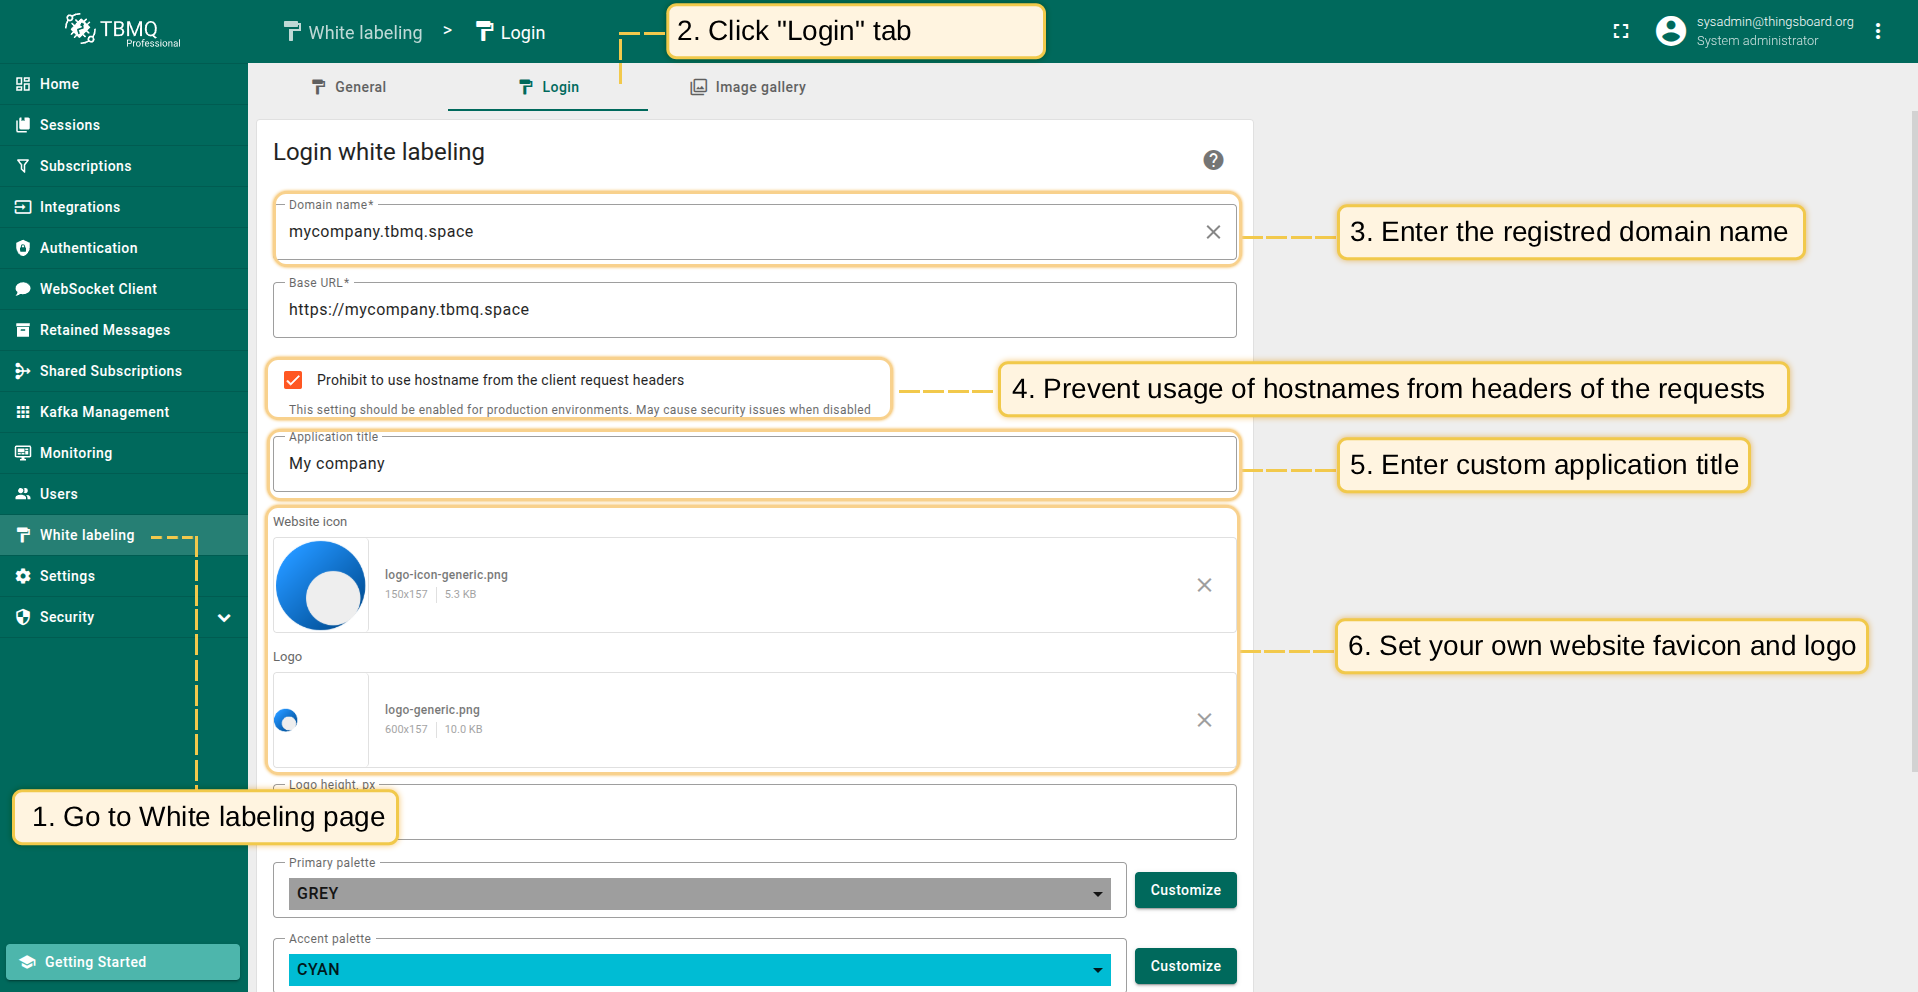
Now, use your custom domain name to access the TBMQ web interface login page and verify the result of your configuration.