Stand with Ukraine flag
Try it now Pricing
PE Mobile Application
Documentation > Customize your app > QR code settings
Getting Started
On this page

Configure mobile application QR code settings

This guide provides instructions on how to configure a custom mobile application to launch directly from a QR code scan using your phone’s camera. Whether you’re looking to customize an existing app with your own source code from GitHub or direct it to a custom host, this document will walk you through the necessary steps.

Android app settings

Direct Android application to your own host

To direct your custom application to your own host, you need to modify AndroidManifest.xml file:

  • Open the Flutter project with VS Code or Android Studio;
  • Navigate to android/app/src/main/AndroidManifest.xml file;
  • Modify AndroidManifest.xml. You have to update android:host= with your host:
1
2
3
4
5
6
7
8
9
10
<!-- App Links -->
<intent-filter android:autoVerify="true">
    <action android:name="android.intent.action.VIEW" />
    <category android:name="android.intent.category.DEFAULT" />
    <category android:name="android.intent.category.BROWSABLE" />
    <data
        android:scheme="https"
        android:host="thingsboard.cloud"
        android:pathPrefix="/api/noauth/qr" />
</intent-filter>

Mobile app QR code widget settings for Android

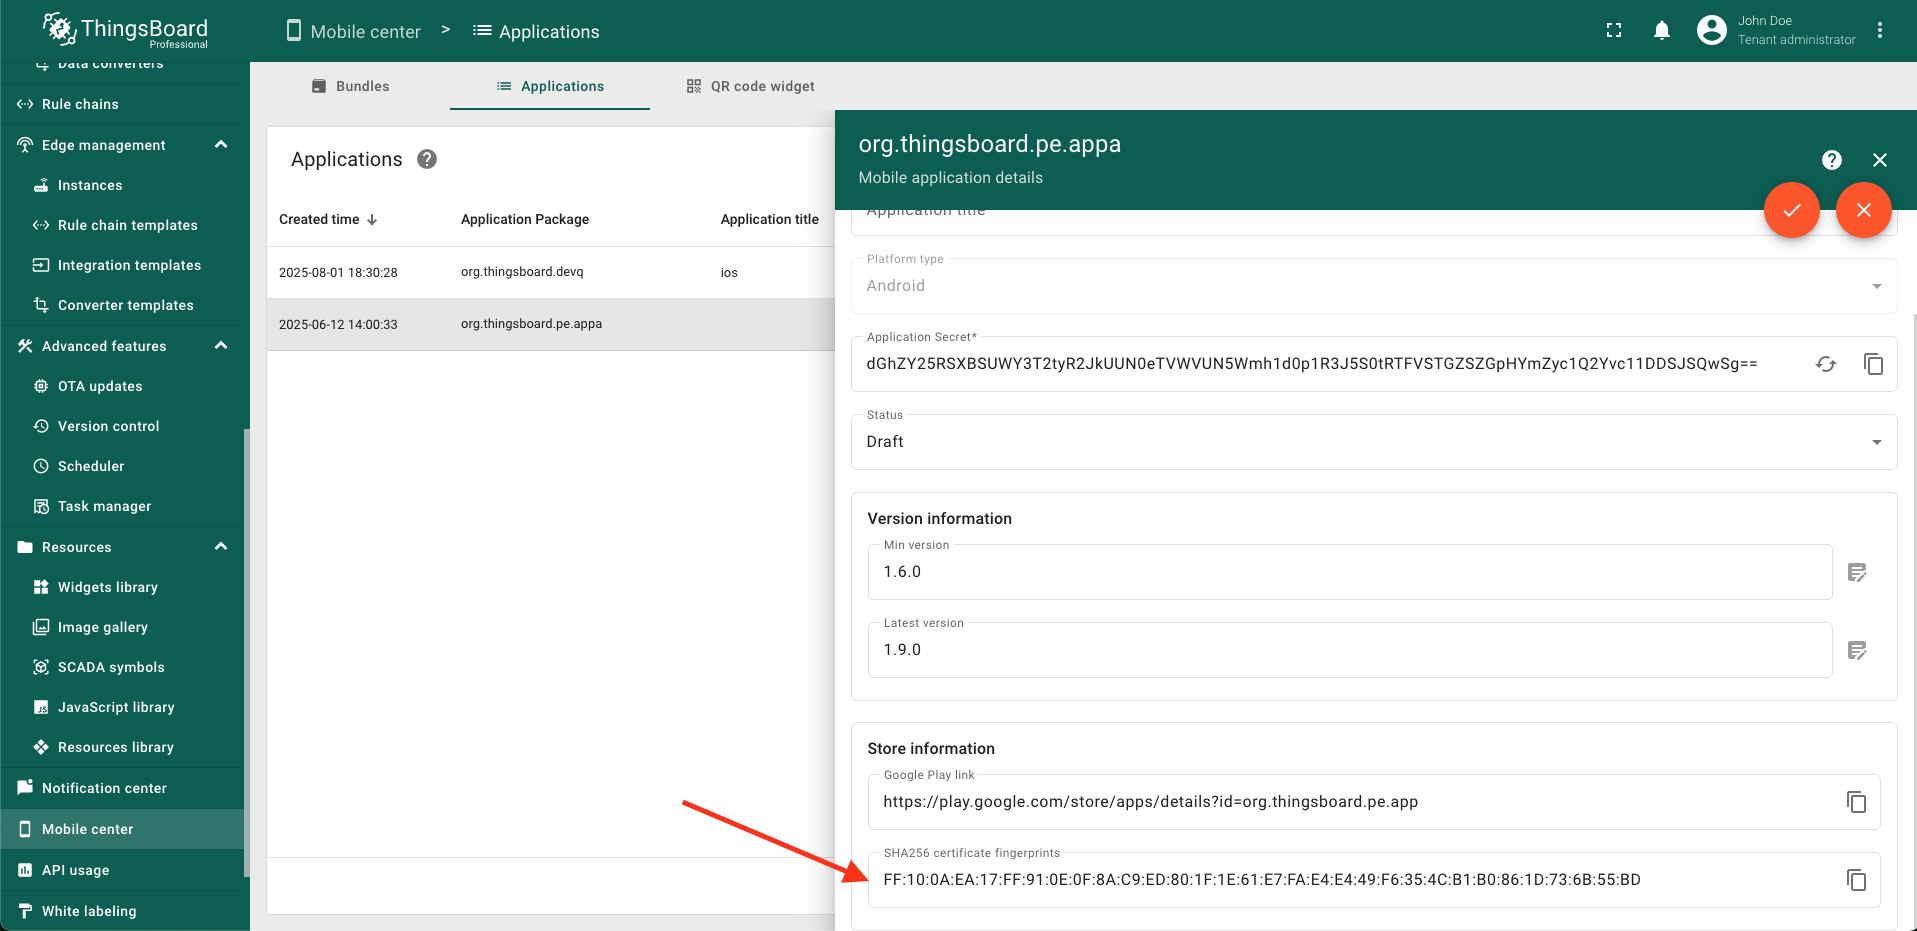
To launch your custom mobile application when scanning a QR code, you need to specify the “App package name” and “SHA256 certificate fingerprints” in the ThingsBoard Mobile app QR code widget settings.

App package name

Find the app package name applicationId in build.gradle file located at android/app/build.gradle:

1
2
3
4
    defaultConfig {
        // TODO: Specify your own unique Application ID (https://developer.android.com/studio/build/application-id.html).
        applicationId "org.thingsboard.pe.app"
    }

SHA256 certificate fingerprints

If your app distributed via Google Play you need to use SHA-256 certificate fingerprint located in your developer account under Release> Setup > App Integrity> App Signing tab:

image

If you app distributed locally you need to use the sha256 key your apk signed with

Read more in the guide “Set up app links for Android”, available in the official Firebase documentation.

iOS app settings

Direct iOS application to your own host

To direct your iOS application to your own host, you need to modify entitlements.xml file:

  • Open and modify ios/YOUR_APP_NAME/YOUR_APP_NAME.entitlements.xml file in your preferred IDE;
  • Modify entitlements.xml with your domain: You have to update applinks with your host:
1
2
3
4
5
6
7
8
9
10
11
12
<?xml version="1.0" encoding="UTF-8"?>
<!DOCTYPE plist PUBLIC "-//Apple//DTD PLIST 1.0//EN" "http://www.apple.com/DTDs/PropertyList-1.0.dtd">
<plist version="1.0">
<dict>
	<key>aps-environment</key>
	<string>development</string>
	<key>com.apple.developer.associated-domains</key>
	<array>
		<string>applinks:thingsboard.cloud</string>
	</array>
</dict>
</plist>

Mobile app QR code widget settings for iOS

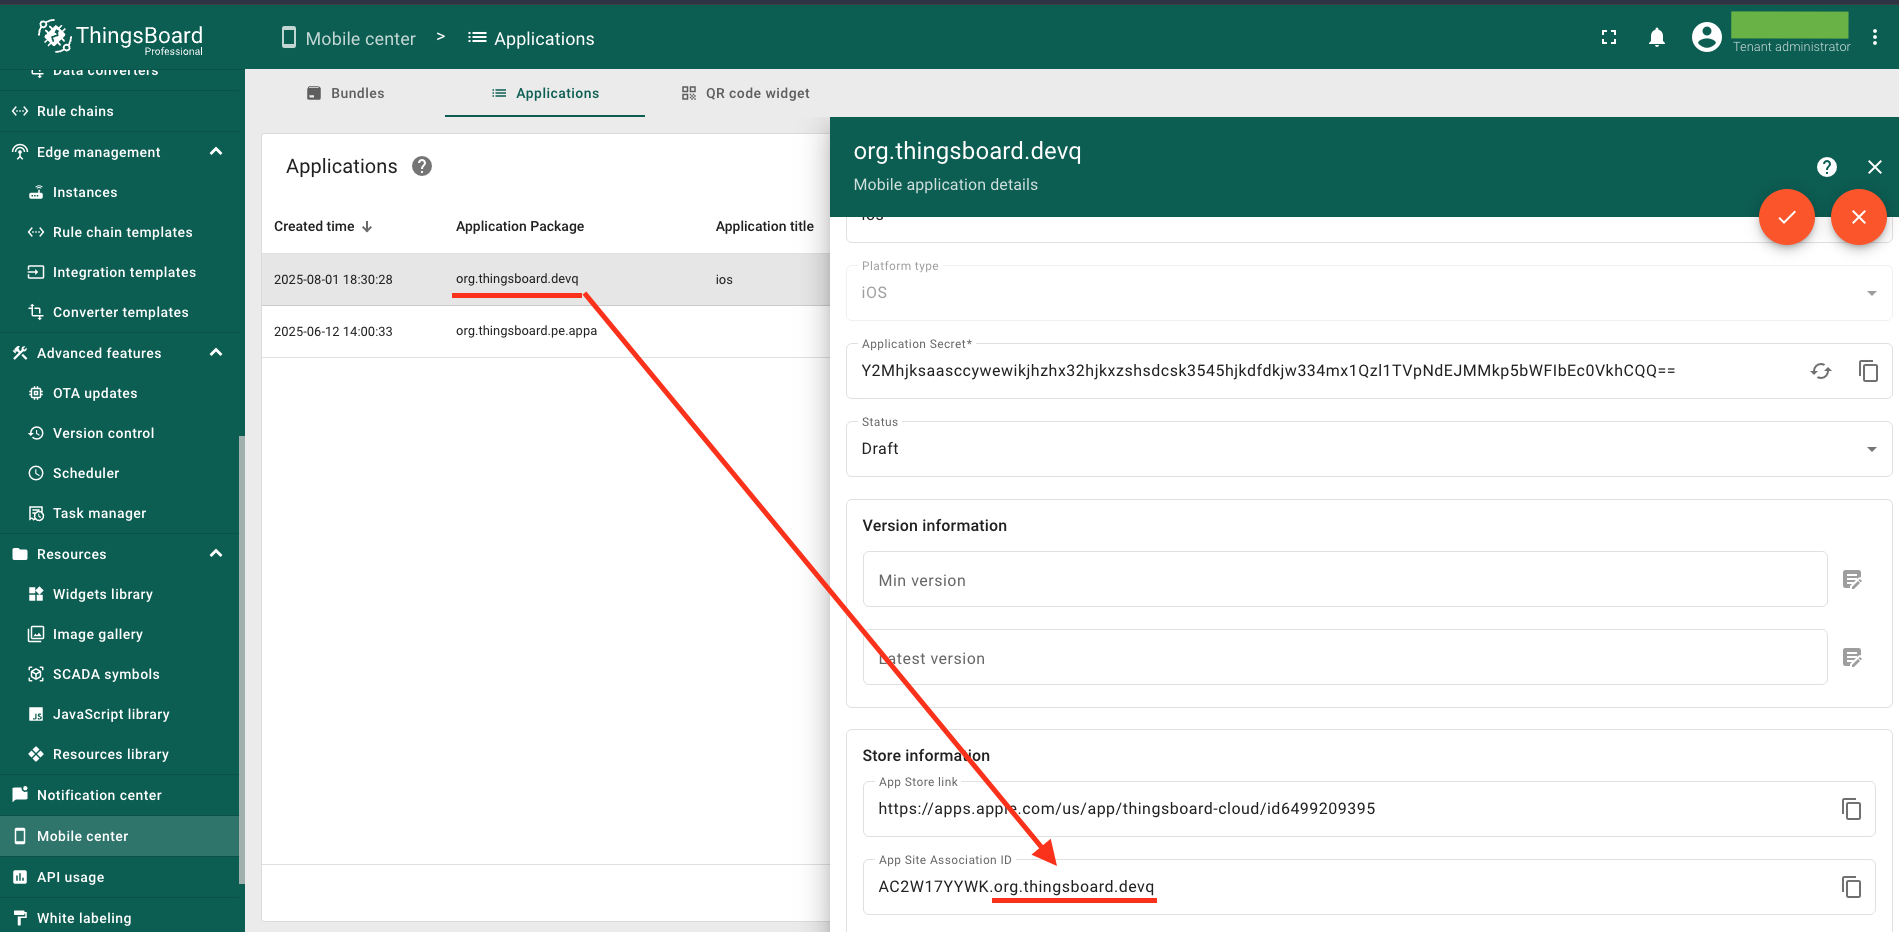
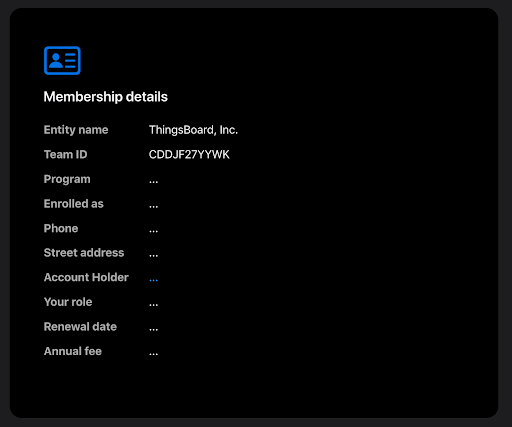
To launch your custom iOS mobile application when scanning a QR code, you need to specify the “App ID” in the ThingsBoard Mobile app QR code widget settings.

App ID

When you create your Xcode project from a template, the bundle ID (CFBundleIdentifier) uniquely identifies your app throughout the system. This ID combines the organization ID and the app name that you enter in reverse-DNS format. For example, if you enter “Runner” as the app name for your organization, the bundle identifier will be com.mycompany.app.Runner.

To find the bundle ID (App ID), you need to:

  • Choose the target;
  • Click the “Signing & Capabilities” pane;
  • Find the bundle identifier (App ID) in the “Signing” section.

image