Installing Trendz Analytics using Docker (Windows)
This guide explains how to install and run Trendz Analytics using Docker on Windows.
Prerequisites
Section titled “Prerequisites”Hardware: Minimum 4 GB of RAM and 2 CPU cores. In small and medium deployments, Trendz can be installed on the same server as ThingsBoard.
Software:
- ThingsBoard 4.3.0 or newer. For older versions see Connecting to ThingsBoard 4.2 and Older.
- Active Trendz Analytics add-on. See the Self-Managed Activation guide.
- Docker Desktop for Windows installed and running.
Installation steps
Section titled “Installation steps”Trendz Analytics can be installed in two ways:
- Run alongside ThingsBoard — recommended. Trendz shares the same
docker-compose.ymland PostgreSQL instance as ThingsBoard. - Standalone — Trendz runs independently with its own PostgreSQL. Use this if you are not running ThingsBoard on the same host or prefer a fully isolated setup.
Trendz Analytics is designed to run alongside ThingsBoard, sharing the same docker-compose setup and PostgreSQL instance.
Follow the instructions in Install Trendz Analytics in the ThingsBoard Docker (Windows) installation guide.
Step 1. Docker Compose setup
Section titled “Step 1. Docker Compose setup”Create a new docker-compose.yml:
notepad docker-compose.ymlAdd the following content:
services: trendz: restart: always image: "thingsboard/trendz:1.16.0" ports: - "8888:8888" environment: SPRING_DATASOURCE_URL: jdbc:postgresql://trendz-postgres:5432/trendz SPRING_DATASOURCE_USERNAME: postgres SPRING_DATASOURCE_PASSWORD: postgres SCRIPT_ENGINE_DOCKER_PROVIDER_URL: trendz-python-executor:8181 SCRIPT_ENGINE_TIMEOUT: 30000 volumes: - trendz-conf:/trendz-config-files - trendz-data:/data depends_on: - trendz-postgres trendz-python-executor: restart: always image: "thingsboard/trendz-python-executor:1.16.0" ports: - "8181:8181" environment: EXECUTOR_MANAGER: 1 EXECUTOR_SCRIPT_ENGINE: 6 THROTTLING_QUEUE_CAPACITY: 10 THROTTLING_THREAD_POOL_SIZE: 6 NETWORK_BUFFER_SIZE: 5242880 volumes: - trendz-python-executor-conf:/python-executor-config-files - trendz-python-executor-data:/data trendz-postgres: restart: always image: "postgres:16" ports: - "5432:5432" environment: POSTGRES_DB: trendz POSTGRES_PASSWORD: postgres volumes: - trendz-postgres-data:/var/lib/postgresql/datavolumes: trendz-conf: name: trendz-conf driver: local trendz-data: name: trendz-data driver: local trendz-python-executor-conf: name: trendz-python-executor-conf driver: local trendz-python-executor-data: name: trendz-python-executor-data driver: local trendz-postgres-data: name: trendz-postgres-data driver: localDocker Compose parameters:
| Parameter | Description |
|---|---|
8888:8888 |
Maps host port 8888 to Trendz HTTP port 8888 |
trendz-conf:/trendz-config-files |
Persists Trendz configuration files |
trendz-data:/data |
Persists Trendz application data |
trendz-postgres-data:/var/lib/postgresql/data |
Persists PostgreSQL data |
SCRIPT_ENGINE_DOCKER_PROVIDER_URL |
Address of the Python Executor service |
SCRIPT_ENGINE_TIMEOUT |
Python script execution timeout in milliseconds |
restart: always |
Auto-restarts the container on failure or system reboot |
Step 2. Start Trendz service
Section titled “Step 2. Start Trendz service”Open PowerShell or Command Prompt in the directory containing your docker-compose.yml and run:
docker compose up -ddocker compose logs -f trendzOnce started, open http://localhost:8888 in your browser — you should see the Trendz login page.
Sync Trendz with ThingsBoard
Section titled “Sync Trendz with ThingsBoard”After installation, verify that Trendz has successfully connected to ThingsBoard. This step is required regardless of how you installed Trendz.
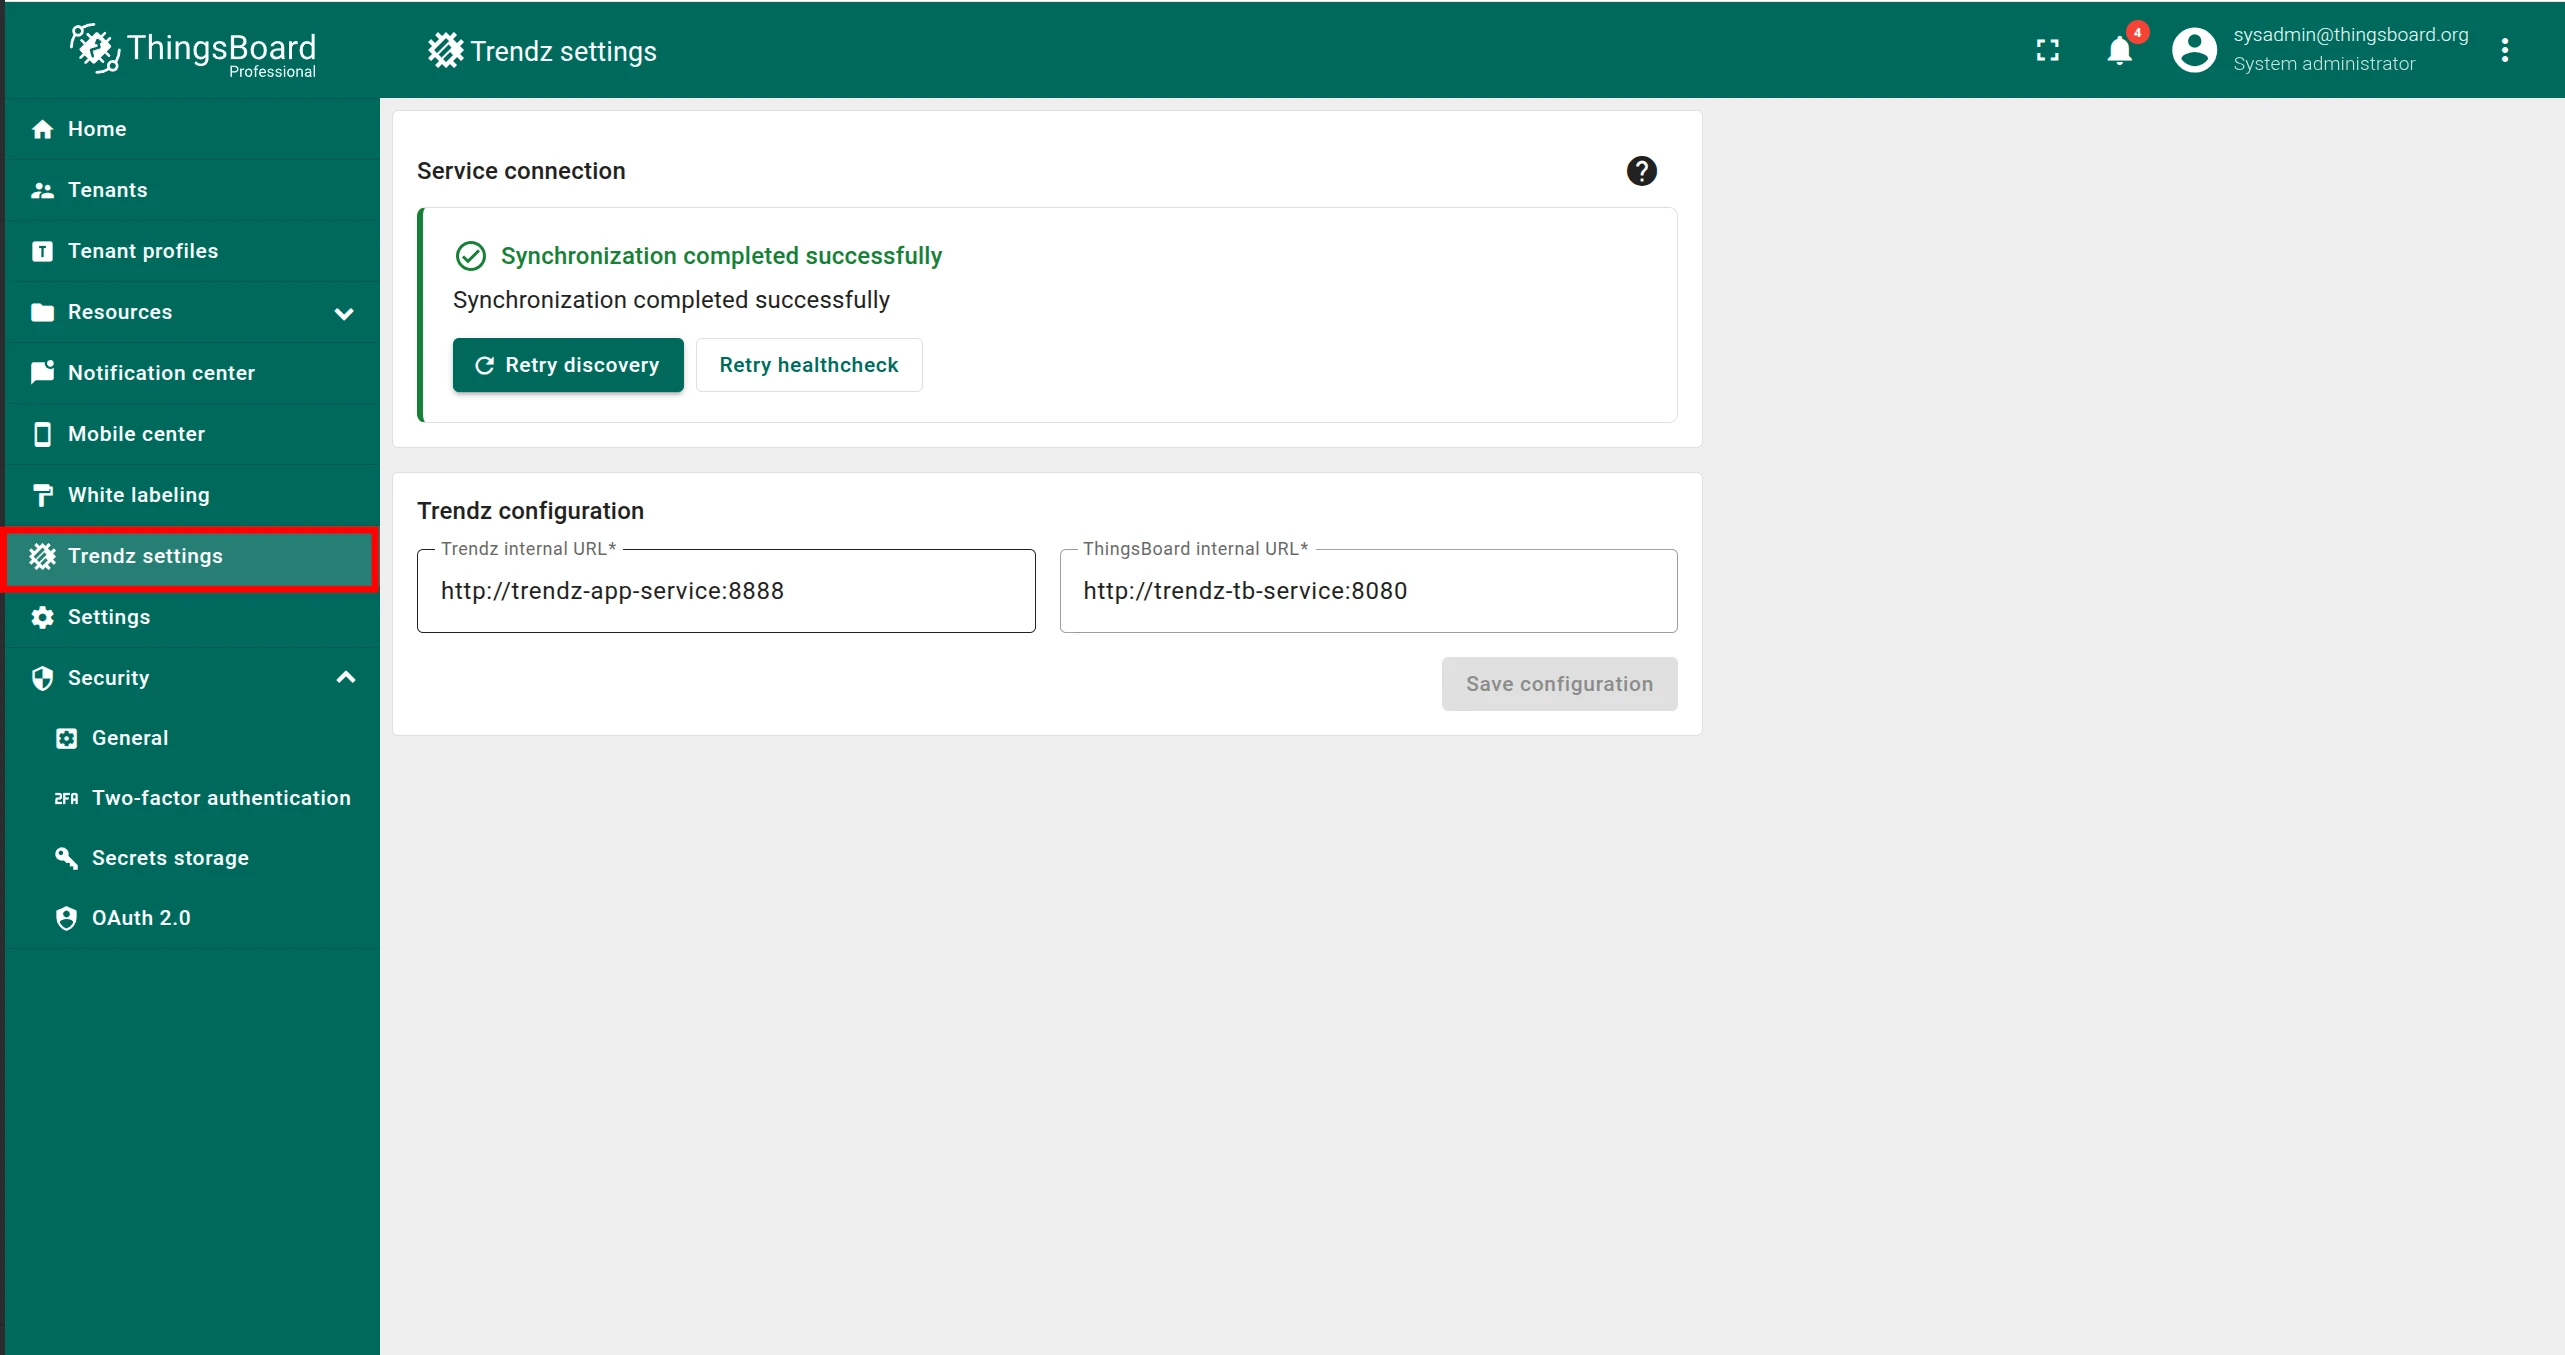
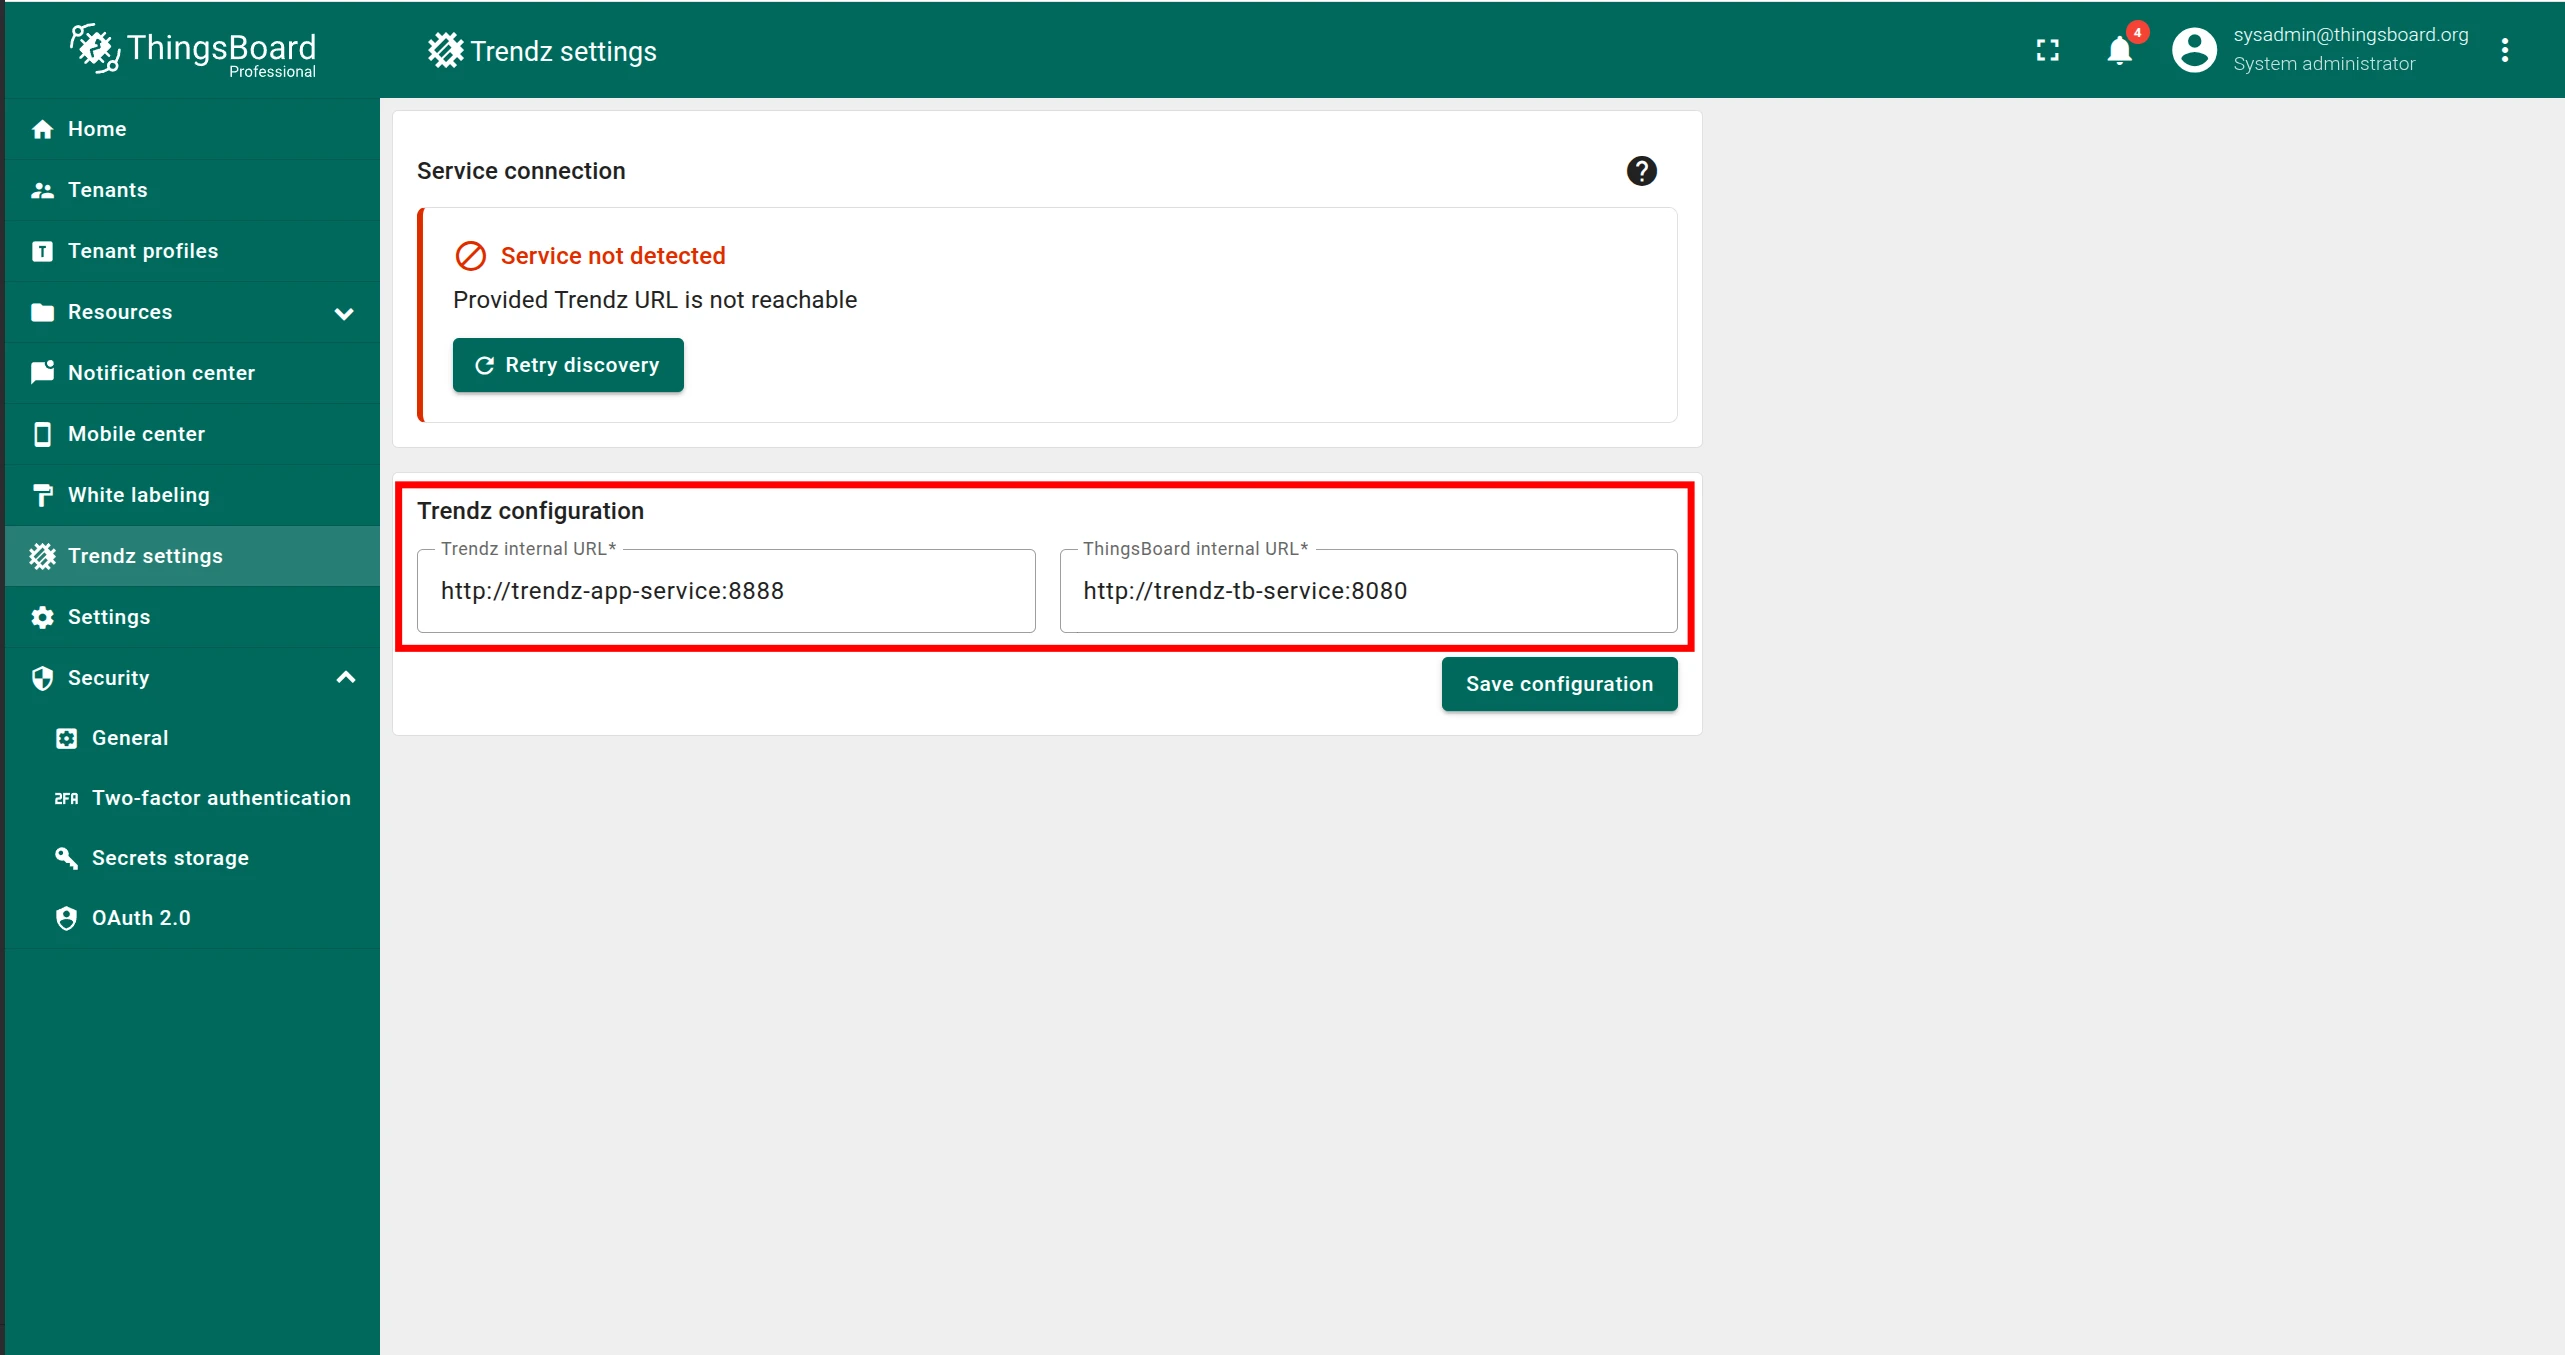
Log in to ThingsBoard as a Sysadmin and open the Trendz Settings page.
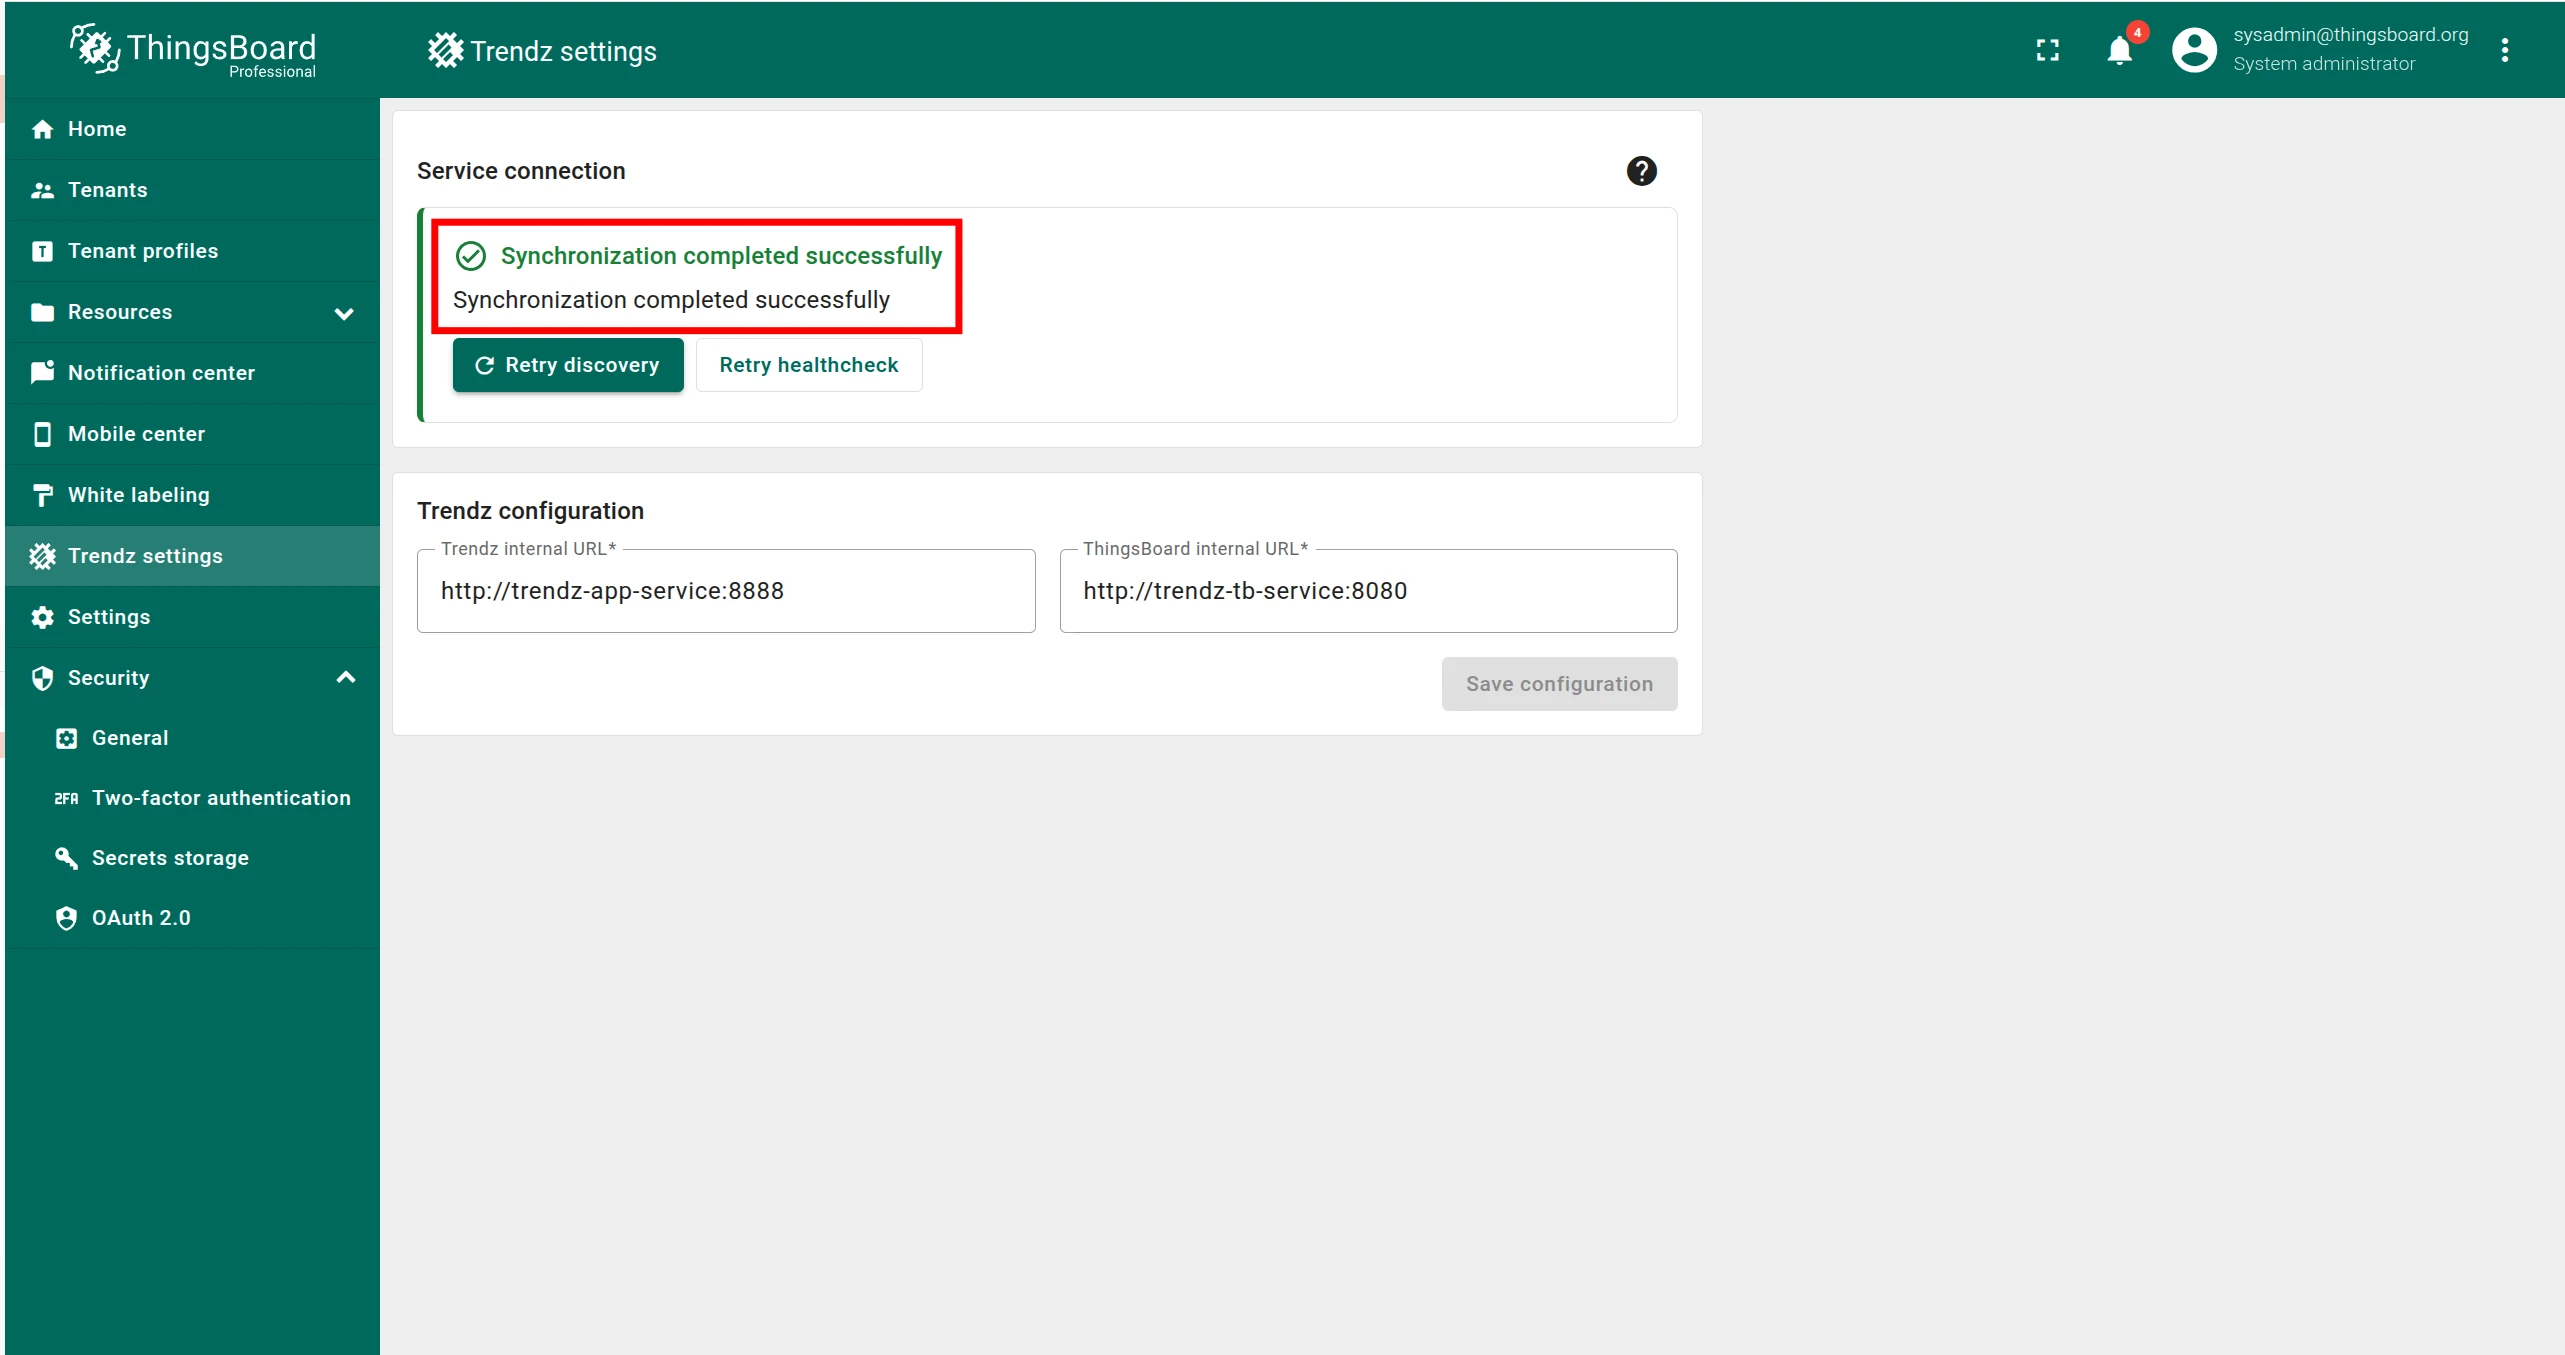
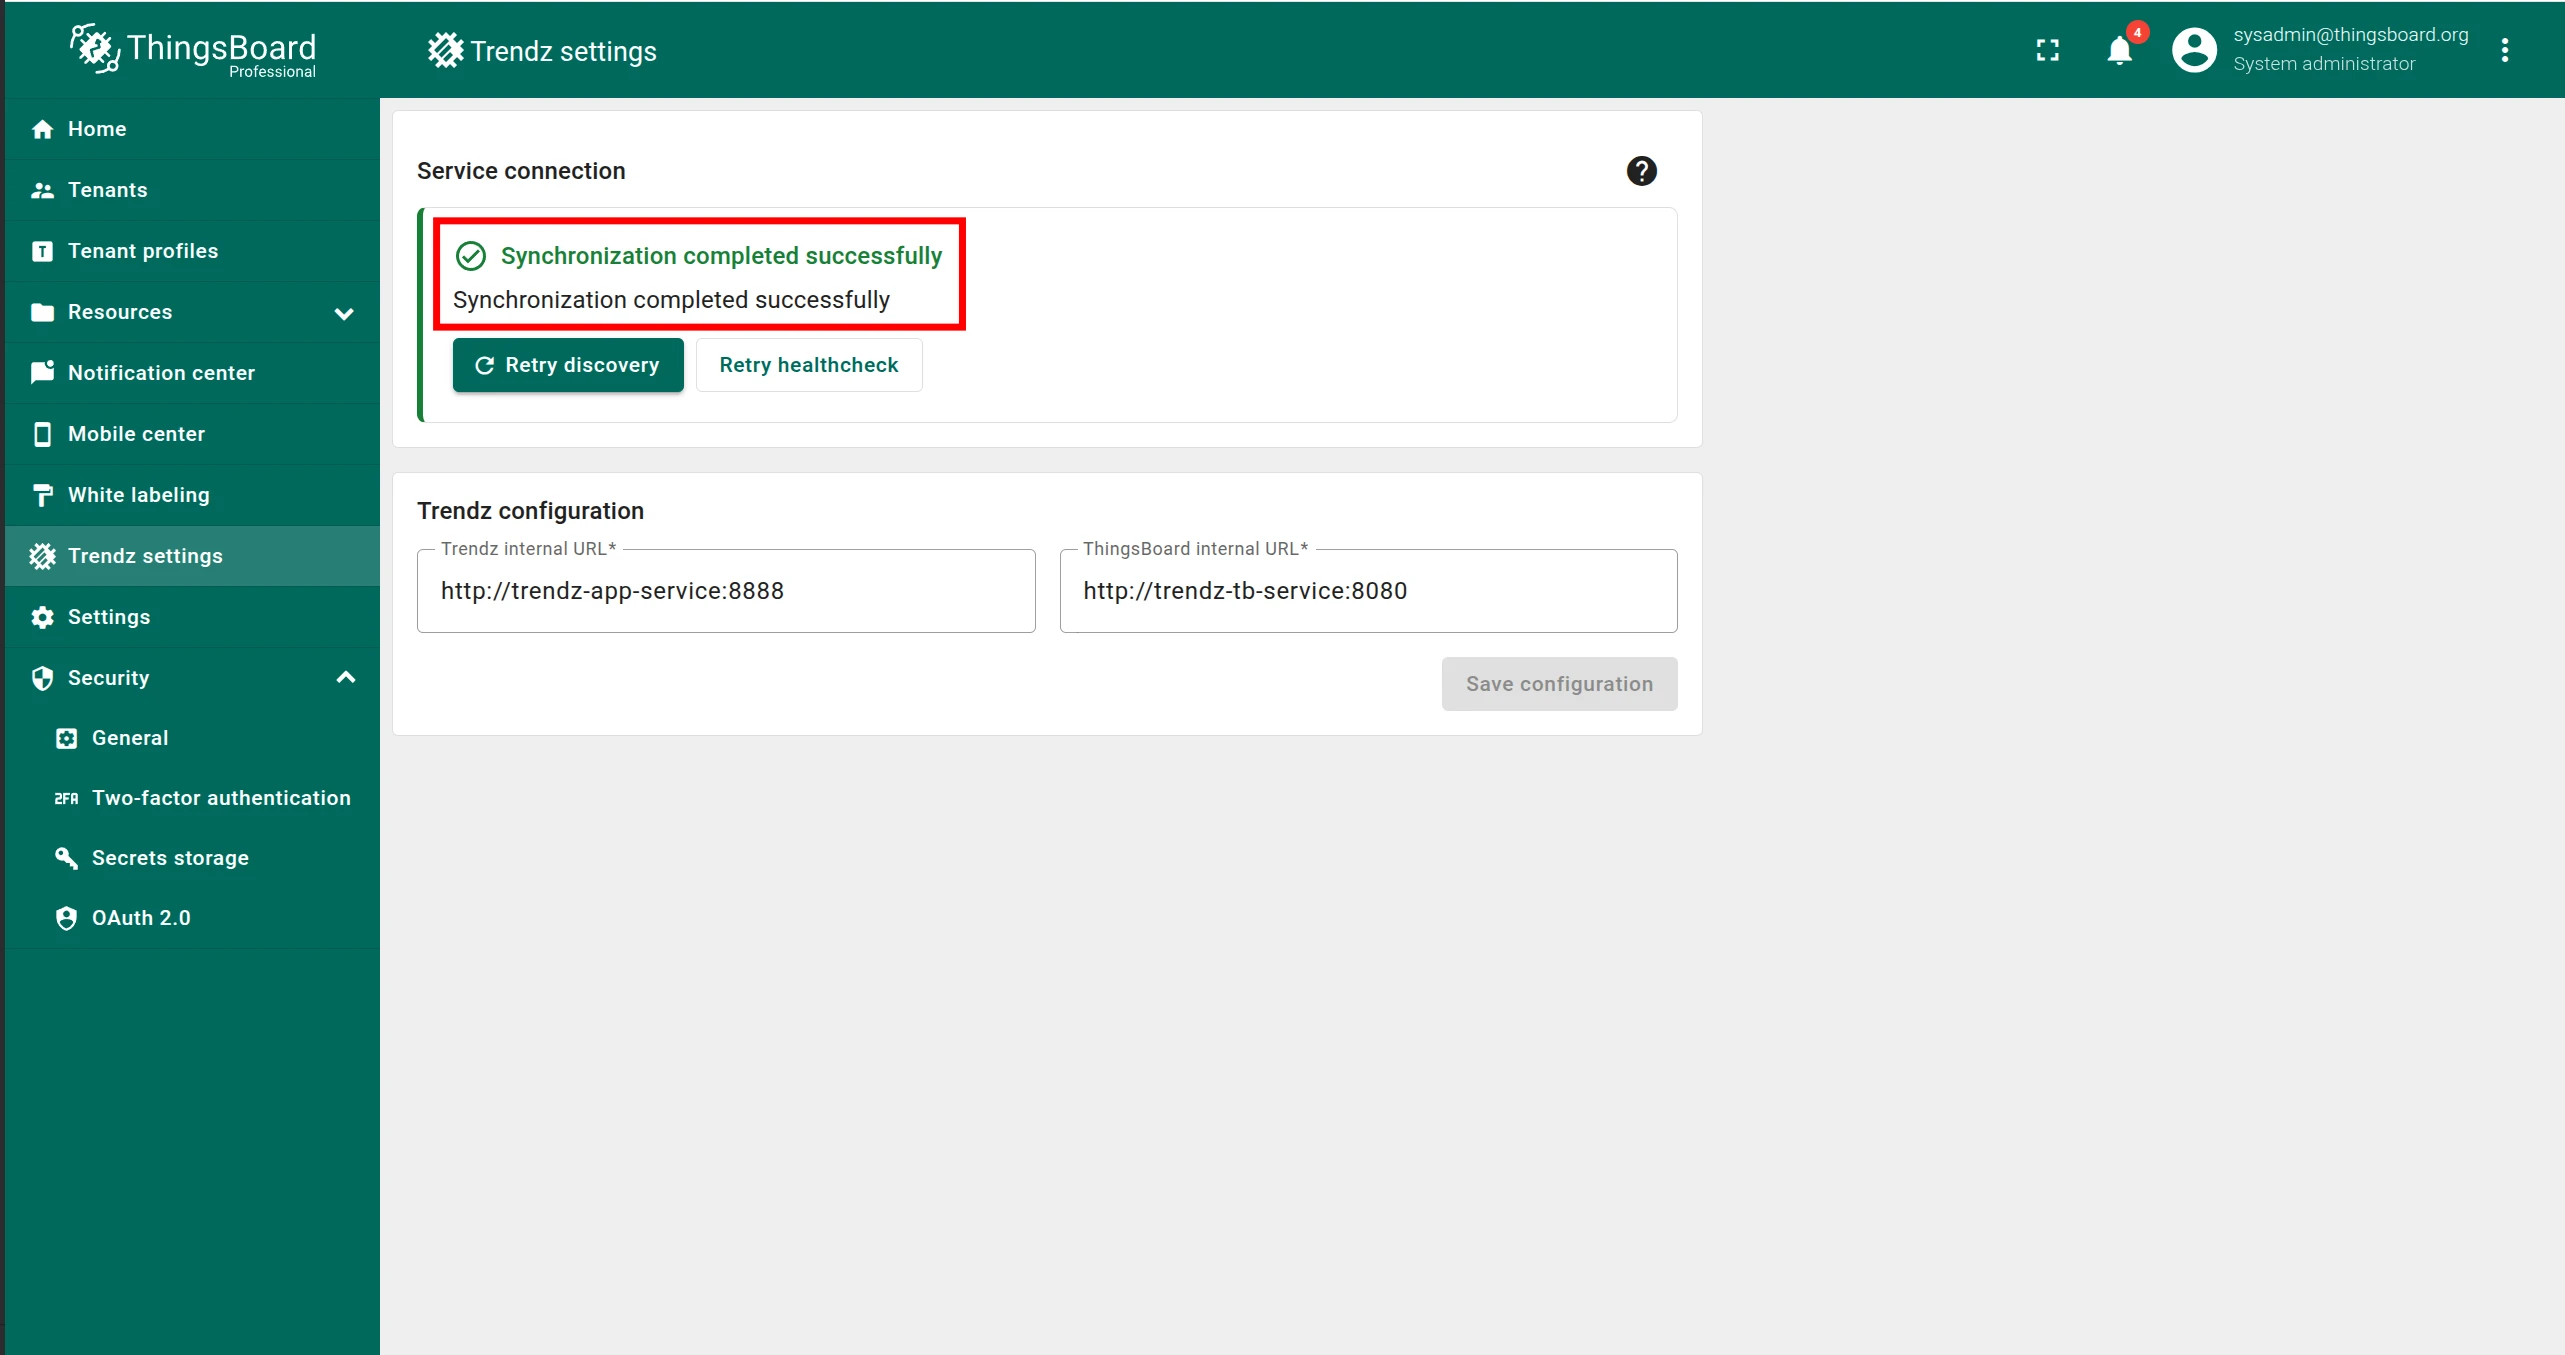
If you see “Synchronization completed successfully”, no further action is needed.
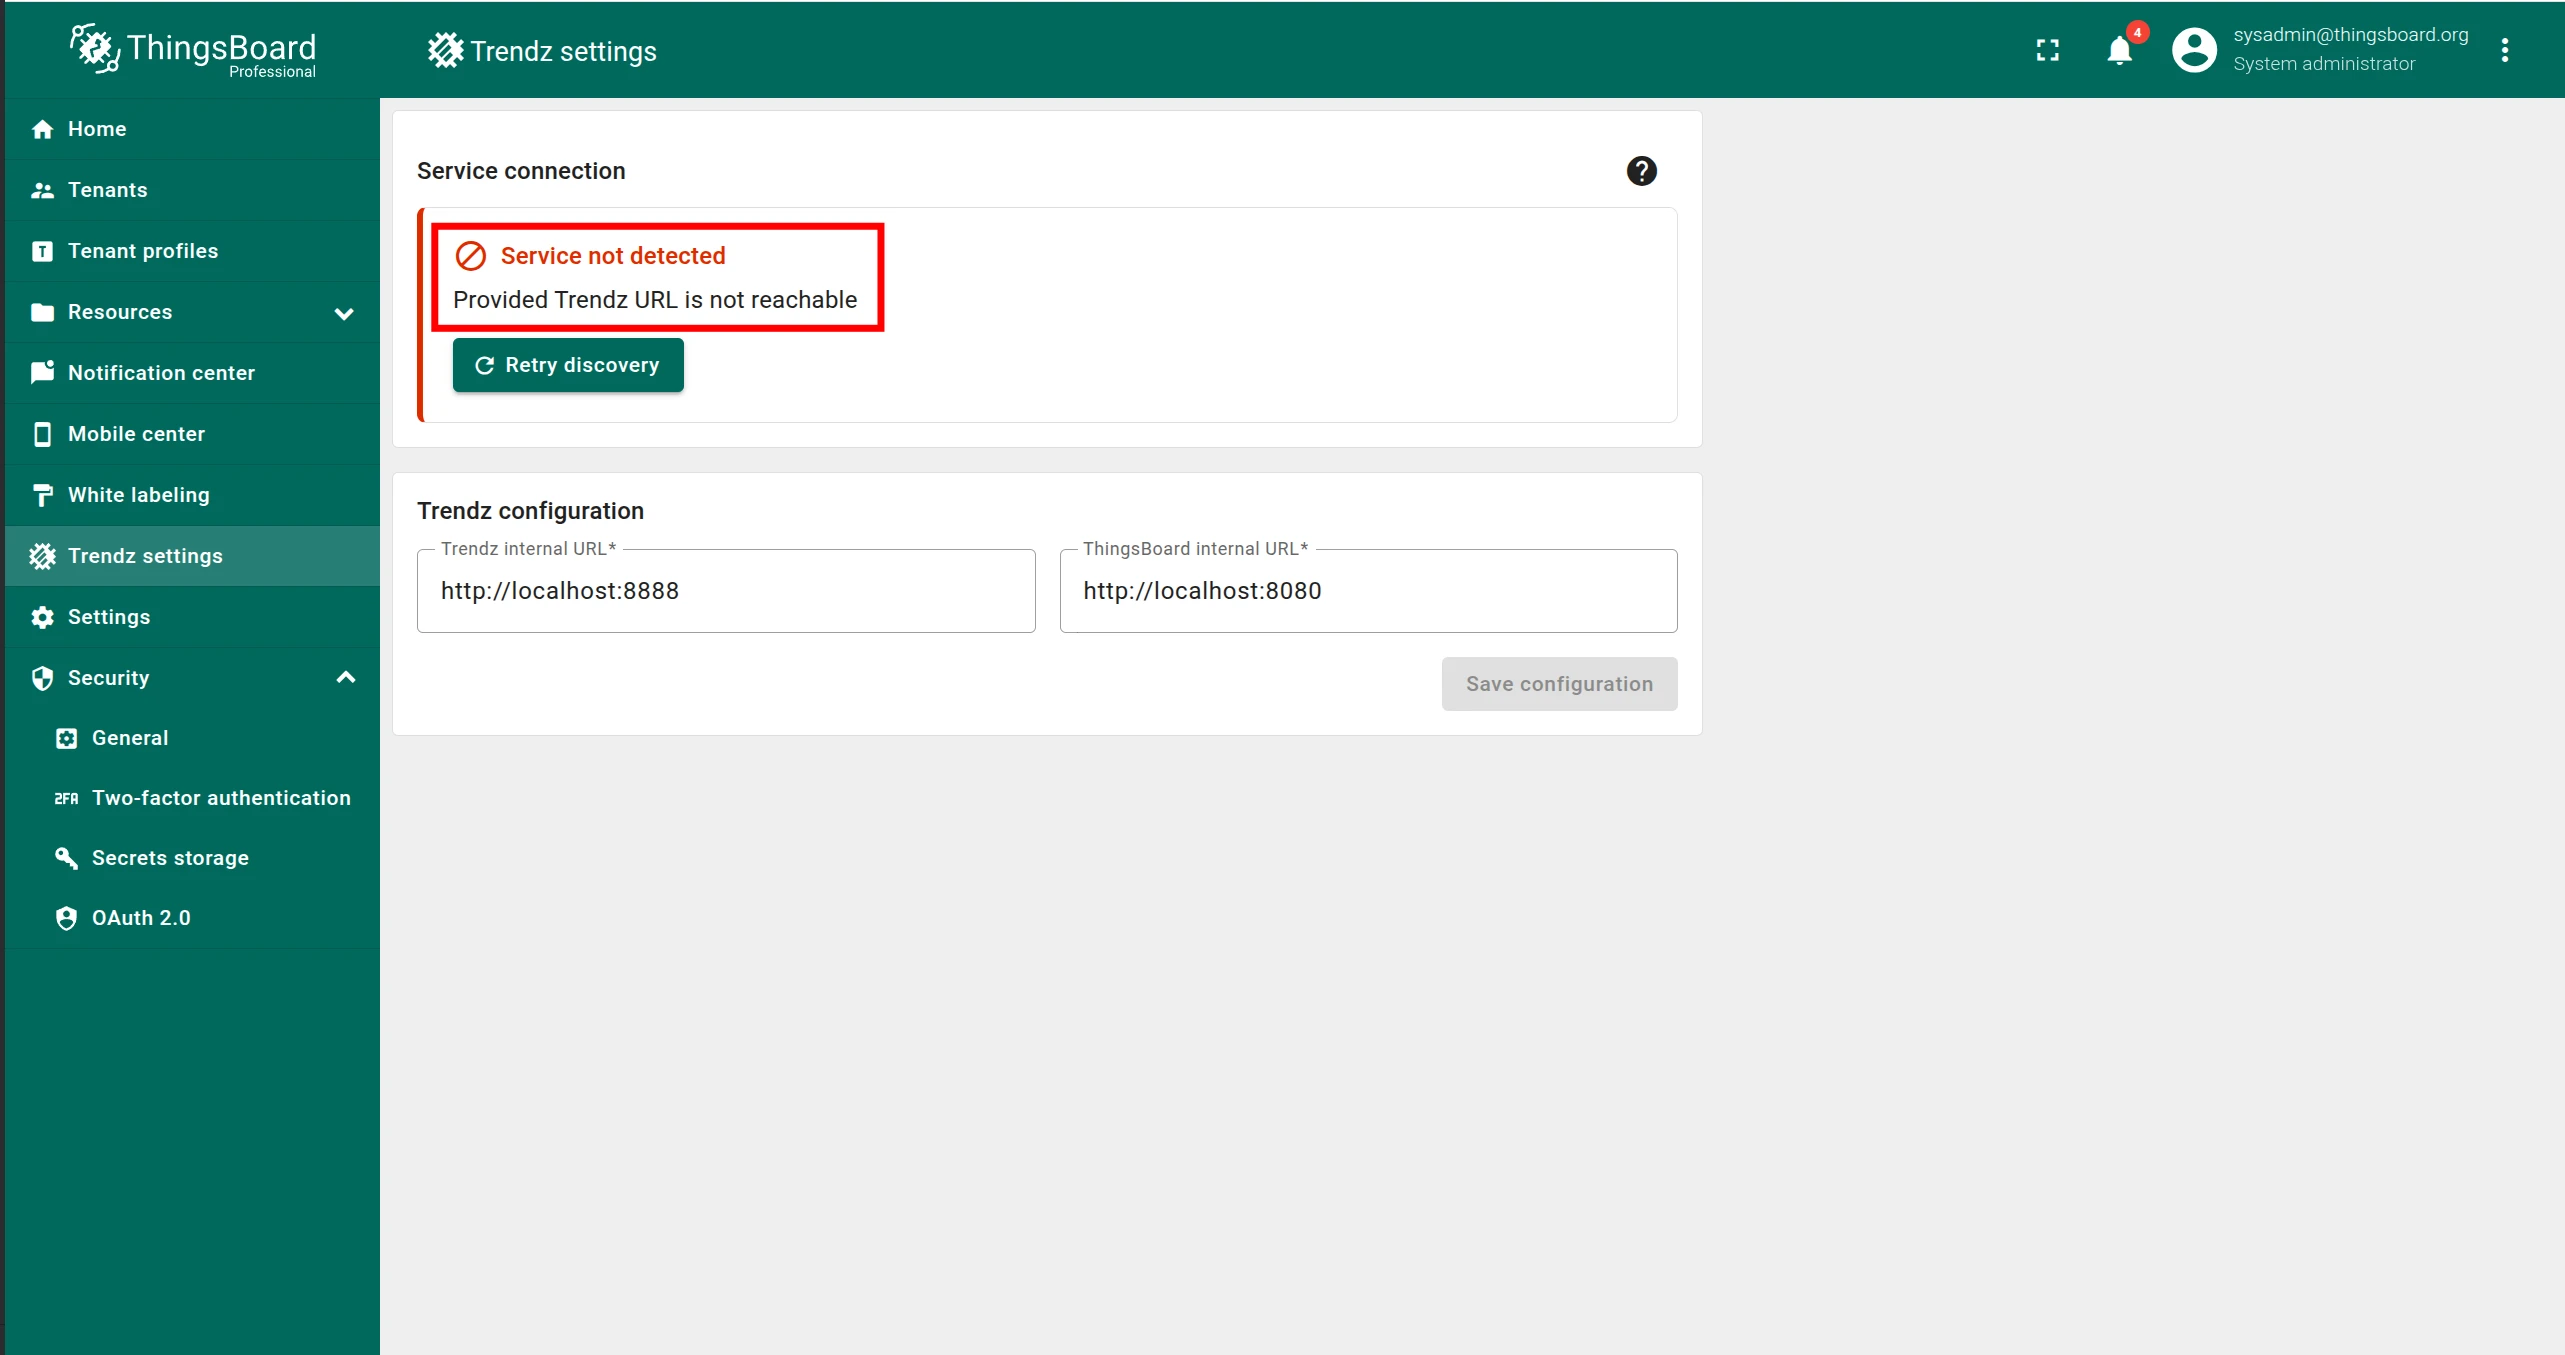
If you see an error message:
- Make sure Trendz is running.
- Enter the correct Trendz internal URL (must be reachable from ThingsBoard).
- Enter the correct ThingsBoard internal URL (must be reachable from Trendz).
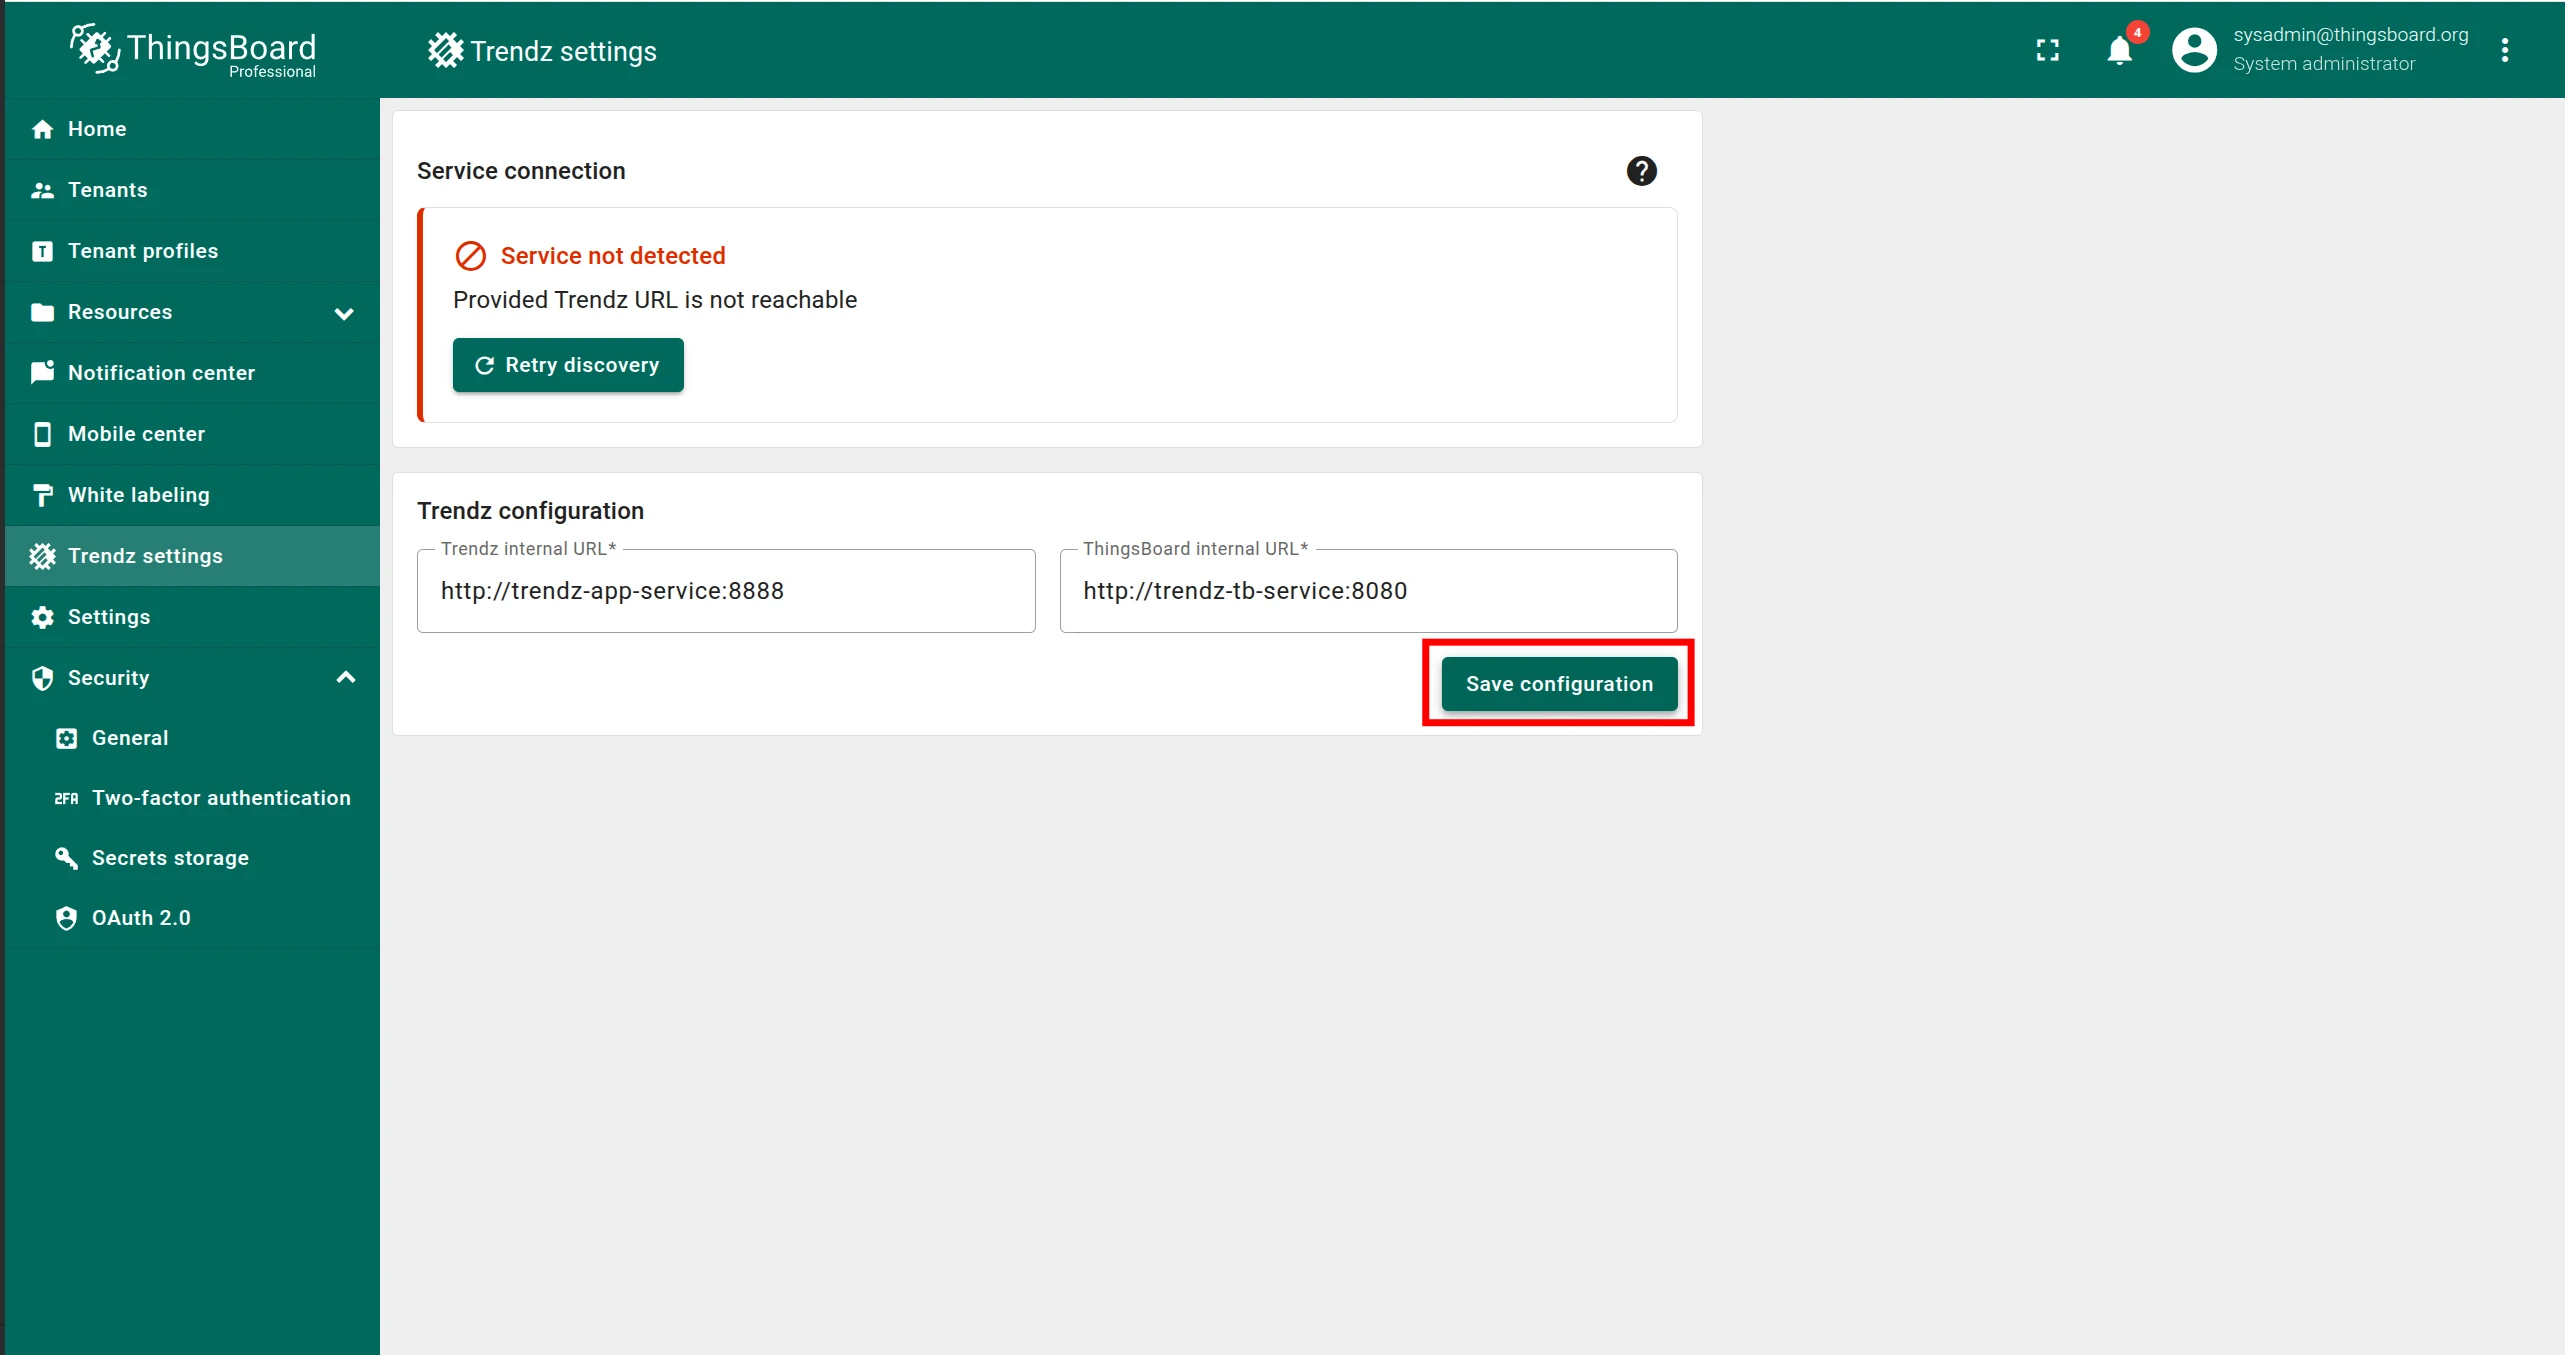
- Click Save configuration.
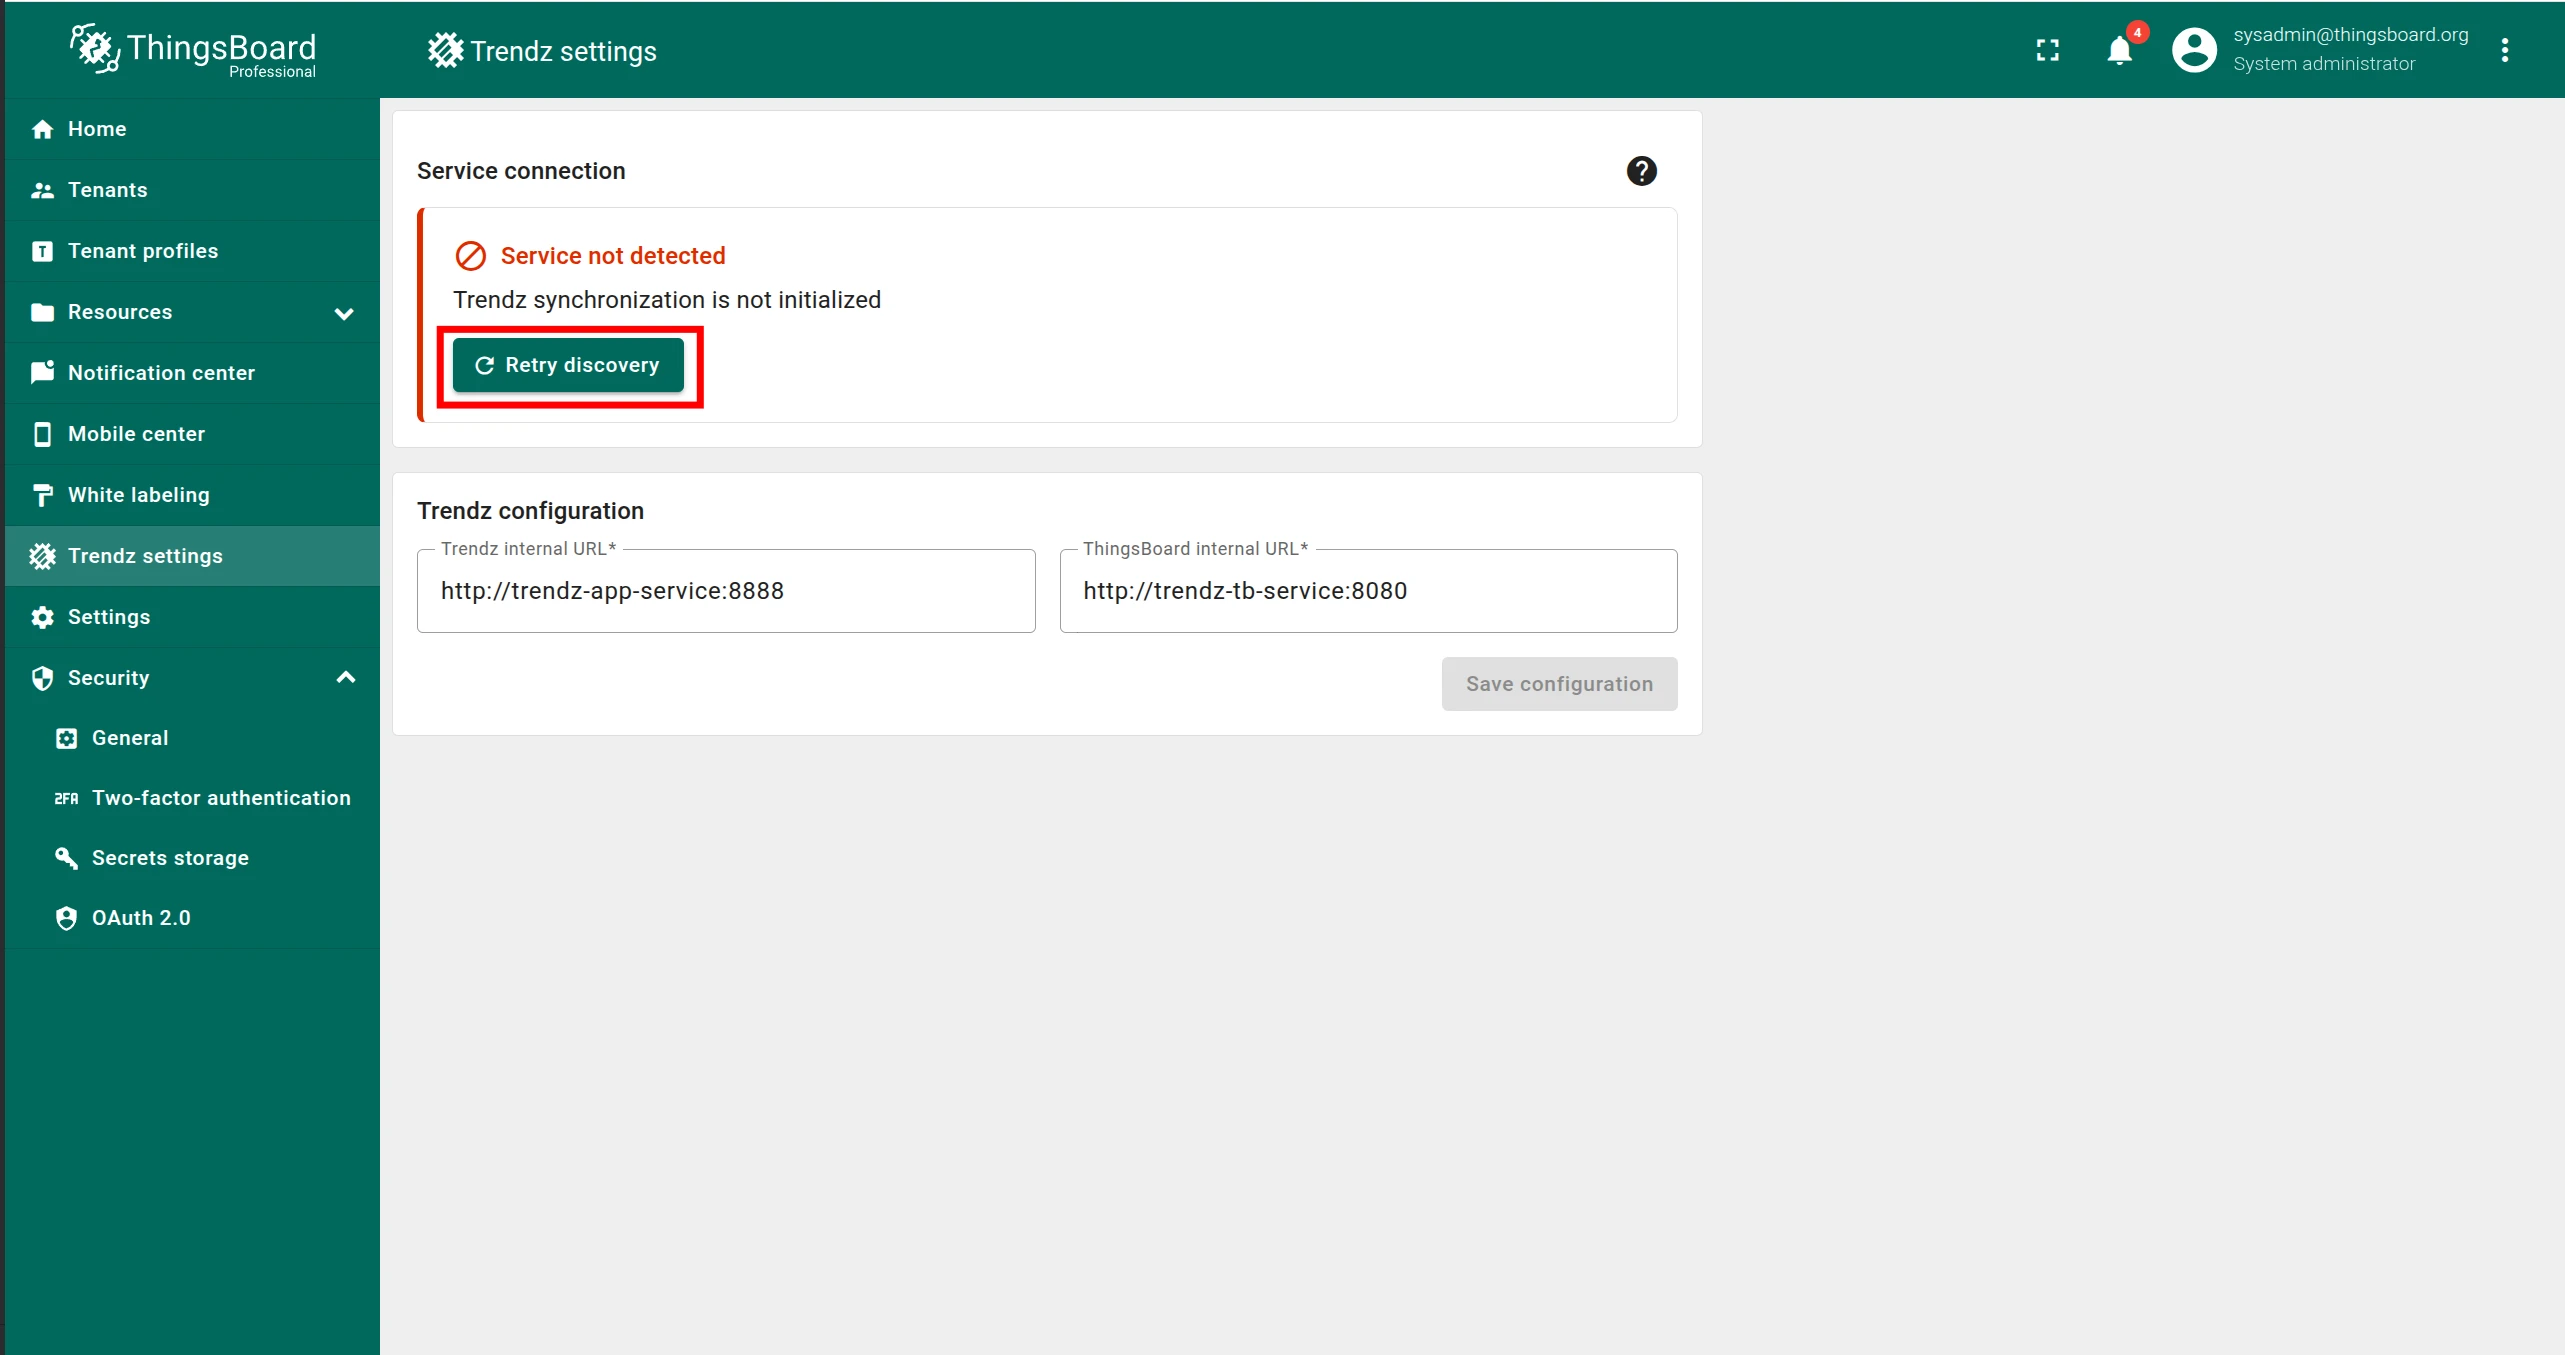
- Click Retry discovery.
Authentication
Section titled “Authentication”Access Trendz UI at http://localhost:8888.
Trendz uses ThingsBoard as its authentication provider — log in with your Tenant Administrator credentials from ThingsBoard.
Topology discovery
Section titled “Topology discovery”After the first login, discover the topology so Trendz can learn about your assets, devices, profiles, and relations:
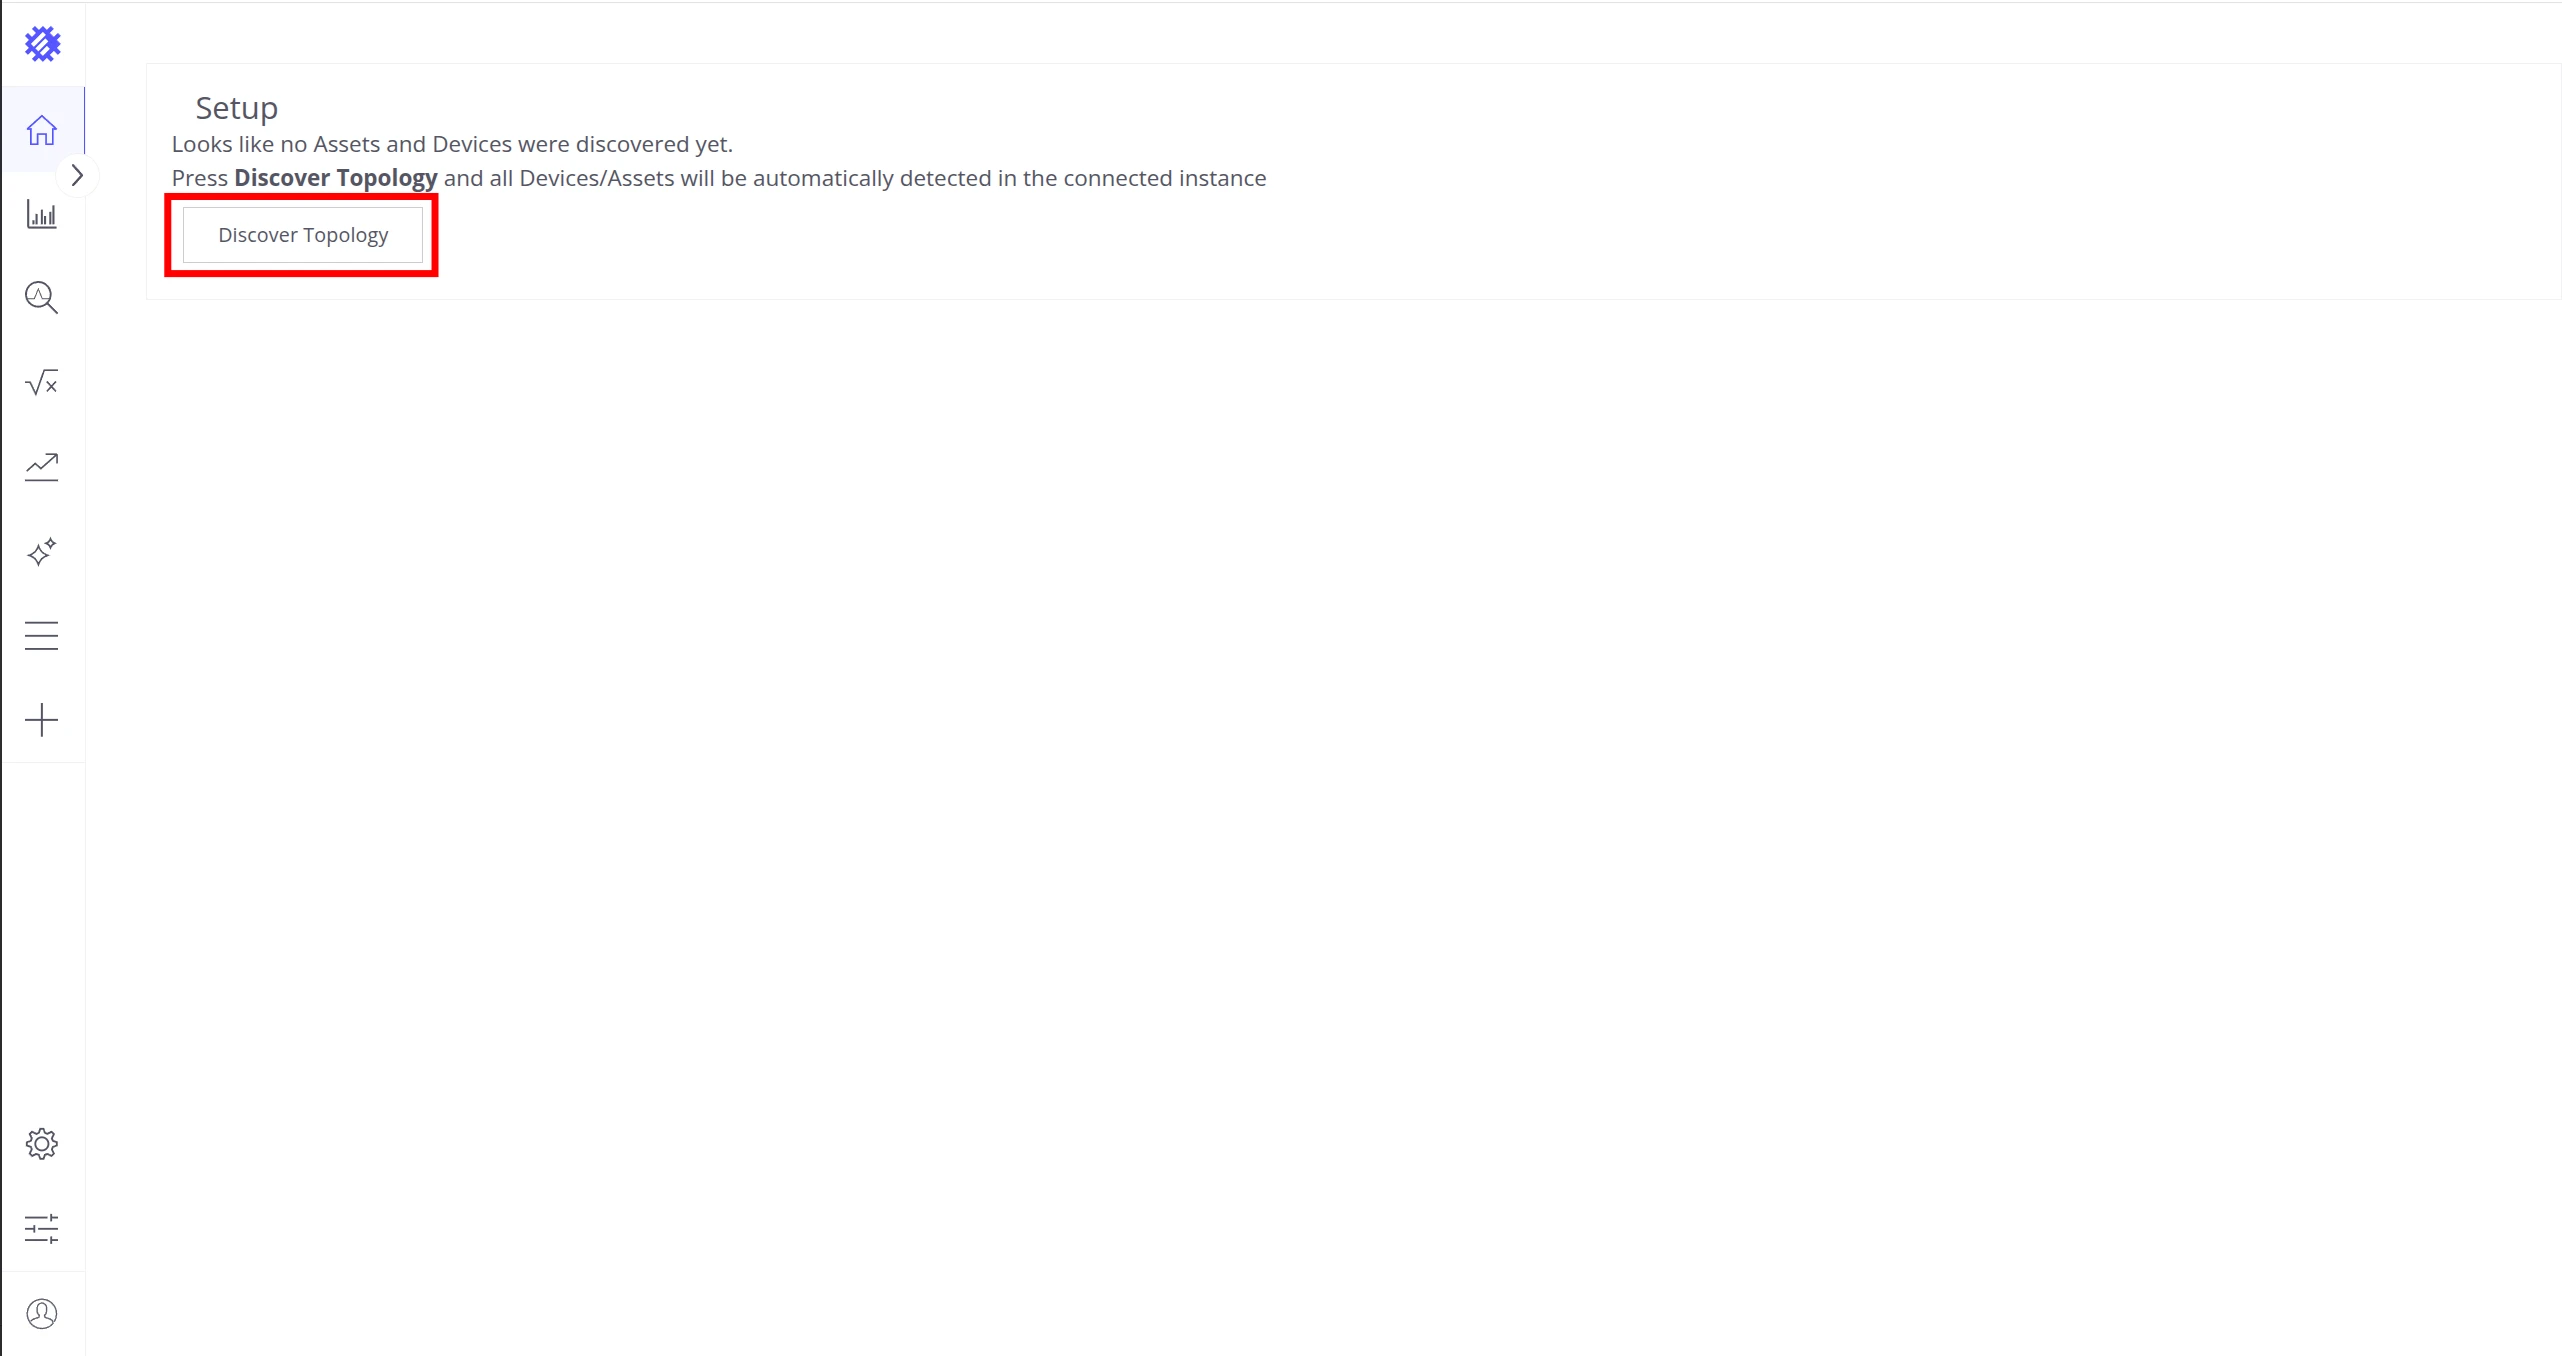
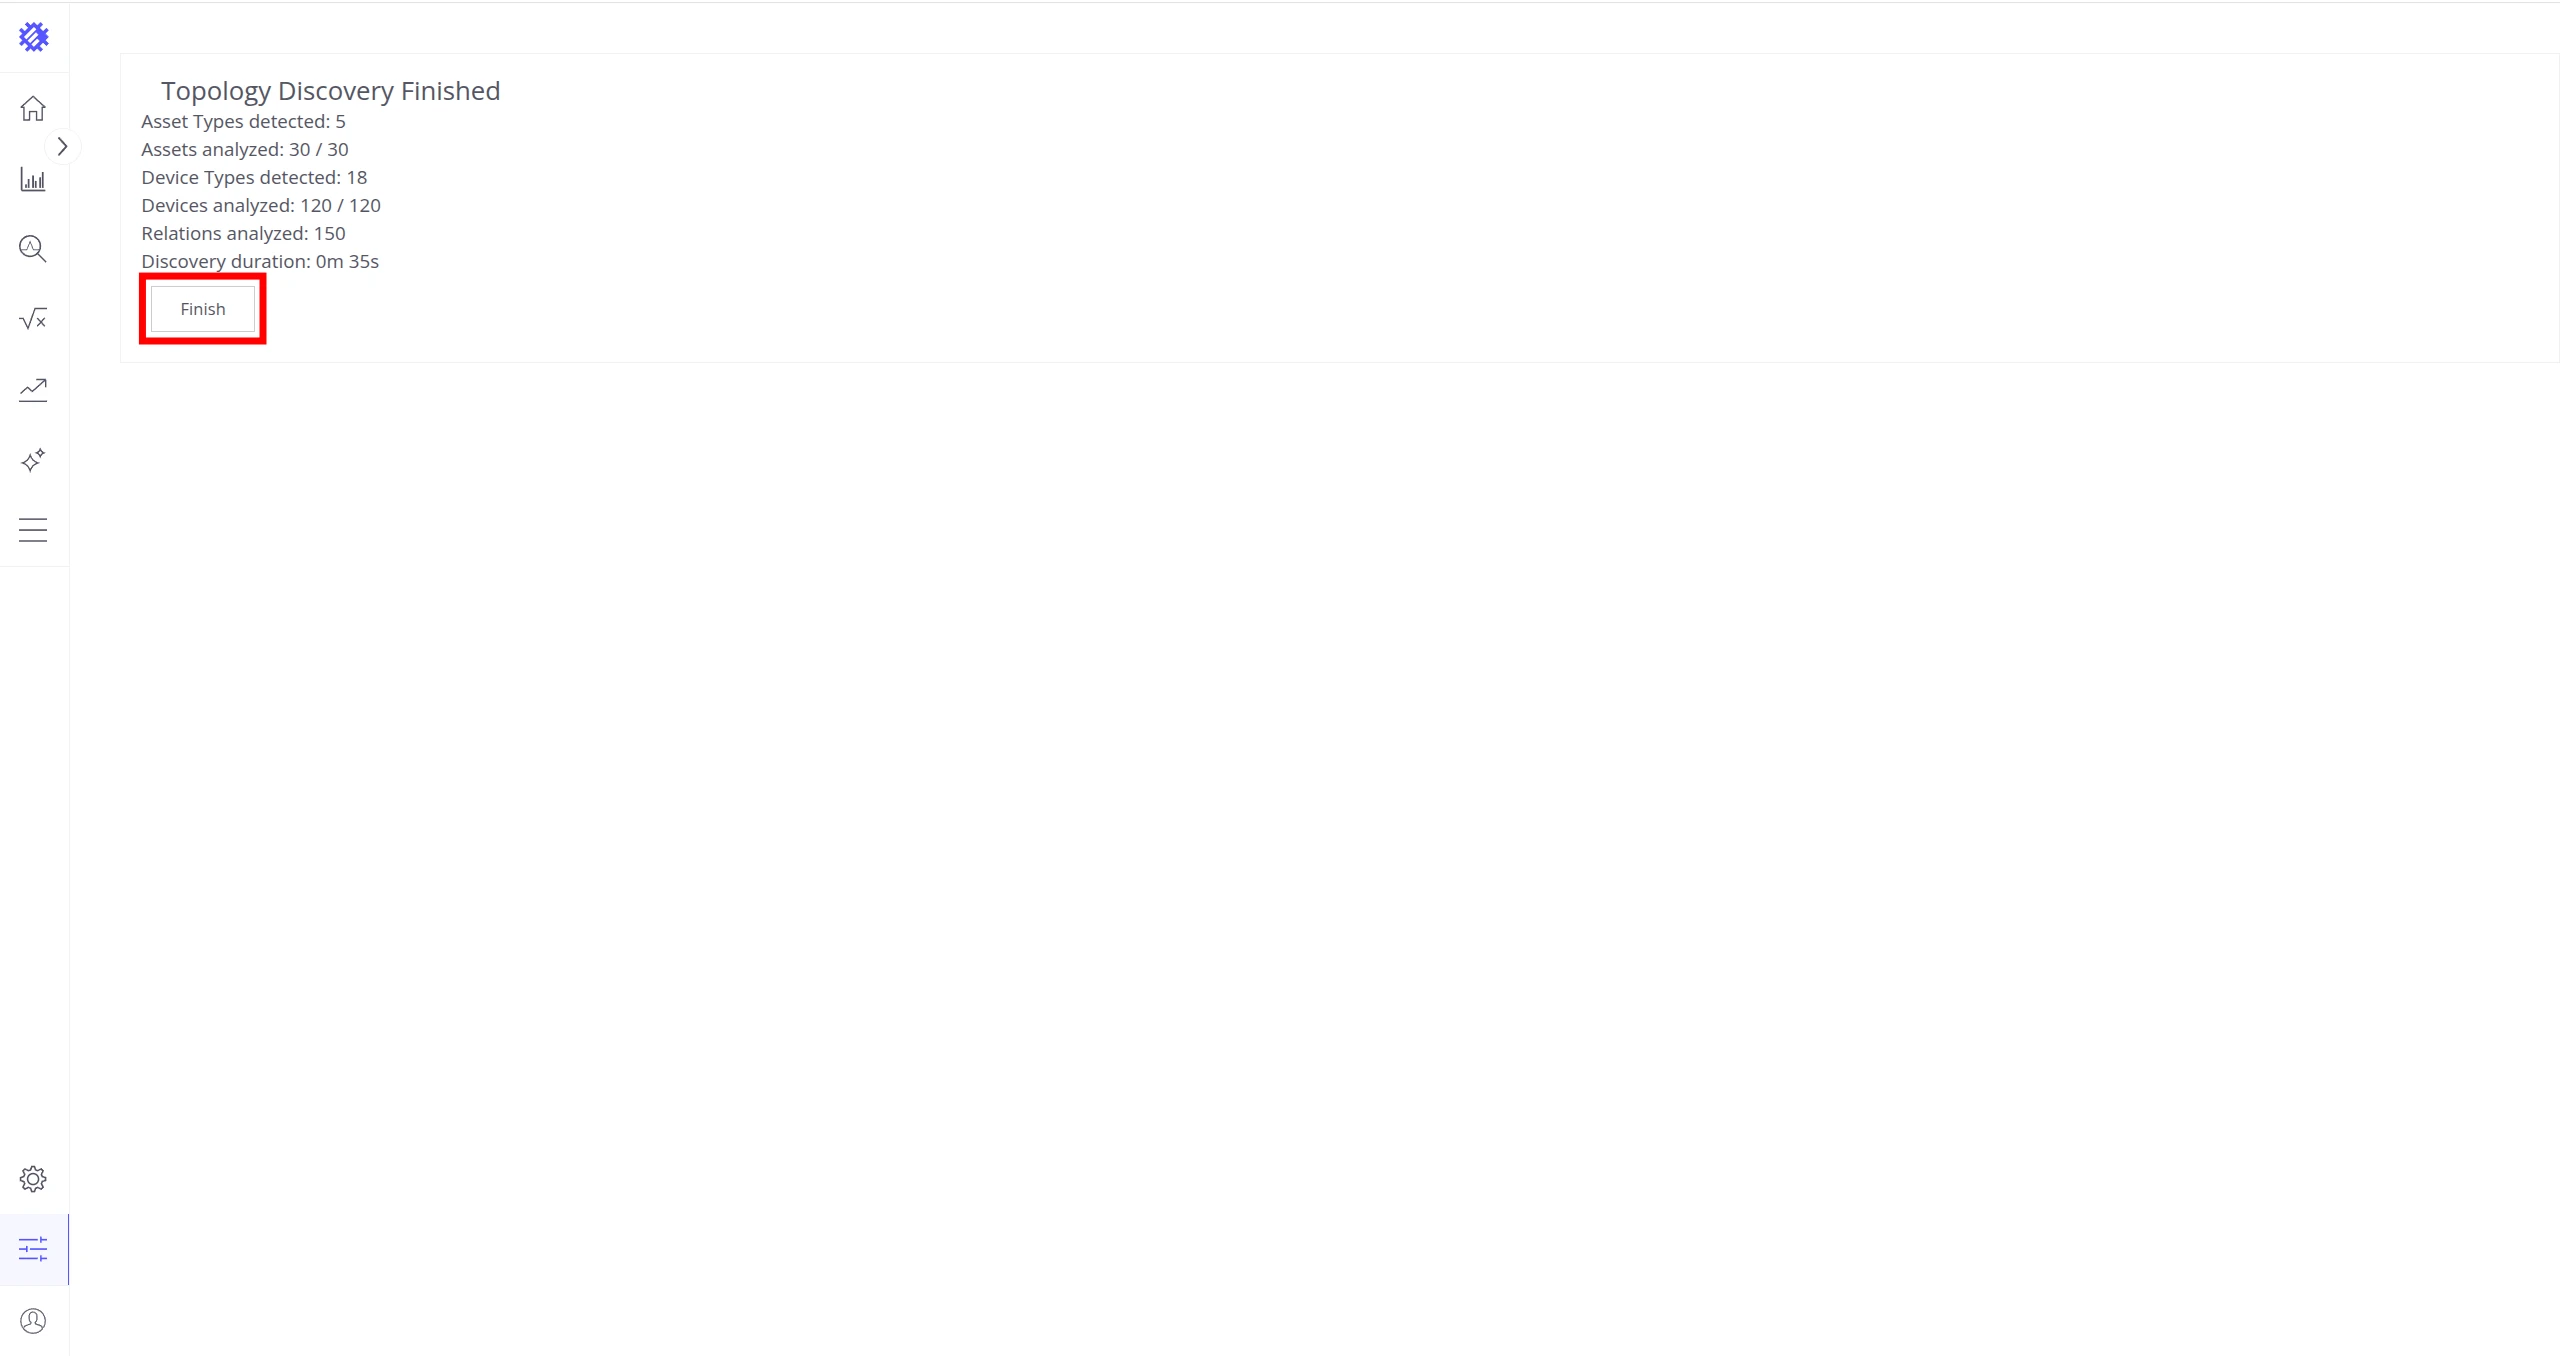
See Business Entities for more on how Trendz uses this topology.
Manage containers
Section titled “Manage containers”To detach from the log stream without stopping the container, press Ctrl-c.
| Action | Command |
|---|---|
| View Trendz logs | docker compose logs -f trendz |
| Stop Trendz | docker compose stop trendz |
| Start Trendz | docker compose start trendz |
Upgrading
Section titled “Upgrading”See the Upgrade Instructions for detailed steps.
Troubleshooting
Section titled “Troubleshooting”DNS issues
Section titled “DNS issues”If you see errors like:
127.0.1.1:53: cannot unmarshal DNS messageConfigure your system to use Google public DNS. See the Windows instructions.
Was this helpful?