Remote Shell
Remote Shell lets you control the operating system of your IoT Gateway machine directly from the ThingsBoard web interface - execute commands, check system health, troubleshoot issues, and perform maintenance tasks without needing physical access to the device.
Prerequisites
Section titled “Prerequisites”- A running ThingsBoard server. The quickest option is ThingsBoard Cloud. For self-hosted setups follow the Installation Guide.
- An installed and configured ThingsBoard IoT Gateway (Installation guide, Getting Started).
Step 1. Enable Remote Shell
Section titled “Step 1. Enable Remote Shell”-
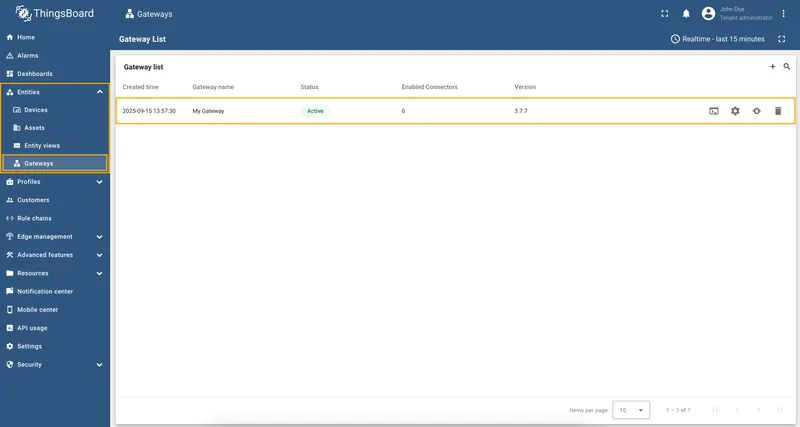
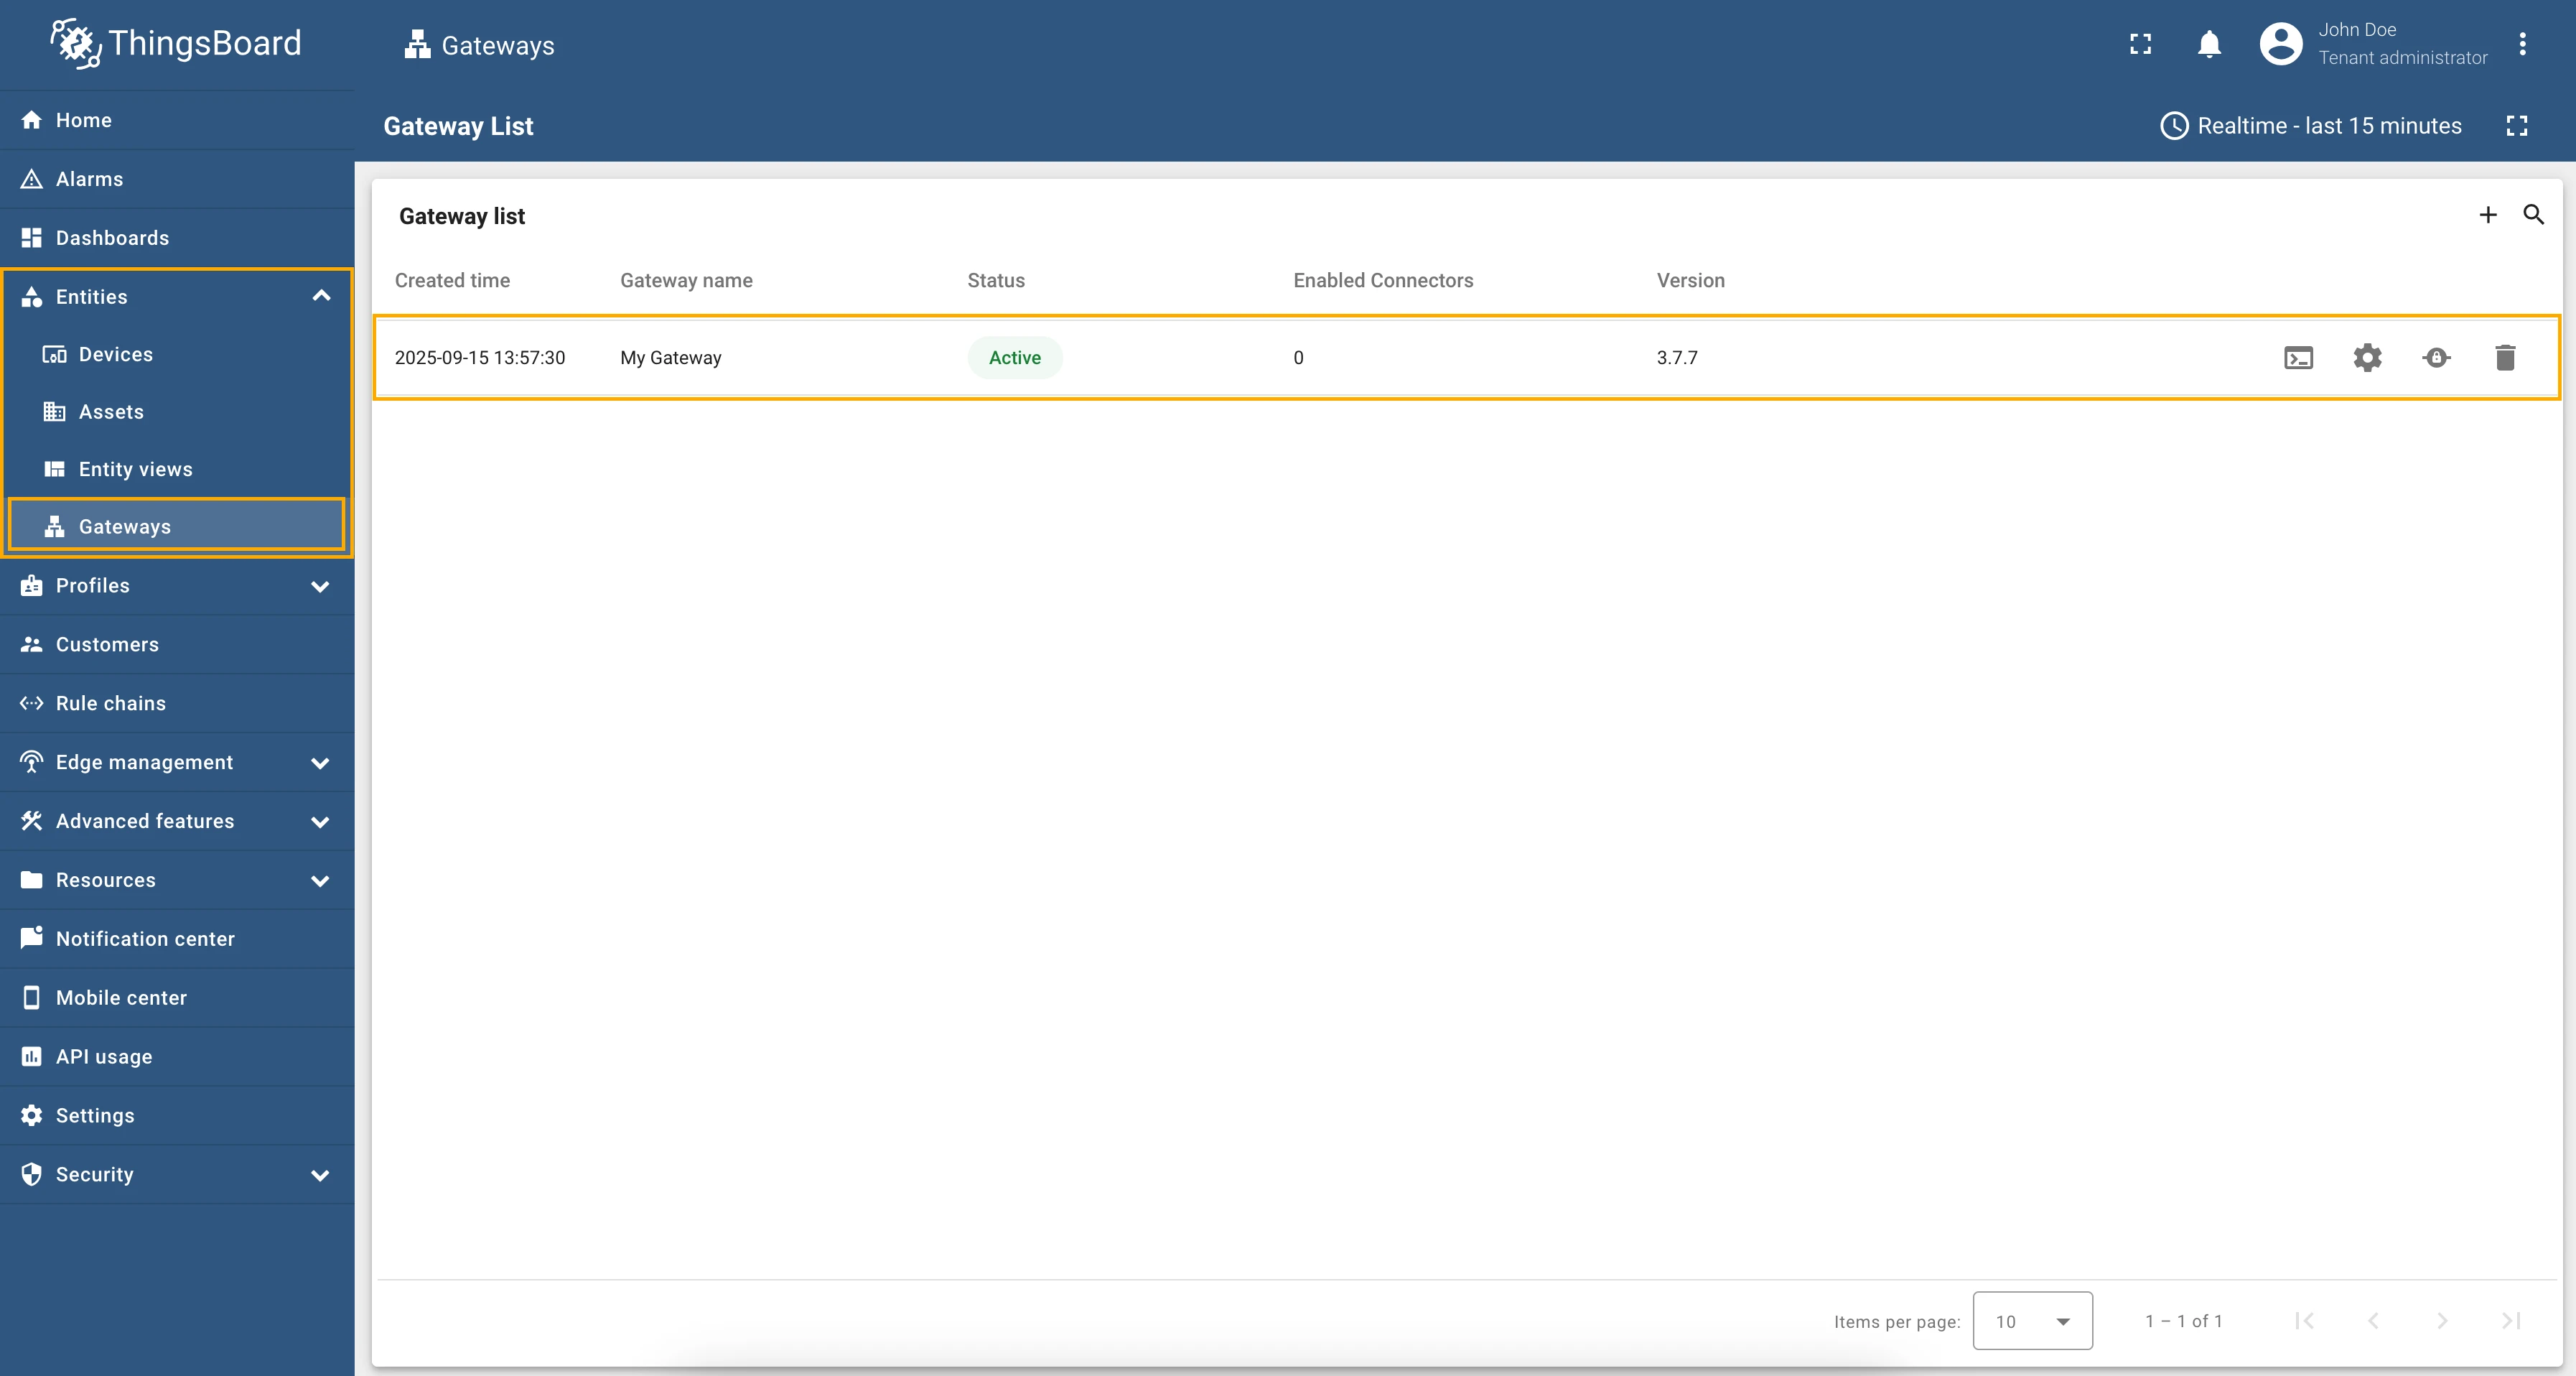
Go to Entities > Gateways and click on the desired gateway.
-
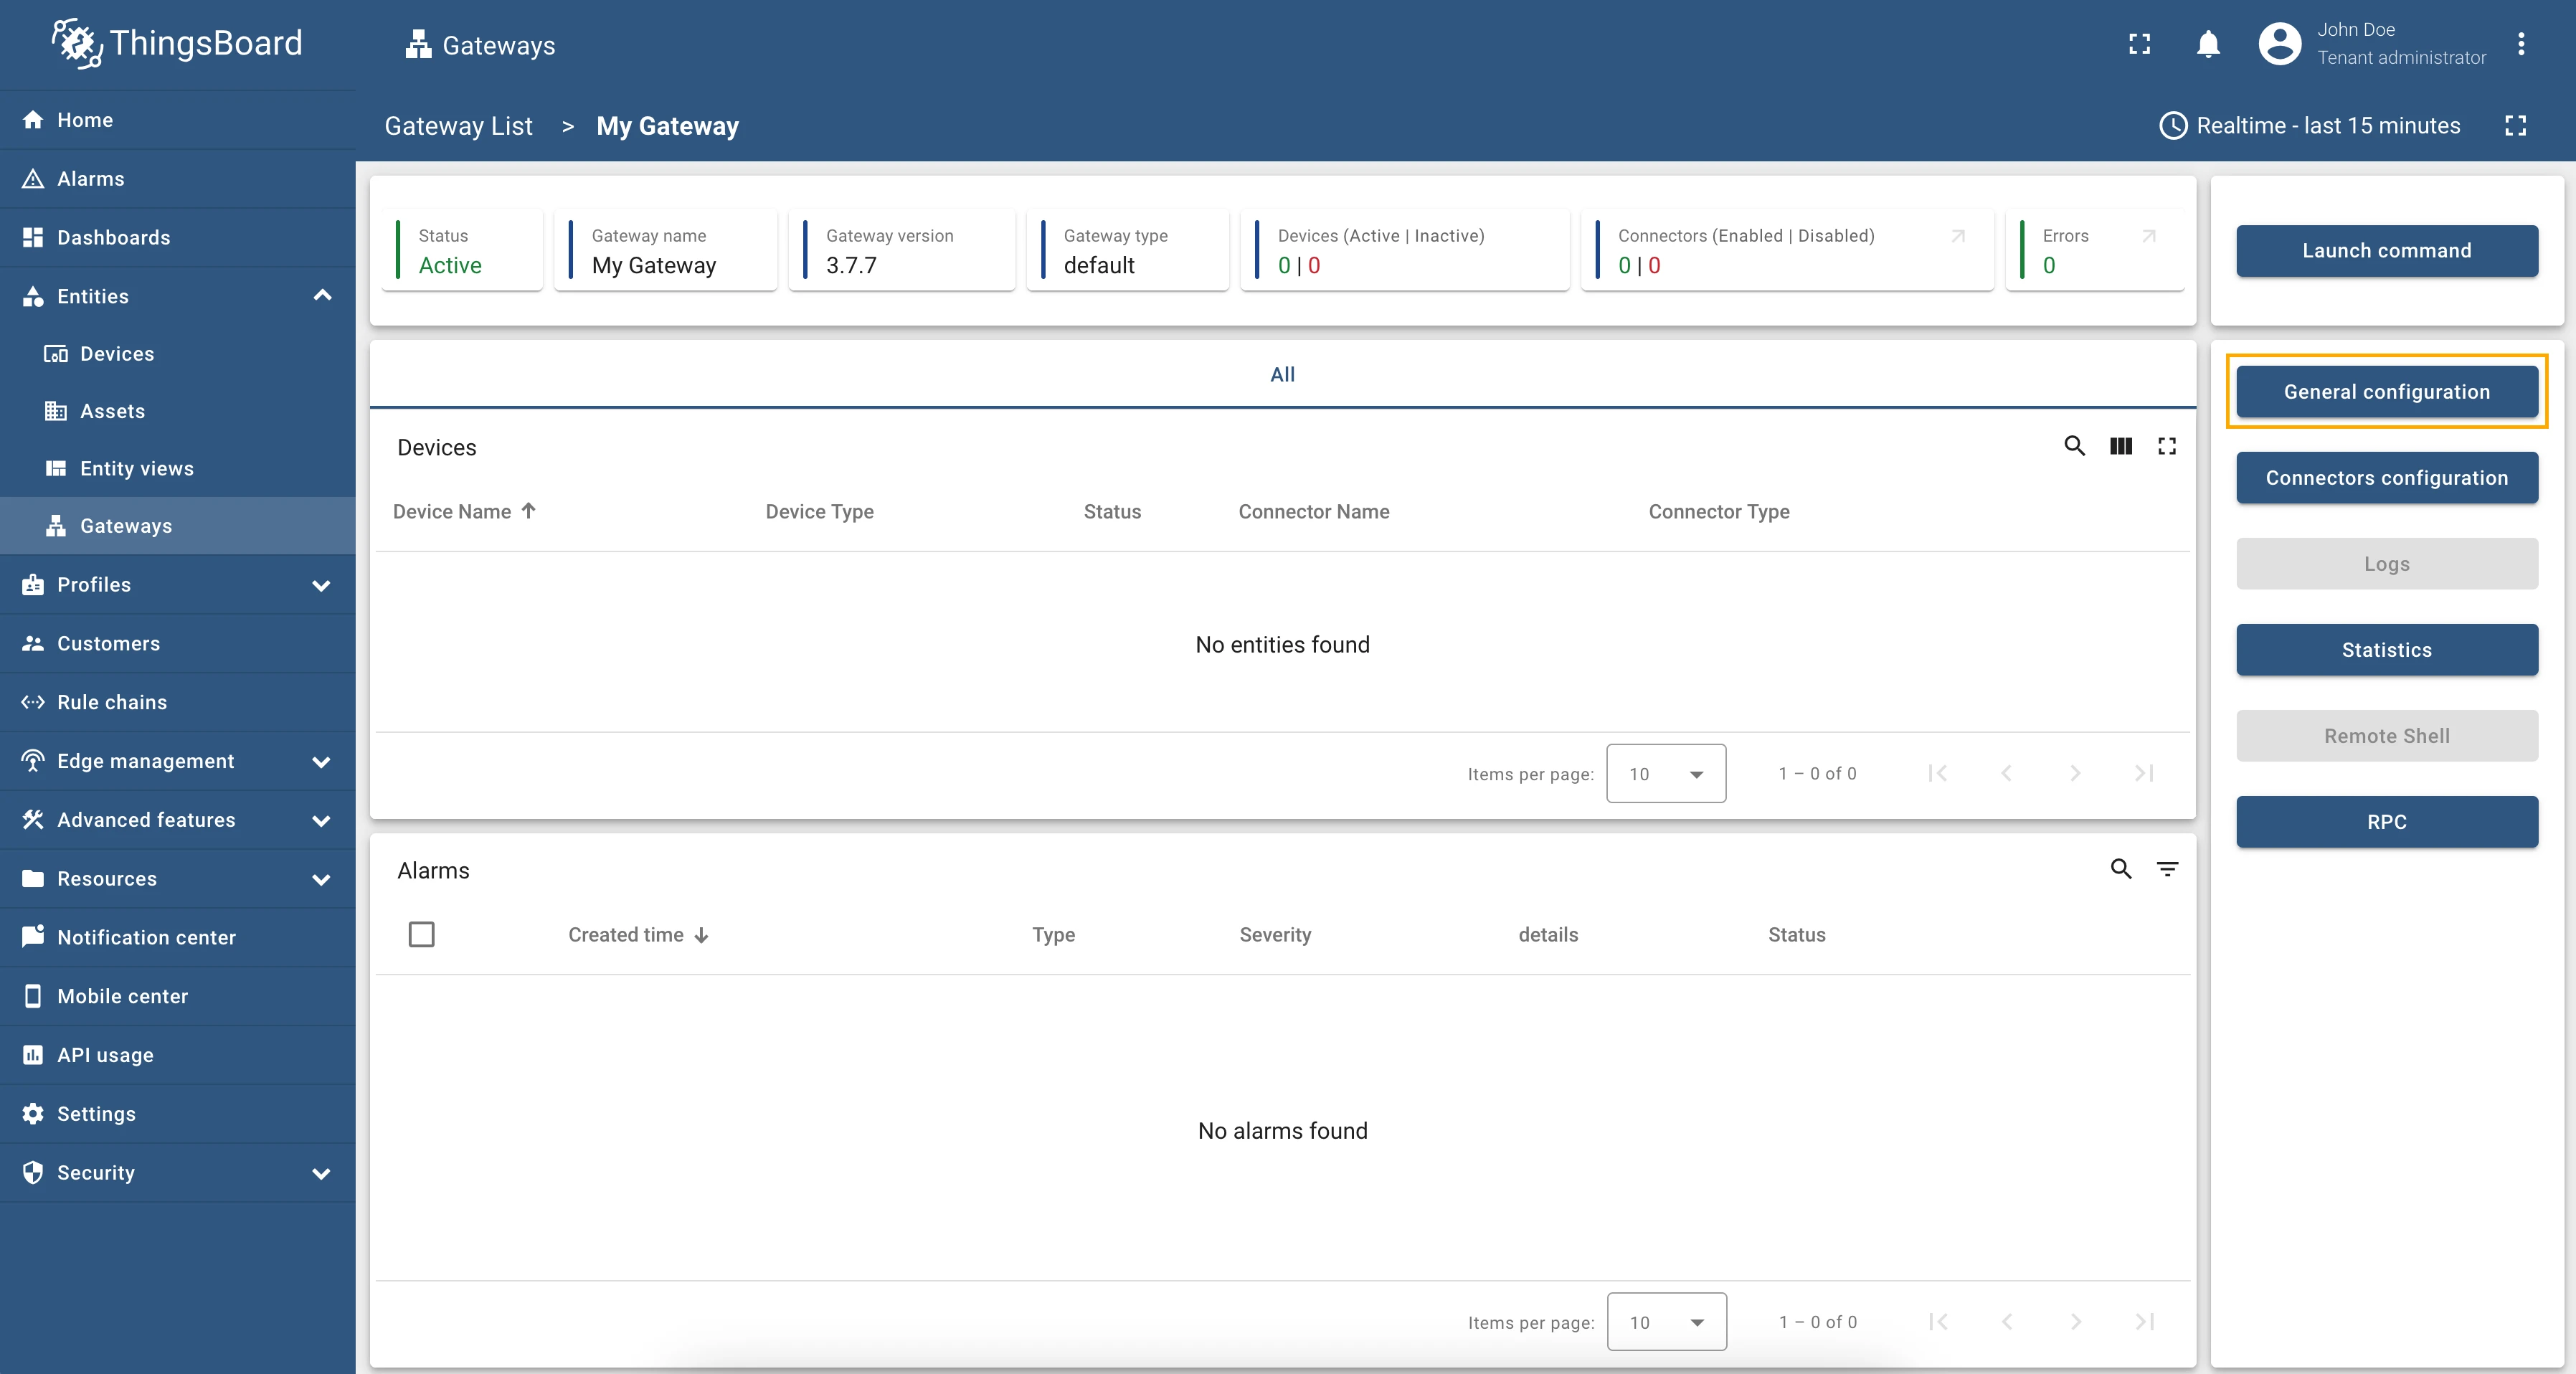
Click the General configuration button in the right panel.

-
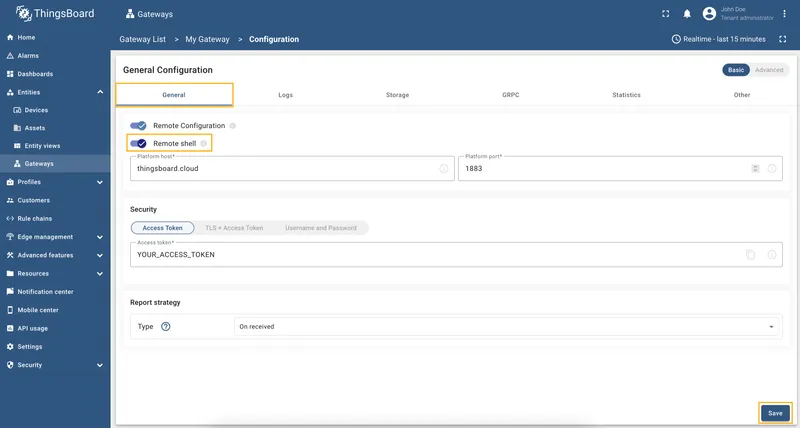
On the General tab, enable the Remote shell toggle and click Save.

Step 2. Use the Remote Shell
Section titled “Step 2. Use the Remote Shell”-
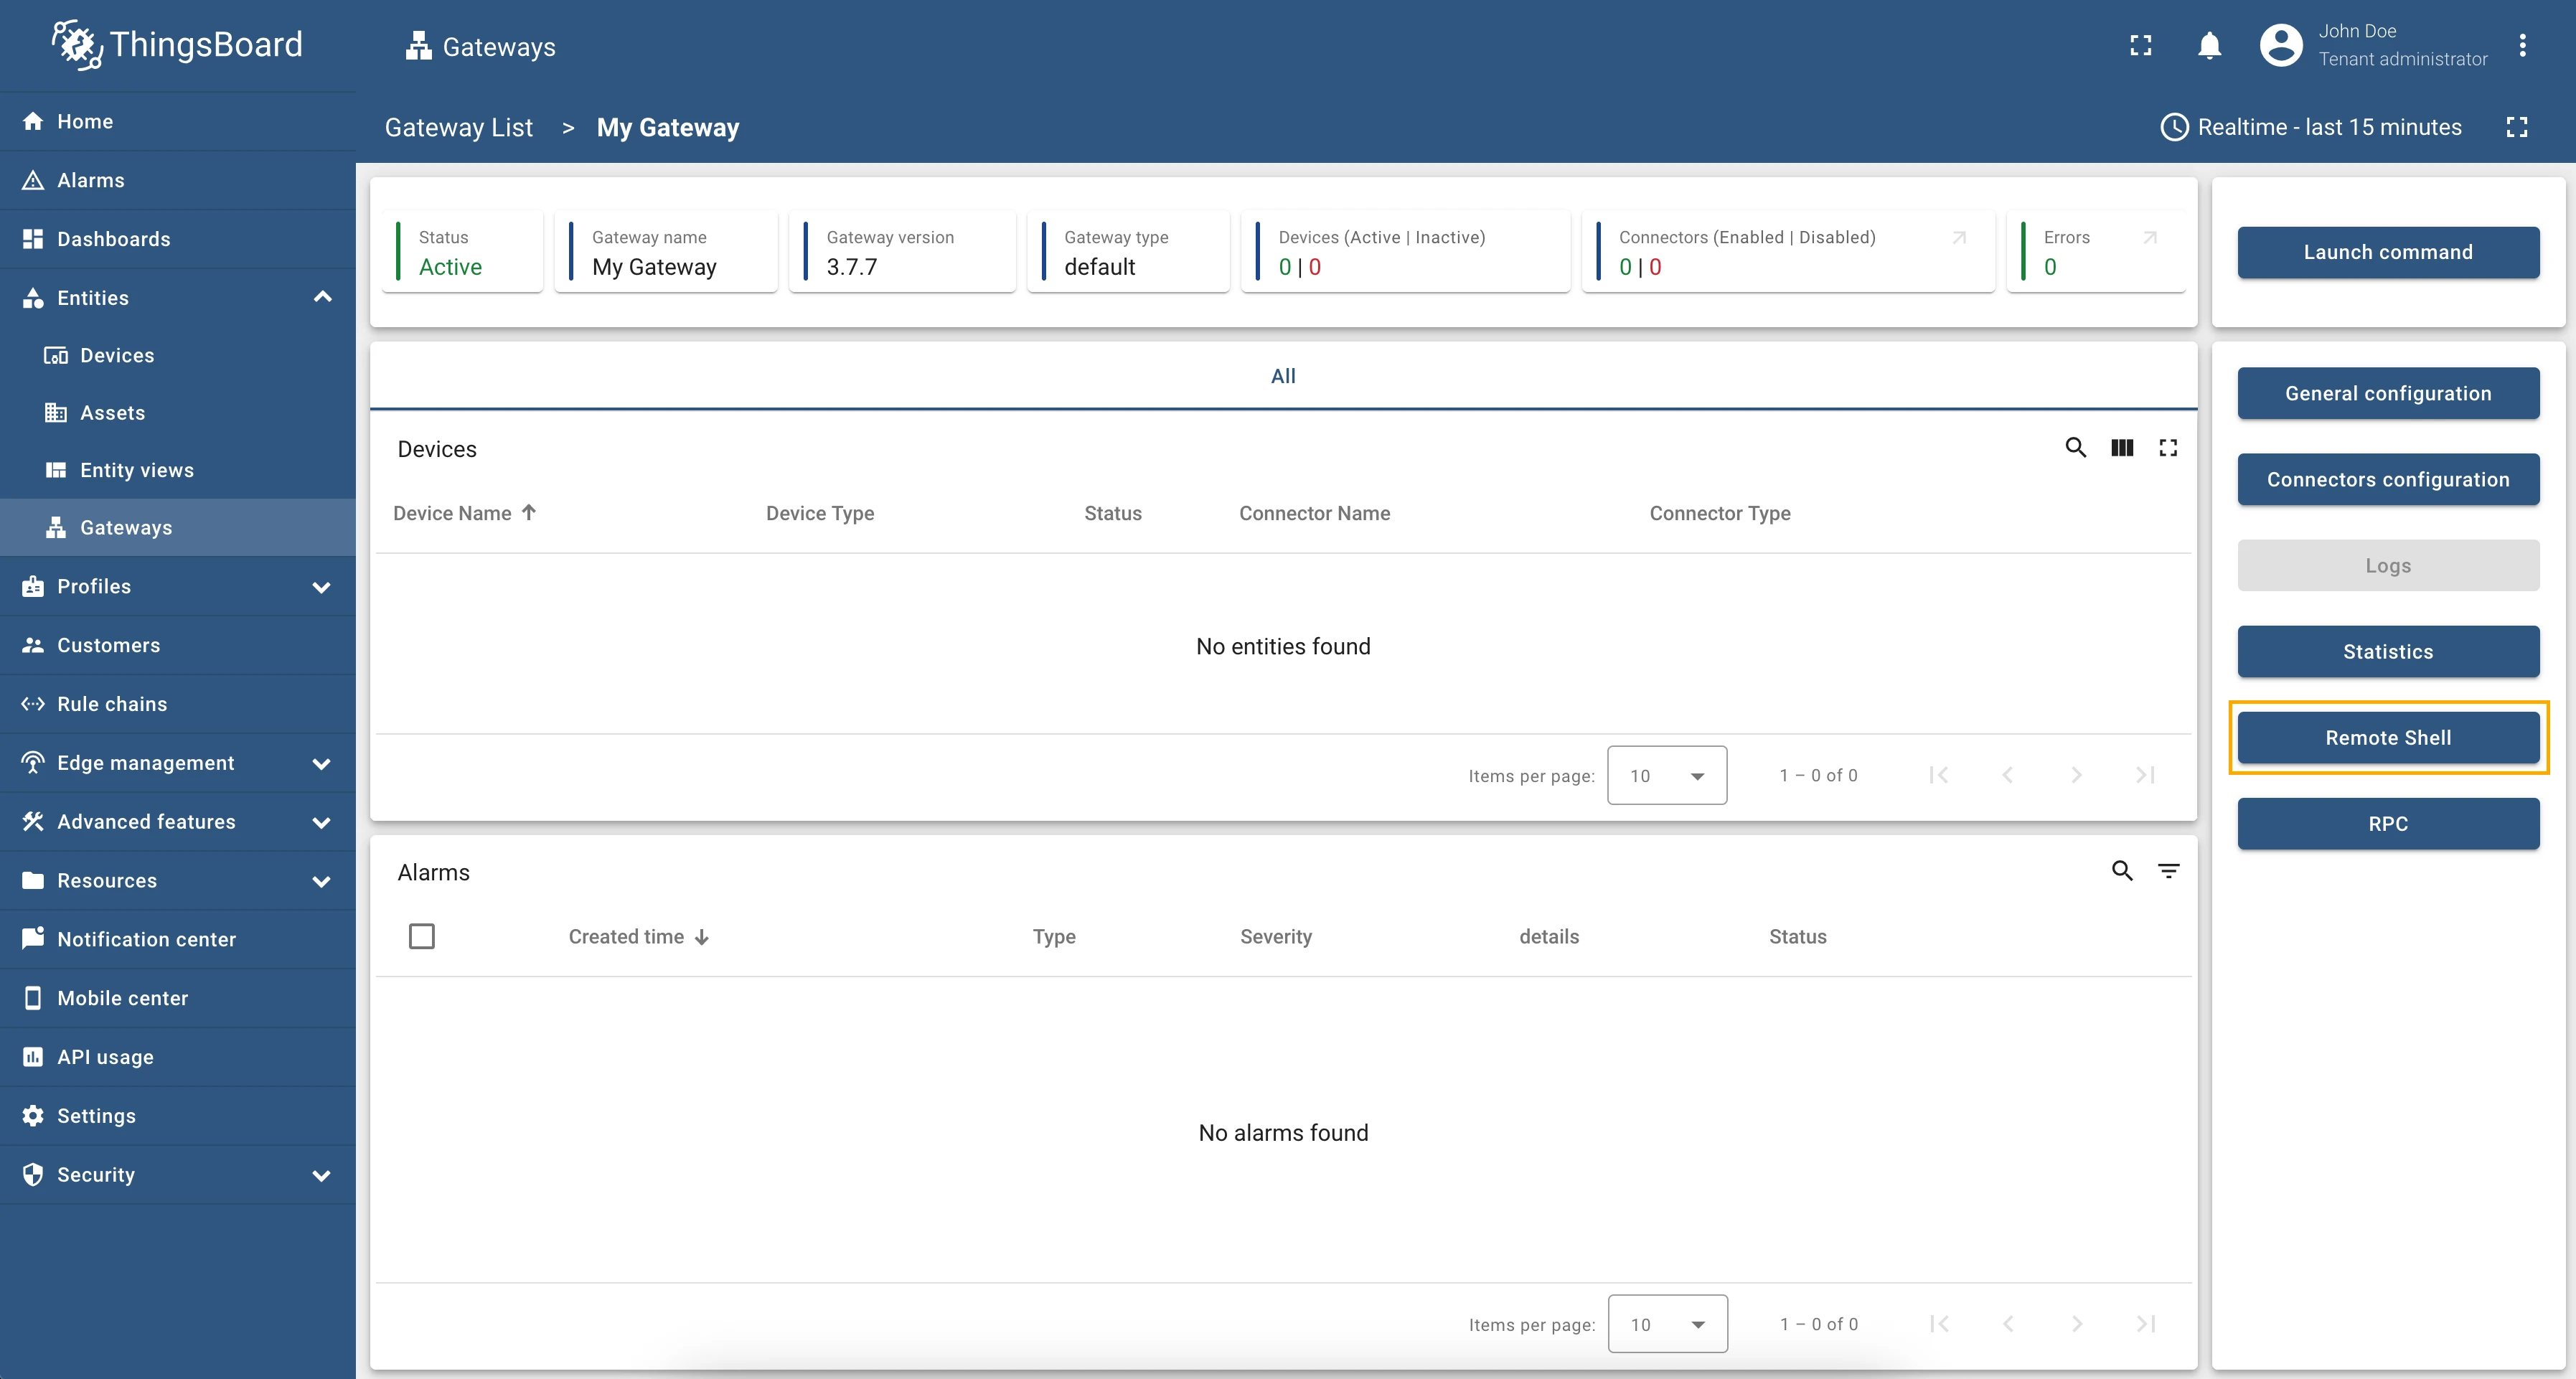
On the gateway detail page, click the Remote shell button in the right panel.

-
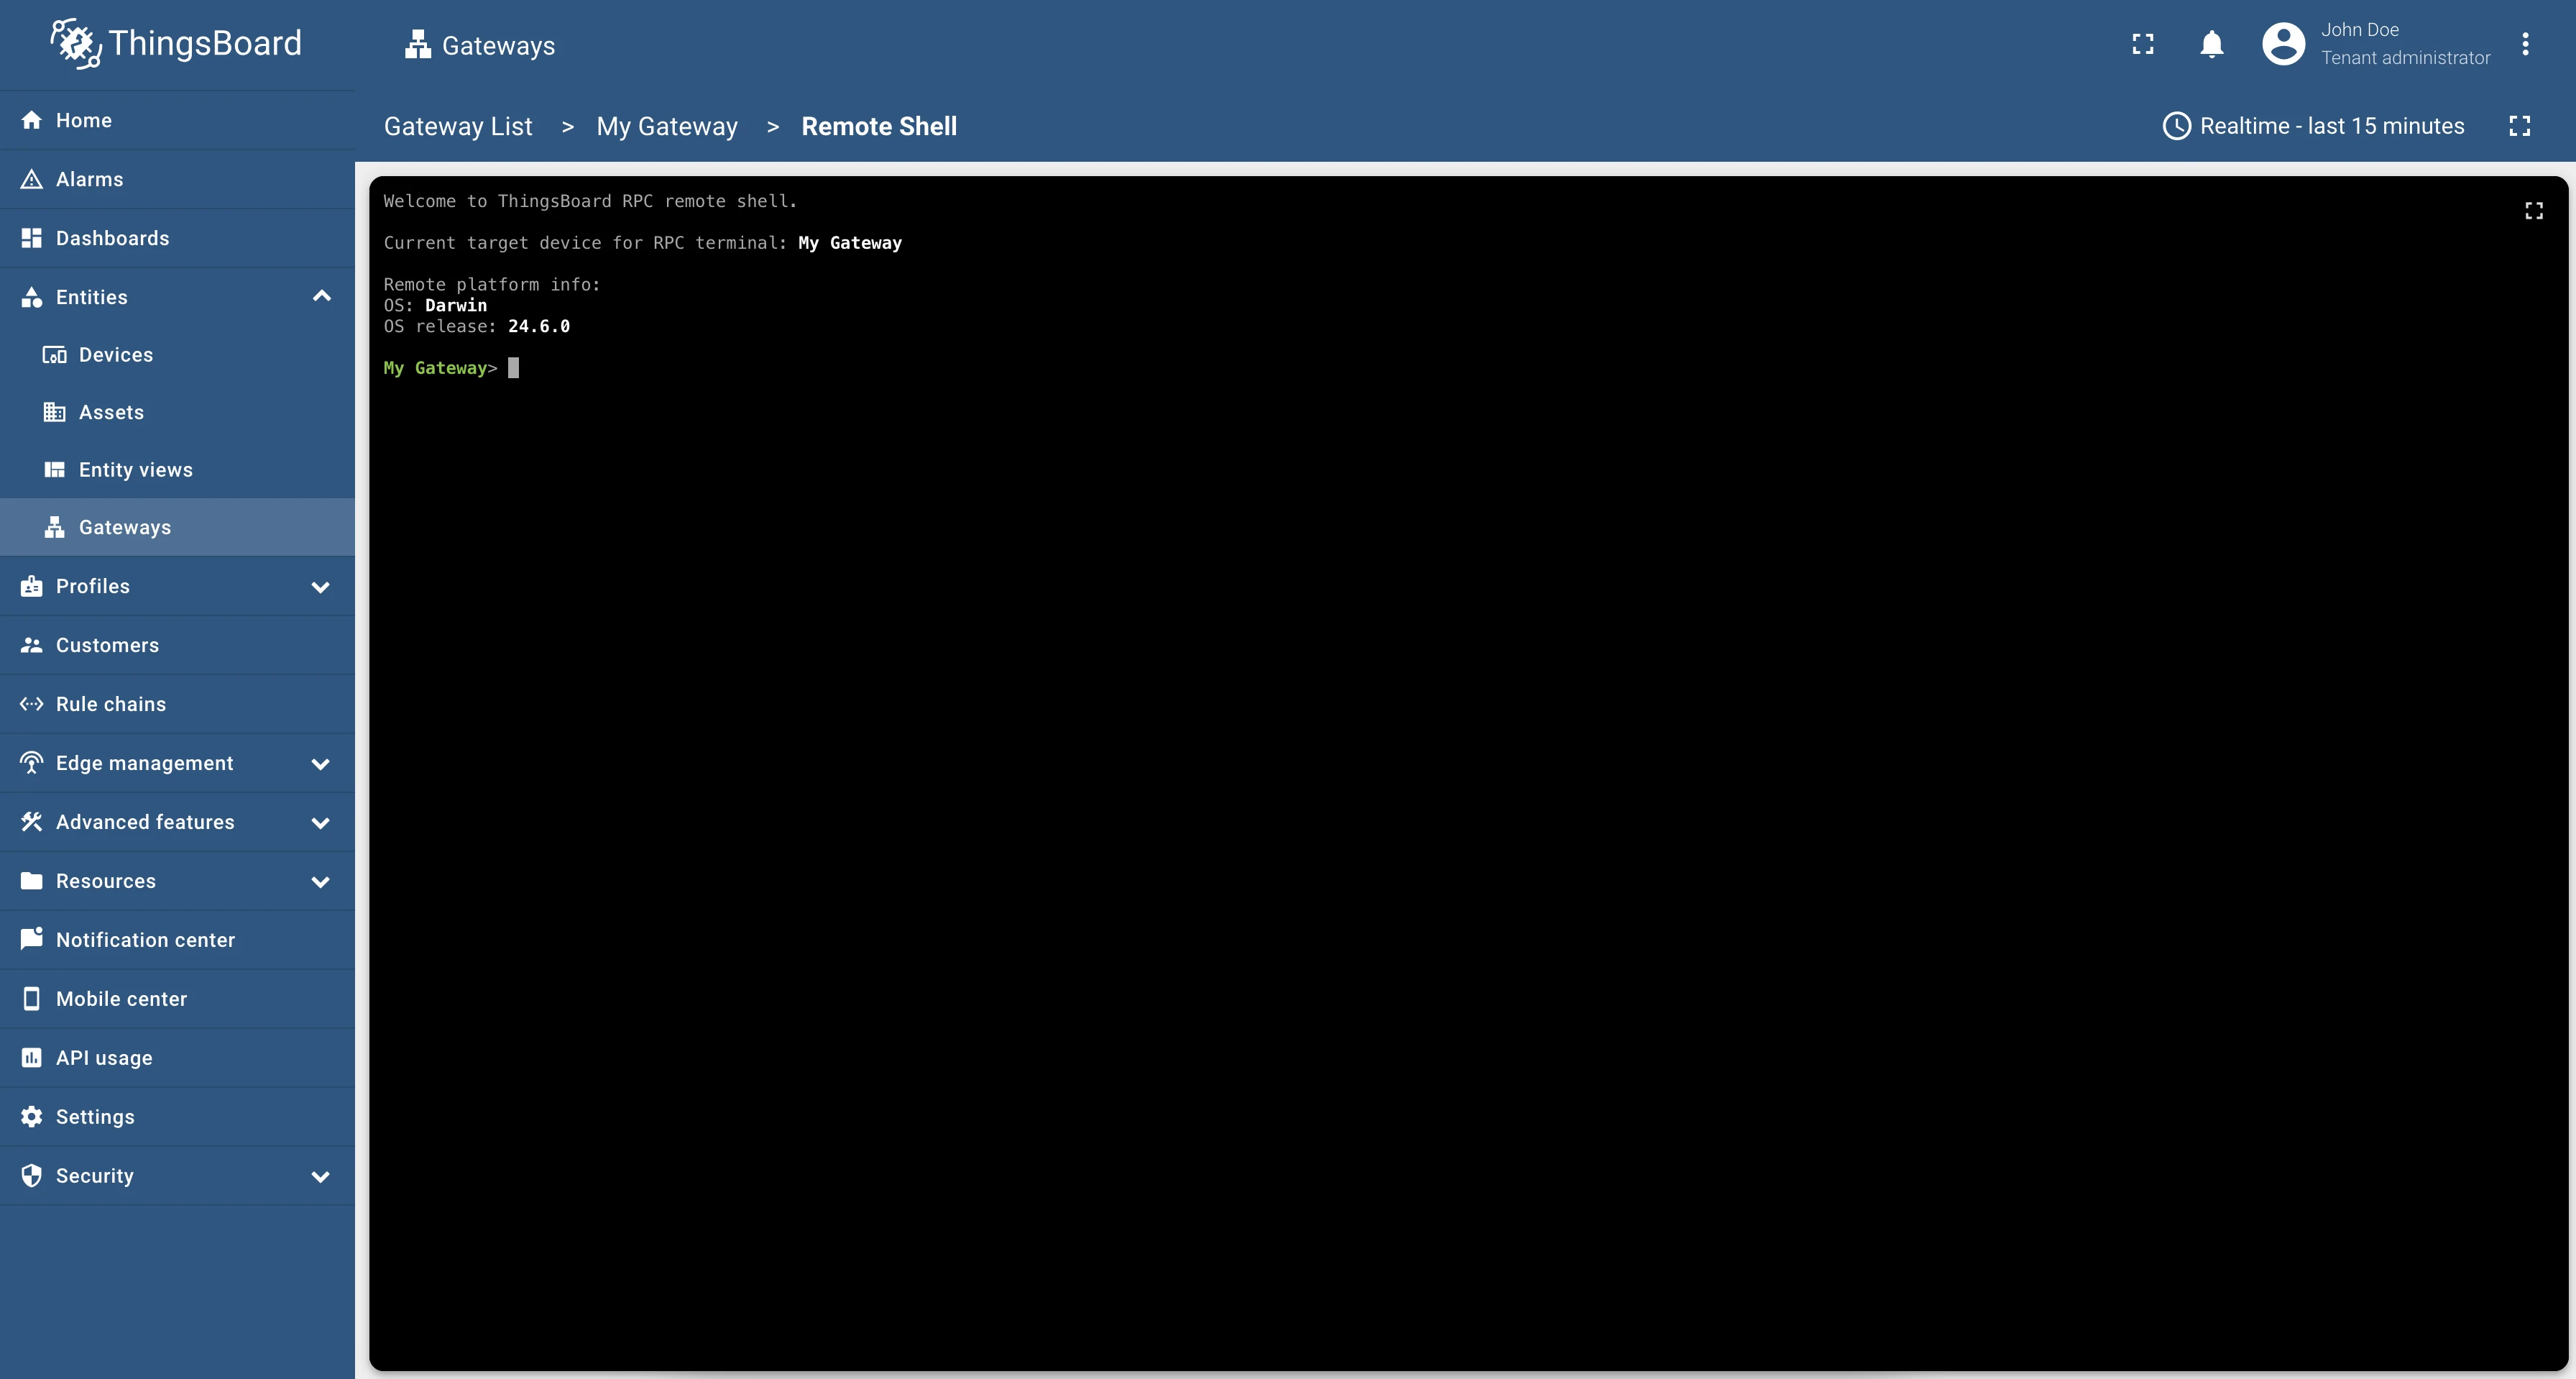
The shell terminal opens and connects automatically.
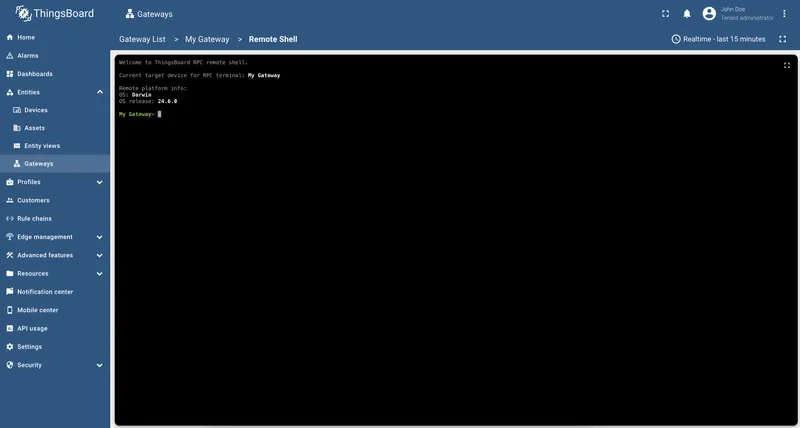
-
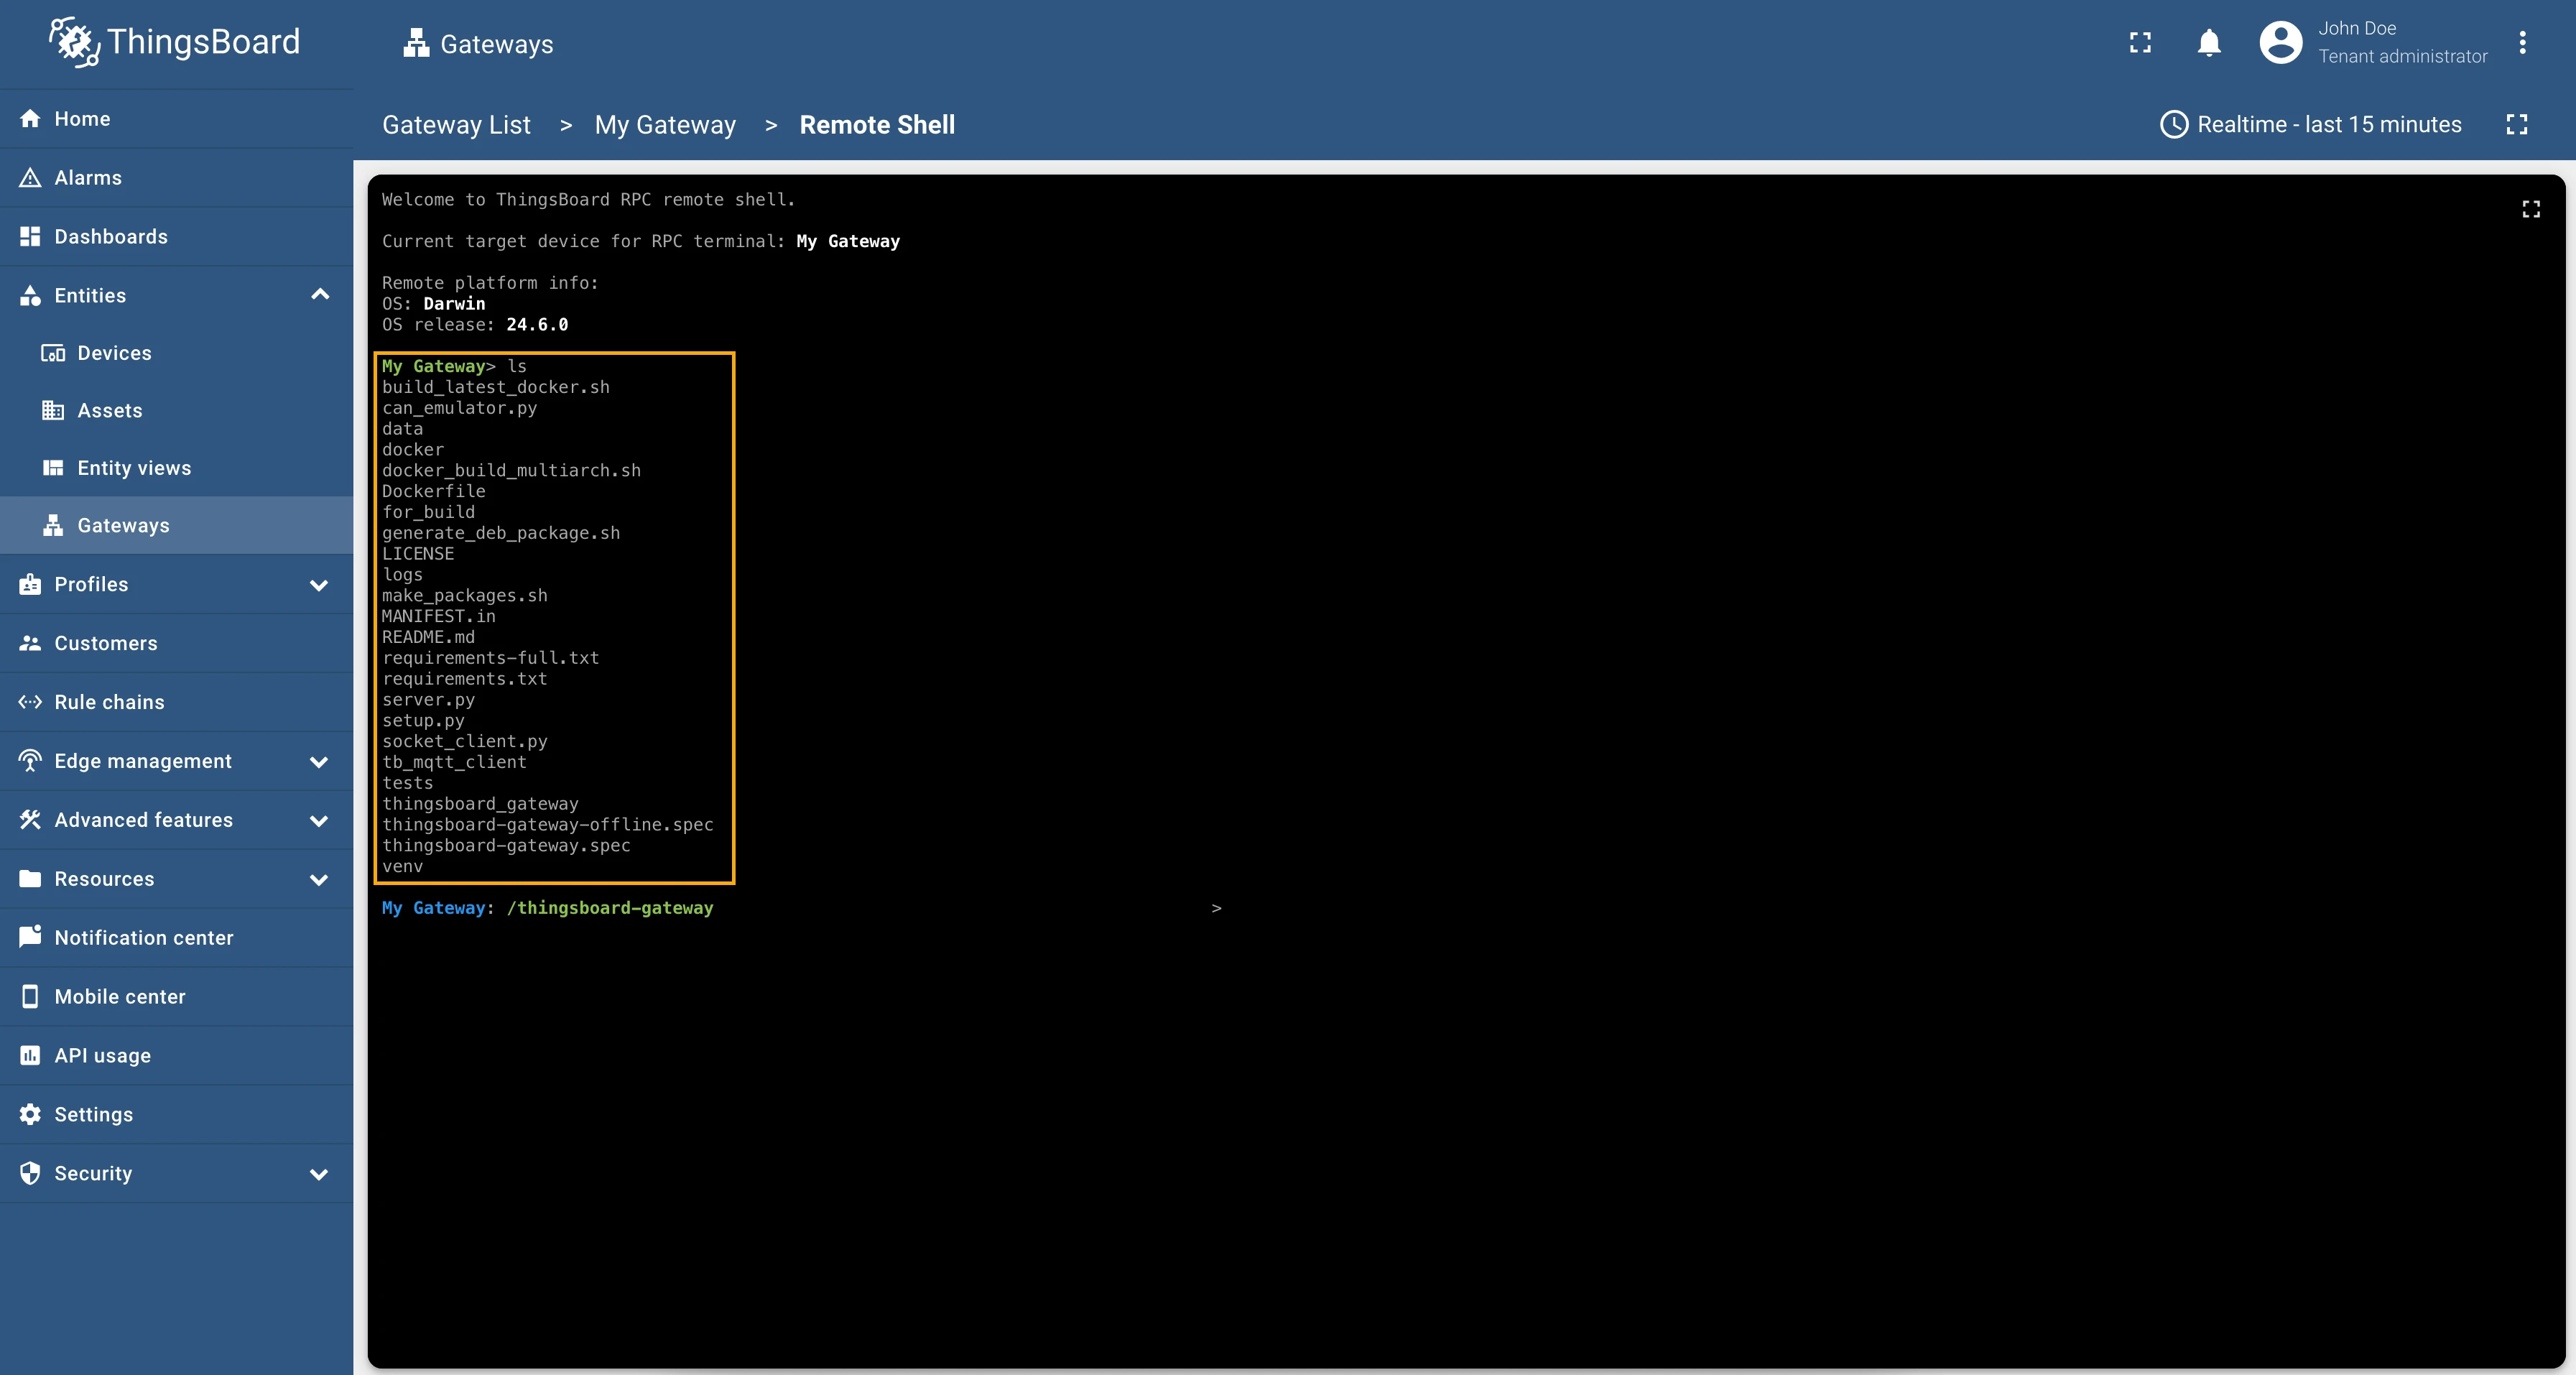
Run any OS command. For example,
lslists the files and directories in the current directory.
Was this helpful?
Thank you for your feedback!