Manage Alarms and RPC Requests on Edge Devices
A warehouse has two devices connected to ThingsBoard Edge: a DHT22 temperature sensor and an Air Conditioner. When the DHT22 reports a temperature above 50 °C, Edge raises an alarm and immediately sends an RPC command to turn on the Air Conditioner — all without depending on a cloud connection.
Prerequisites
Section titled “Prerequisites”- Familiar with Device Profiles and alarm rules.
- Familiar with Edge Rule Chain Templates.
- ThingsBoard server is running and ThingsBoard Edge is connected to it.
- Node.js installed on the machine that will simulate the Air Conditioner.
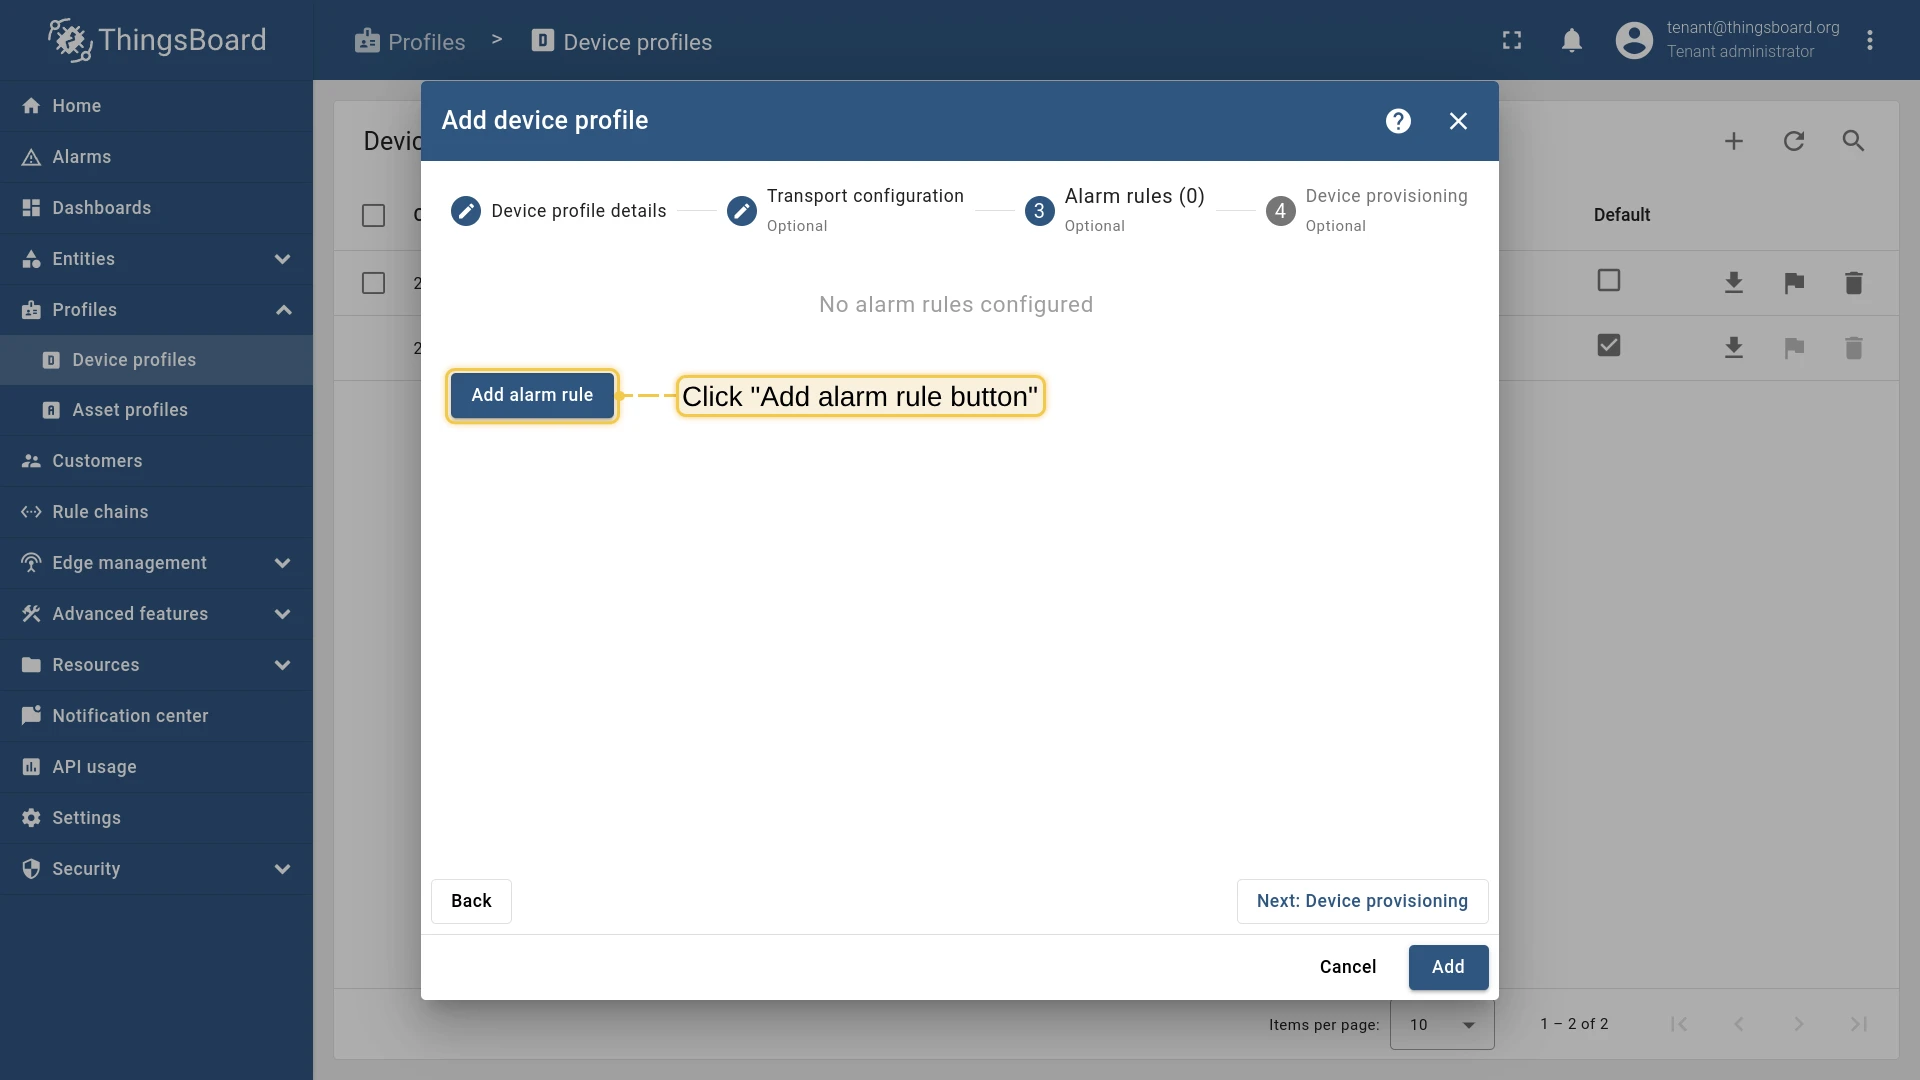
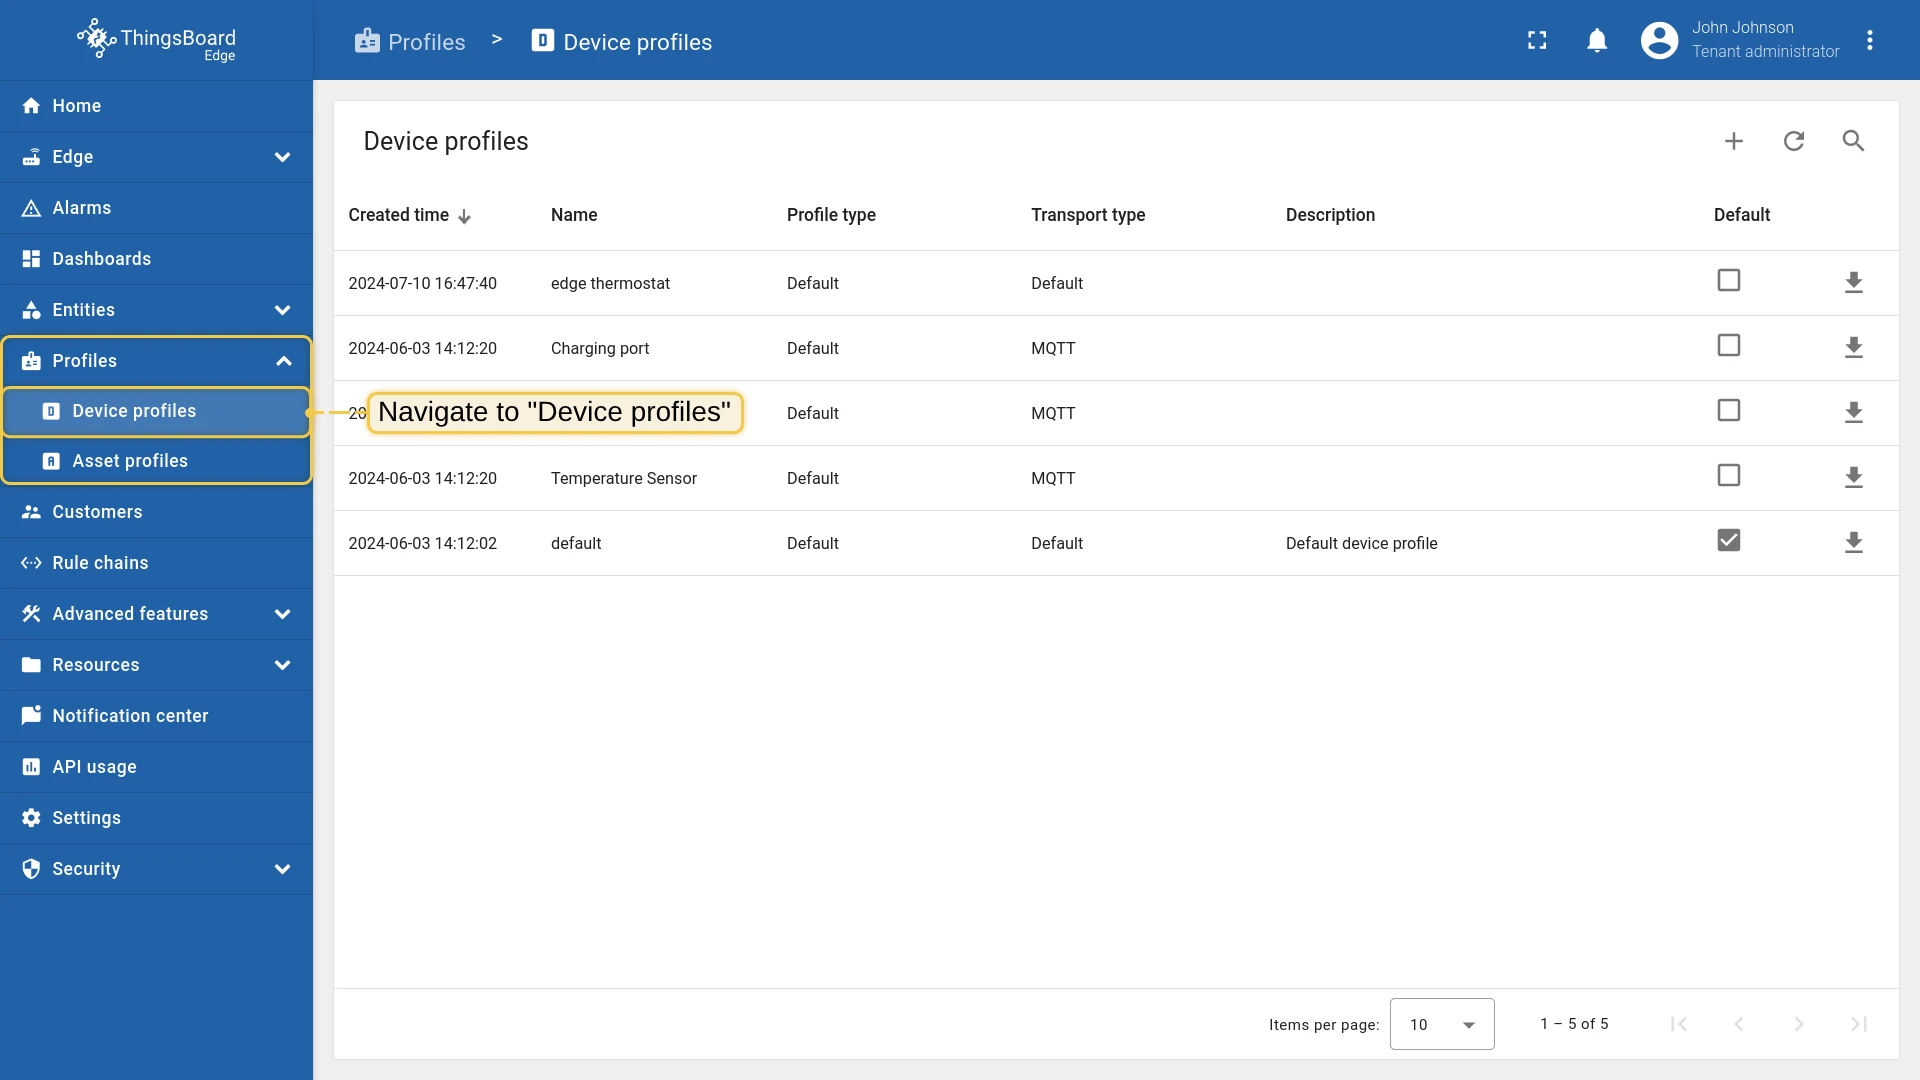
Configure alarm rules
Section titled “Configure alarm rules”Create a device profile named “edge thermostat” on the ThingsBoard server with an alarm rule that fires when temperature > 50.
- Log in to the ThingsBoard server. Go to Device profiles and click ”+” to add a new profile.
- Enter the name “edge thermostat” and proceed to Transport configuration (keep defaults), then to Alarm rules.
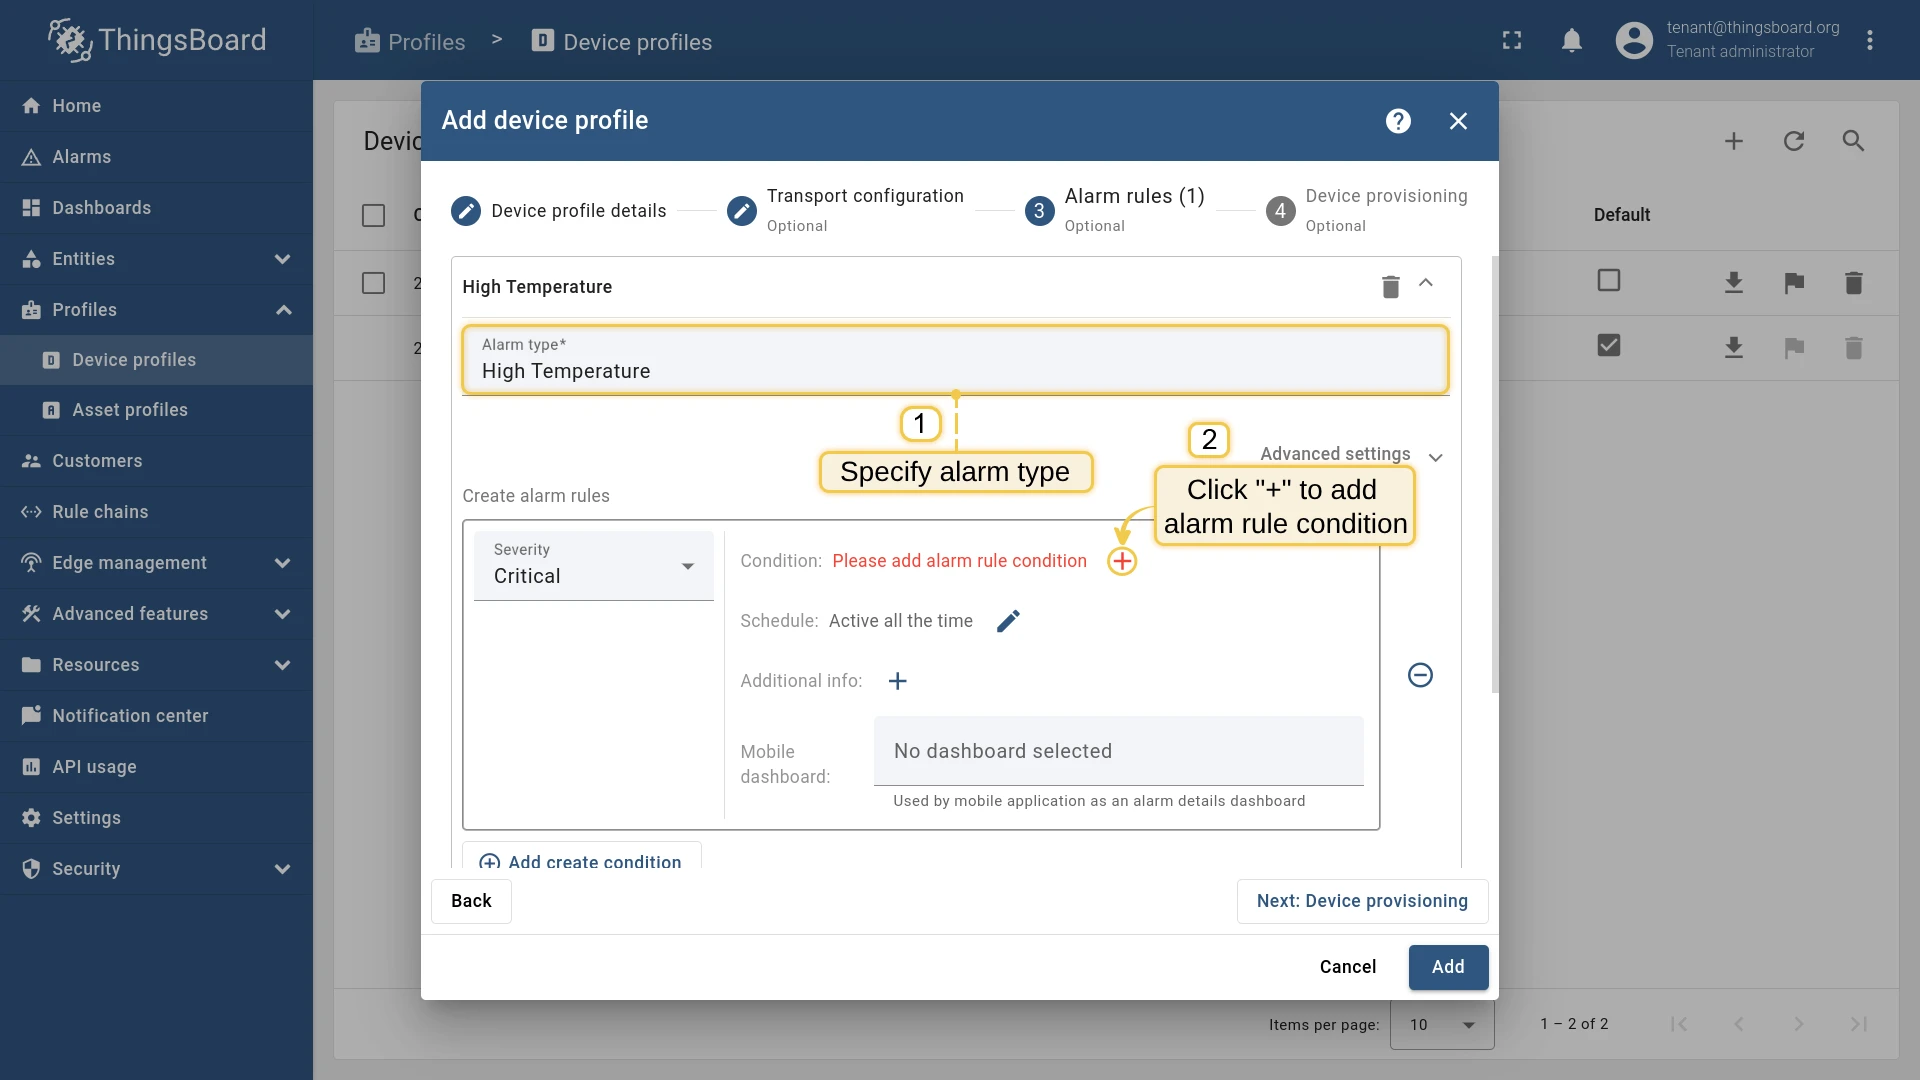
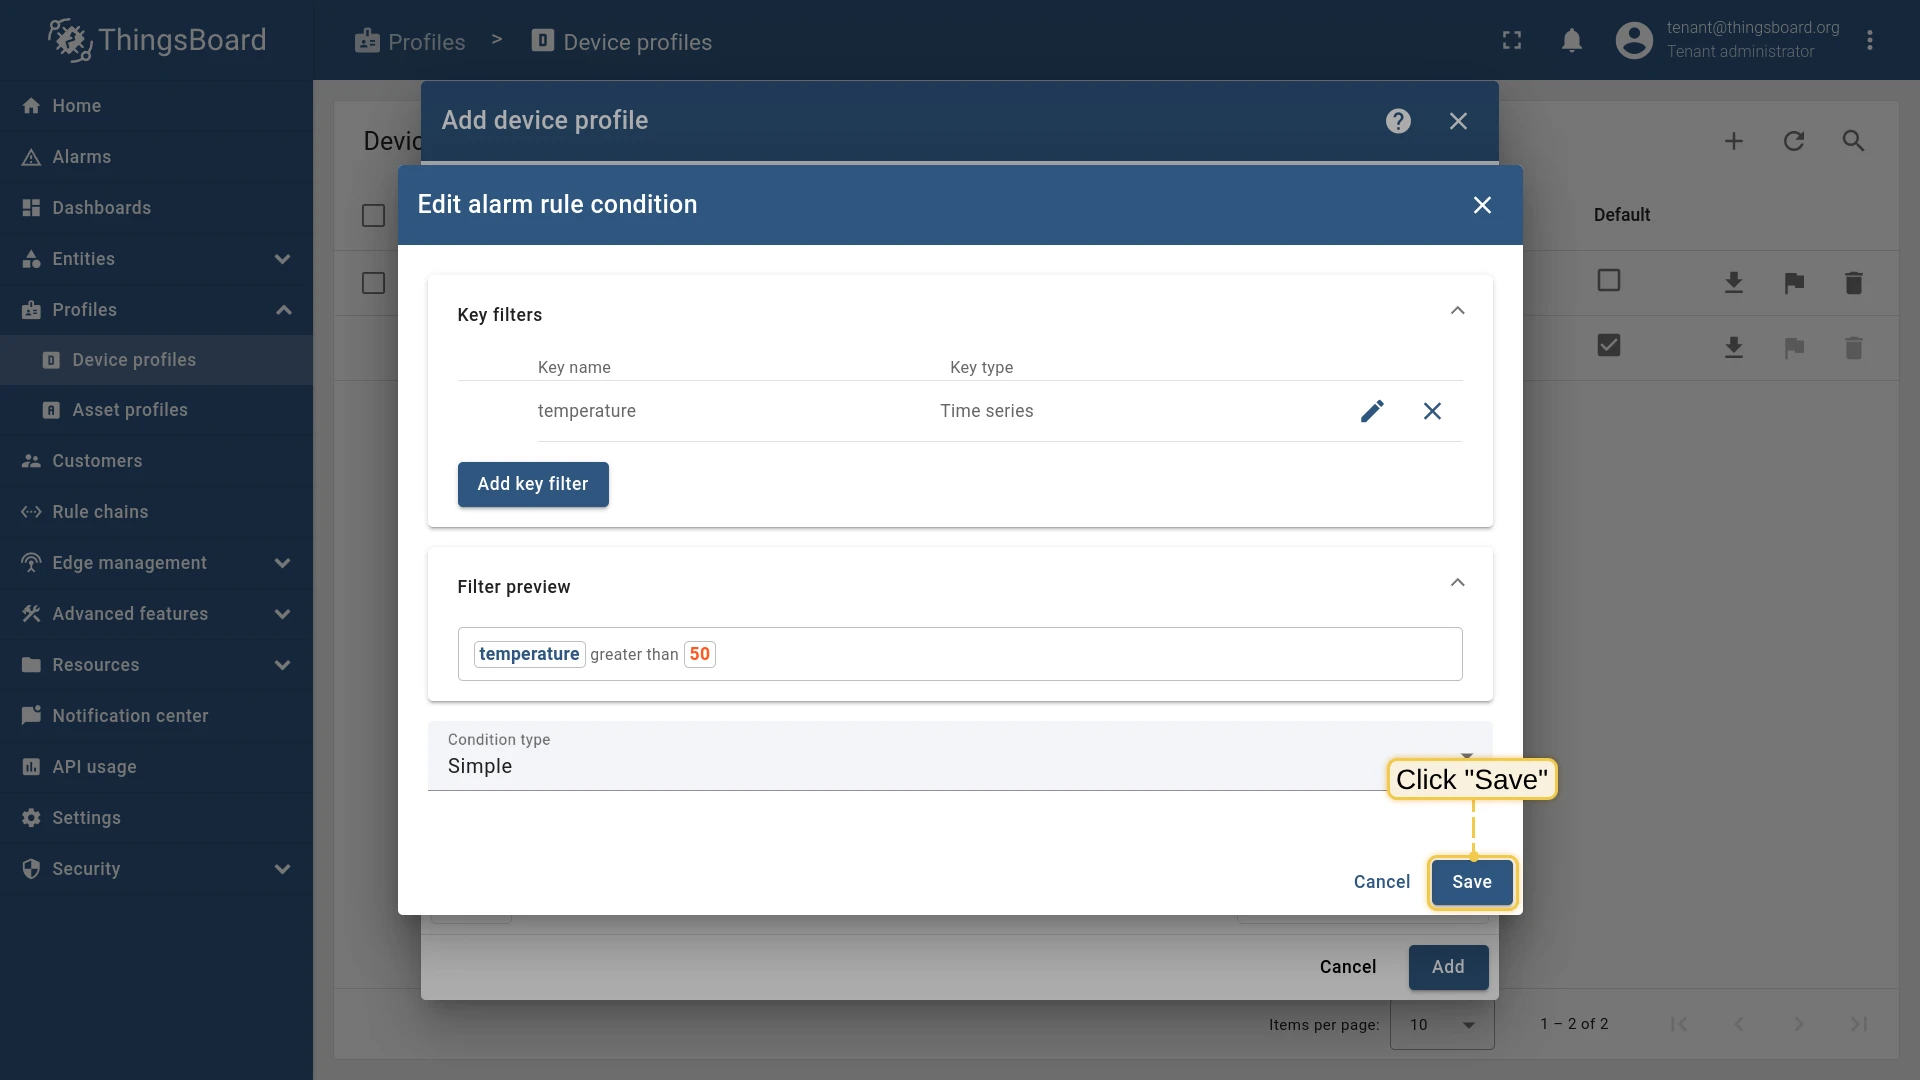
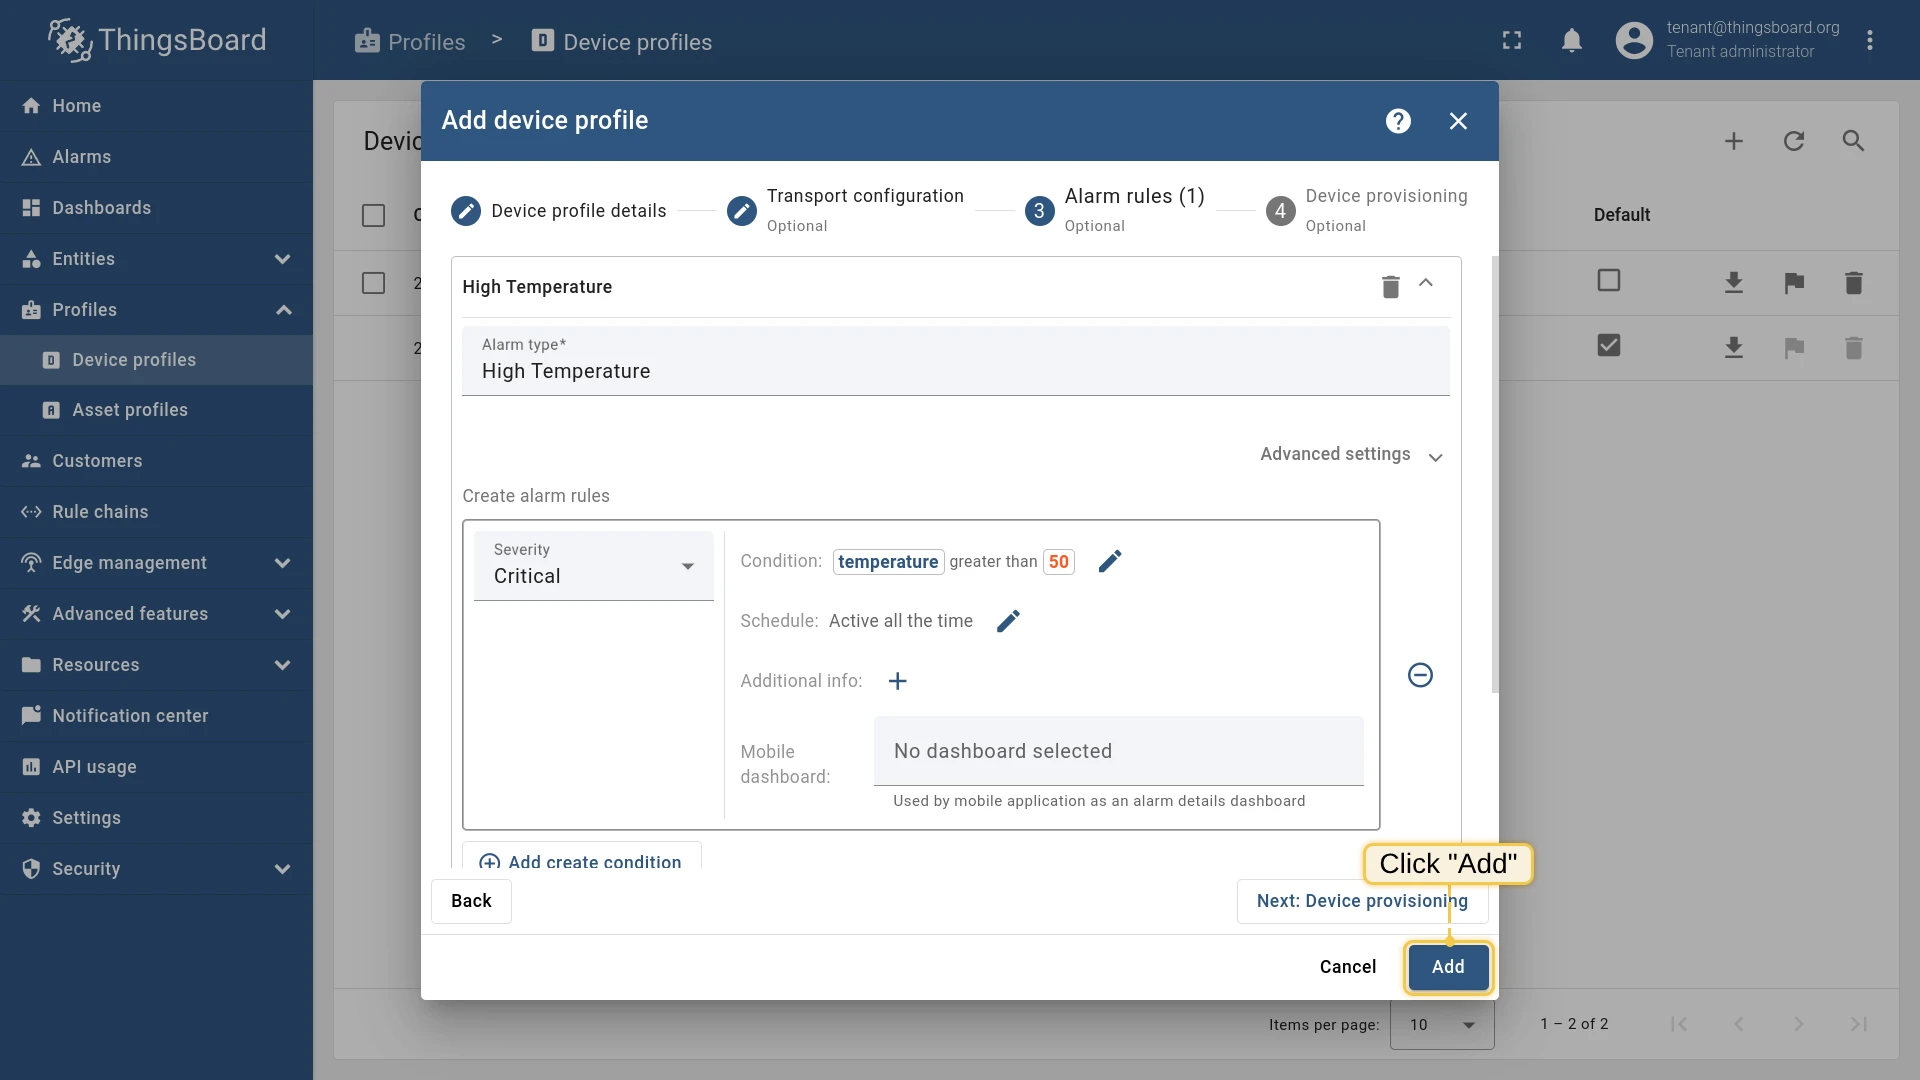
- Click Add alarm rule. Set the alarm type to “High temperature”, then click ”+” to add a condition.
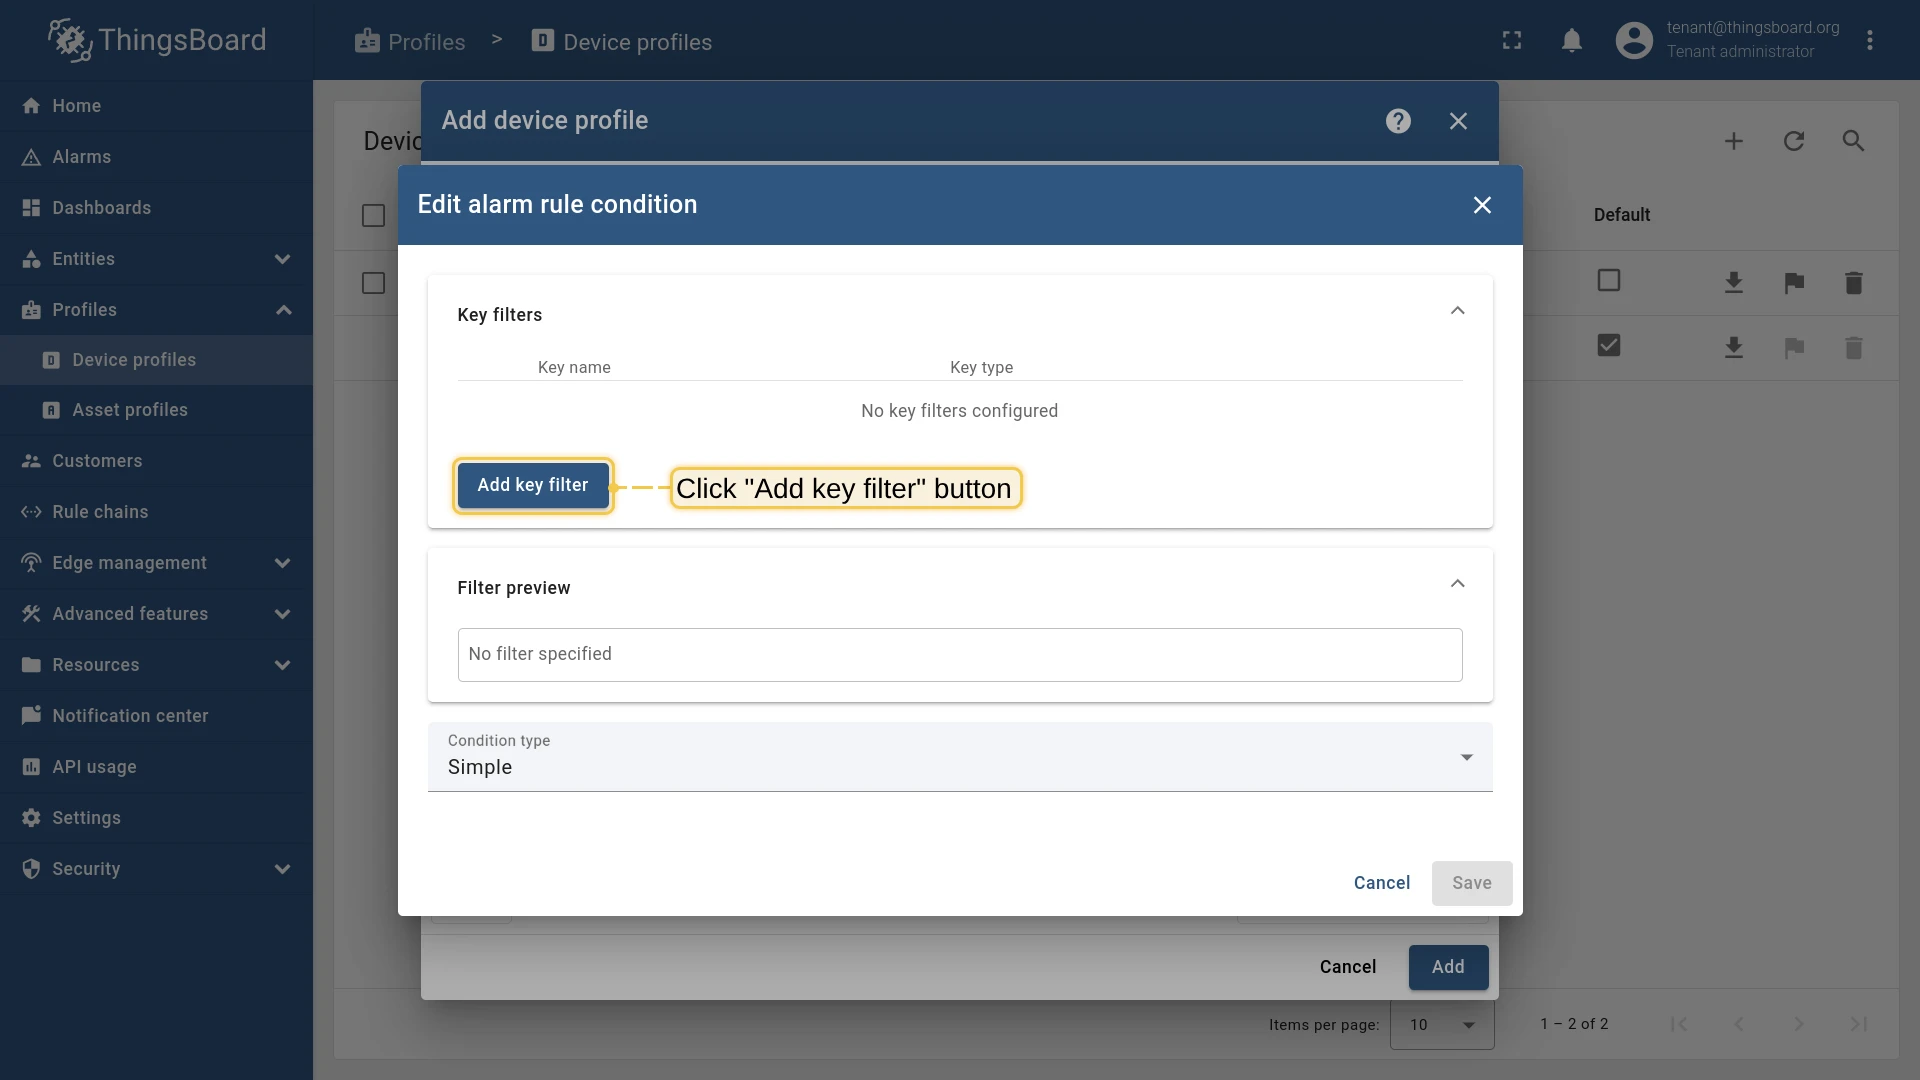
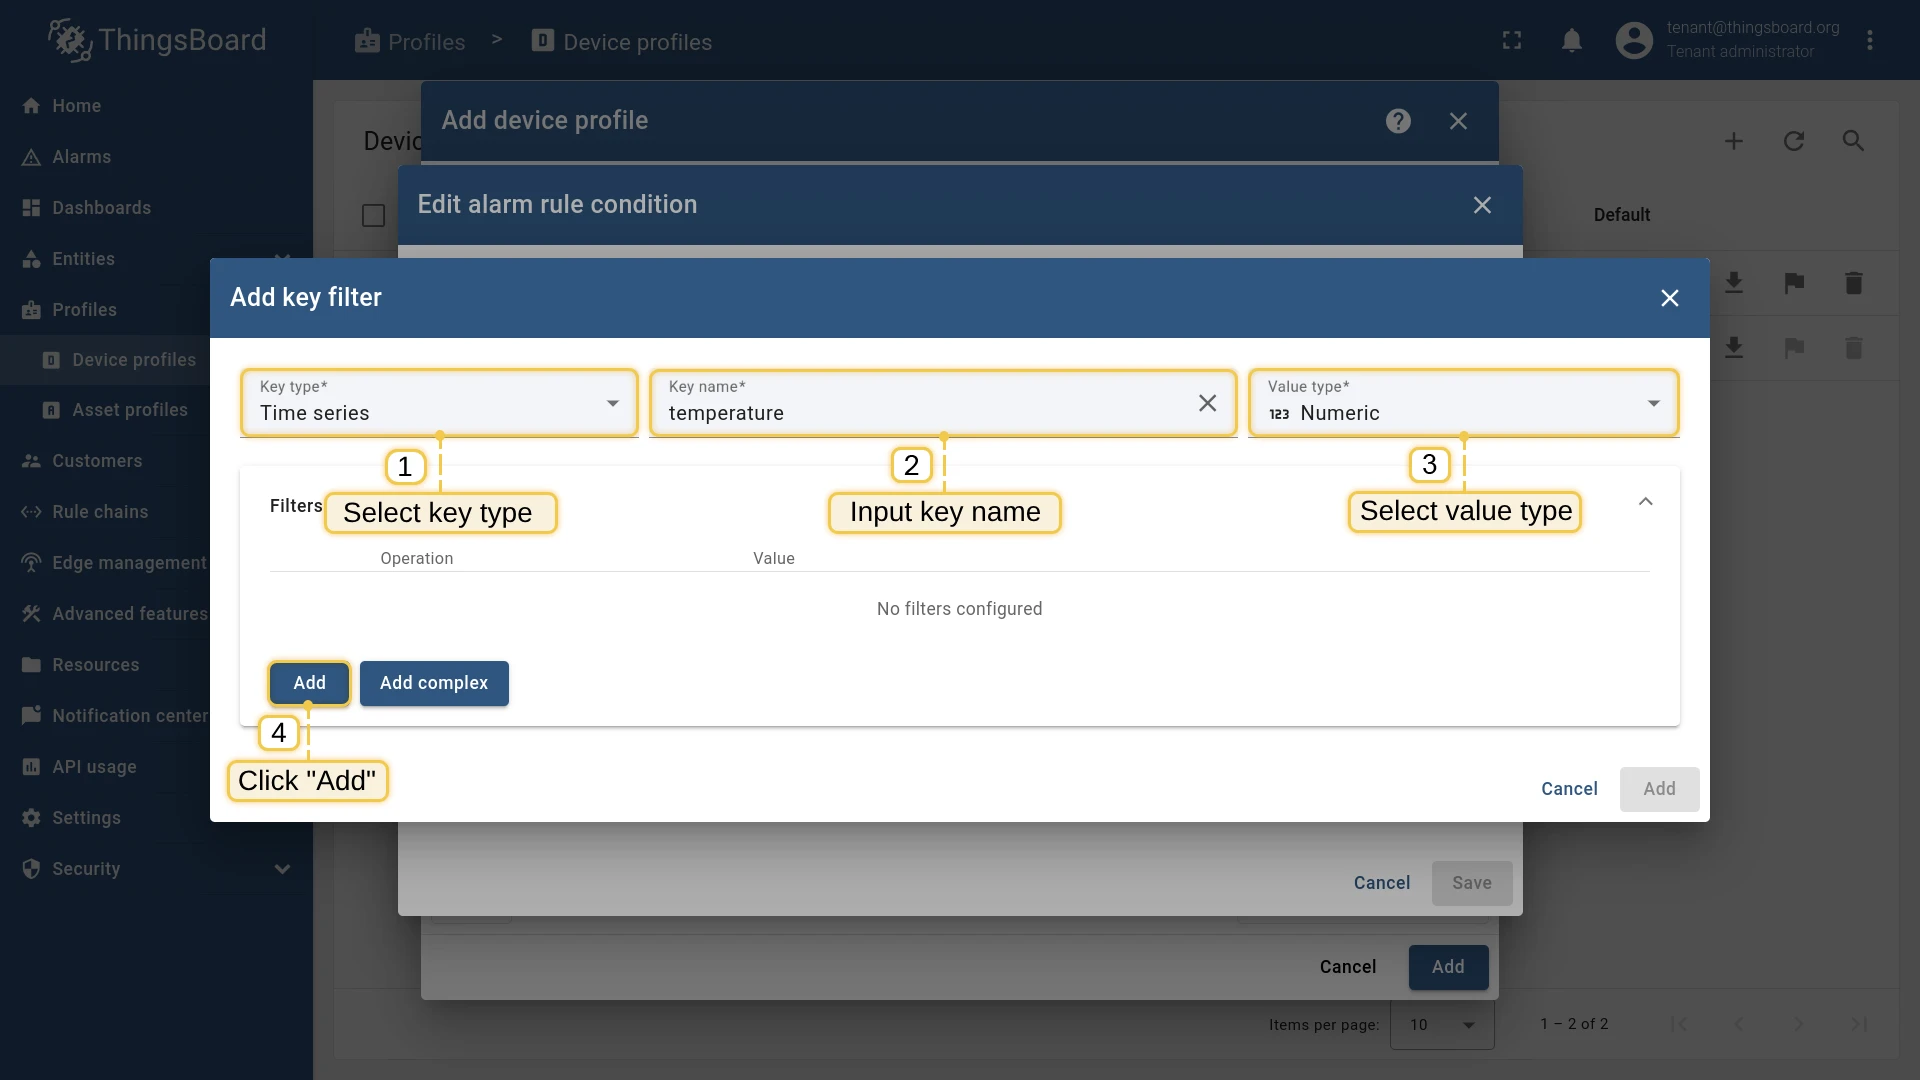
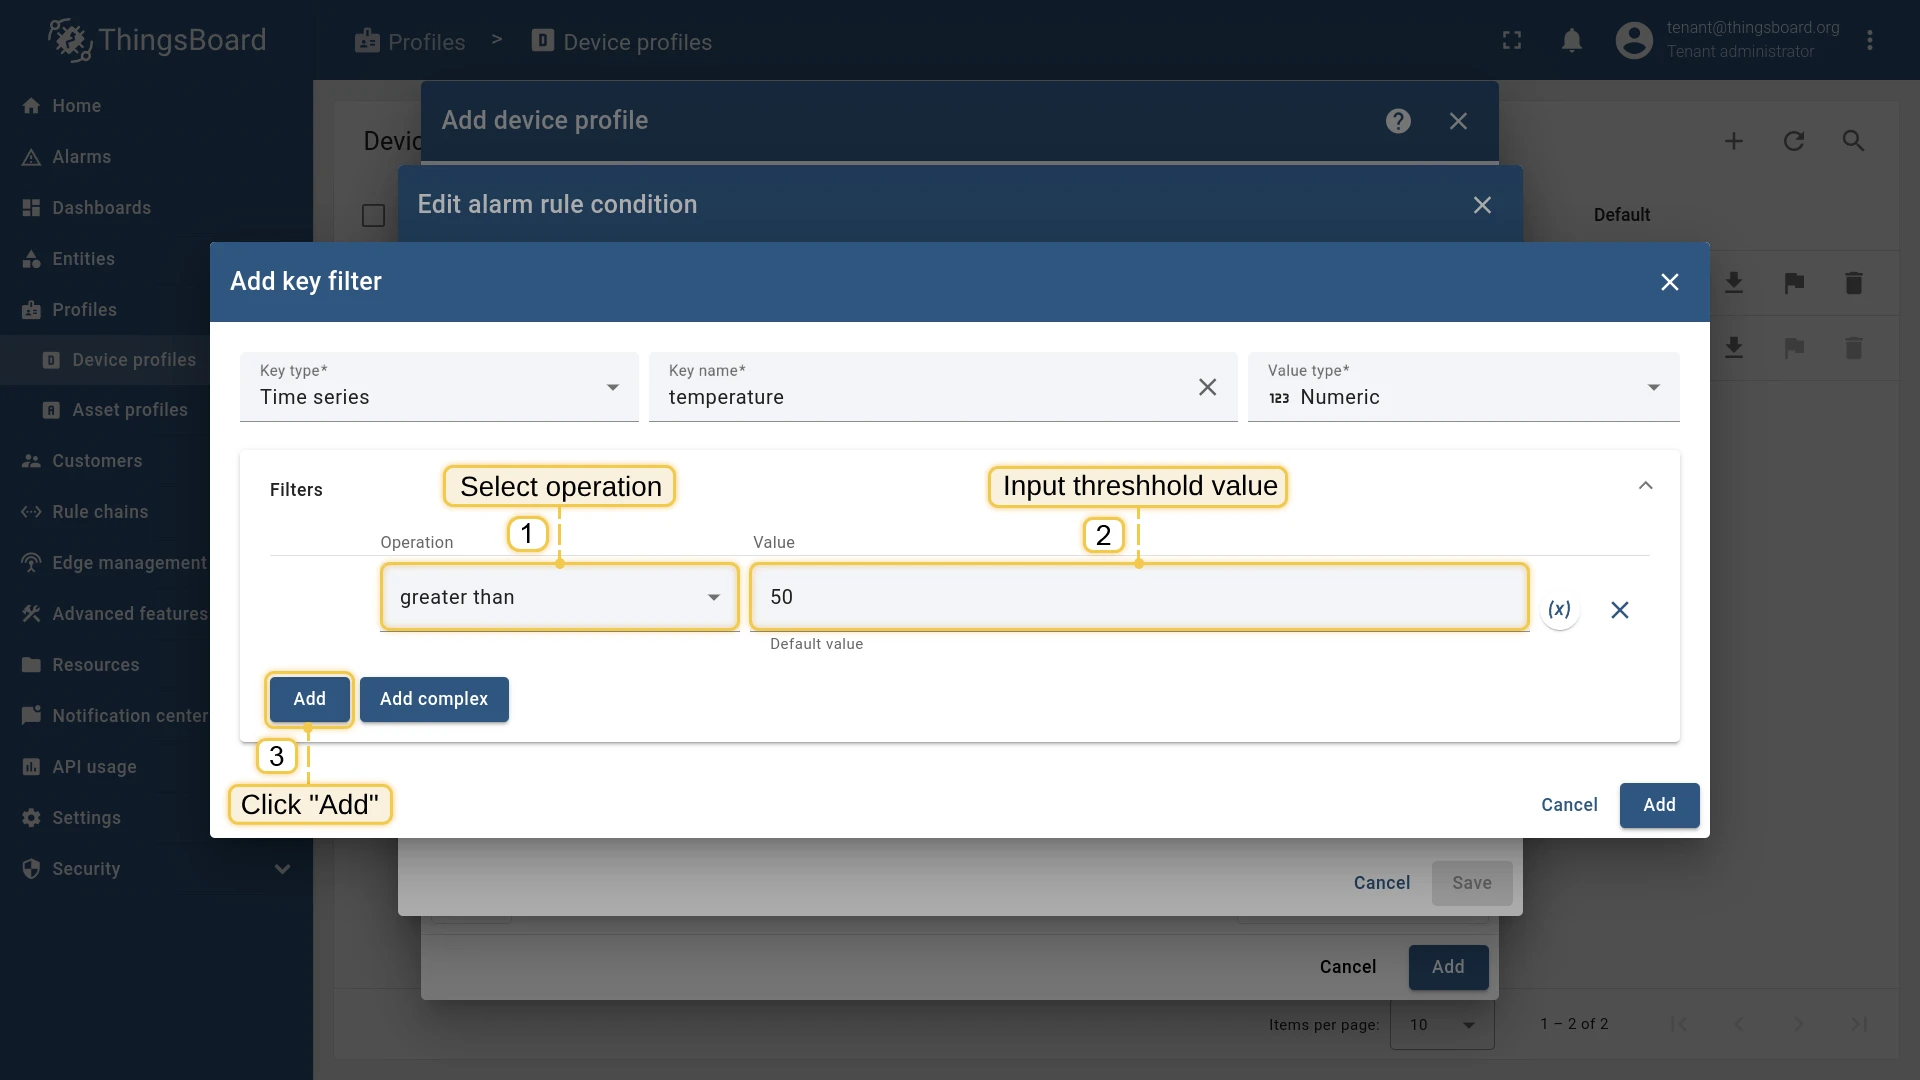
- Click Add key filter. Set Key type to Time series, key name to temperature, value type to Numeric, and click Add.
- Set the operation to greater than, threshold to 50, and click Add.
- Click Save, then Add to confirm the profile.
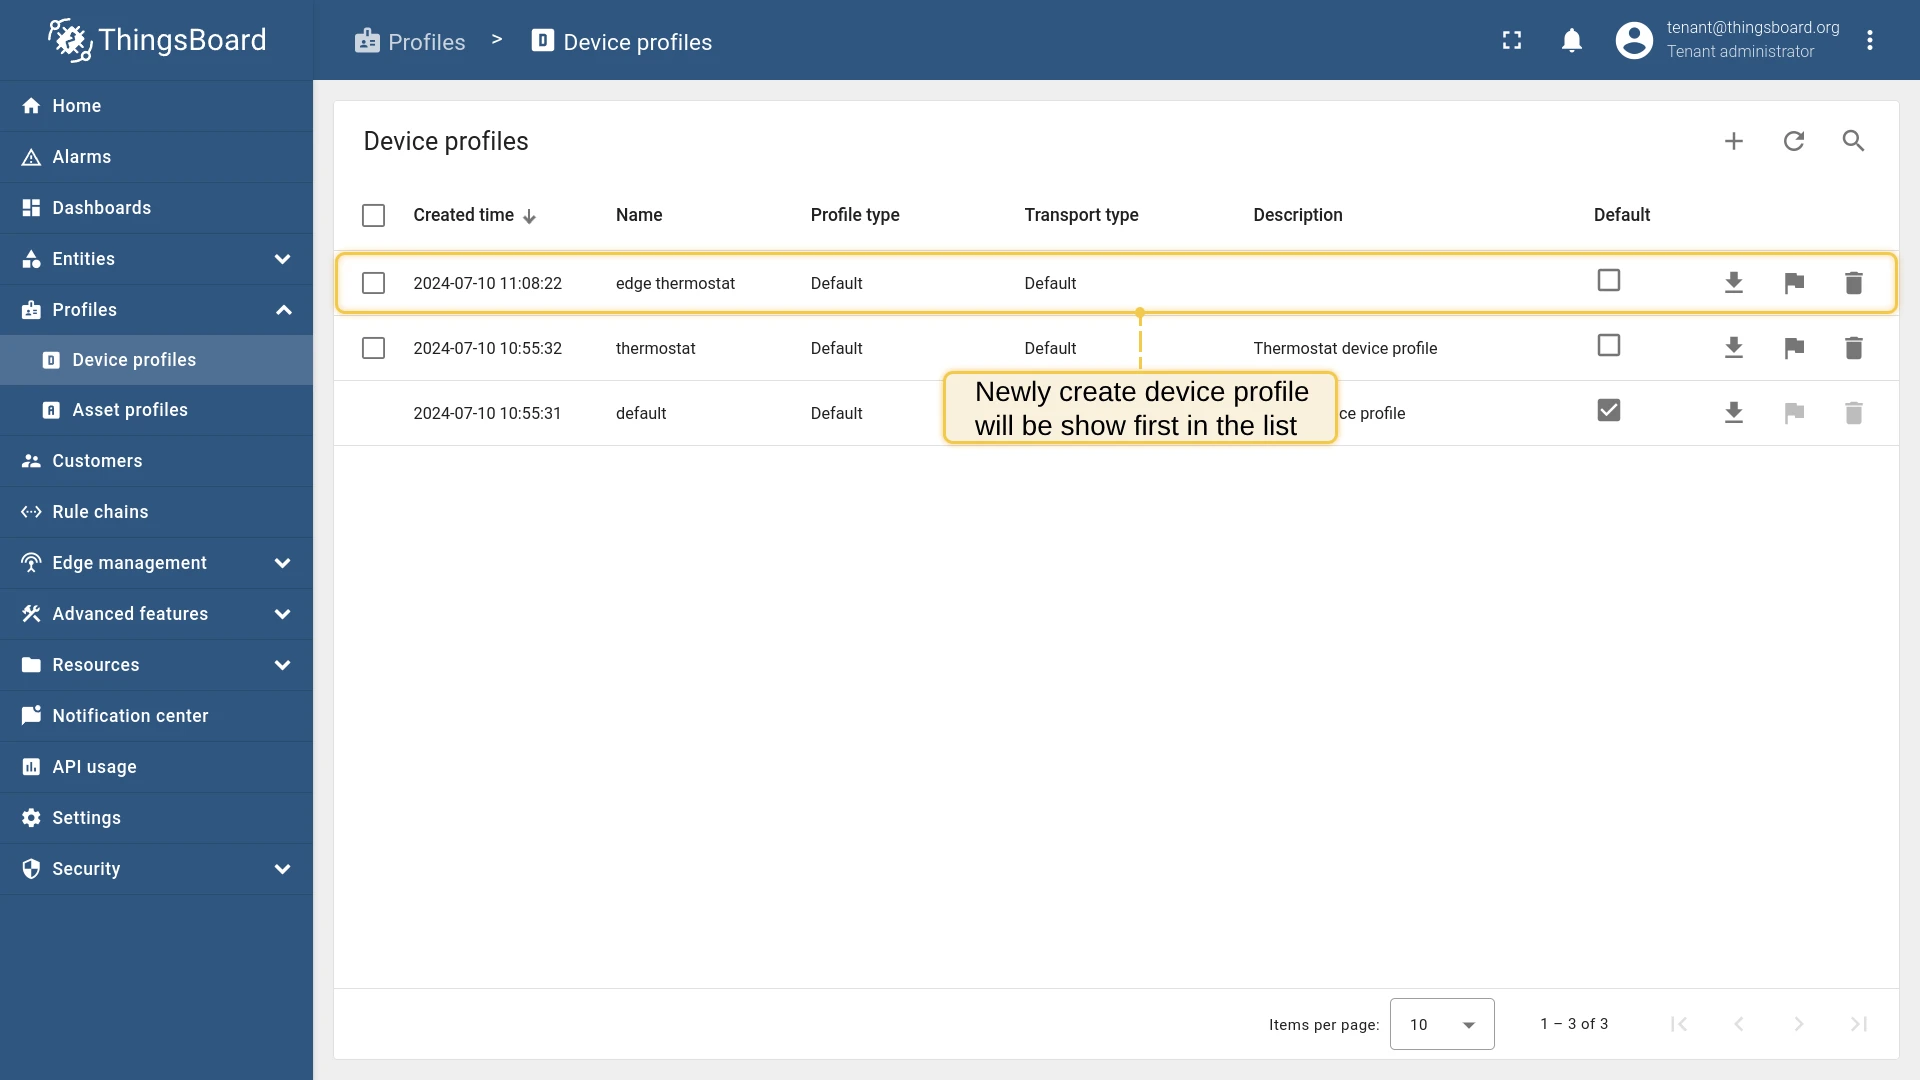
Verify that the profile has been synchronized to the Edge instance:

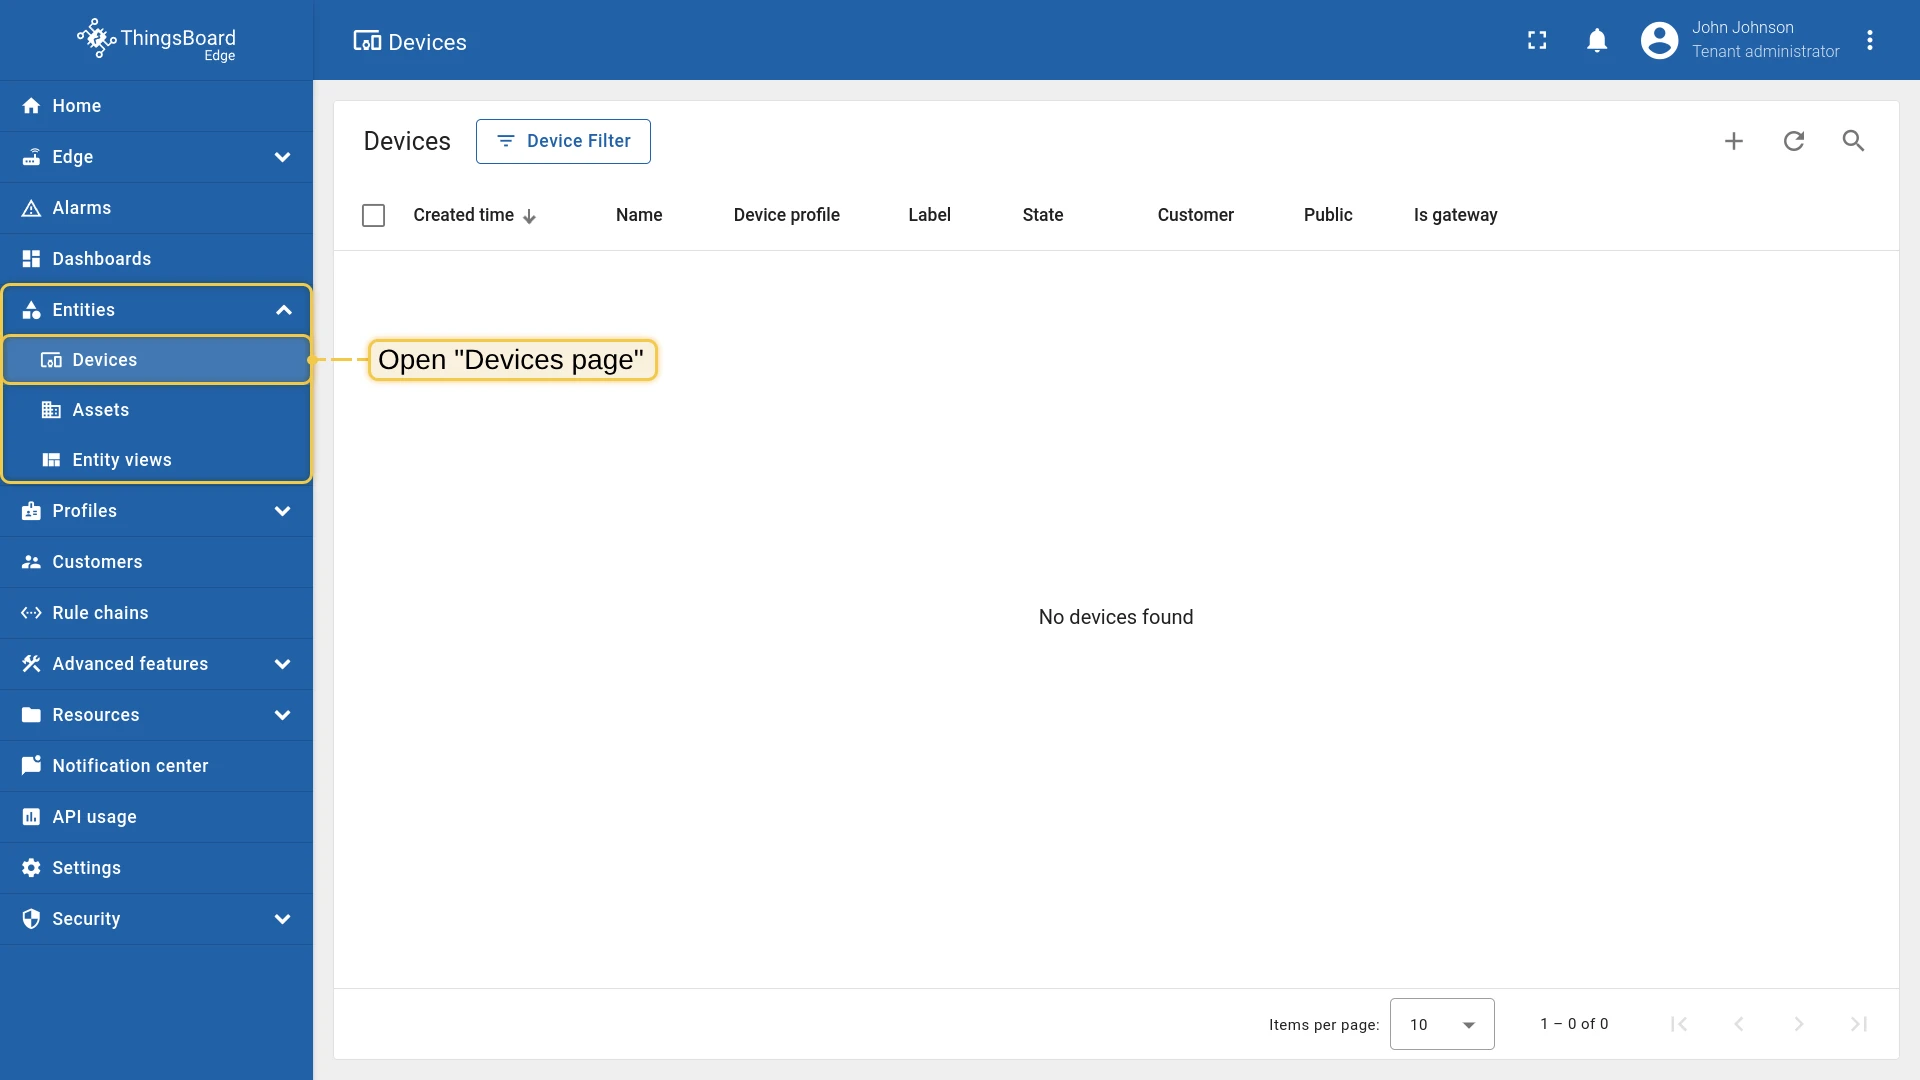
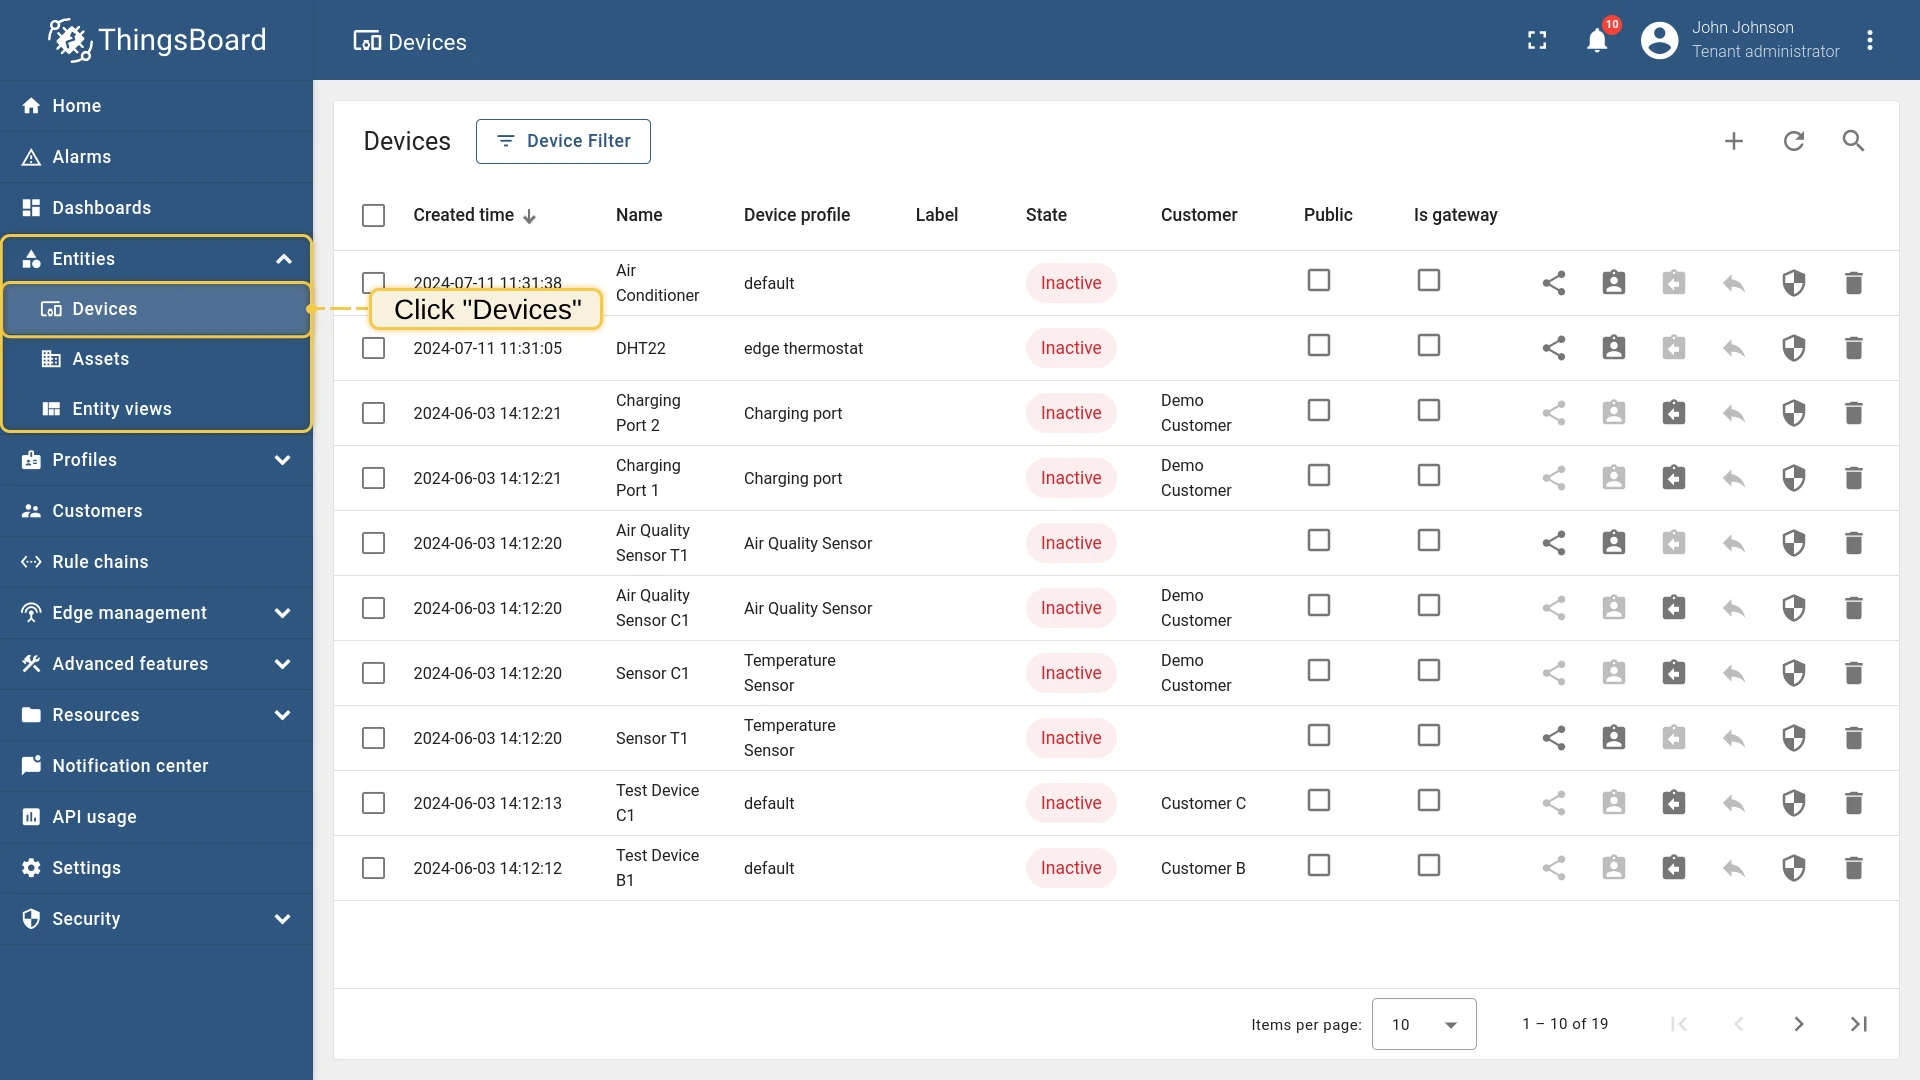
Provision devices
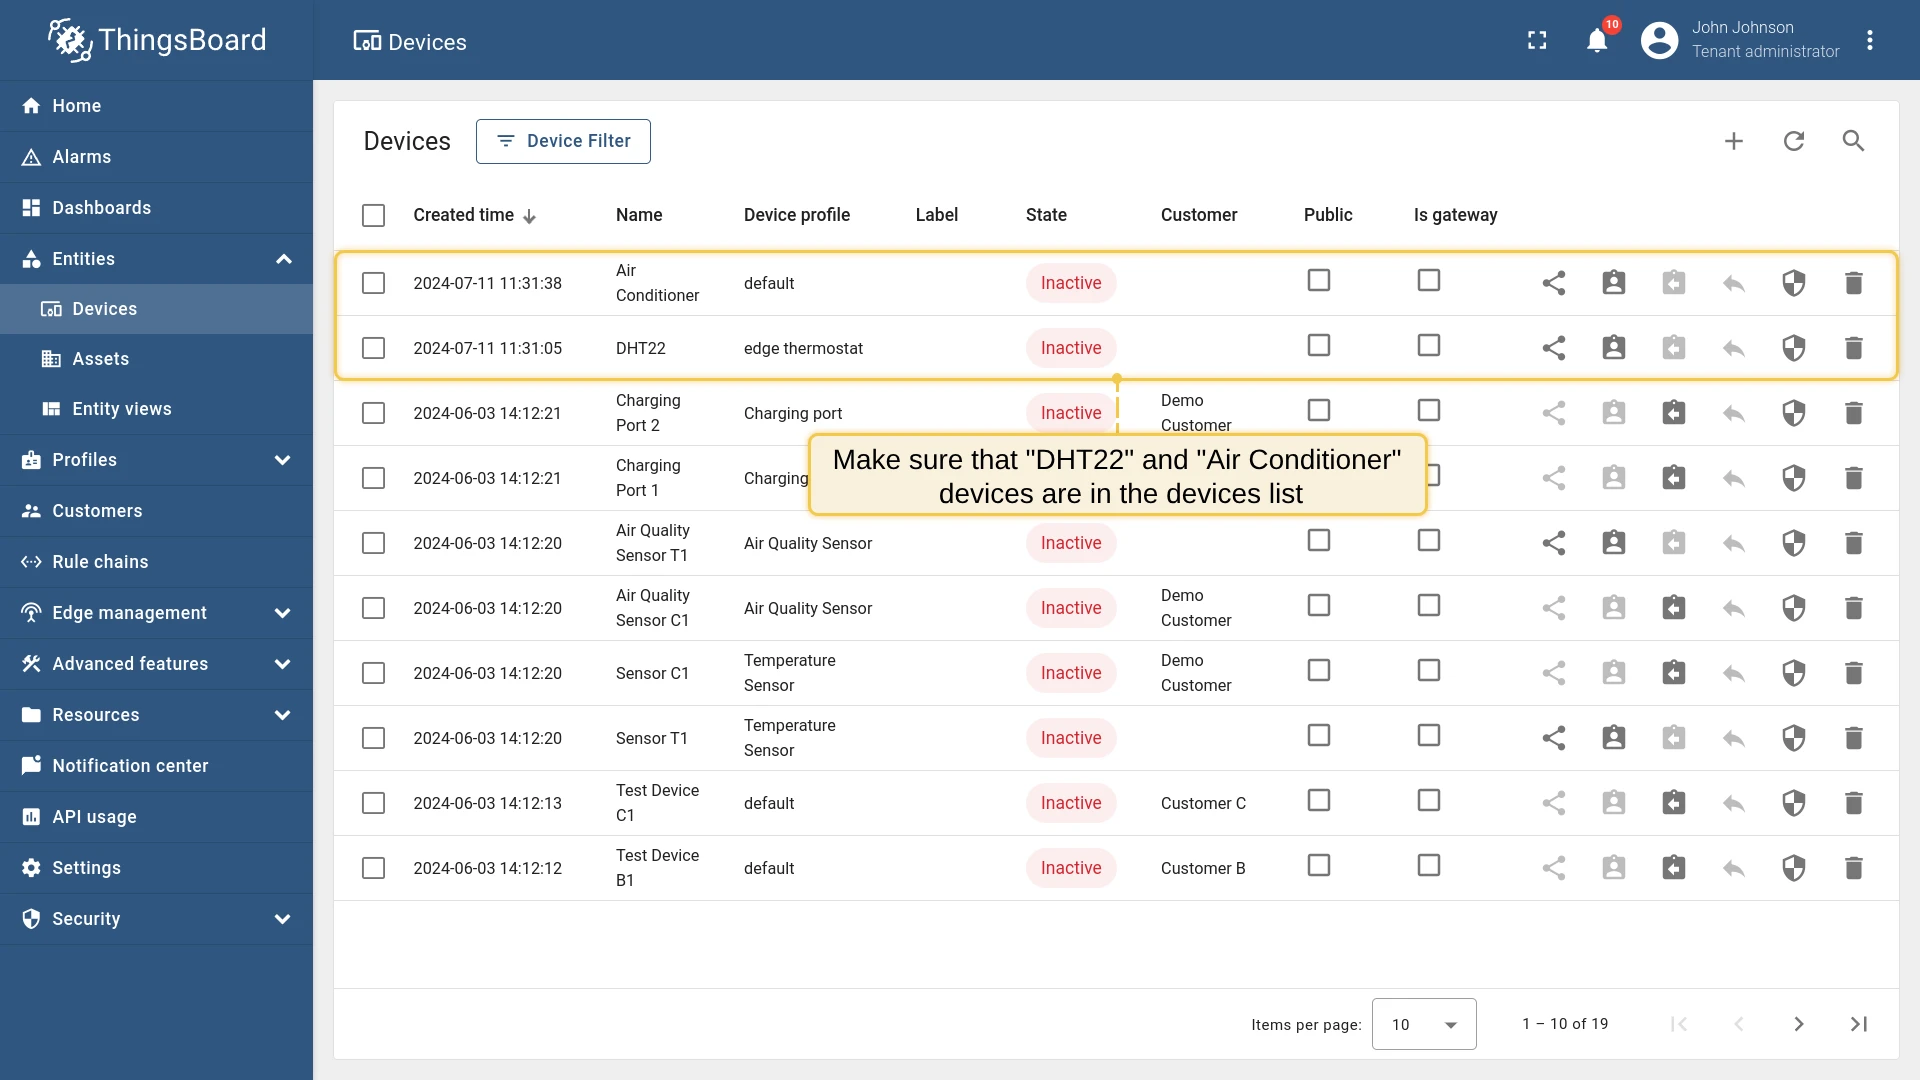
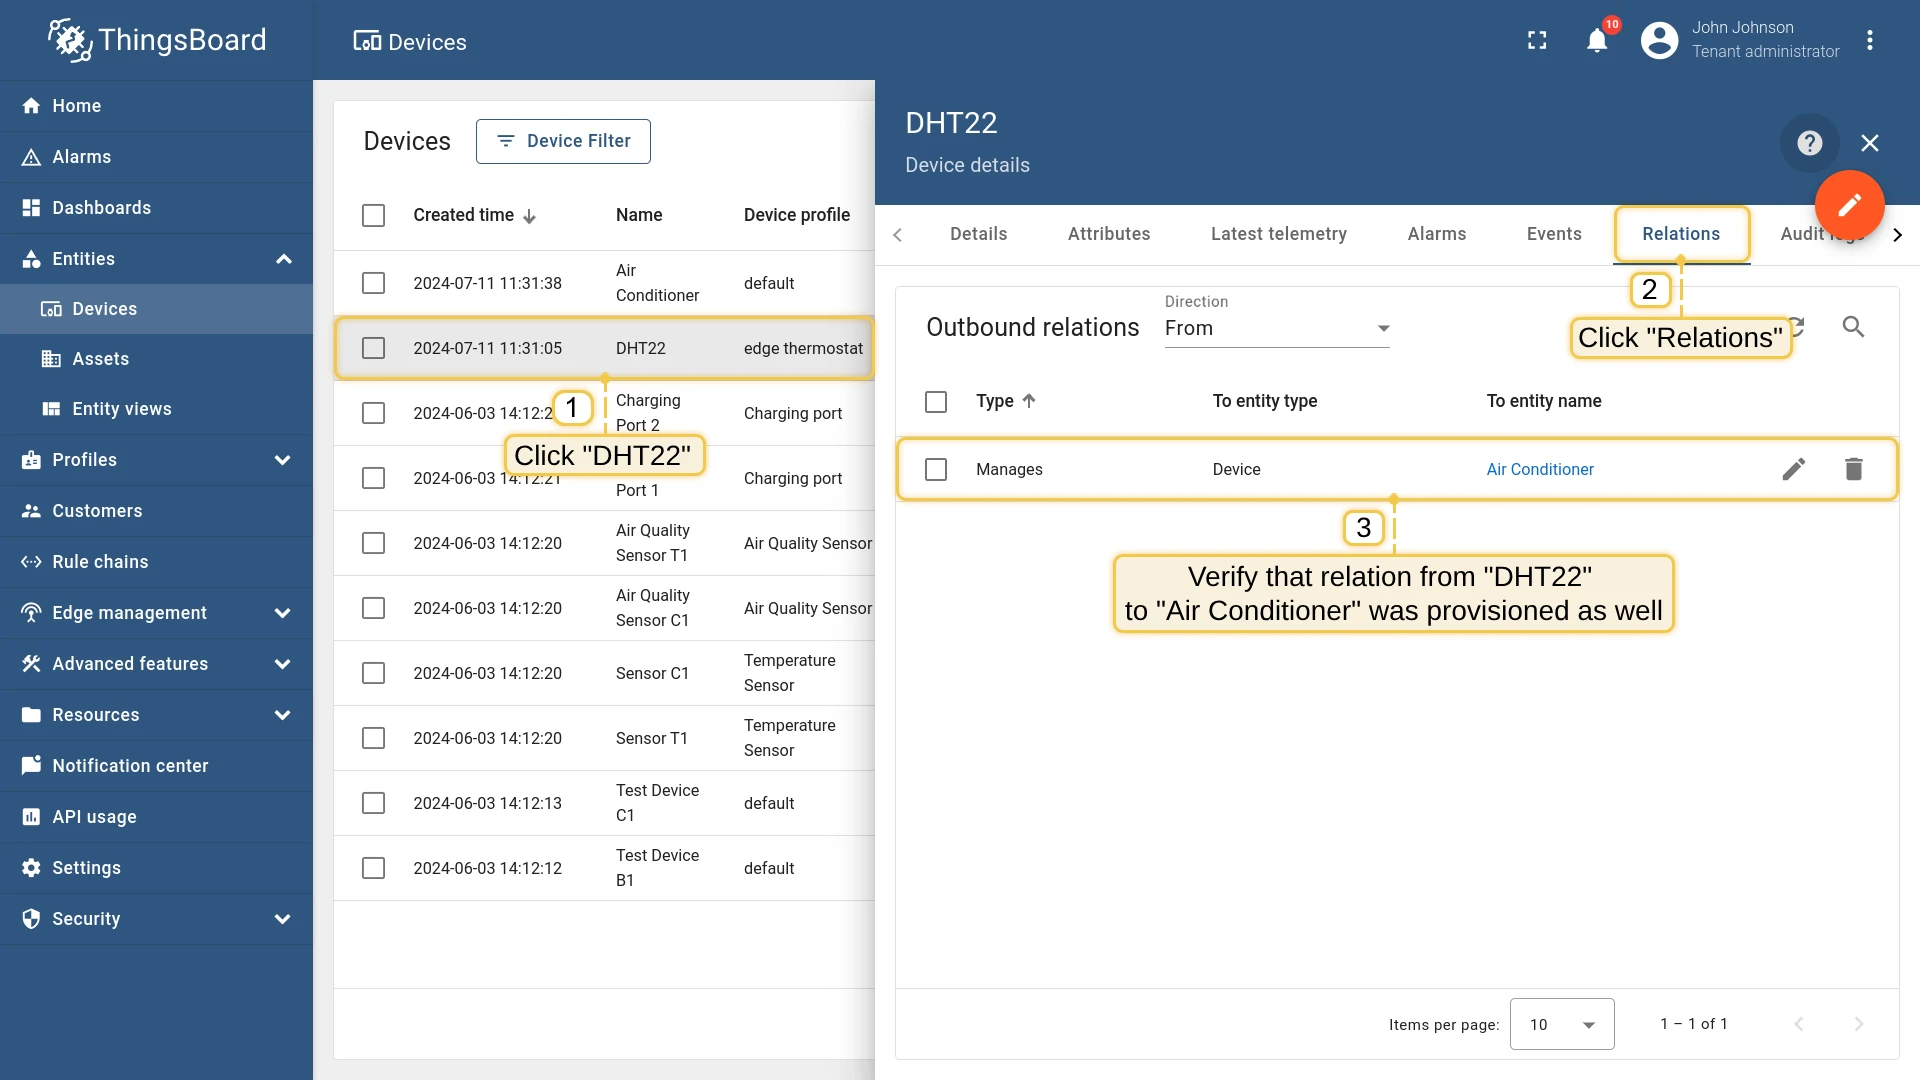
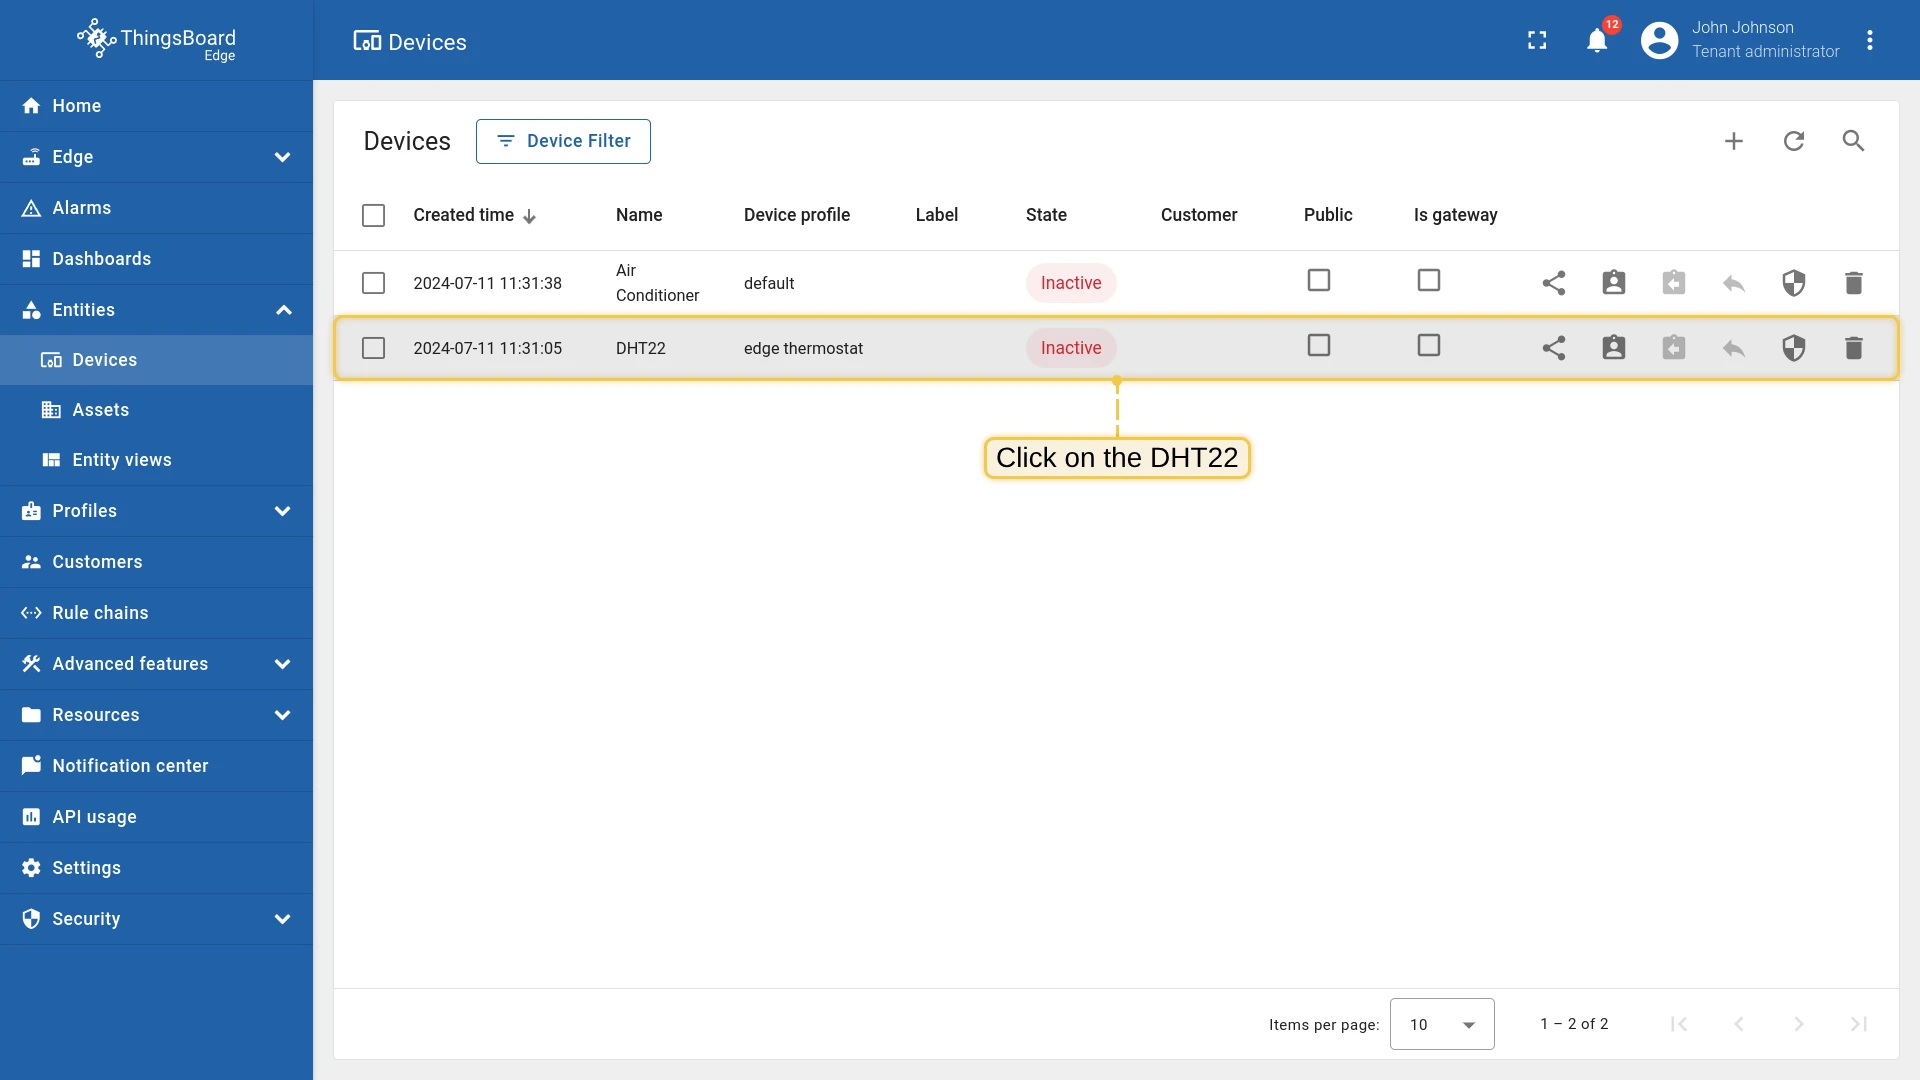
Section titled “Provision devices”Create DHT22 and Air Conditioner devices on the Edge and add a Manages relation from DHT22 to Air Conditioner. This relation is used by the rule engine to locate the Air Conditioner when DHT22 reports a critical temperature.
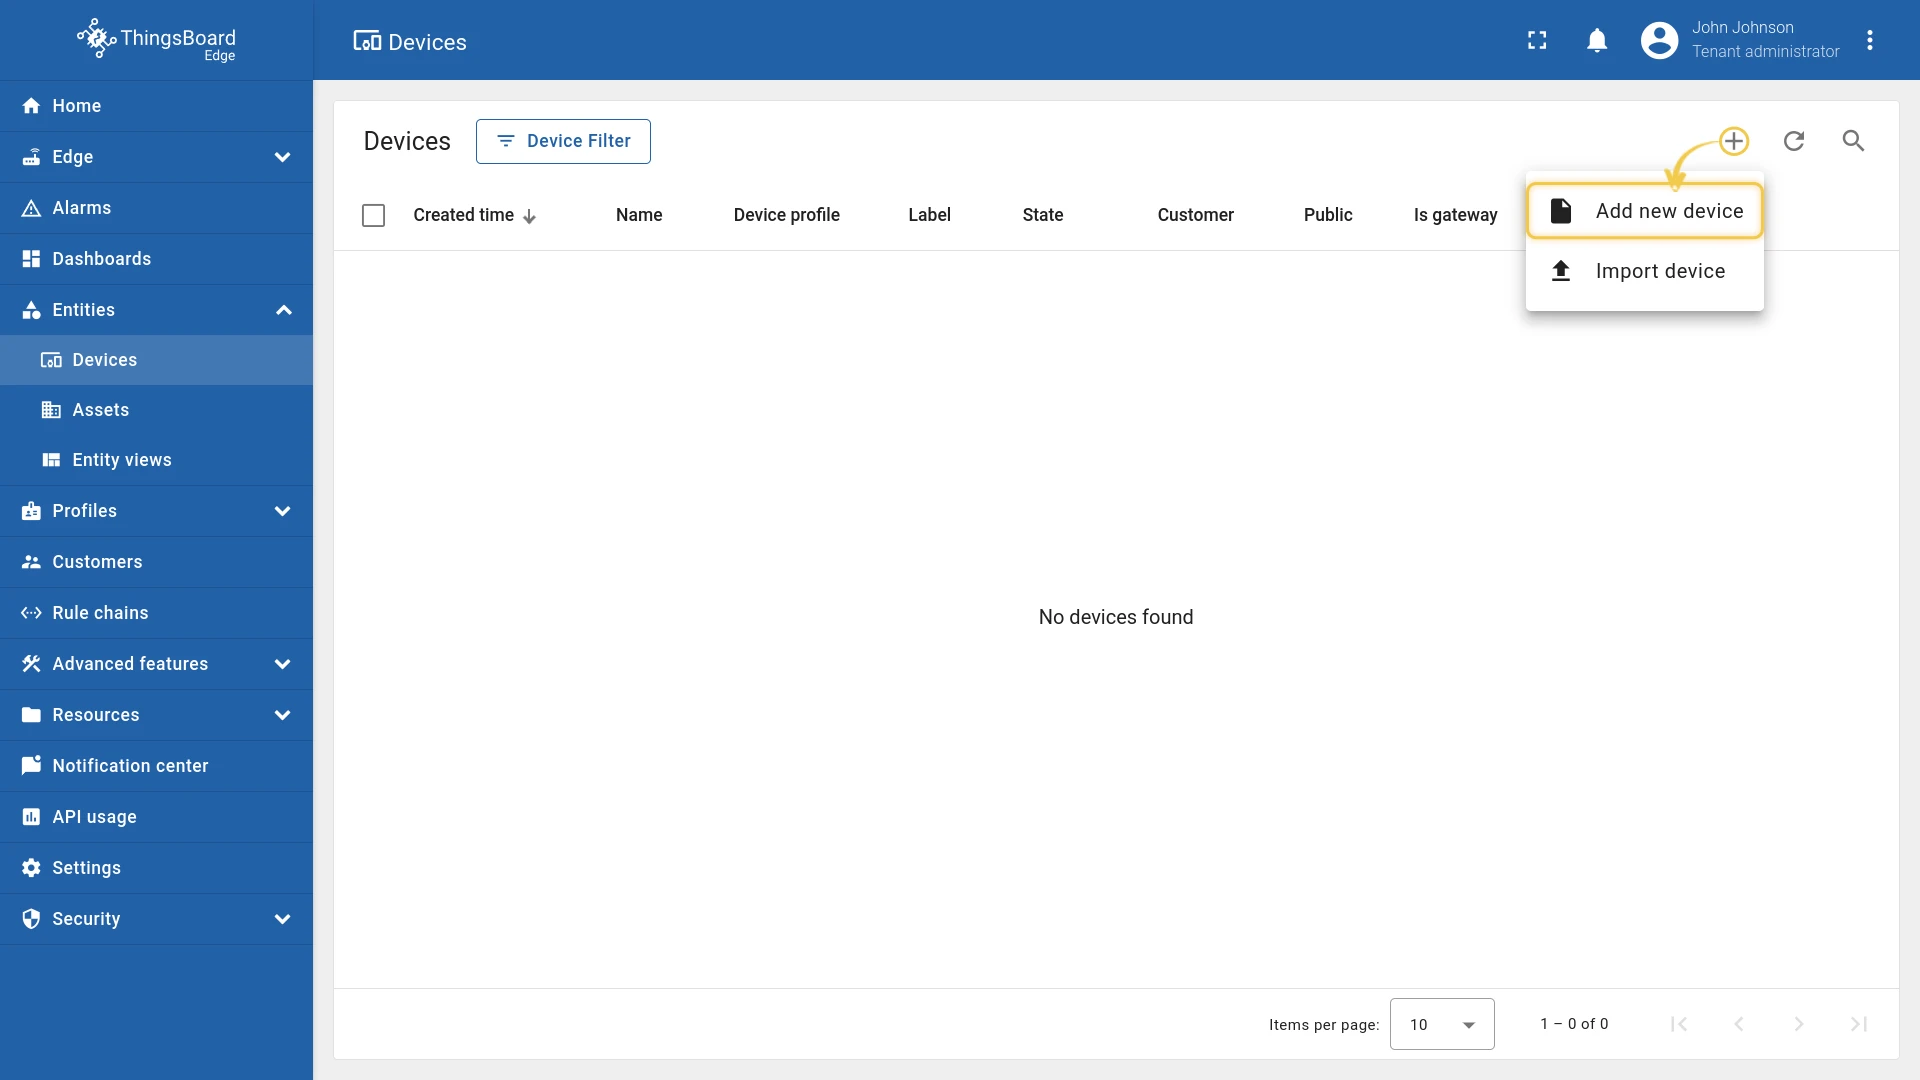
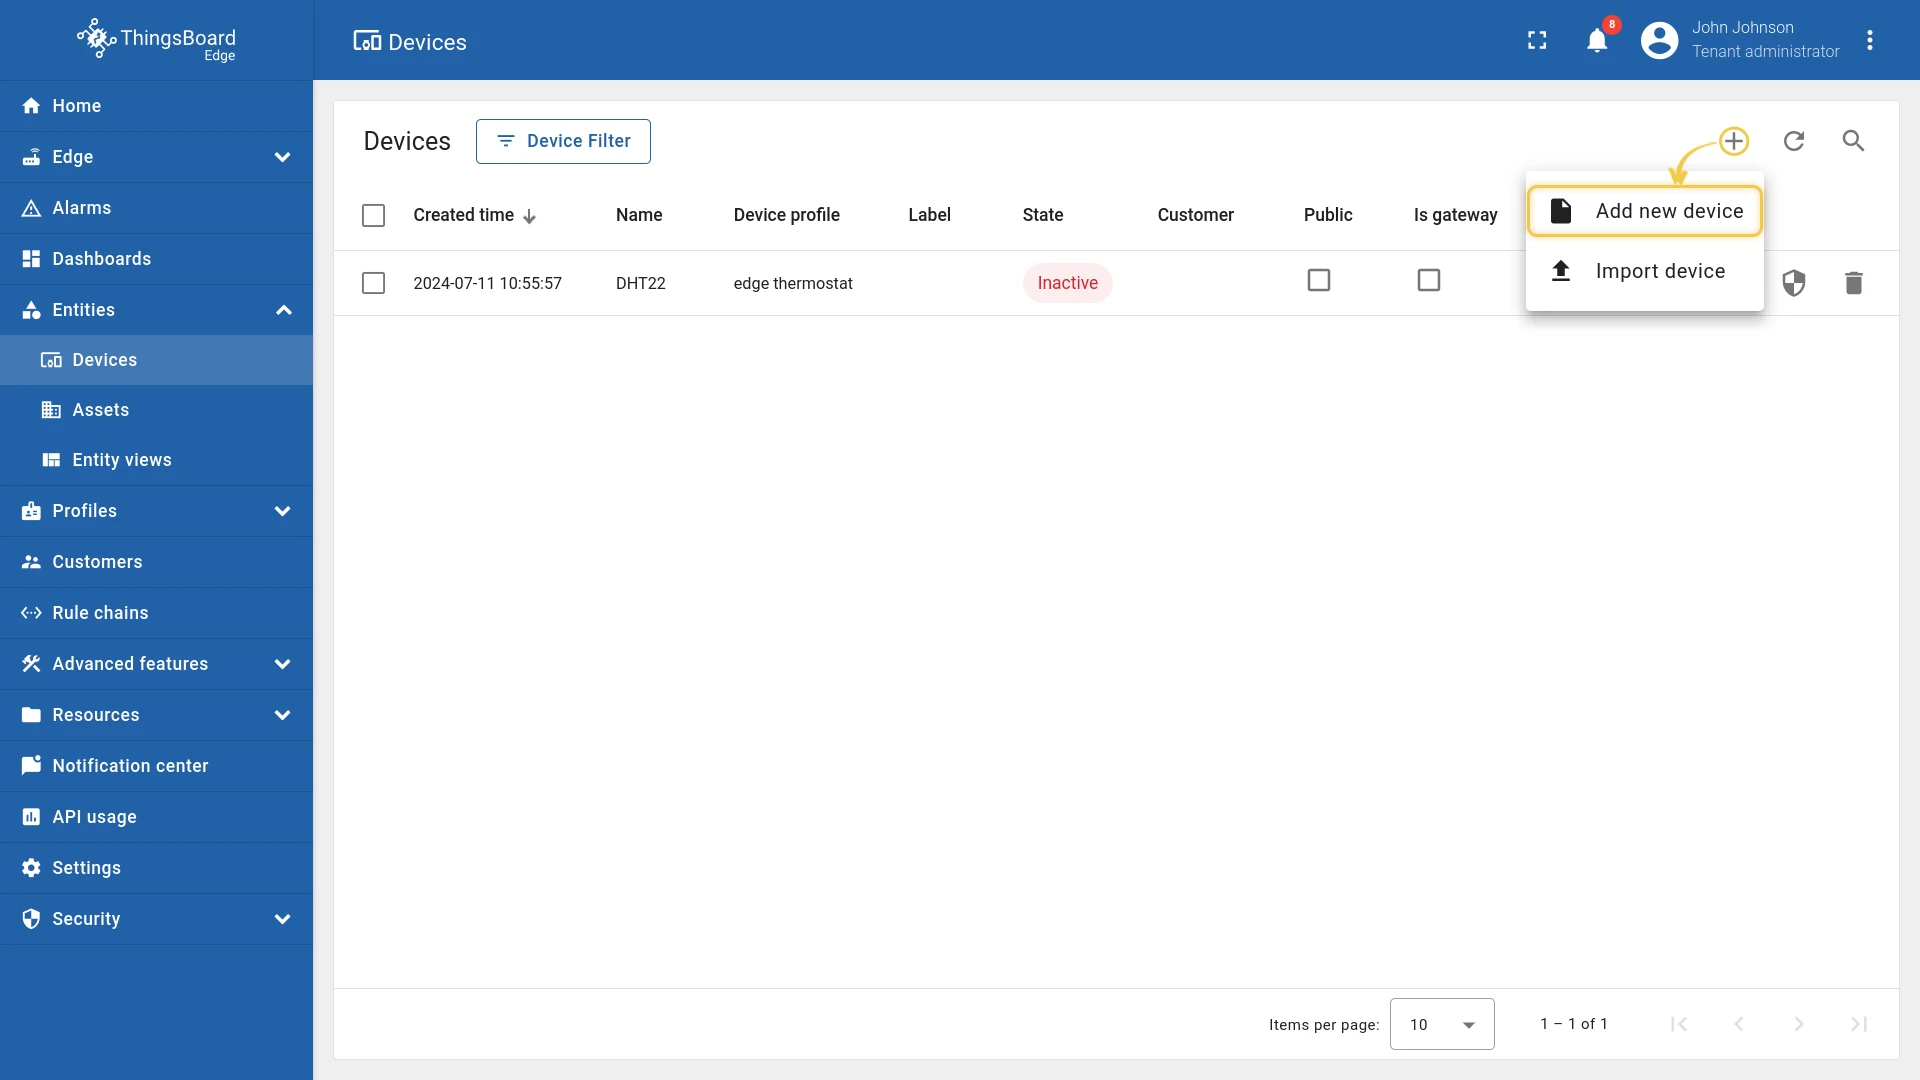
- Log in to the Edge instance and go to Entities → Devices. Click ”+”.
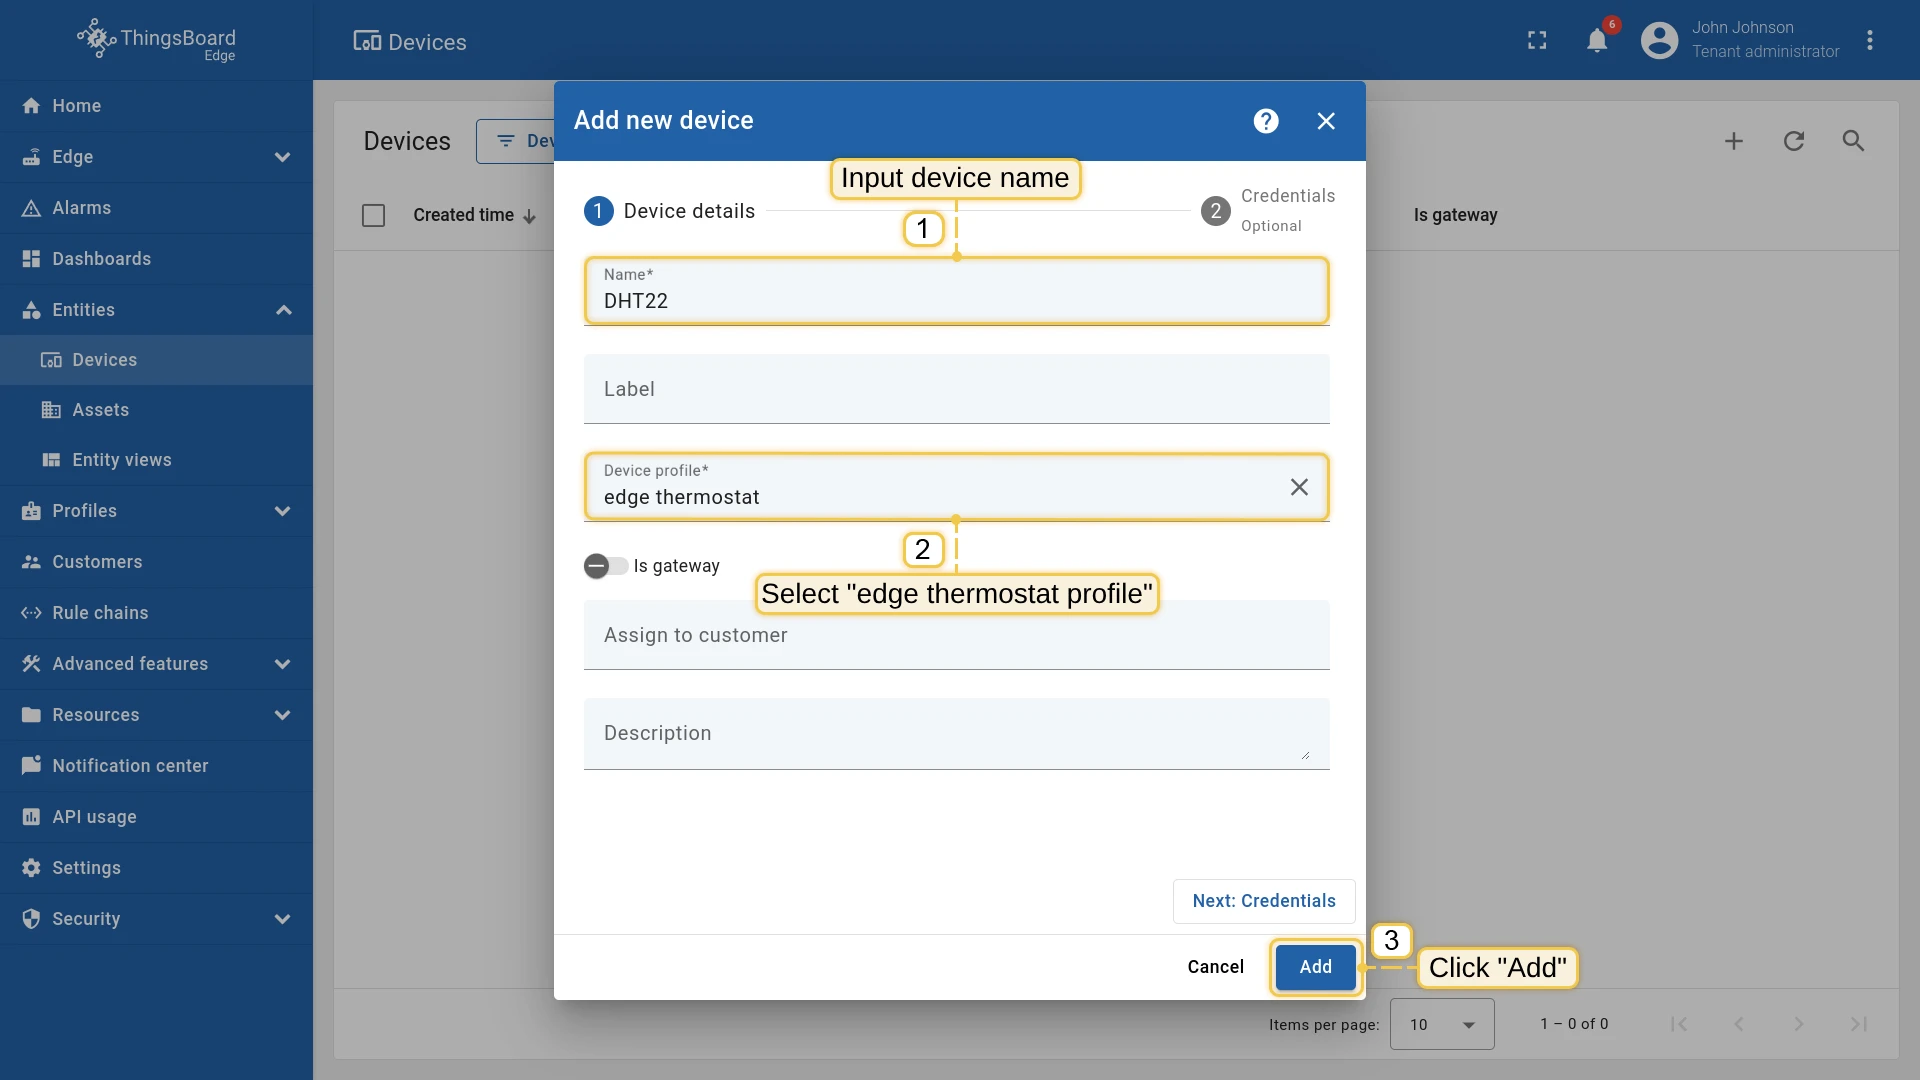
- Enter the name “DHT22”, select “edge thermostat” as the device profile, and click Add.
- Click ”+” again. Enter the name “Air Conditioner” (no specific profile needed) and click Add.
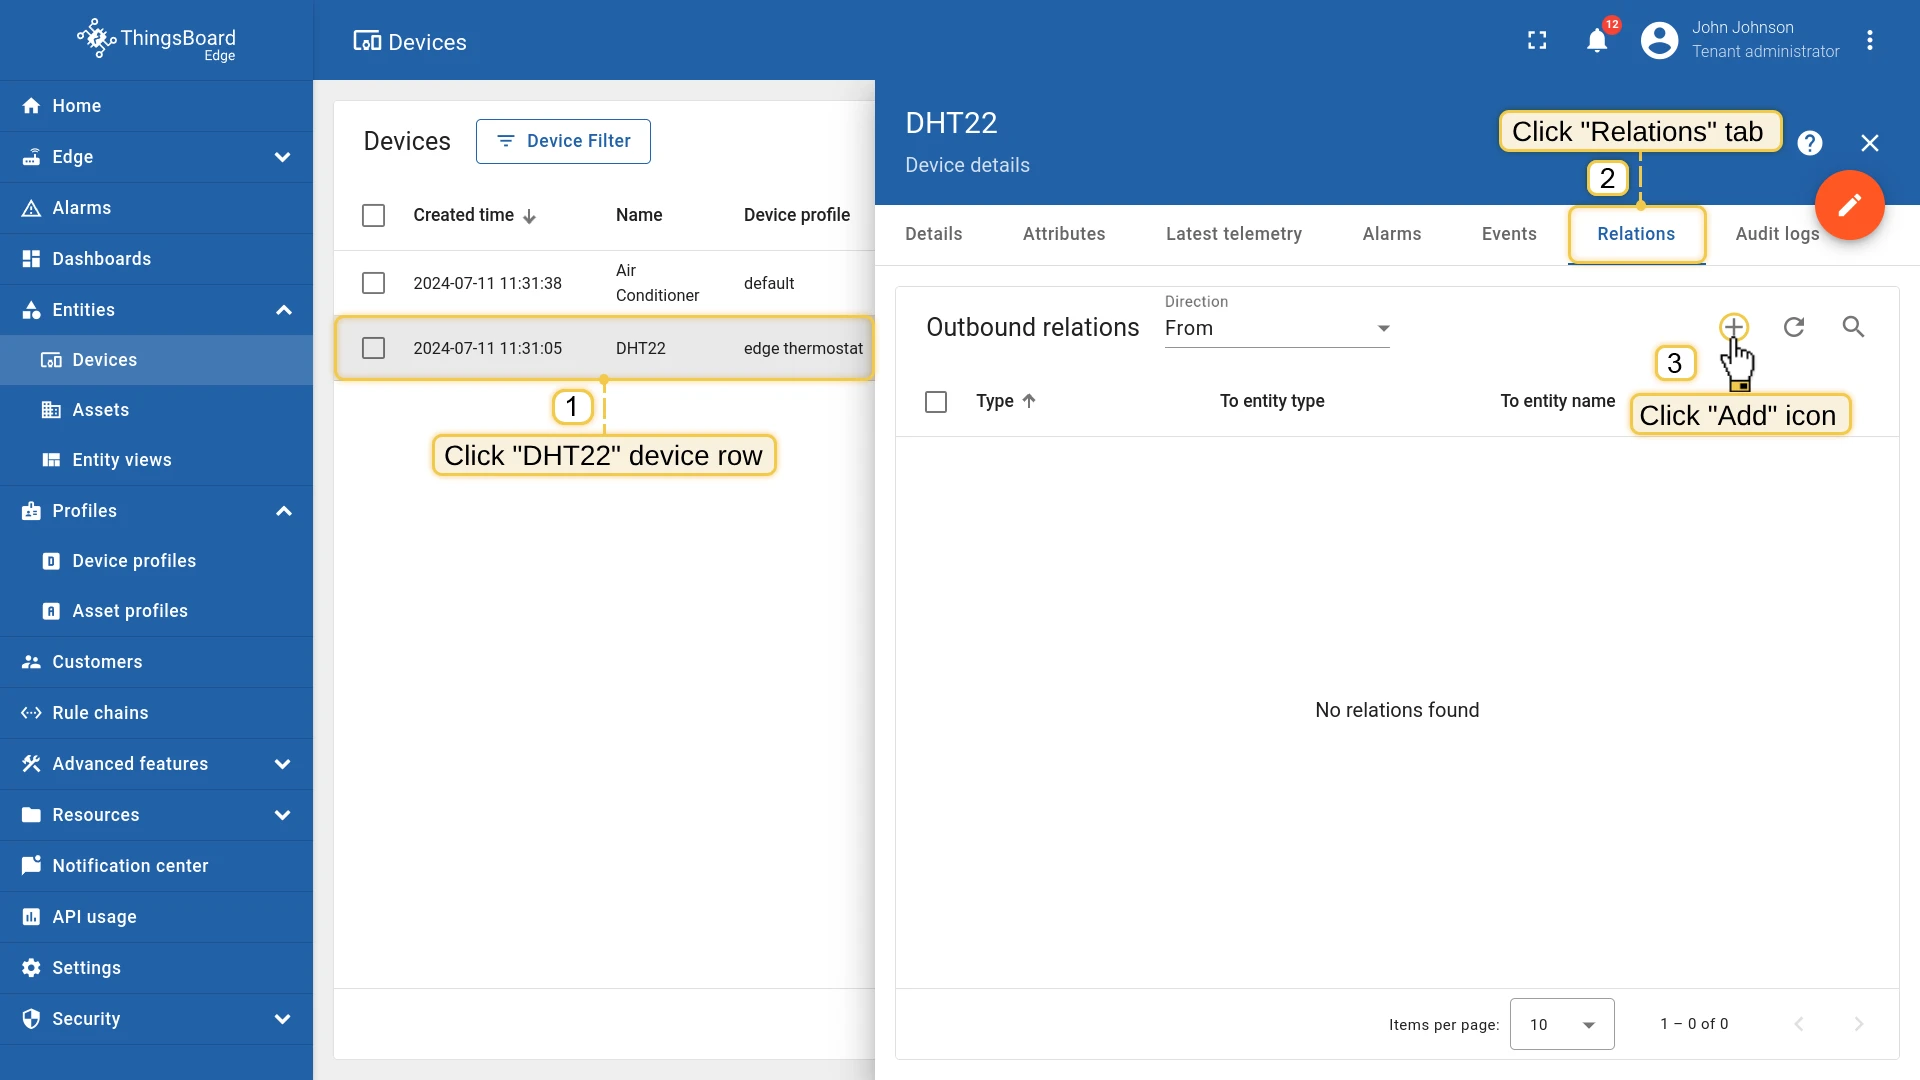
- Open the DHT22 device, go to the Relations tab, and click ”+”.
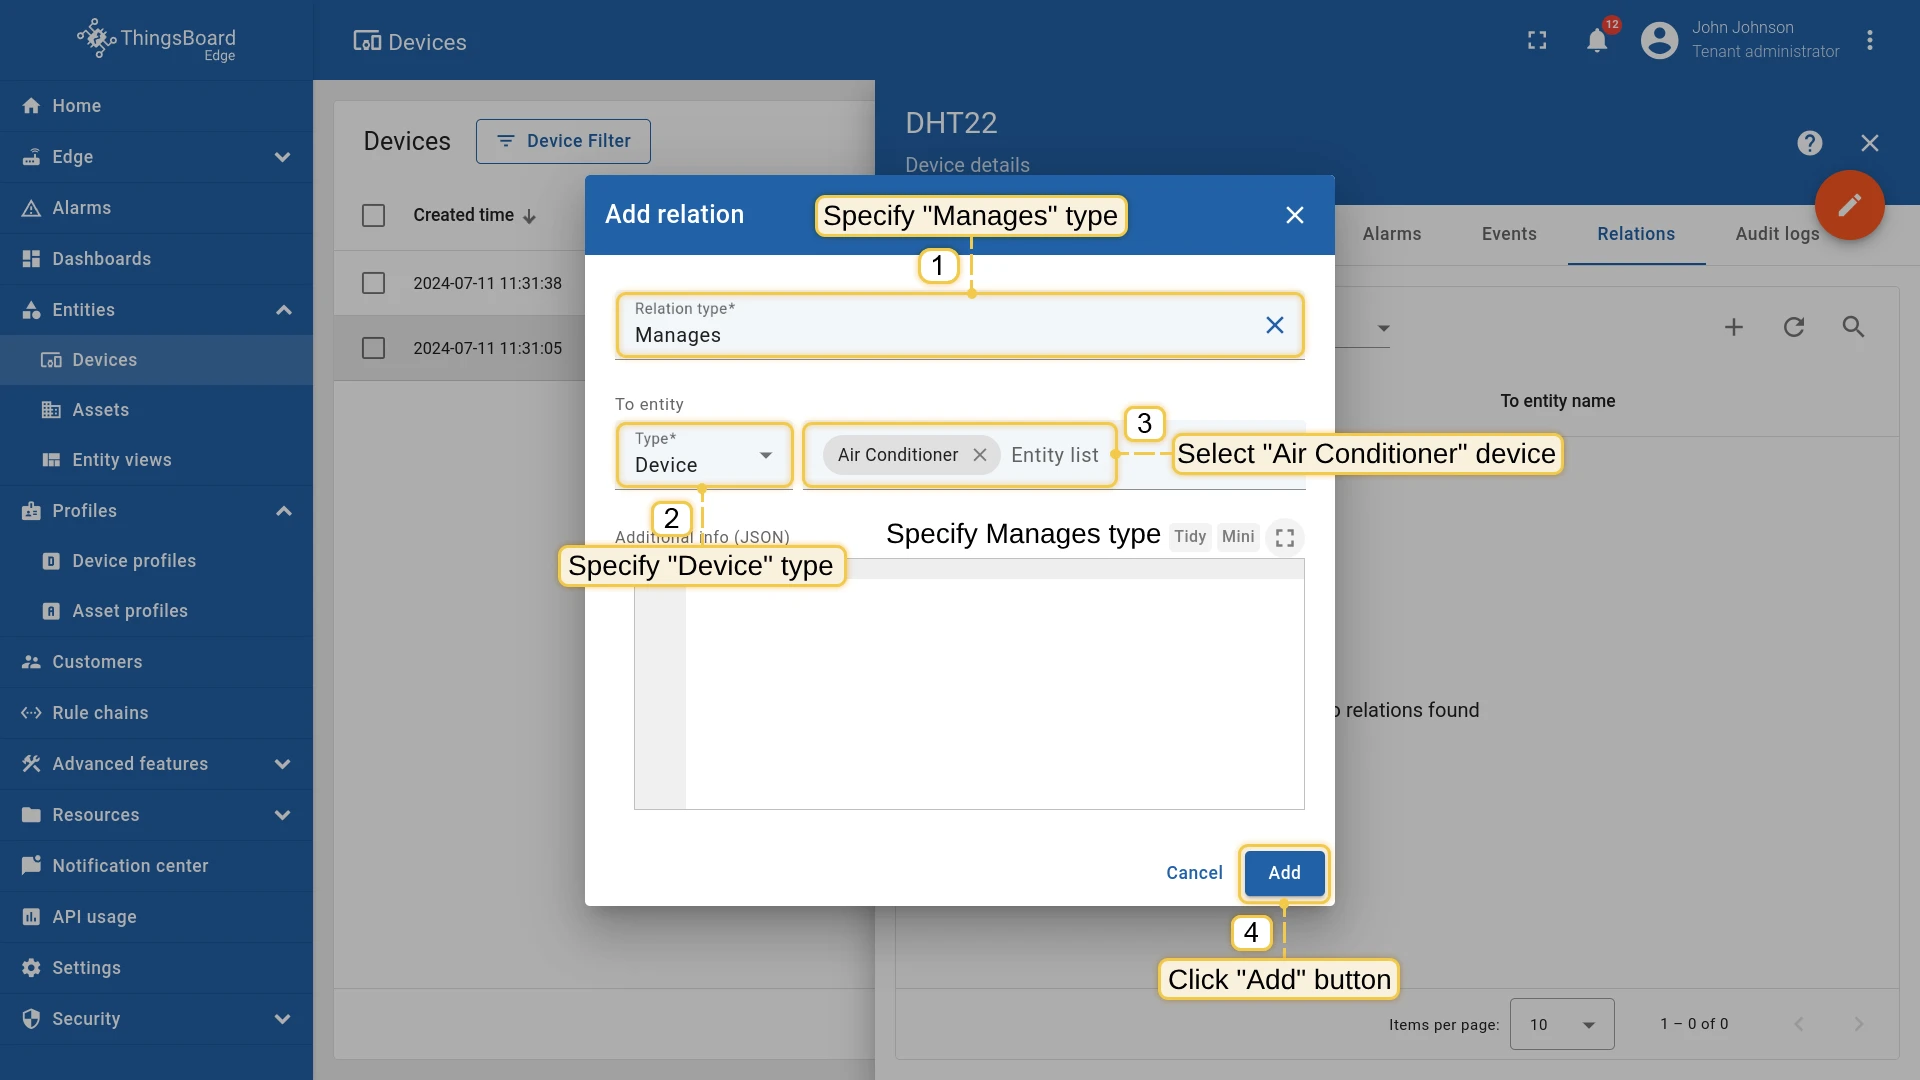
- Set relation type to Manages, entity type to Device, select “Air Conditioner”, and click Add.


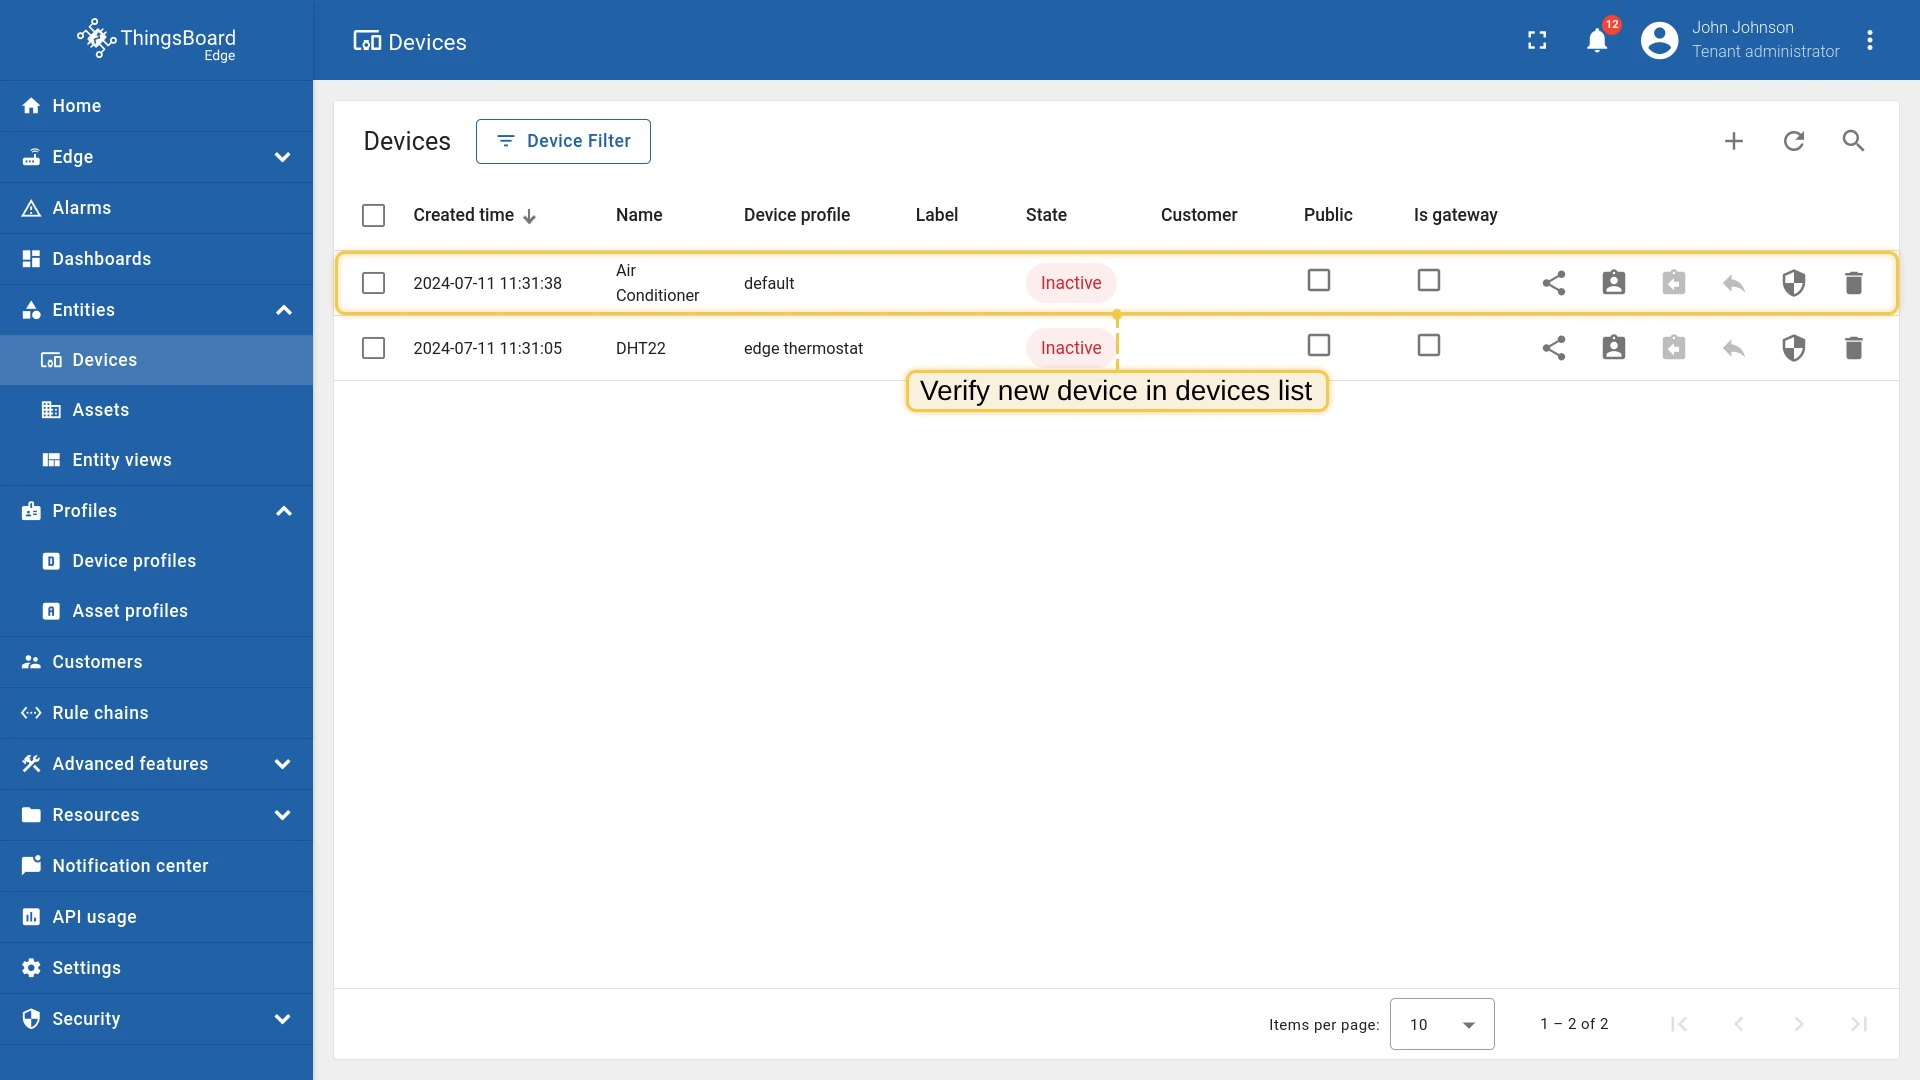
Verify that both devices and the relation have been synchronized to the ThingsBoard server:
Configure the Edge rule engine
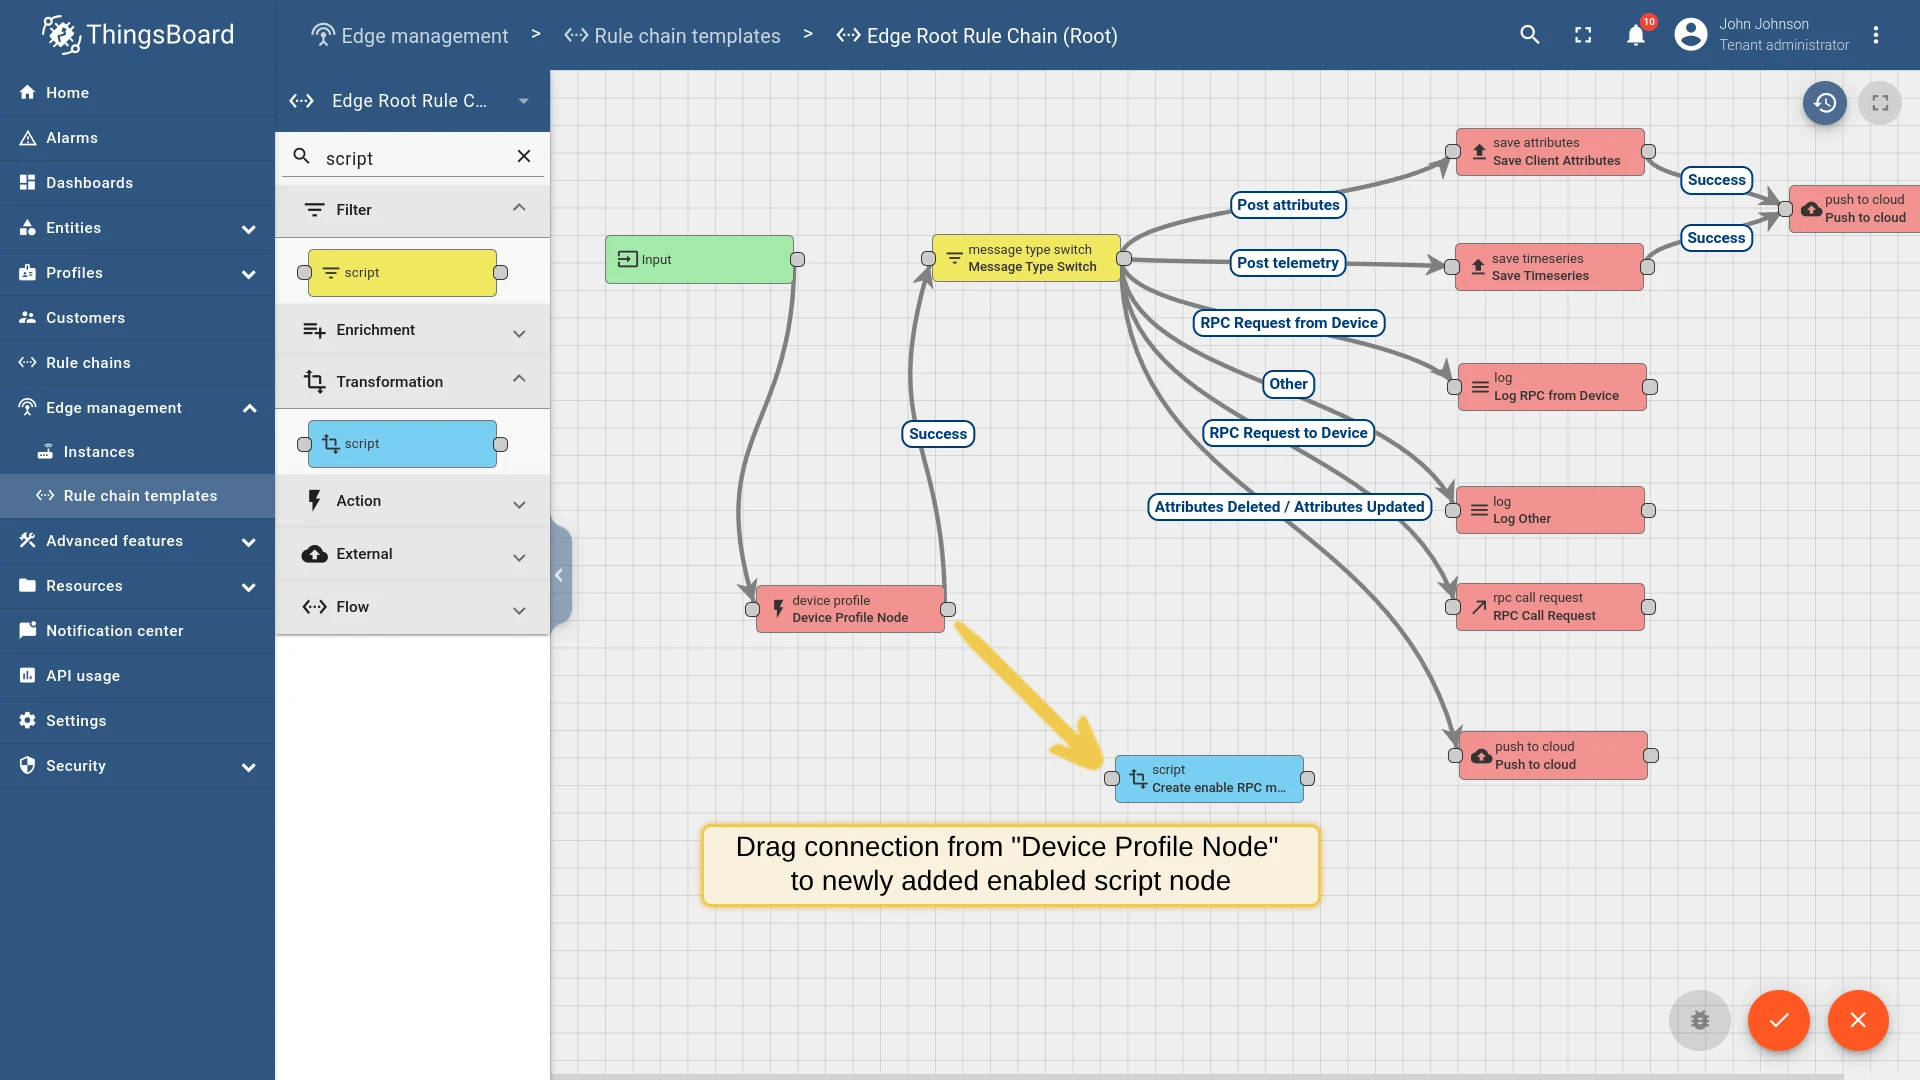
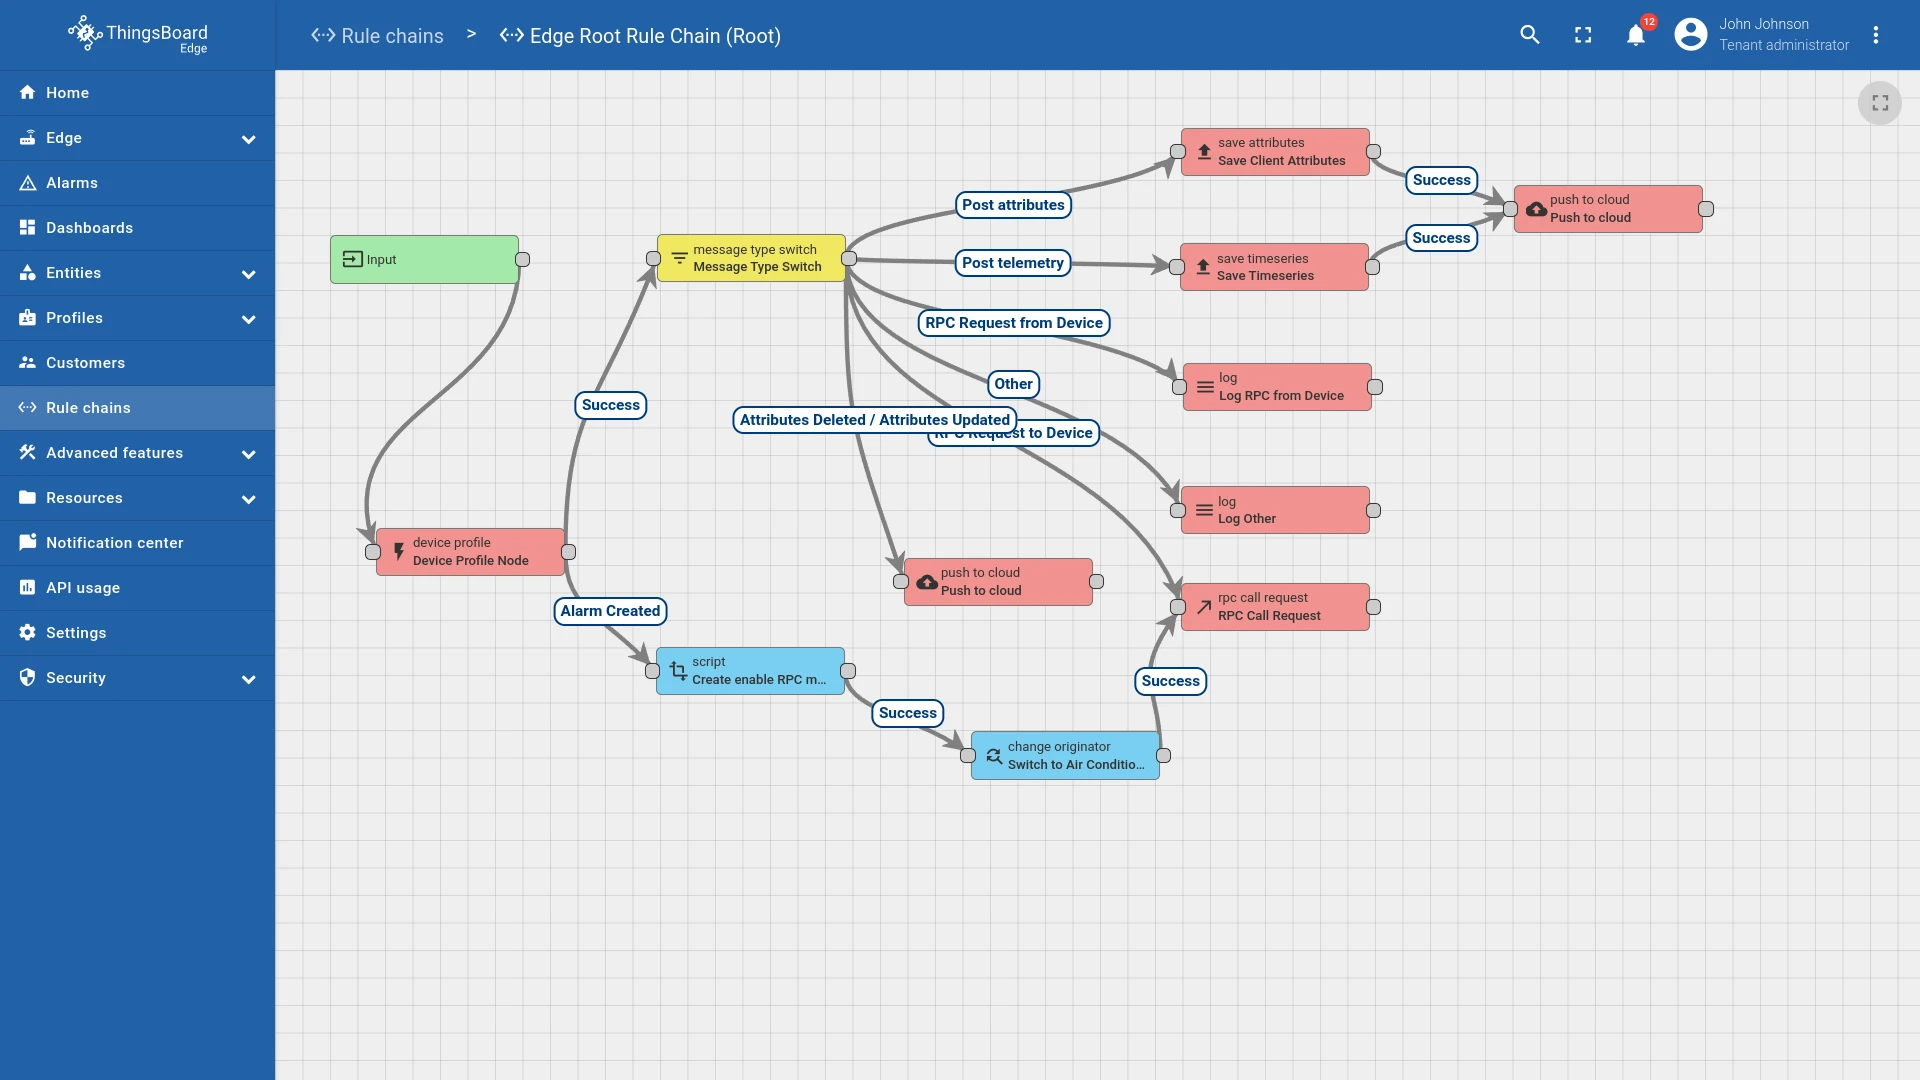
Section titled “Configure the Edge rule engine”Update the Edge Root Rule Chain on the ThingsBoard server to handle Alarm Created events from DHT22 and send an RPC command to the Air Conditioner.
Here is the final rule chain configuration:
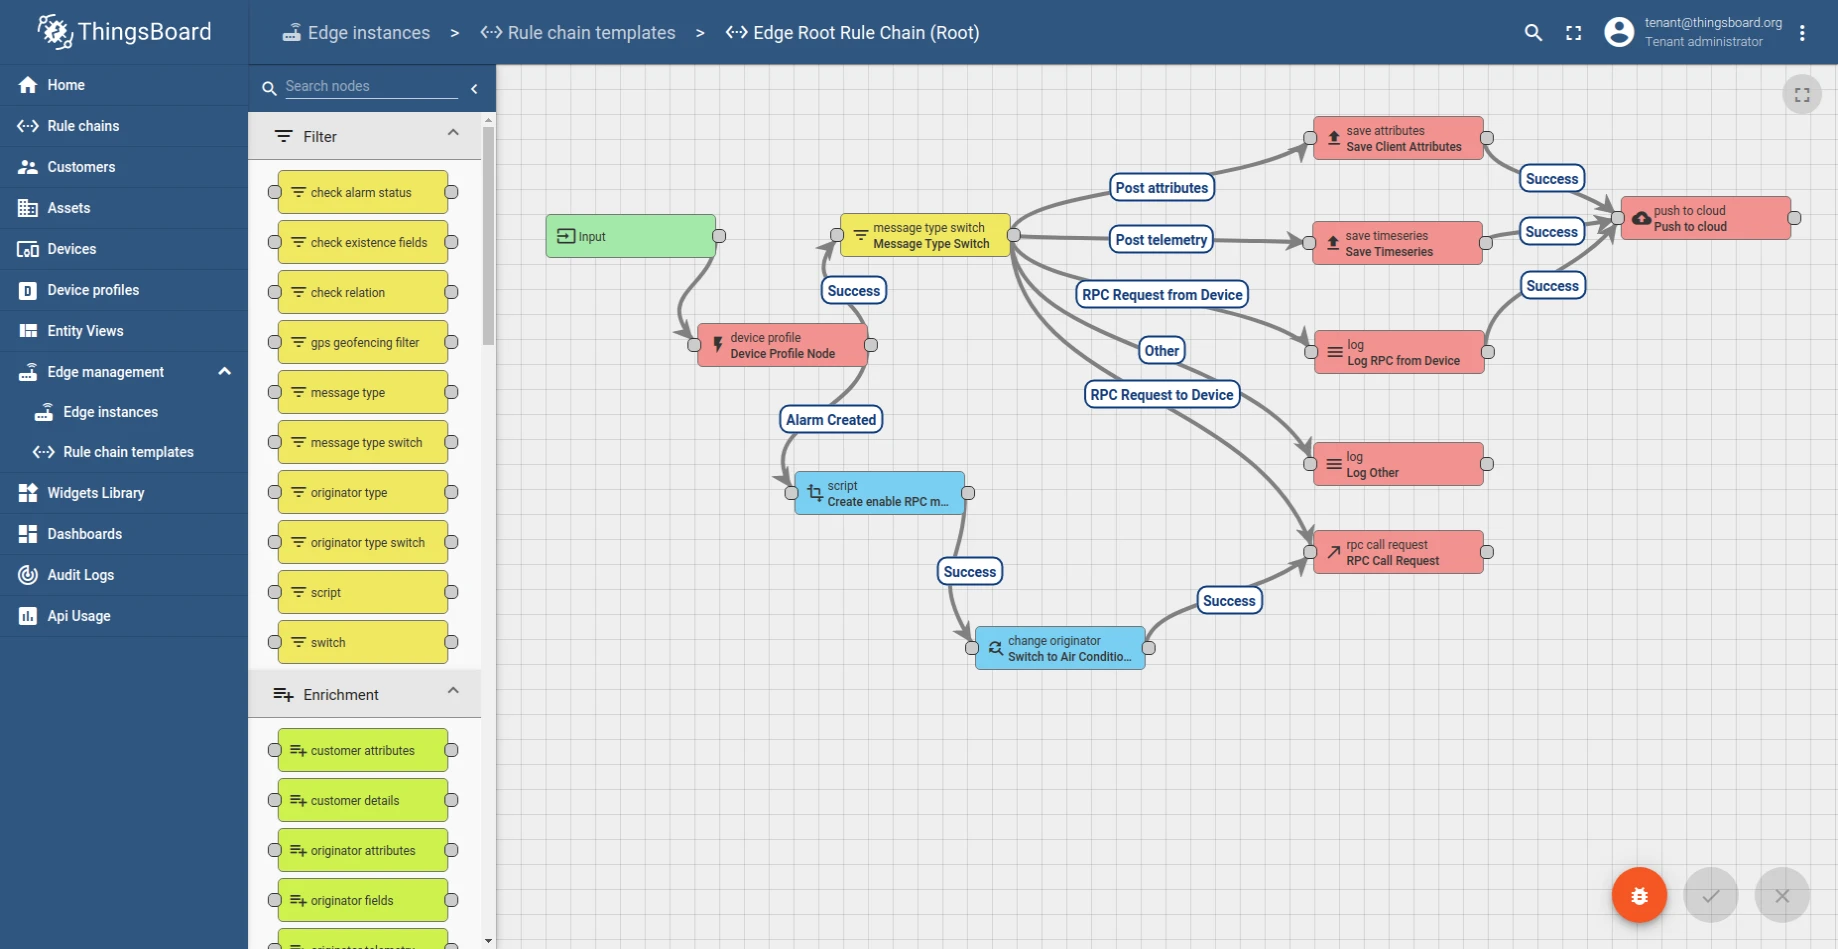
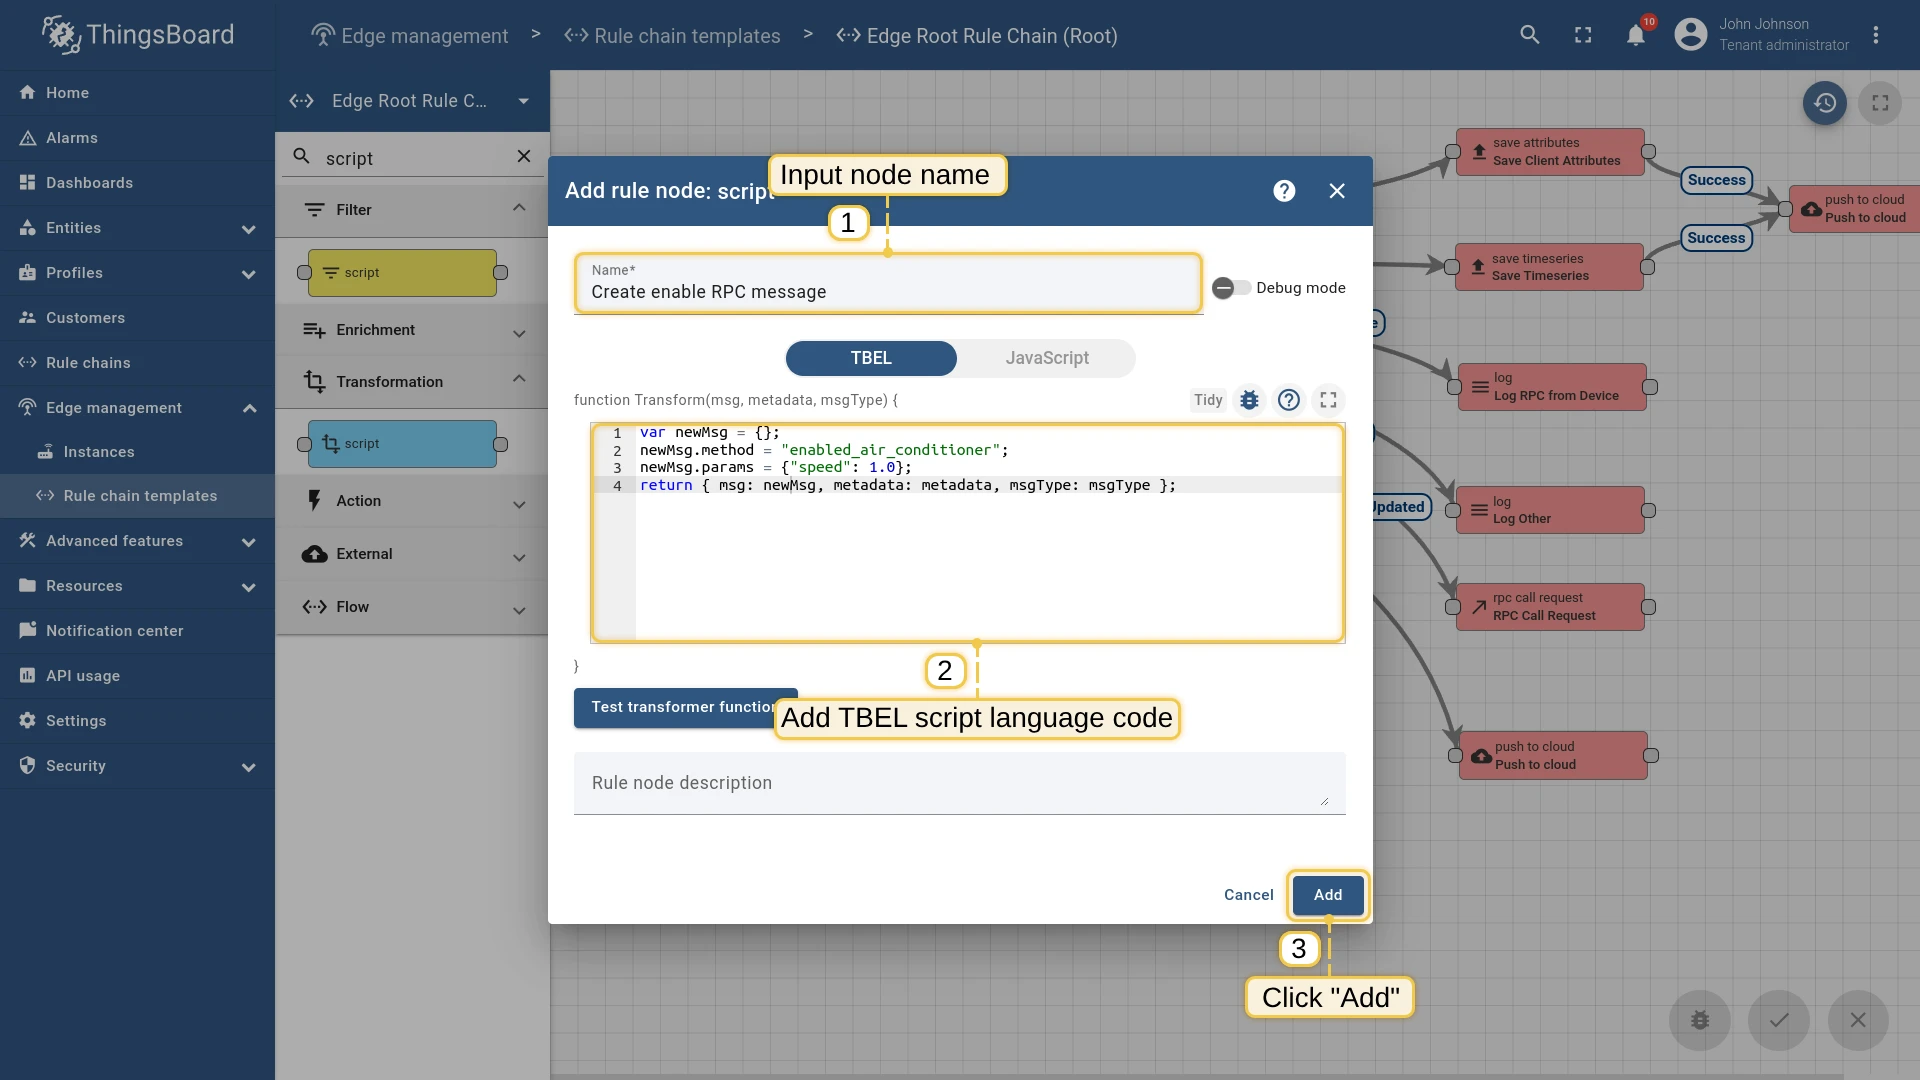
The transformation script builds the RPC payload to enable the Air Conditioner:
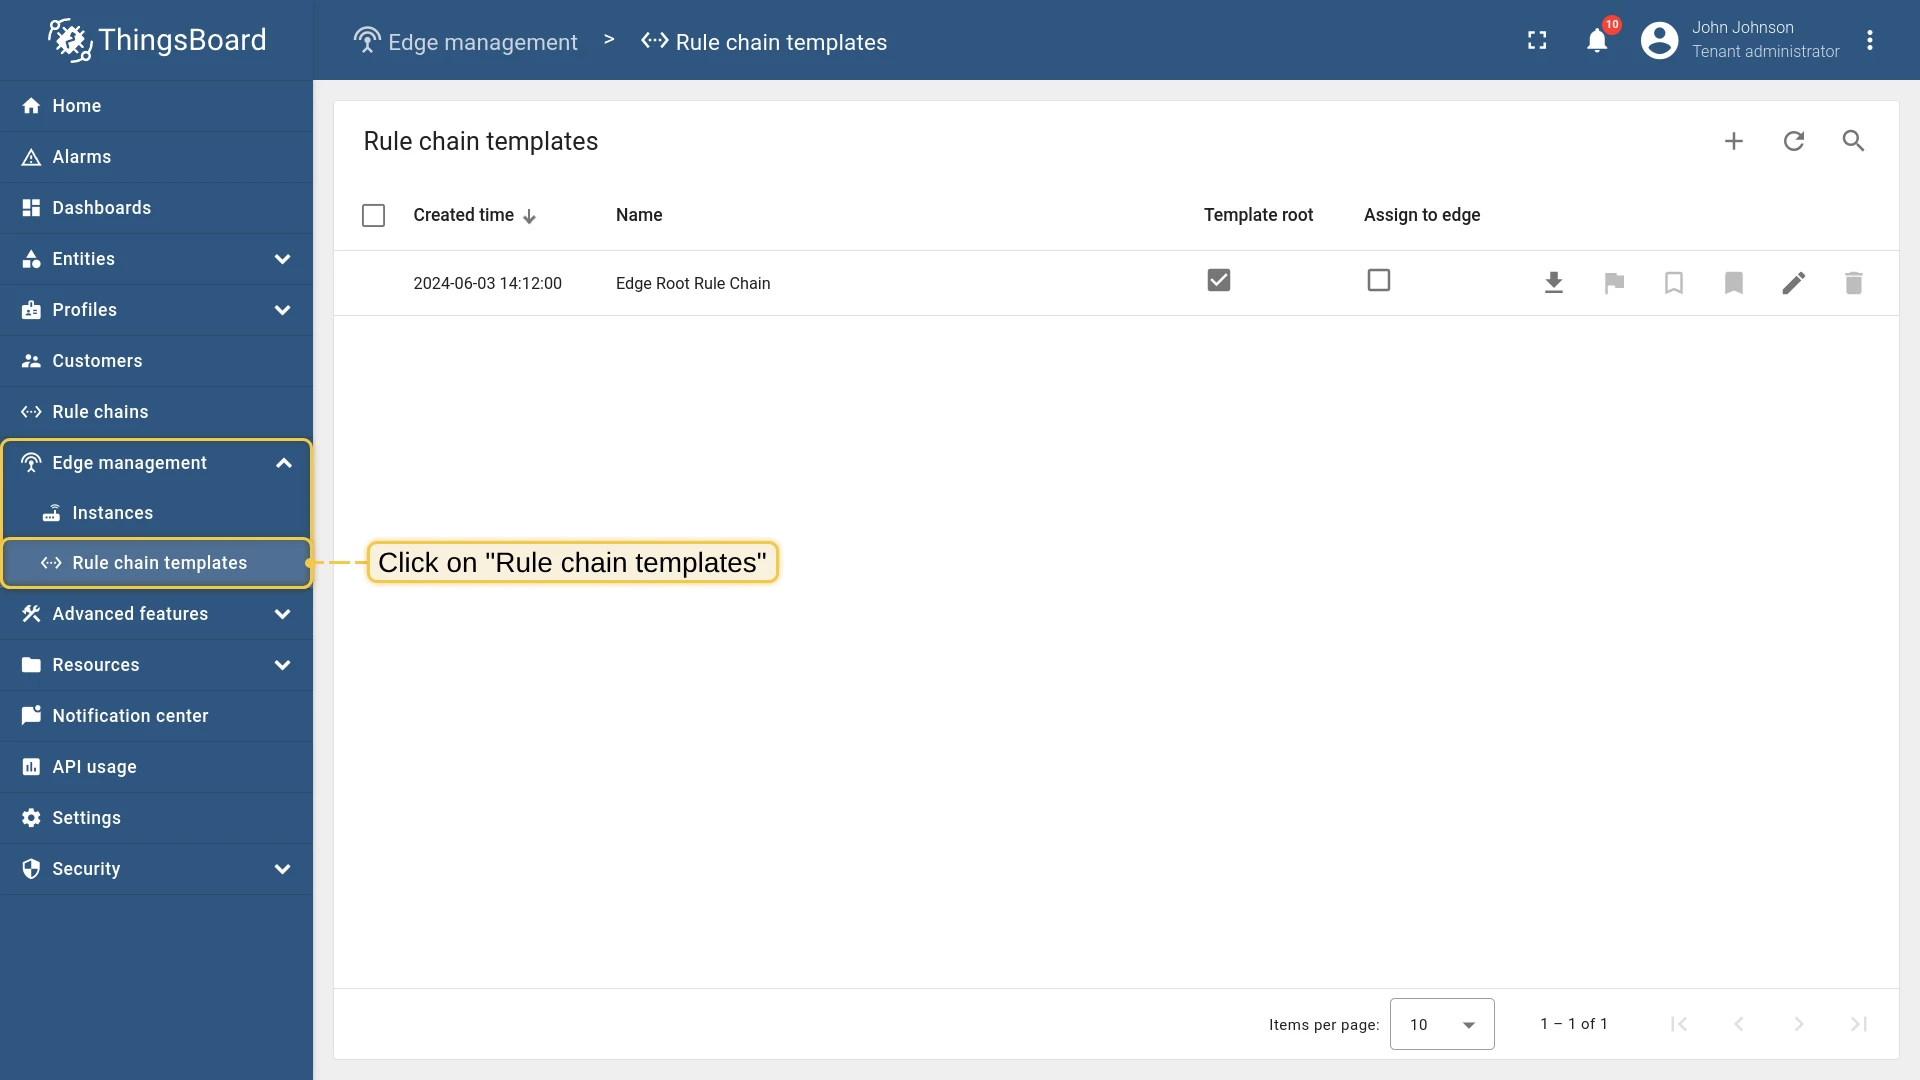
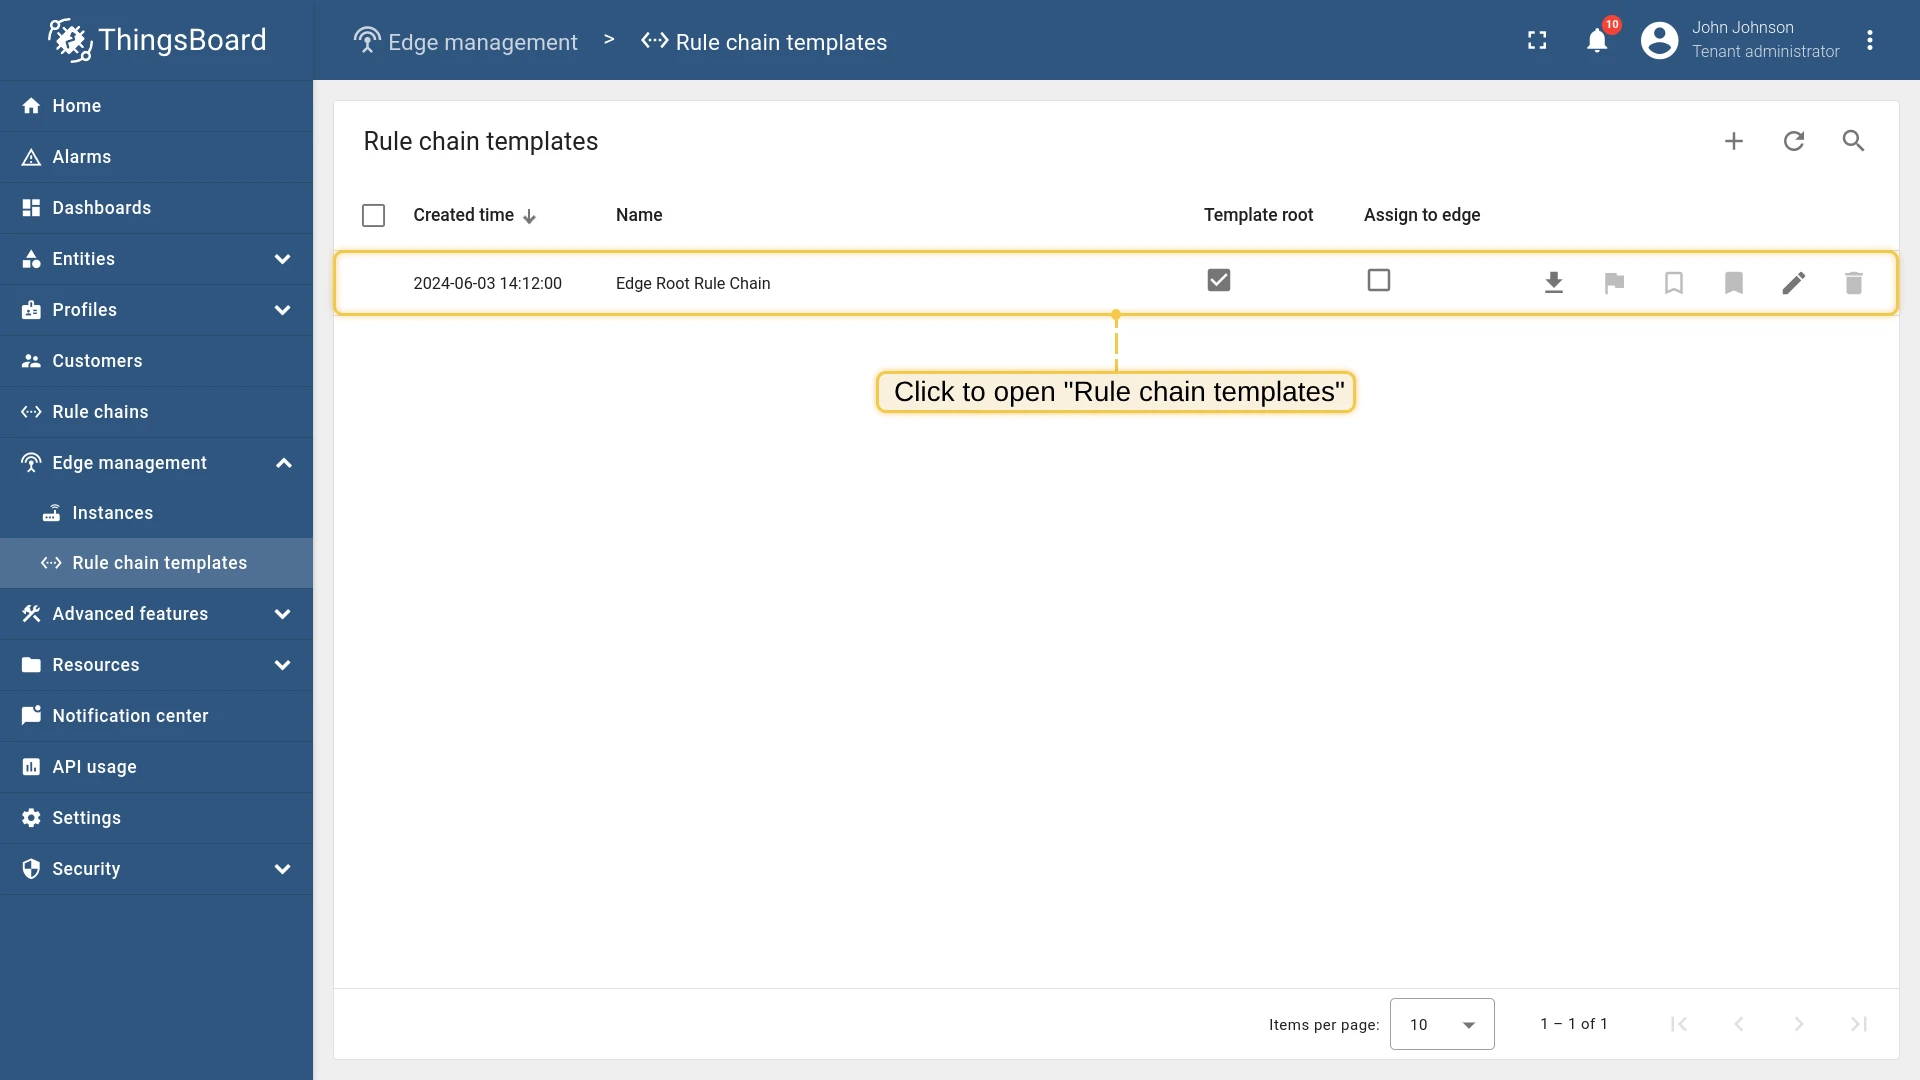
var newMsg = {};newMsg.method = "enabled_air_conditioner";newMsg.params = {"speed": 1.0};return { msg: newMsg, metadata: metadata, msgType: msgType };- Log in to the ThingsBoard server. Go to Edge management → Rule chain templates and open Edge Root Rule Chain.
- Search for “script” and drag a Script (Transformation) node onto the canvas. Enter the name “Enable Air Conditioner” and paste the TBEL snippet above. Click Add.
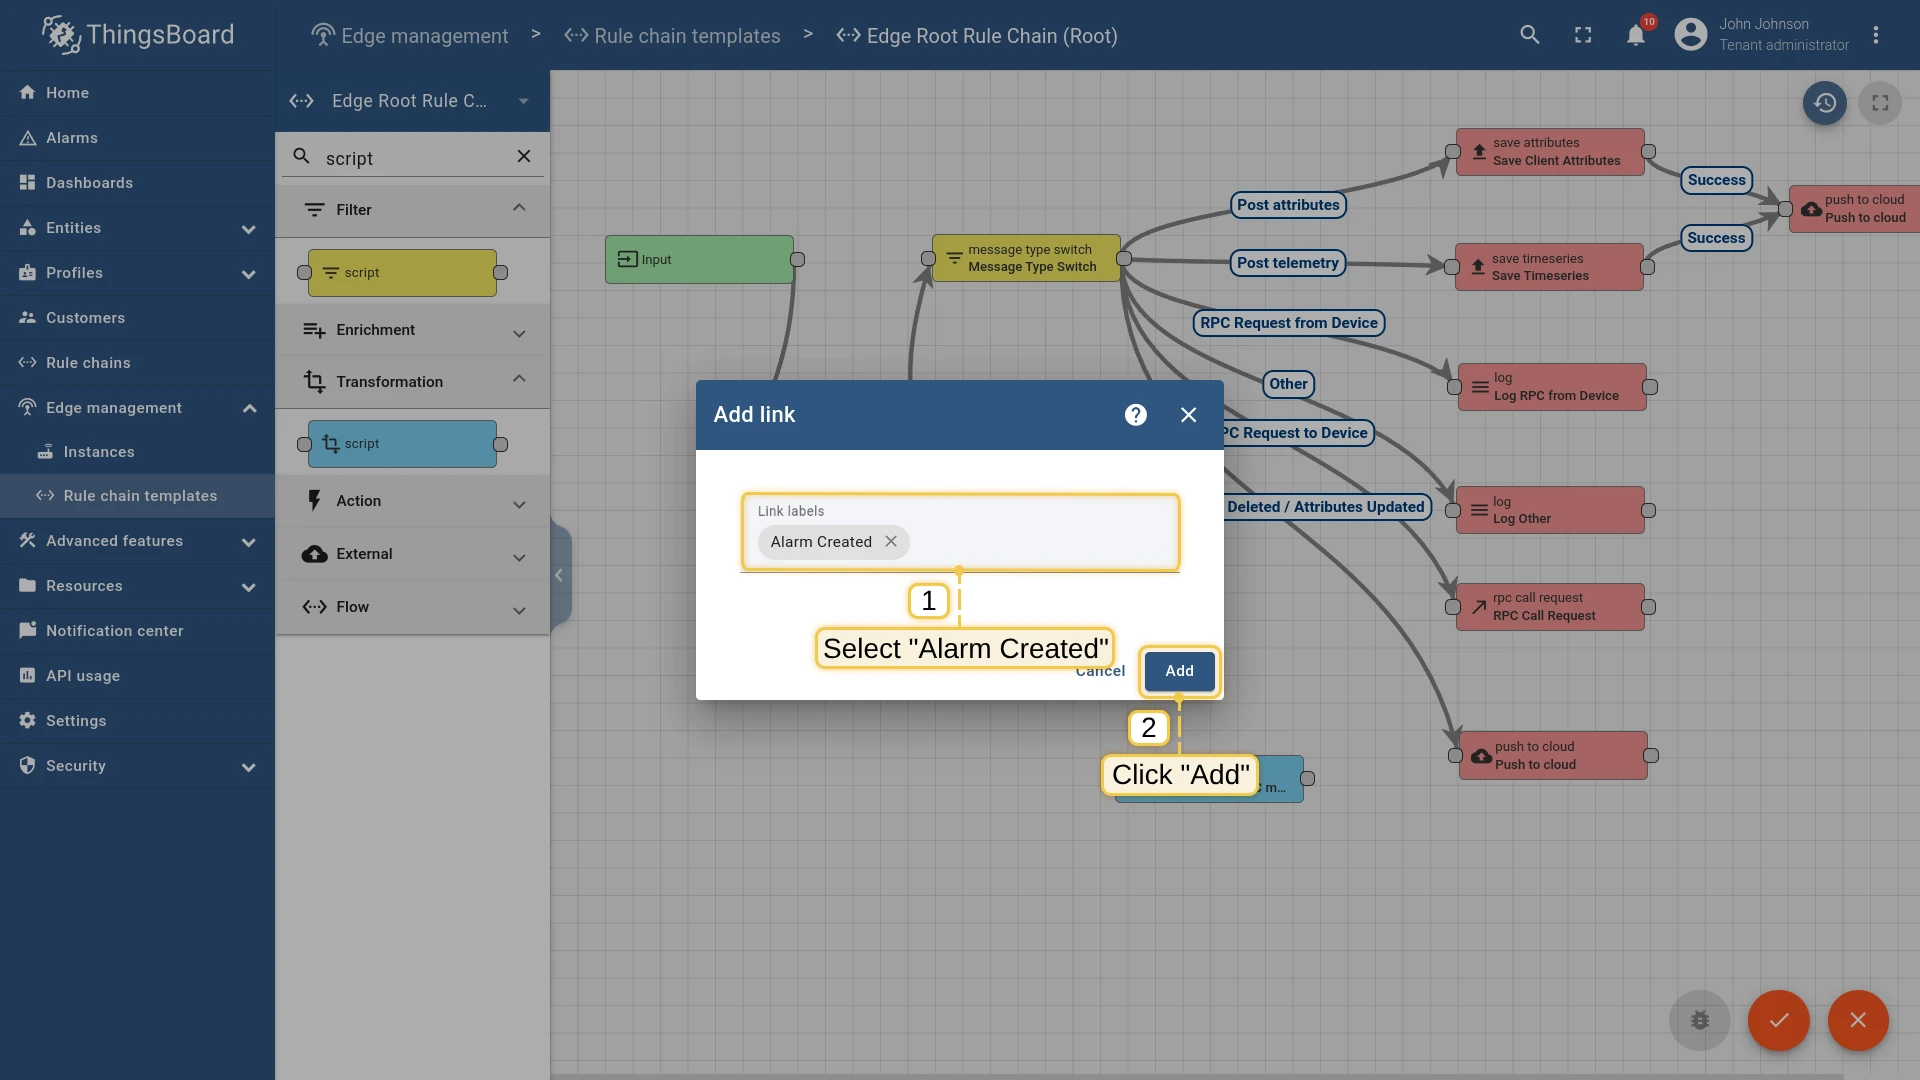
- Drag a connection from Device Profile Node to the new script node. Select Alarm Created and click Add.
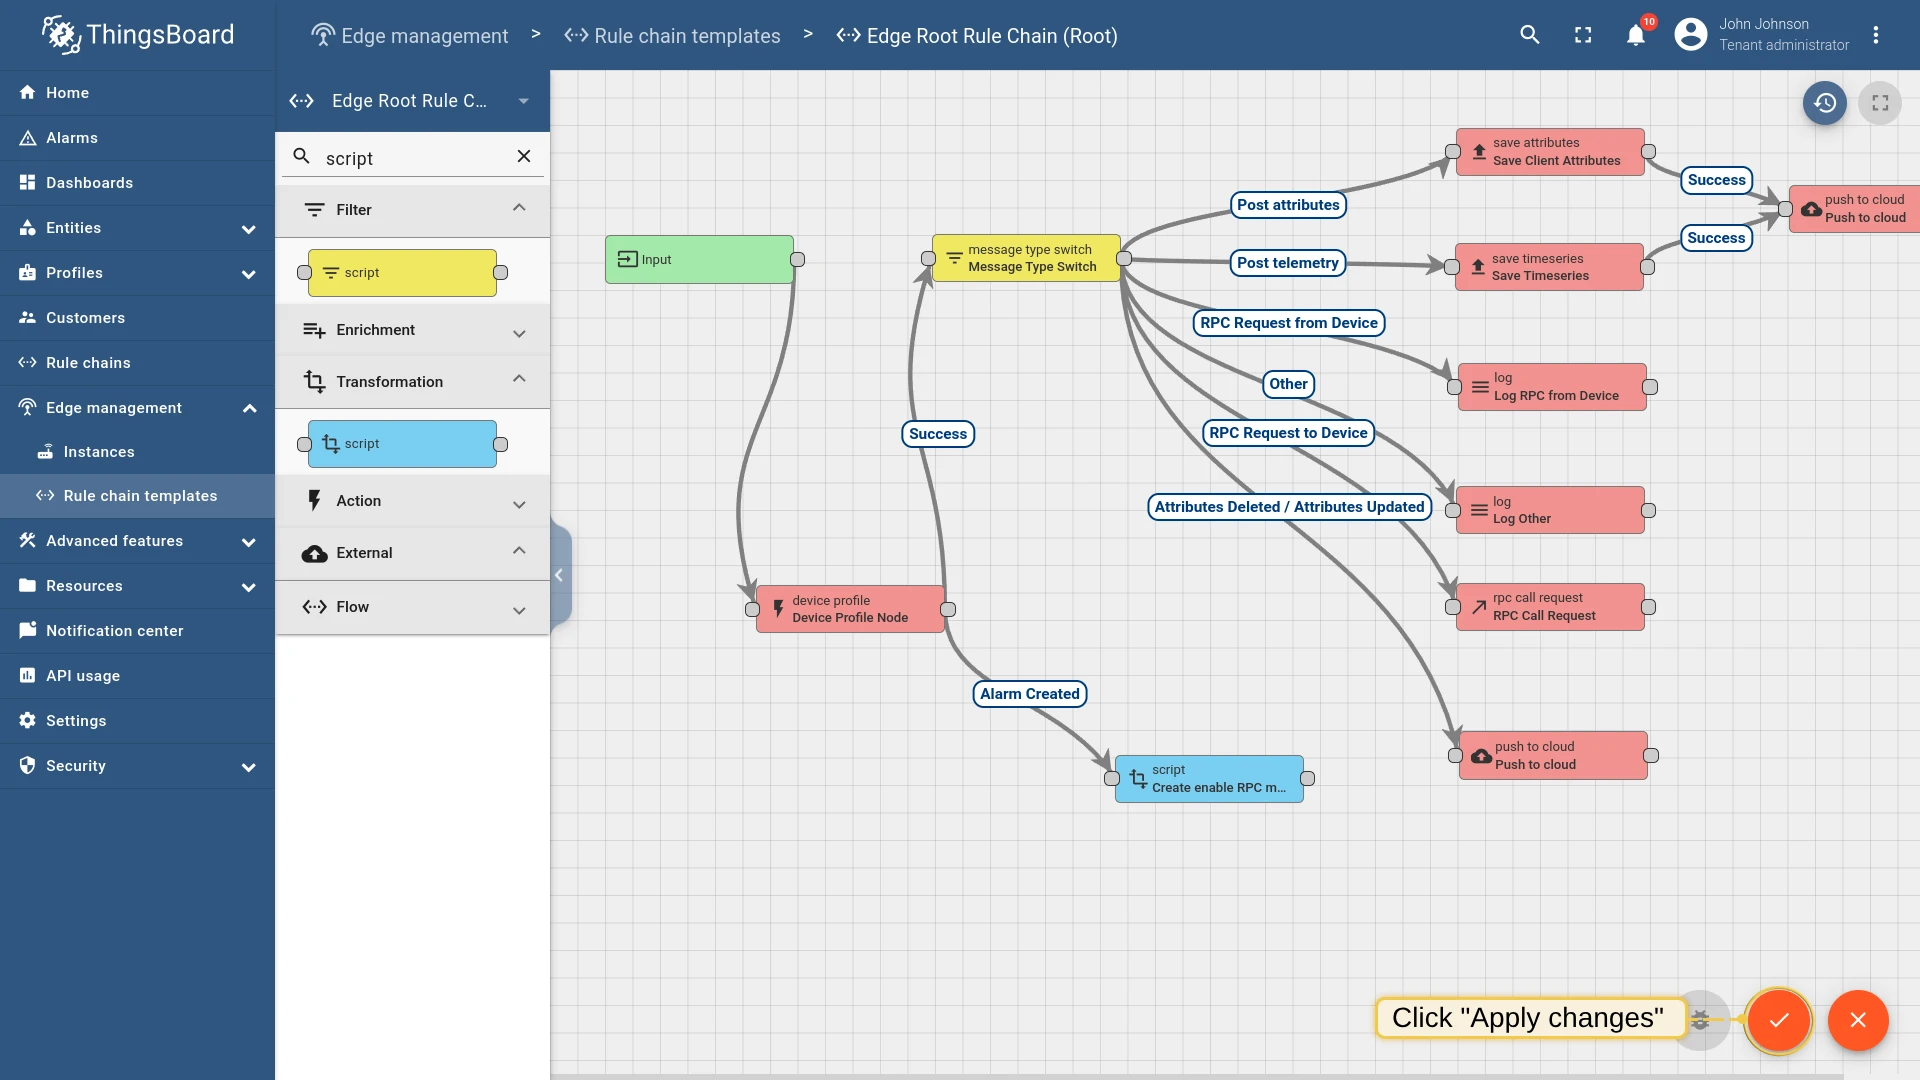
- Click Apply changes to save progress.
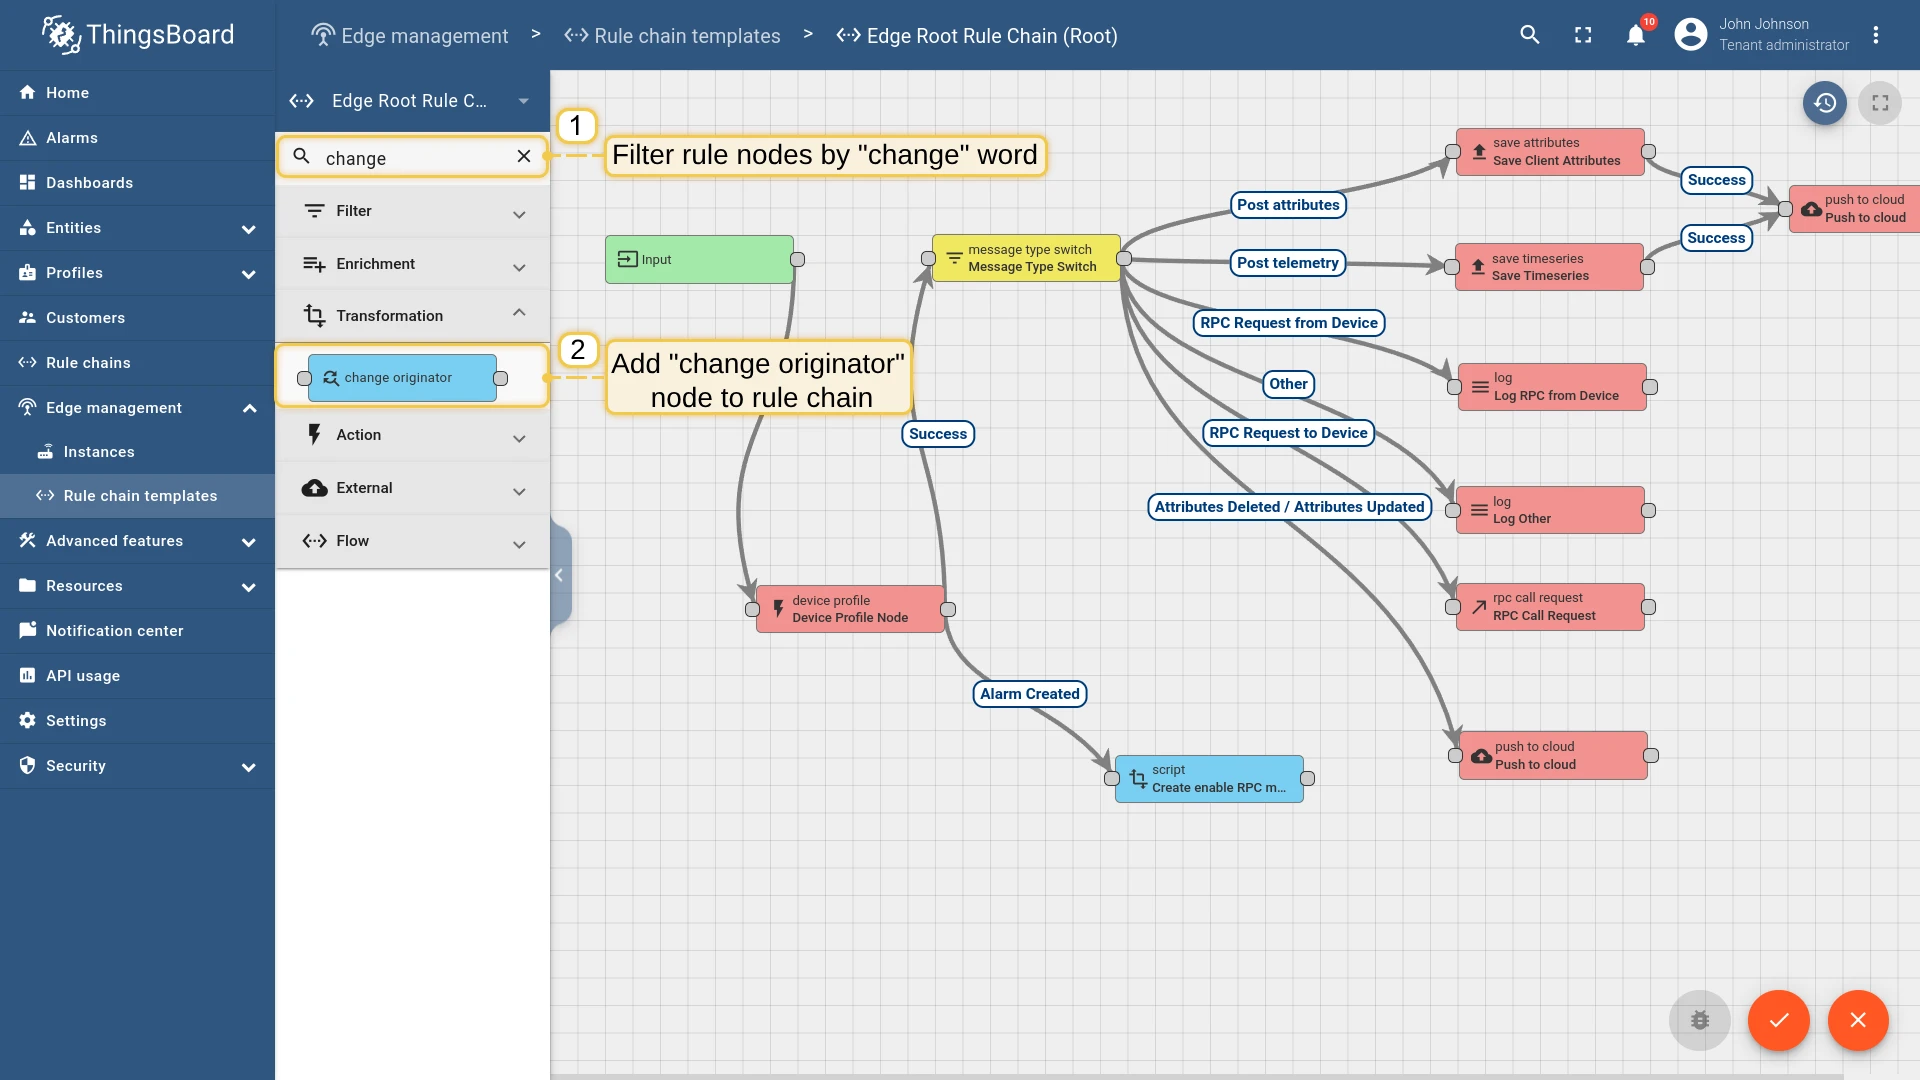
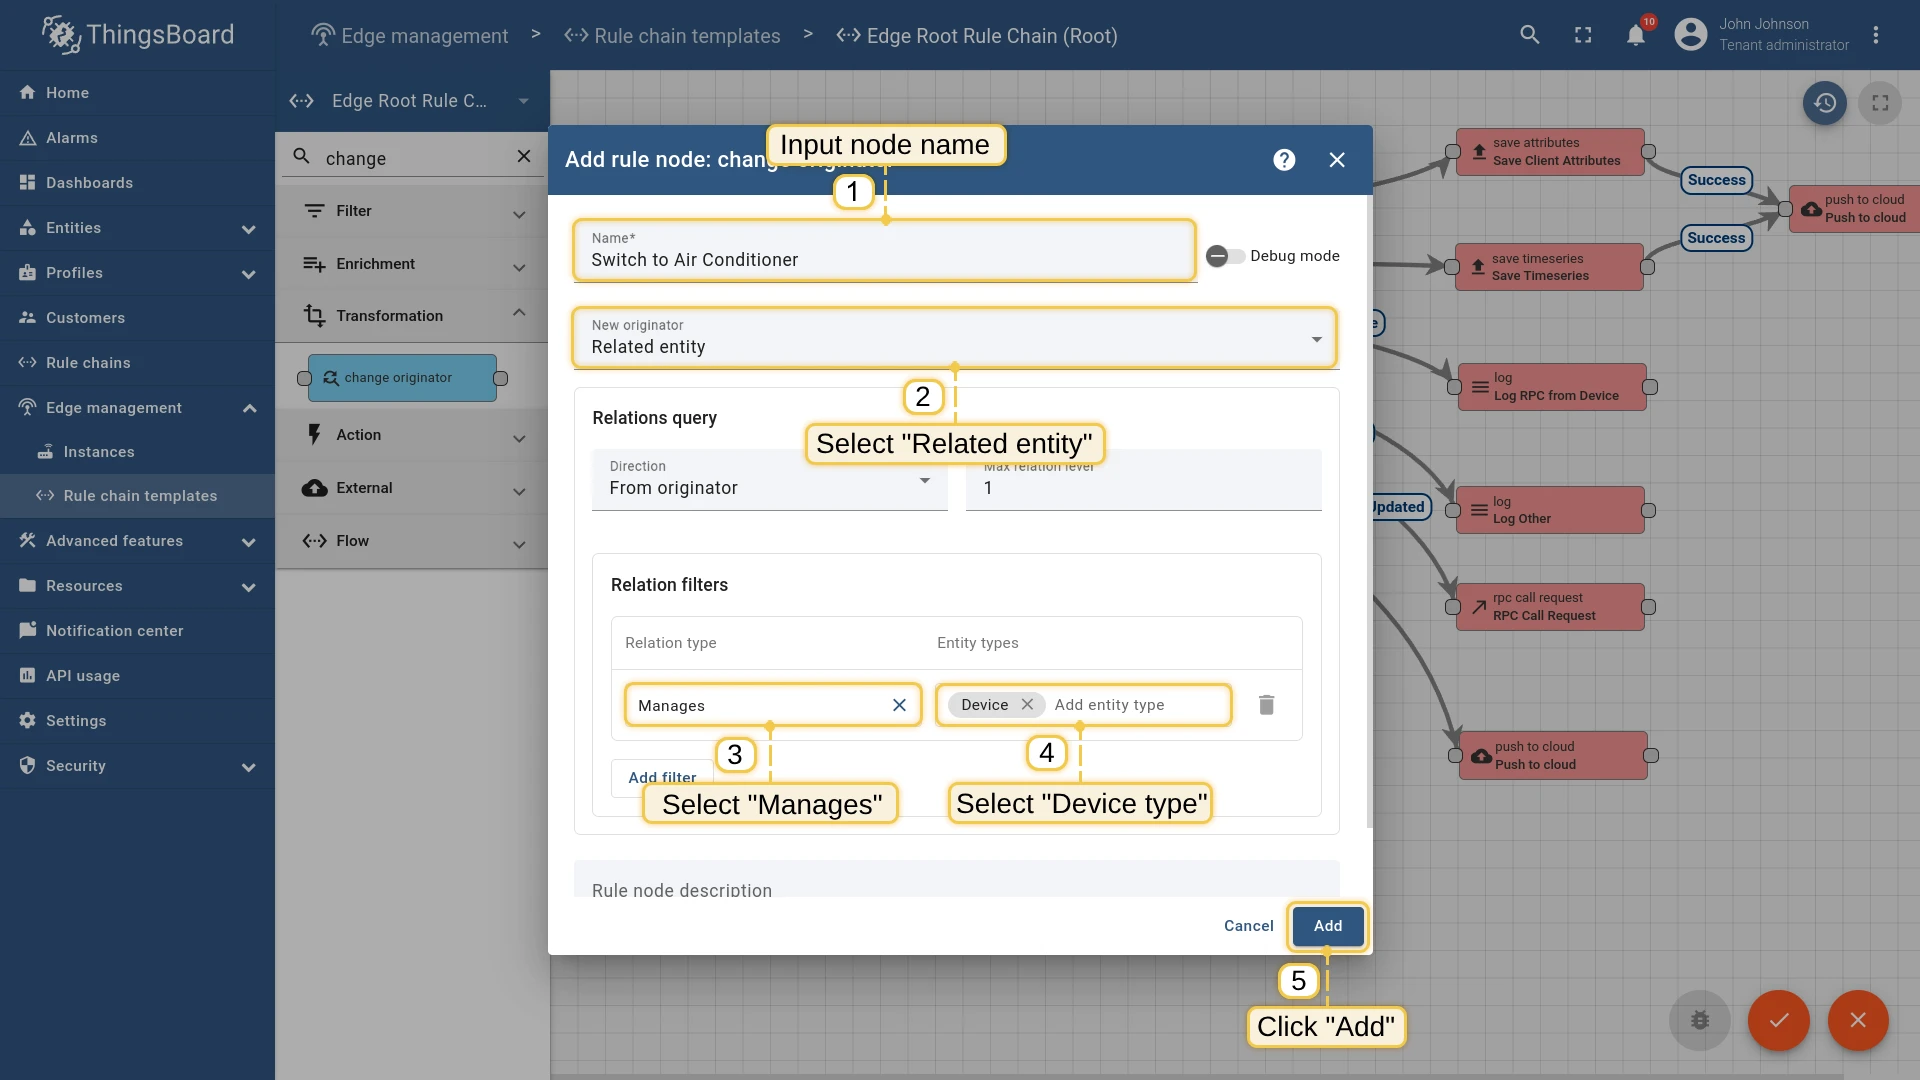
- Search for “change” and drag a Change originator node onto the canvas. Set the name to “Switch to Air Conditioner”, originator source to Related entity, direction to Manages, entity type to Device. Click Add.
- Add a Success connection from the script node to Change originator, and a Success connection from Change originator to the RPC Call Request node. Save changes.

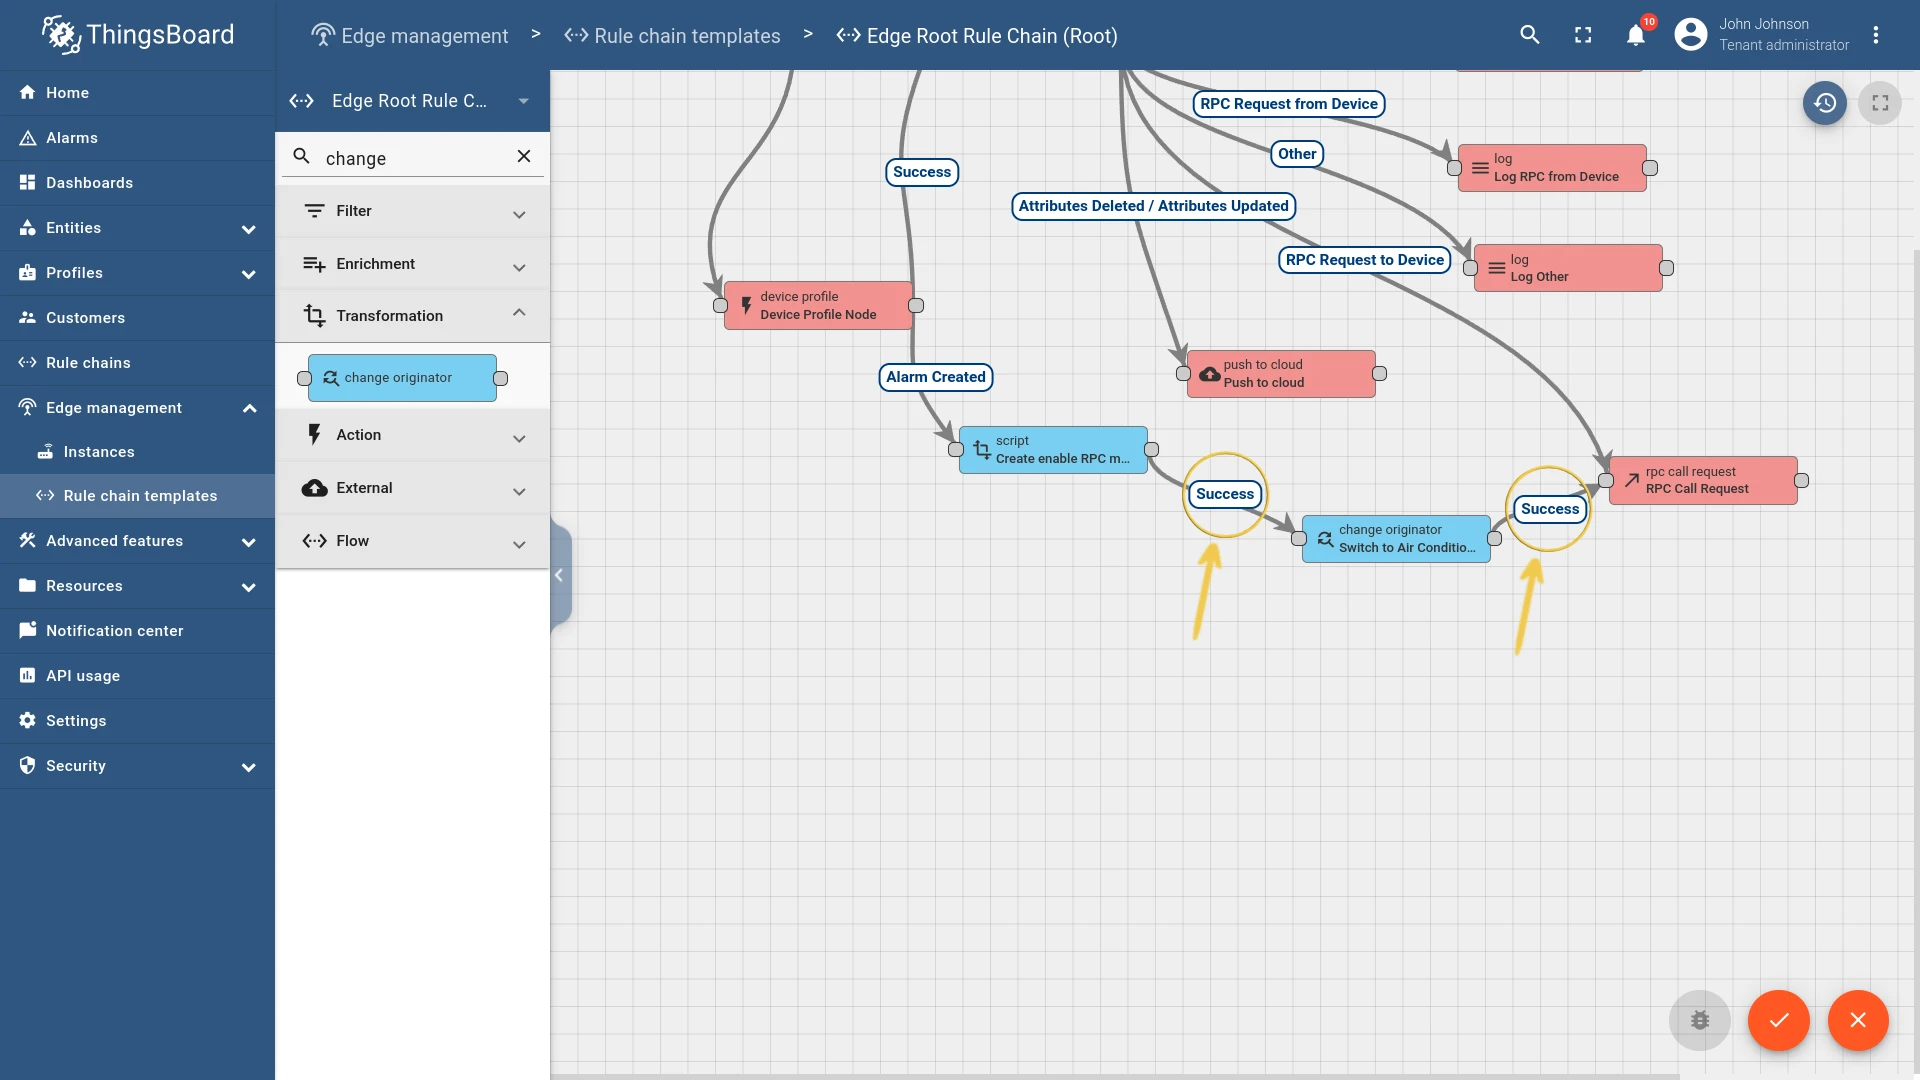
Verify that the updated rule chain has been synchronized to the Edge instance:
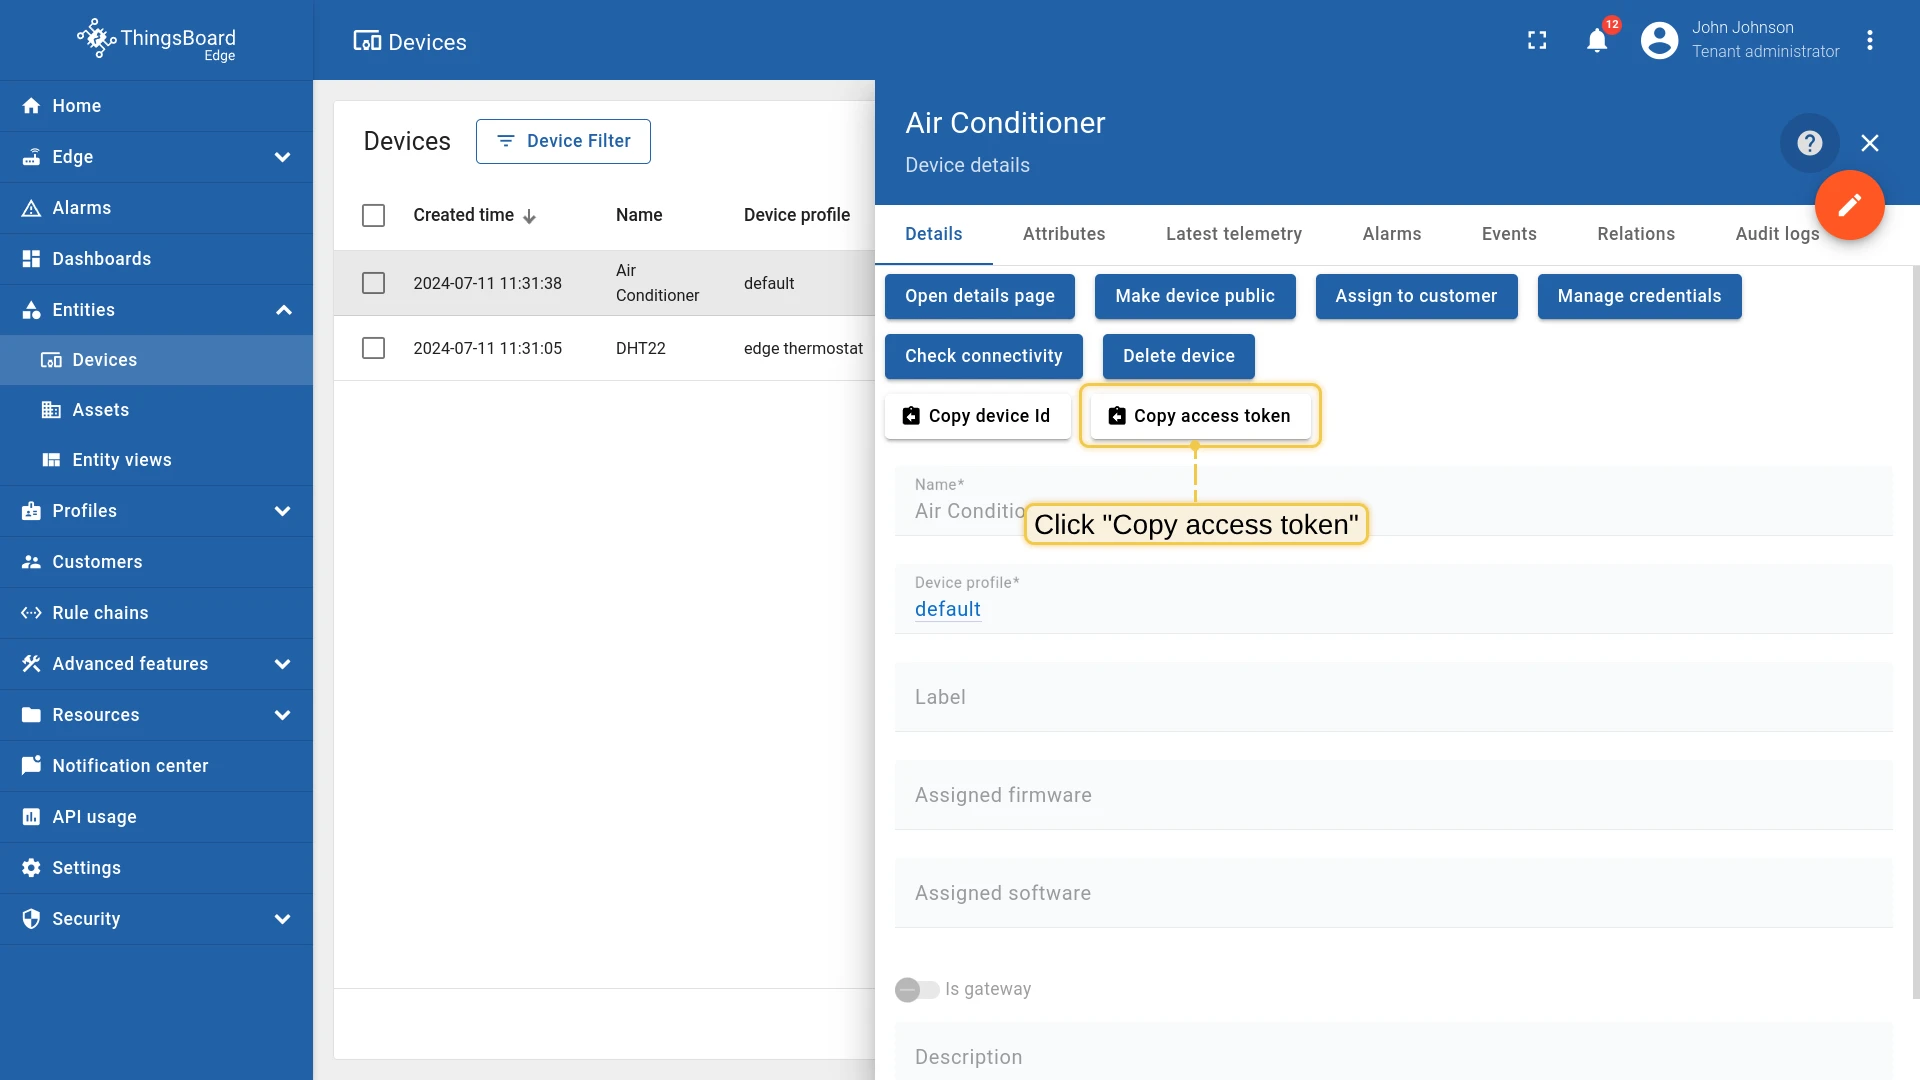
Subscribe Air Conditioner to RPC commands
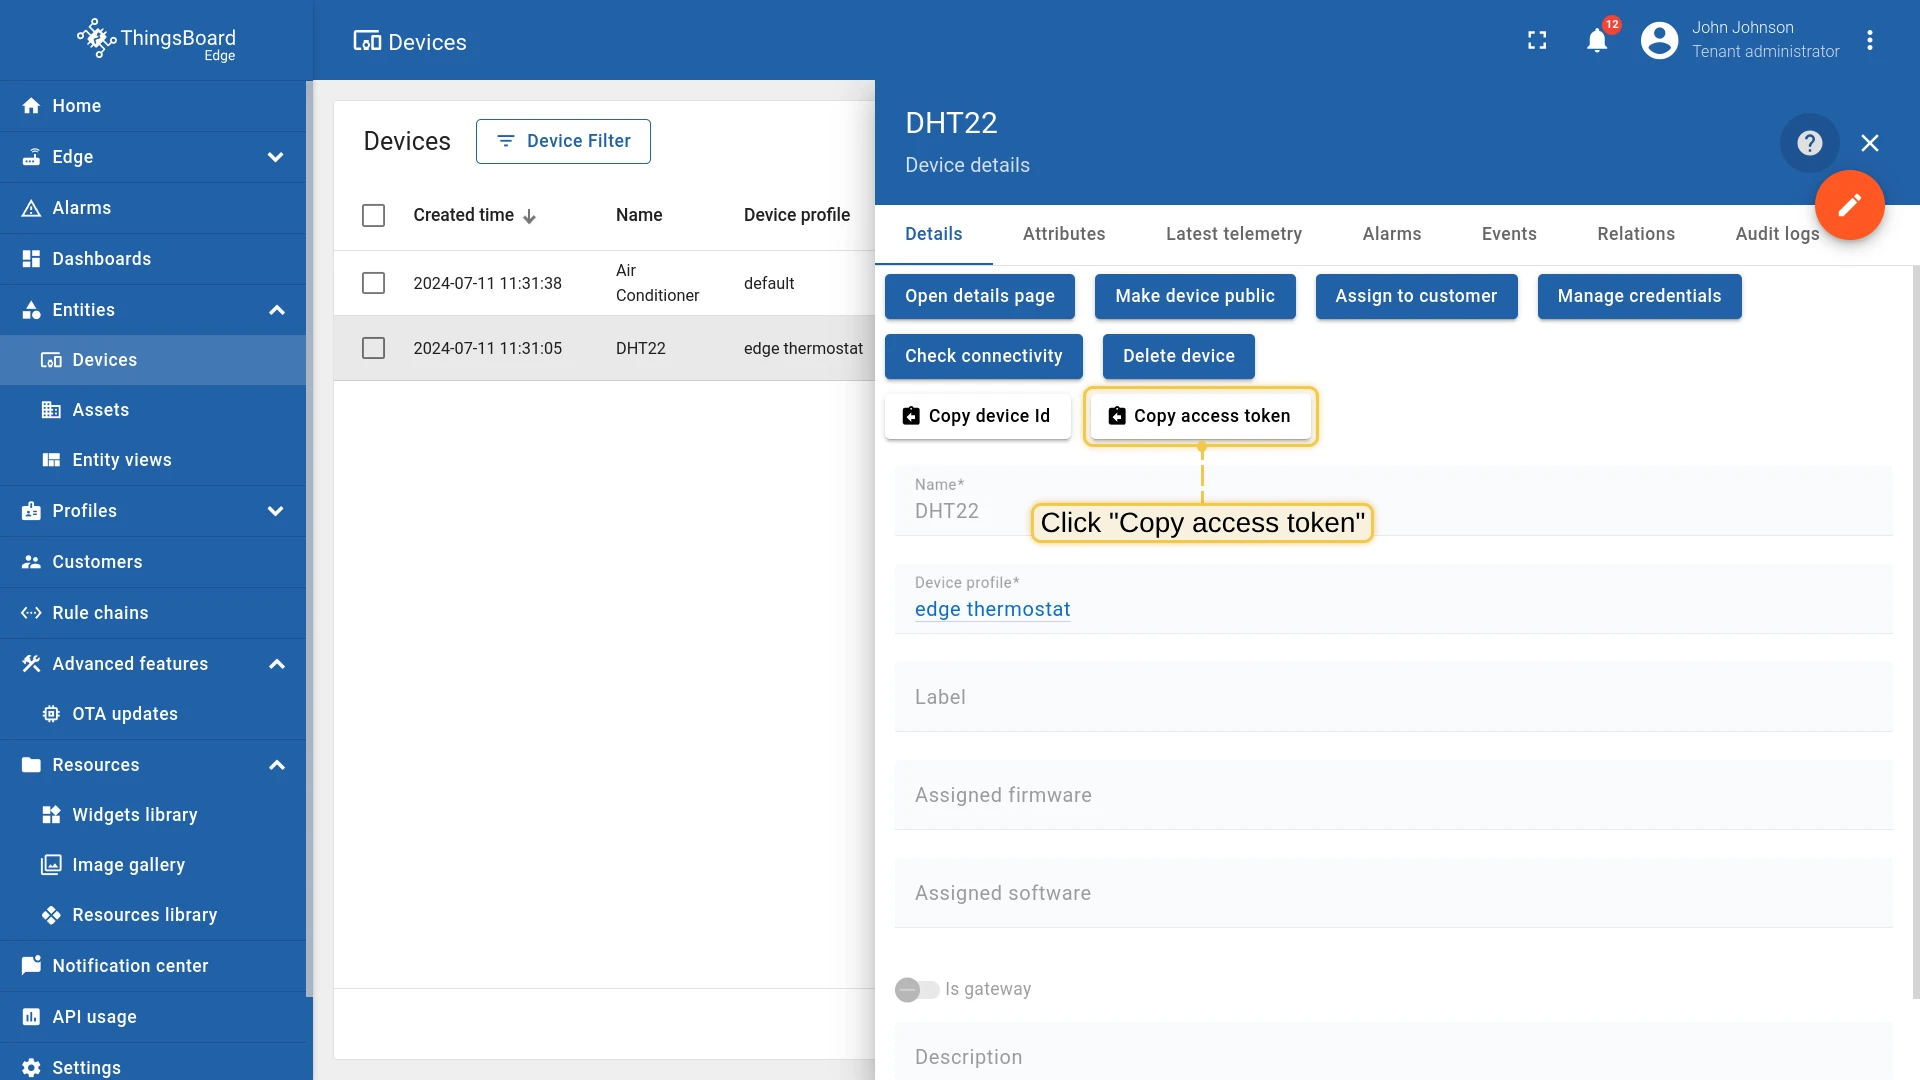
Section titled “Subscribe Air Conditioner to RPC commands”Get the Air Conditioner access token from the Edge instance, then run the subscriber script.
- In the Edge instance, go to Entities → Devices.
- Click on Air Conditioner to open device details.
- Click Copy access token and save it.

Download the two scripts below, update the placeholders in mqtt-js.sh, then run them.
# Set ThingsBoard Edge hostexport TB_EDGE_HOST=YOUR_TB_EDGE_HOST # e.g. localhost# Set ThingsBoard Edge MQTT portexport TB_EDGE_MQTT_PORT=YOUR_TB_EDGE_MQTT_PORT # e.g. 11883 or 1883# Set Air Conditioner device tokenexport ACCESS_TOKEN=YOUR_ACCESS_TOKEN# Run cooler.js scriptnode cooler.jsvar mqtt = require('mqtt');
console.log('Connecting to: %s:%s using access token: %s', process.env.TB_EDGE_HOST, process.env.TB_EDGE_MQTT_PORT, process.env.ACCESS_TOKEN);
var client = mqtt.connect( 'mqtt://' + process.env.TB_EDGE_HOST + ':' + process.env.TB_EDGE_MQTT_PORT, { username: process.env.ACCESS_TOKEN });
client.on('connect', function () { client.subscribe('v1/devices/me/rpc/request/+'); console.log('Cooler is connected!');});
client.on('message', function (topic, message) { var tmp = JSON.parse(message.toString()); console.log('Received RPC command from edge!'); console.log('Method:', tmp.method); console.log('Speed params:', tmp.params.speed);});
process.on('SIGINT', function () { console.log('Disconnecting...'); client.end(); process.exit(2);});Install the mqtt package and start the subscriber:
npm install mqtt --savechmod +x mqtt-js.shbash mqtt-js.shYou should see:
Connecting to: localhost:1883 using access token: <your_token>Cooler is connected!Post telemetry to trigger the alarm
Section titled “Post telemetry to trigger the alarm”Get the DHT22 access token from the Edge instance.
- In the Edge instance, go to Entities → Devices.
- Click on DHT22 to open device details.
- Click Copy access token and save it.
Publish a temperature reading above the threshold to trigger the High temperature alarm. Replace $ACCESS_TOKEN with the DHT22 token and $EDGE_HOST with your Edge host.
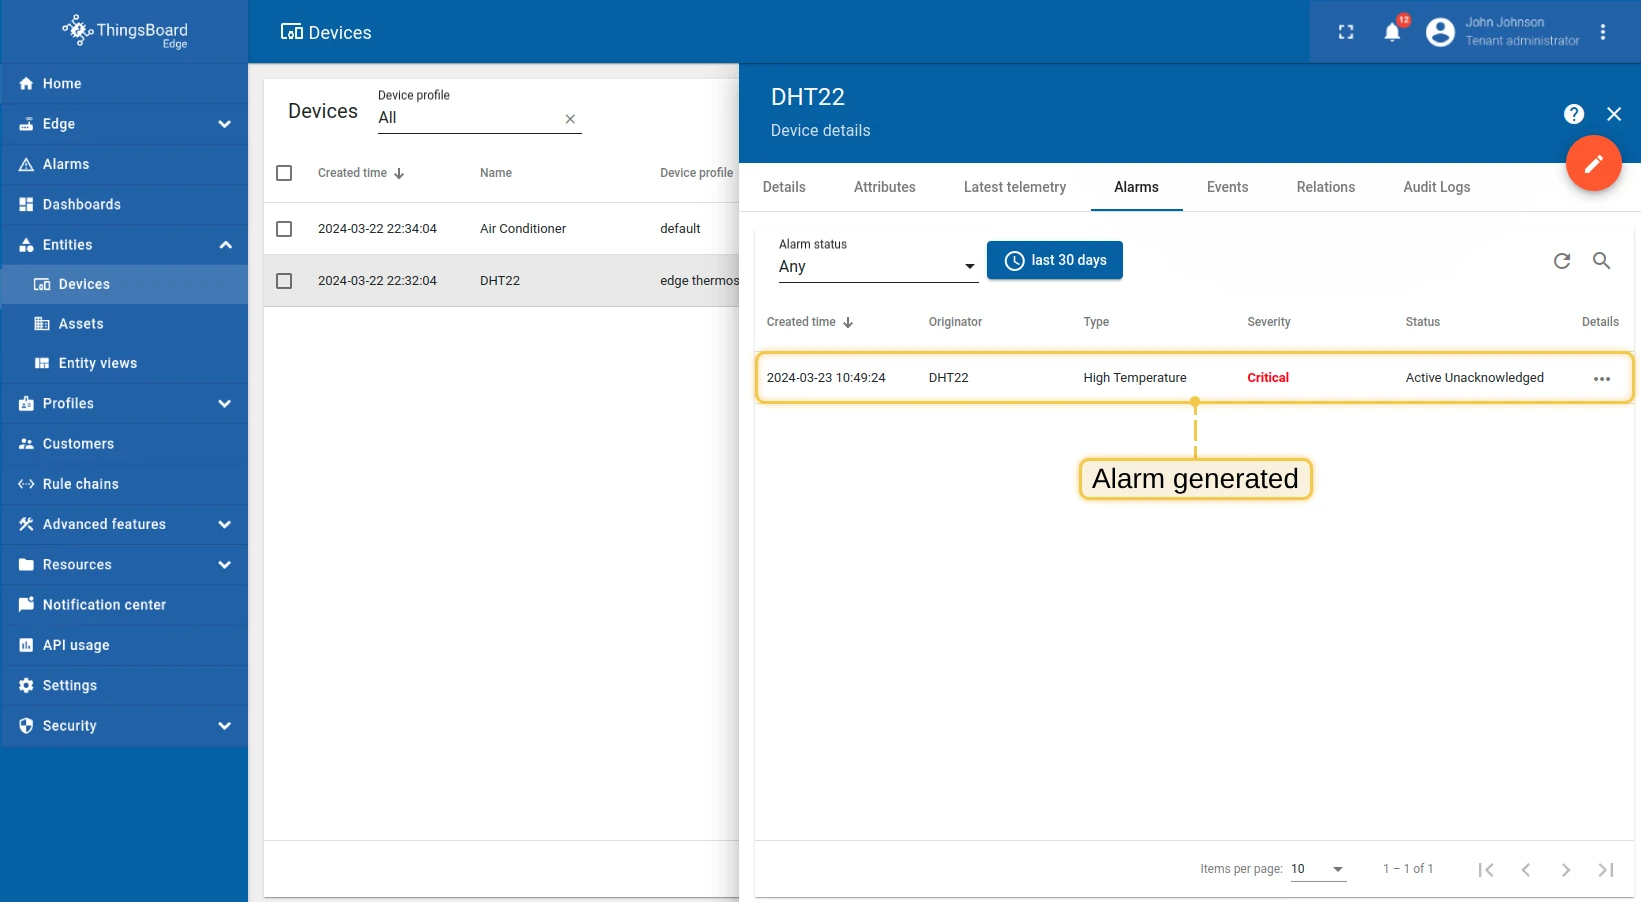
curl -v -X POST \ -d '{"temperature": 51}' \ http://$EDGE_HOST:8080/api/v1/$ACCESS_TOKEN/telemetry \ --header "Content-Type:application/json"mosquitto_pub -d -q 1 \ -h "$EDGE_HOST" -p 1883 \ -t "v1/devices/me/telemetry" \ -u "$ACCESS_TOKEN" \ -m '{"temperature": 51}'echo -n '{"temperature": 51}' | coap post coap://$EDGE_HOST:5683/api/v1/$ACCESS_TOKEN/telemetryThe alarm should appear immediately in the DHT22 device alarm tab:
Verify the RPC command
Section titled “Verify the RPC command”Switch back to the terminal running mqtt-js.sh. You should see the RPC command received by the Air Conditioner:
Received RPC command from edge!Method: enabled_air_conditionerSpeed params: 1The Edge detected the temperature alarm, used the rule chain to build an RPC command, switched the originator to the Air Conditioner via the Manages relation, and delivered the command — without any cloud involvement.
Was this helpful?