MQTT over WebSocket
MQTT is a lightweight protocol designed for efficient message delivery — but web browsers cannot use MQTT natively over a raw TCP socket. MQTT over WebSocket bridges this gap, allowing MQTT messages to be sent and received directly through browsers and Node.js applications, combining the reliability of MQTT with the web compatibility of WebSocket.
What is WebSocket?
Section titled “What is WebSocket?”WebSocket is a communication protocol that enables real-time, bi-directional communication between a client and a server over a single, long-lived TCP connection.
Unlike the traditional HTTP request/response model, WebSocket allows continuous data exchange with low latency.
Initiated through an HTTP upgrade handshake, it supports both unencrypted (ws://) and encrypted (wss://) connections.
WebSocket is essential for web applications requiring live content updates due to its efficient and persistent communication channel.
Benefits of MQTT over WebSocket
Section titled “Benefits of MQTT over WebSocket”- Efficient resource utilization — MQTT’s lightweight design minimizes bandwidth and device resource usage in web applications.
- Real-time communication — WebSocket’s persistent connection enables low-latency data exchange.
- Bi-directional communication — full-duplex support, combined with MQTT’s publish/subscribe model, enables interactive communication scenarios.
- Web compatibility — MQTT over WebSocket integrates with the browser security model without plugins or special configuration.
- Full MQTT feature support — retained messages, Last Will and Testament, QoS levels, and persistent sessions all work over WebSocket.
WebSocket listeners in TBMQ
Section titled “WebSocket listeners in TBMQ”TBMQ provides two WebSocket listeners:
- WS (WebSocket) — unencrypted, typically on port
8084. - WSS (WebSocket Secure) — TLS-encrypted, typically on port
8085.
For configuration details, see the TBMQ configuration reference (LISTENER_WS_ENABLED and related variables).
Getting started with MQTT.js
Section titled “Getting started with MQTT.js”This example demonstrates how to connect to TBMQ over WebSocket, subscribe to a topic, and exchange messages using the MQTT.js library in Node.js.
Prerequisites
Section titled “Prerequisites”Ensure TBMQ is installed. See Installation options.
Install MQTT.js
Section titled “Install MQTT.js”Install Node.js first, then install the MQTT.js library using npm or yarn:
npm install mqtt --saveyarn add mqttYou can also install globally:
npm install -g mqttyarn global add mqttNote that global installations should be used judiciously, as they can lead to version conflicts.
For the full reference on connection options, subscribing to topics, and publishing messages, see the MQTT.js API documentation.
Connect over WebSocket
Section titled “Connect over WebSocket”const mqtt = require('mqtt');
const url = 'ws://localhost:8084/mqtt';const topic = 'sensors/temperature';const message = 'Hello World';
const options = { clean: true, clientId: 'tbmq_websockets_client_id', username: 'tbmq_websockets_username', password: null};
console.log('Connecting client...');
const client = mqtt.connect(url, options);
client.on('connect', function () { console.log('Client connected!'); client.subscribe(topic, function (error) { if (!error) { client.publish(topic, message); } });});
client.on('message', (topic, message) => { console.log(`Received message. Payload: ${message.toString()}. Topic: ${topic}`); client.end();});
client.on('error', (error) => { console.log('Error: ', error?.message);});
client.on('packetreceive', (packet) => { console.log('Packet receive...', packet);});
client.on('packetsend', (packet) => { console.log('Packet send...', packet);});
client.on('reconnect', () => { console.log('Reconnecting...');});
client.on('close', () => { console.log('Closing client...');});Save the code to ws_example.js and run it:
node ws_example.jsThe client connects to TBMQ, subscribes to sensors/temperature, publishes a message to that topic, receives it, and disconnects.
Expected output:
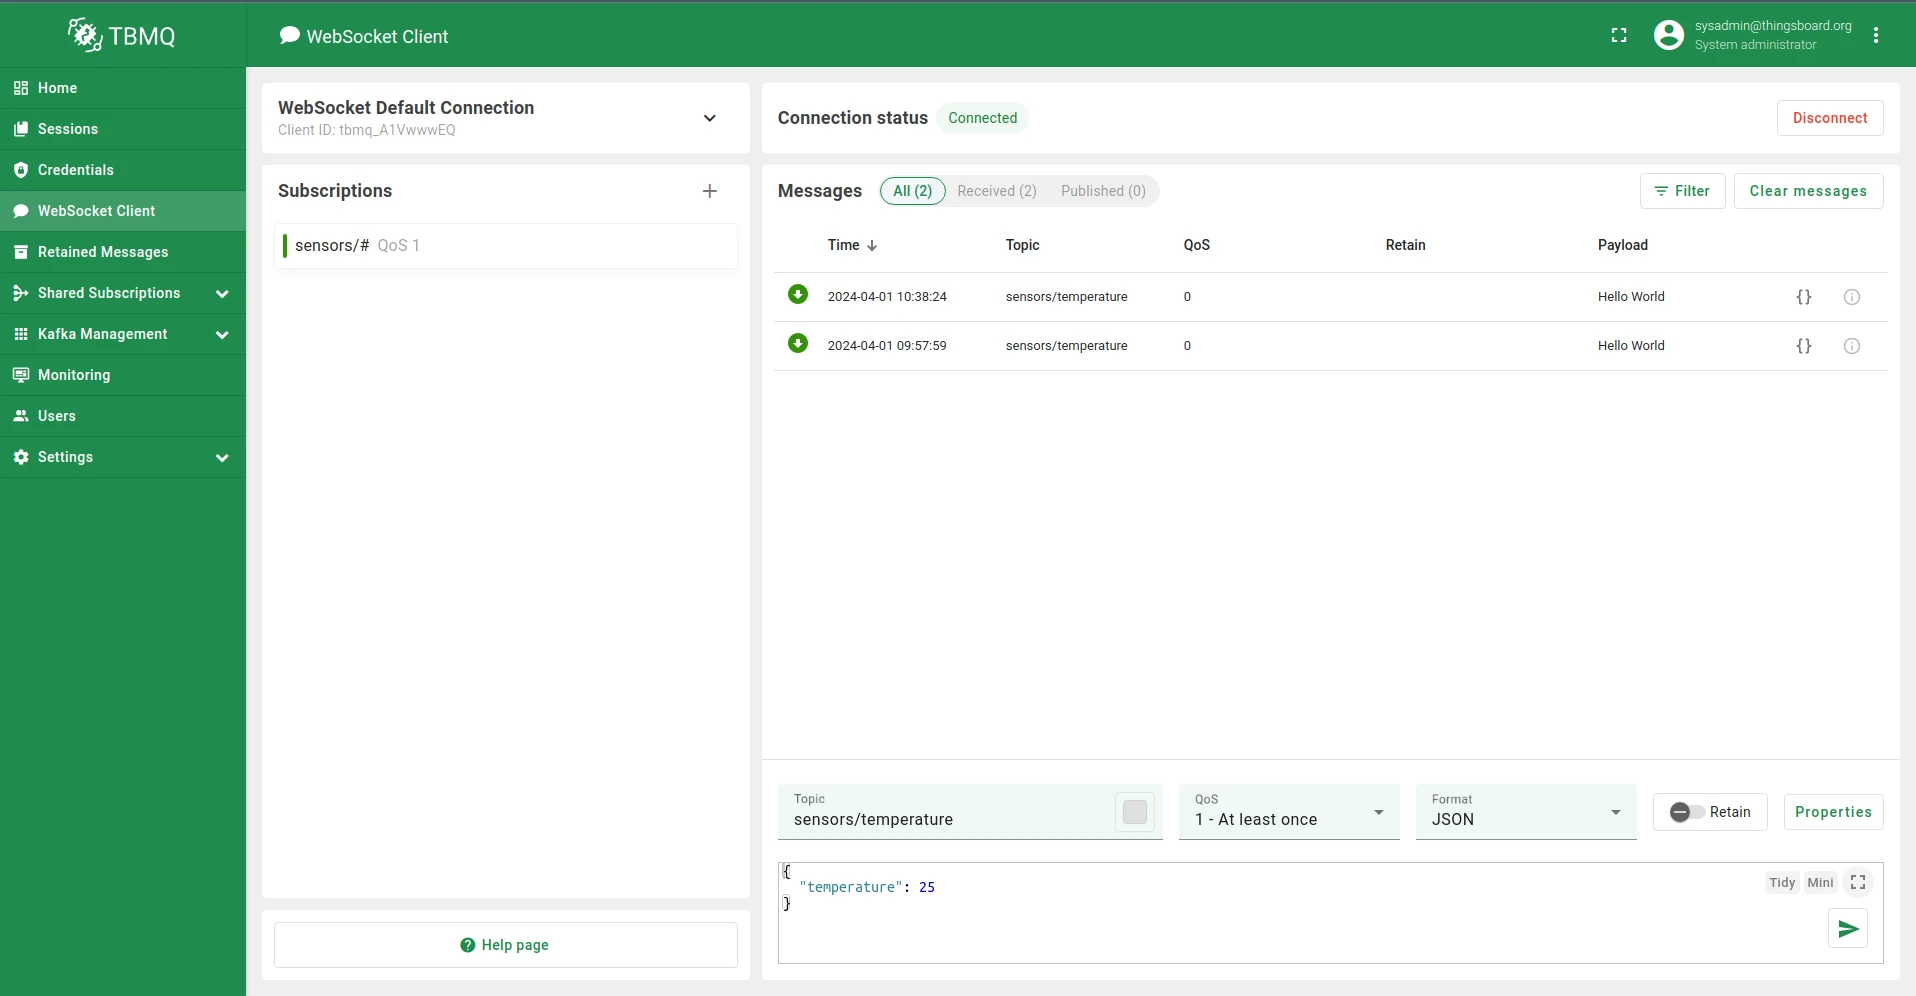
Connecting client...Packet receive... Packet { cmd: 'connack', retain: false, qos: 0, dup: false, length: 2, topic: null, payload: null, sessionPresent: false, returnCode: 0}Client connected!Packet send... { cmd: 'subscribe', subscriptions: [ { topic: 'sensors/temperature', qos: 0 } ], messageId: 64109}Packet receive... Packet { cmd: 'suback', retain: false, qos: 0, dup: false, length: 3, topic: null, payload: null, granted: [ 0 ], messageId: 64109}Packet send... { cmd: 'publish', topic: 'sensors/temperature', payload: 'Hello World', qos: 0, retain: false, messageId: 0, dup: false}Packet receive... Packet { cmd: 'publish', retain: false, qos: 0, dup: false, length: 32, topic: 'sensors/temperature', payload: <Buffer 48 65 6c 6c 6f 20 57 6f 72 6c 64>}Received message. Payload: Hello World. Topic: sensors/temperaturePacket send... { cmd: 'disconnect' }Closing client...You can also use the built-in WebSocket client in the TBMQ UI to subscribe and verify messages.
Connection URL breakdown
Section titled “Connection URL breakdown”The URL ws://localhost:8084/mqtt consists of:
| Component | Description |
|---|---|
ws:// | WebSocket protocol scheme. Use wss:// for encrypted connections. |
localhost | Hostname or DNS of the machine running TBMQ. |
8084 | Port on which the WebSocket listener accepts connections. |
/mqtt | Required path for MQTT over WebSocket, as defined in the MQTT specification. |
WebSocket Secure (WSS)
Section titled “WebSocket Secure (WSS)”MQTT over WebSocket Secure (WSS) encrypts communication between clients and the broker, protecting data from unauthorized access.
Certificate types
Section titled “Certificate types”- CA-signed certificates — issued by a trusted Certificate Authority; widely recognized by browsers. Recommended for production and public-facing deployments.
- Self-signed certificates — provide the same level of encryption as CA-signed certificates but lack trust endorsement from a recognized CA. Browsers display a security warning when connecting. Suitable for development or private networks; not recommended for public or production environments due to trust issues with end users.
Two-way authentication (mTLS) with WSS
Section titled “Two-way authentication (mTLS) with WSS”Standard browser WebSocket connections only support one-way TLS, where the server presents its certificate to the client. Browsers do not universally support client-side certificates for WebSocket connections, so mutual TLS (mTLS) is not feasible in browser environments.
For web-based applications using WSS, one-way TLS with additional security layers — like API keys or OAuth tokens — is commonly used to ensure secure communication.
In non-browser environments (Node.js, Python, Java), mTLS is fully supported and remains an effective security measure.
The following example shows a Node.js client connecting to TBMQ over WSS with mutual TLS. Make sure the WSS listener is enabled and configured, and that MQTT client credentials of type X.509 Certificate Chain have been created with the client certificate CN specified. See SSL credentials.
Replace example.com with your DNS hostname and update the certificate file paths accordingly.
const mqtt = require('mqtt');const fs = require('fs');
const url = 'wss://example.com:8085/mqtt';const topic = 'sensors/temperature';const message = 'Hello World';
const keyFile  = '/path/to/your/client/key/file.pem';const certFile = '/path/to/your/client/cert/file.pem';const caFile   = '/path/to/your/ca/cert/file.pem';
const options = {  clean: true,  clientId: 'tbmq_websockets_client_id',  username: null,  password: null};
try {  options.key  = fs.readFileSync(keyFile);  options.cert = fs.readFileSync(certFile);  options.ca   = fs.readFileSync(caFile);  options.rejectUnauthorized = true;
  console.log('Connecting client...');
  const client = mqtt.connect(url, options);
  client.on('connect', function () {    console.log('Client connected!');    client.subscribe(topic, function (error) {      if (!error) {        client.publish(topic, message);      }    });  });
  client.on('message', (topic, message) => {    console.log(`Received message. Payload: ${message.toString()}. Topic: ${topic}`);    client.end();  });
  client.on('error', (error) => {    console.log('Error: ', error?.message);  });
  client.on('packetreceive', (packet) => {    console.log('Packet receive...', packet);  });
  client.on('packetsend', (packet) => {    console.log('Packet send...', packet);  });
  client.on('reconnect', () => {    console.log('Reconnecting...');  });
  client.on('close', () => {    console.log('Closing client...');  });
} catch (err) {  console.error('Error reading certificate file:', err);}
Save to wss_example.js and run:
node wss_example.jsUpon successful execution, the output is similar to ws_example.js.
Was this helpful?