White-labeling: Custom Translation
ThingsBoard supports a multilingual interface through its built-in internationalization (i18n) system. The Custom translation feature lets you add new languages, modify existing translations, and apply custom translations to dashboard titles, widget labels, device names, telemetry keys, and other UI elements.
Change Platform Language
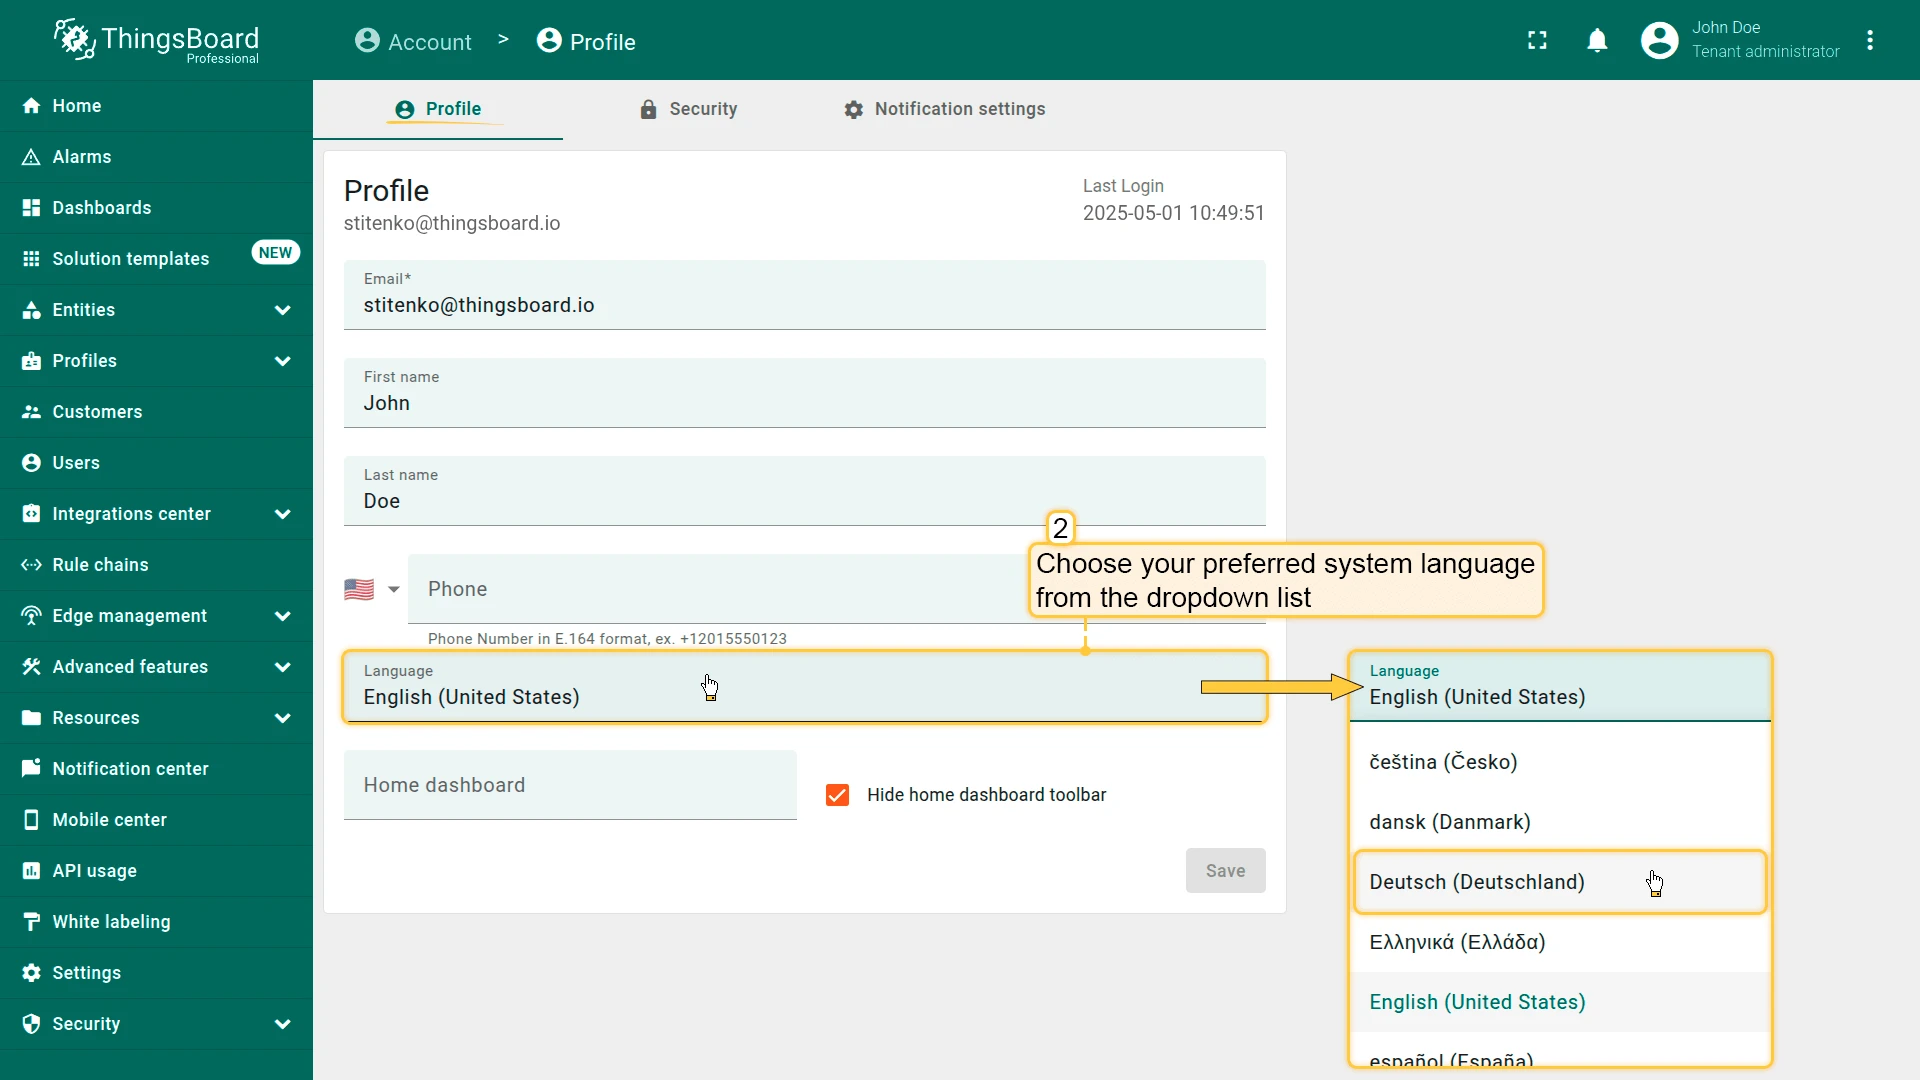
Section titled “Change Platform Language”- Click the three-dot icon in the top-right corner and select Account.
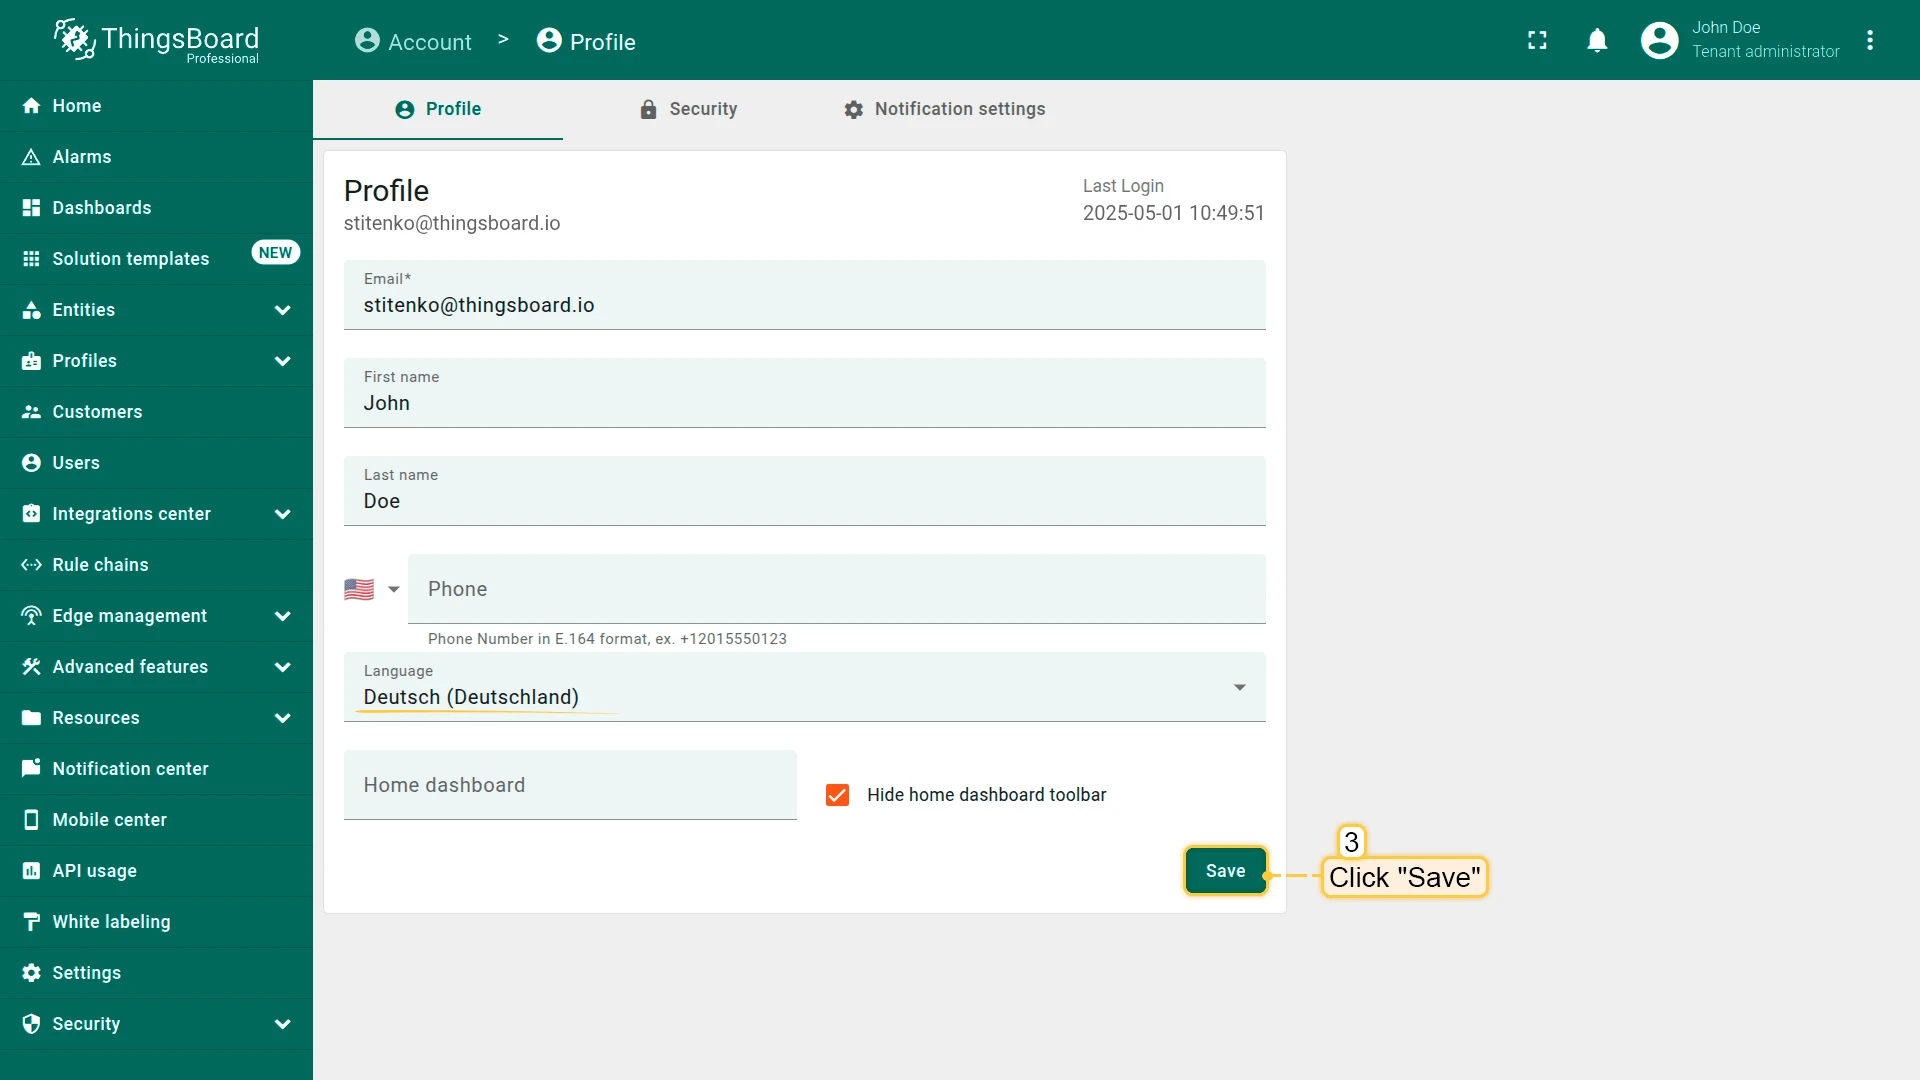
- In the profile settings, choose the desired language from the dropdown list.
- Click Save to apply the changes.
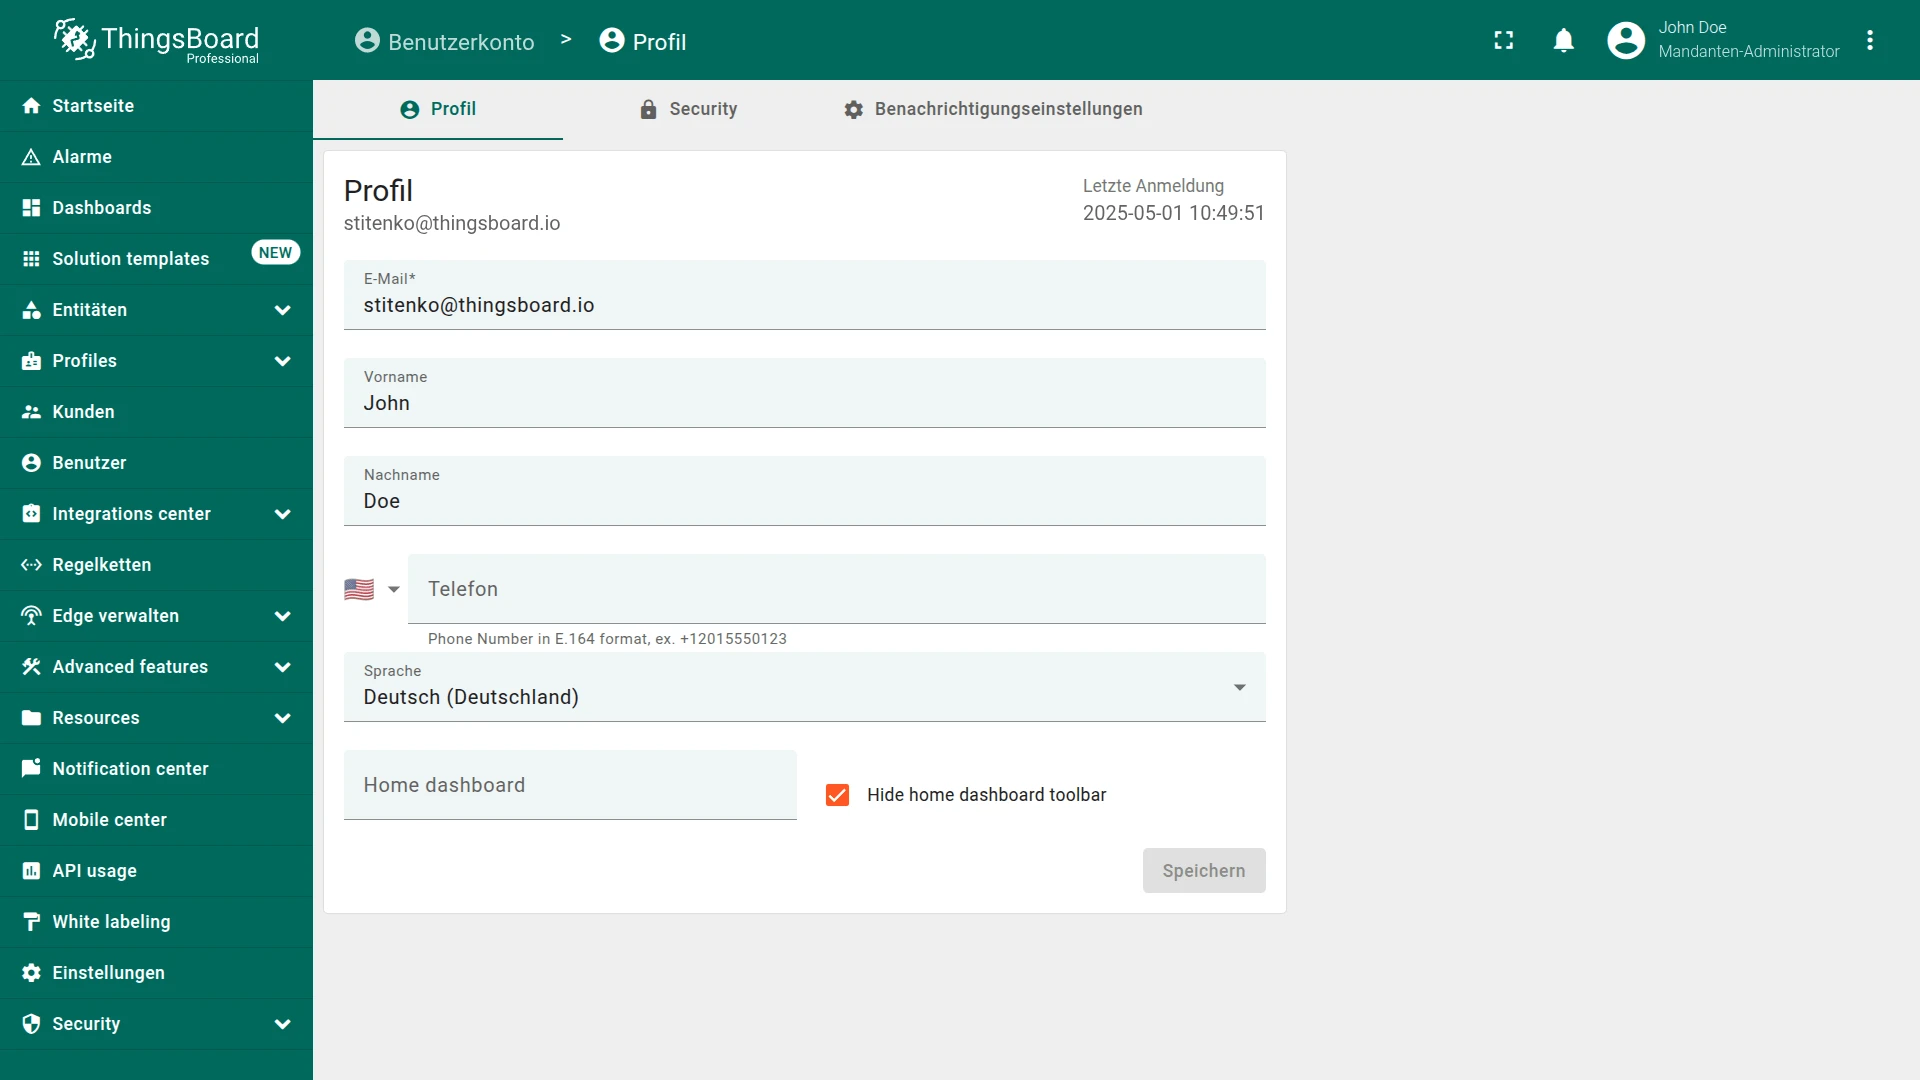
The ThingsBoard interface will switch to the selected language.
Add a New Language
Section titled “Add a New Language”If the desired language is not available, you can add one.
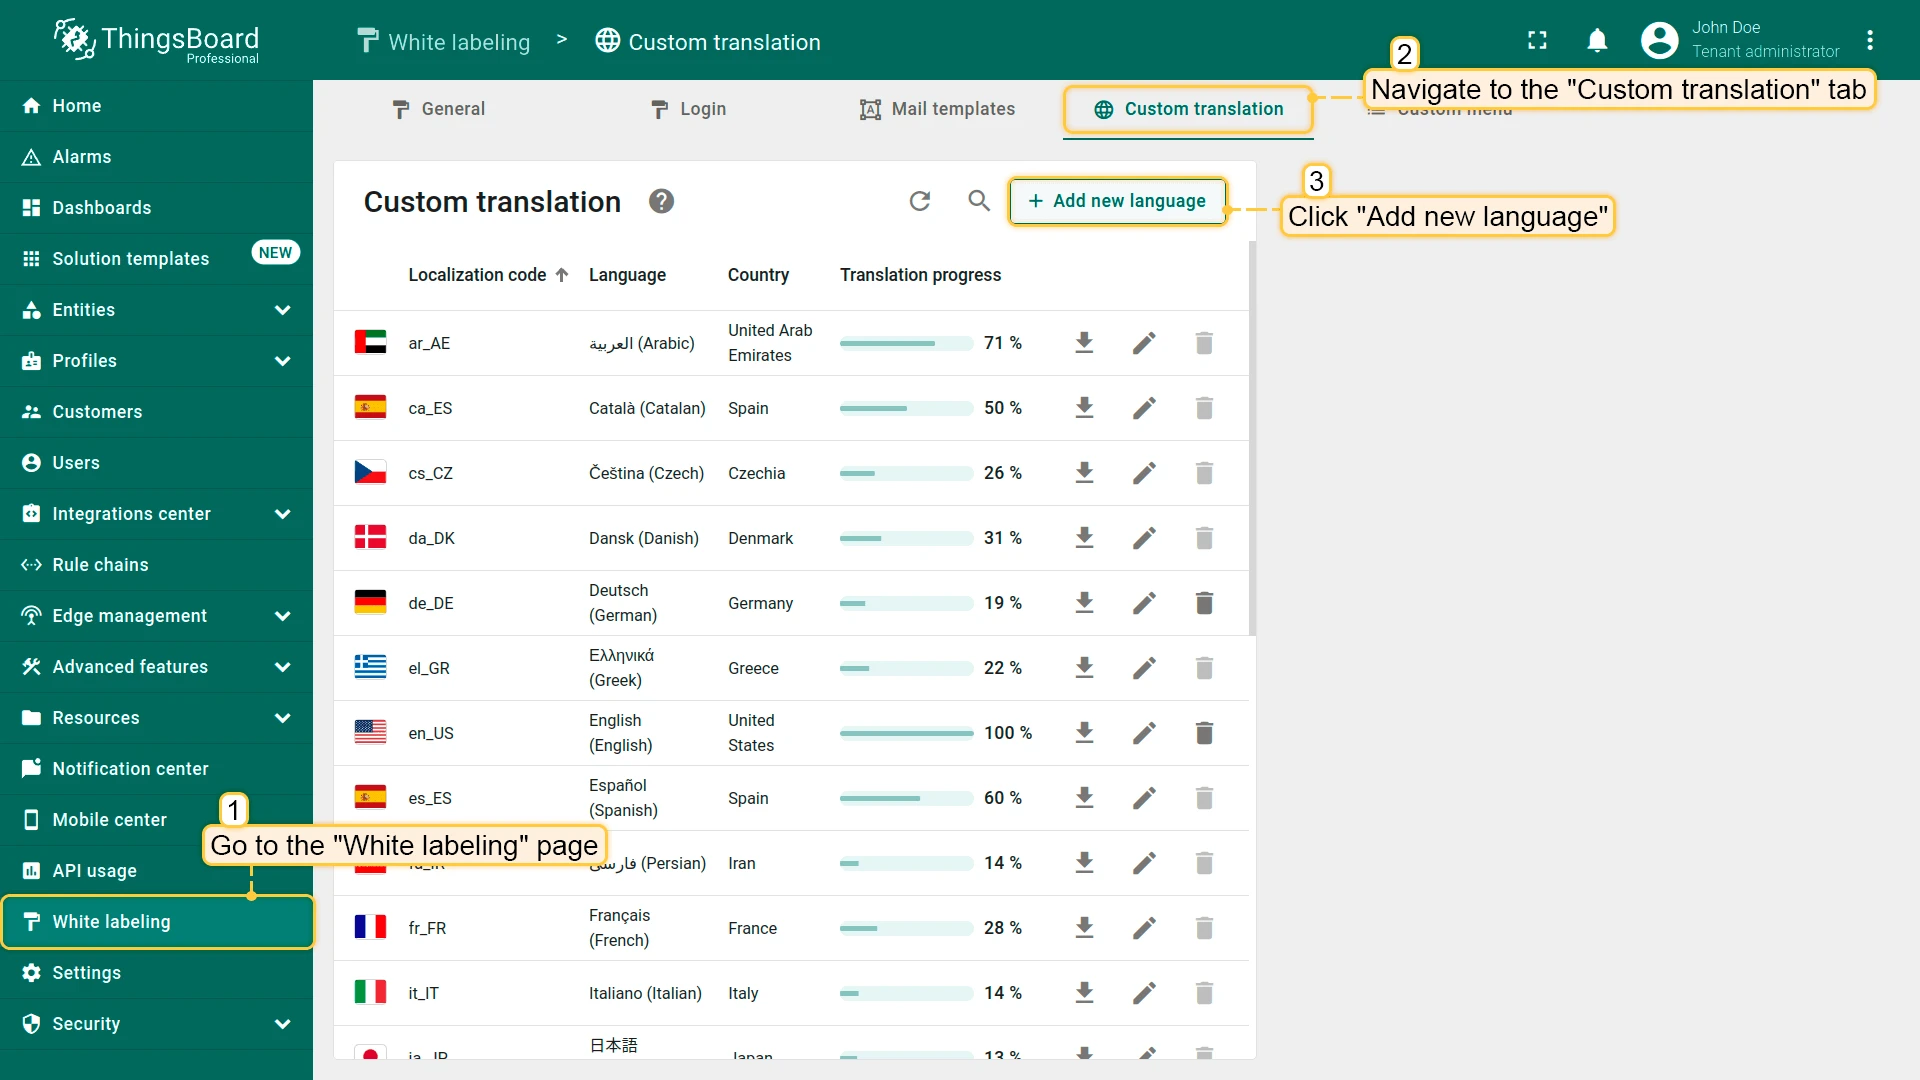
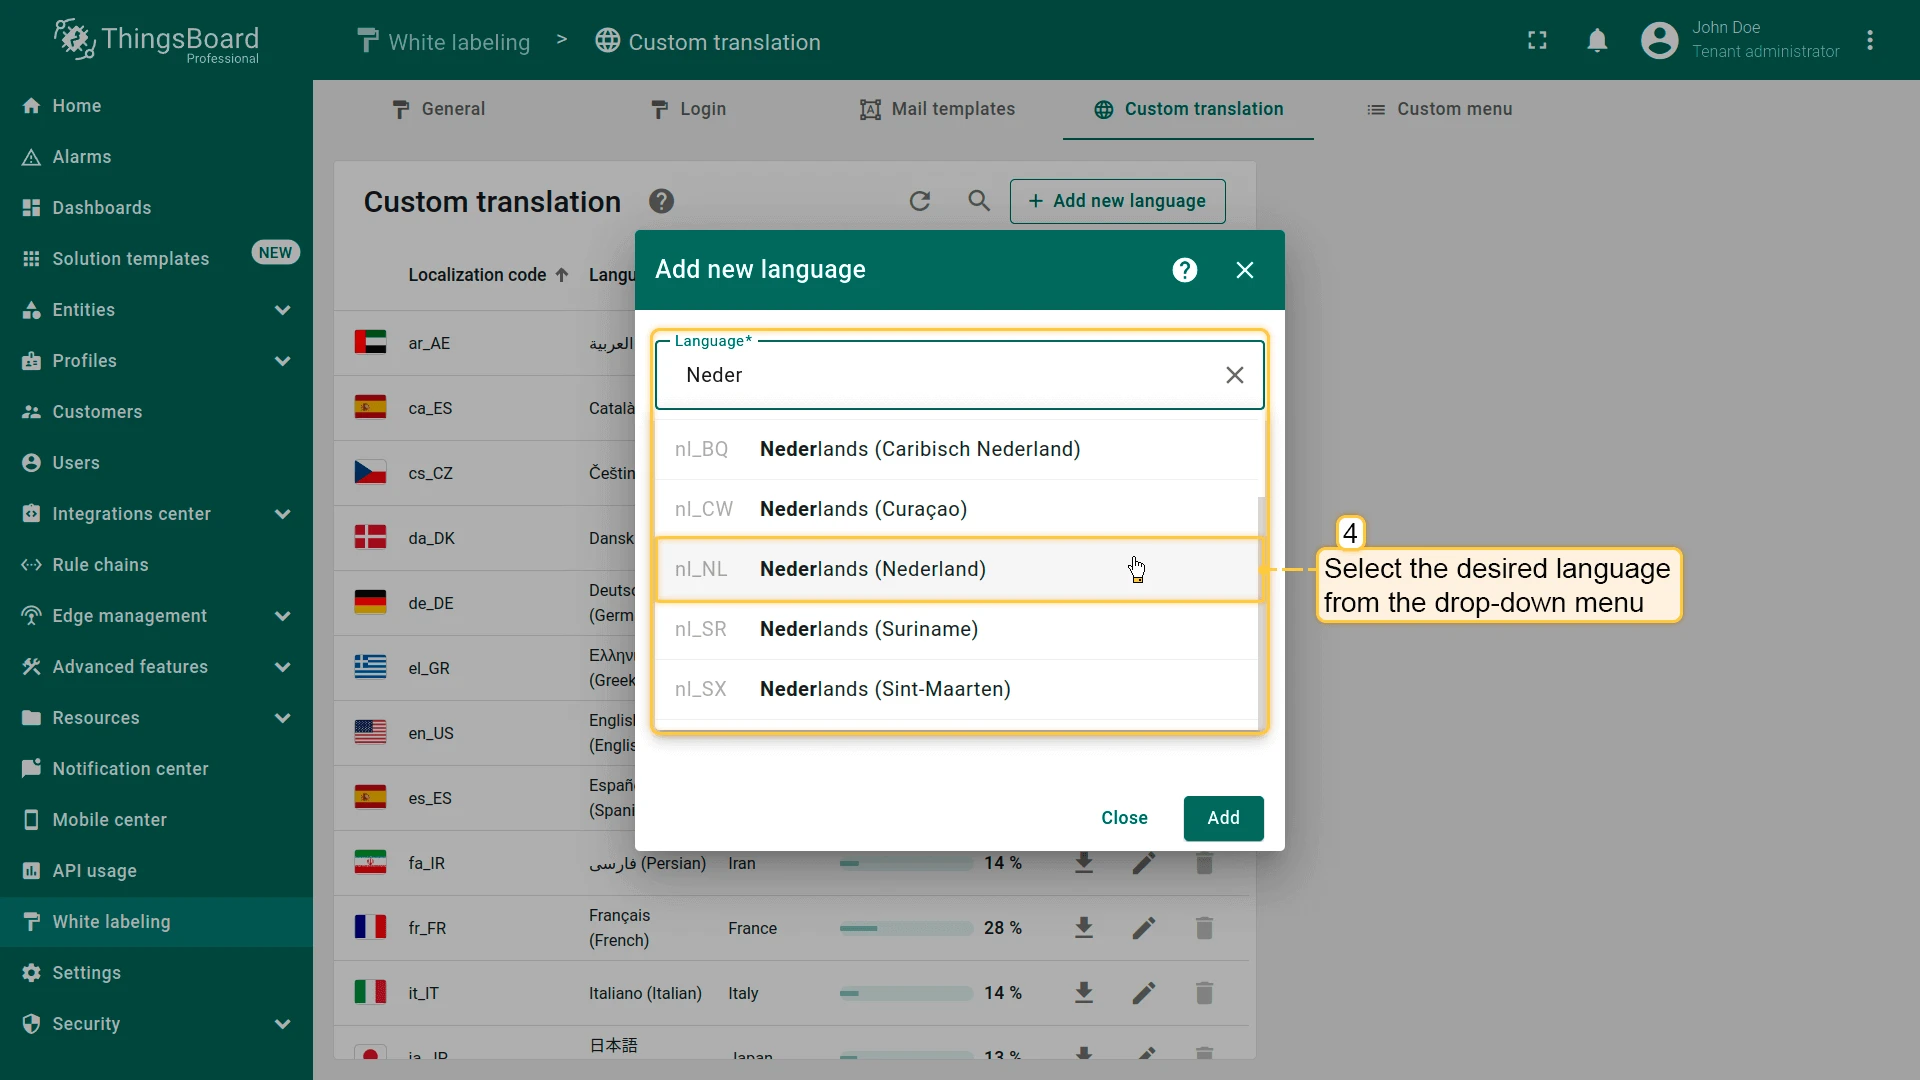
- Navigate to the White labeling page and open the Custom translation tab. Click the Add new language button.
- Select the desired language from the list.
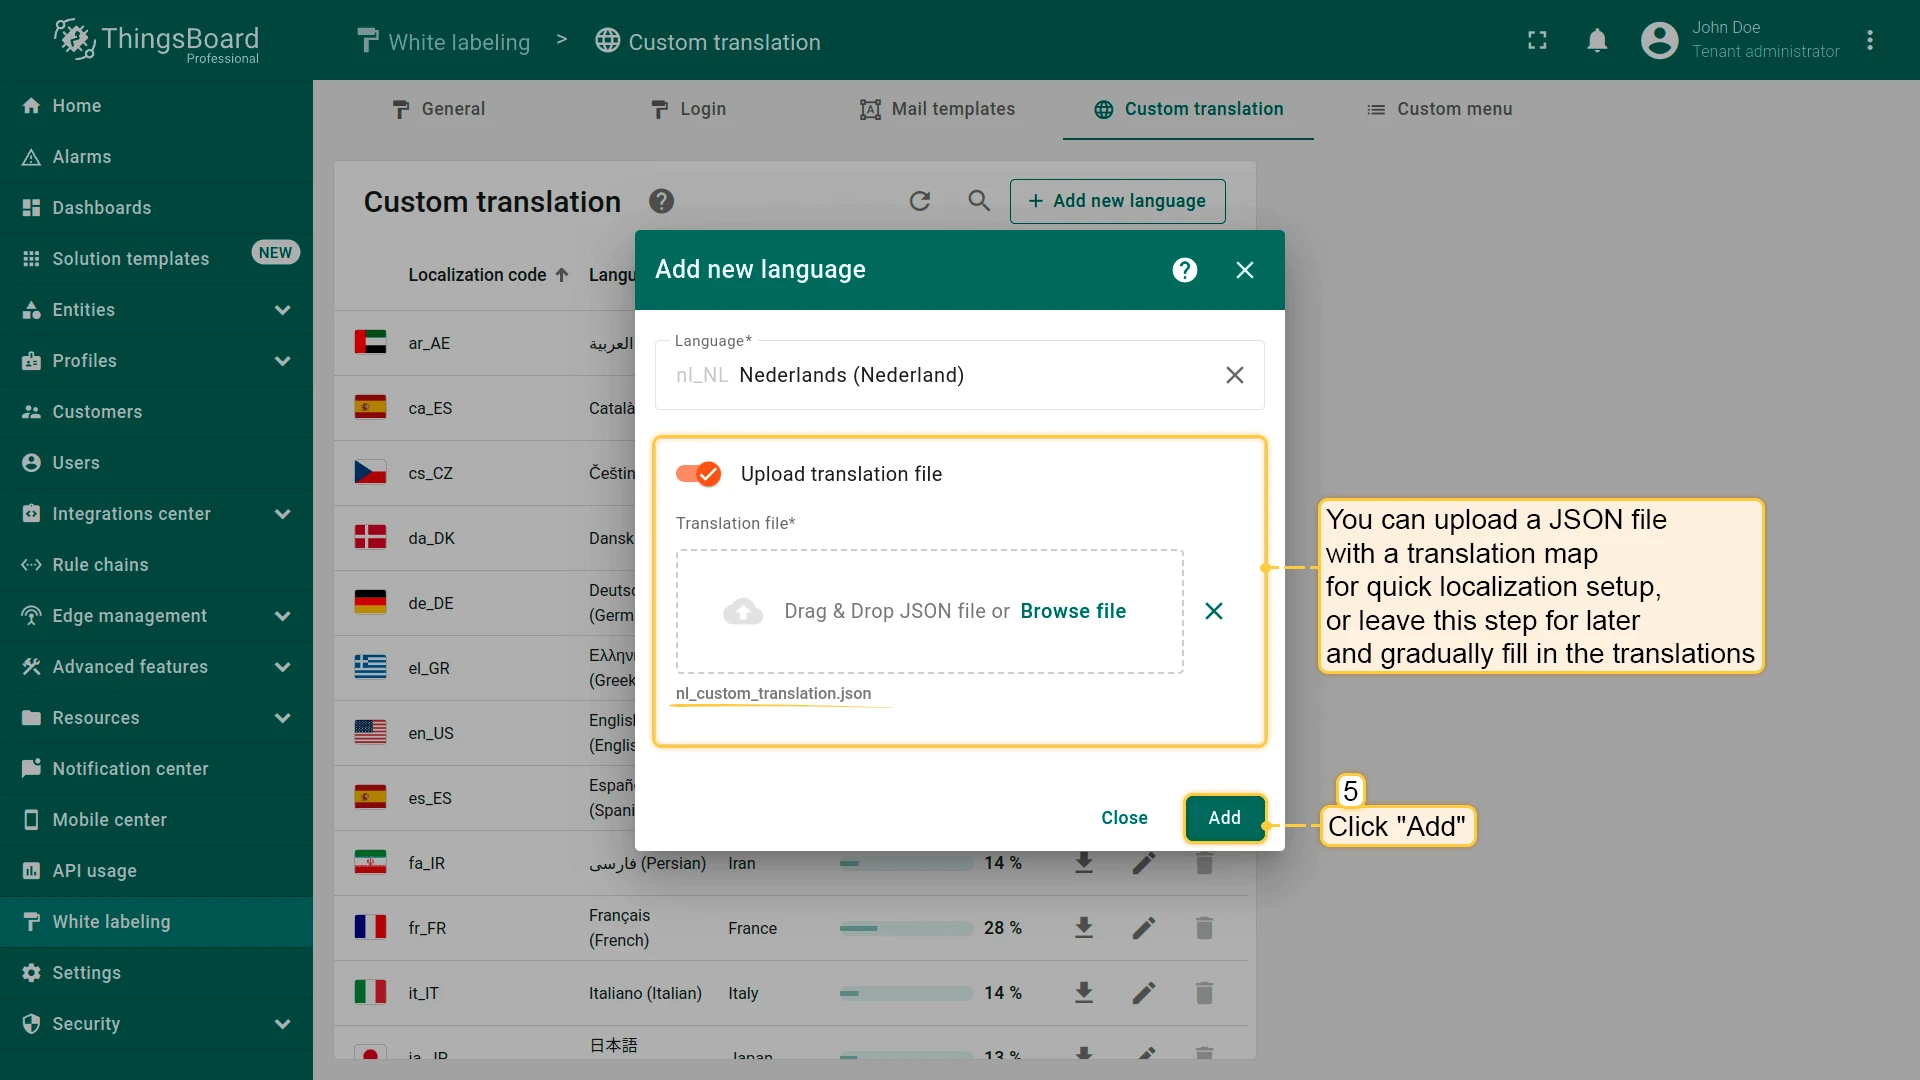
- Optionally upload a JSON file with a translation map for quick setup, or add translations manually later.
- Click Add.
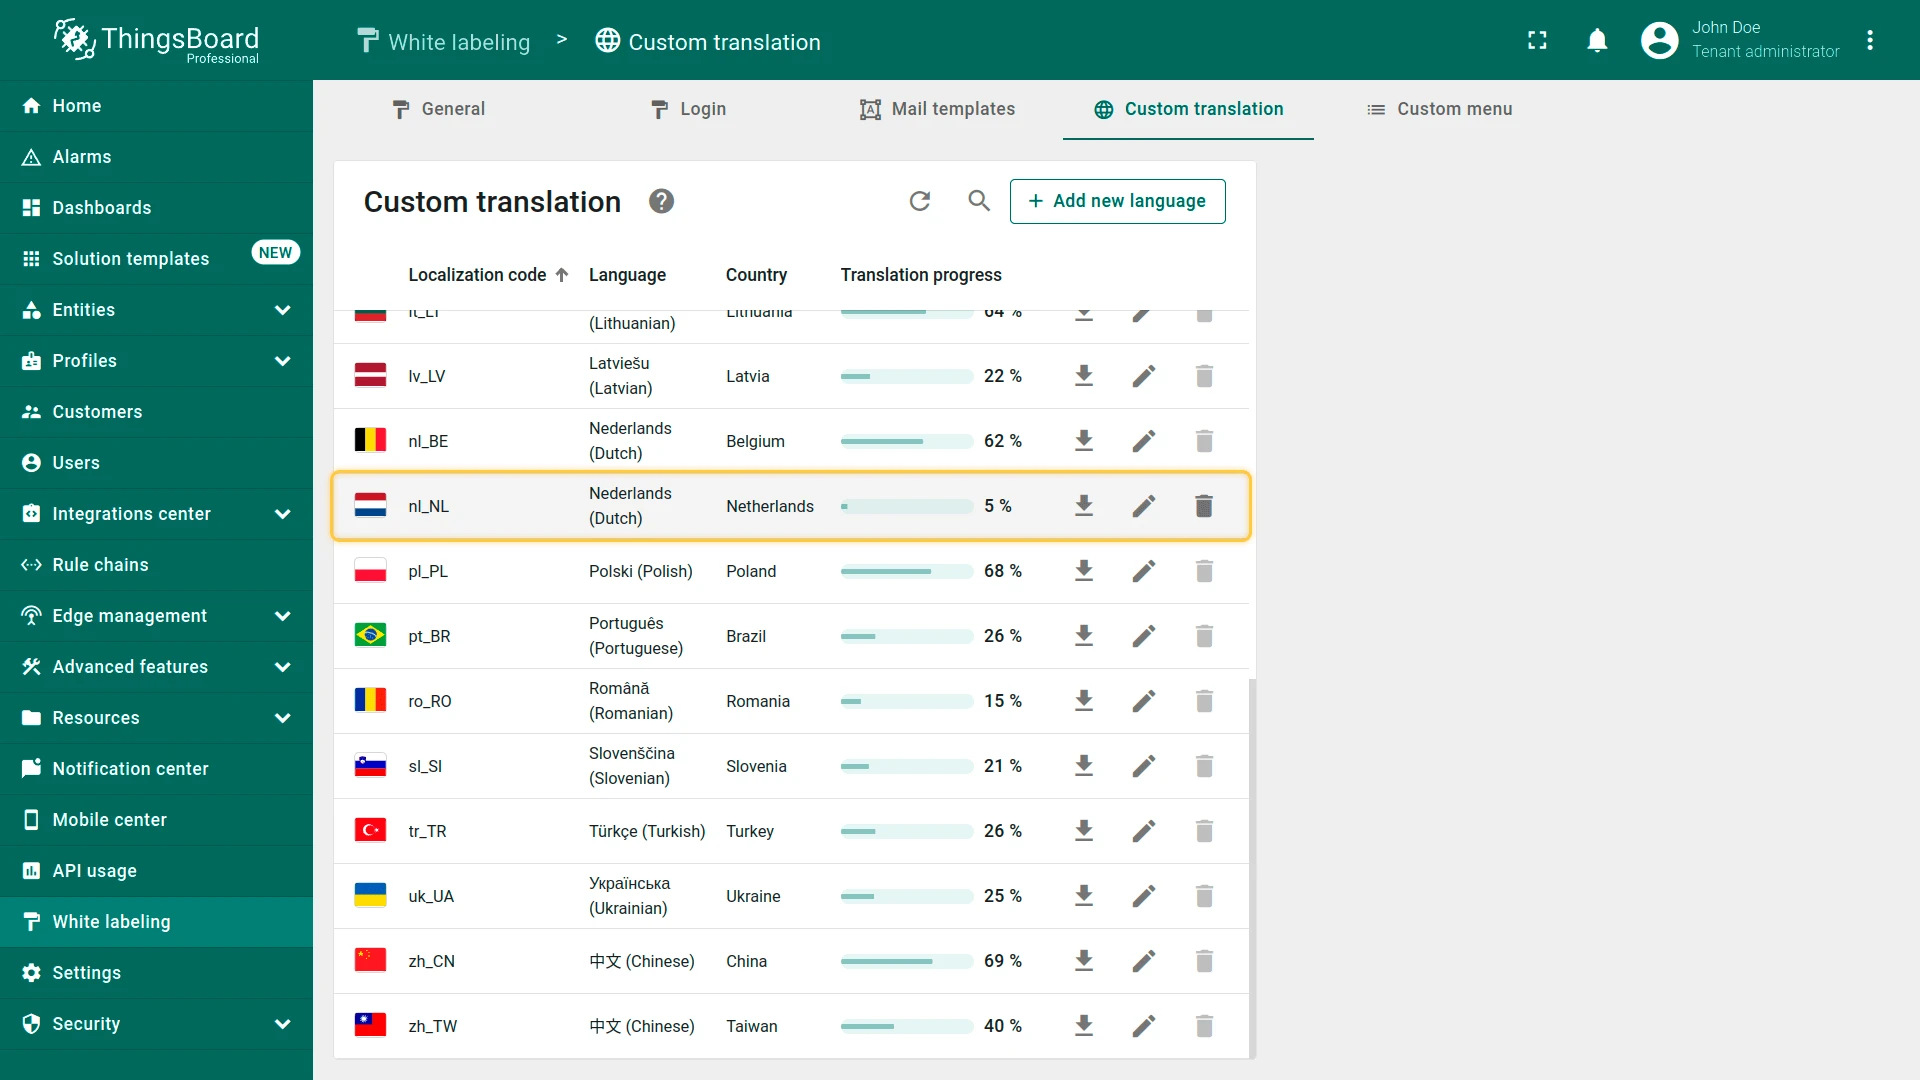
Once added, the language is available for all users to set as their interface language.
Translation Editor
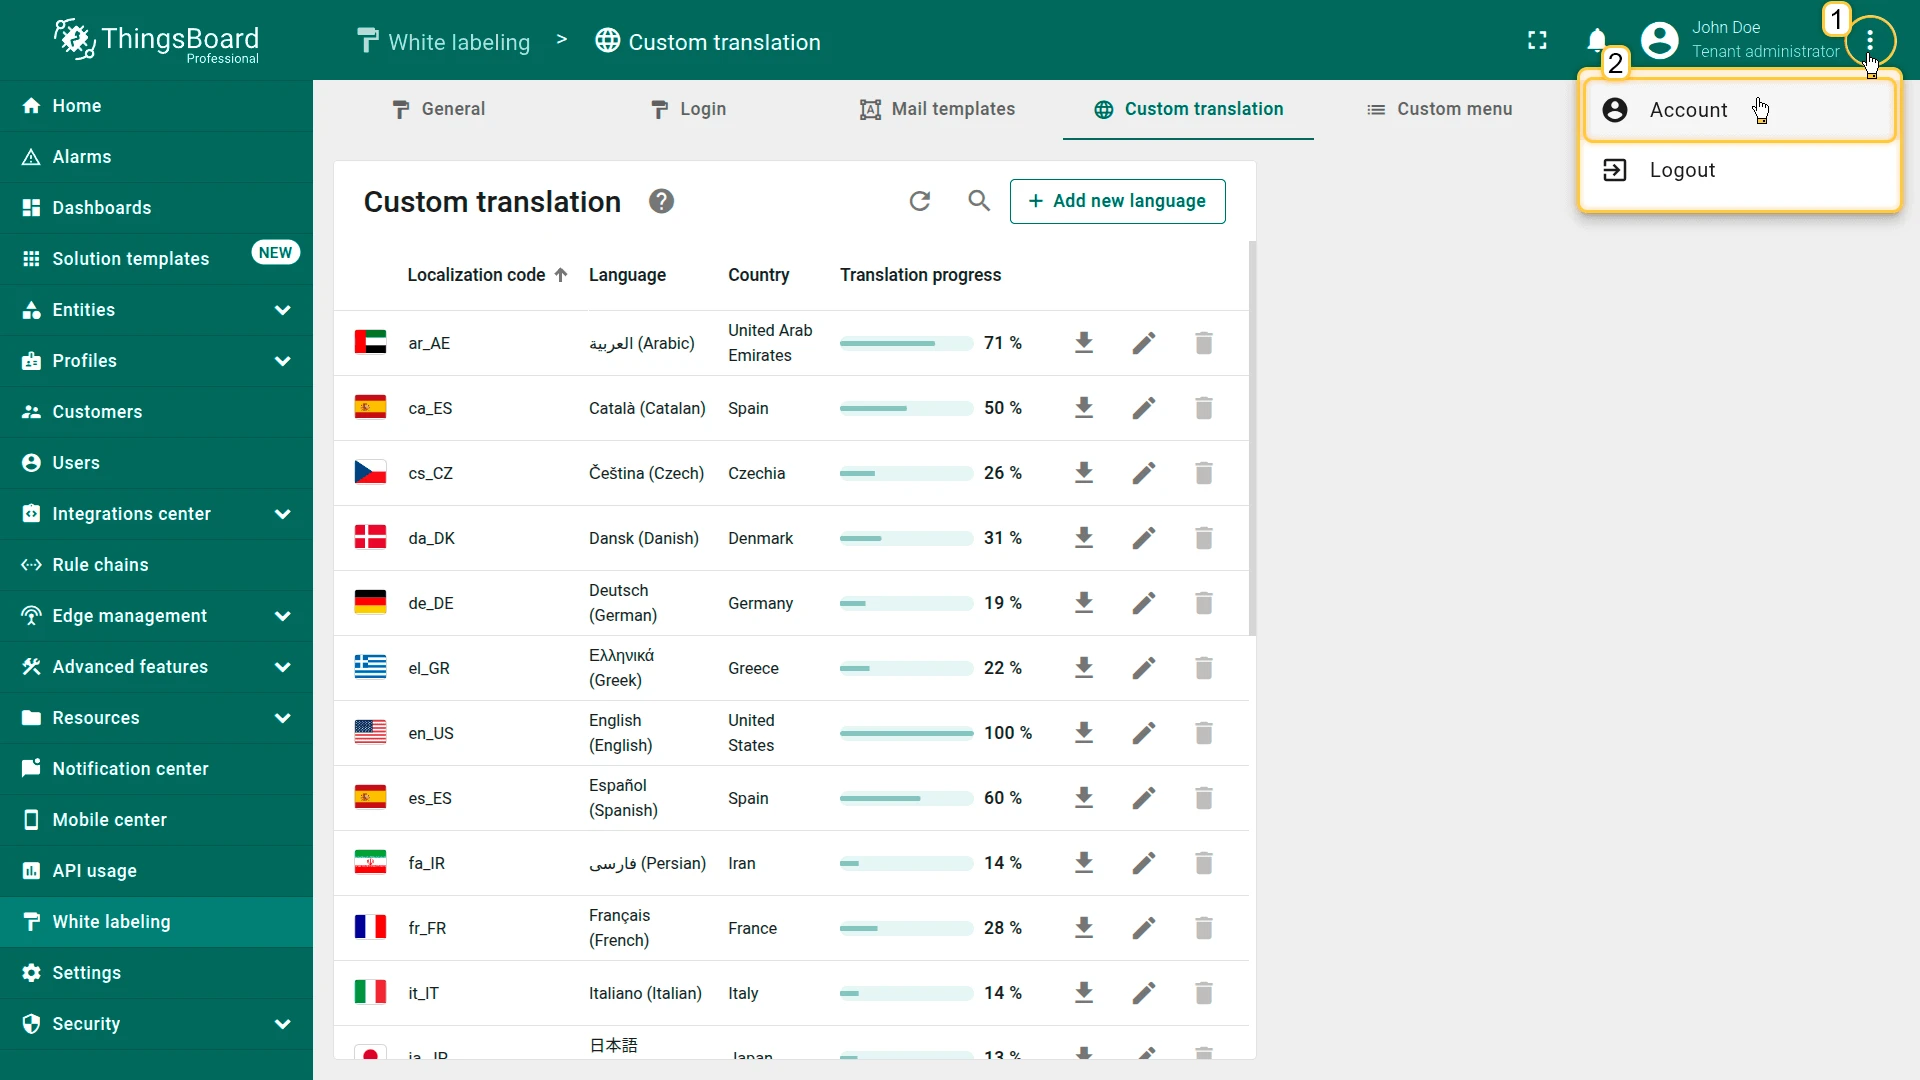
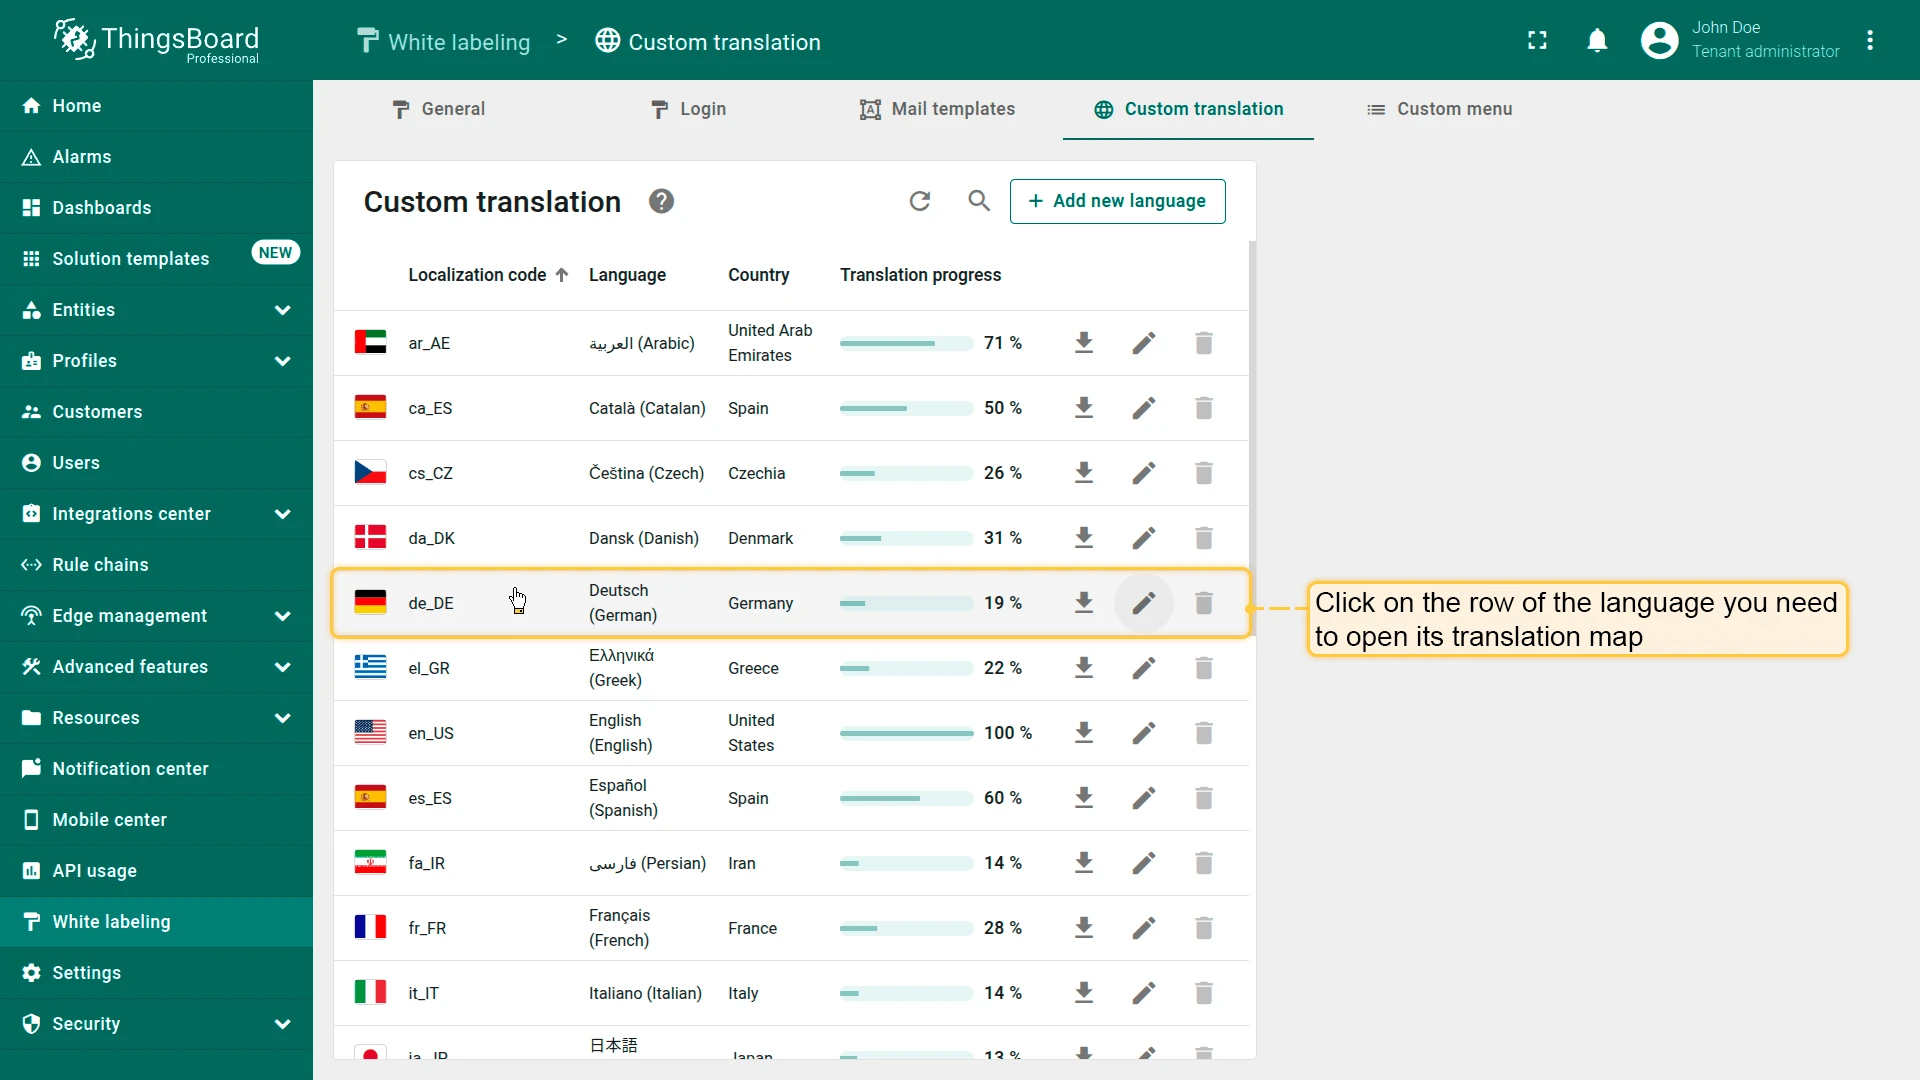
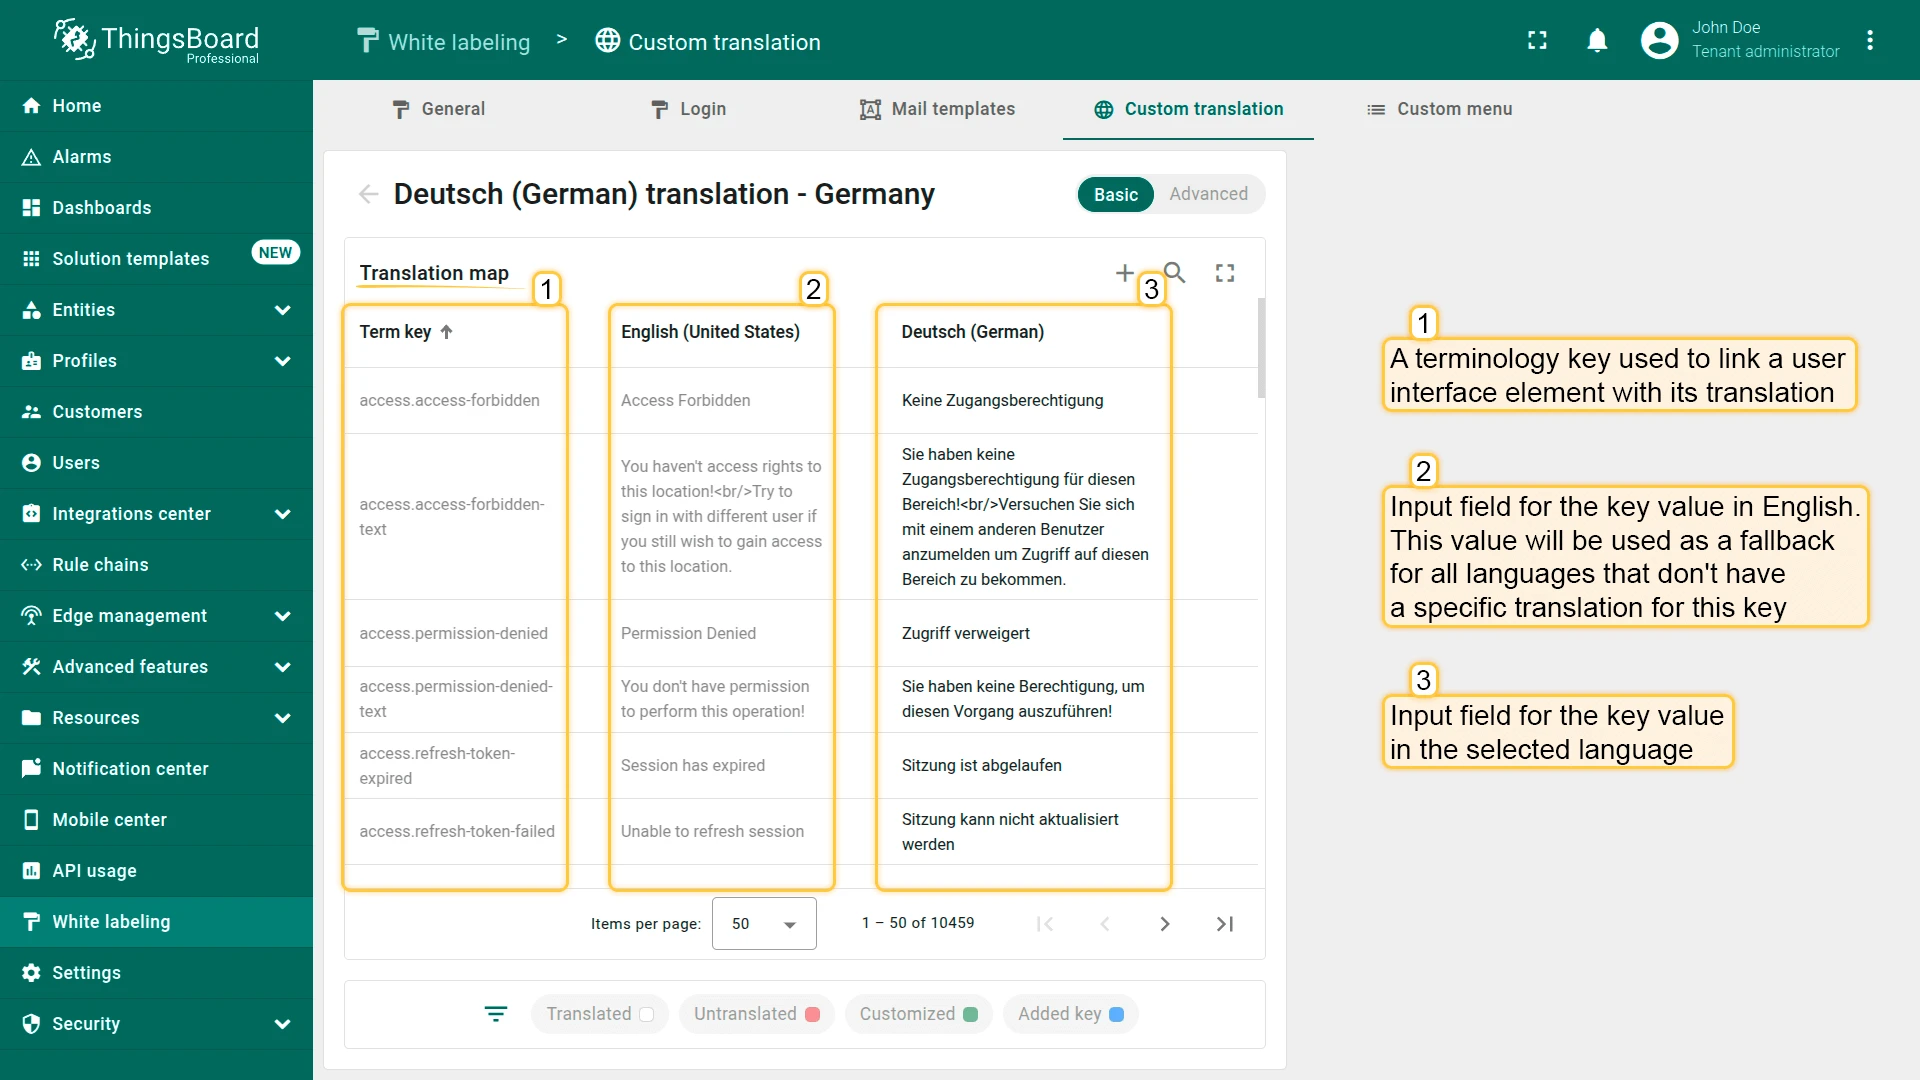
Section titled “Translation Editor”The Custom translation tab shows a list of available languages with their translation progress as a percentage. Click the pencil icon next to a language to open the editor.

The editor has two tabs:
- Basic — edit existing keys or add new ones in a table view
- Advanced — upload a JSON file with a full translation map
The table has three columns:
- Term key — links a UI element to its translation
- English value — fallback value used when no translation exists for the selected language
- Selected language value — the translated text
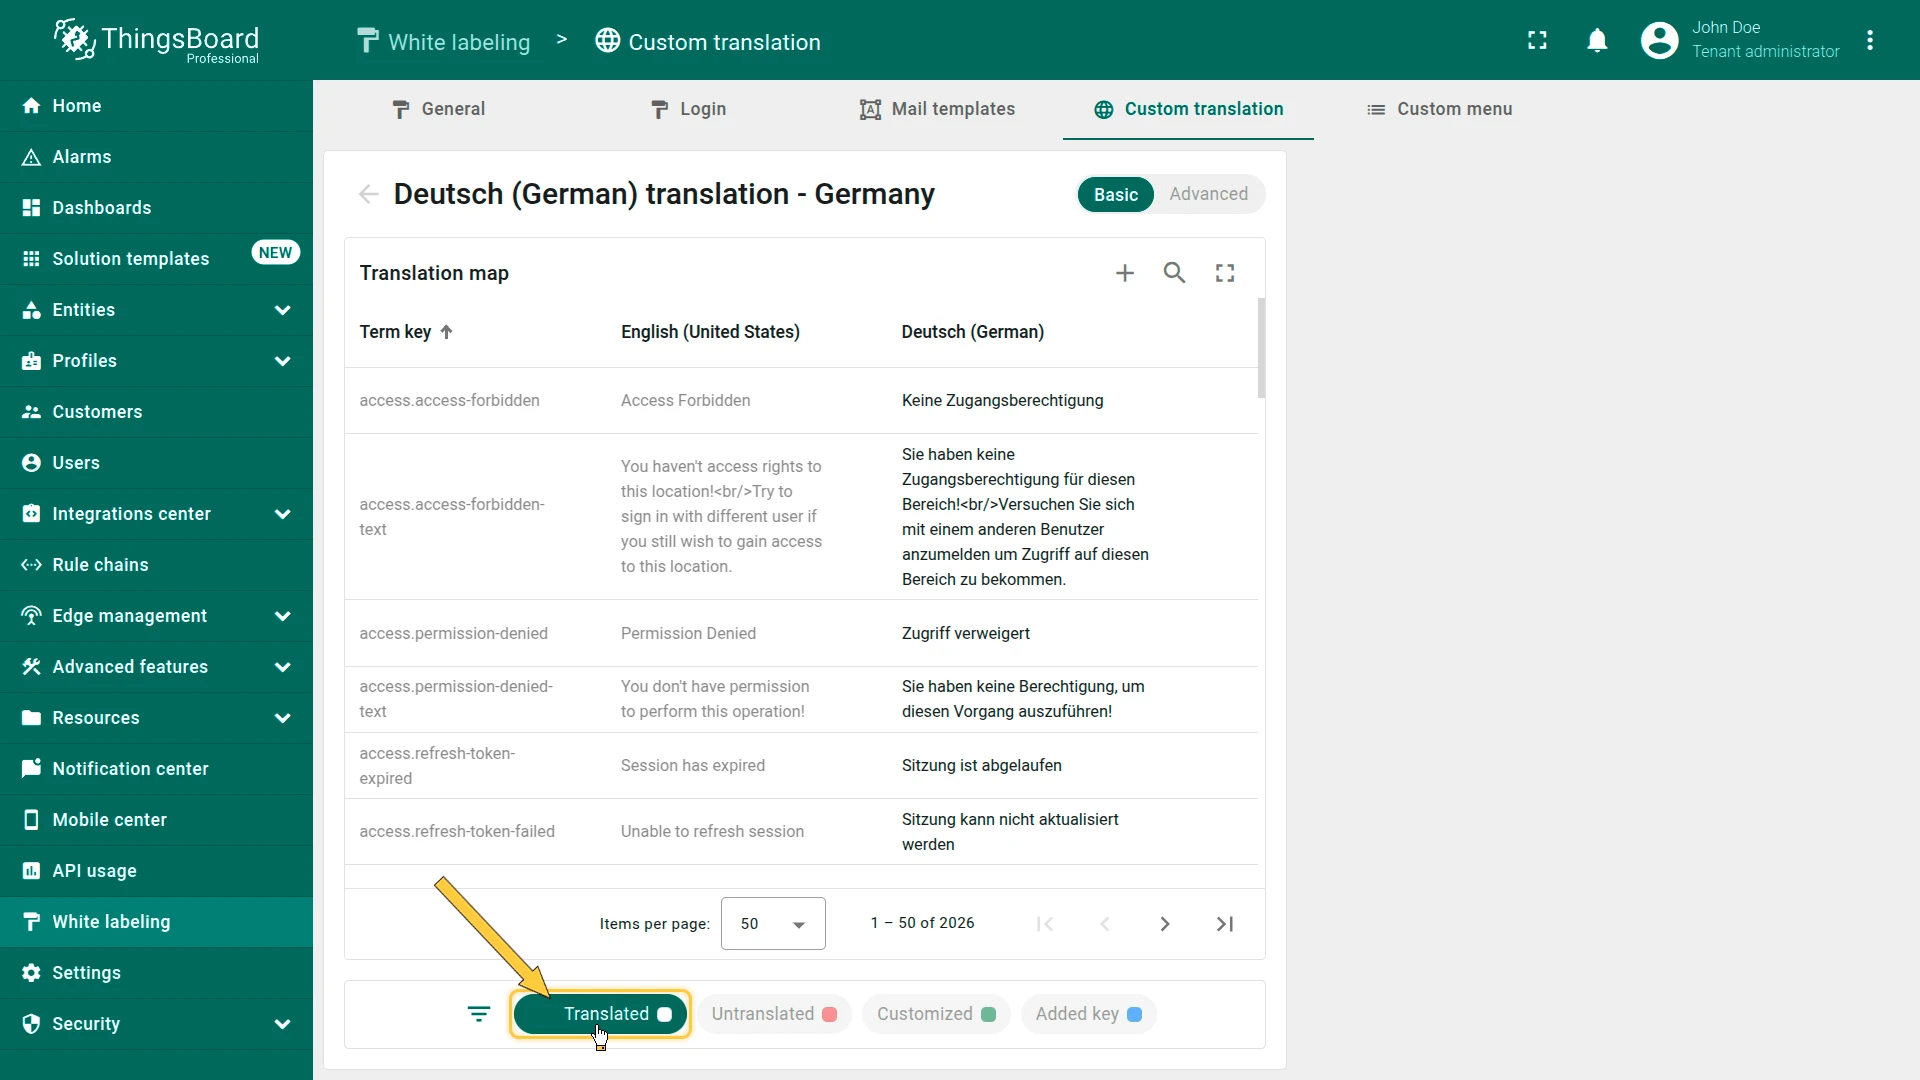
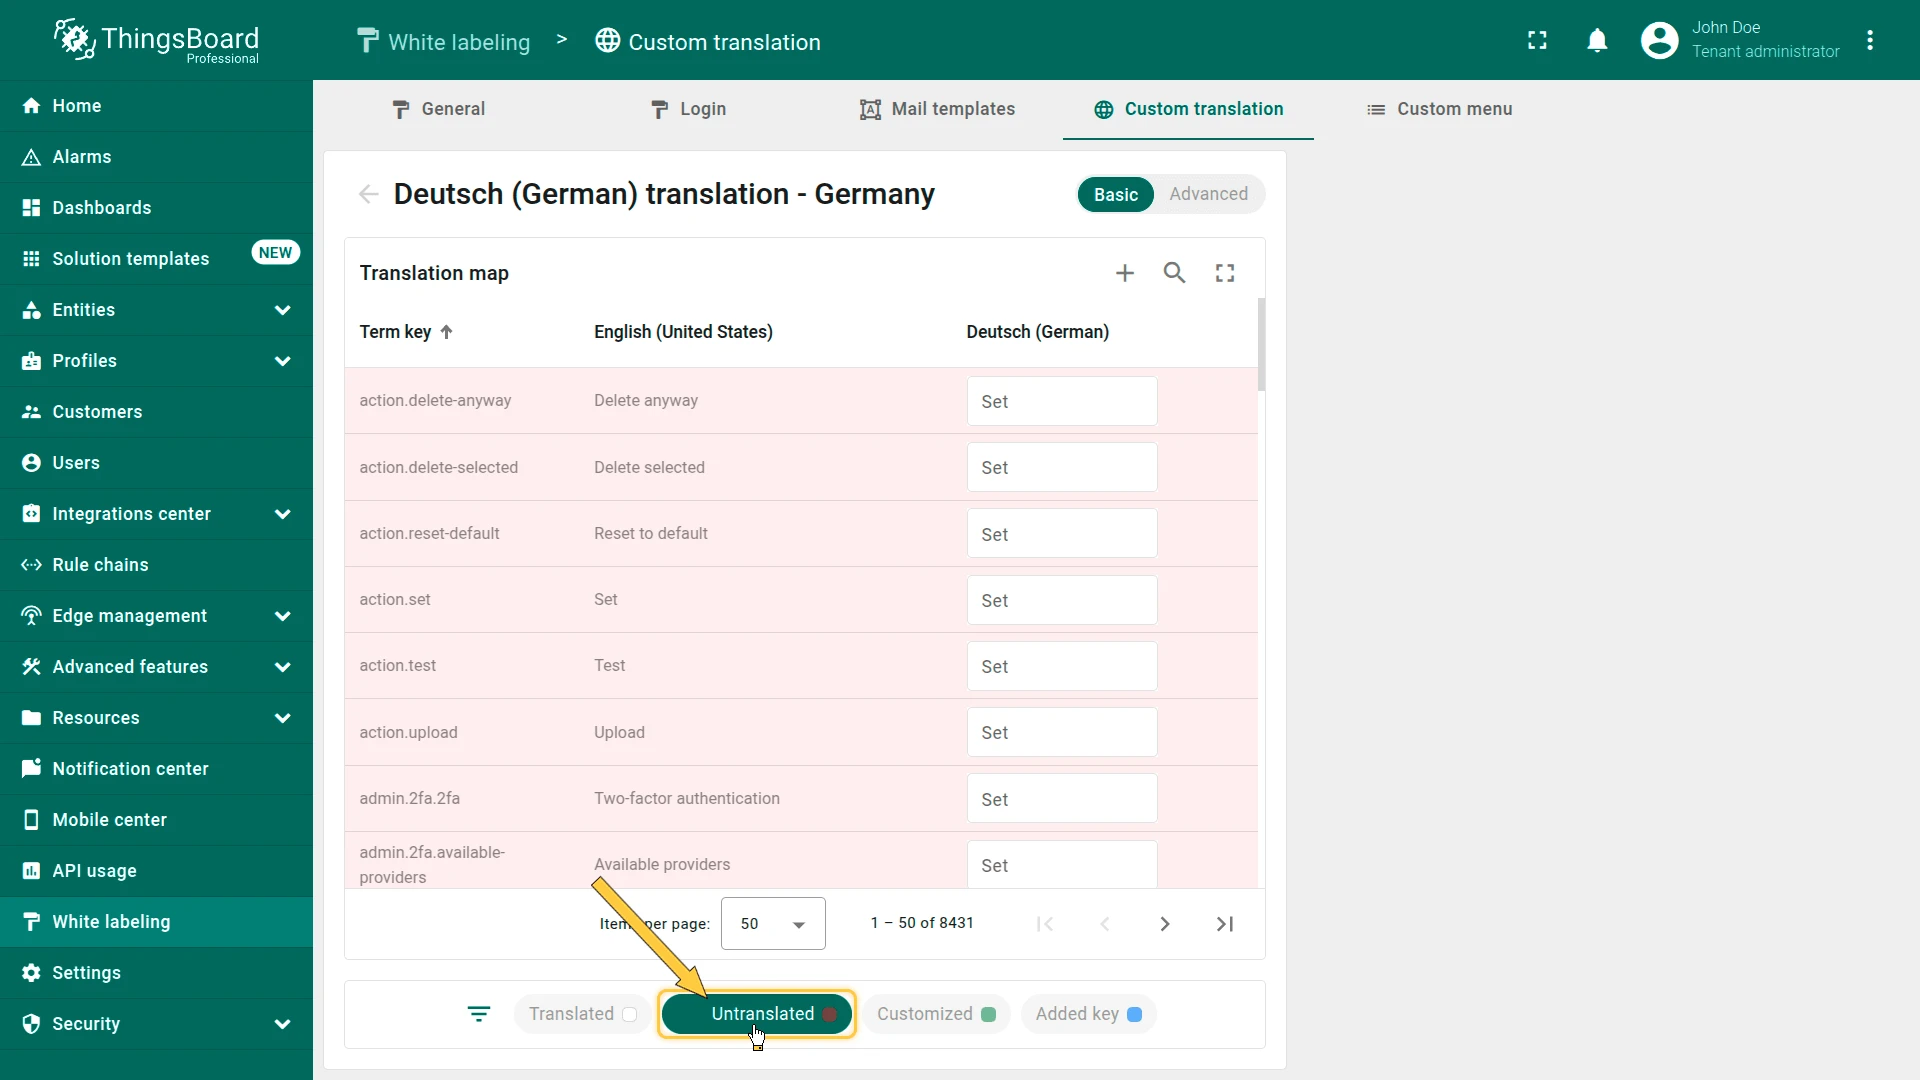
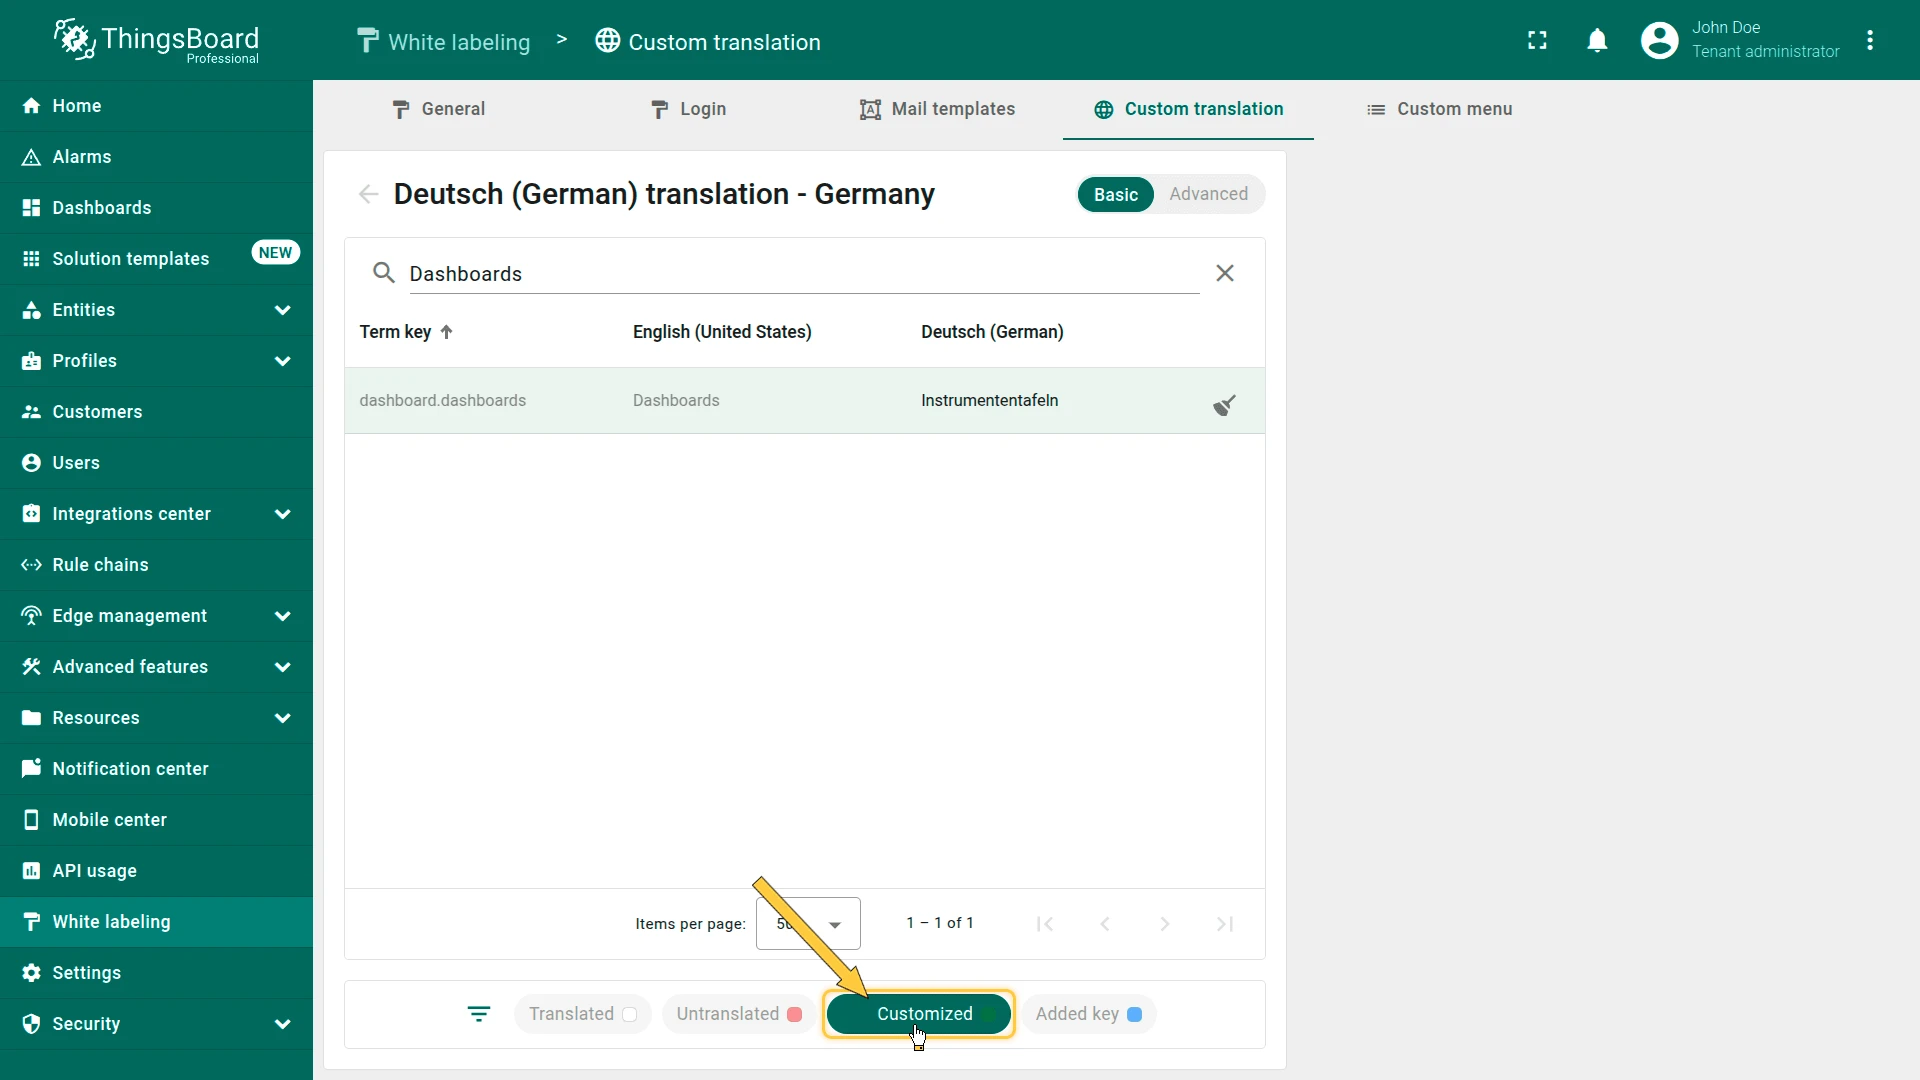
Filters
Section titled “Filters”The editor provides filters to locate specific keys:
| Filter | Shows |
|---|---|
| Translated | Keys that already have a translation for the selected language |
| Untranslated | Keys still missing a translation |
| Customized | Keys whose translations were manually modified |
| Added key | Keys that were manually added to the translation file |

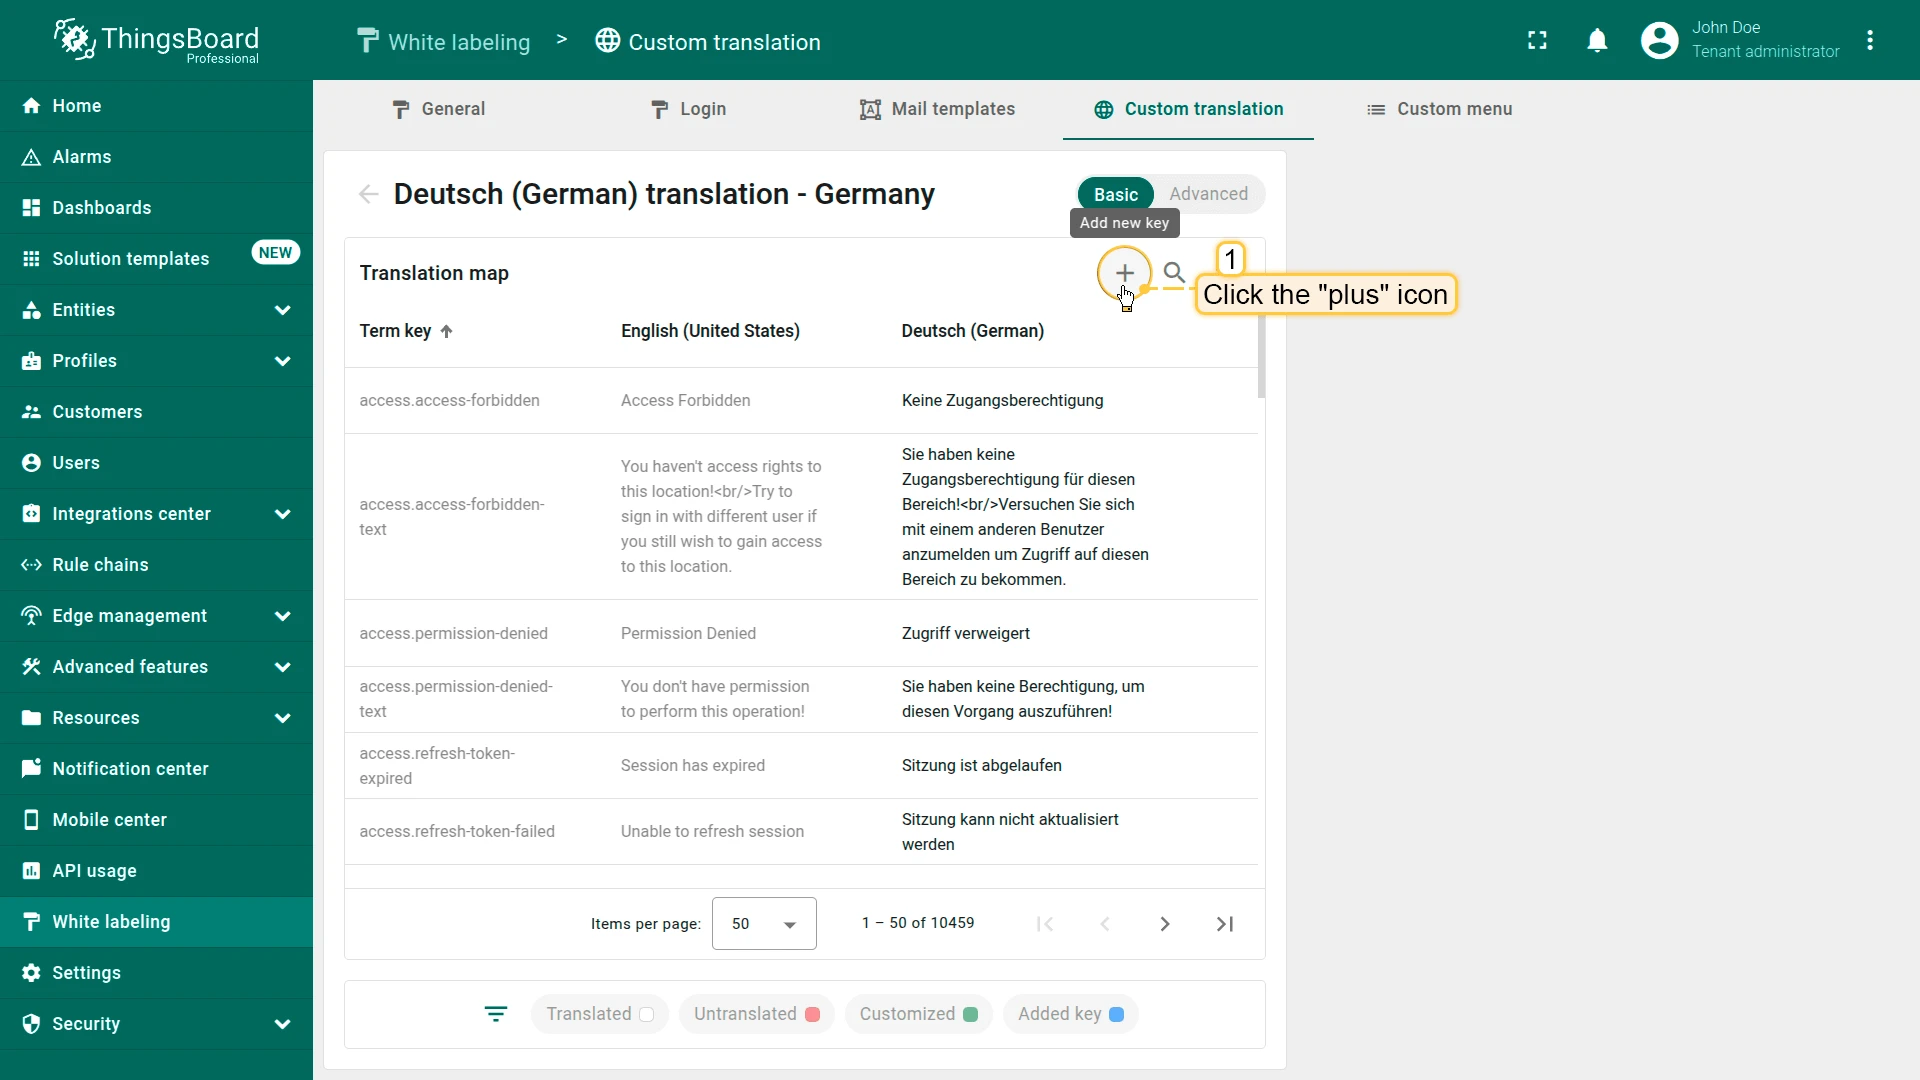
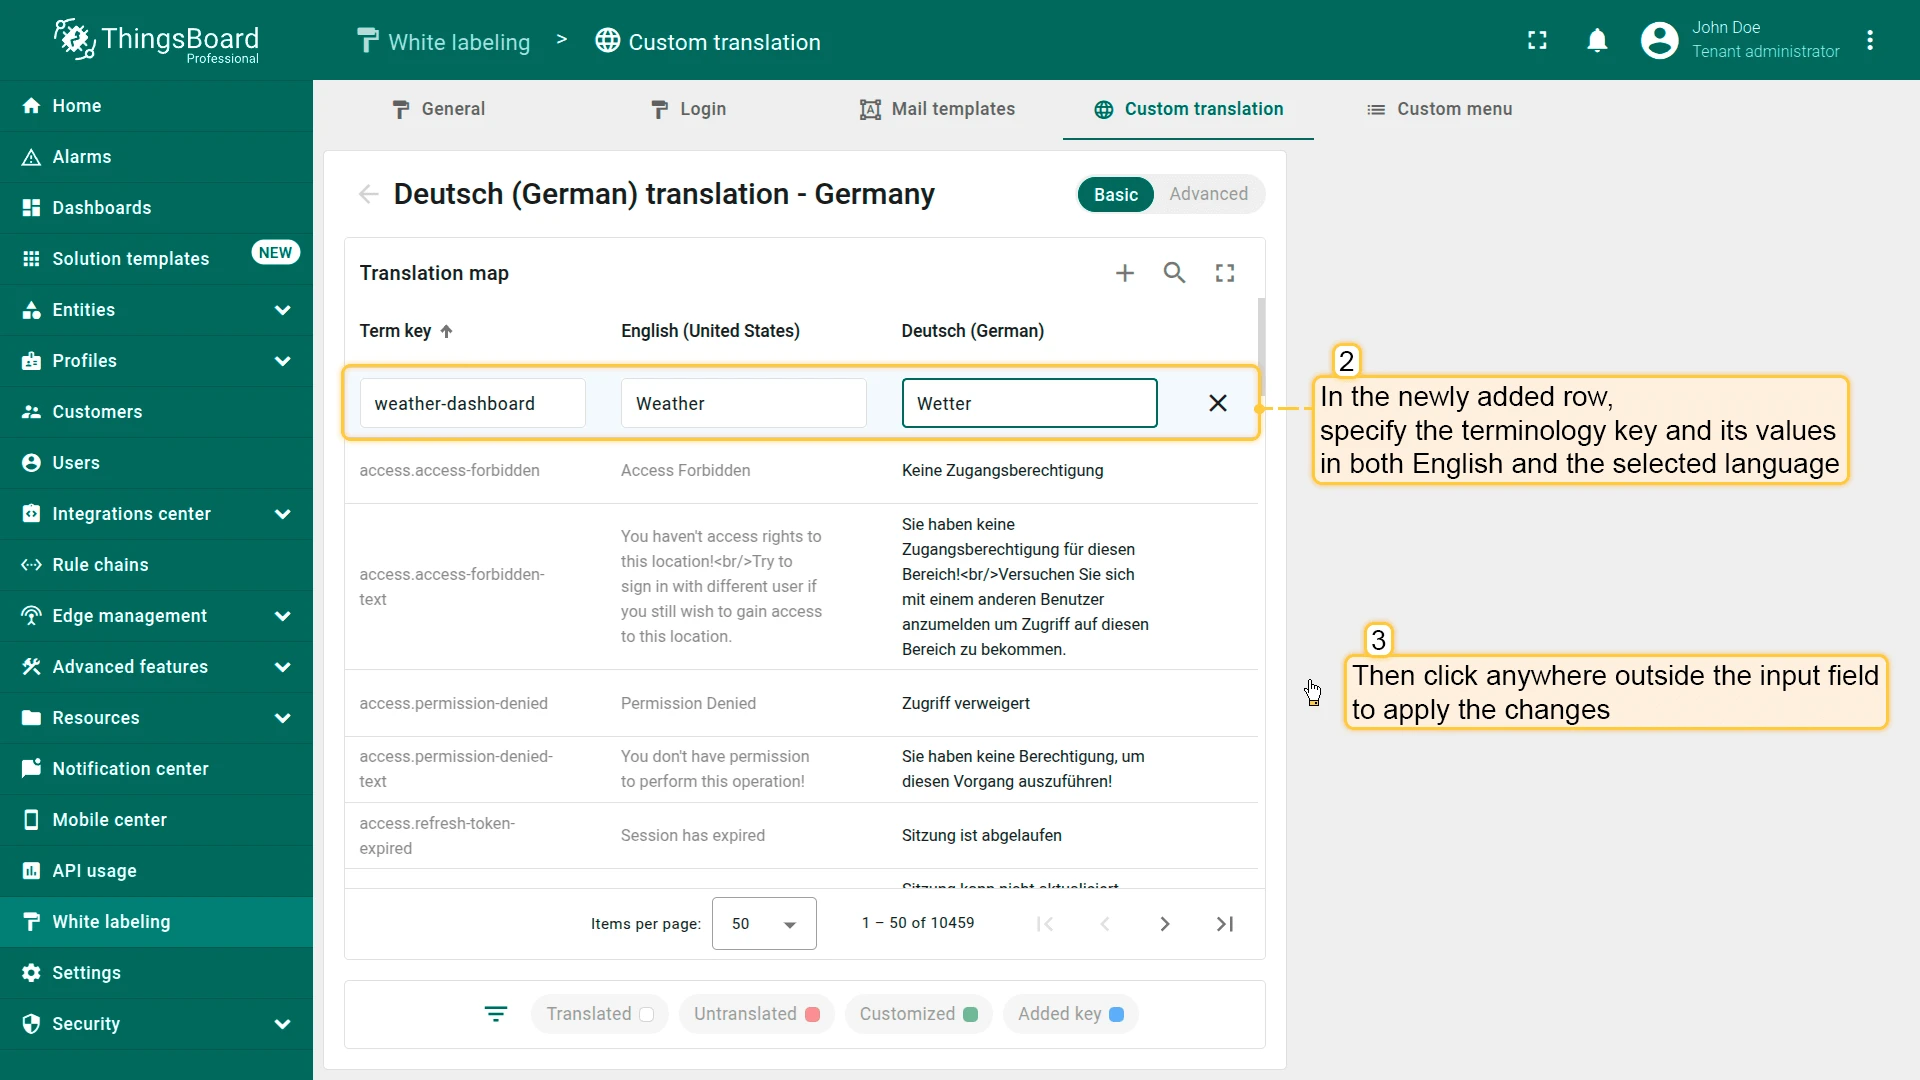
Add a Translation Key
Section titled “Add a Translation Key”- Open the translation map for the desired language and click the plus icon in the top-right corner.
- Fill in the new row: enter the term key, its English value, and the value for the selected language.
- Click anywhere outside the input field to save.
The new key is automatically added to all configured languages. Languages without a specific translation use the English value as a fallback.
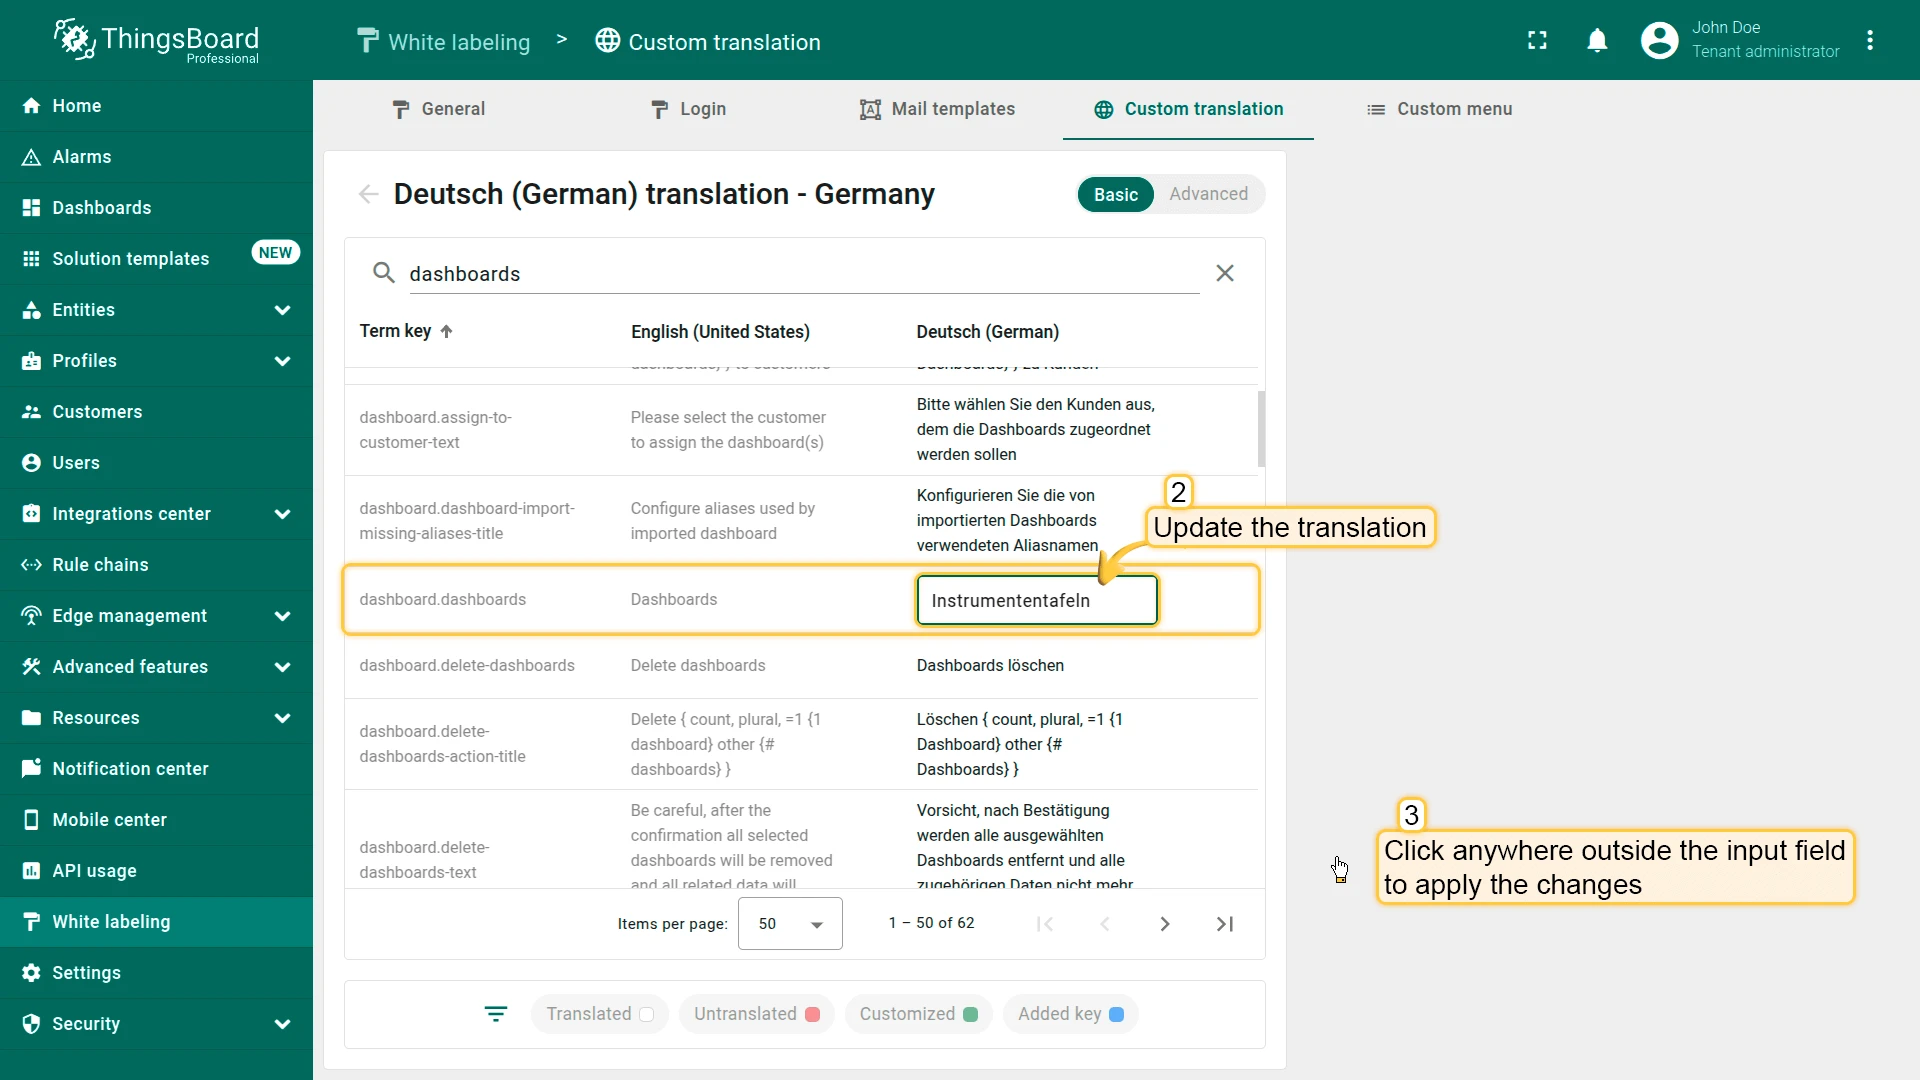
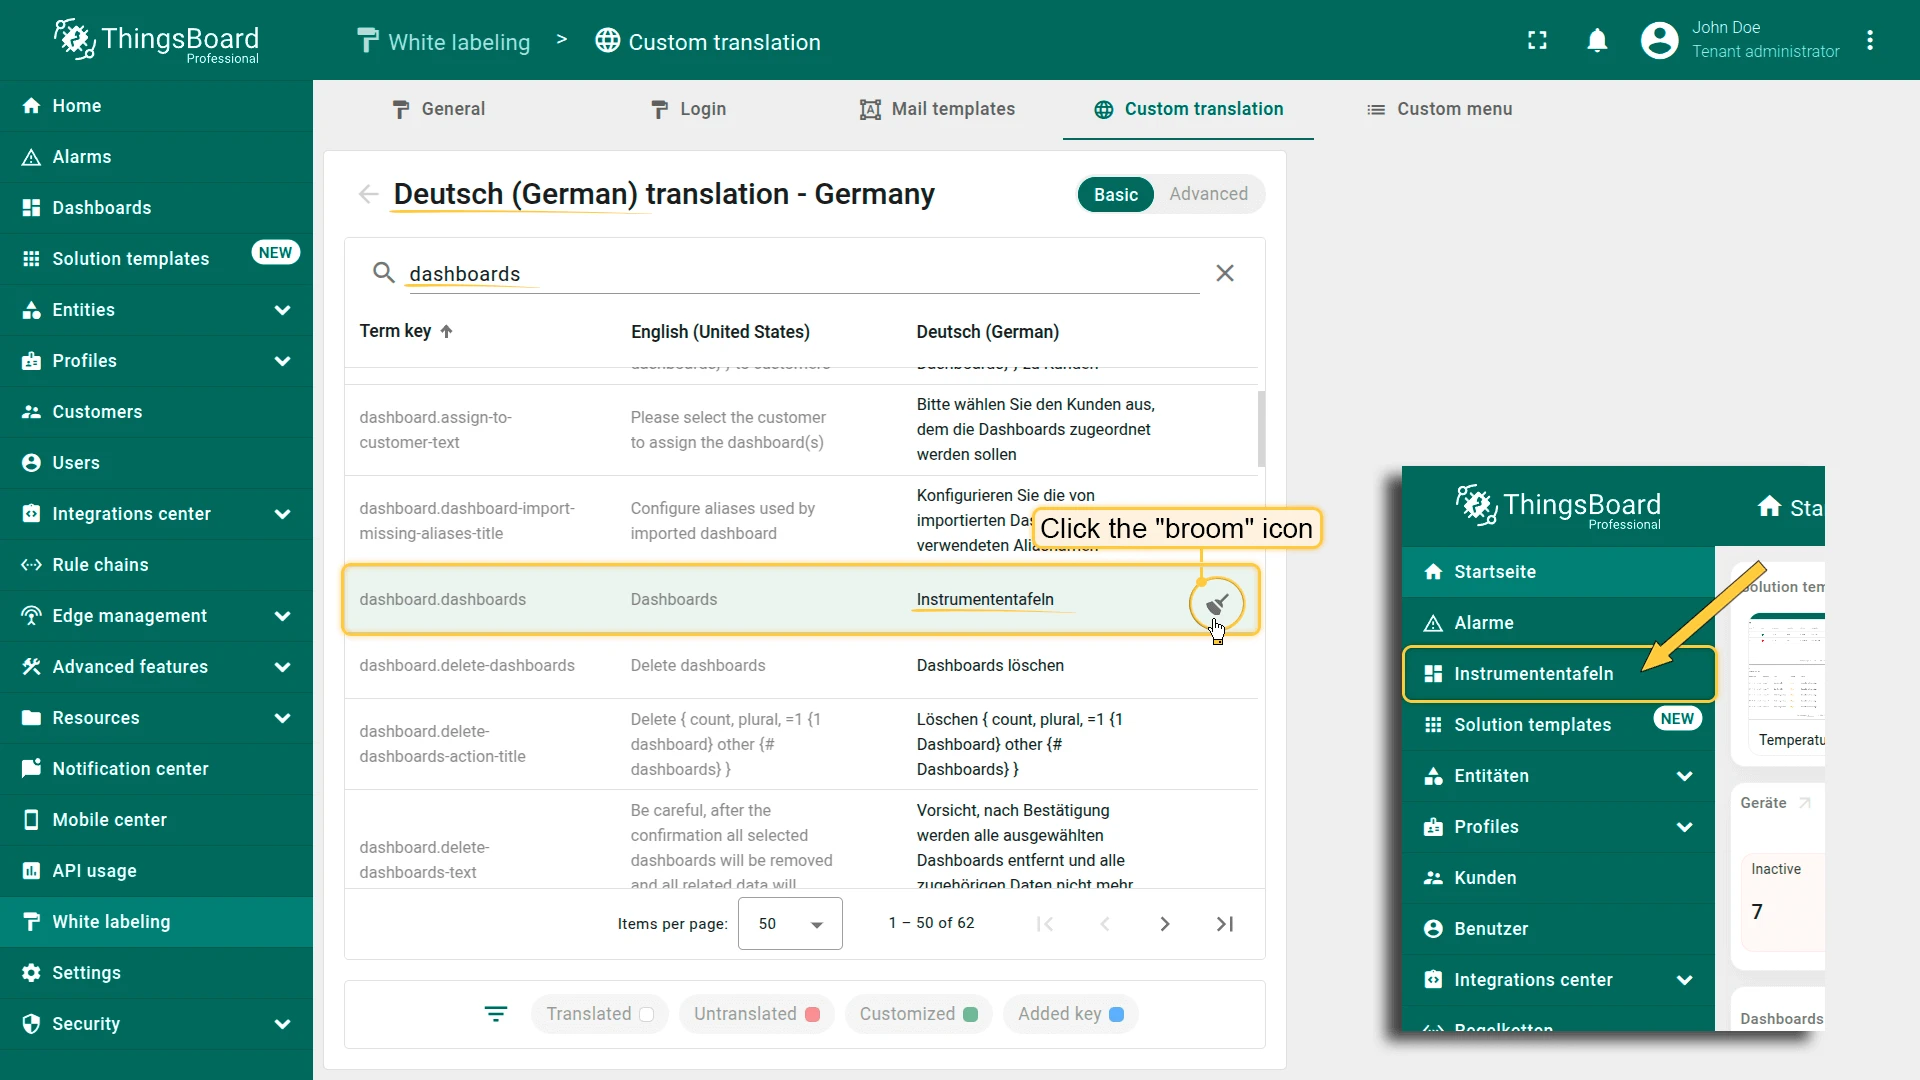
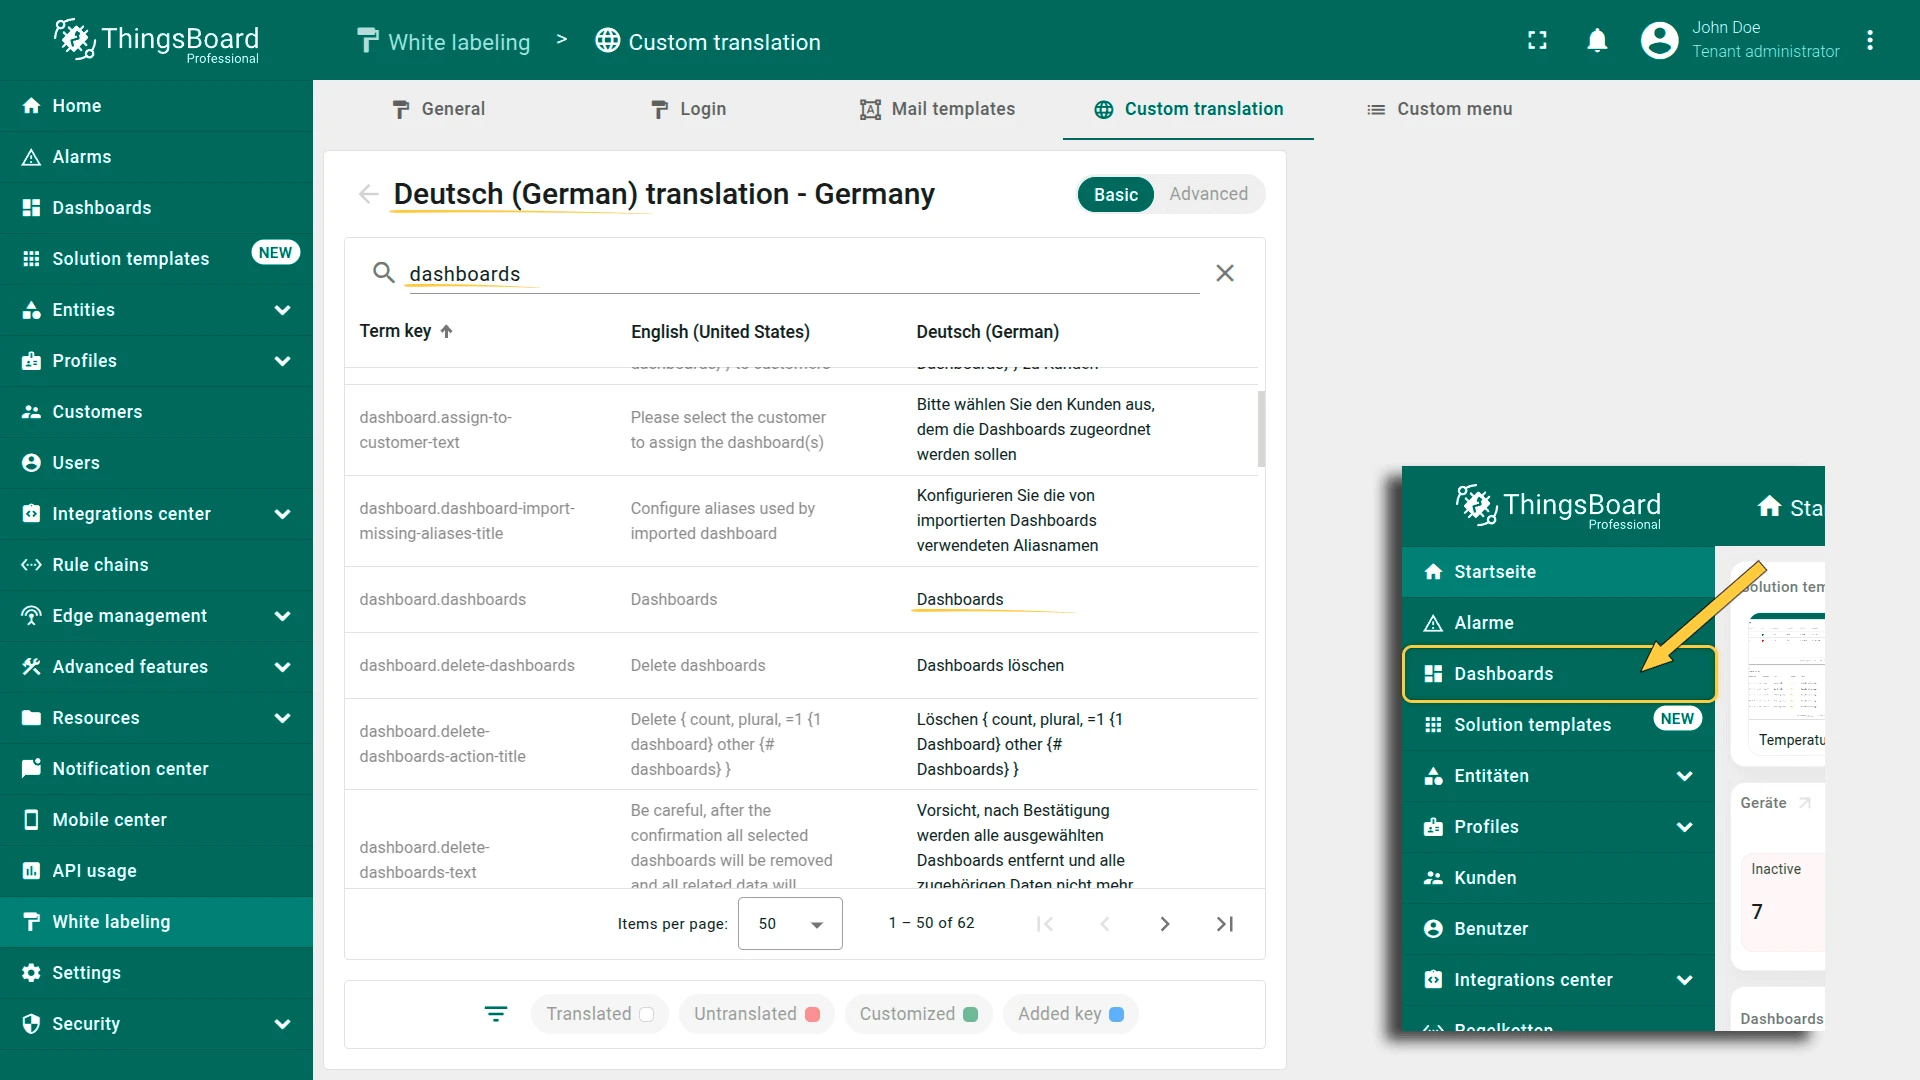
Modify an Existing Translation
Section titled “Modify an Existing Translation”- Open the language editor and use the search field to find the key you want to edit.
- Update the translation value.
- Click anywhere outside the input field to save.
To reset a key to the default translation, click the broom icon in that row.


Upload Translation Map from JSON
Section titled “Upload Translation Map from JSON”If you have many translation keys, uploading a JSON file is more efficient than adding them manually.
- Open the language editor and switch to the Advanced tab.
- Paste or upload your translation map in JSON format.
- Click Save.
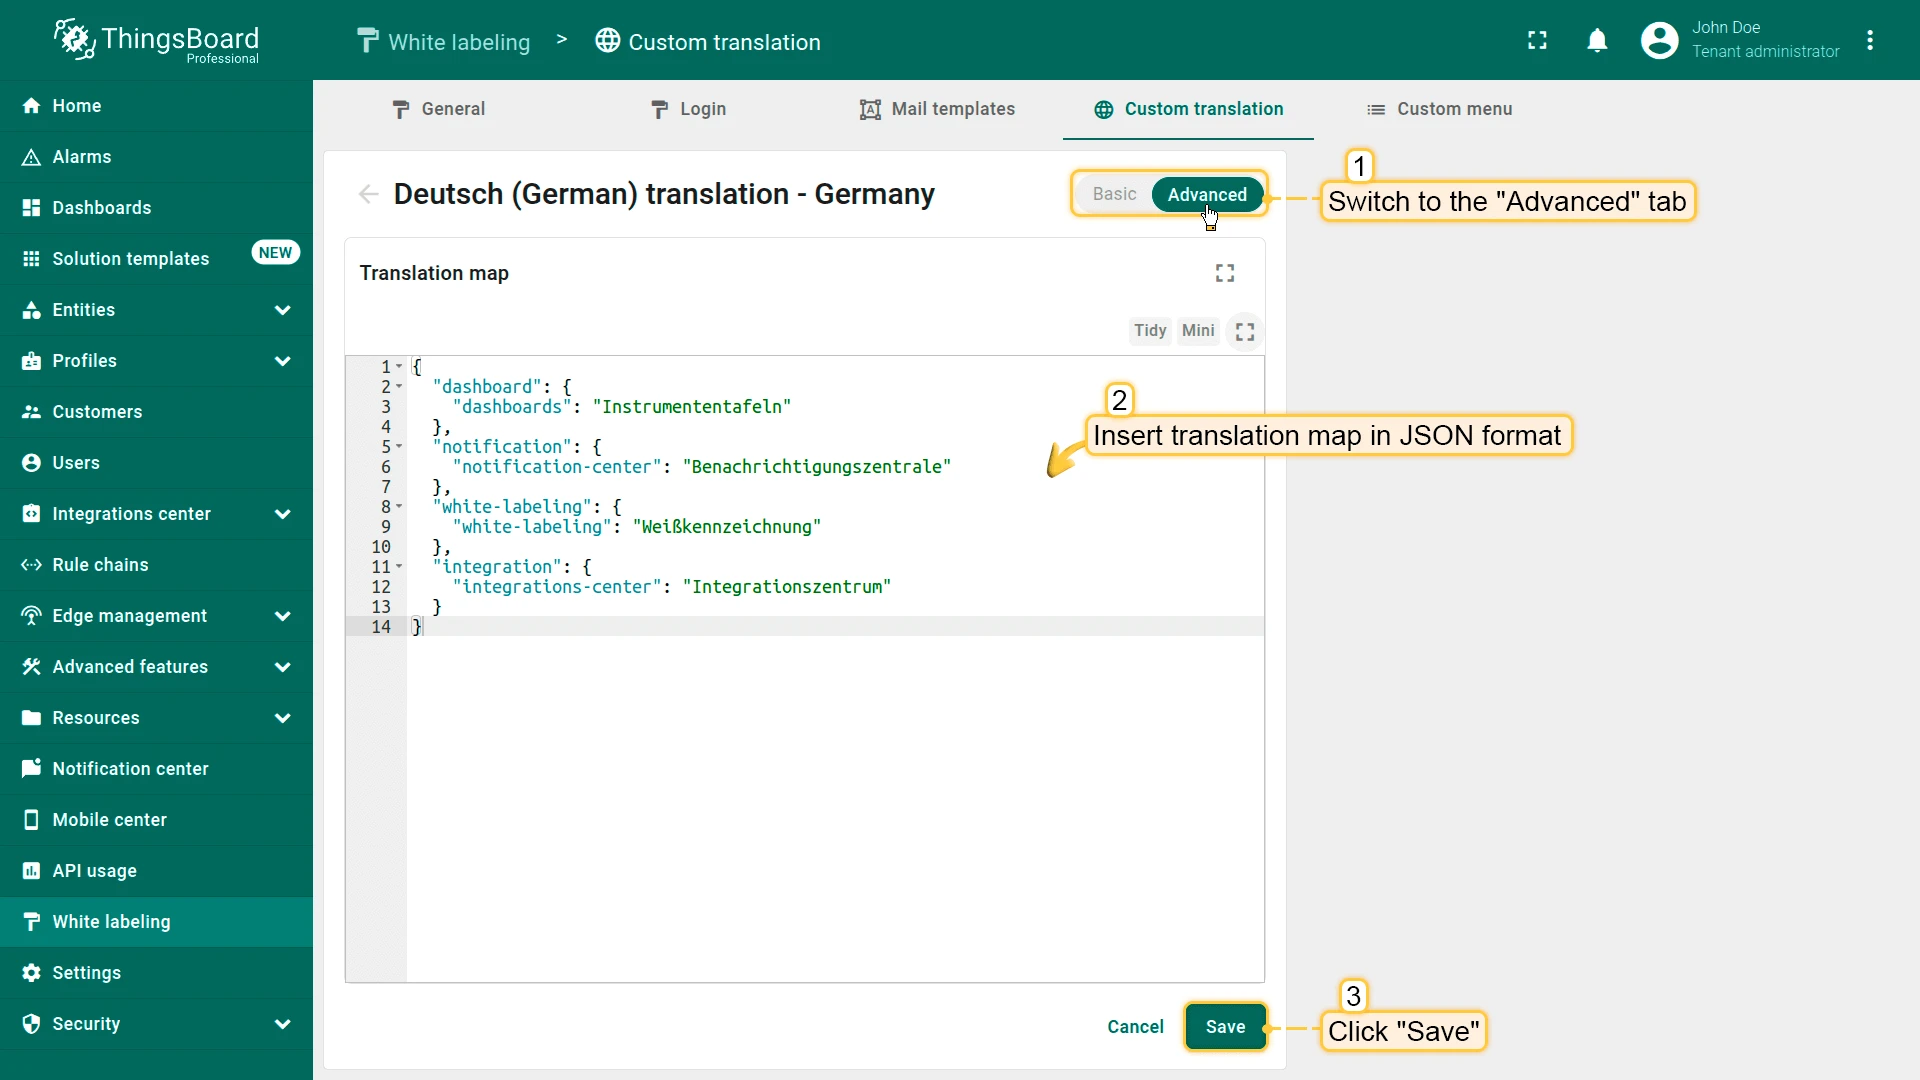
Example translation map:
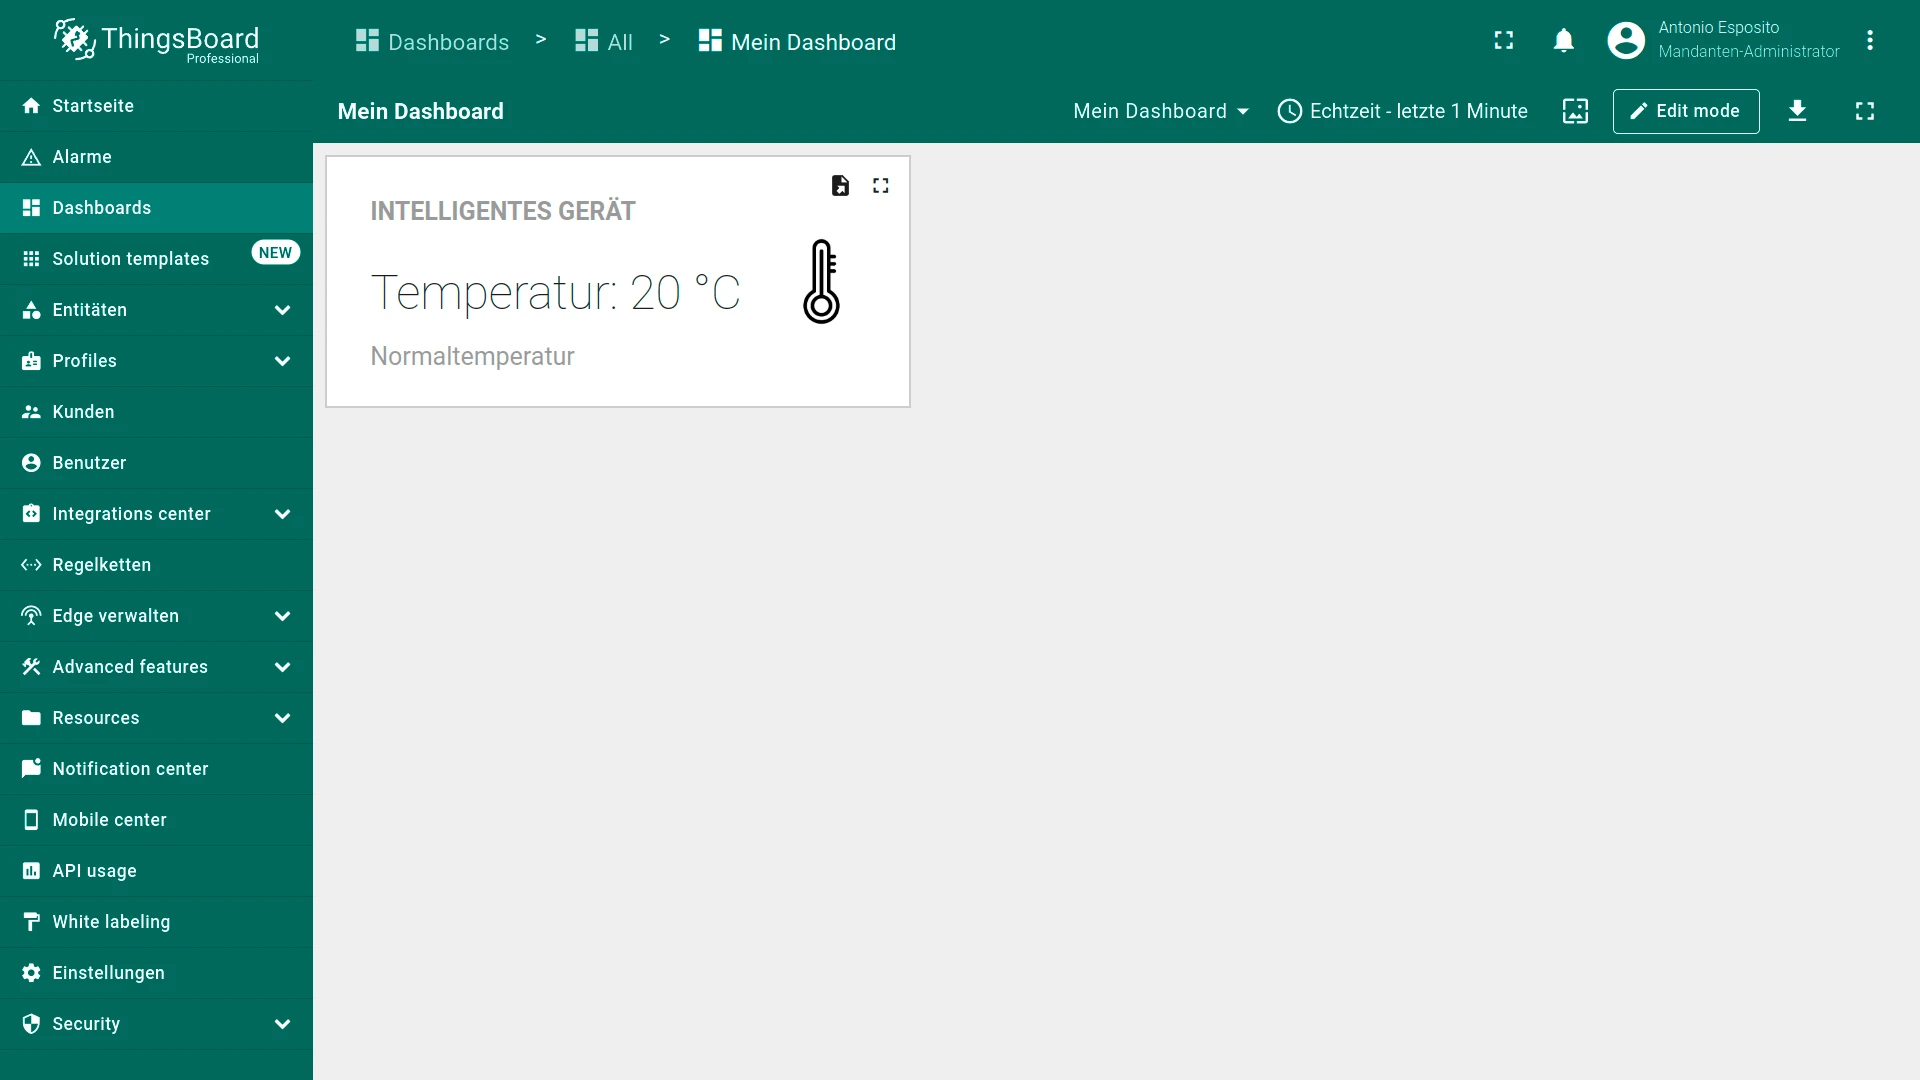
{ "dashboard": { "dashboards": "Instrumententafeln" }, "notification": { "notification-center": "Benachrichtigungszentrale" }, "white-labeling": { "white-labeling": "Weißkennzeichnung" }, "integration": { "integrations-center": "Integrationszentrum" }}Using Custom Translations with i18n Keys
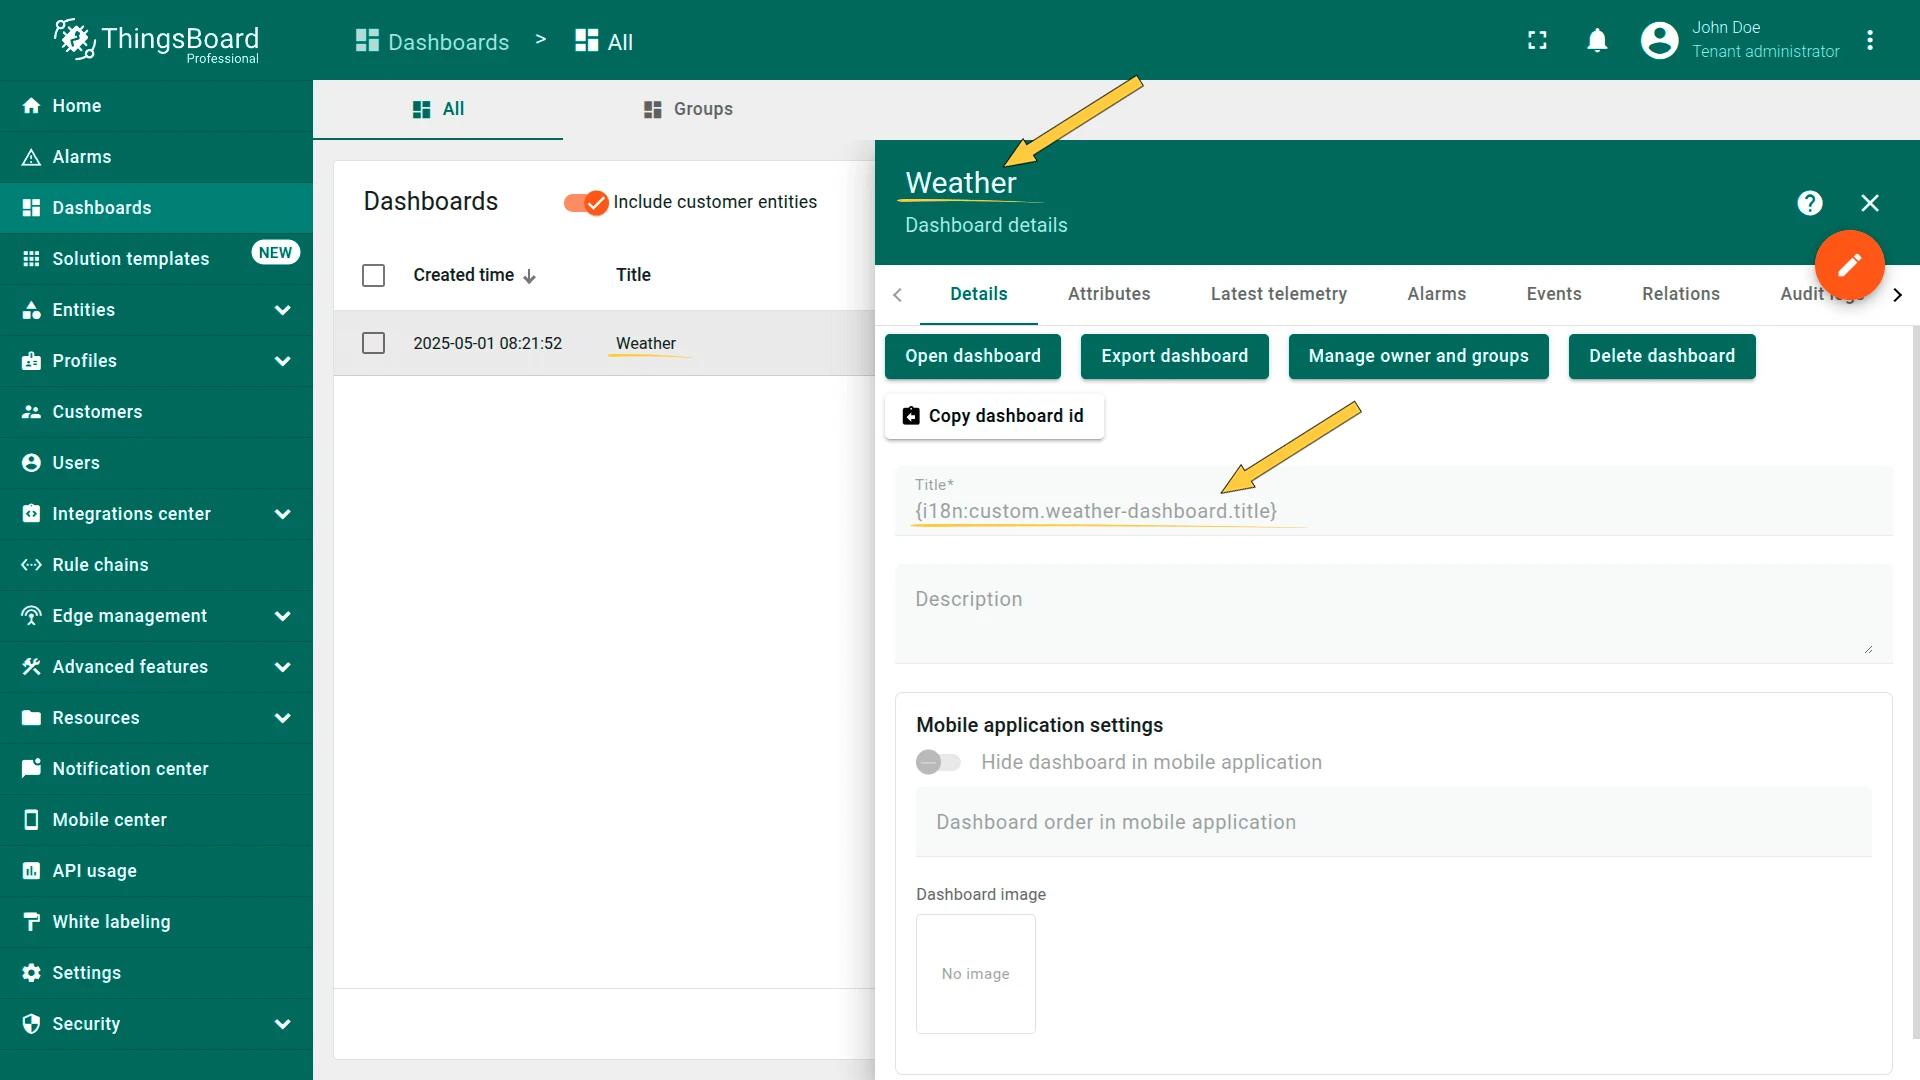
Section titled “Using Custom Translations with i18n Keys”You can provide custom translations for any UI element — dashboard titles, widget names, device names, telemetry keys, and custom menu items — using the i18n key syntax.
i18n Key Syntax
Section titled “i18n Key Syntax”In the title or label field of any UI element, replace plain text with a key using the i18n: prefix wrapped in curly braces:
{i18n:custom.translation.key}Where:
i18n:— required prefixcustom.translation.key— the key added to the translation map
Then add the corresponding value for this key in each language’s translation map:
| Term key | English value | Selected language value |
|---|---|---|
your.custom.key | Value in English | Translated value |

Translate Dashboard Elements
Section titled “Translate Dashboard Elements”You can apply i18n keys to dashboard titles, widget titles, telemetry key labels, and axis labels. For a step-by-step walkthrough, see the recipe: Translate dashboard elements.
Use Translations in HTML Value Card Widgets
Section titled “Use Translations in HTML Value Card Widgets”Custom translations work in widget functions — for example, in the HTML Value Card widget, where i18n keys in the HTML template are resolved according to the user’s language. See the recipe: Custom translation in HTML Value Card.
Use Translations in Data Post-Processing Functions
Section titled “Use Translations in Data Post-Processing Functions”Custom translation keys also work in cell content functions (data post-processing). See the recipe: Custom translation in data post-processing.


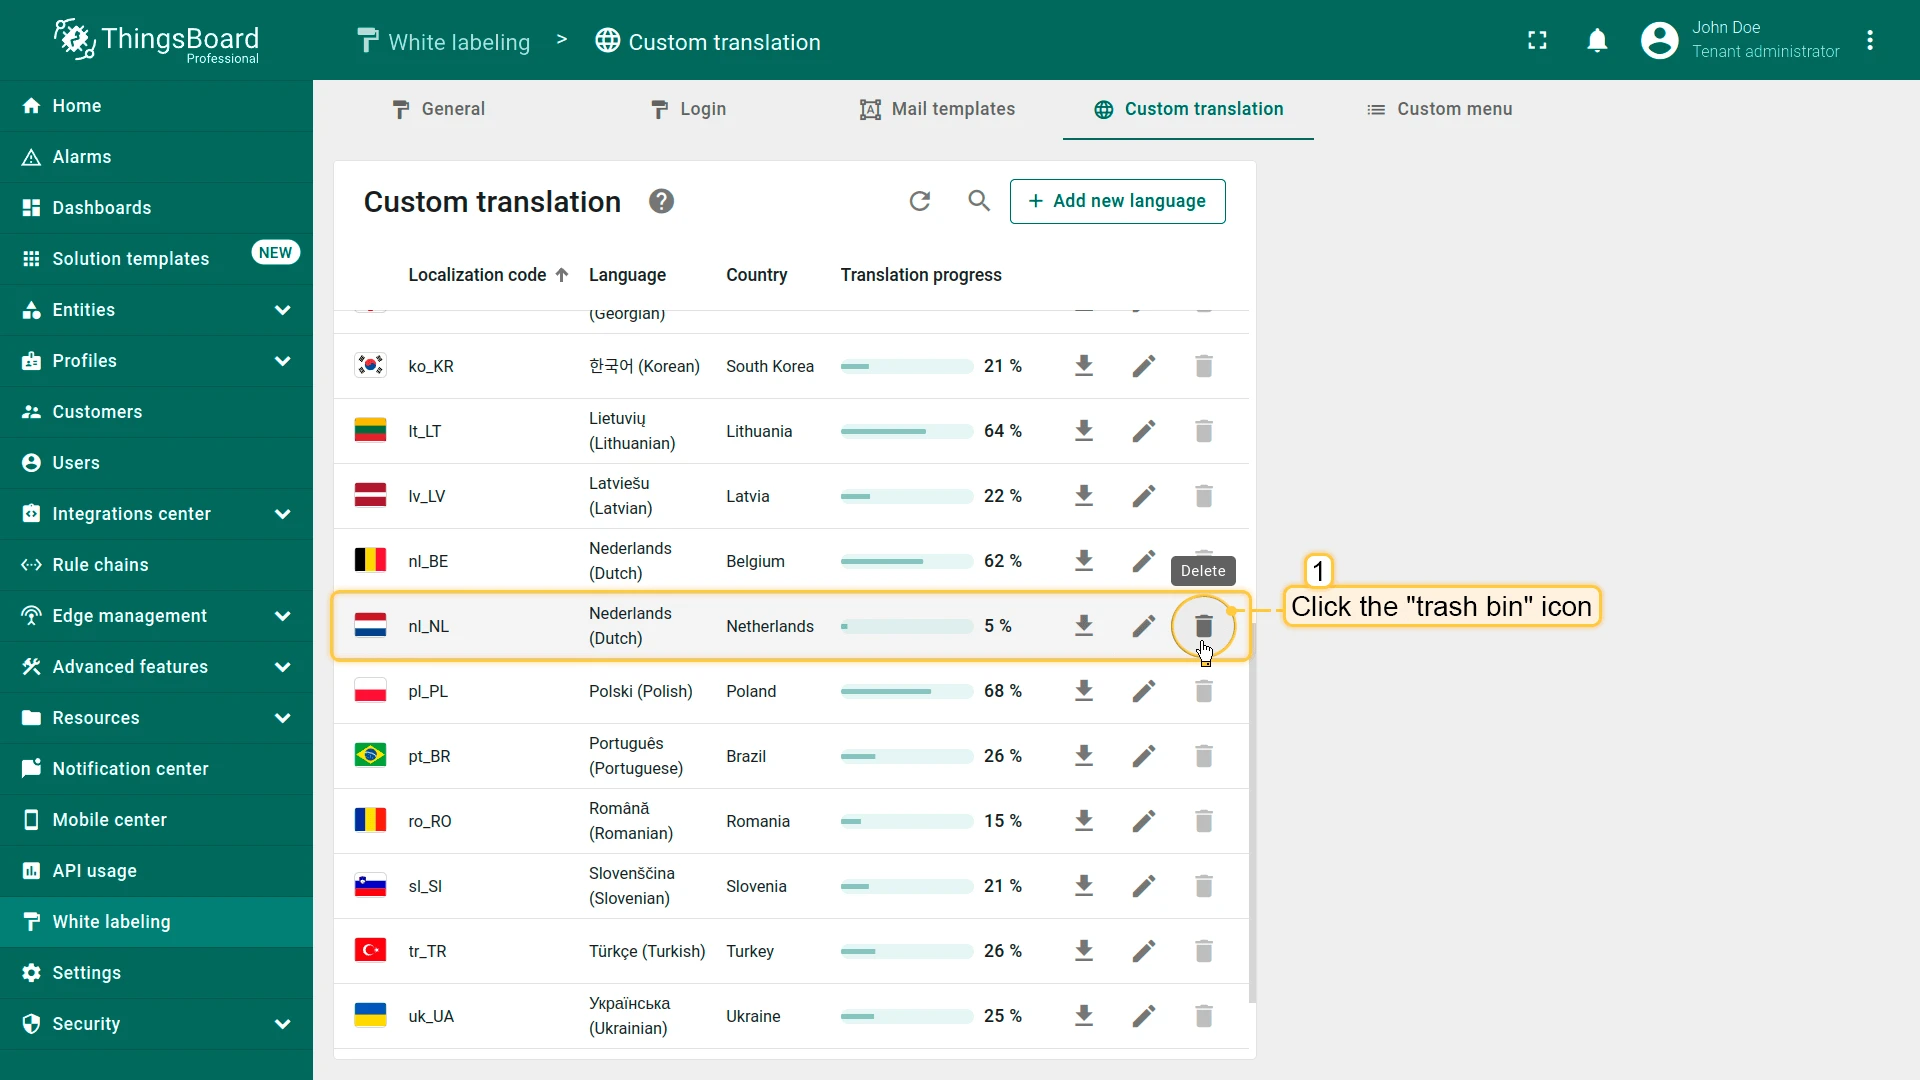
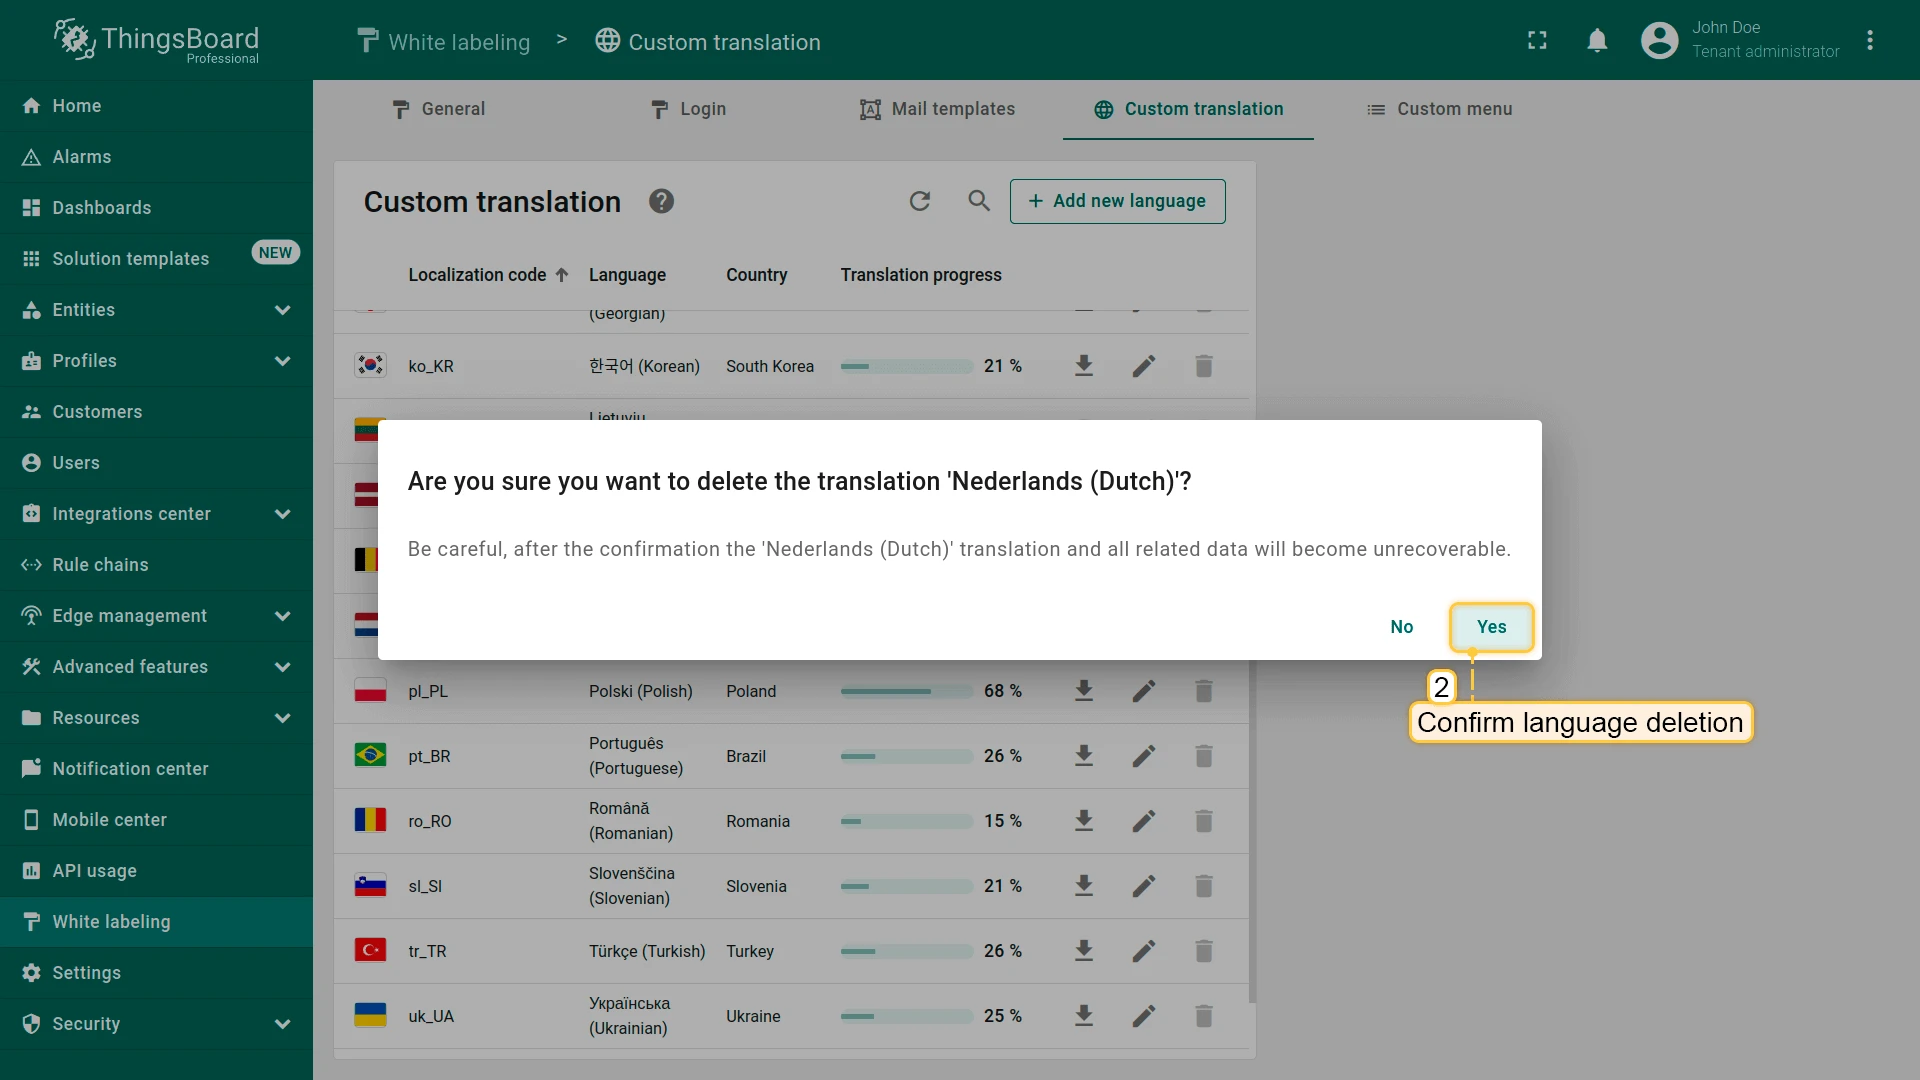
Delete a Language
Section titled “Delete a Language”To delete a language or reset its translations to the default, click the trash icon next to it and confirm.
Was this helpful?