White-labeling: Custom Menu
The Custom menu feature lets you tailor the navigation sidebar for tenants, customers, or individual users. You can add items linking to dashboards or external pages, hide default items, reorganize the menu order, and create sections with subitems.
Playing this video loads it from YouTube (Google), which sets cookies on its own domain. See our Cookie Policy.
Video: https://www.youtube.com/watch?v=U69PLwRoWyI
Add a Custom Menu
Section titled “Add a Custom Menu”Before adding a custom menu, define its scope — who will see it:
| Scope | Options |
|---|---|
| Tenant | Not assigned, All tenant users, or a specific Users list |
| Customer | Not assigned, All customer users, a specific Users list, or a Customers list |
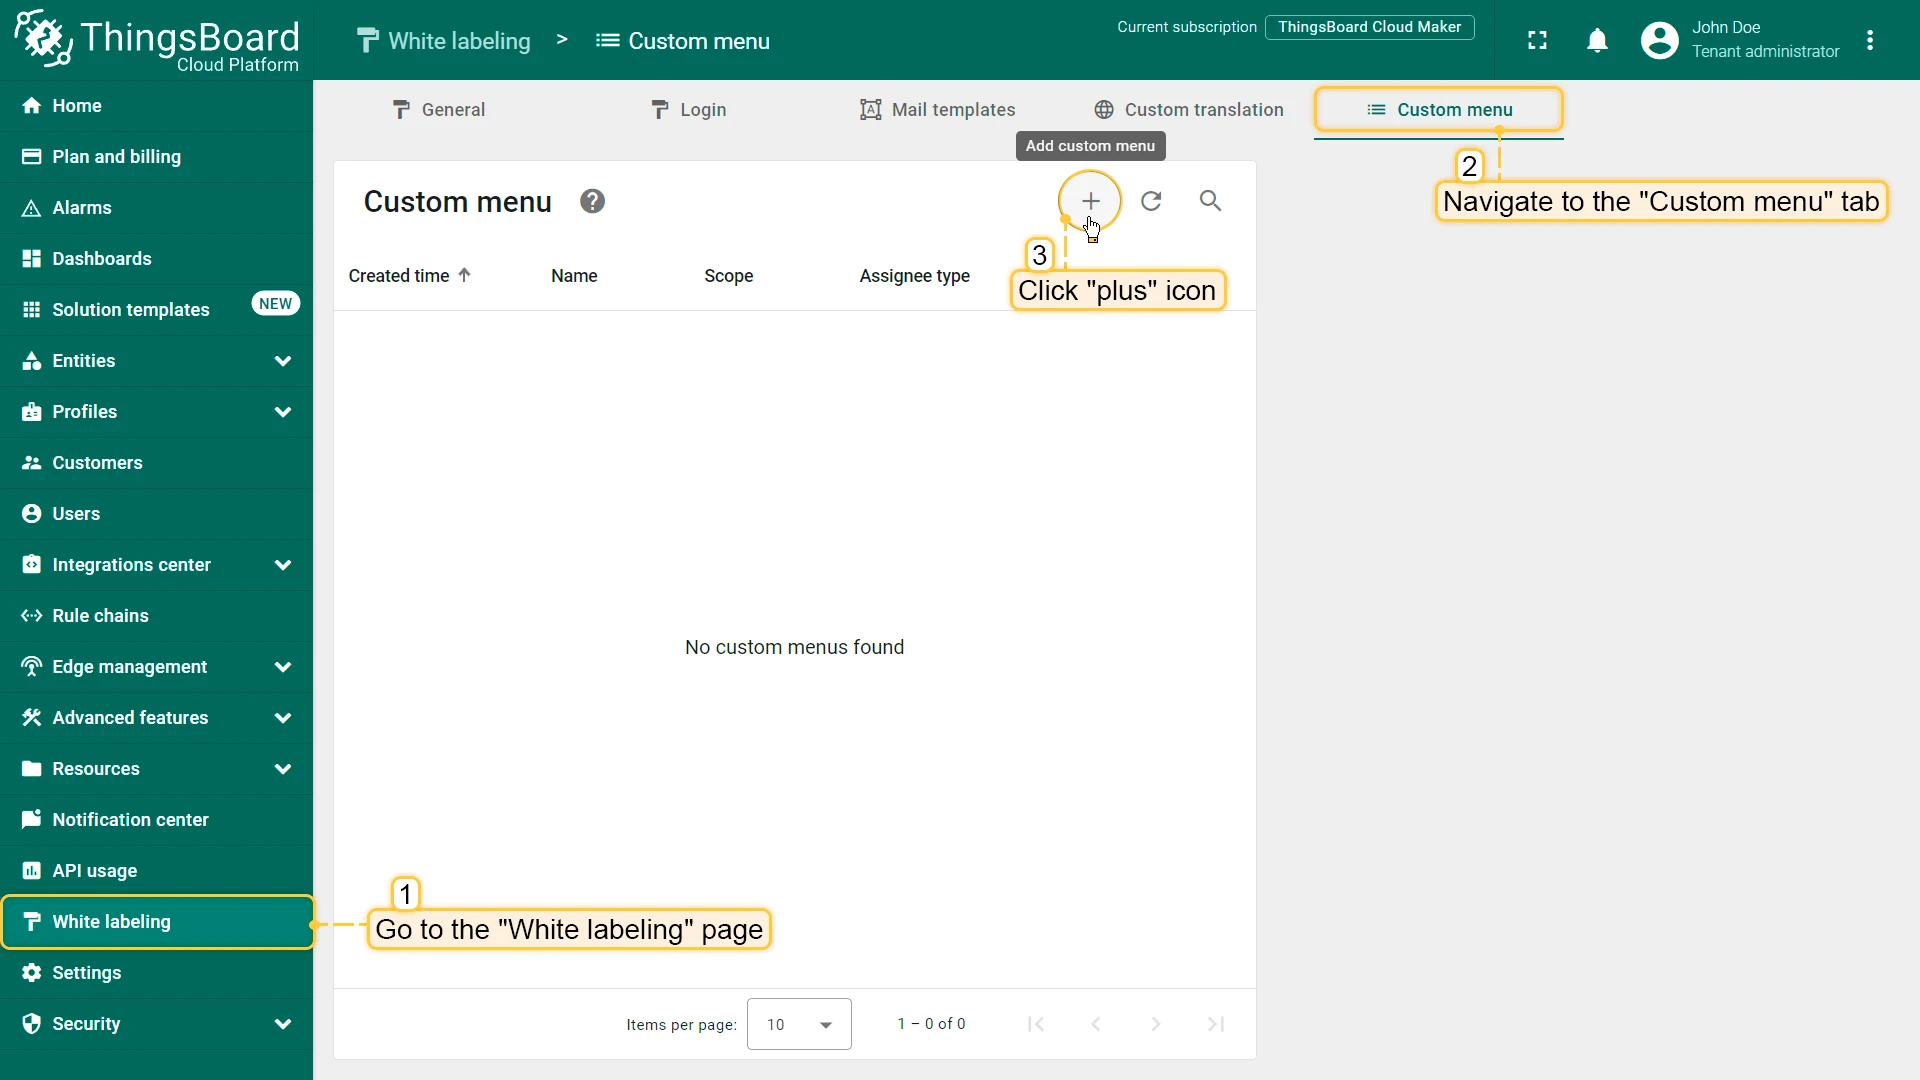
- Navigate to the White labeling page and open the Custom menu tab. Click the + Add custom menu icon.
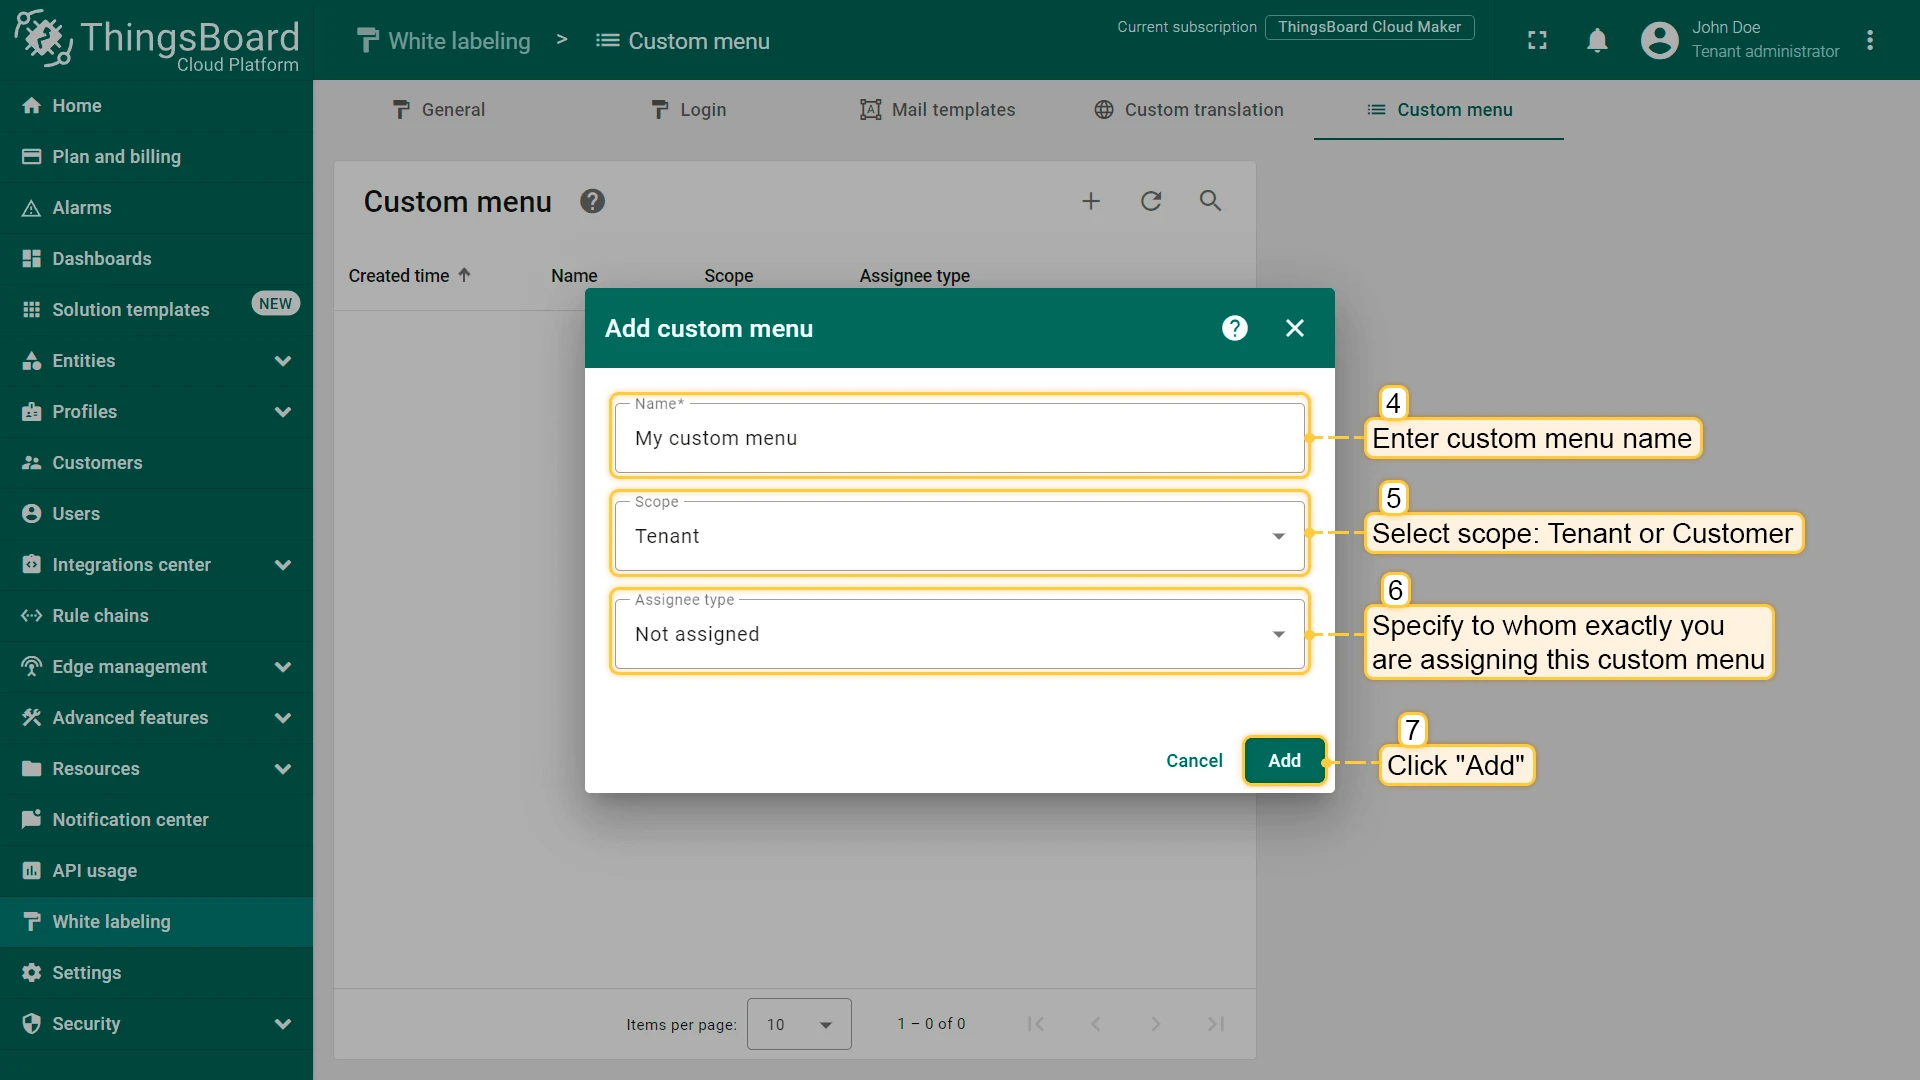
- Enter the custom menu name and select the scope (Tenant or Customer).
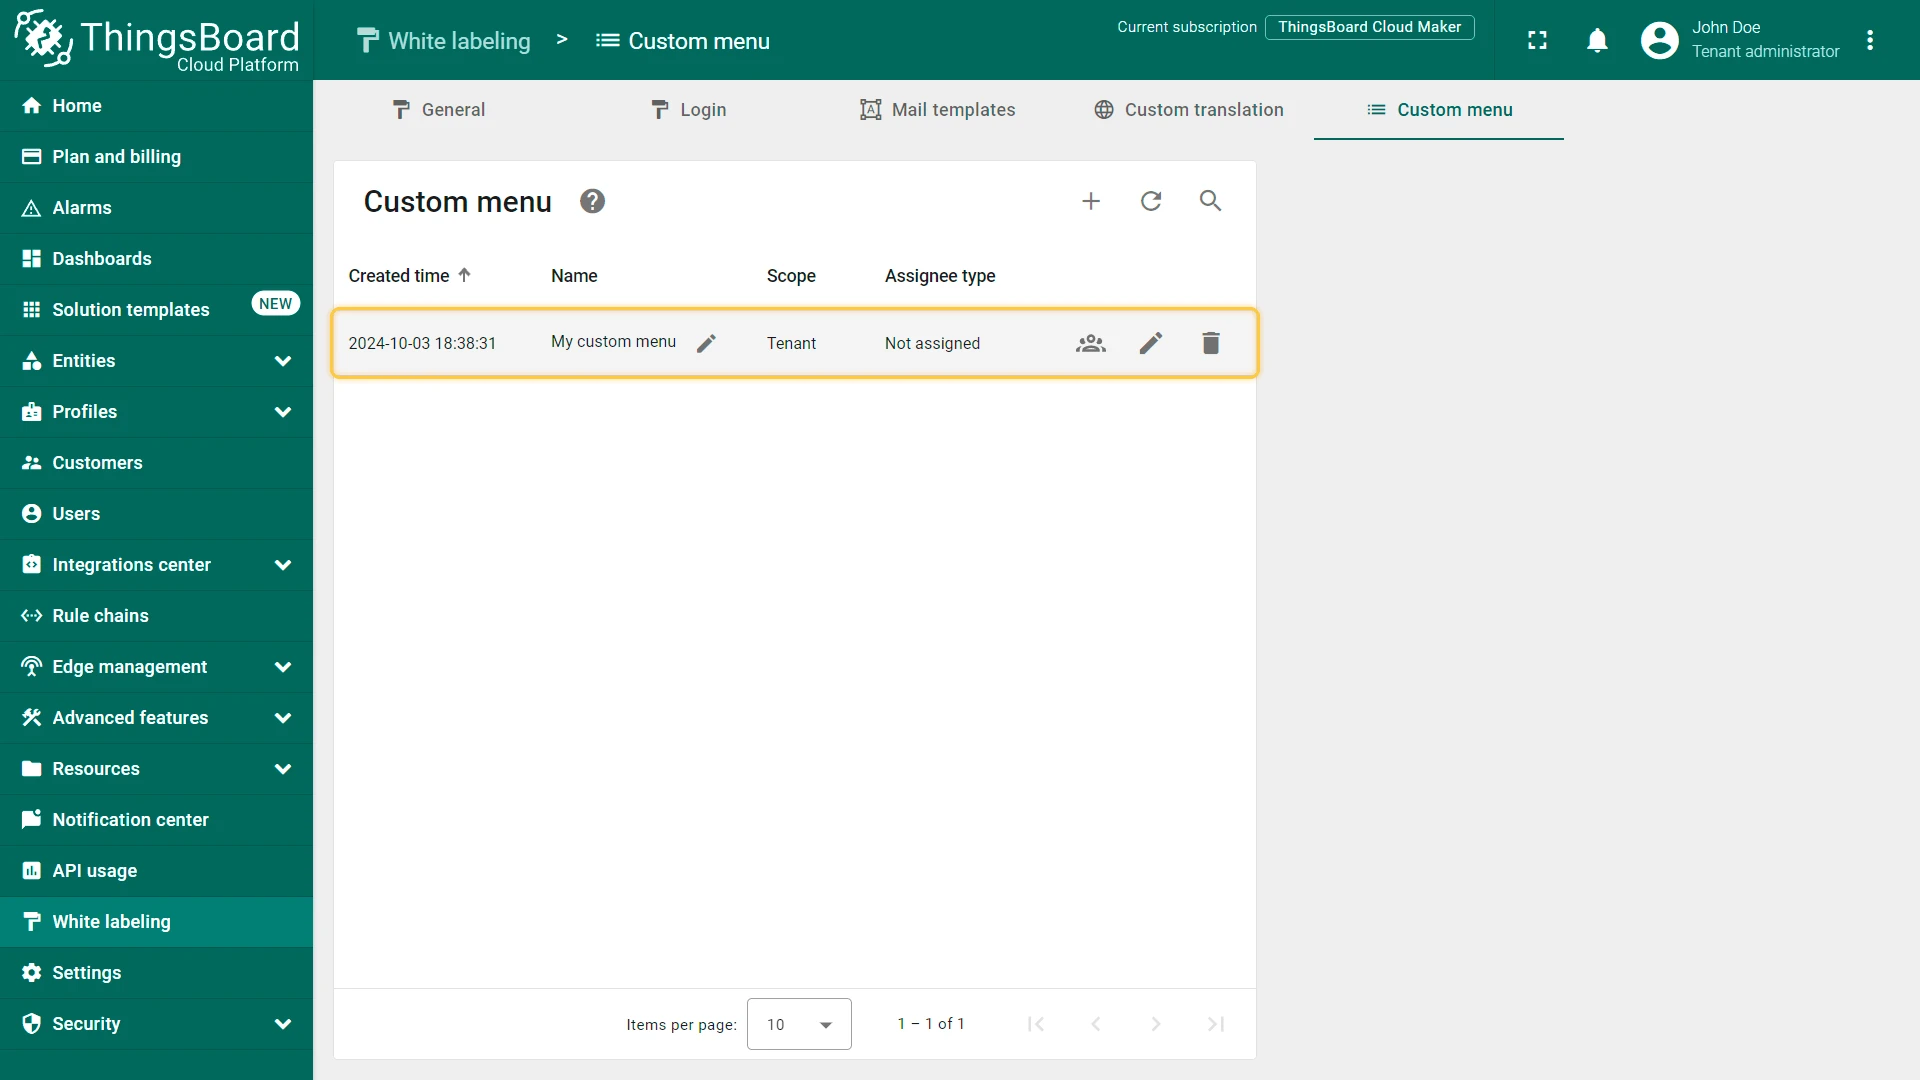
- Specify the assignees and click Add.
Configure Menu Items
Section titled “Configure Menu Items”Add a Menu Item
Section titled “Add a Menu Item”You can add a menu item that links to a dashboard or an external URL.
- Click the Manage custom menu config icon in the custom menu row.
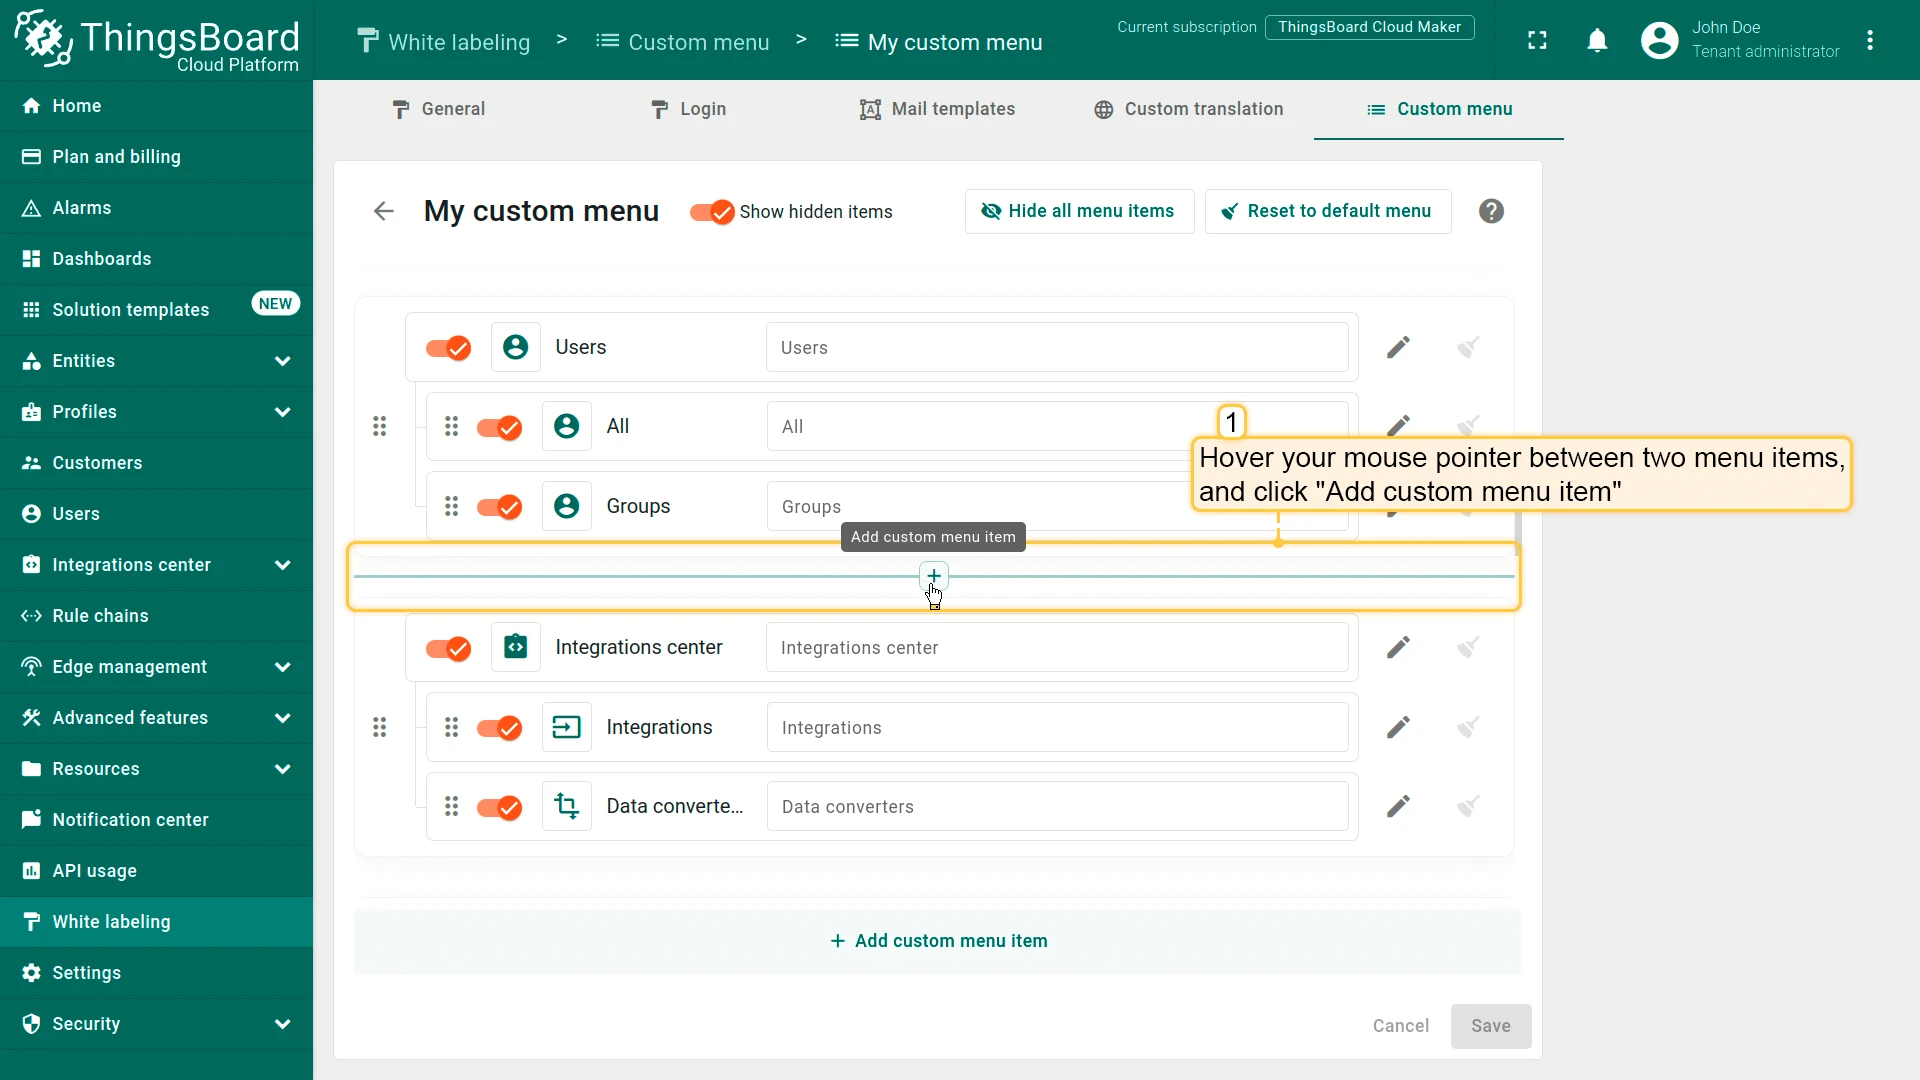
- Click + Add custom menu item at the bottom of the page.
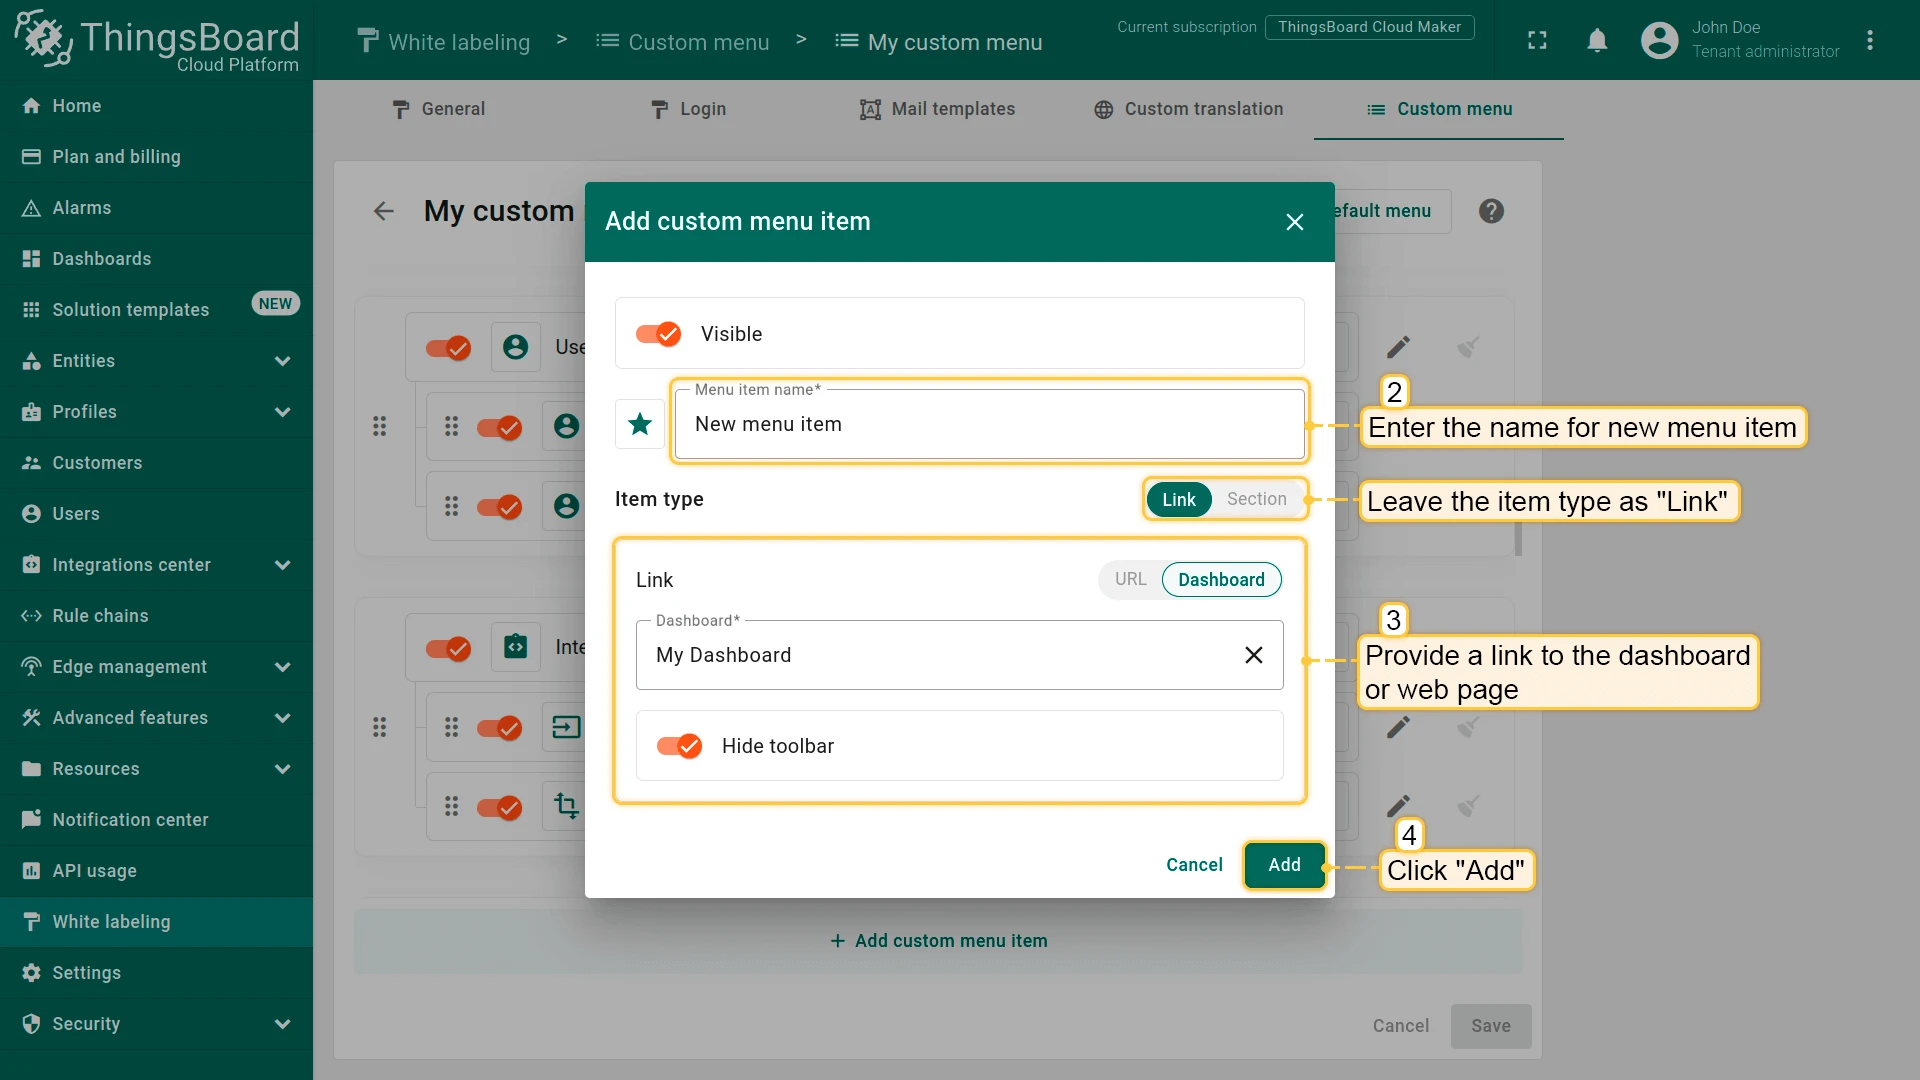
- Enter a name, leave the item type as Link, and specify the action — open a dashboard or a URL. Click Add.
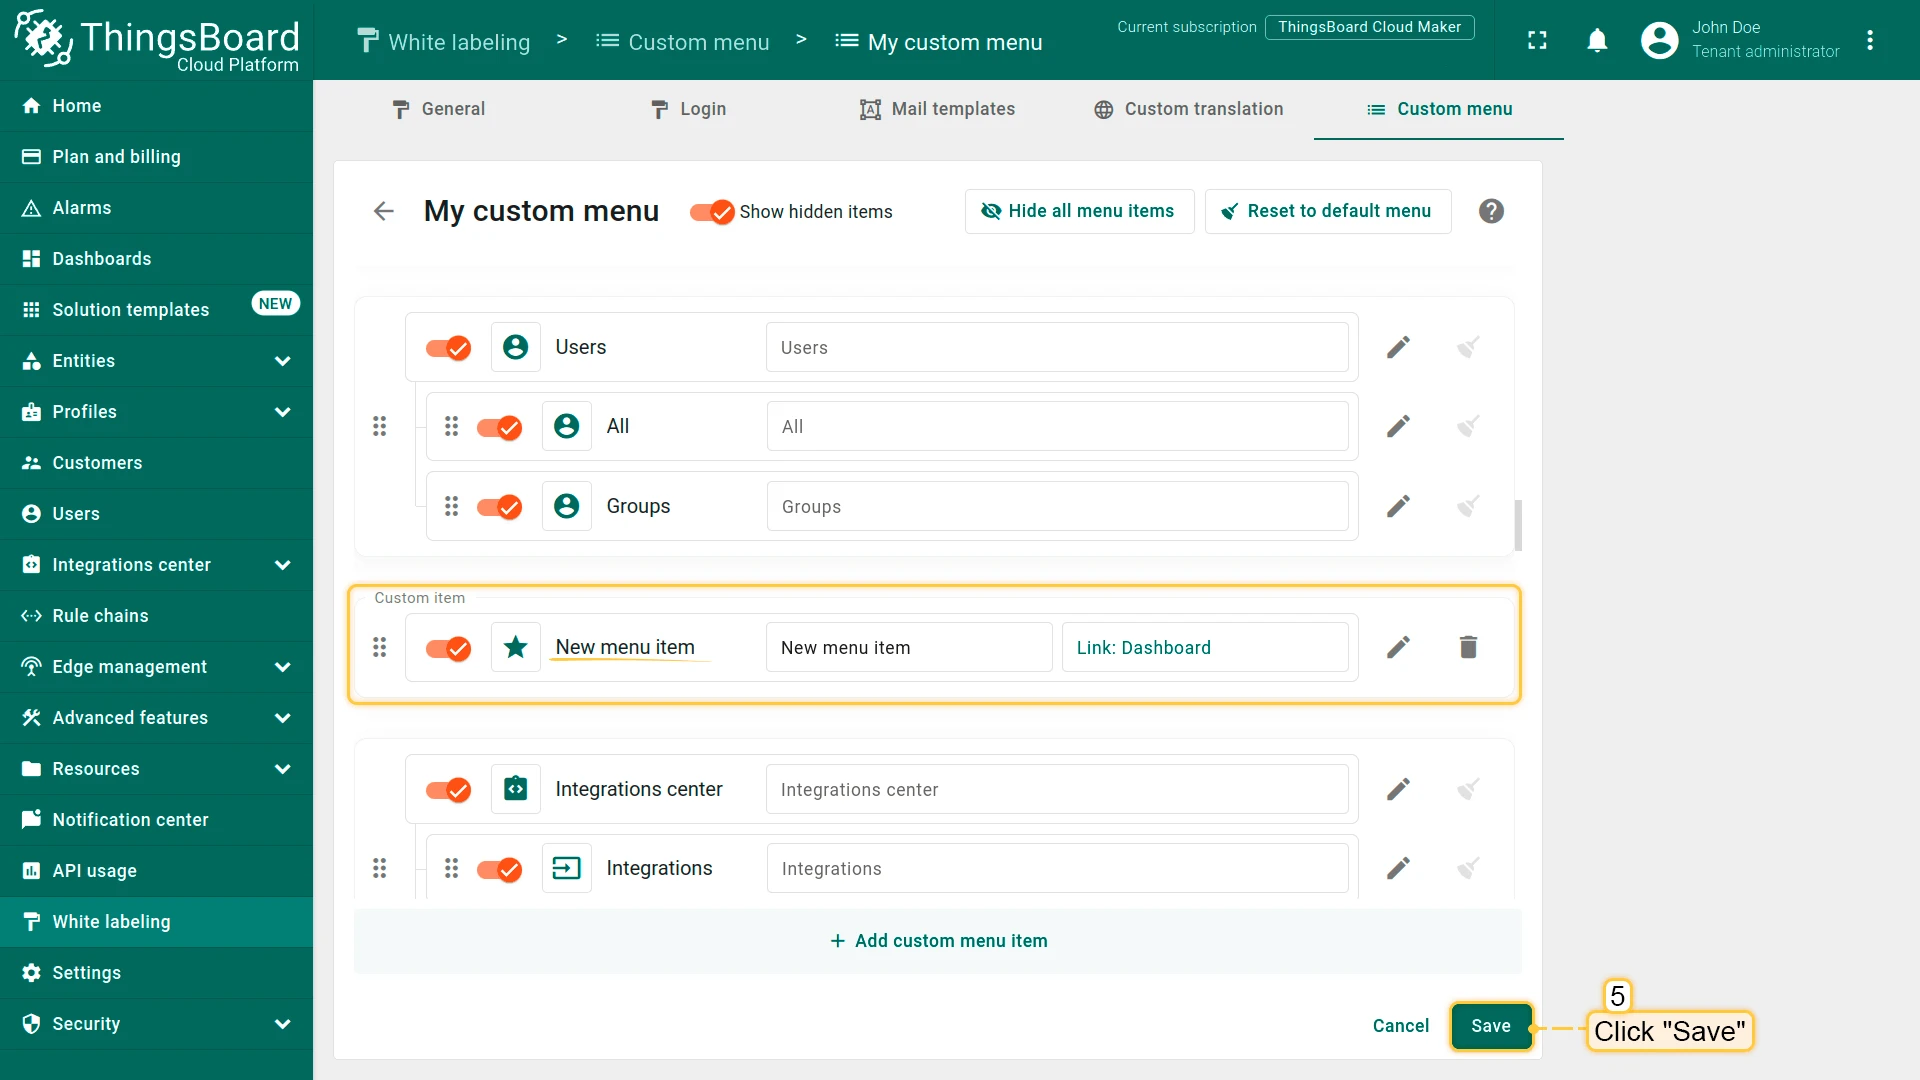
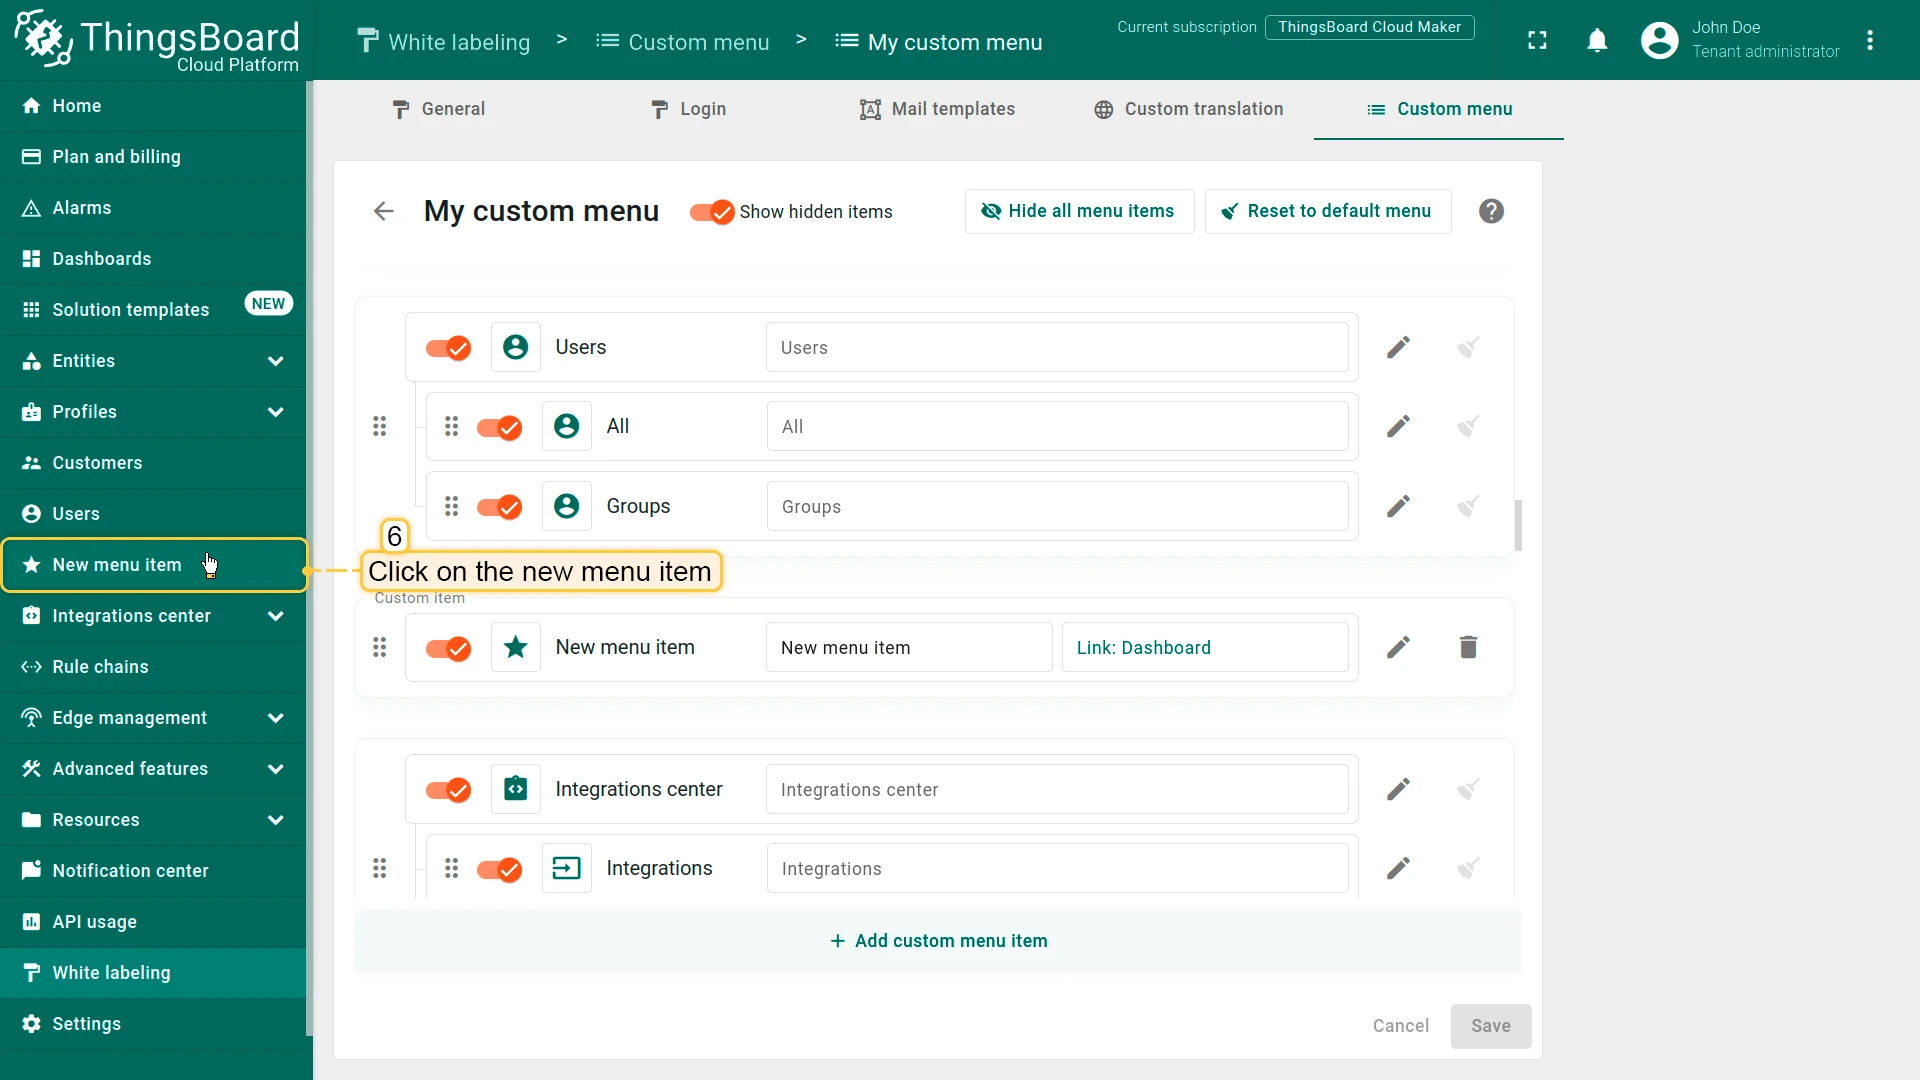
- Drag the new item up or down to reorder it.
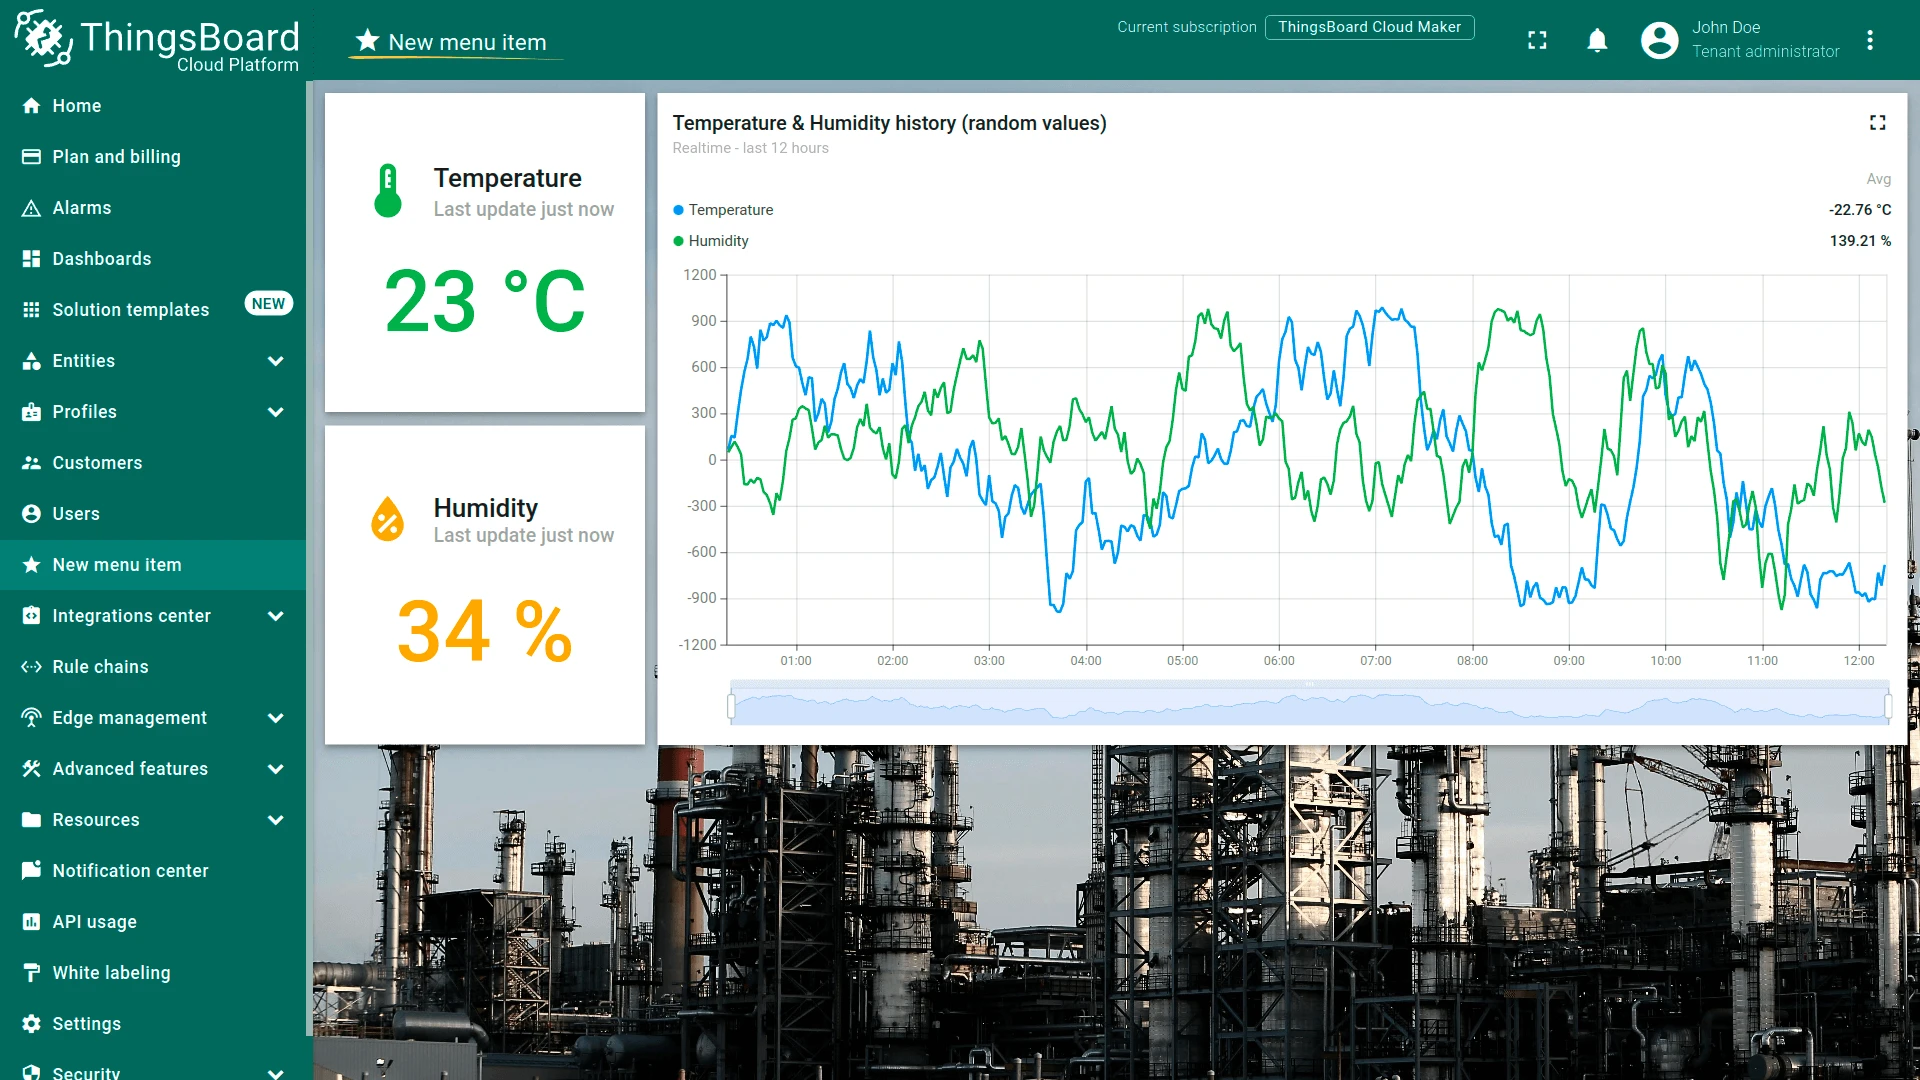
- Click Save to apply.
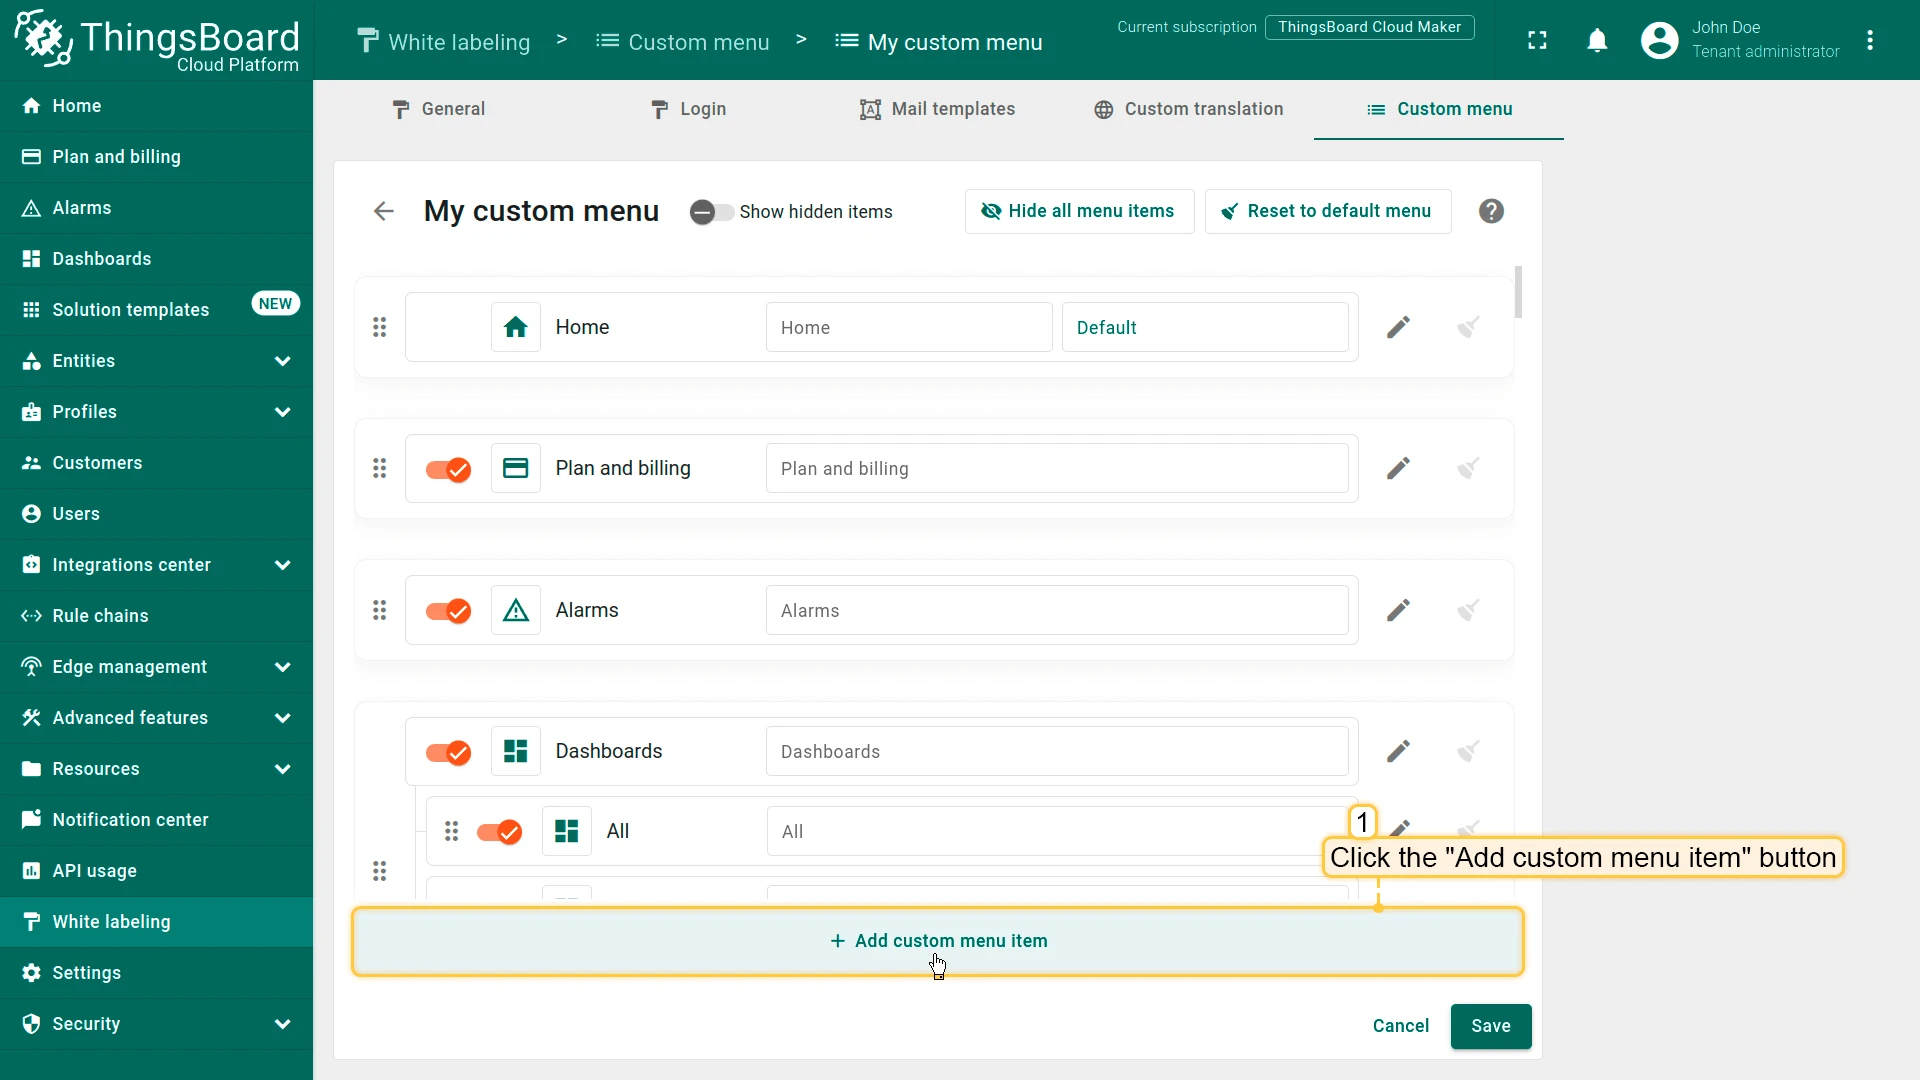
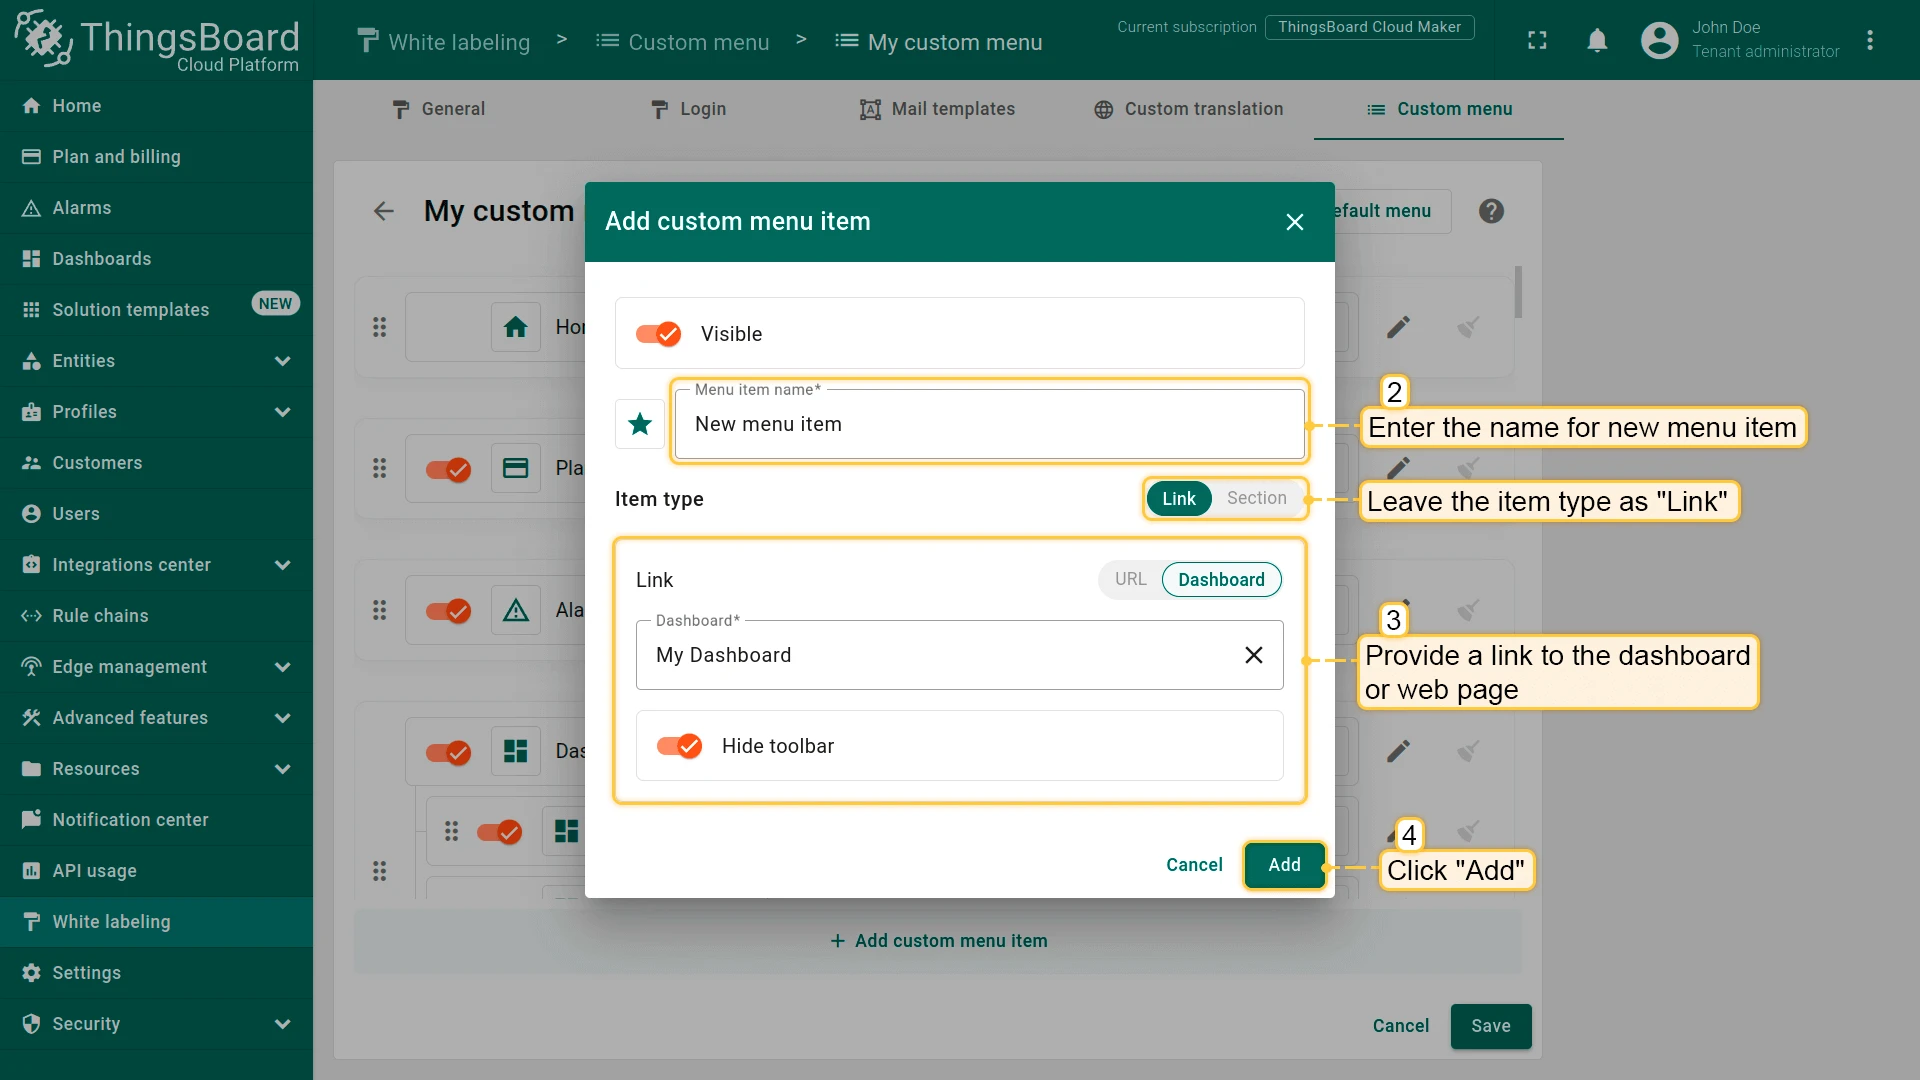
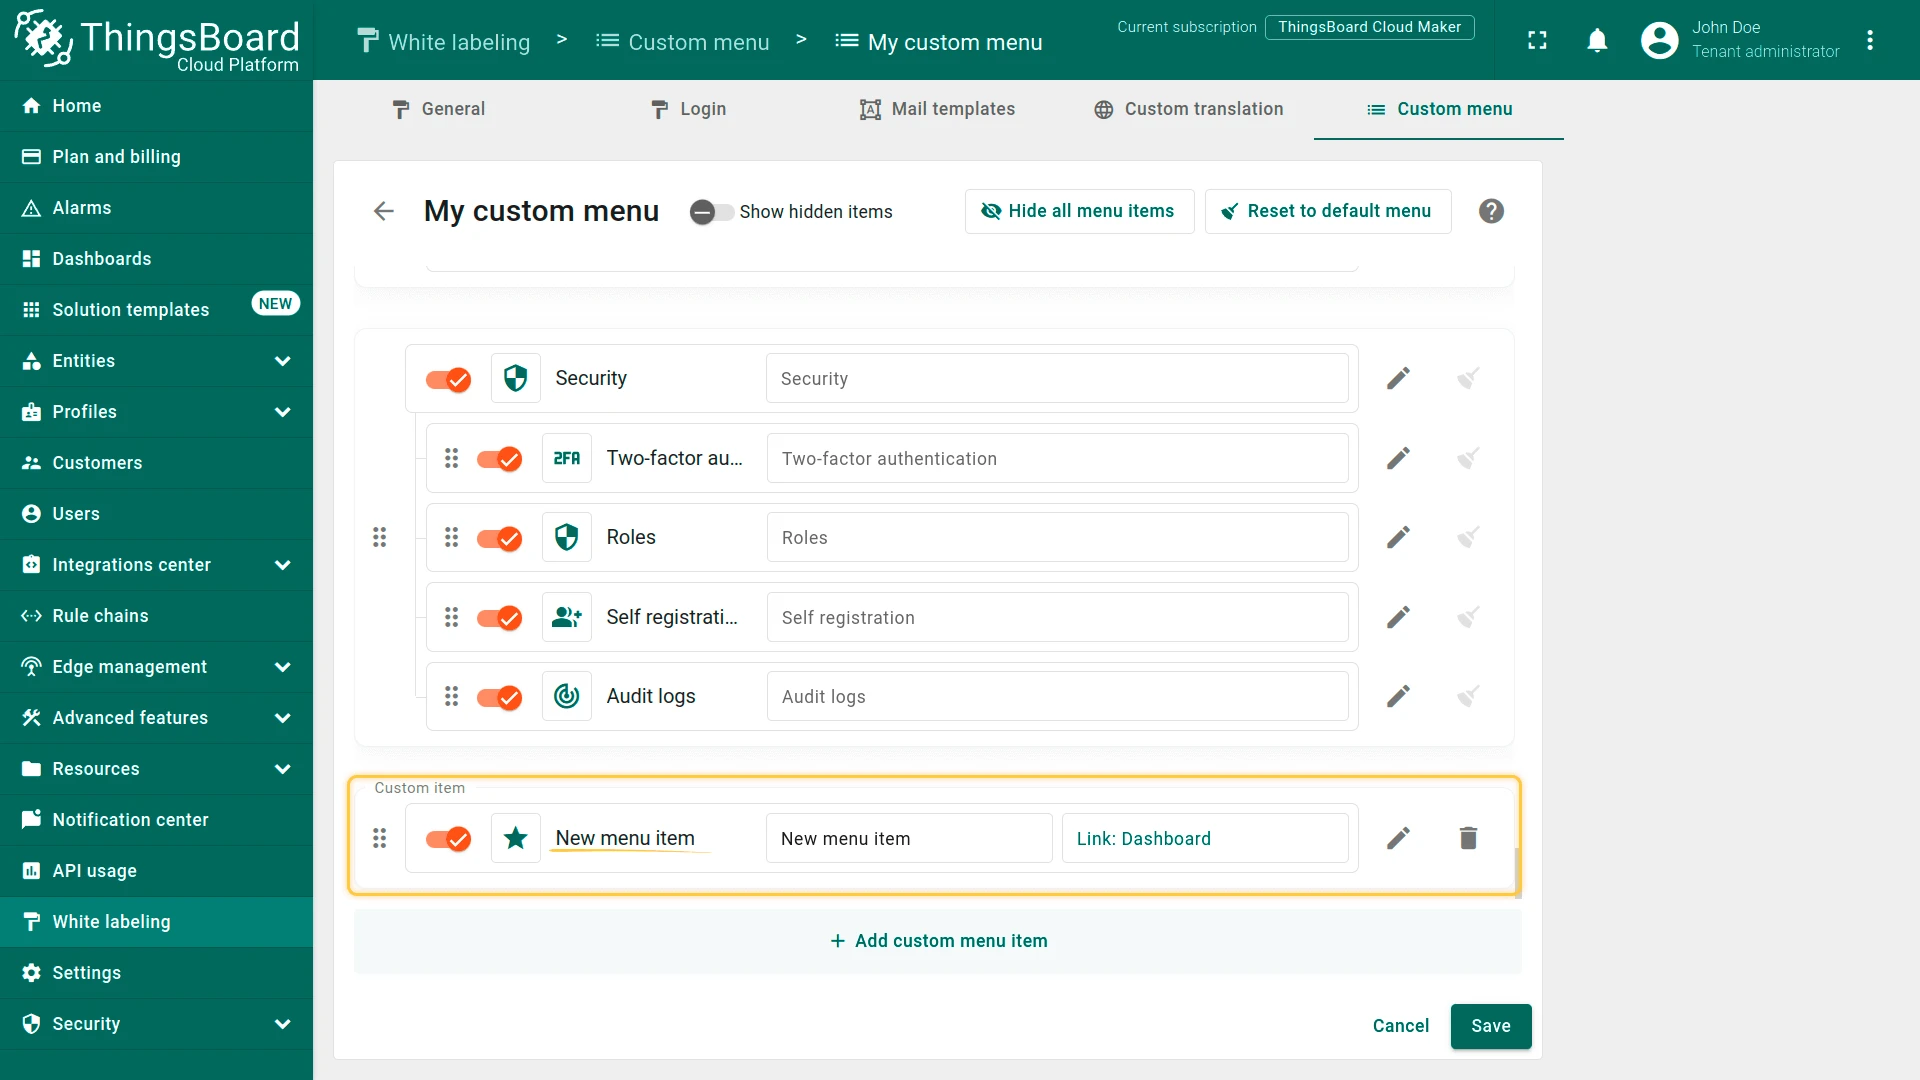
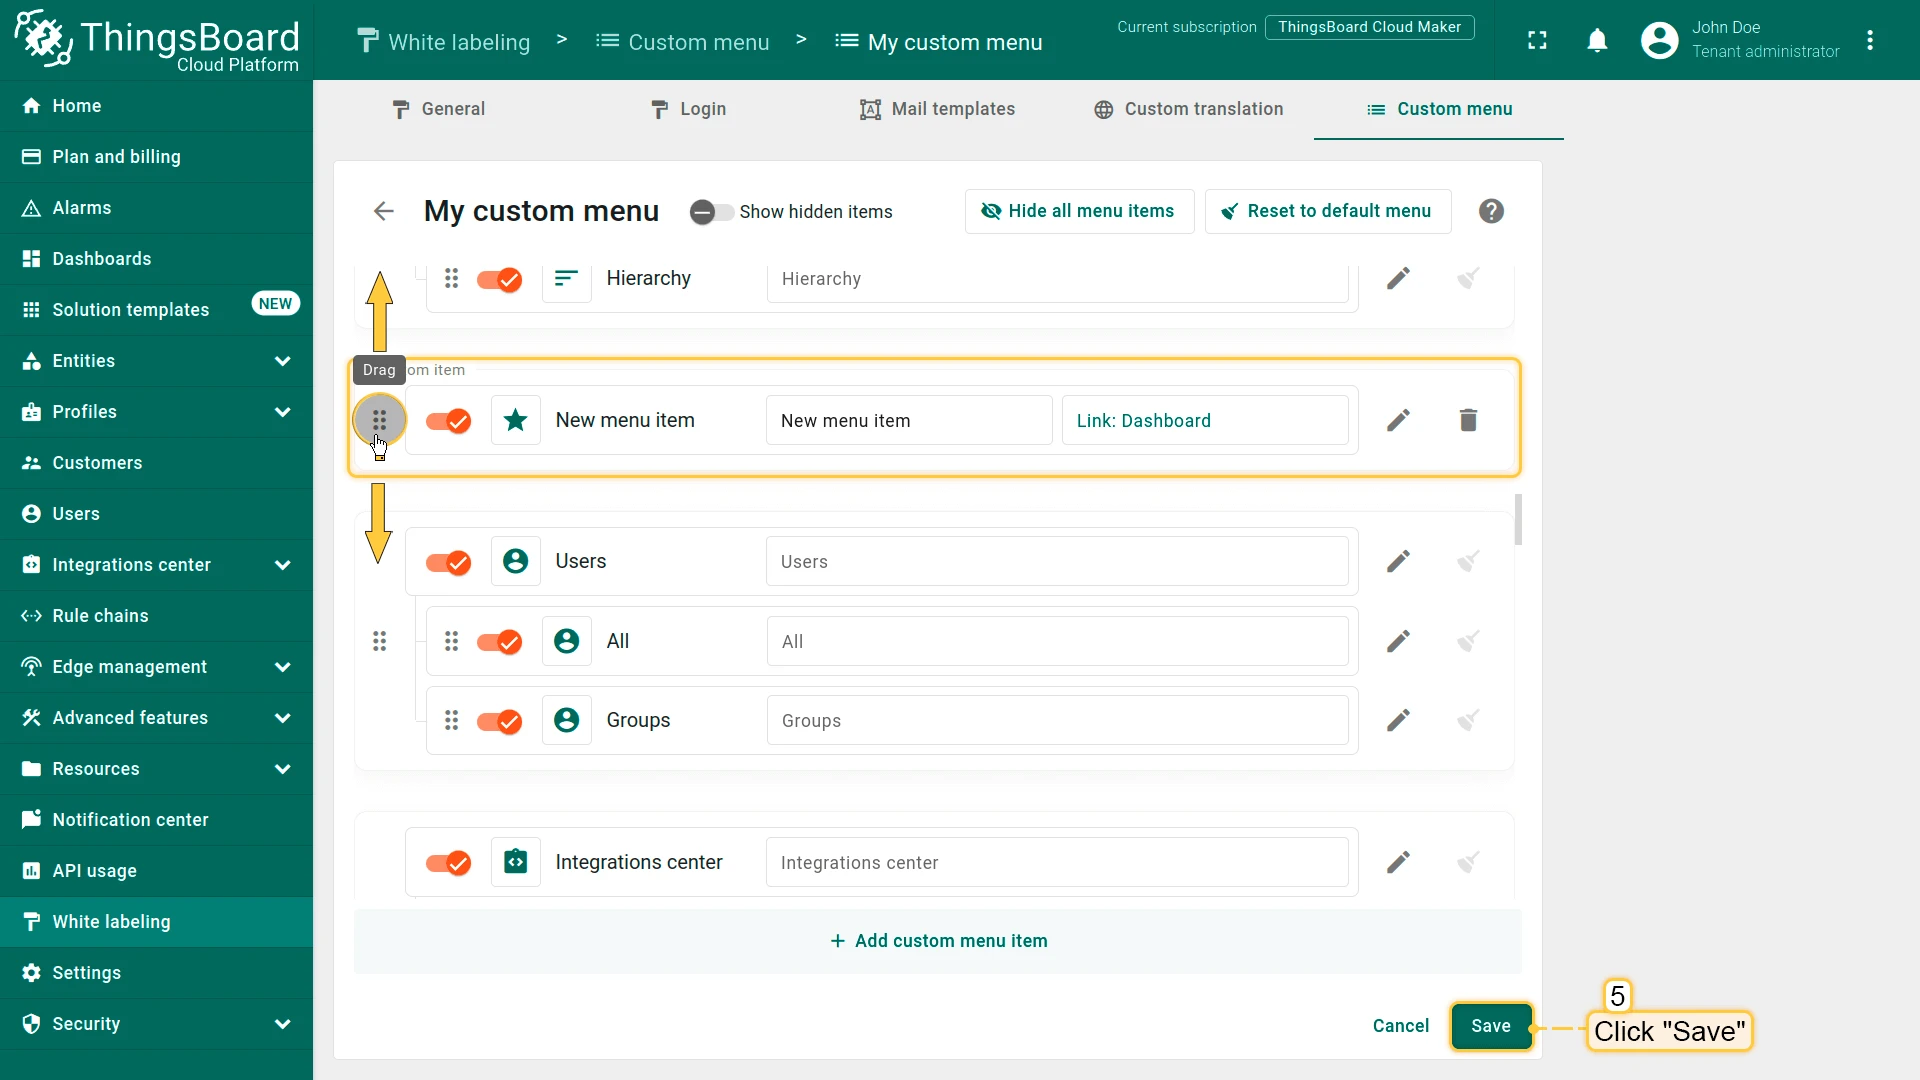
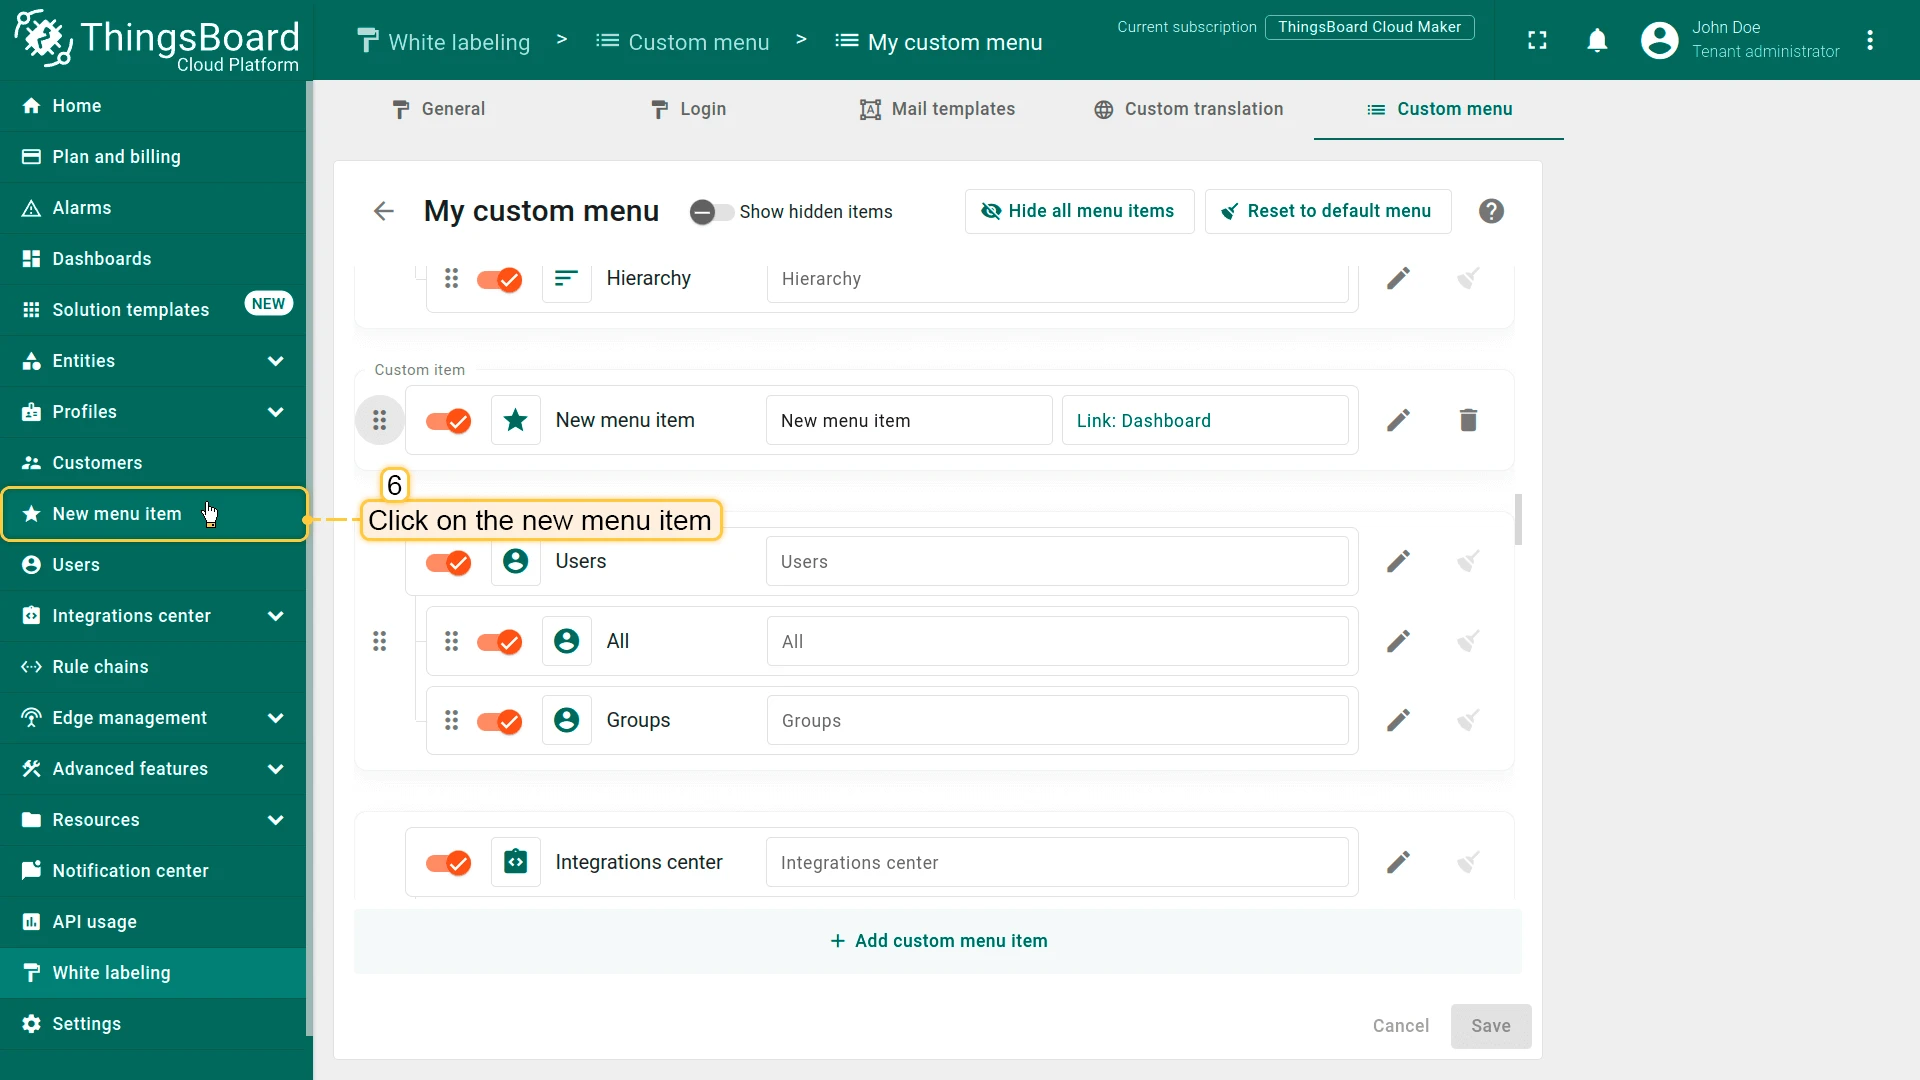
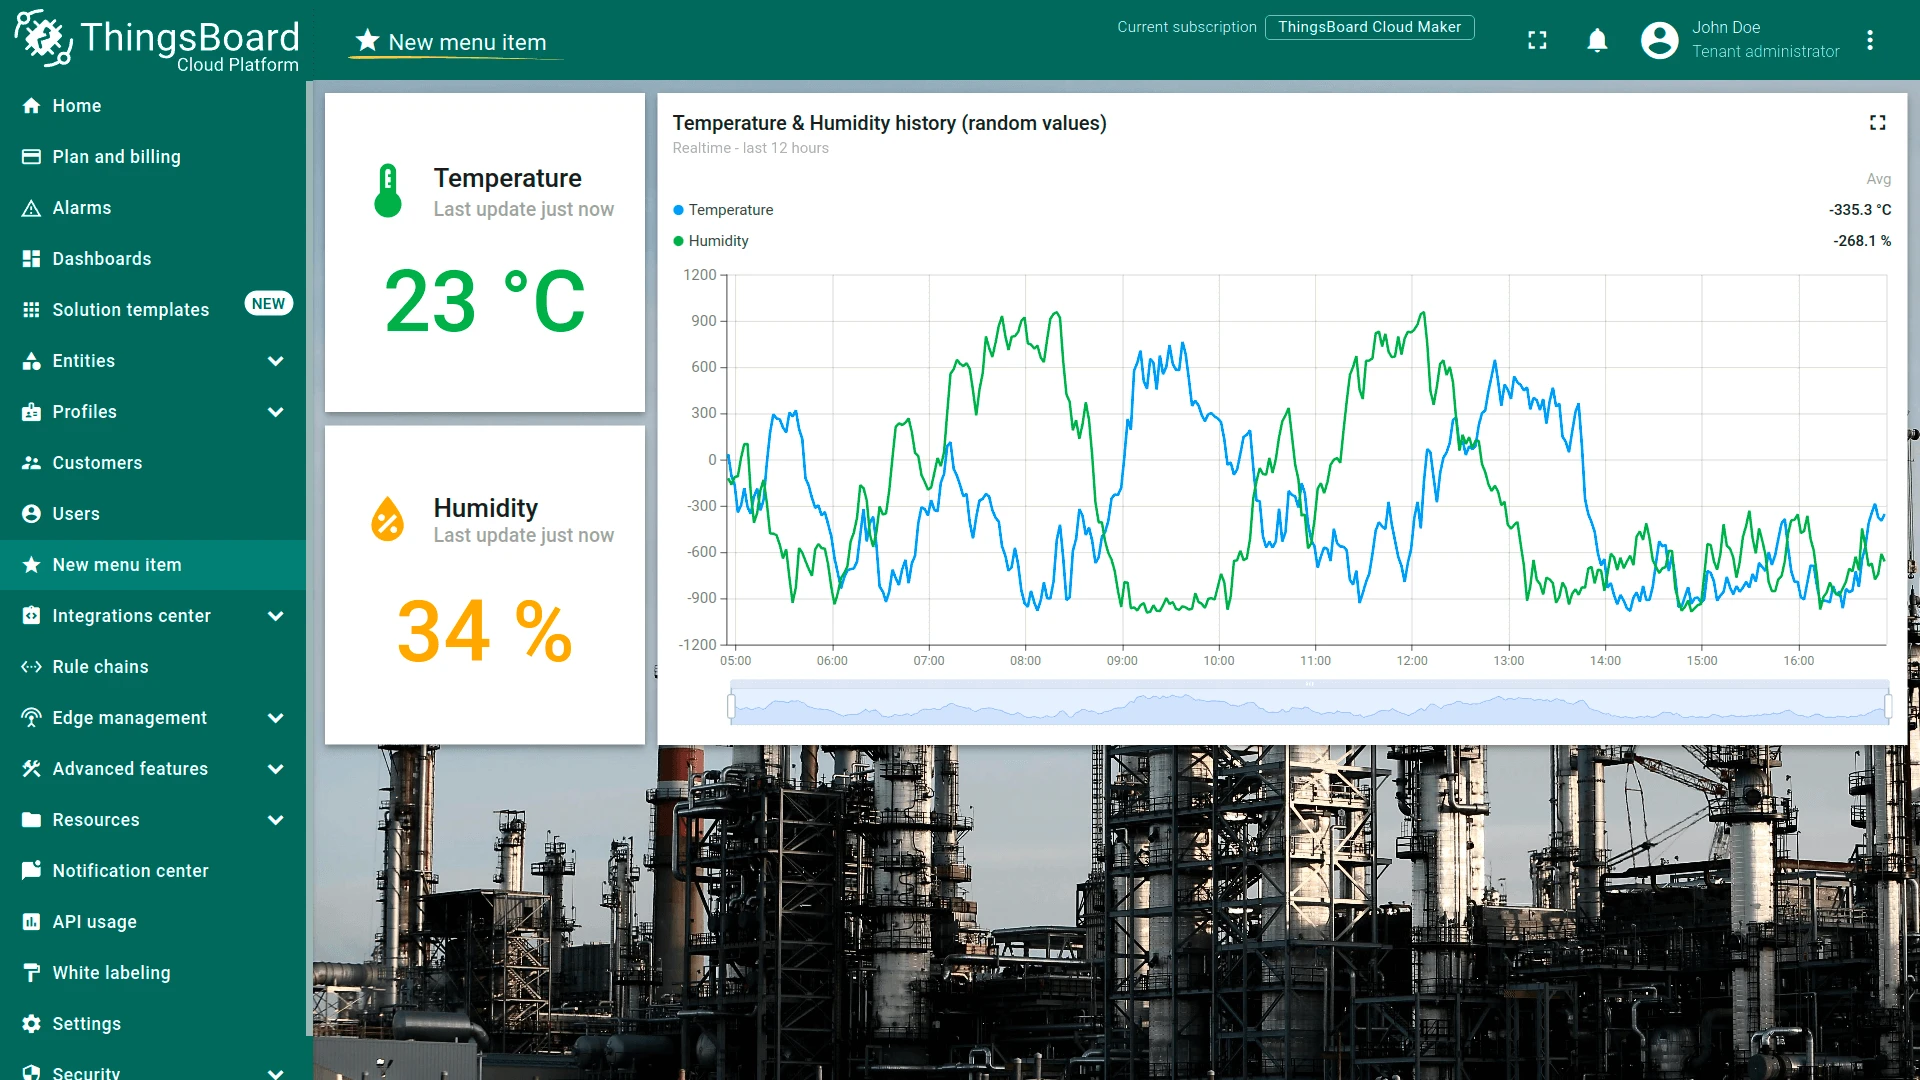
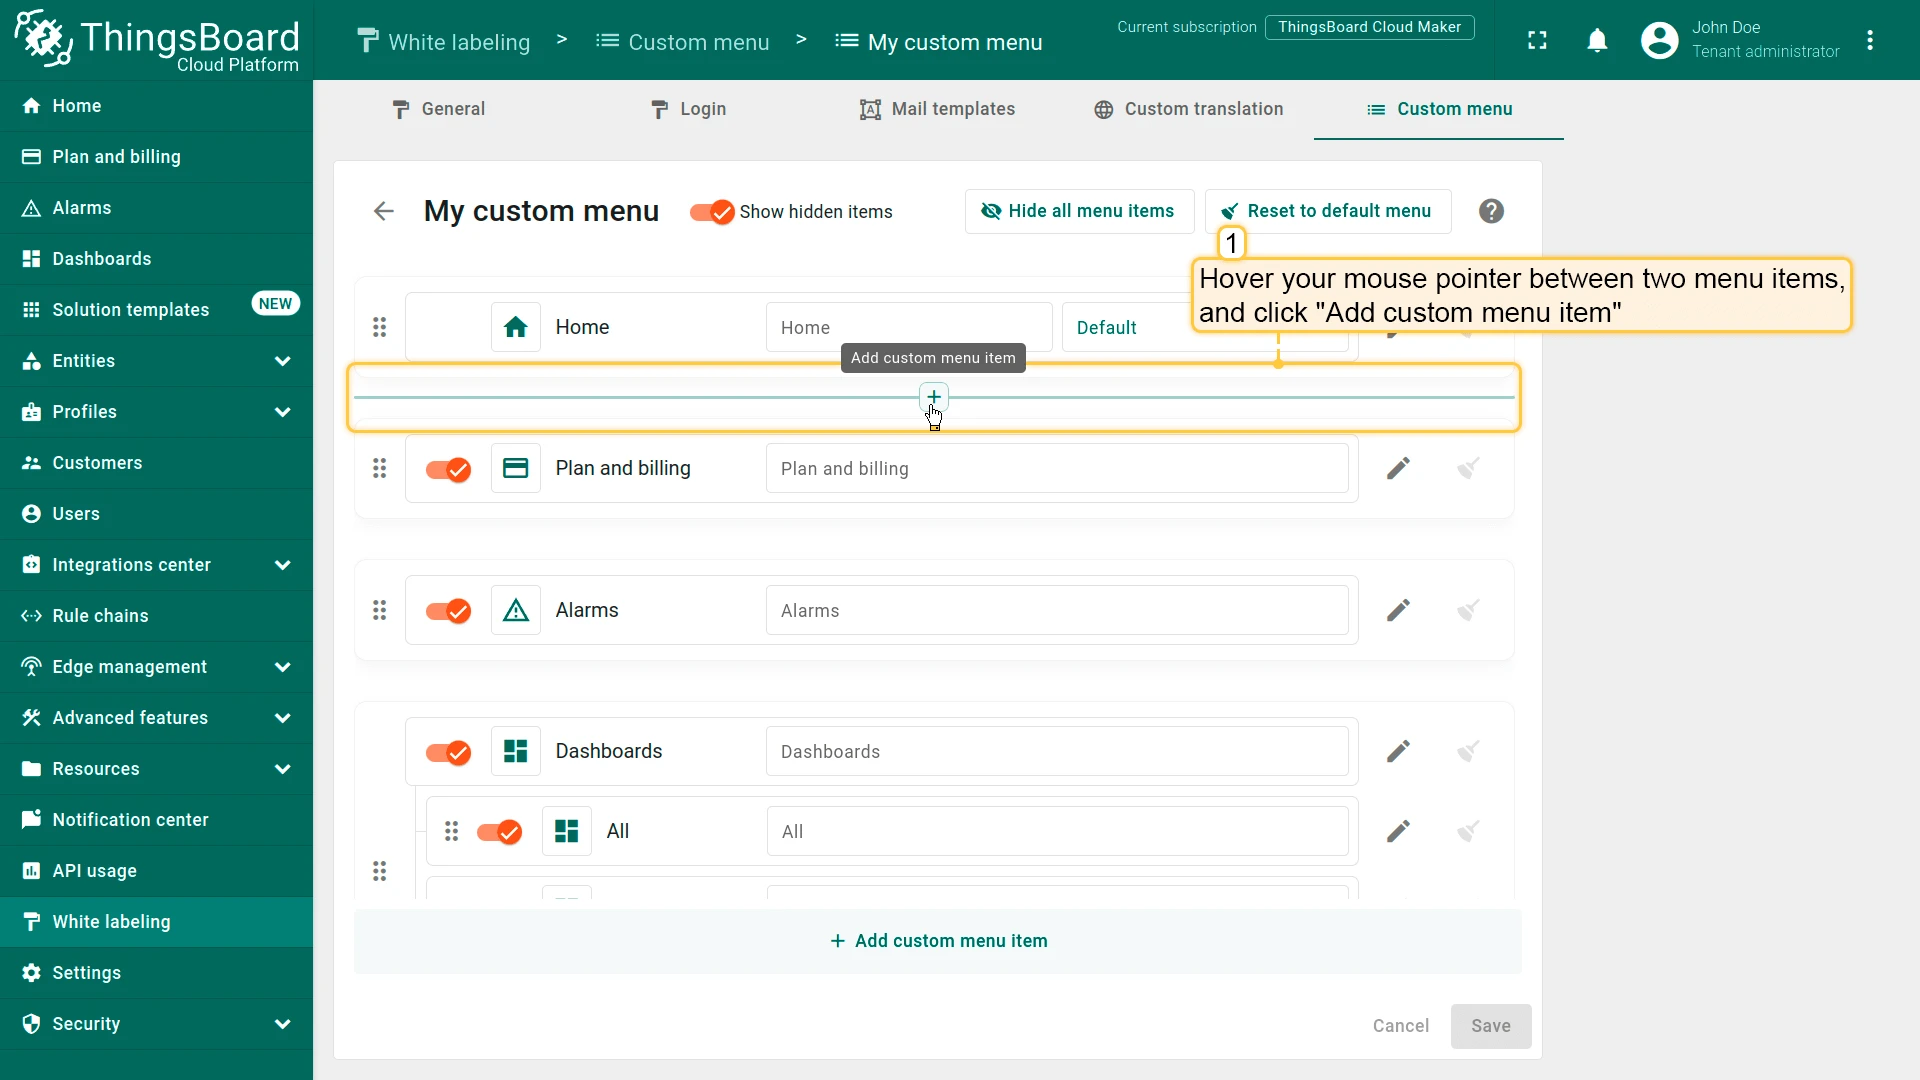
To insert an item between existing ones, hover between them and click Add custom menu item.
Add Subitems (Sections)
Section titled “Add Subitems (Sections)”You can group multiple menu items under a collapsible section.
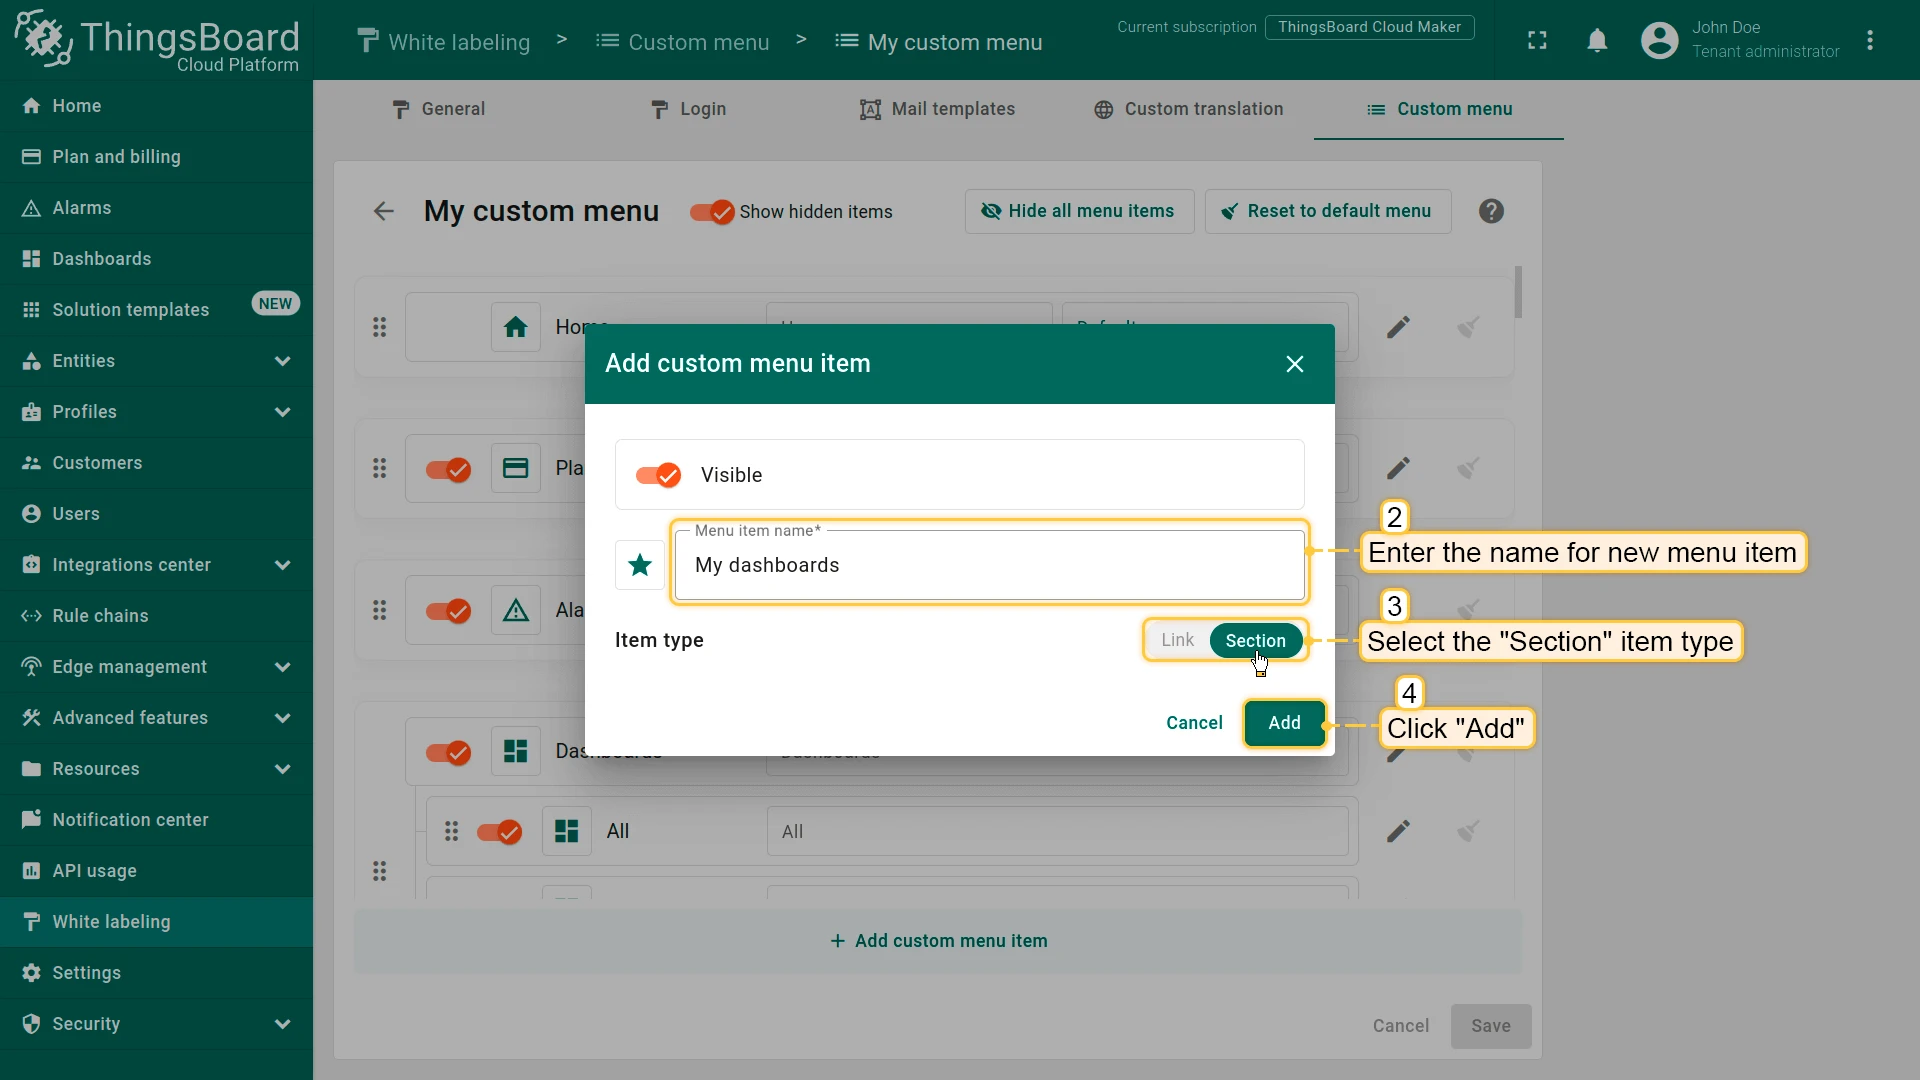
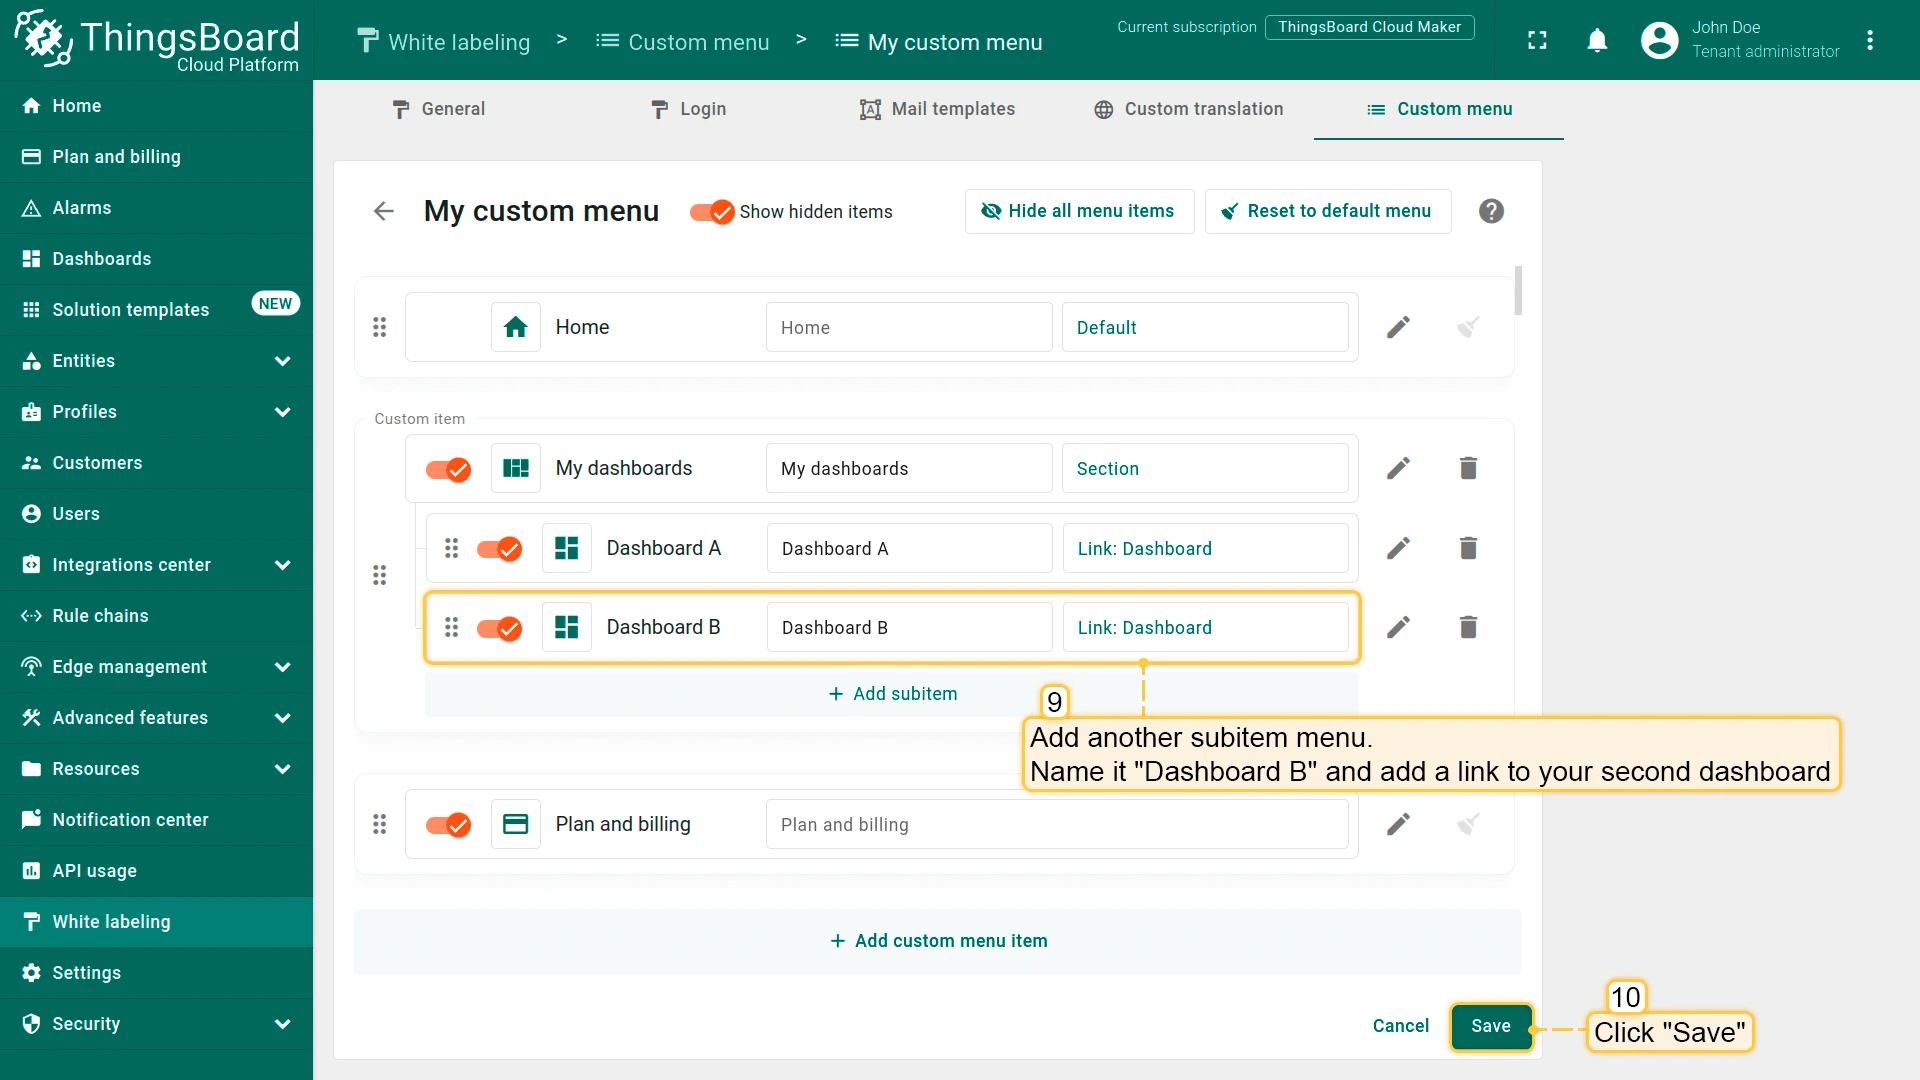
- Add a new menu item. Enter a name (e.g., “My dashboards”), select the Section item type, and click Add.
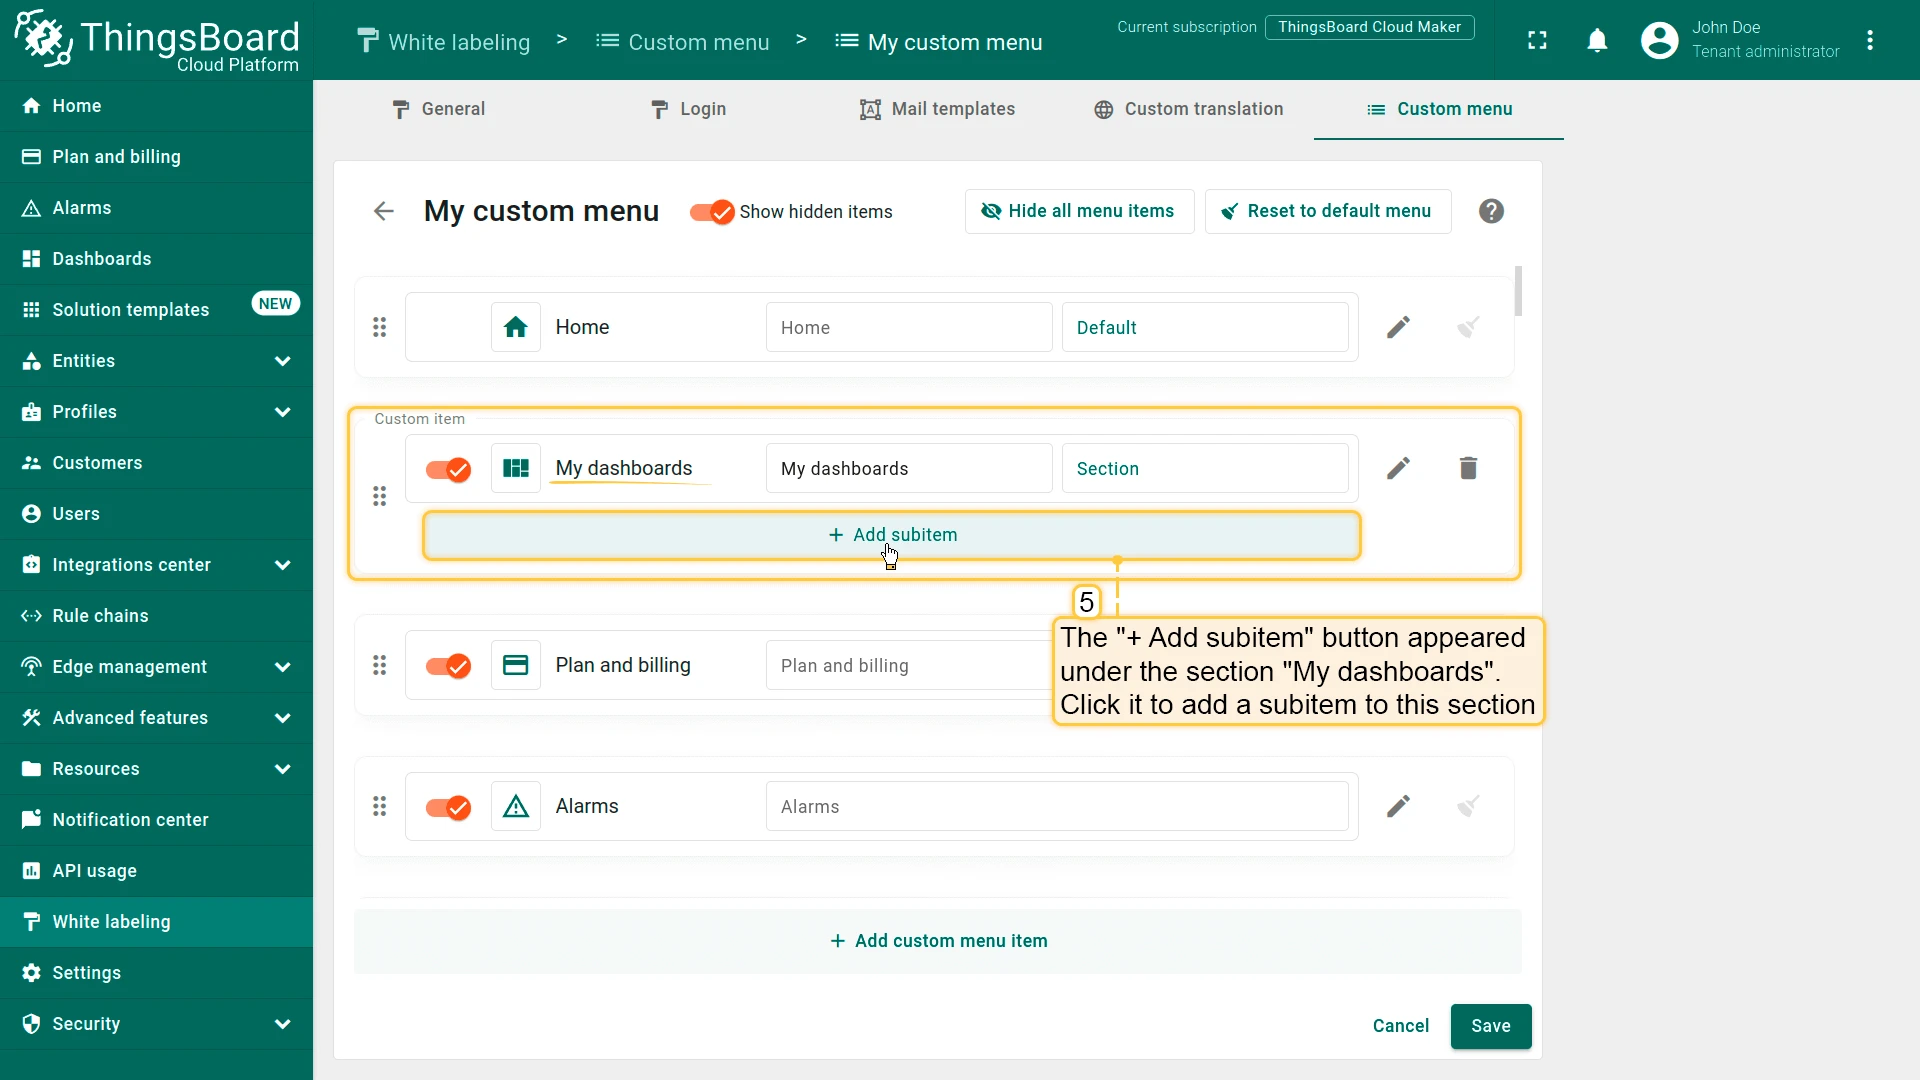
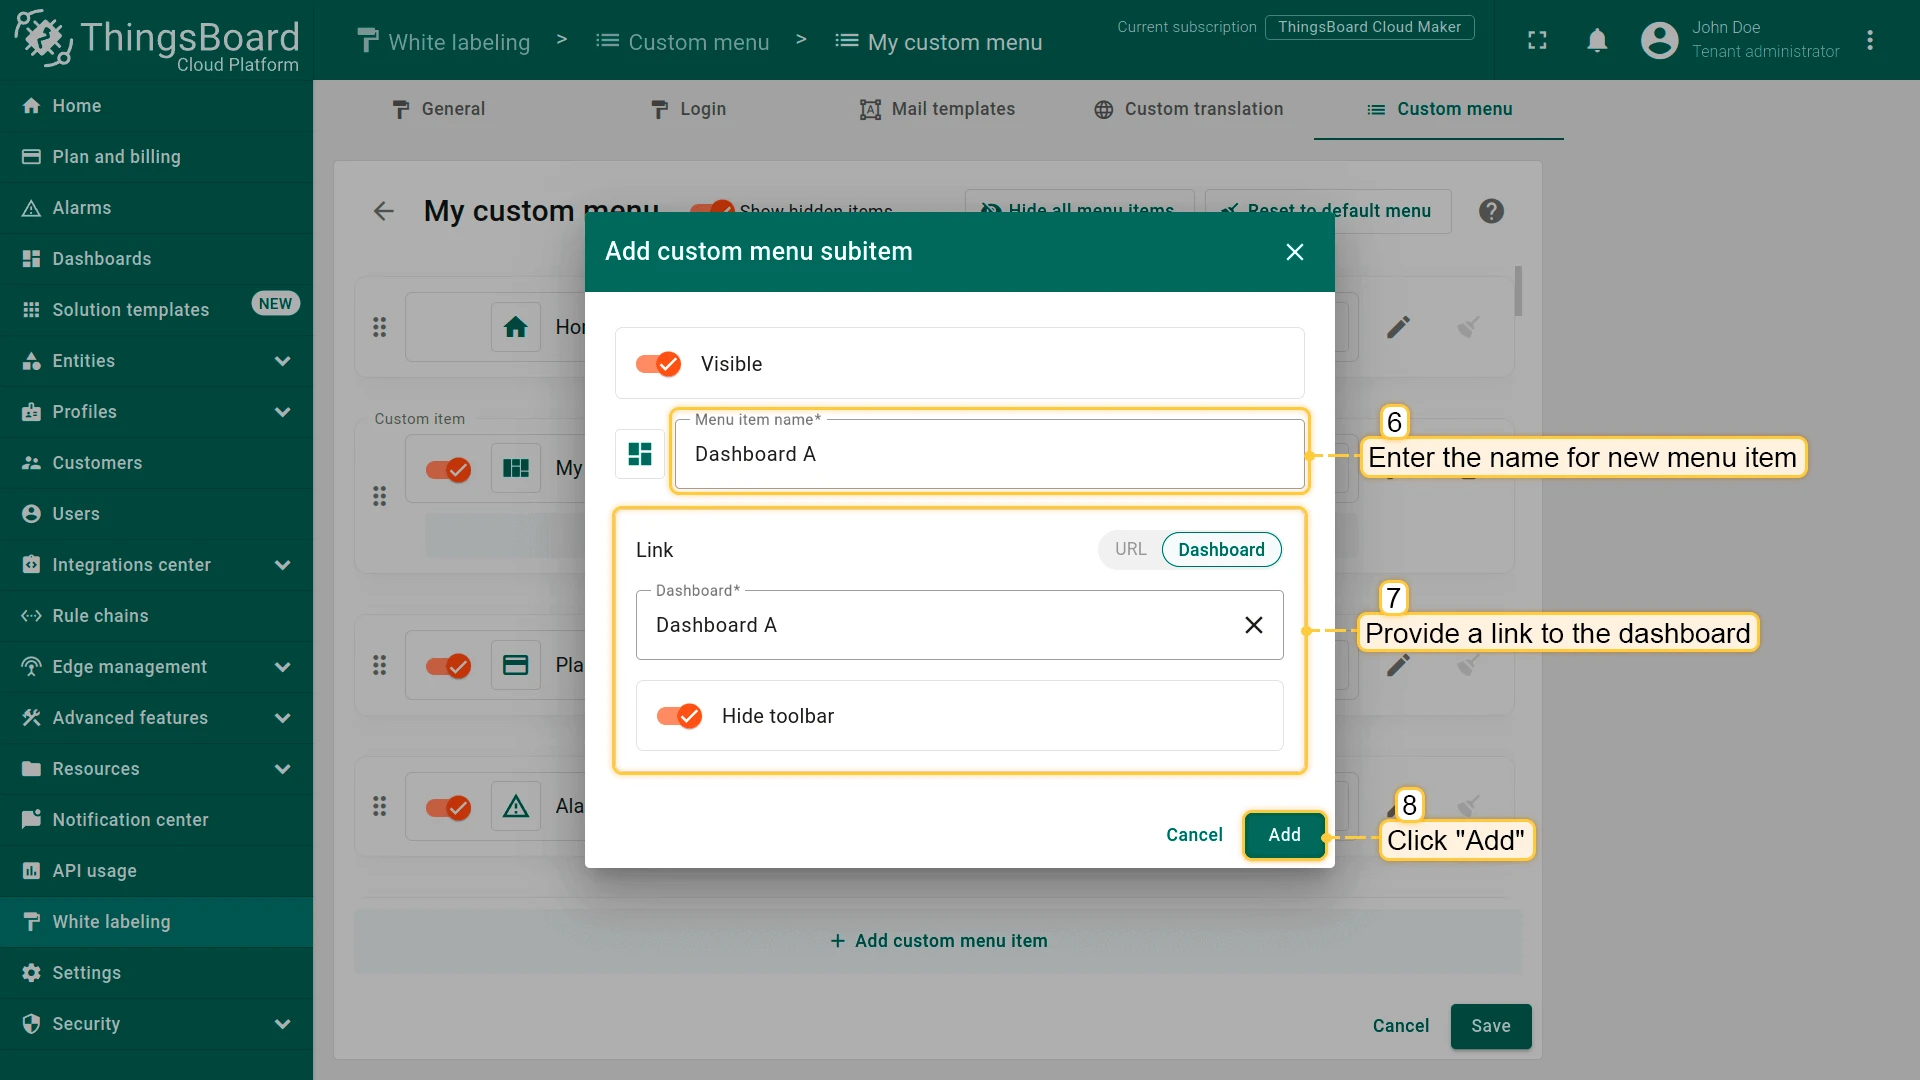
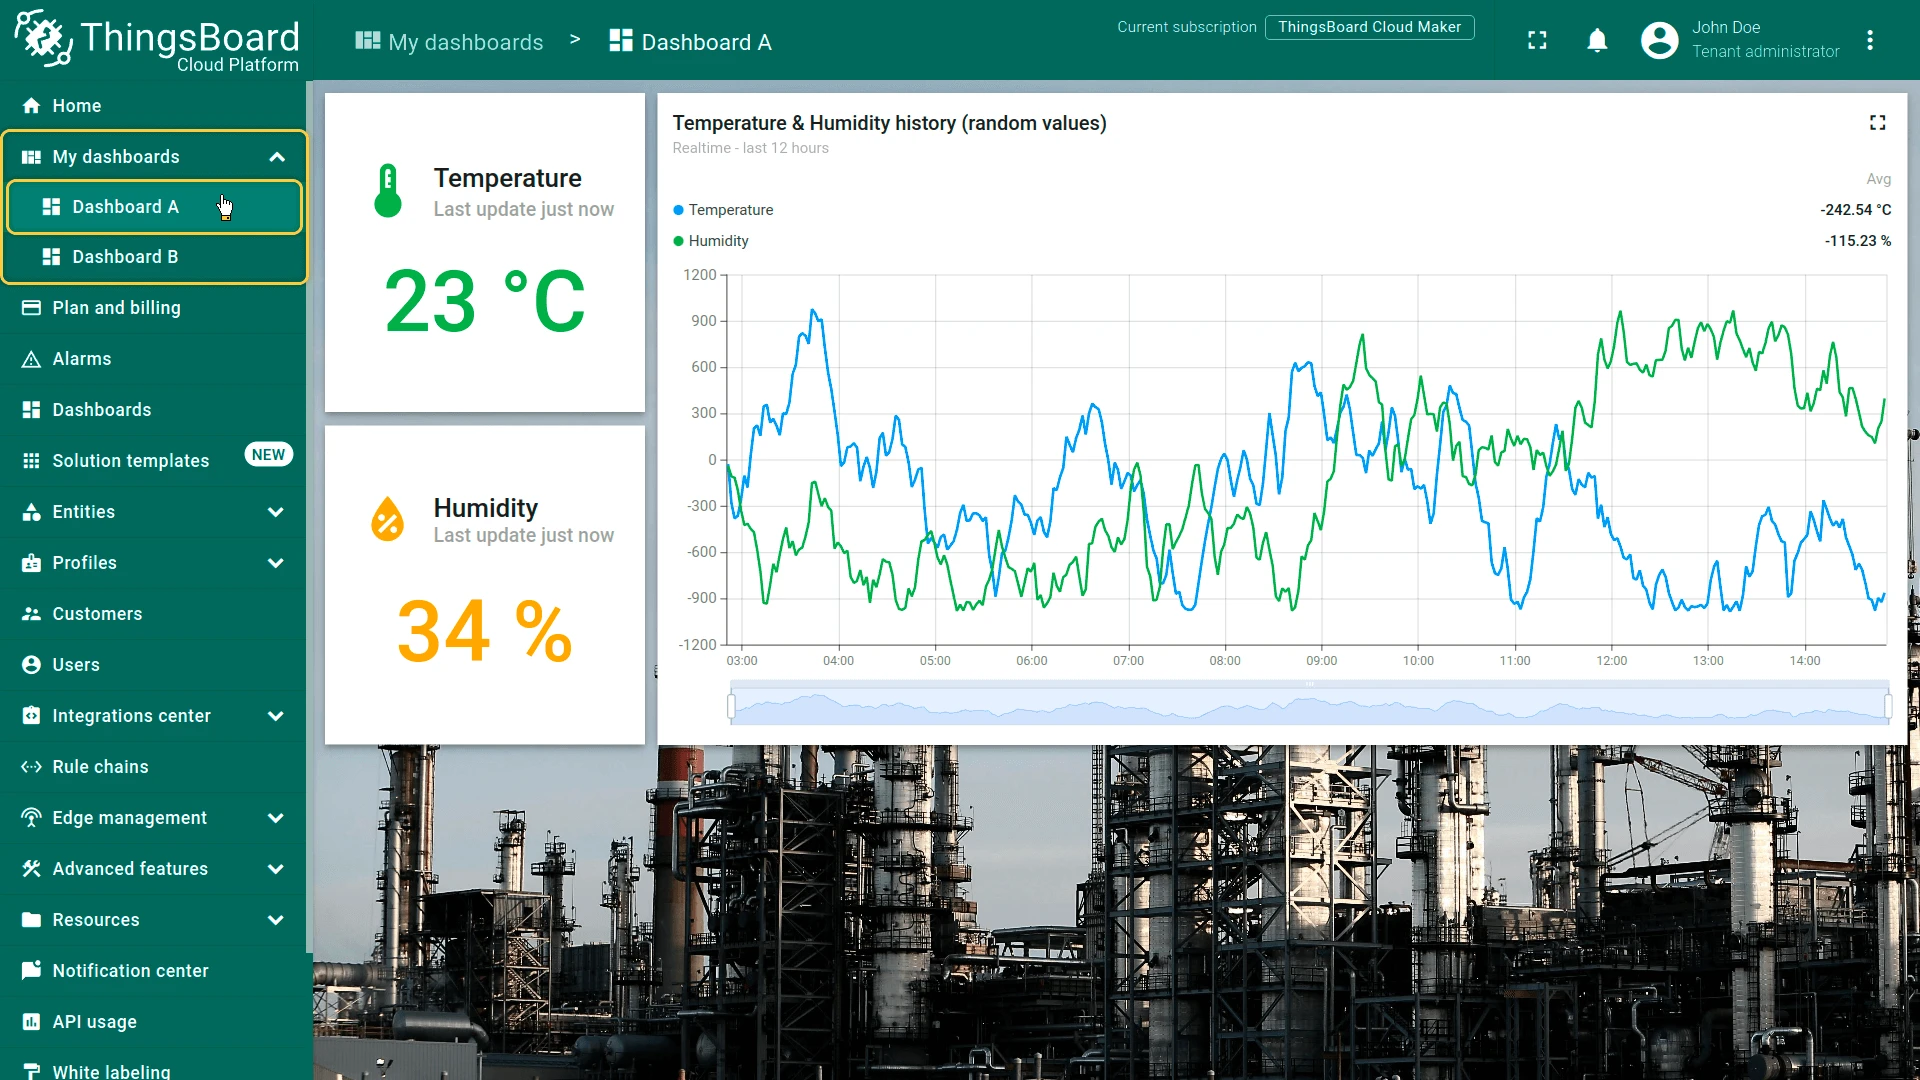
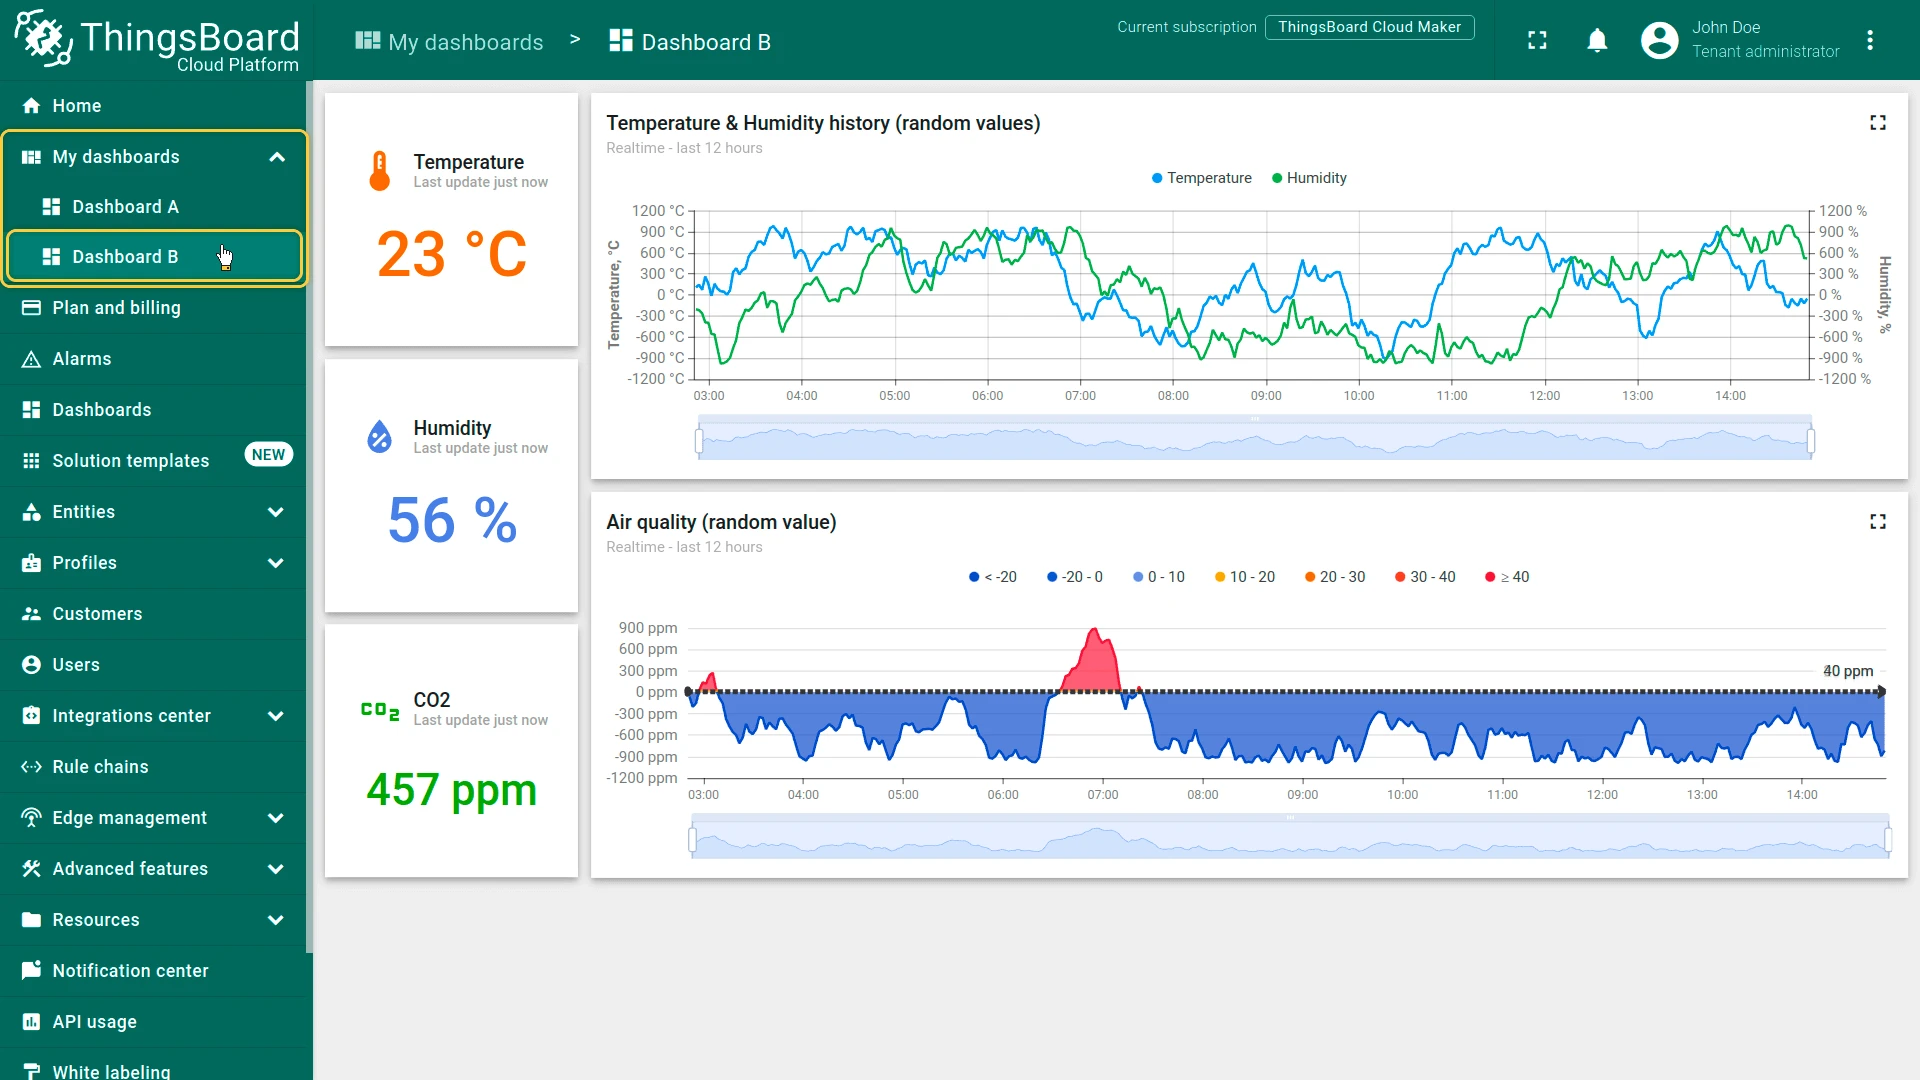
- Under the new section, click + Add subitem to add links to dashboards or URLs.
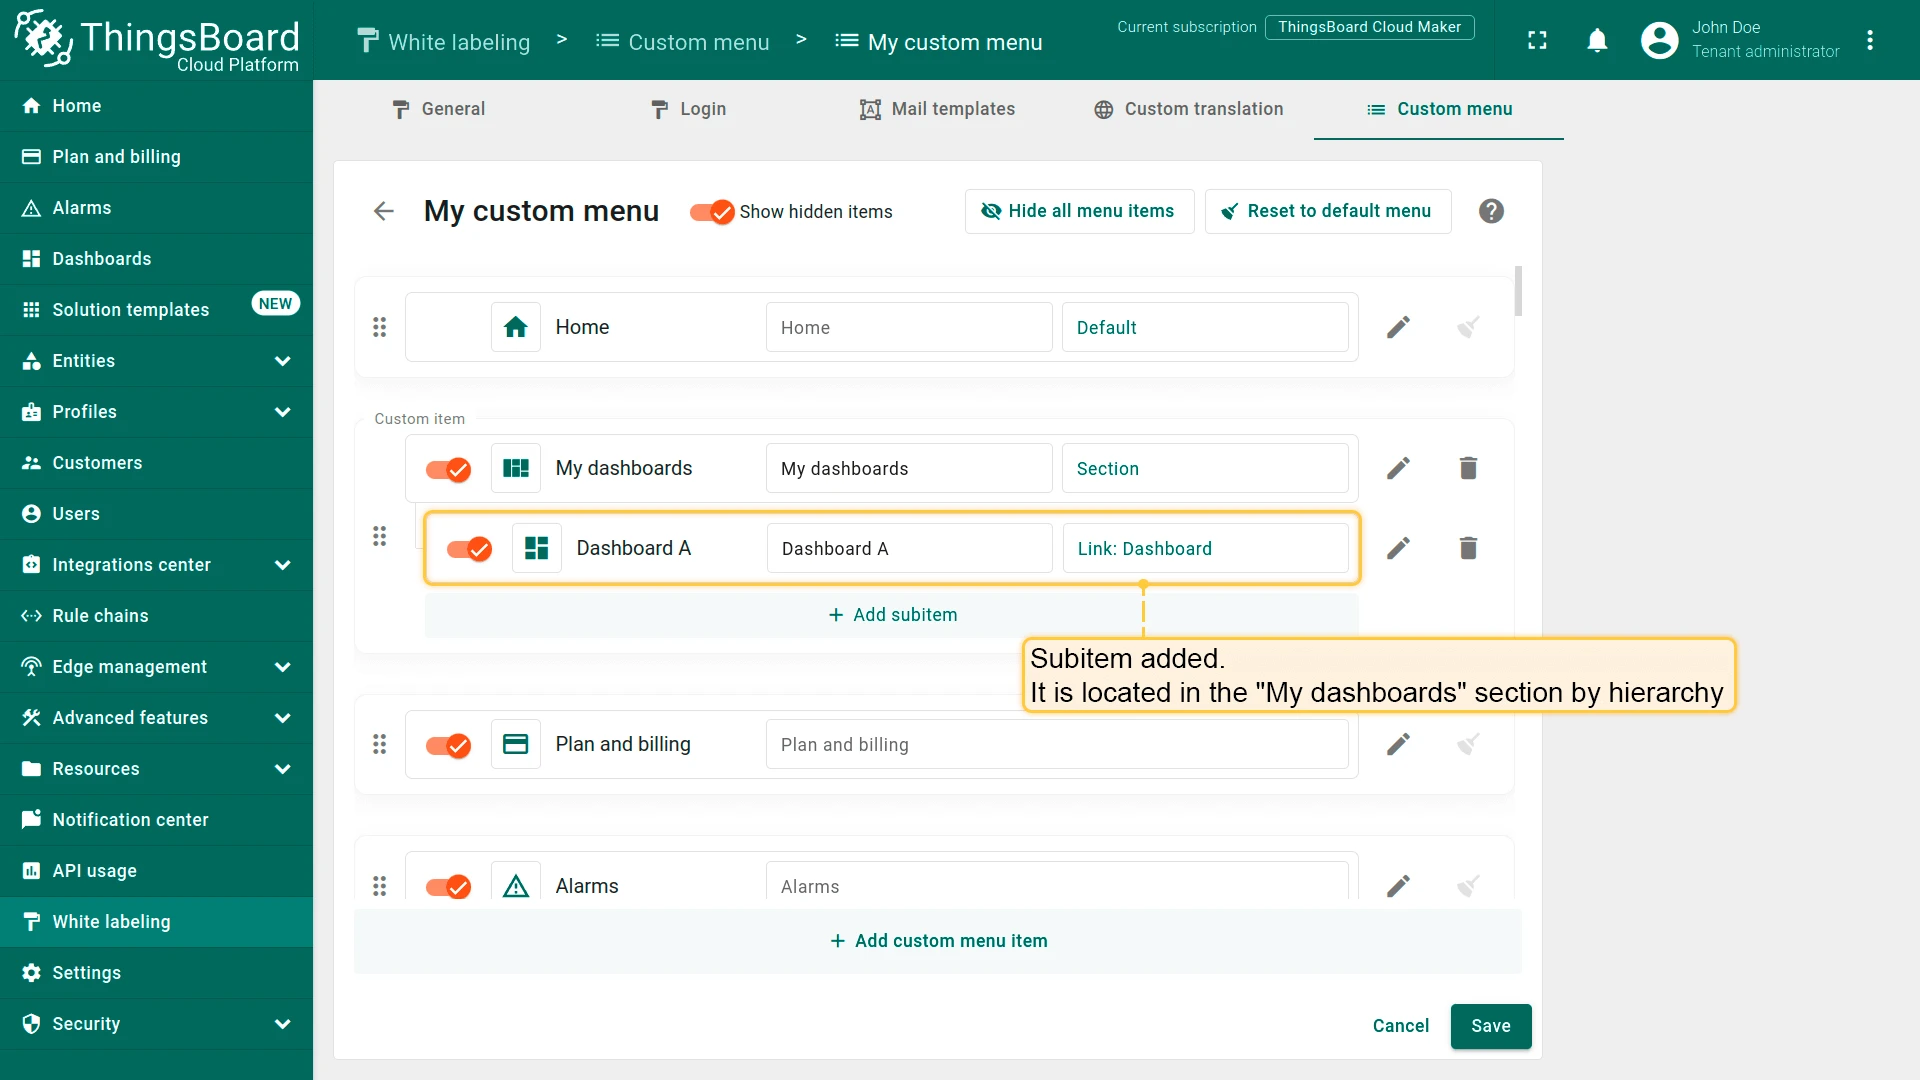
- Add as many subitems as needed and click Save.
Edit a Menu Item
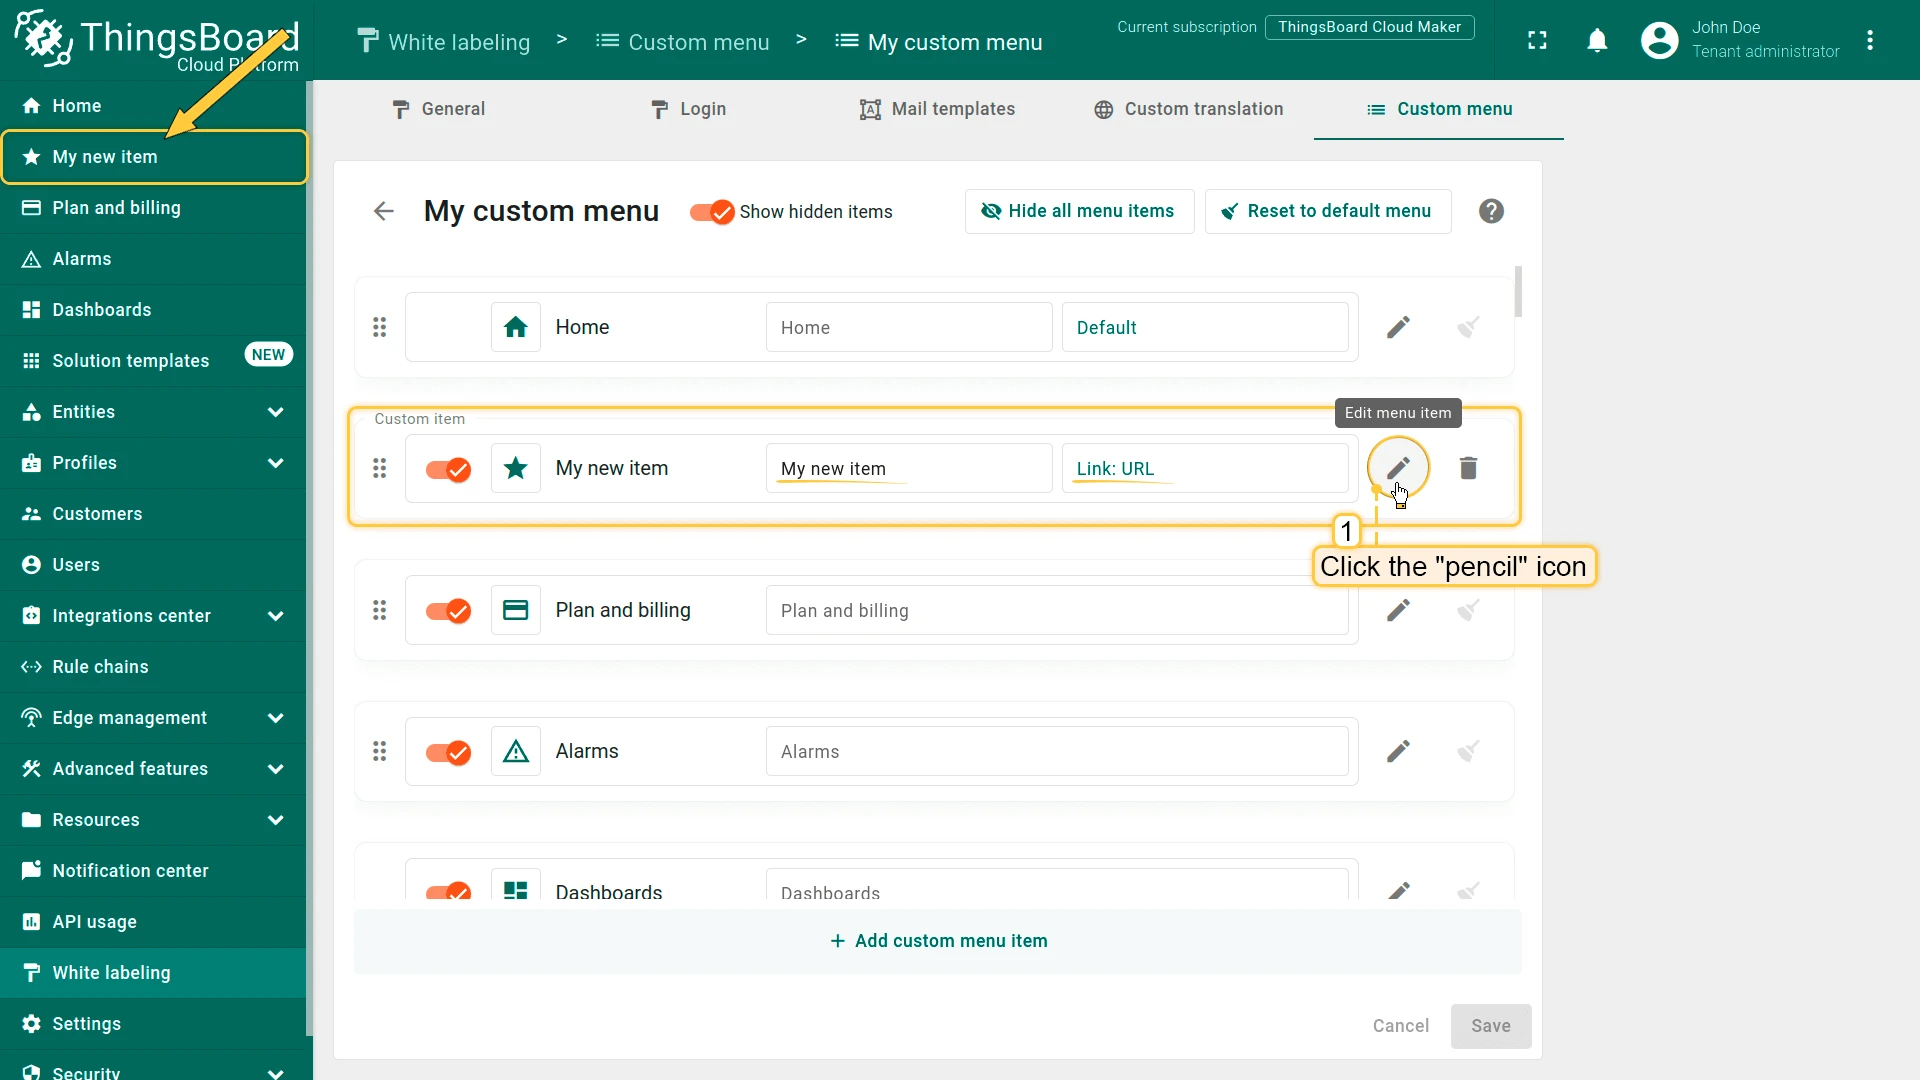
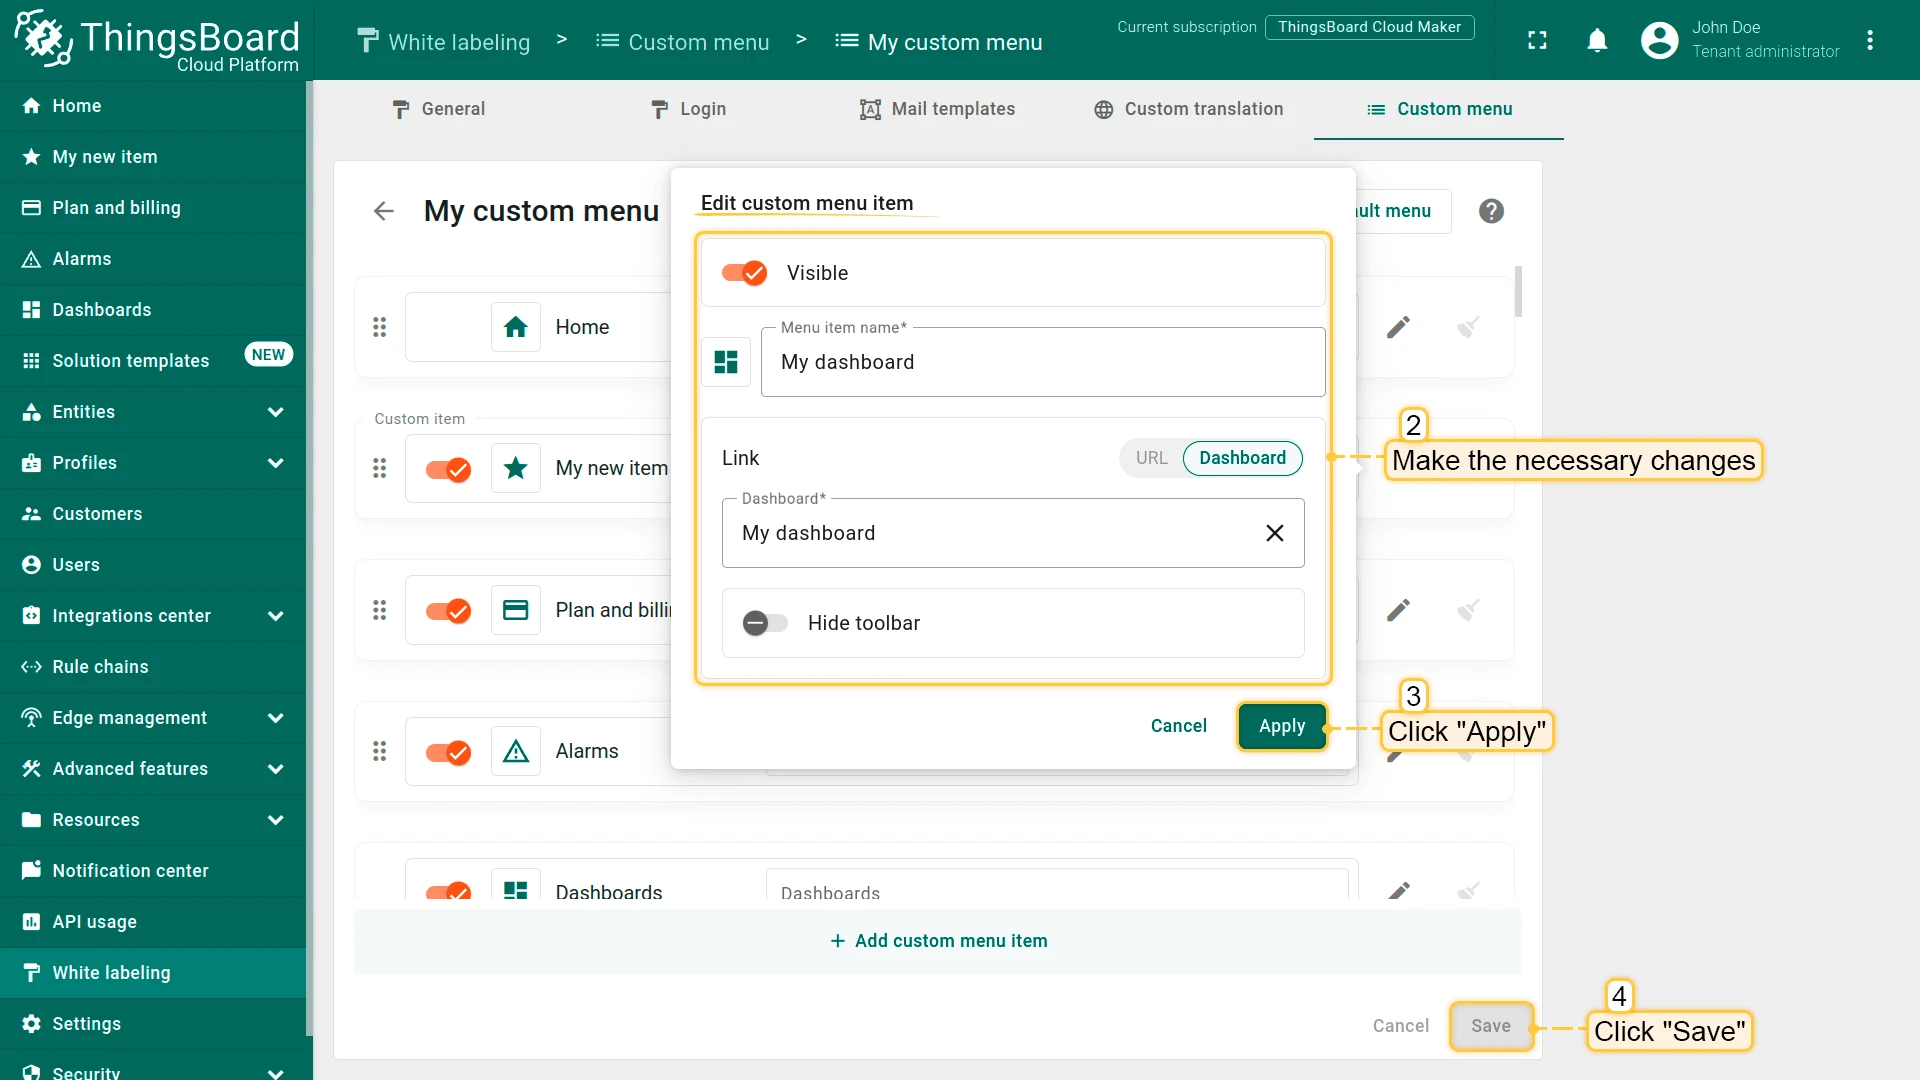
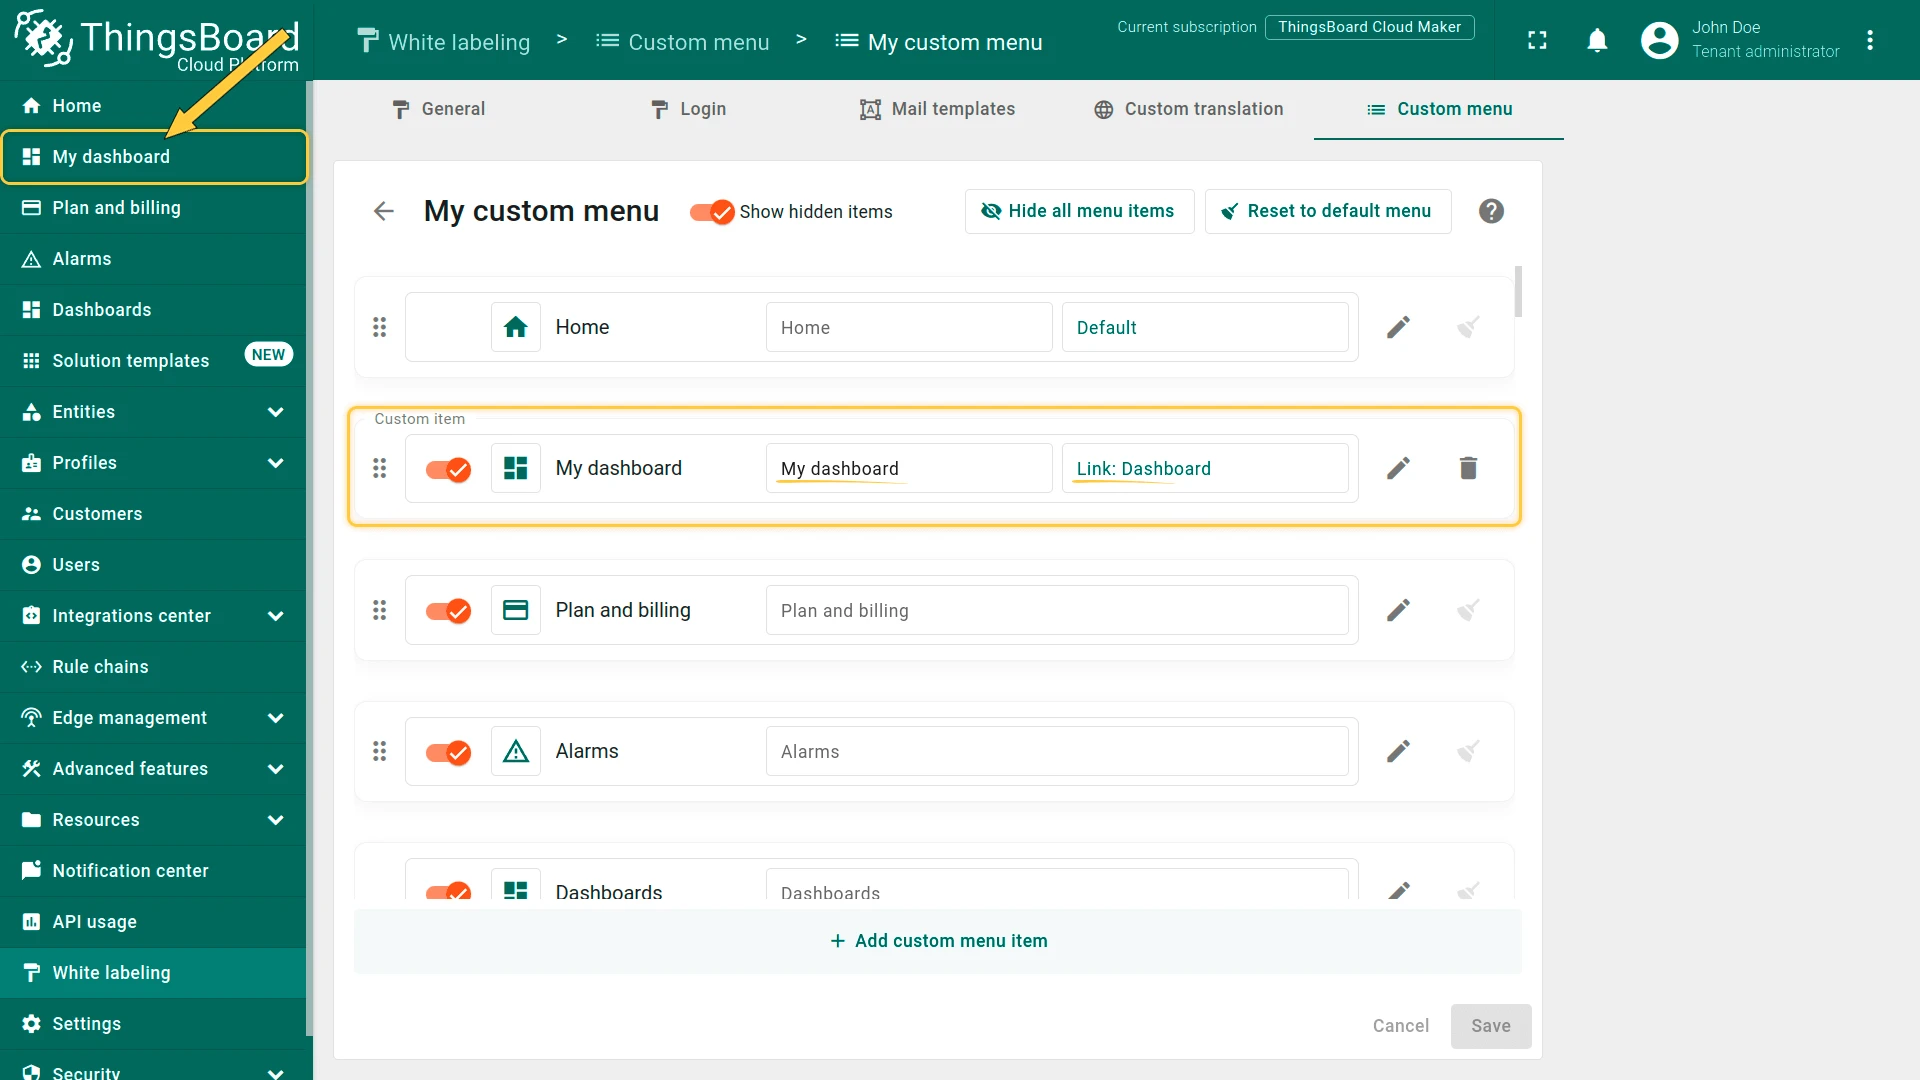
Section titled “Edit a Menu Item”Click the pencil icon in the menu item’s row, make your changes, click Apply, and then Save.
Reset to Default
Section titled “Reset to Default”Reset all menu customizations to the default state by clicking Reset to default menu, then Save.
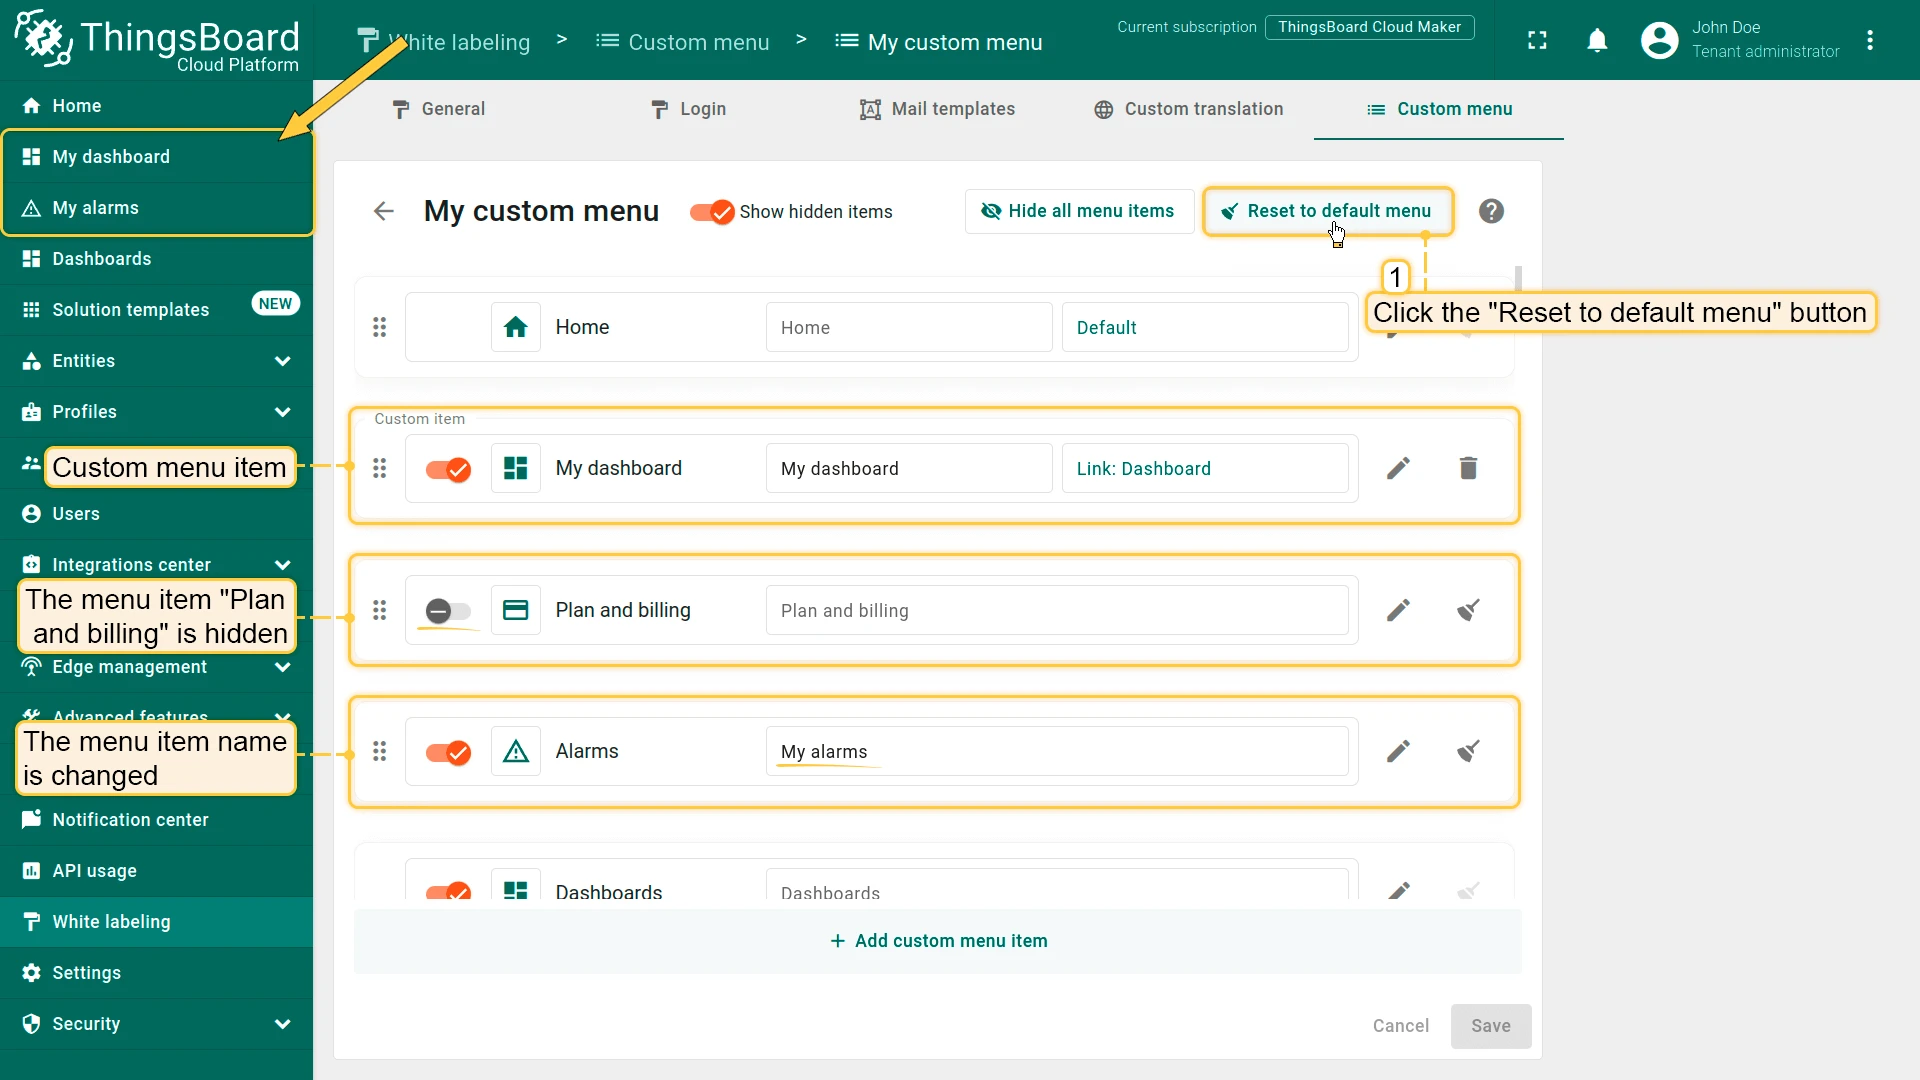
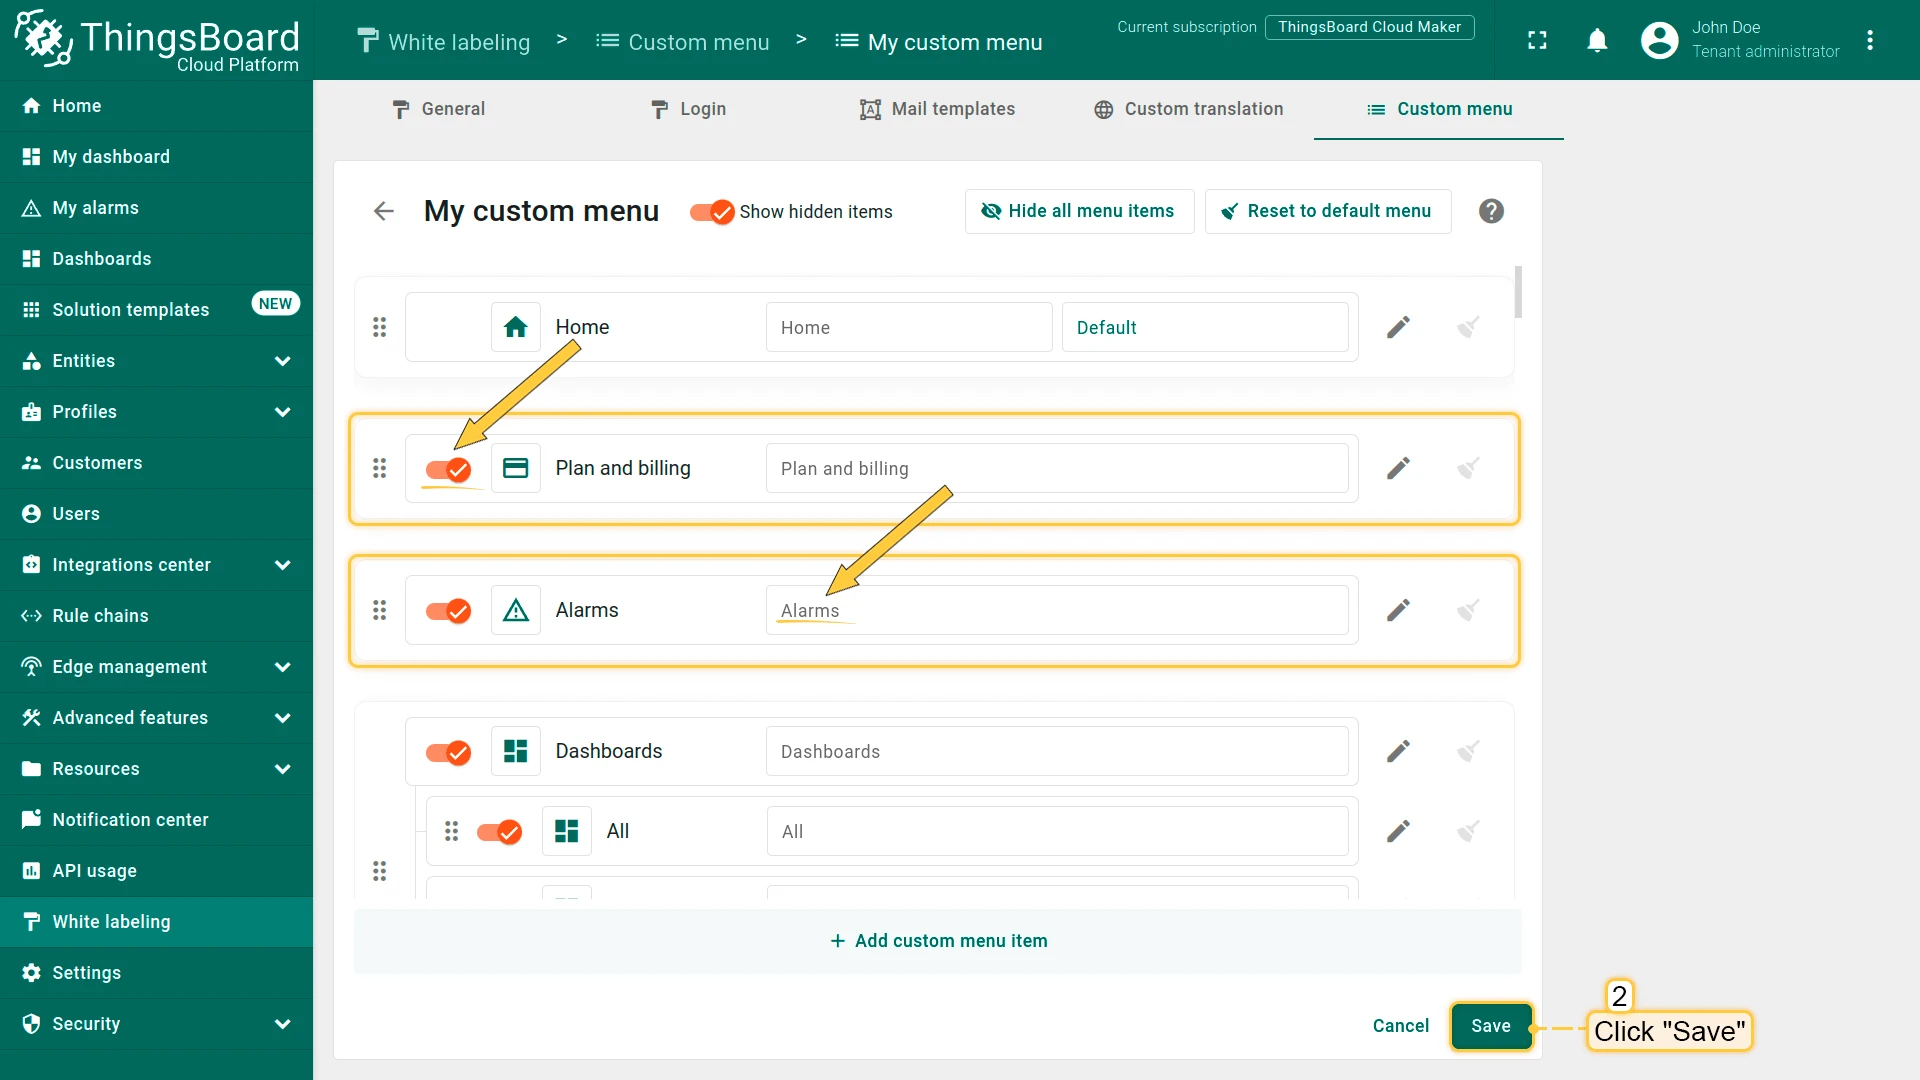
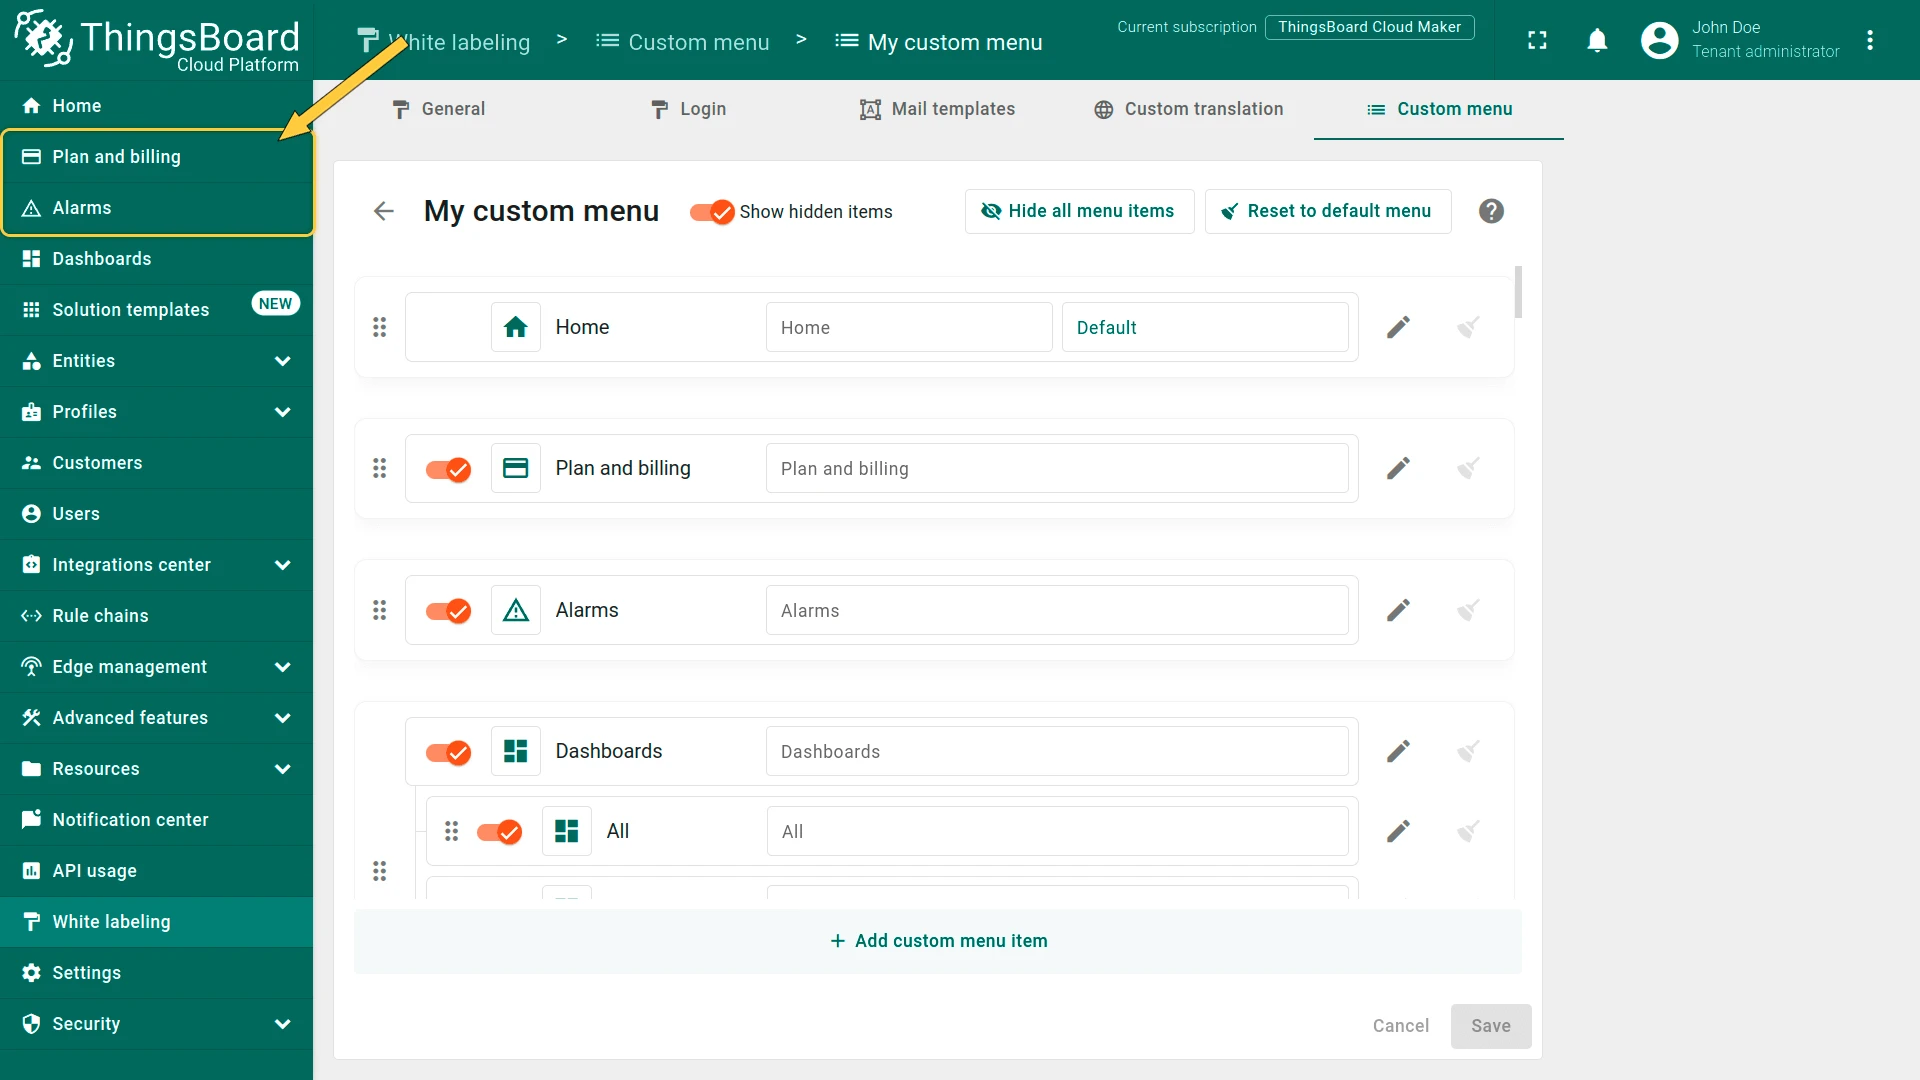
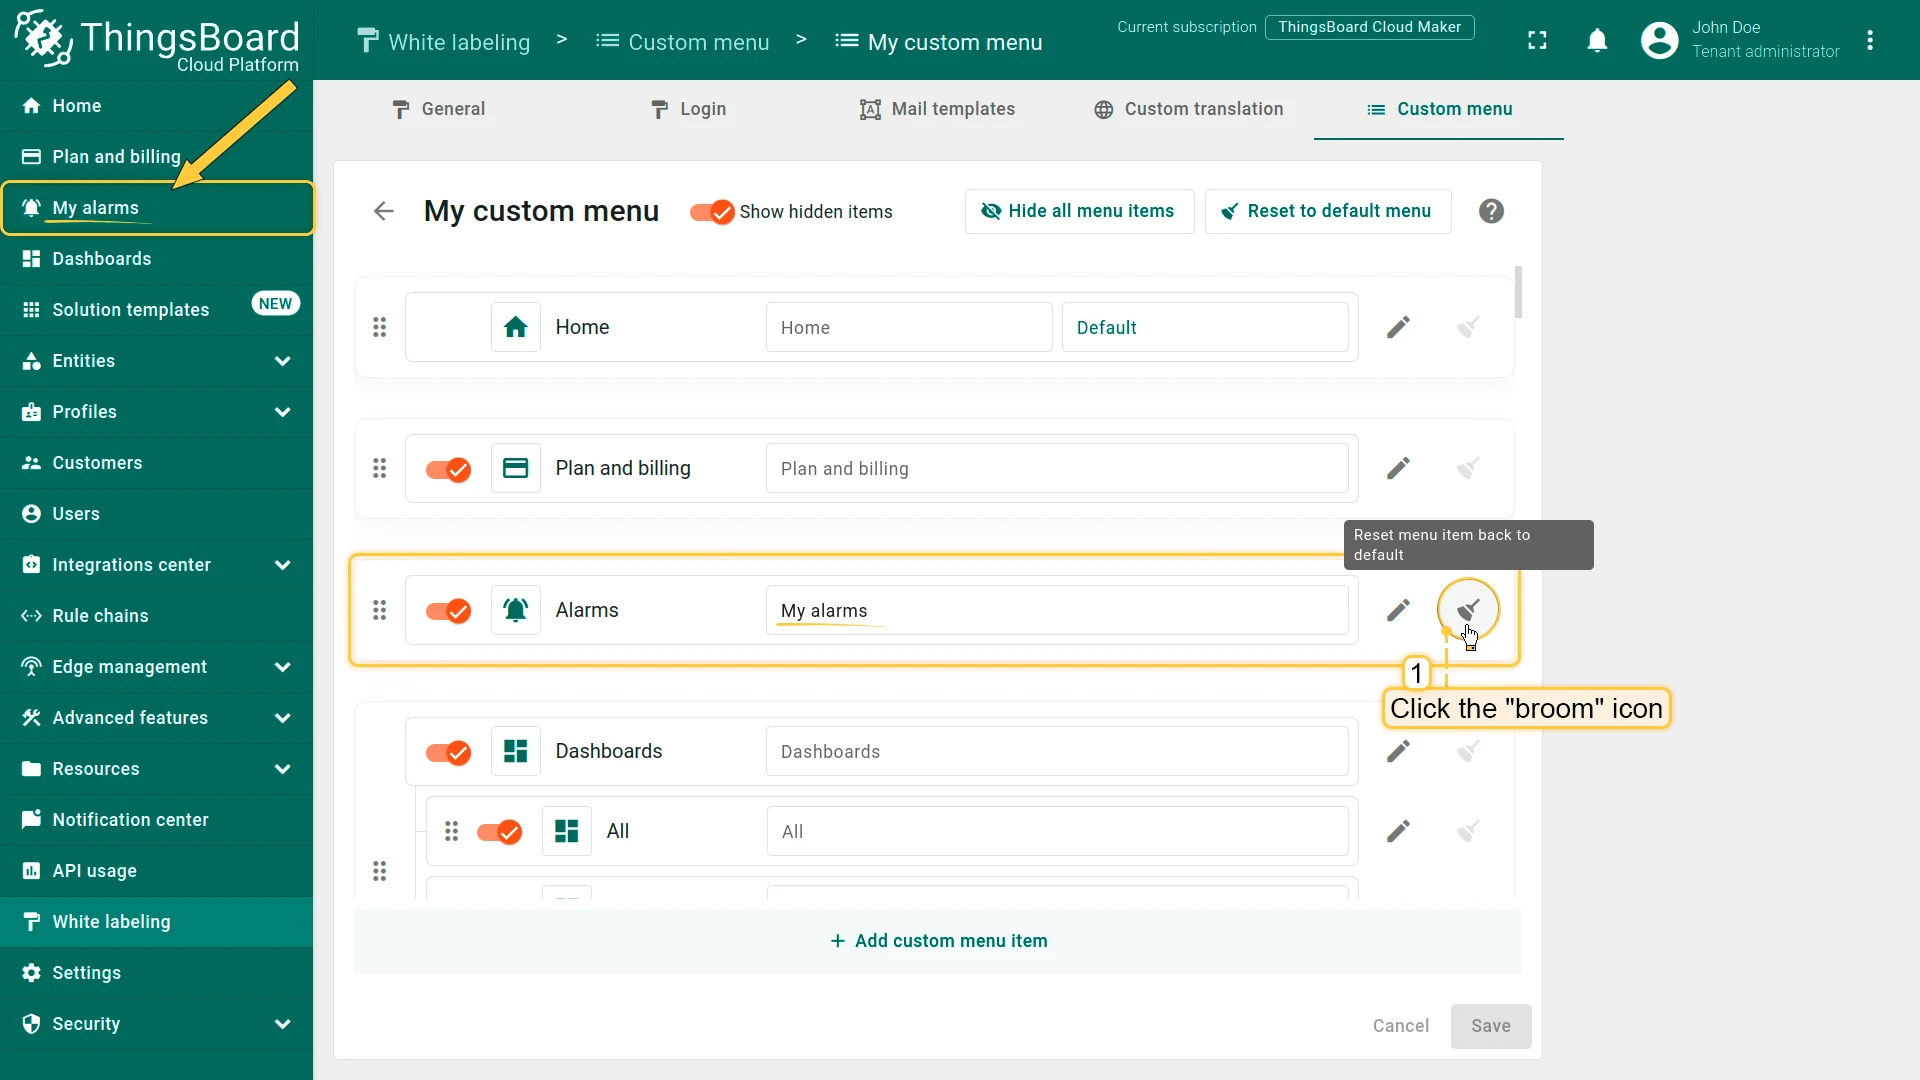
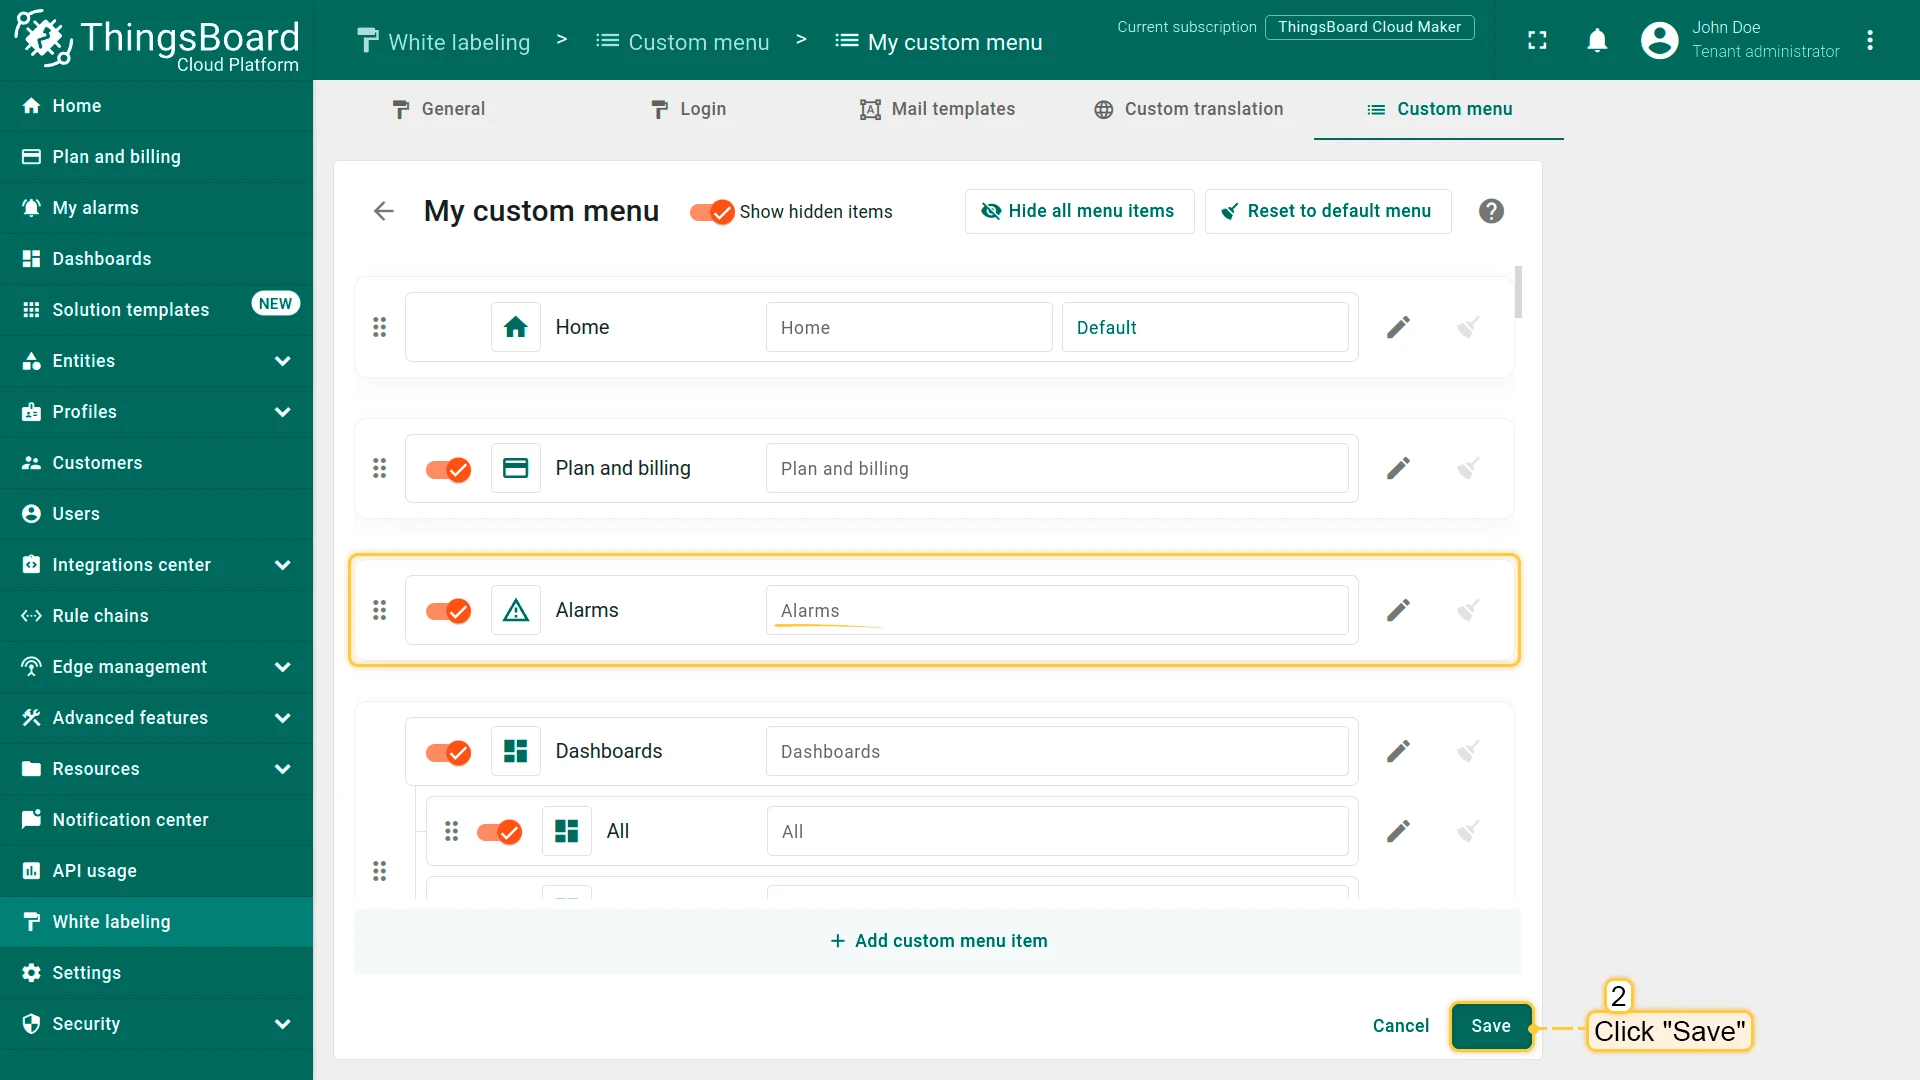
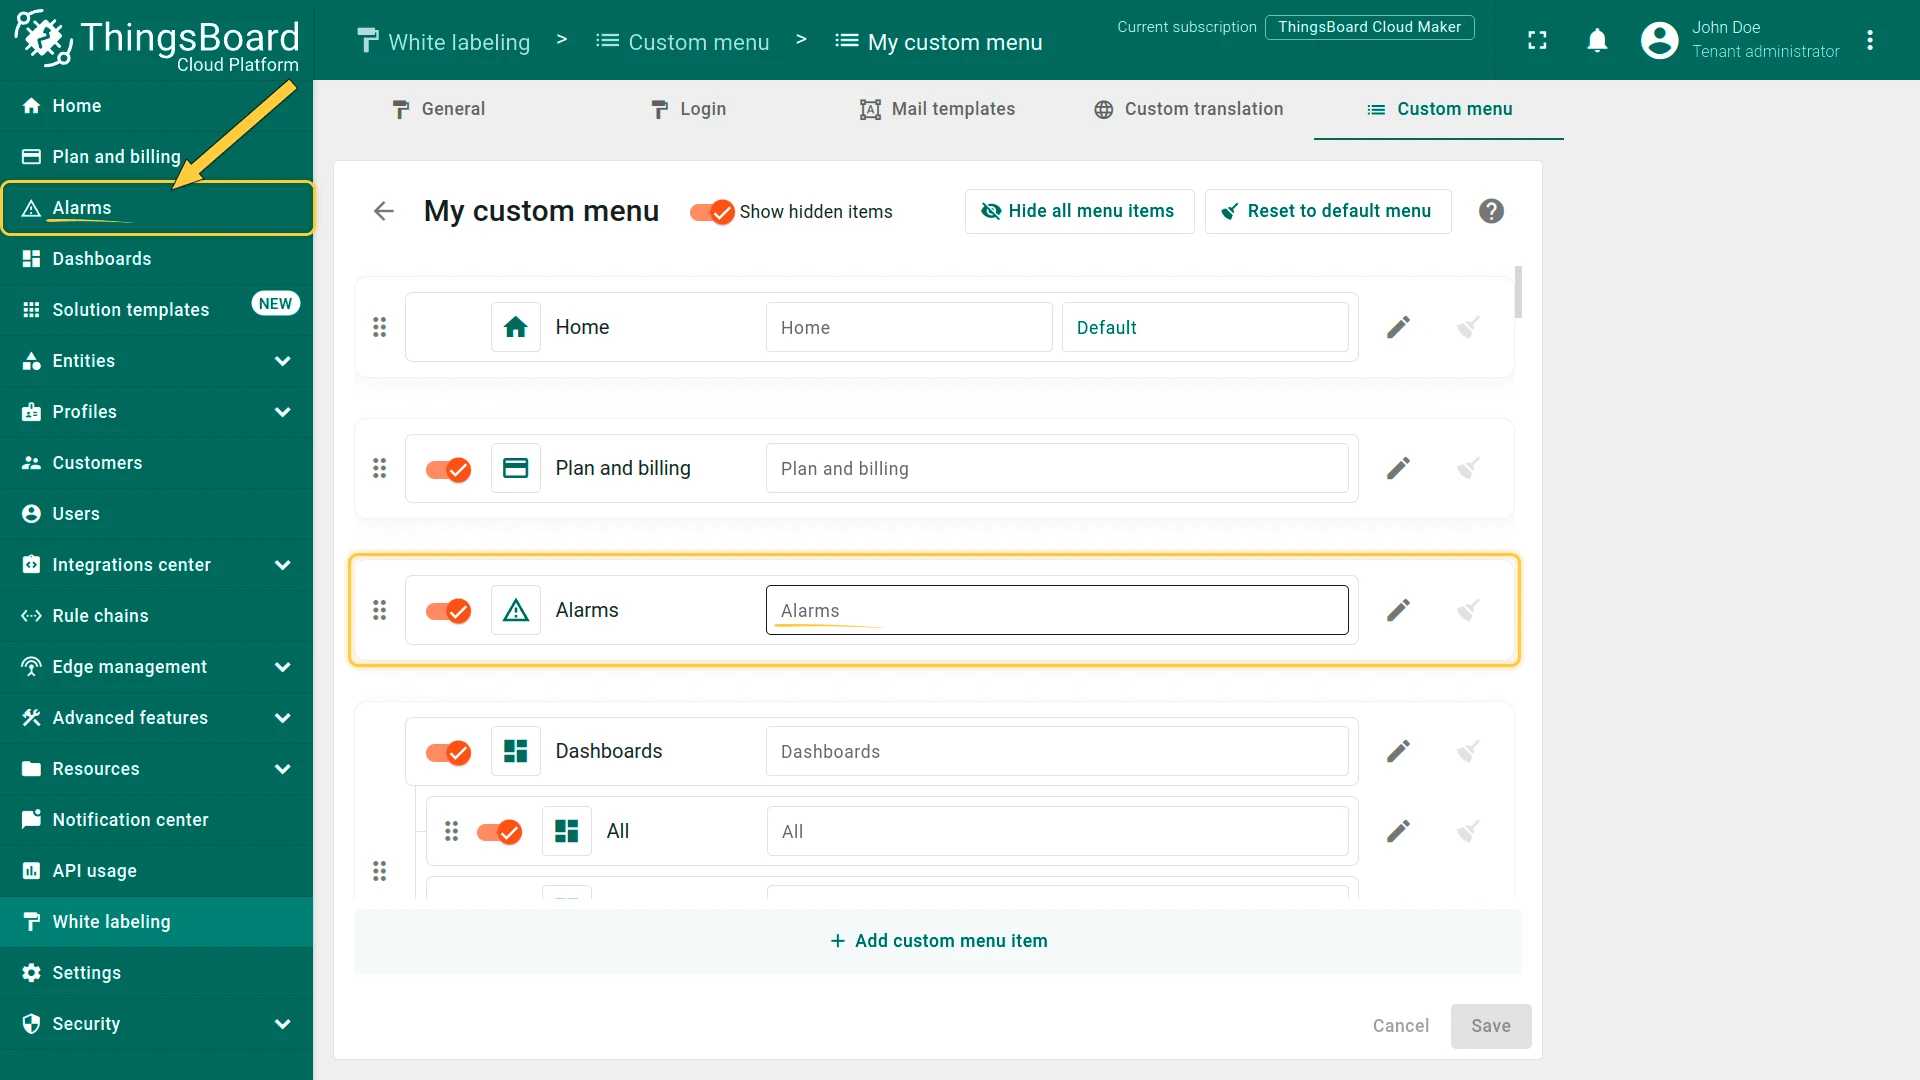
To reset a single menu item instead of the entire menu, click the broom icon in that item’s row and Save.
Hide Menu Items
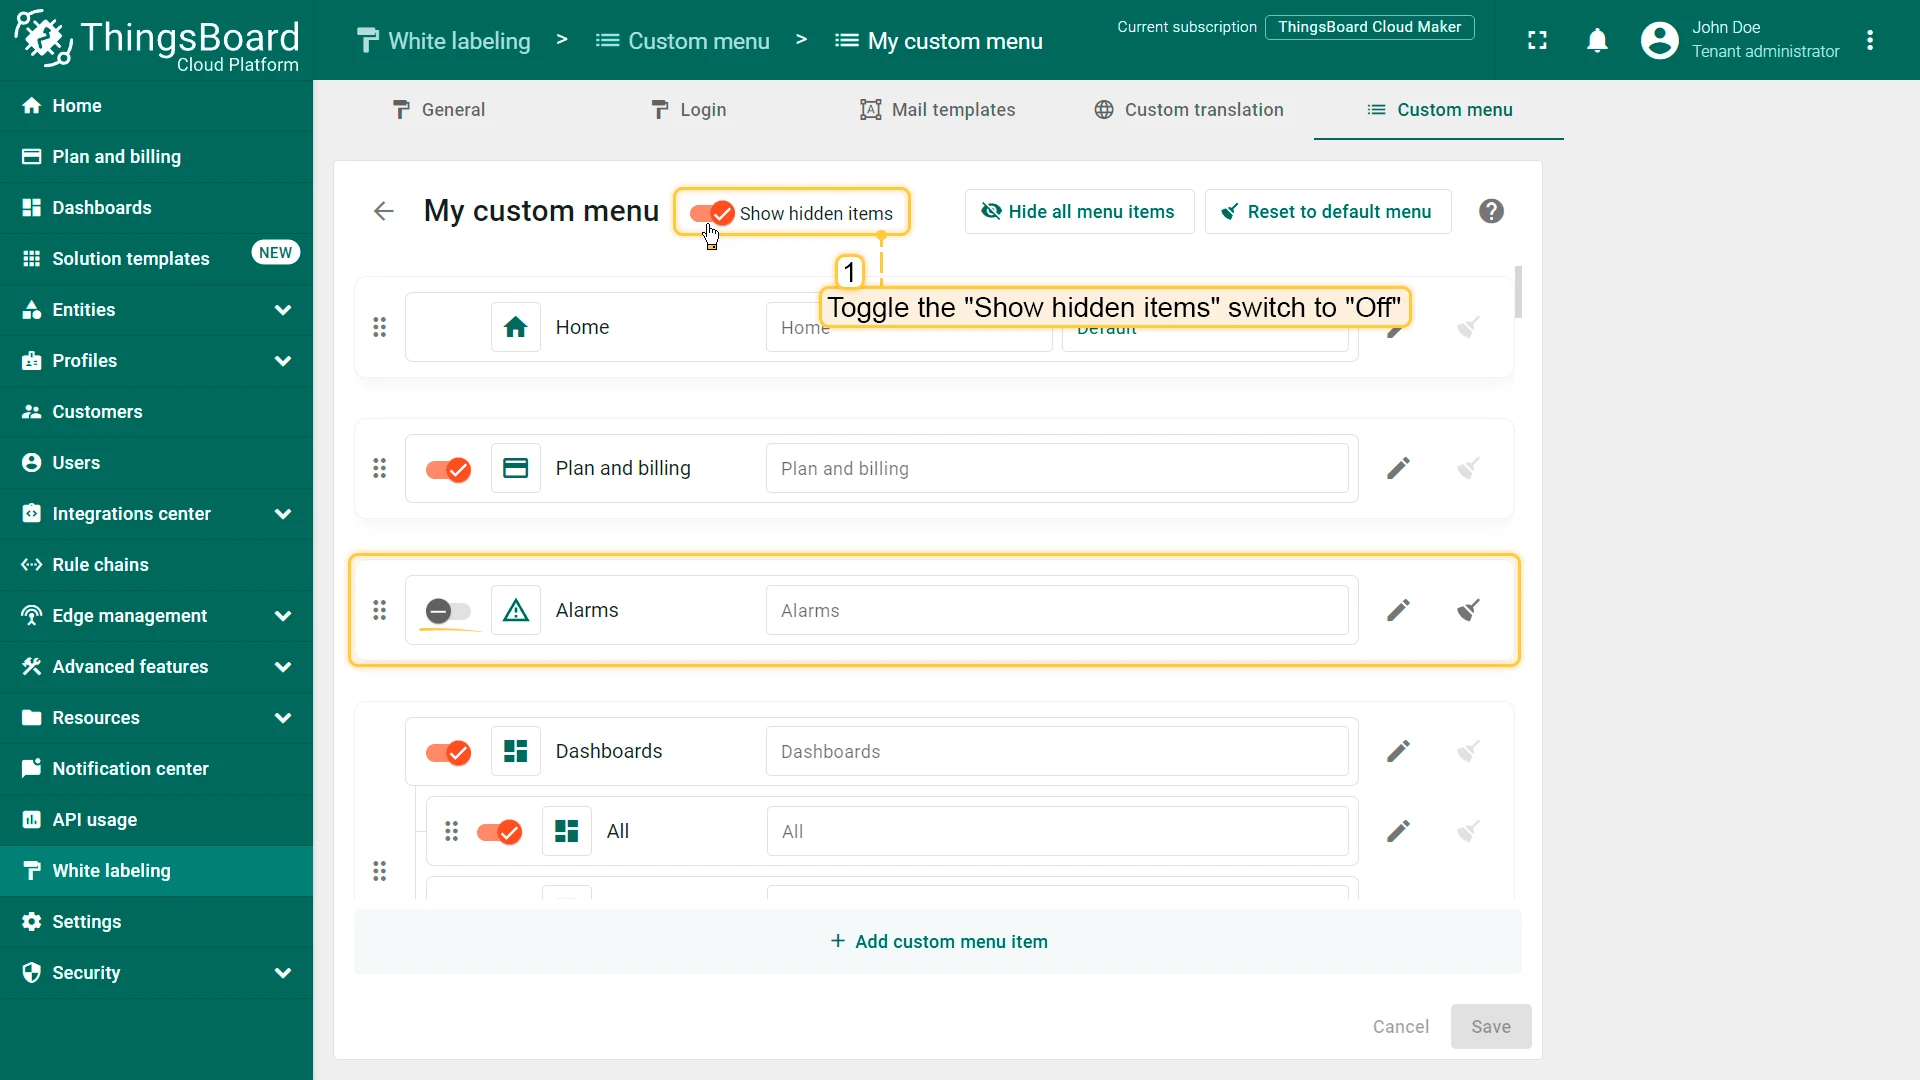
Section titled “Hide Menu Items”To hide a menu item, switch its Hidden/Visible toggle to Hidden, then click Save.
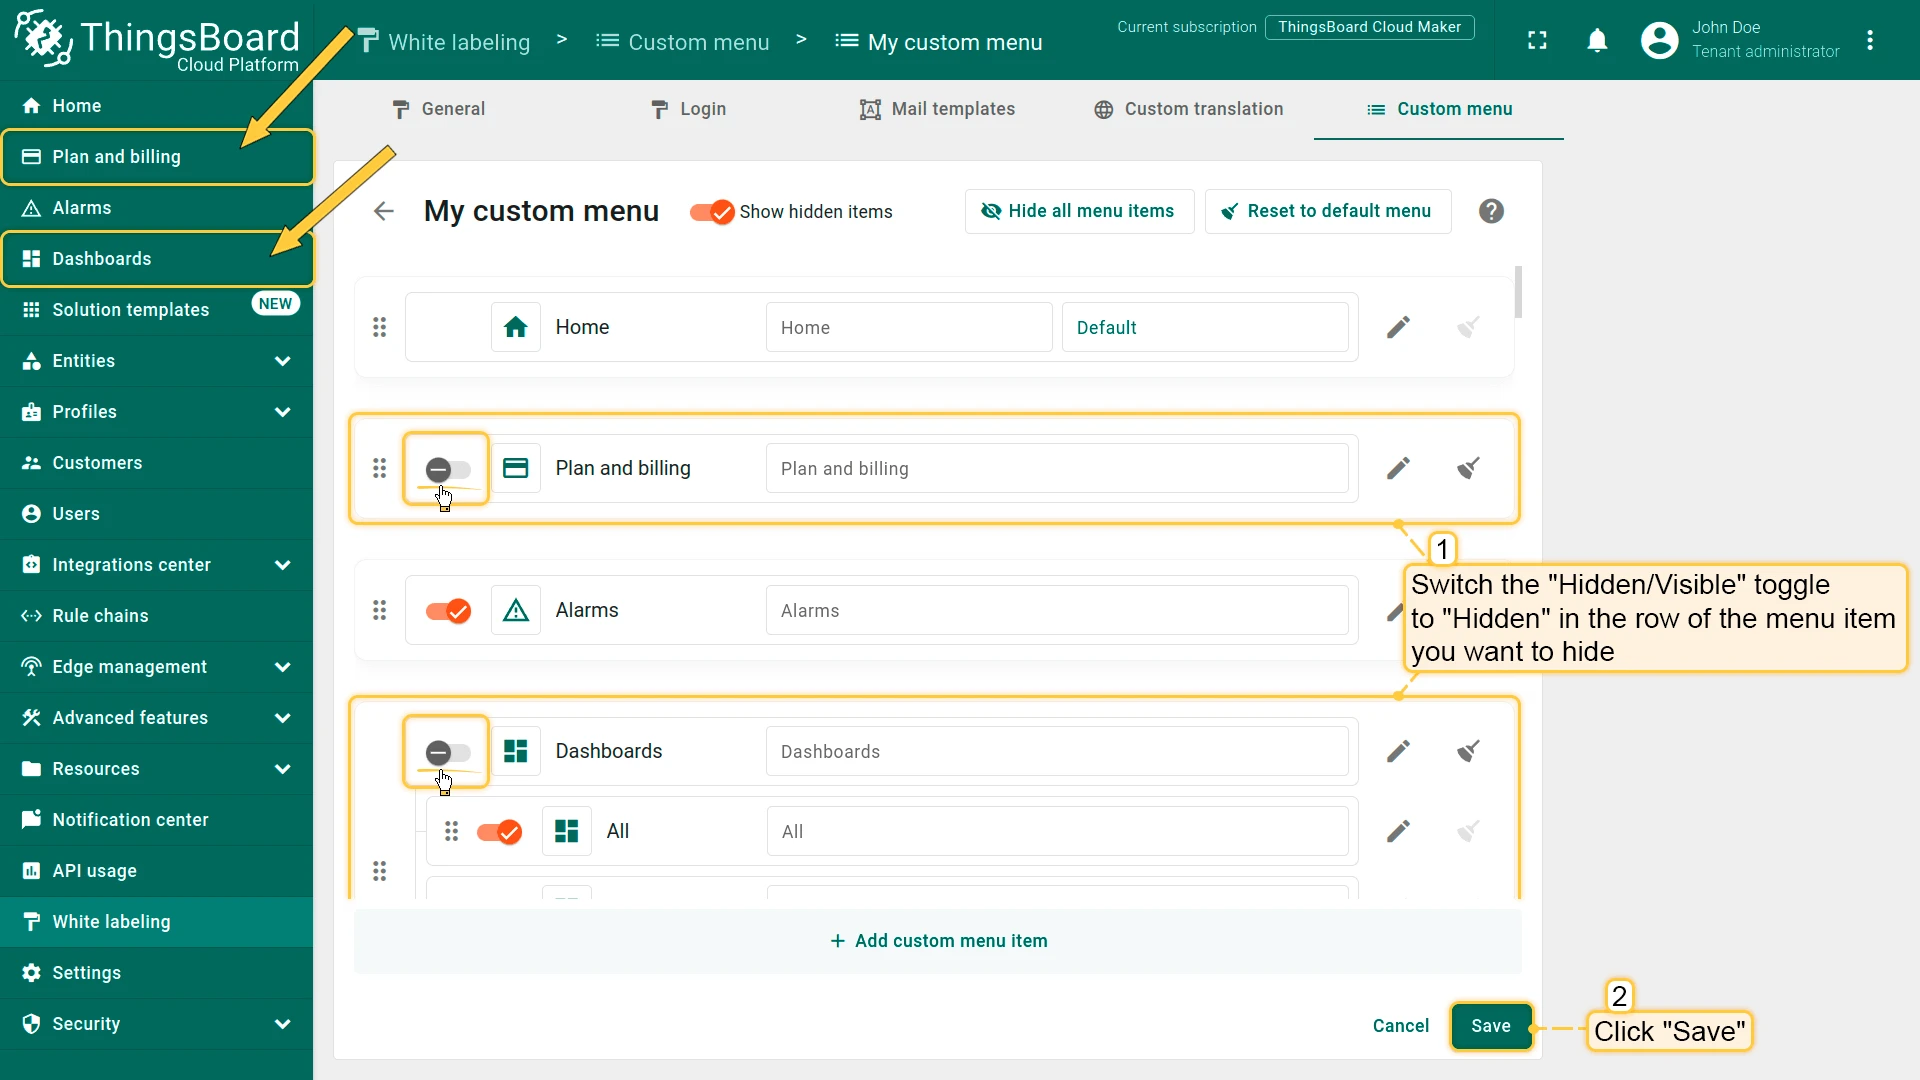
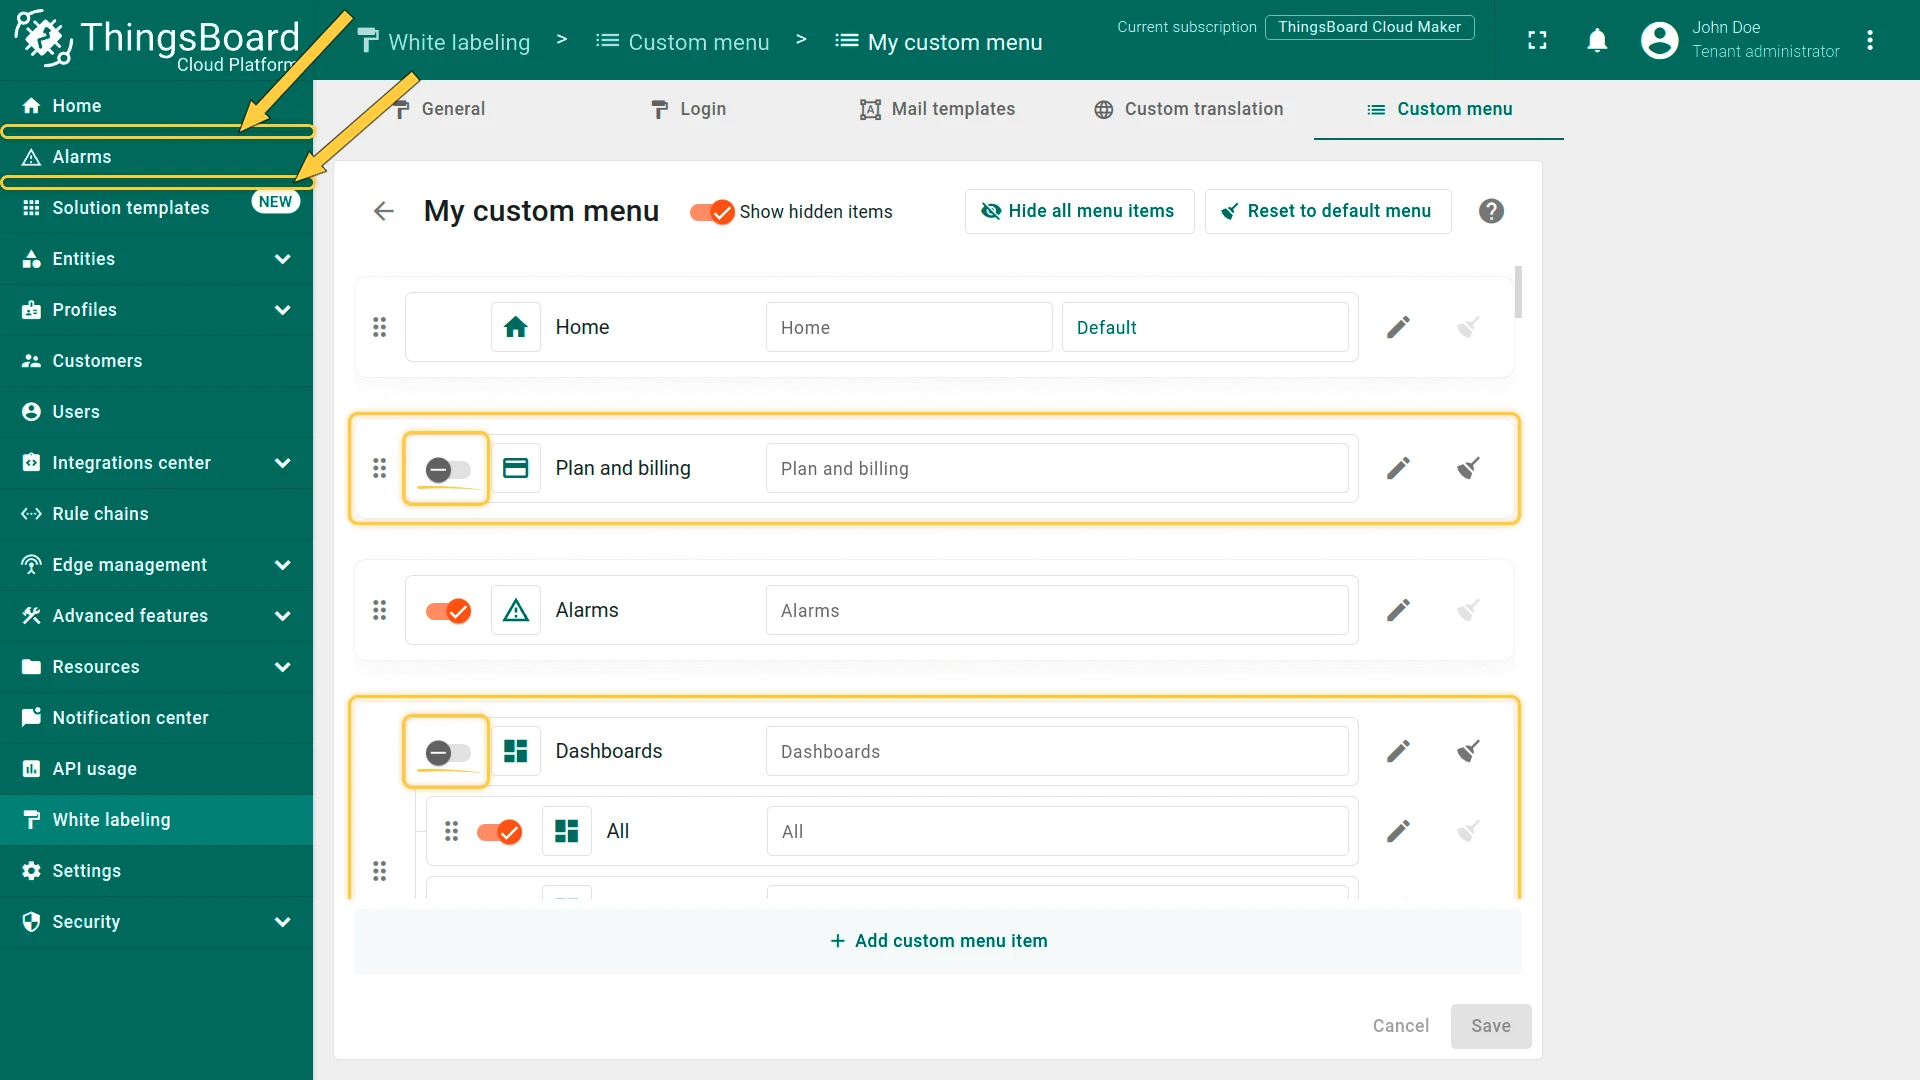
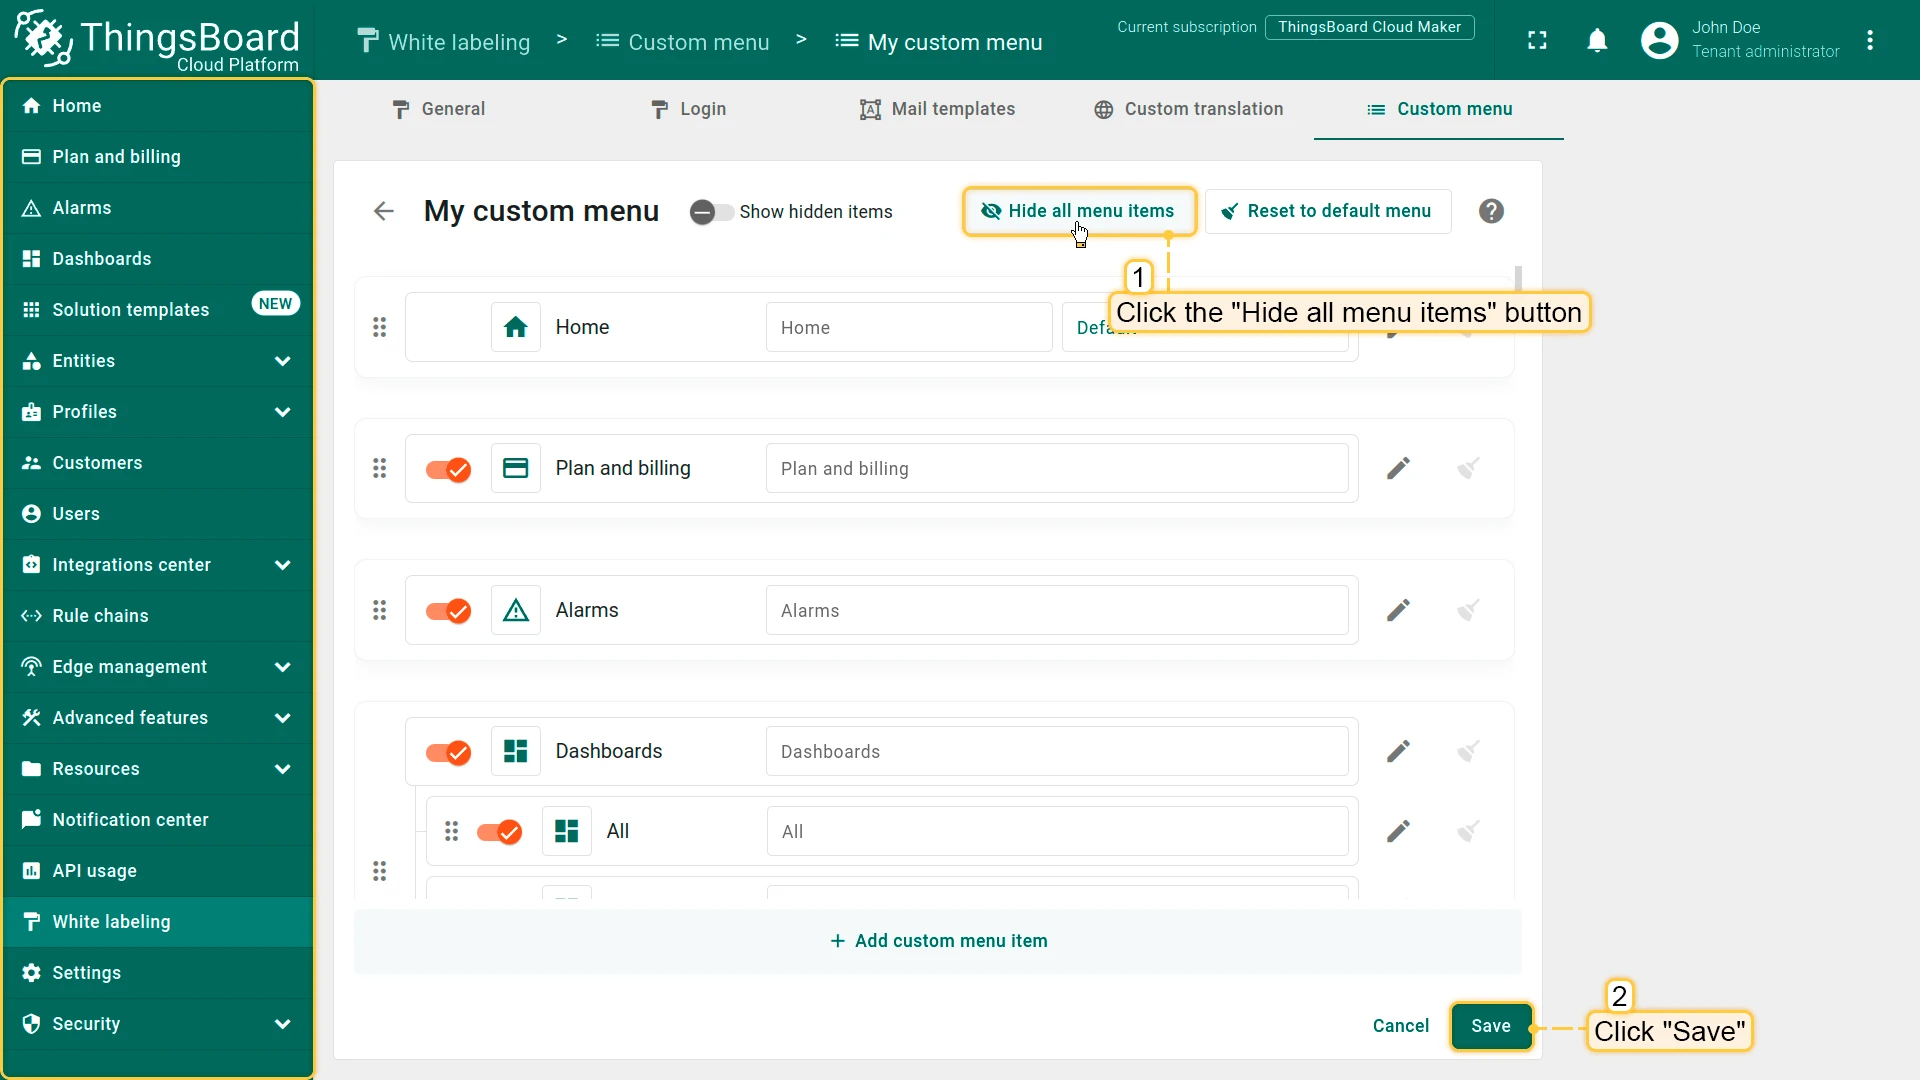
To hide all items at once, click Hide all menu items at the top. The only item that cannot be hidden is Home.
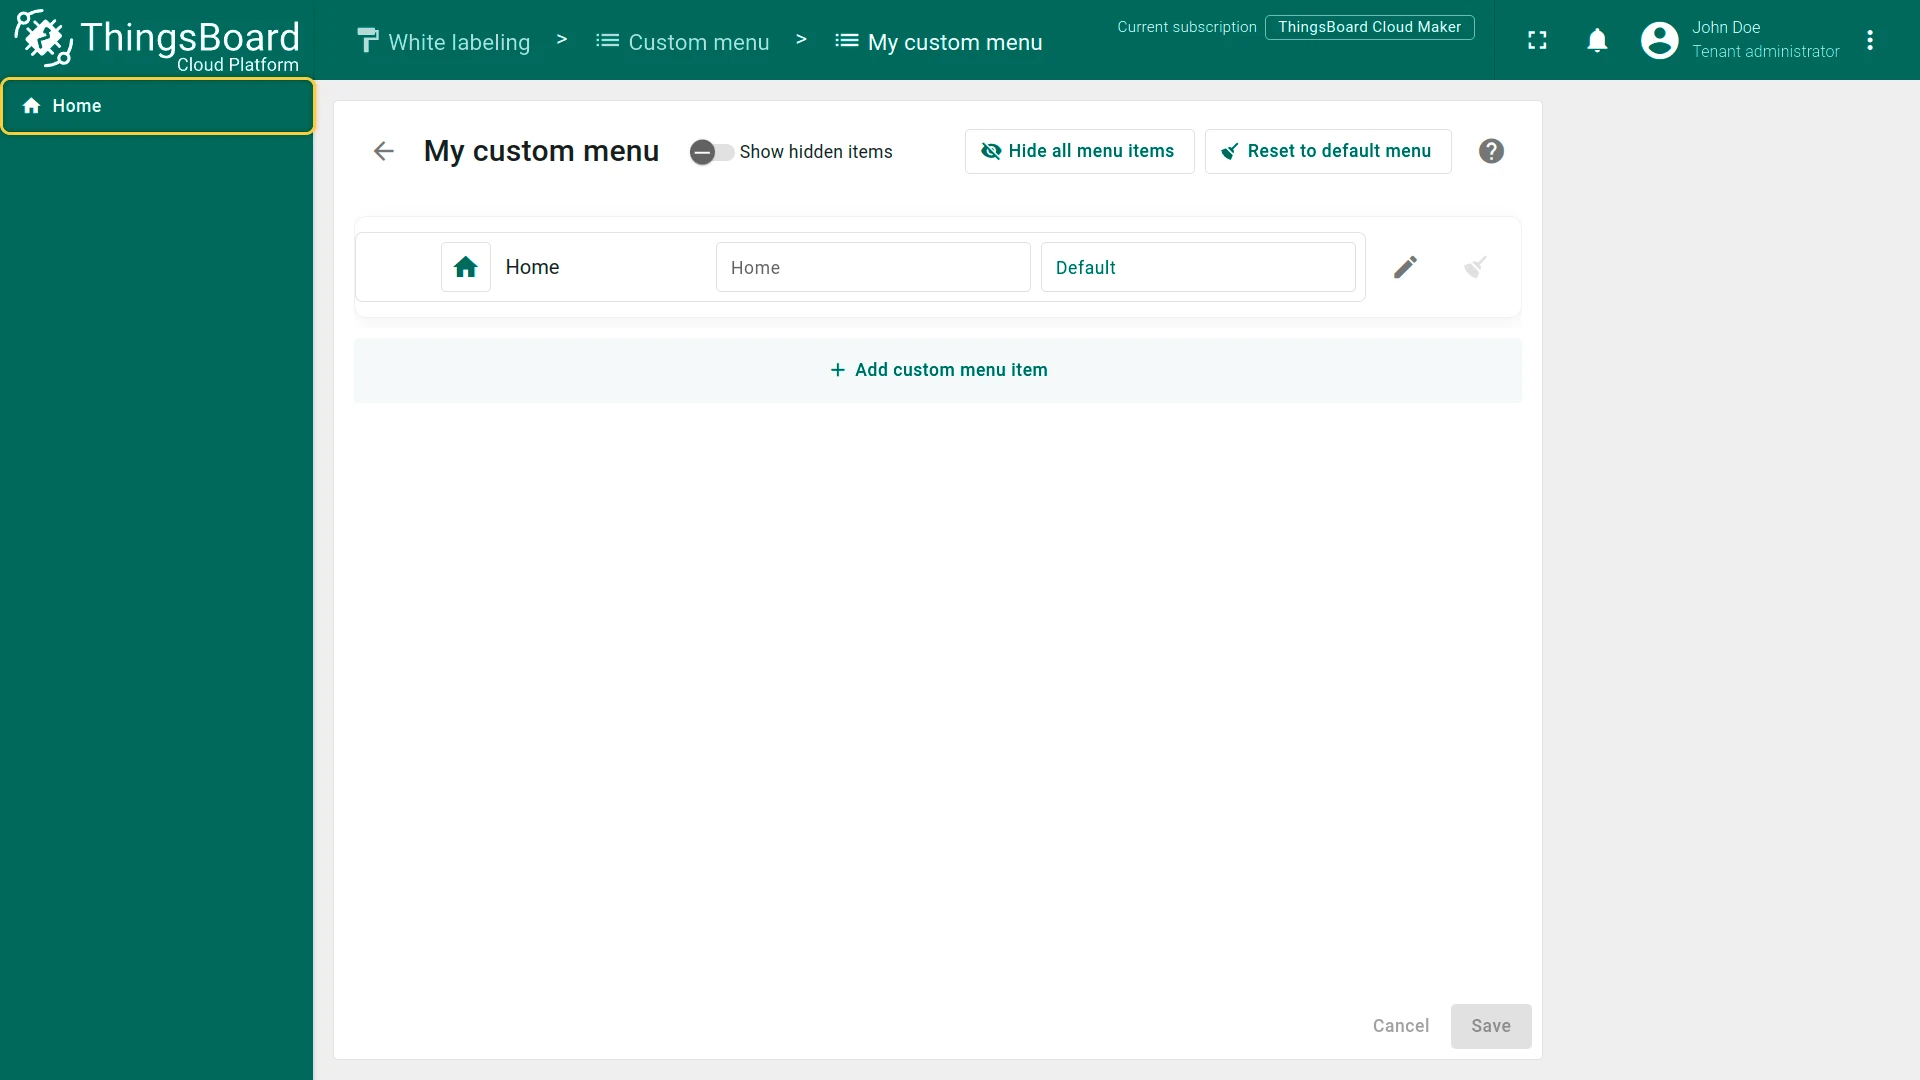
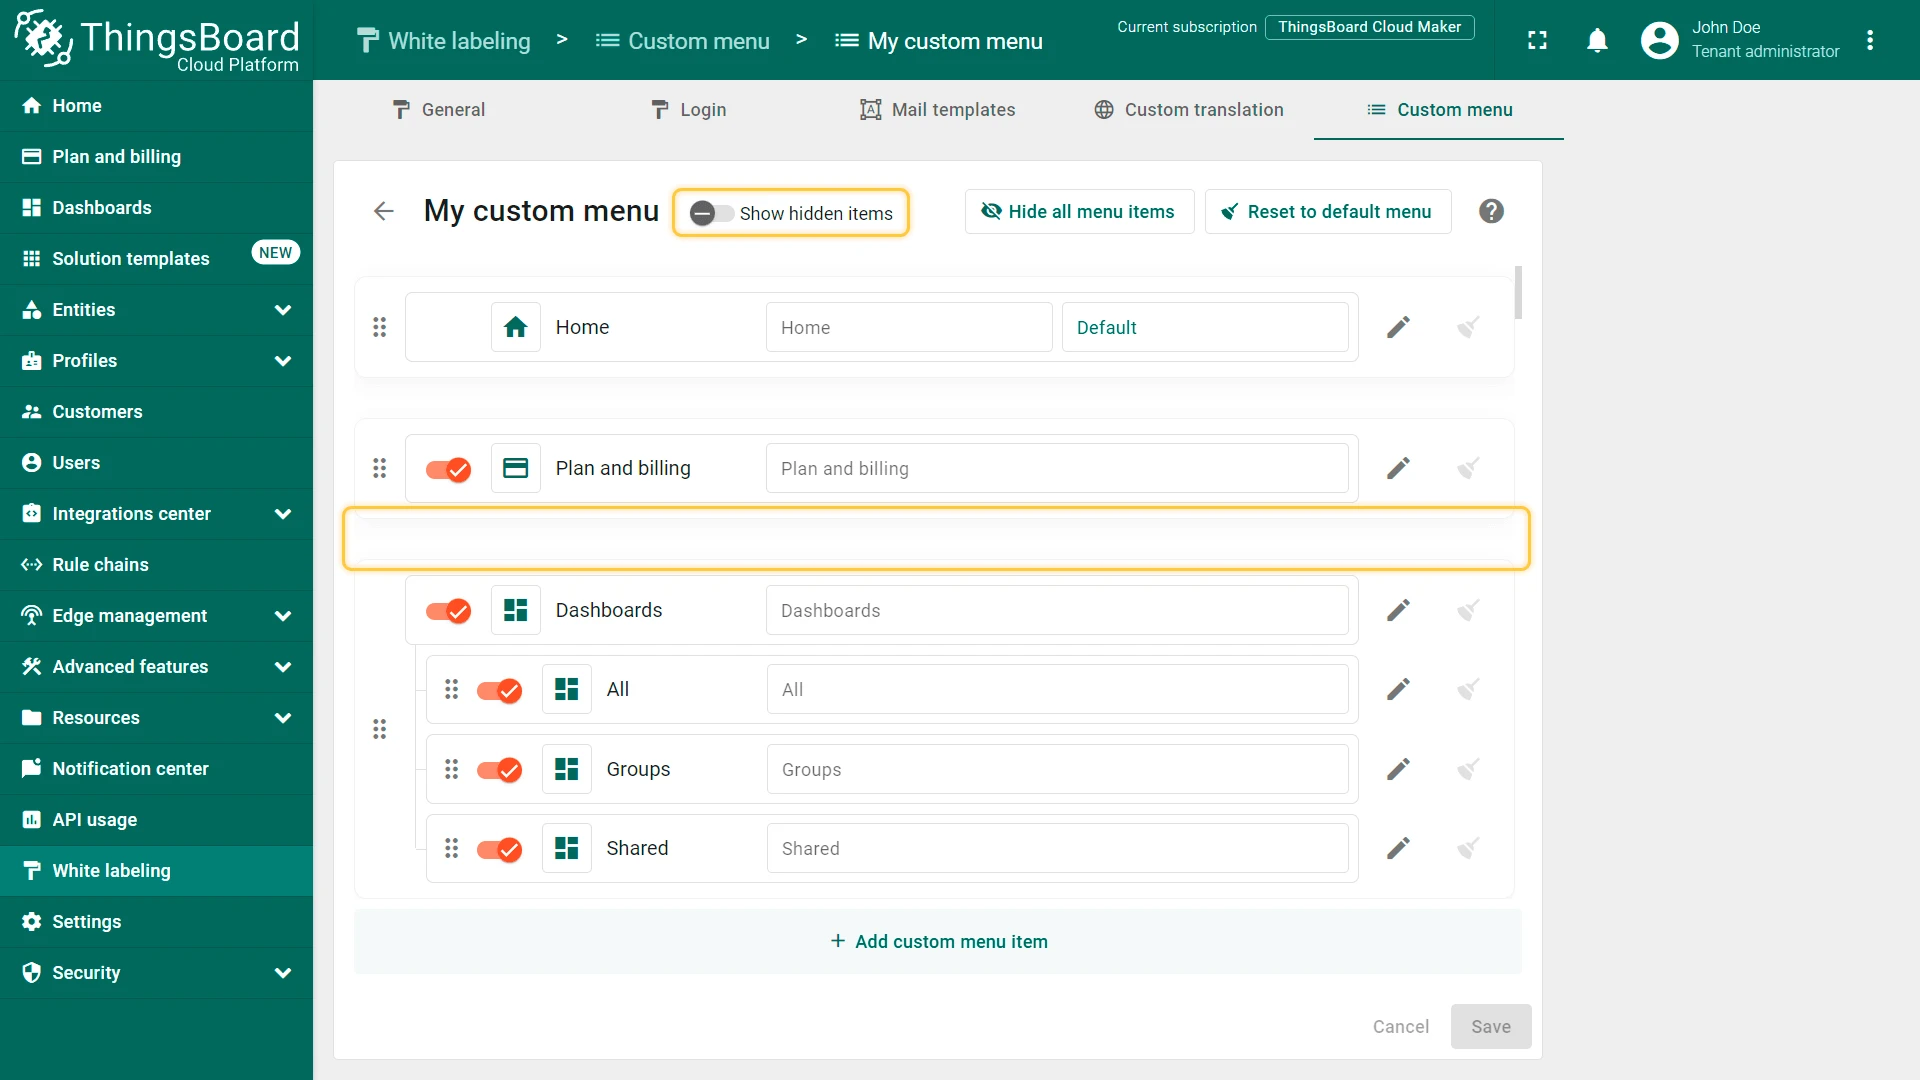
By default, hidden items are still visible on the configuration page. Toggle Show hidden items to Off to hide them from the configuration view as well.
Delete a Menu Item
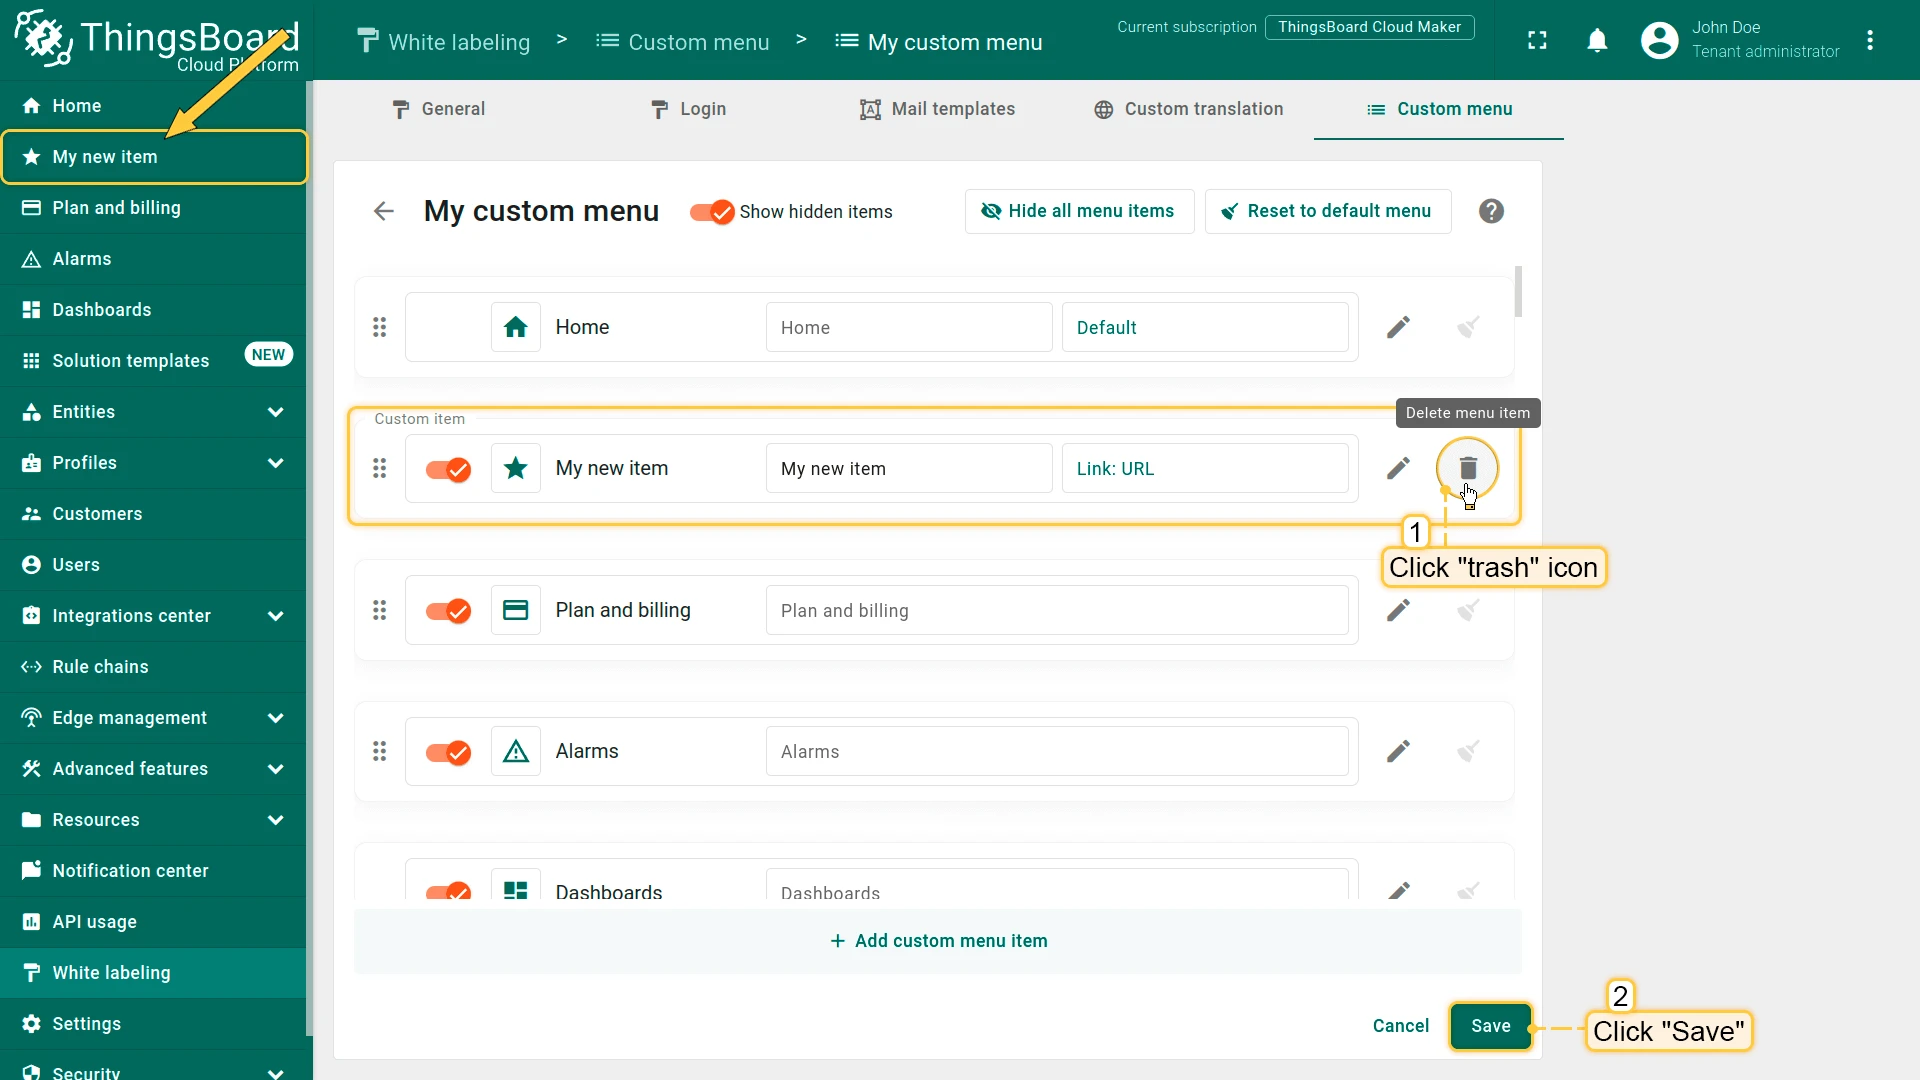
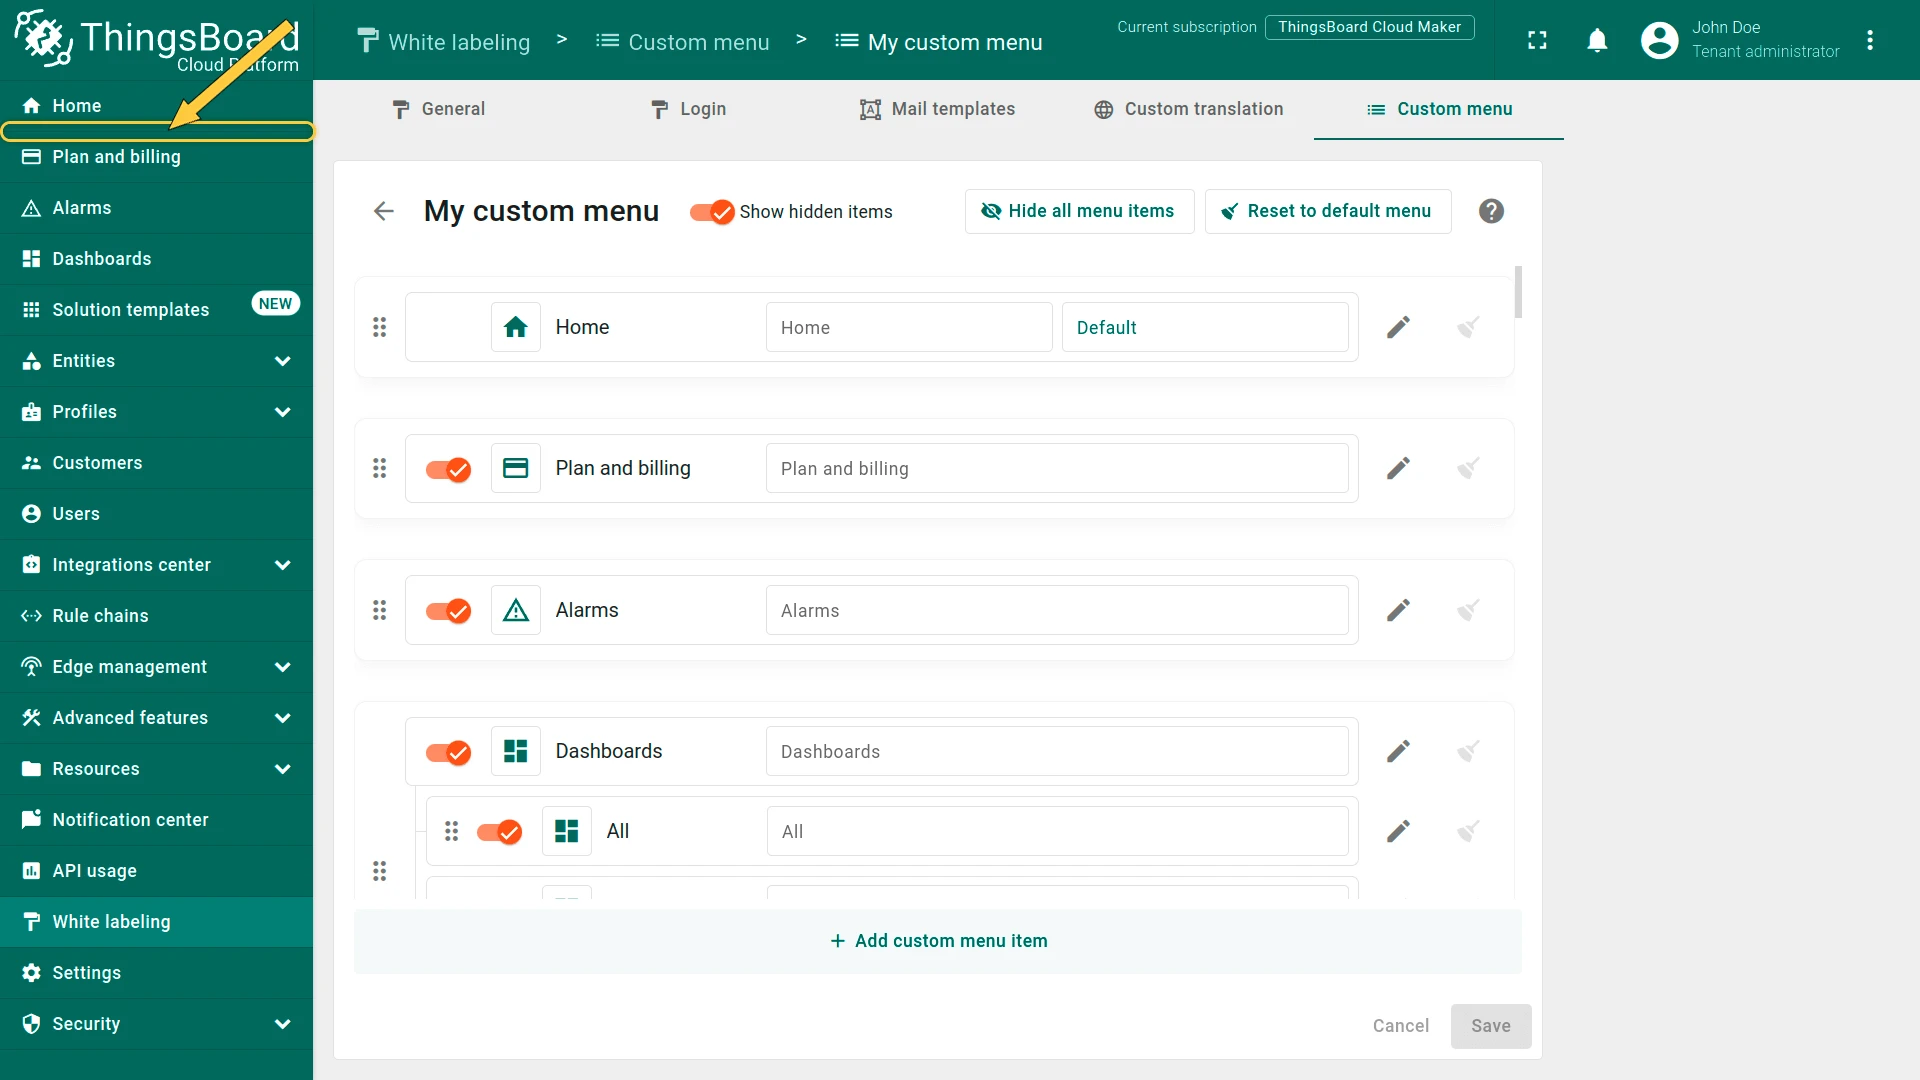
Section titled “Delete a Menu Item”Click the trash icon in the menu item’s row and click Save.
Edit Custom Menu Name
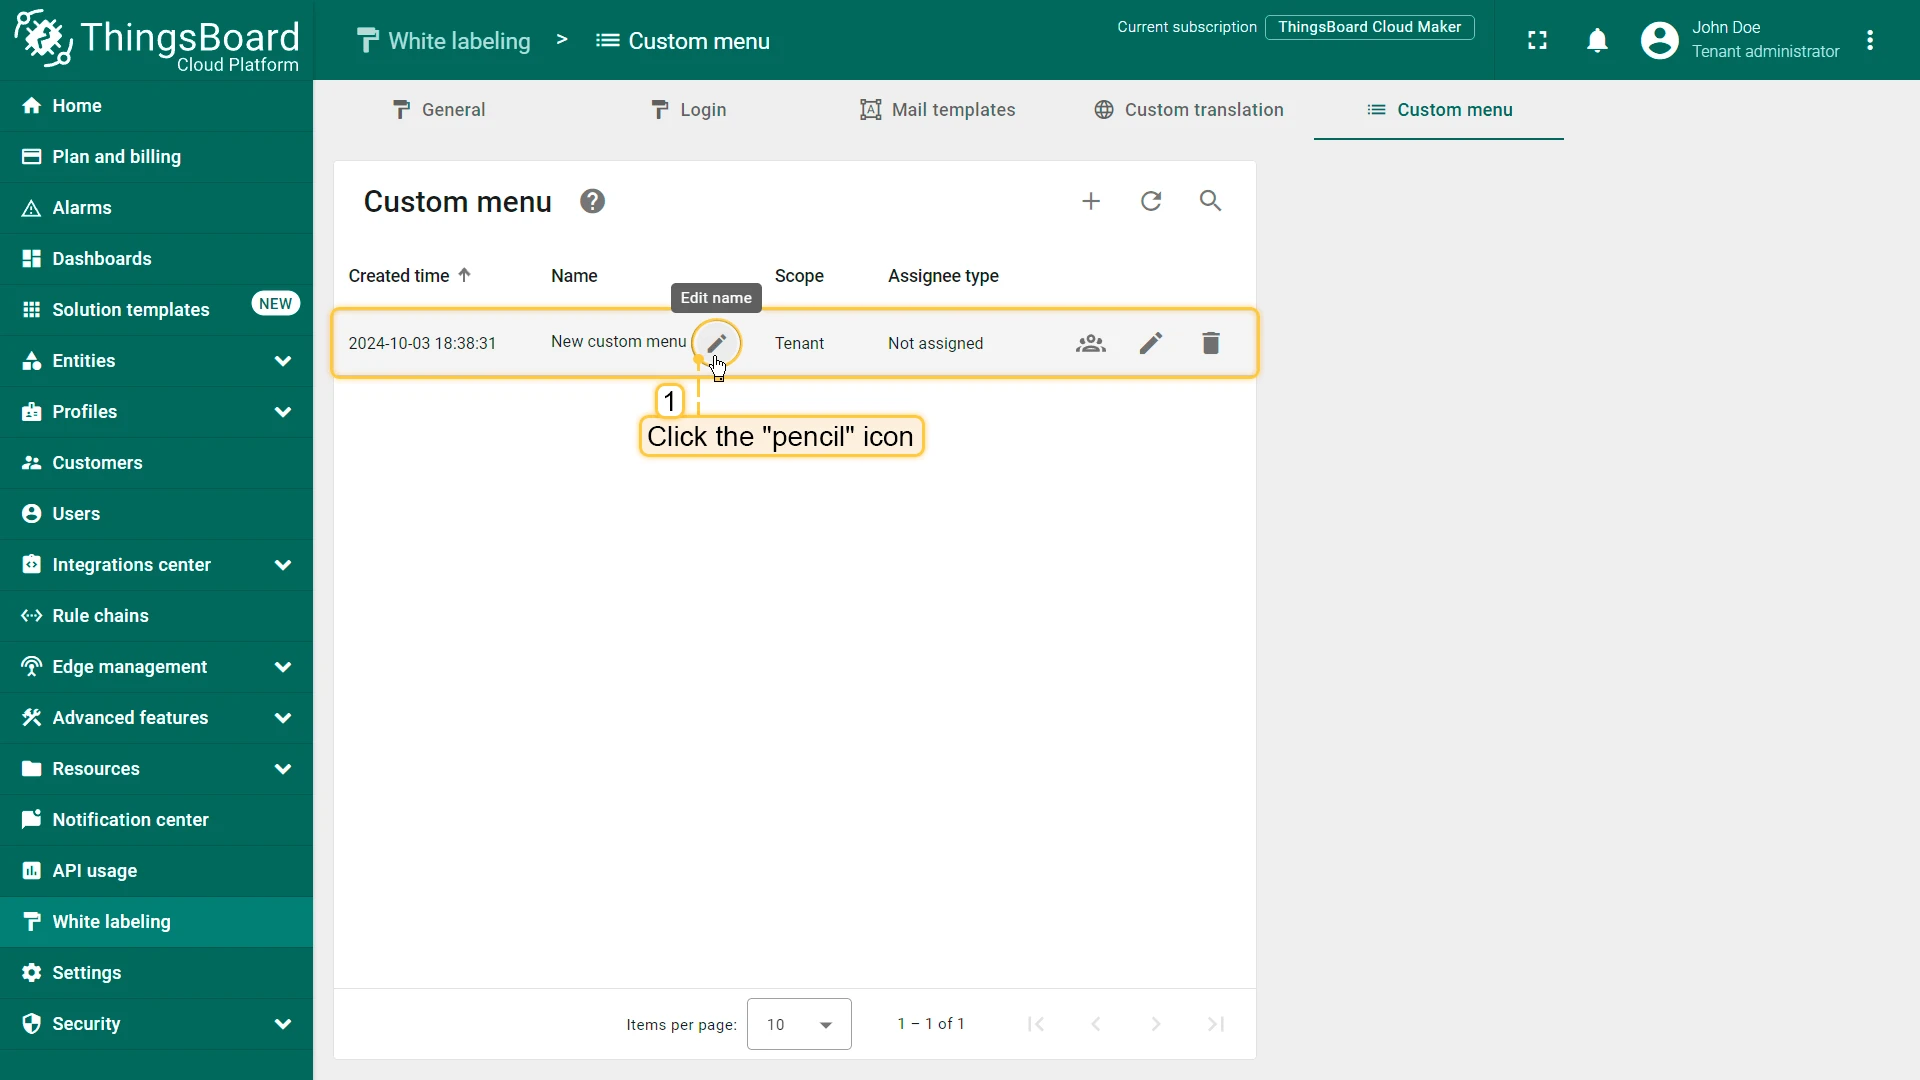
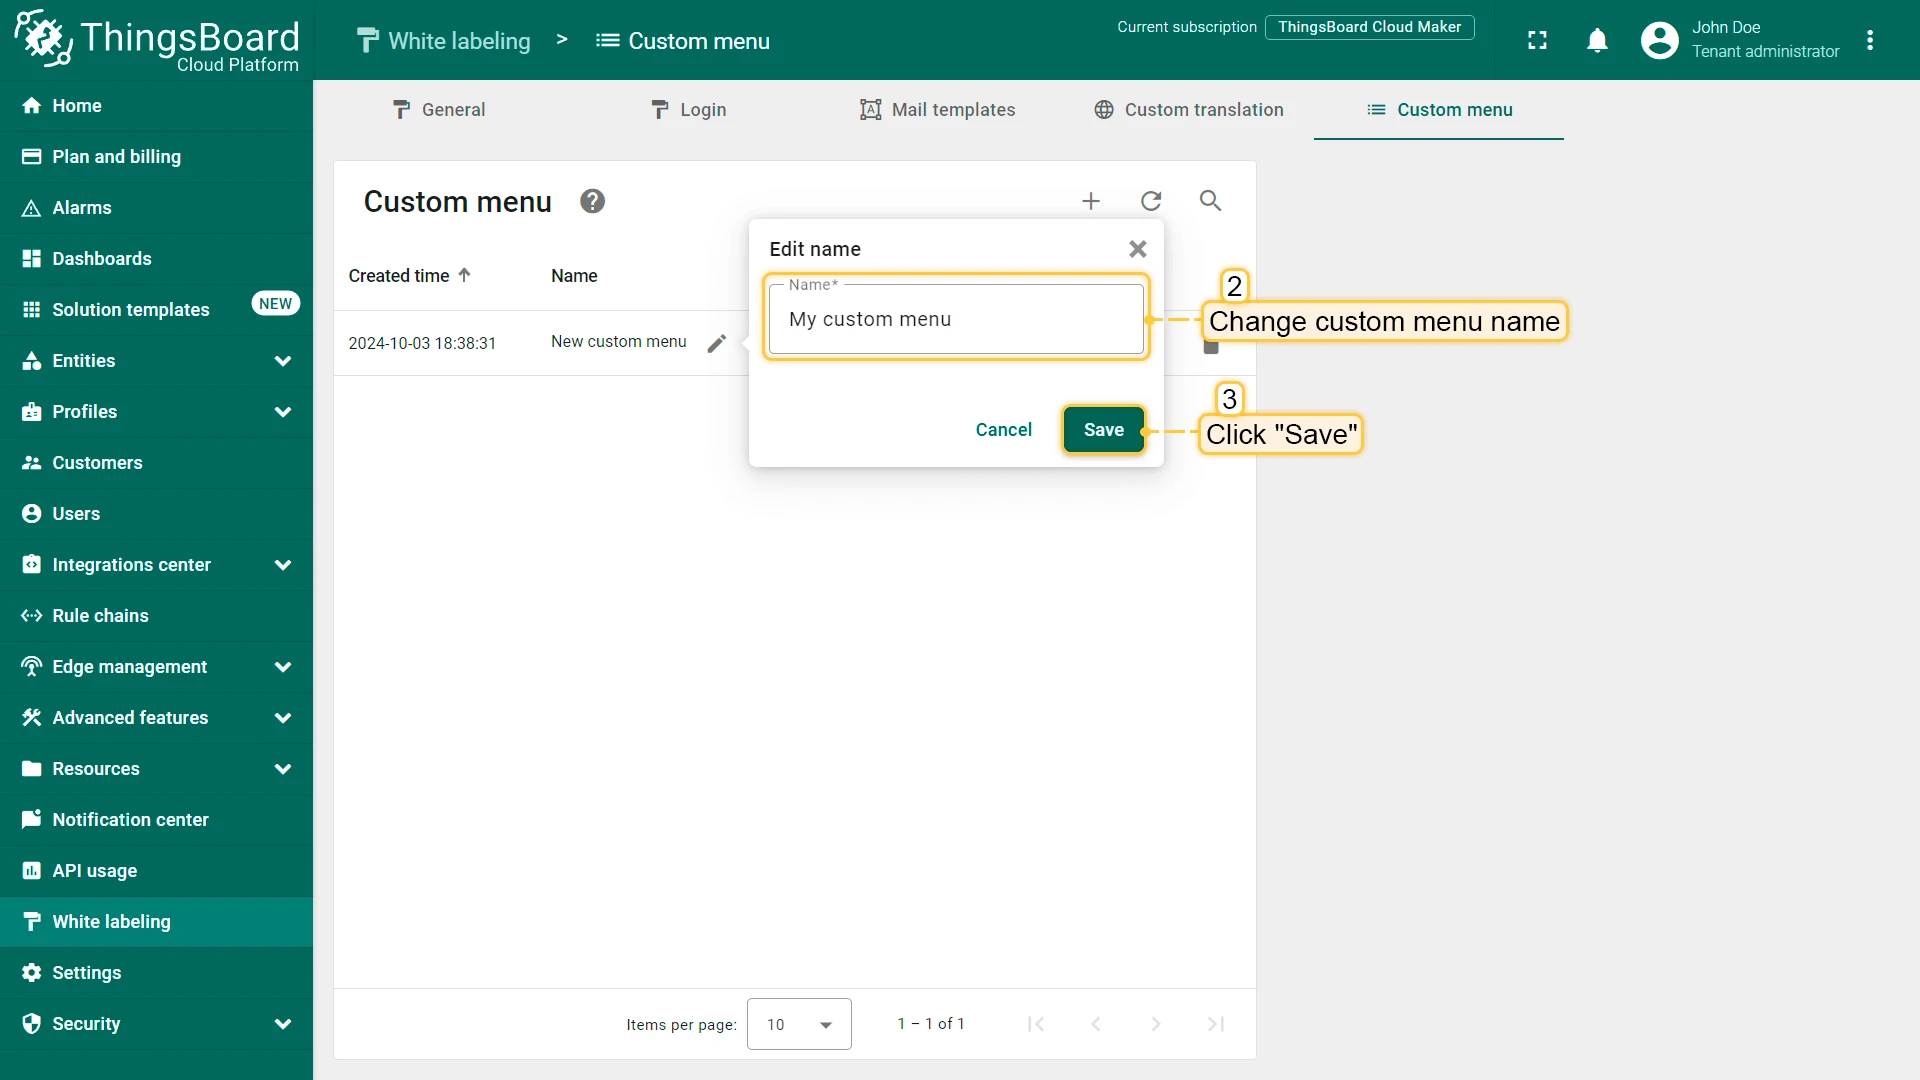
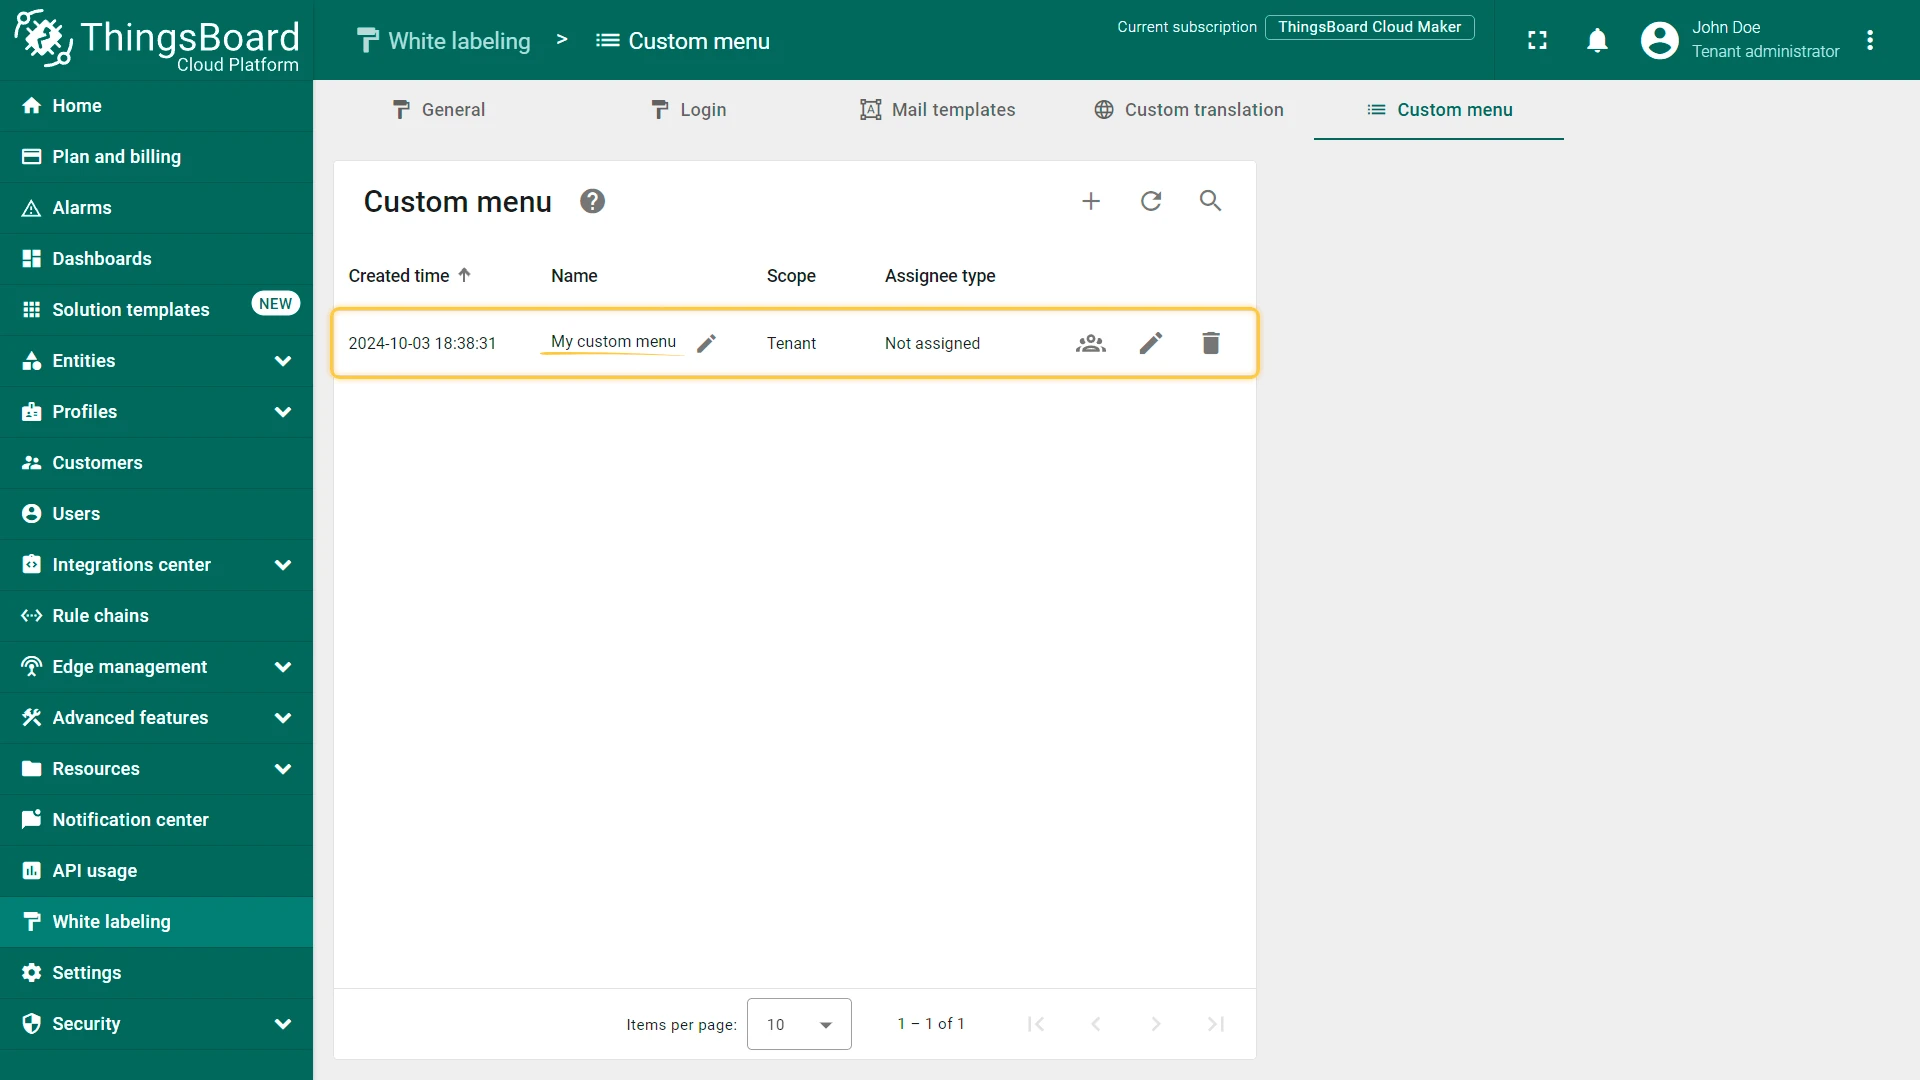
Section titled “Edit Custom Menu Name”Click the pencil icon in the custom menu’s row, change the name, and click Save.
Manage Assignees
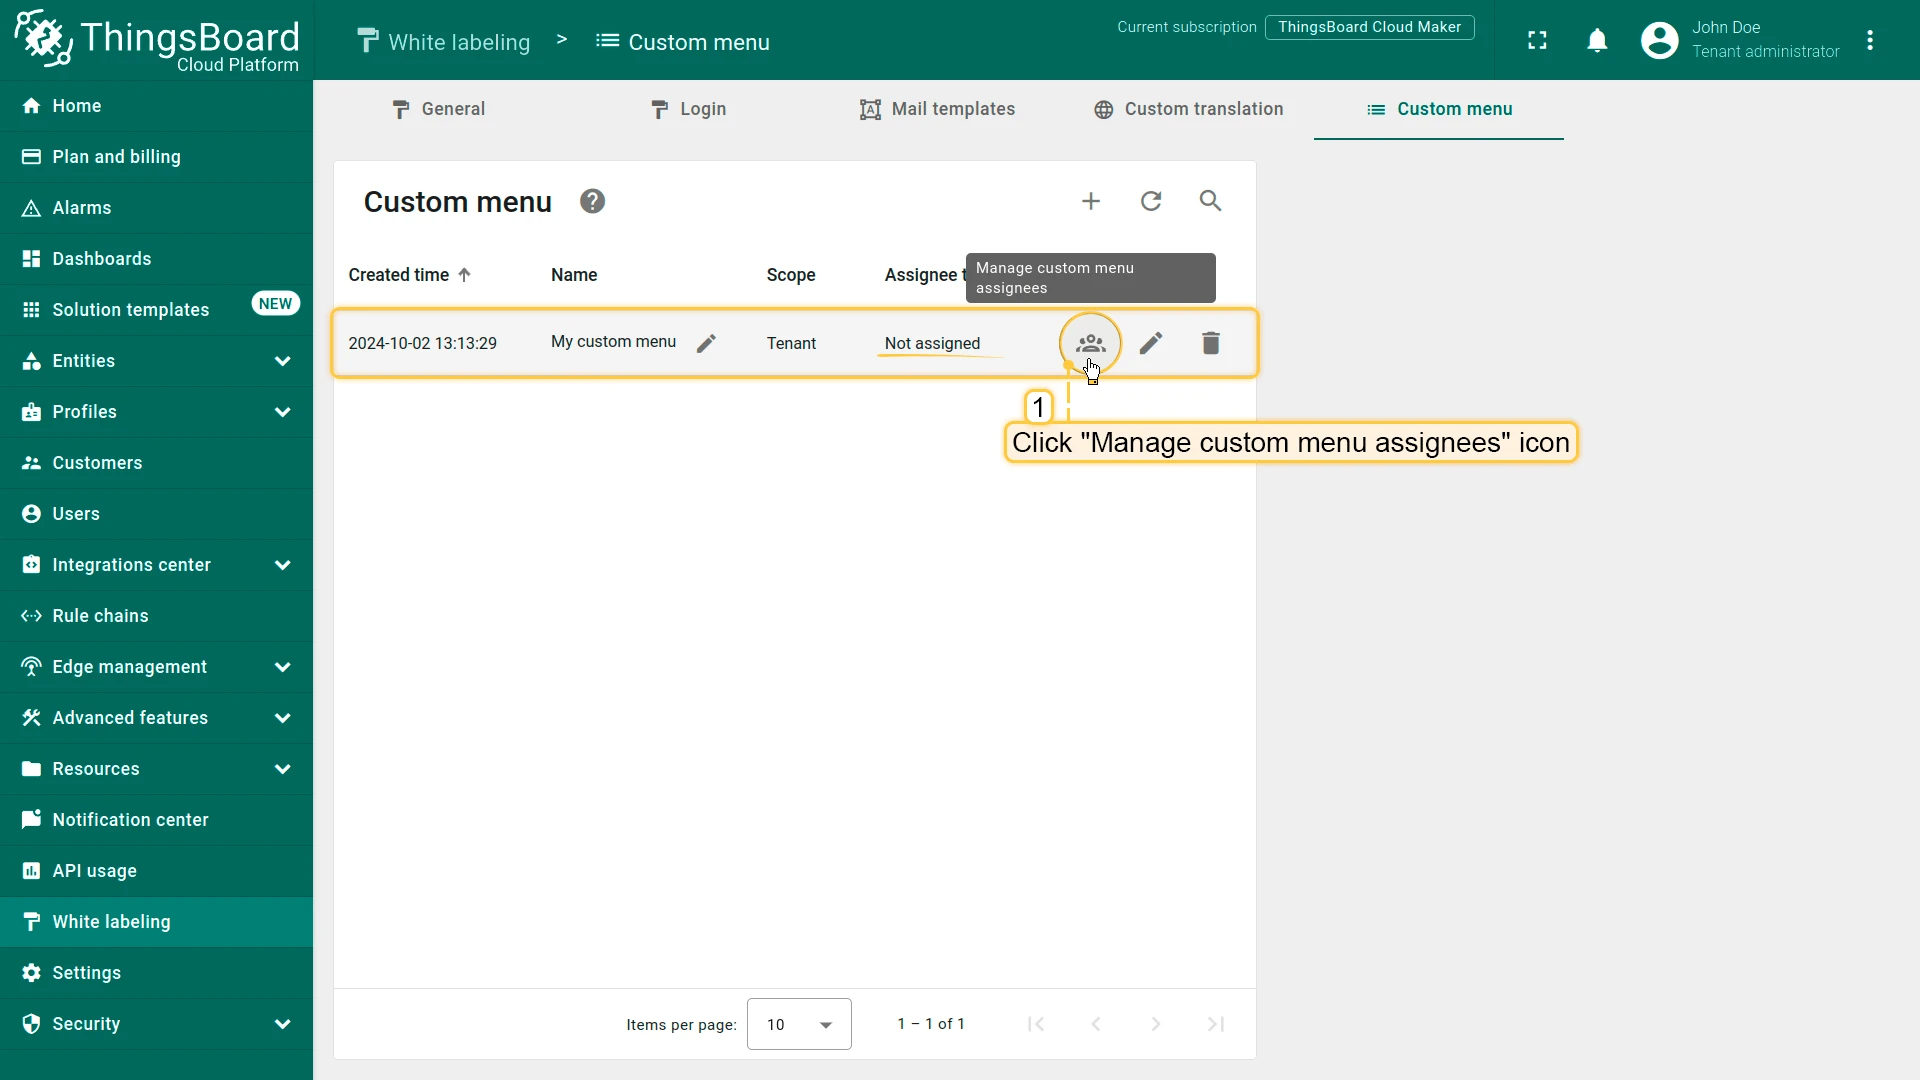
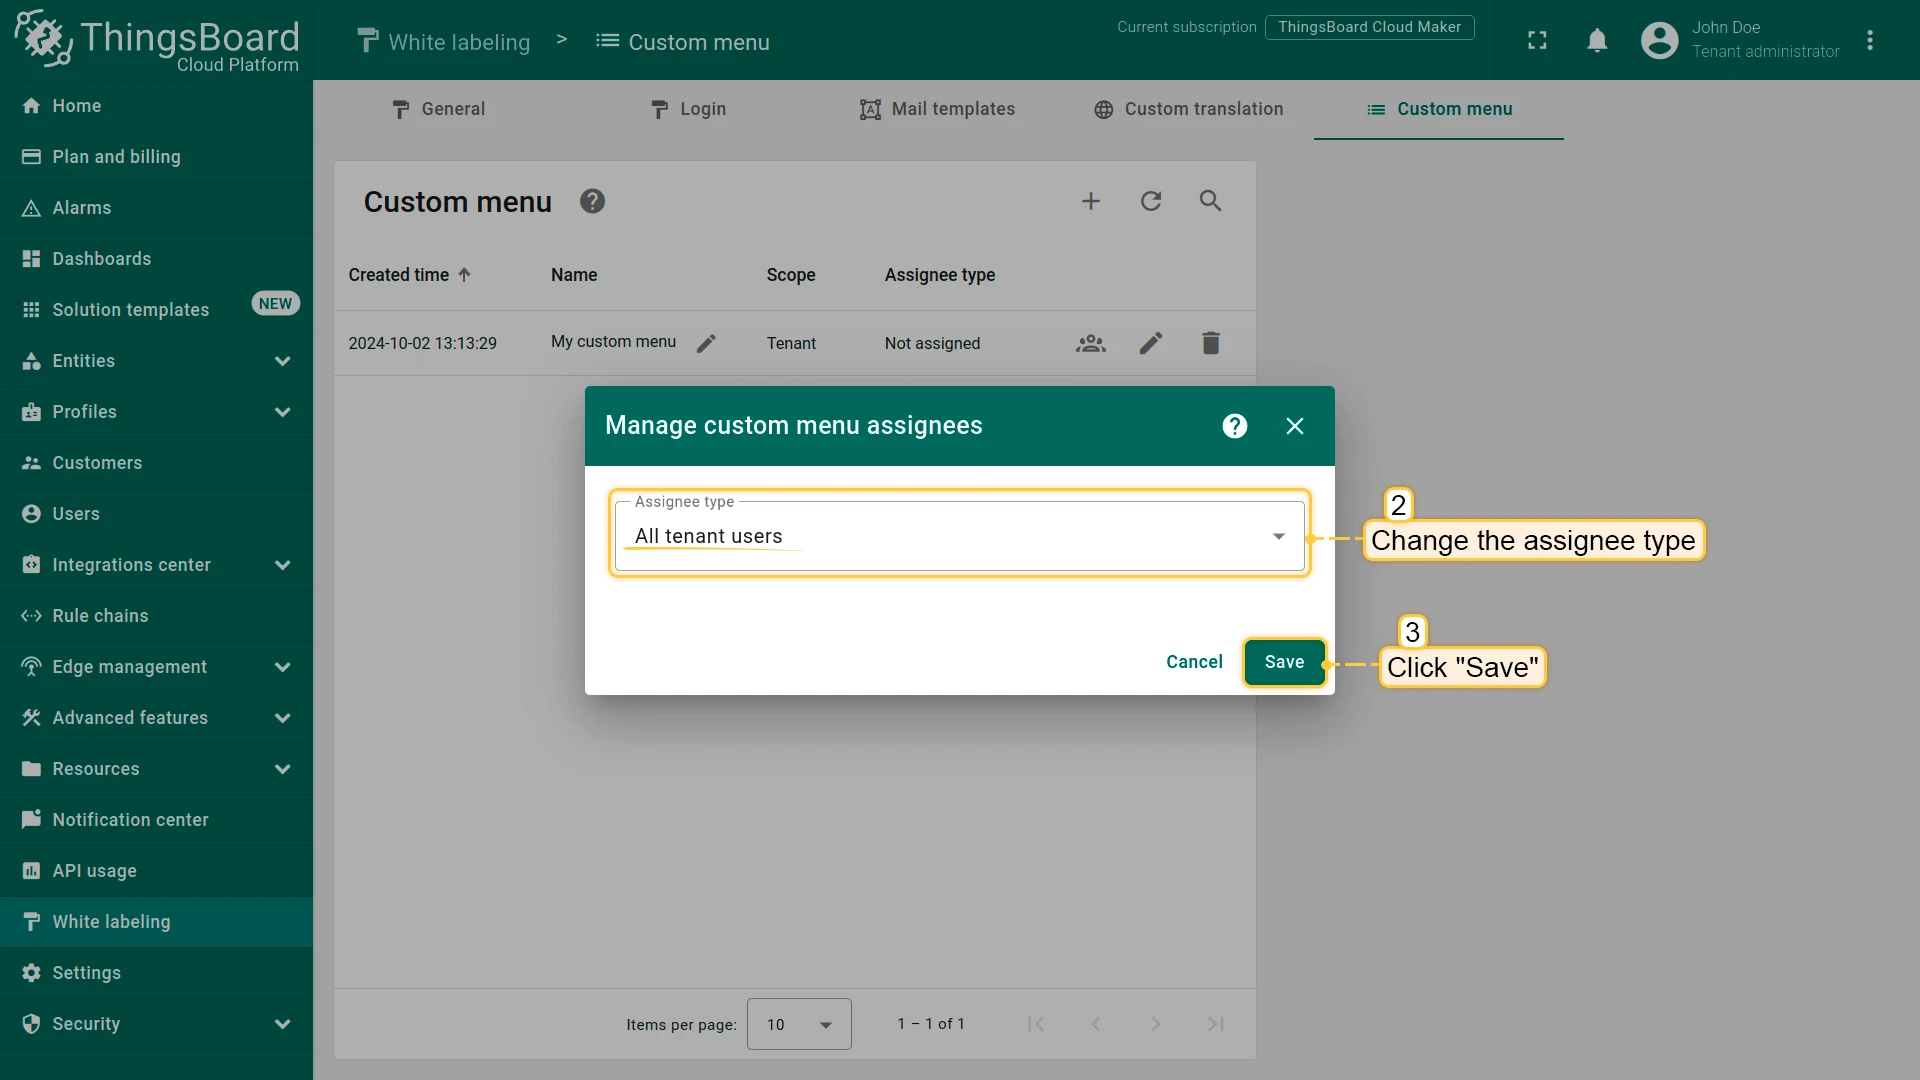
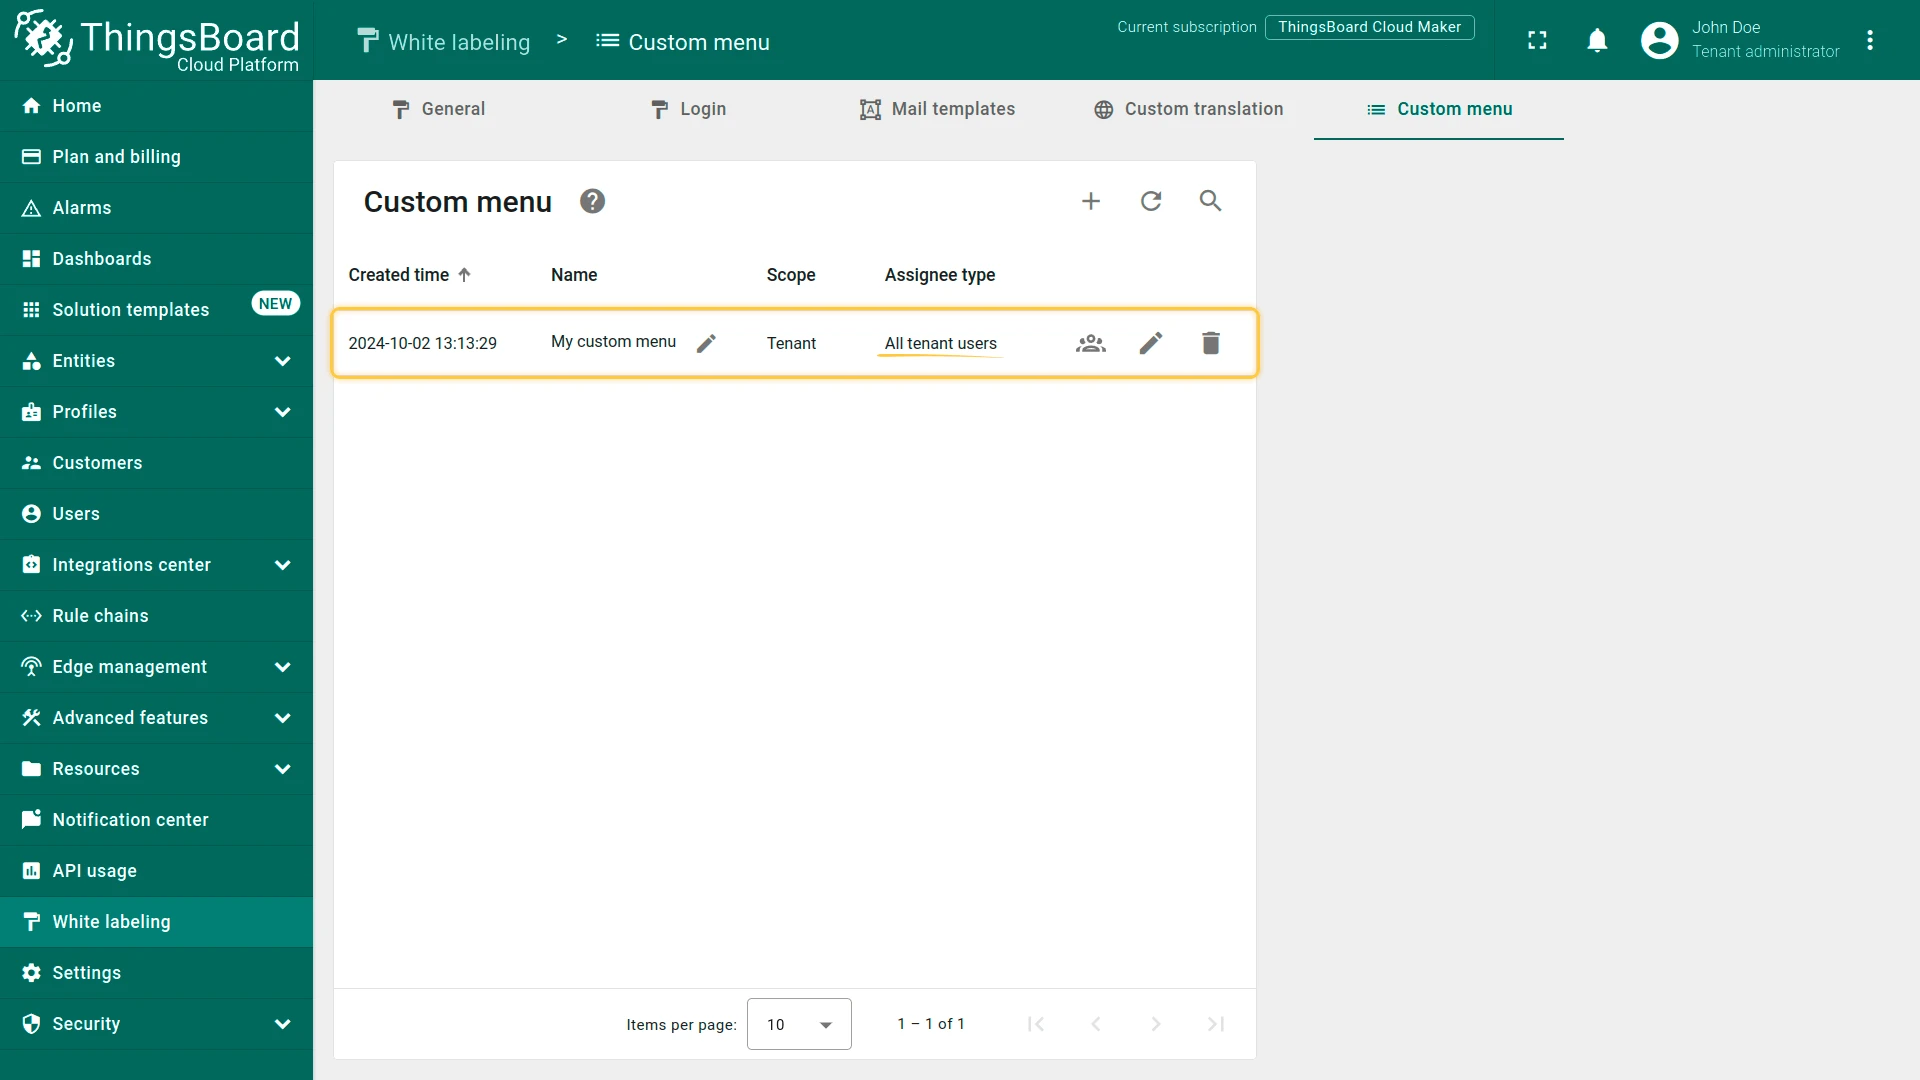
Section titled “Manage Assignees”Click the assignee icon in the custom menu’s row to change who sees this menu. Update the assignee type or list and click Save.
Delete a Custom Menu
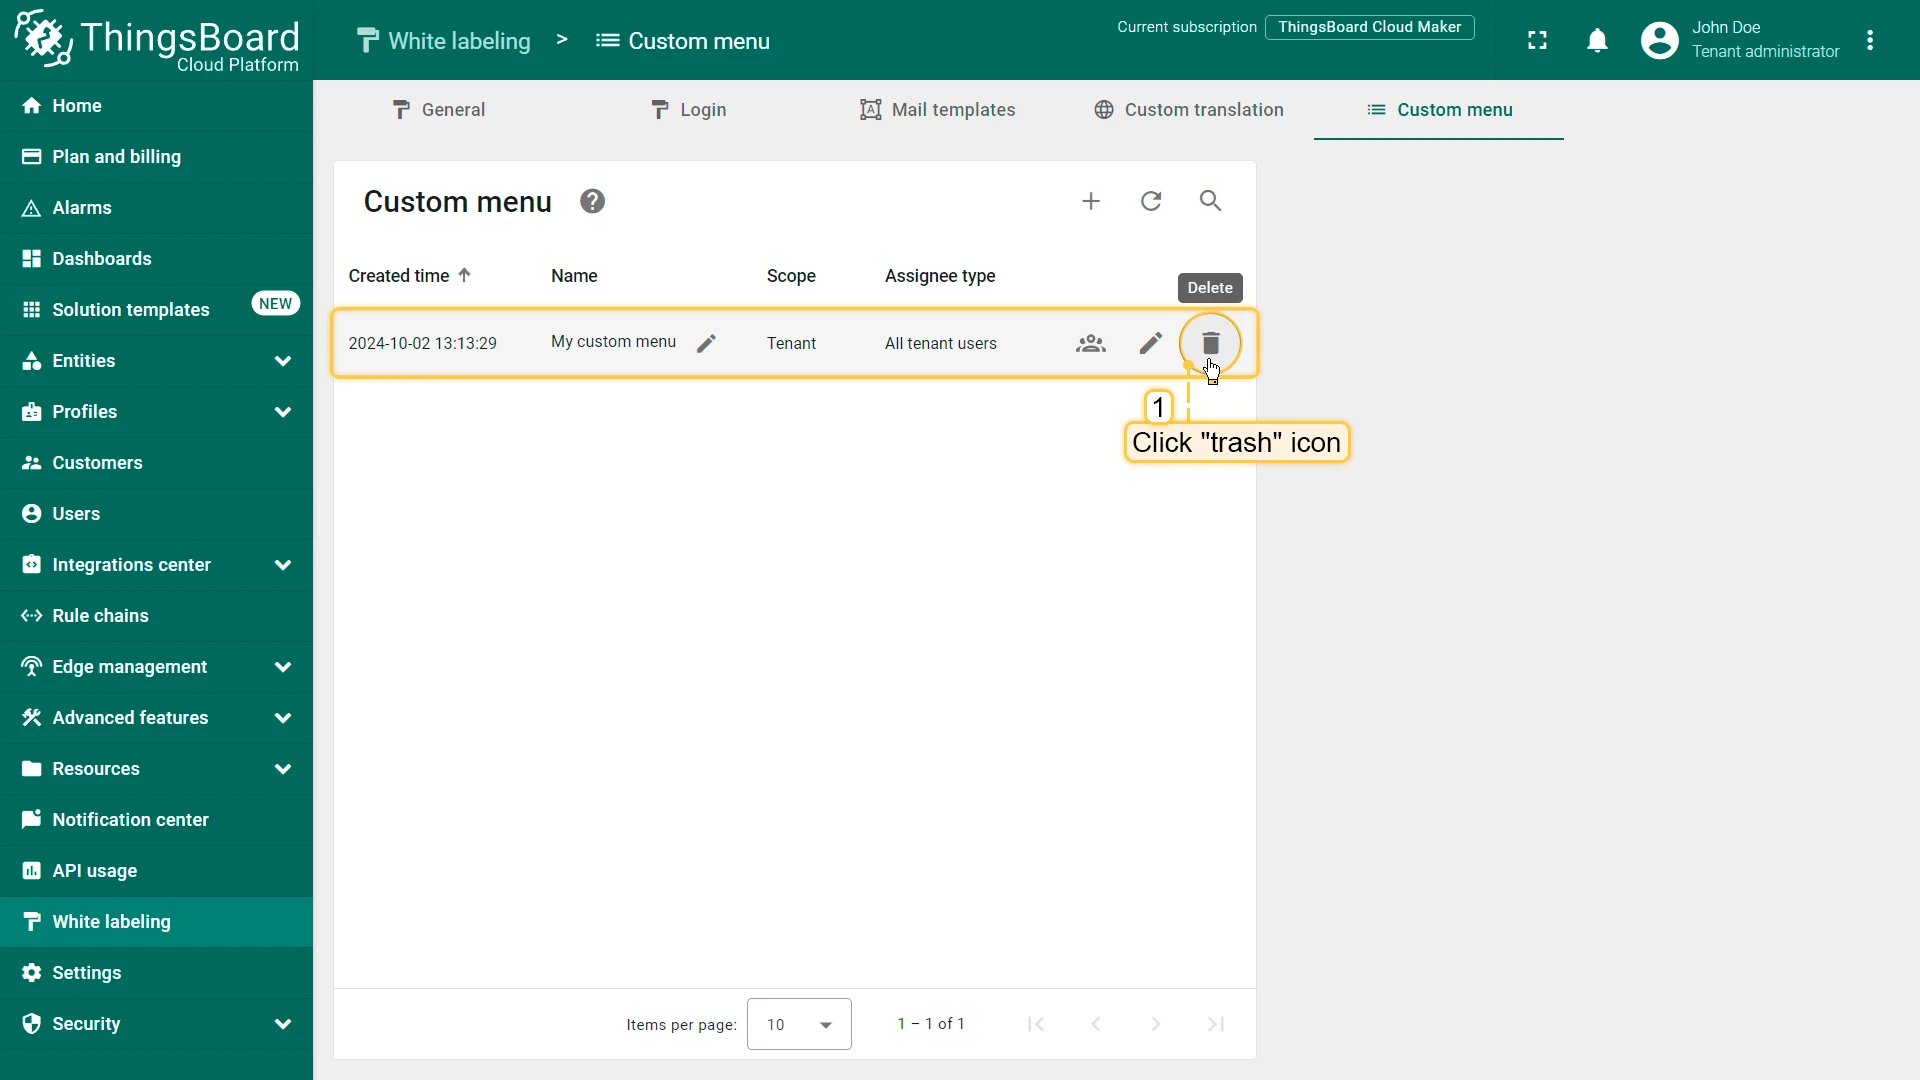
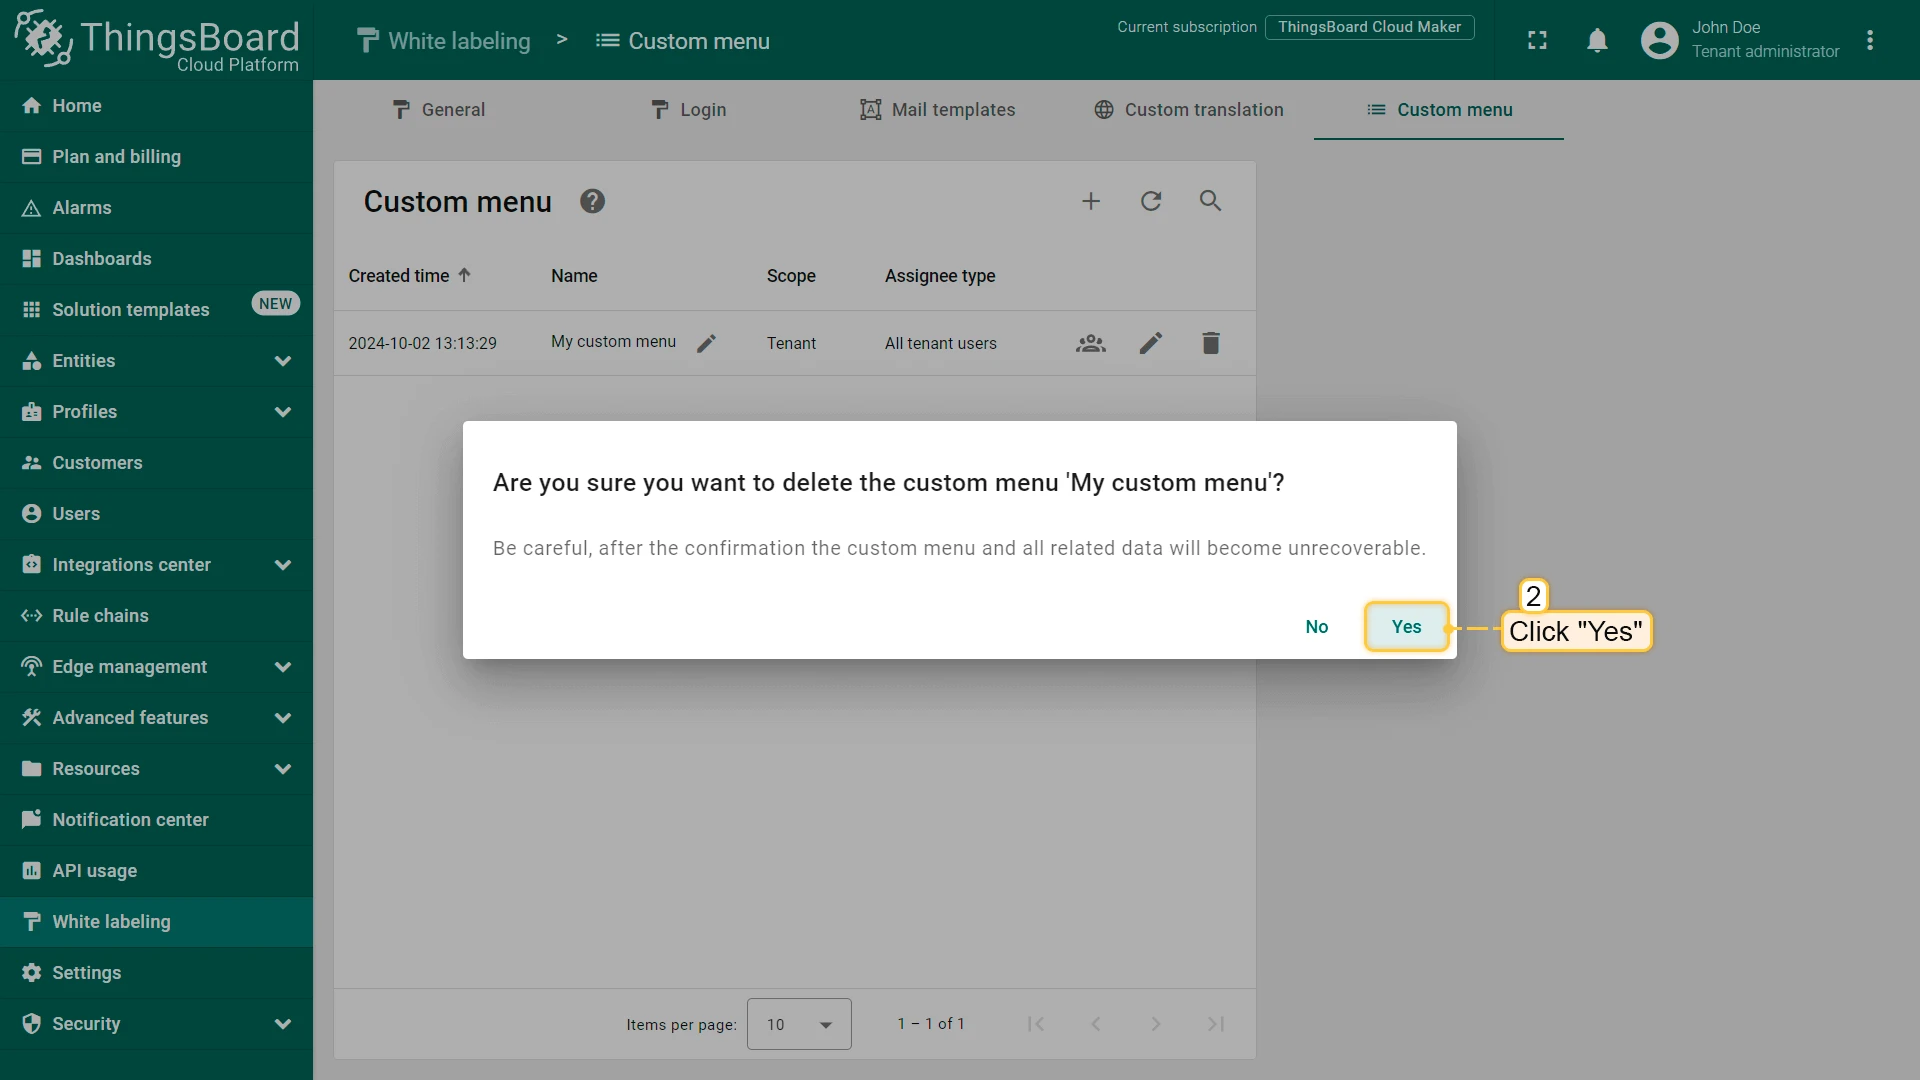
Section titled “Delete a Custom Menu”Click the delete icon in the custom menu’s row and confirm with Yes.
Was this helpful?