TCP Integration
TCP Integration connects ThingsBoard to devices that communicate over raw TCP sockets. It listens on a configured port, frames the incoming byte stream into discrete messages, decodes each message through the Uplink Converter, and maps the result to ThingsBoard telemetry and attributes. It also supports downlink — sending messages back to devices over the same TCP connection.
When to use TCP Integration:
- Devices use a custom binary or text protocol over a raw TCP socket.
- Firmware already opens a TCP connection to a configurable host and port.
- You need a persistent, connection-oriented channel for both telemetry and commands.

Prerequisites
Section titled “Prerequisites”Before creating the integration, ensure:
- You have access to a ThingsBoard Professional Edition instance with integration functionality enabled for your tenant.
- You have permissions to create integrations and data converters.
- You know the payload format and framing protocol your TCP devices use.
- Port 10560 (or whichever port you configure) must be open for incoming TCP connections on the machine running the TCP Integration process. The remote process also needs outbound access to ThingsBoard’s gRPC port 9090.
- The
echocommand piped tonetcat(nc) is available for sending test data over TCP.
In this tutorial, device SN-002 sends temperature and humidity readings to the TCP Integration server on port 10560.
The integration accepts three payload formats:
SN-002,default,temperature,25.7\nSN-002,default,humidity,69[ { "deviceName": "SN-002", "deviceType": "default", "temperature": 25.7, "humidity": 69 }]The binary payload is 25 bytes:
\x30\x30\x30\x30\x11\x53\x4e\x2d\x30\x30\x32\x64\x65\x66\x61\x75\x6c\x74\x32\x35\x2e\x37\x00\x00\x00Byte layout:
| Bytes | Hex | Value |
|---|---|---|
| 0–3 | \x30\x30\x30\x30 | Frame length prefix (4 bytes) |
| 4 | \x11 | Message type: telemetry |
| 5–10 | \x53\x4e\x2d\x30\x30\x32 | Device name: SN-002 |
| 11–17 | \x64\x65\x66\x61\x75\x6c\x74 | Device type: default |
| 18–21 | \x32\x35\x2e\x37 | Temperature: 25.7 |
| 22–24 | \x00\x00\x00 | Reserved / padding (ignored) |
Create TCP Uplink Data Converter
Section titled “Create TCP Uplink Data Converter”The decoder function receives the raw TCP message bytes as a payload byte array — already extracted from the byte stream by the handler configured in the Connection settings, with framing bytes stripped. It must return an object with at least deviceName and deviceType. Optionally, it can include telemetry (time-series measurements) and attributes (device properties) as flat key-value maps.
For the full decoder function reference — all input parameters and output fields — see Uplink data converter.
- Go to Integrations center ⇾ Data converters.
- Click + Add data converter ⇾ Create new converter.
In the Add data converter dialog:
- Converter type — leave Uplink (selected by default).
- Integration type — in the search field, enter
TCPand select TCP from the list. - Name — enter a converter name, for example
TCP Uplink Converter. - Main decoding configuration — paste the decoder function from the appropriate tab below, then continue with step 7.
Select the tab matching your payload type:
/** Decoder **/
// decode payload to stringvar strArray = decodeToString(payload);var payloadArray = strArray.replaceAll("\"", "").replaceAll("\\n", "").split(',');
var telemetryPayload = {};for (var i = 2; i < payloadArray.length; i = i + 2) {    var telemetryKey = payloadArray[i];    var telemetryValue = parseFloat(payloadArray[i + 1]);    telemetryPayload[telemetryKey] = telemetryValue;}
// Result object with device attributes/telemetry datavar result = {    deviceName: payloadArray[0],    deviceType: payloadArray[1],    telemetry: telemetryPayload,    attributes: {}};
/** Helper functions 'decodeToString' and 'decodeToJson' are already built-in **/
return result;
/** Decoder **/
// decode payload to stringvar strArray = decodeToString(payload);var payloadArray = strArray.replace(/"/g, "").replace(/\s/g, "").split(',');
var telemetryKey = payloadArray[2];var telemetryValue = payloadArray[3];
var telemetryPayload = {};telemetryPayload[telemetryKey] = telemetryValue;
// Result object with device attributes/telemetry datavar result = { deviceName: payloadArray[0], deviceType: payloadArray[1], telemetry: telemetryPayload, attributes: {}};
/** Helper functions **/
function decodeToString(payload) { return String.fromCharCode.apply(String, payload);}
return result;The handler delivers one logical record per decoder invocation (split by the configured message separator). The decoder expects a comma-separated string: position 0 is the device name, position 1 is the device type, followed by alternating telemetry key/value pairs.
To adapt this converter to your device:
- Change the separator by replacing
split(',')with your delimiter (e.g.split(';')). - If the device name or type is at a different position, adjust the
payloadArray[0]/payloadArray[1]index. - If telemetry keys are fixed rather than embedded in the payload, replace the loop with explicit assignments:
telemetryPayload['temperature'] = parseFloat(payloadArray[2]);. - To extract attributes instead of telemetry, move fields from the
telemetrymap to theattributesmap.
/** Decoder **/
// decode payload to JSONvar data = decodeToJson(payload);
var deviceName = data.deviceName;var deviceType = data.deviceType;var result = {    deviceName: deviceName,    deviceType: deviceType,    attributes: {},    telemetry: {        temperature: data.temperature,        humidity: data.humidity    }};
/** Helper functions 'decodeToString' and 'decodeToJson' are already built-in **/
return result;
/** Decoder **/
// decode payload to JSONvar data = decodeToJson(payload);
var deviceName = data.deviceName;var deviceType = data.deviceType;var result = { deviceName: deviceName, deviceType: deviceType, attributes: {}, telemetry: { temperature: data.temperature, humidity: data.humidity }};
/** Helper functions **/
function decodeToString(payload) { return String.fromCharCode.apply(String, payload);}
function decodeToJson(payload) { var str = decodeToString(payload); var data = JSON.parse(str); return data;}
return result;The decoder parses the payload as a JSON object and maps fields directly to deviceName, deviceType, and telemetry keys.
To adapt this converter to your device:
- Replace
data.deviceName/data.deviceTypewith the actual field names your device sends (e.g.data.id,data.model). - Add or remove telemetry fields to match your sensor output:
pressure: data.pressure, co2: data.co2. - Move fields to
attributesif they represent device properties rather than time-series data (e.g.firmware: data.fw).
/** Decoder **/
// decode payload to stringvar payloadStr = decodeToString(payload);
var deviceName = payloadStr.substring(0, 6);var deviceType = payloadStr.substring(6, 13);
// Result object with device/asset attributes/telemetry datavar result = {    deviceName: deviceName,    deviceType: deviceType,    attributes: {},    telemetry: {        temperature: parseFloat(payloadStr.substring(13, 17))    }};
/** Helper functions 'decodeToString' and 'decodeToJson' are already built-in **/
return result;
/** Decoder **/
// decode payload to stringvar payloadStr = decodeToString(payload);
var deviceName = payloadStr.substring(0, 6);var deviceType = payloadStr.substring(6, 13);
// Result object with device/asset attributes/telemetry datavar result = { deviceName: deviceName, deviceType: deviceType, attributes: {}, telemetry: { temperature: parseFloat(payloadStr.substring(13, 17)) }};
/** Helper functions **/
function decodeToString(payload) { return String.fromCharCode.apply(String, payload);}
function decodeToJson(payload) { var str = decodeToString(payload); var data = JSON.parse(str); return data;}
return result;The handler strips the framing bytes (dummy prefix and length field) before passing the payload to the decoder. The decoder then reads device identity and sensor values from fixed byte offsets of the remaining data.
To adapt this converter to your device:
- Adjust the
substring(start, end)offsets to match your device’s byte layout after framing bytes are stripped. - Update the Number of first bytes to strip in the handler settings to match the number of framing bytes your protocol uses.
- For integer fields stored as raw bytes (not ASCII digits), use
parseBytesToInt(payload, offset, length, bigEndian)instead ofparseFloat(payloadStr.substring(...)). For example:temperature: parseBytesToInt(payload, 13, 2, true) / 100.0. - Add more telemetry fields by reading additional byte ranges and adding them to the
telemetrymap.
- Optionally, click Test payload decoder to validate the script against a sample payload.
- Click Add.
Create TCP Integration
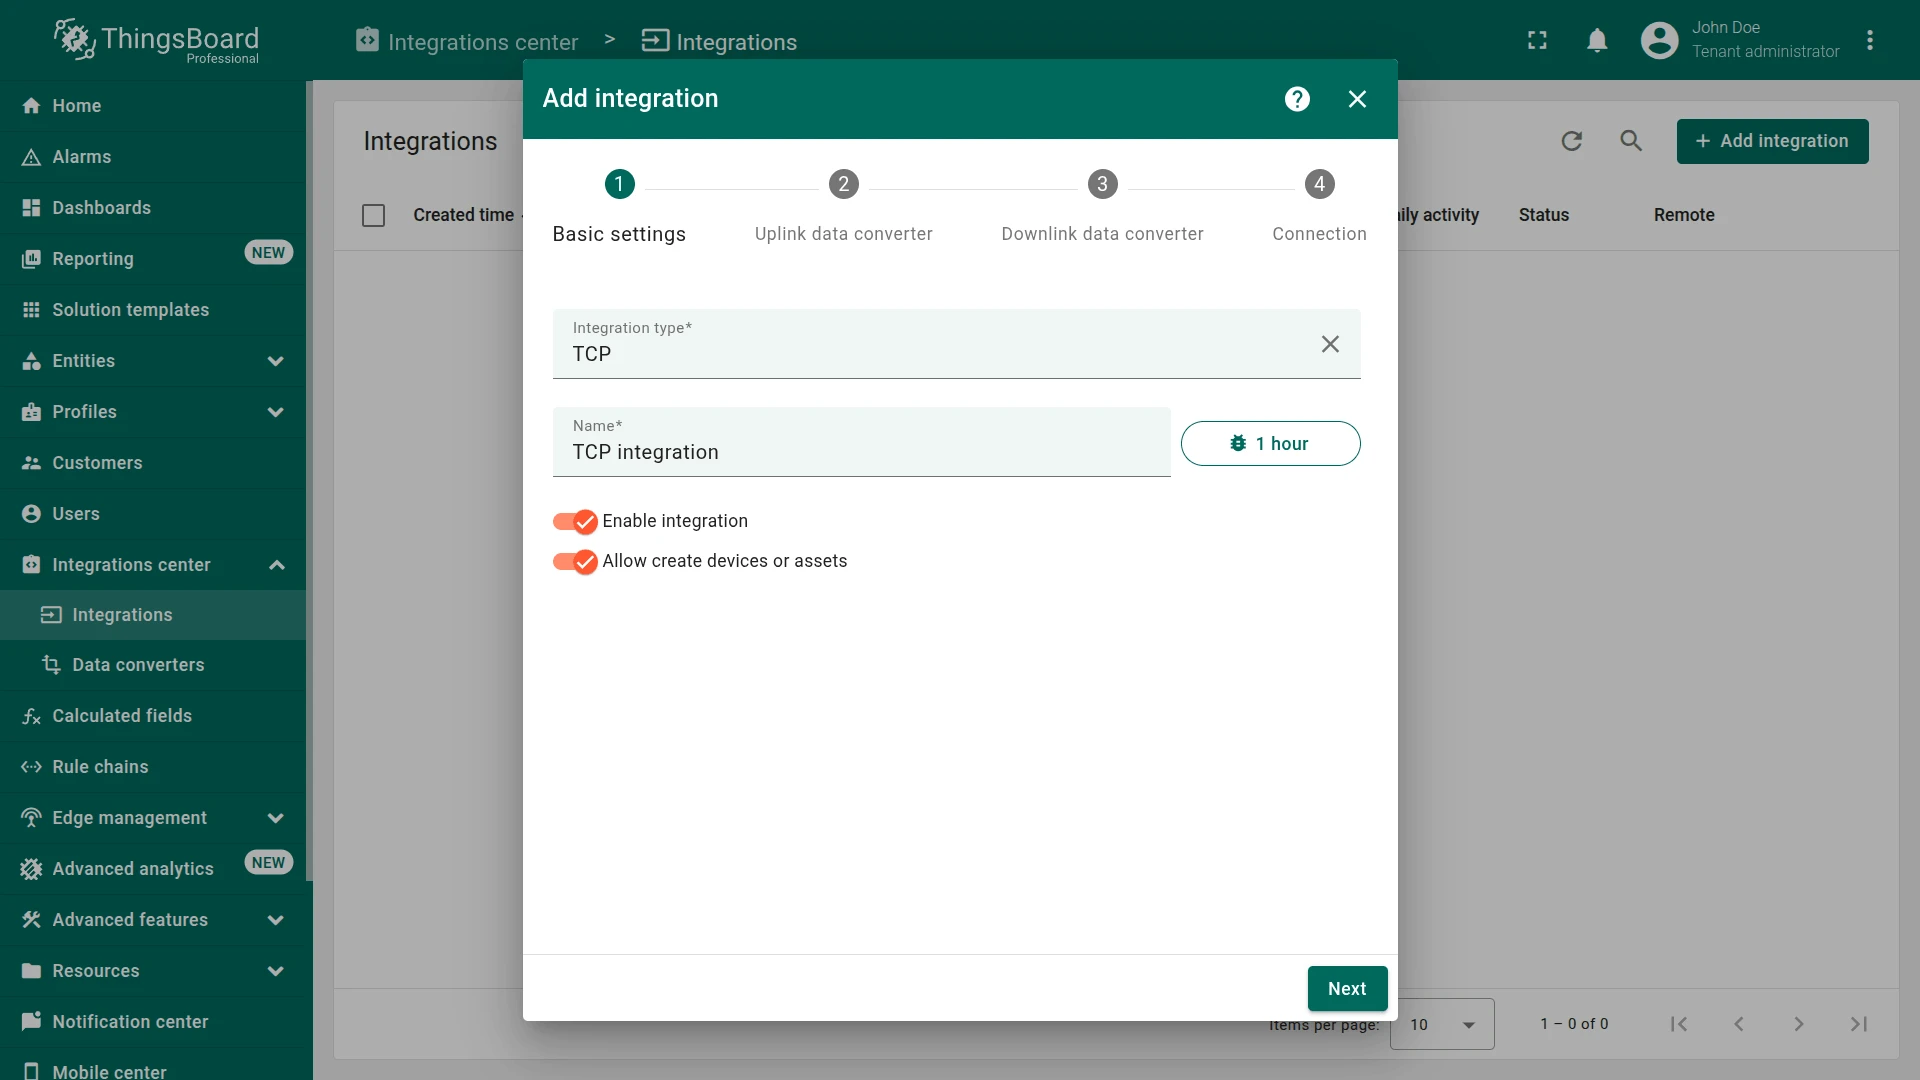
Section titled “Create TCP Integration”- Go to Integrations center ⇾ Integrations and click + Add integration.
- Basic settings:
- Select TCP as the integration type.
- Enter a name — for example,
TCP integration. - Enable integration and Allow create devices or assets are on by default.
- Click Next.
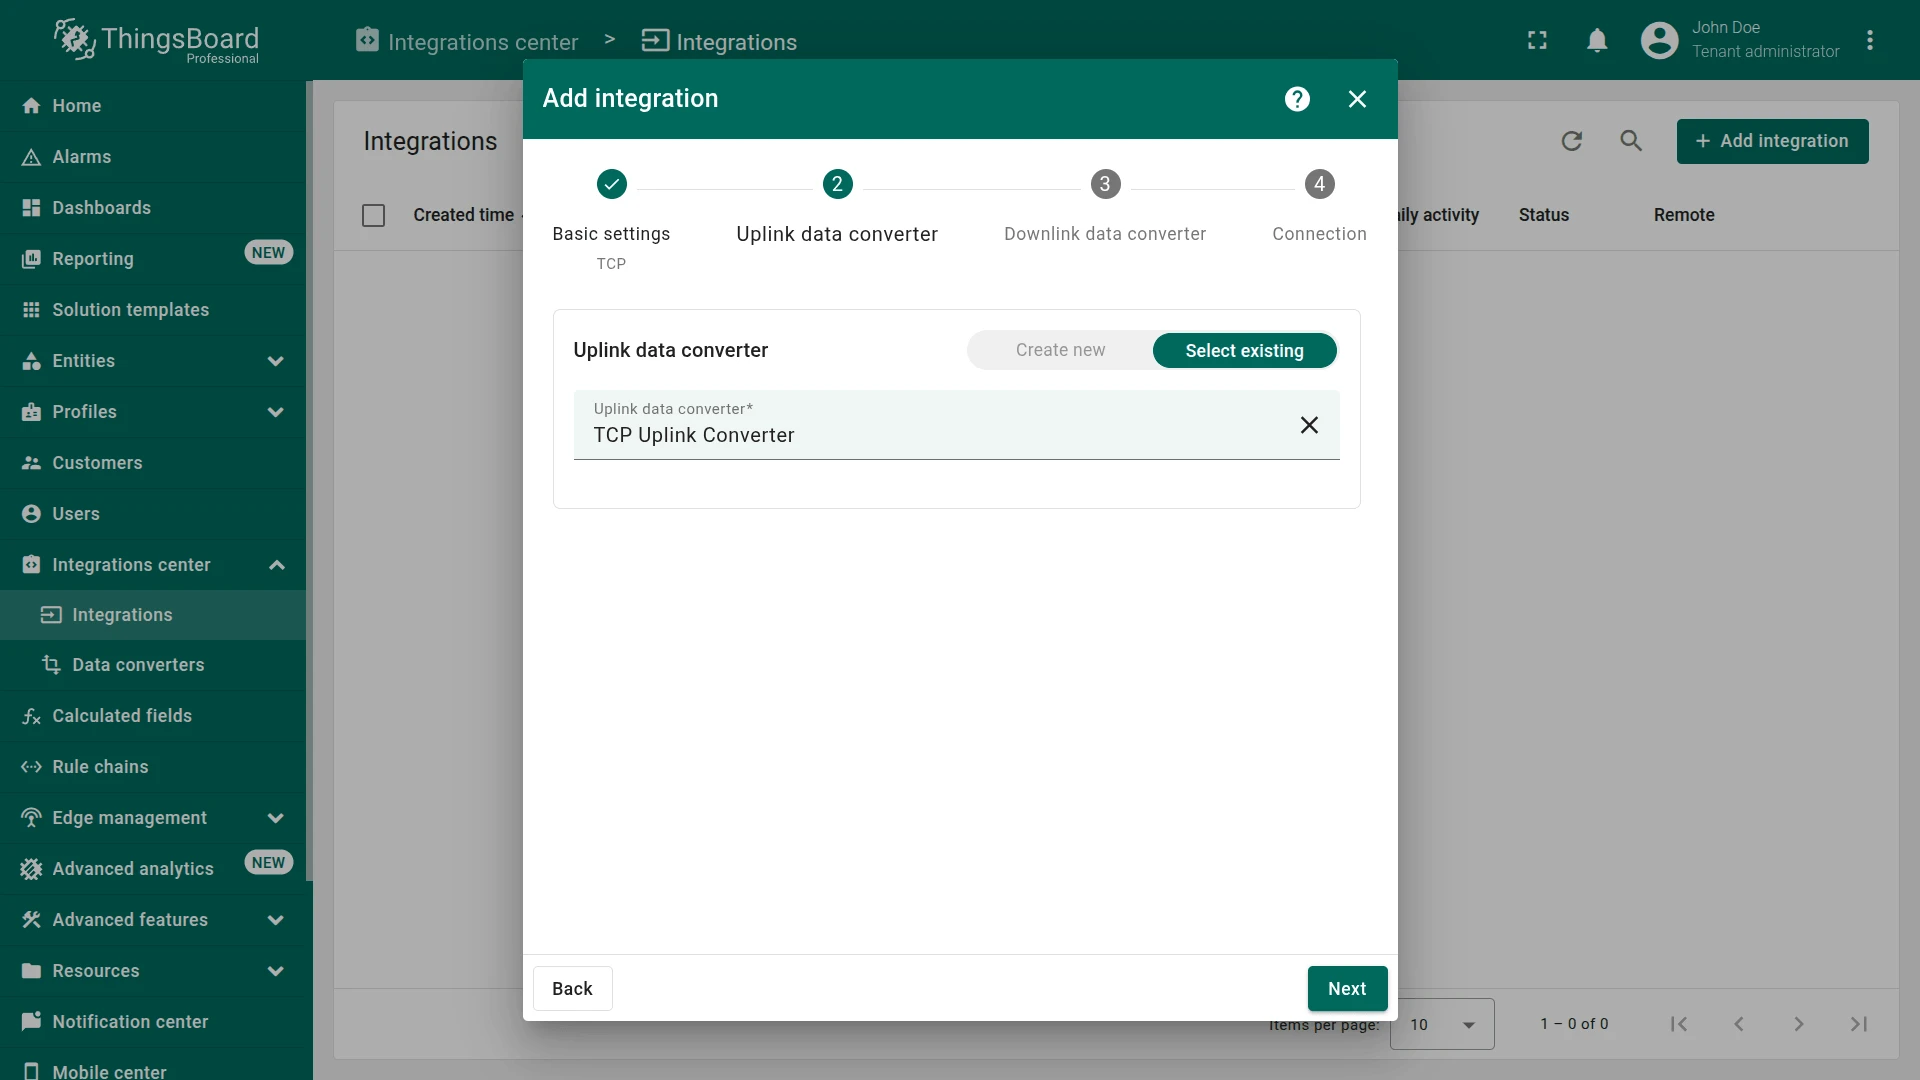
- Uplink data converter:
- Click Select existing and choose the TCP Uplink Converter created in the previous step, or click Create new to define the decoder inline.
- Click Next.
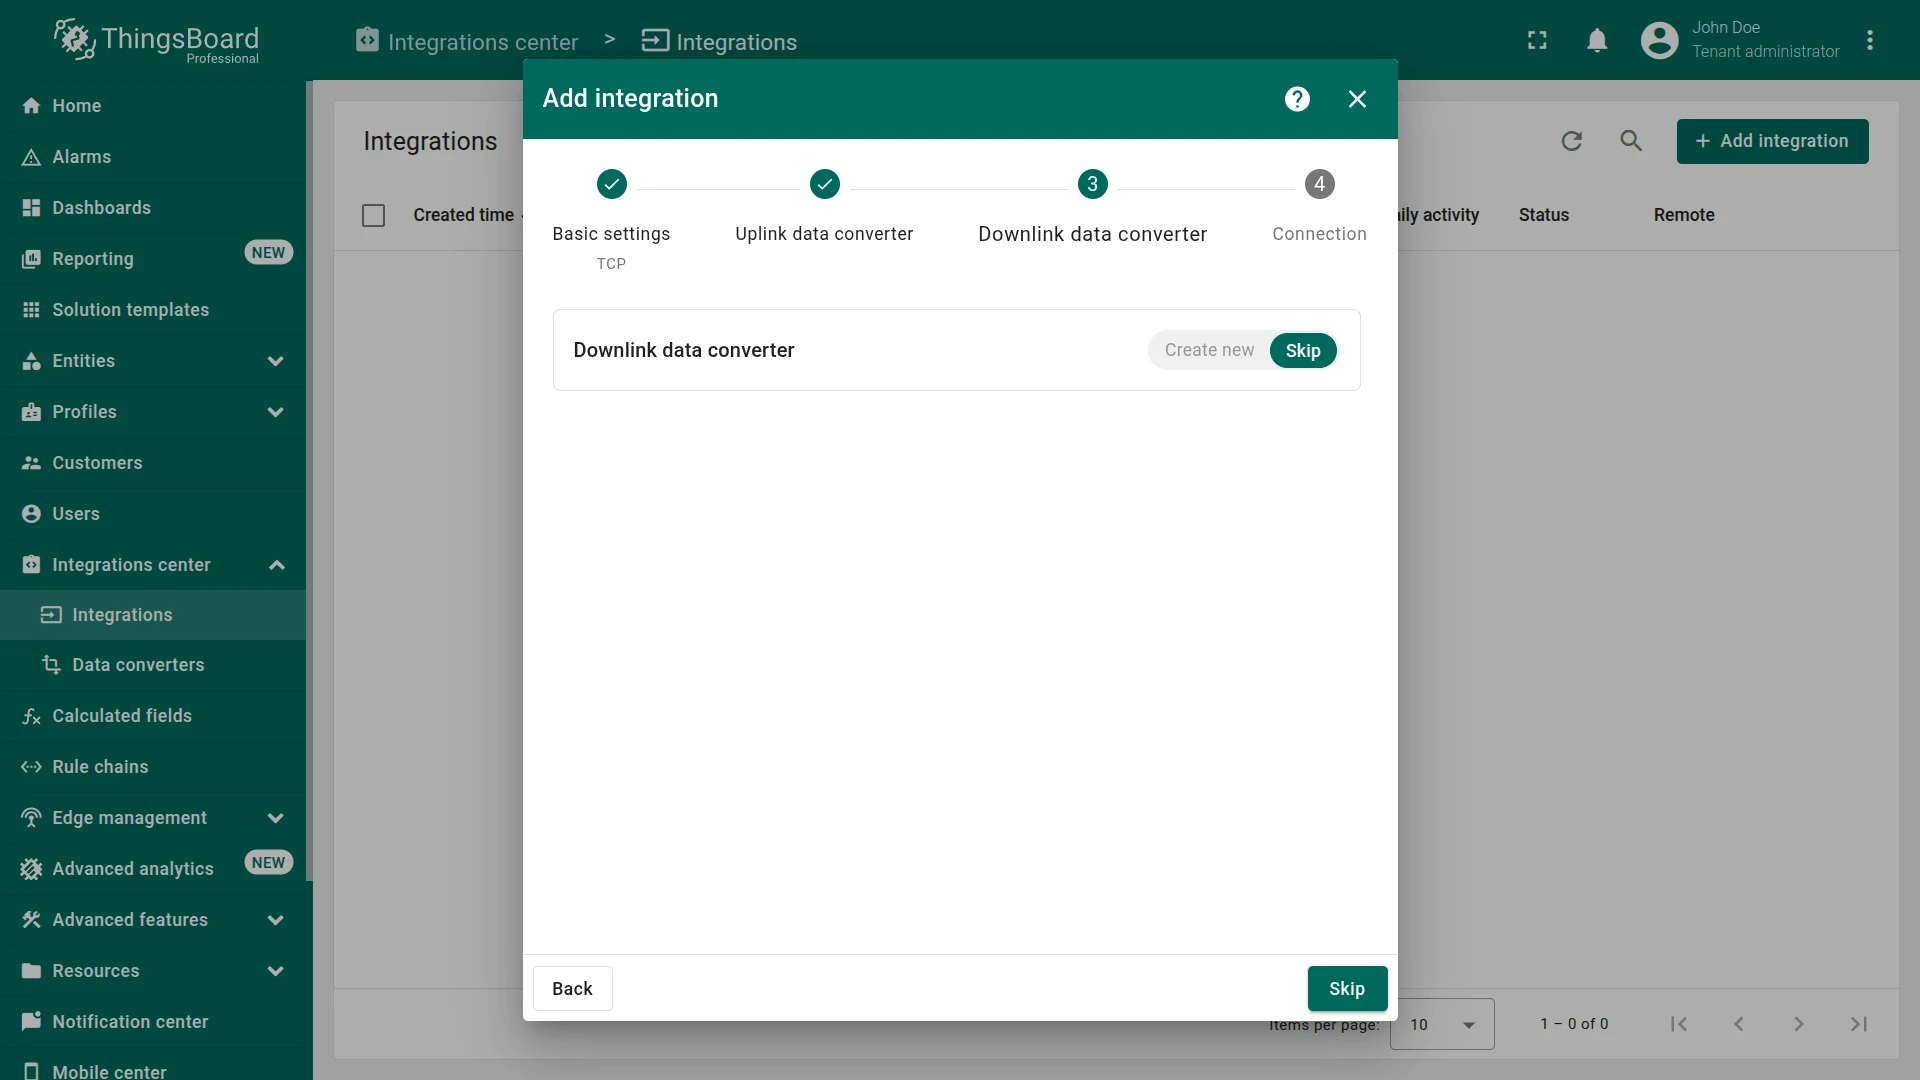
- Downlink data converter:
- Click Skip for now. You can add a downlink converter later.
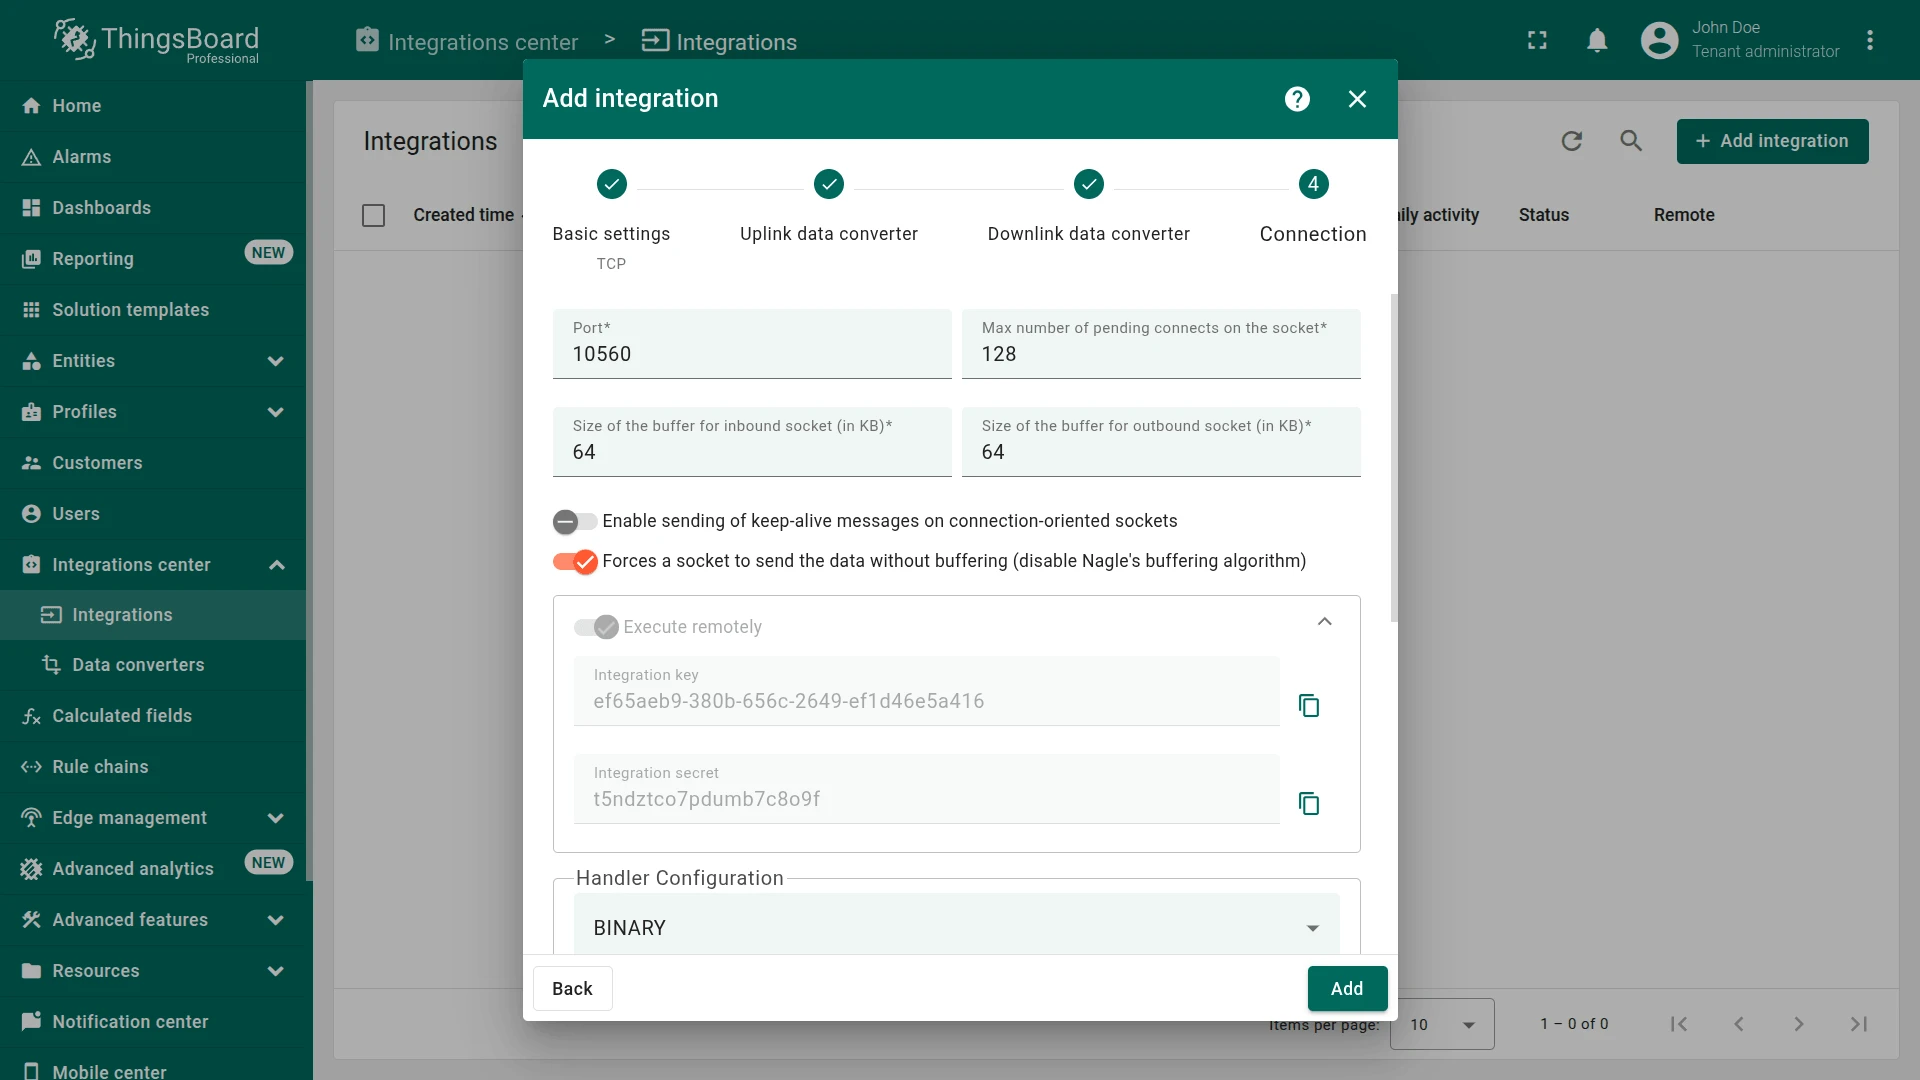
- Connection settings:
- Set the Port — default is
10560. This port must be open on the machine running the TCP Integration process. - The Execute remotely option is always enabled for TCP. Copy the Integration key and Integration secret — you will need them to start the remote integration process.
- Configure the Handler Configuration — select the message framing strategy that matches your device protocol. See Handler Configuration below.
- Set the Port — default is
- Click Add.
Connection Settings
Section titled “Connection Settings”Port
The TCP port the integration server will bind to. Default: 10560. The port must be open on the machine running the TCP Integration process and must not be shared with another integration in the same ThingsBoard tenant environment.
Max number of pending connects on the socket
The maximum length of the queue for incoming connections that have not yet been accepted. Default: 128. Increase this value under high connection concurrency.
Size of the buffer for inbound / outbound socket (in KB)
The socket receive and send buffer sizes in kilobytes. Default: 64 KB each. Increase for high-throughput devices that send large payloads.
Enable sending of keep-alive messages on connection-oriented sockets
When enabled, the OS sends TCP keep-alive probes to detect dead connections. Disabled by default. Enable when devices maintain long-lived connections that may silently drop.
Forces a socket to send the data without buffering (disable Nagle’s algorithm)
When enabled, sends each write immediately rather than batching small packets. Enabled by default. Disable only if you send many small messages in rapid succession and want to reduce the number of TCP segments.
Execute remotely
Always enabled for TCP Integration. Shows the Integration key and Integration secret — credentials required to launch the TCP Integration as a standalone remote process. See Remote Integration for full setup instructions.
Advanced settings
| Field | Description |
|---|---|
| Description | Optional free-text description of the integration. |
| Metadata | Optional key–value pairs injected into every message and accessible in converter scripts via the metadata object. Click Add to add a row. |
Handler Configuration
Section titled “Handler Configuration”Because TCP is a stream protocol with no built-in message boundaries, the integration must be told how to split the stream into individual messages. Select the handler that matches your device protocol:
Splits the stream into messages using a text delimiter. Suitable for devices that send human-readable strings — CSV, JSON strings, or plain text lines.
| Parameter | Description |
|---|---|
| Max Frame Length (in bytes) | Maximum allowed message size. Messages exceeding this size raise an exception. Default: 128. |
| Strip delimiter | When enabled (default), the delimiter itself is removed before passing the payload to the converter. |
| Message separator type | How messages are delimited: System line separator (\n / \r\n), Nul delimiter (\0), or Custom separator (enter any string in the Separator field). |
| Charset name | Character encoding used to decode the text stream. Default: UTF-8. Set to the encoding your device uses (e.g. ISO-8859-1) if non-ASCII characters appear garbled. |
Parses the stream as a sequence of JSON objects. The integration reads bytes until a complete, syntactically valid JSON object is detected and then passes it to the converter. No explicit delimiter is required. Suitable when devices send newline-separated or back-to-back JSON objects.
Splits the stream using a length field embedded in a header prefix. Suitable for binary protocols where each message starts with a header containing its own length.
| Parameter | Description |
|---|---|
| Max Frame Length (in bytes) | Maximum allowed frame size. Frames exceeding this raise an exception (configurable below). Default: 128. |
| Length Field Offset | Byte offset of the length field from the start of the frame. Default: 0. |
| Length Field Length | Size of the length field in bytes (1, 2, 3, 4, or 8). Default: 2. |
| Length Adjustment | Value added to the length field value to compute the total frame length. Use negative values when the length field includes the header itself. Default: 0. |
| Number of first bytes to strip out from the decoded frame | Bytes removed from the beginning of the frame before the payload is passed to the converter. Use to strip the header. Default: 0. |
| Byte Order of the length field | Little Endian or Big Endian byte order for interpreting the length field value. |
| Thrown exception soon as the decoder notices the length of the frame will exceed max size | When enabled, raises an exception as soon as the decoded length field indicates the frame would exceed Max Frame Length, rather than waiting until all bytes are received. |
Install and Run Remote TCP Integration
Section titled “Install and Run Remote TCP Integration”Follow the remote integration guide to install and start the TCP Integration service.
Use the Integration key and Integration secret from the connection settings step above.
Test the Integration
Section titled “Test the Integration”After the integration is created, send a test uplink and confirm that ThingsBoard received the message, decoded it correctly, and provisioned the device.
Send Test Uplink
Section titled “Send Test Uplink”Once the TCP Integration process is running, the TCP server starts and listens for device connections. Use netcat (nc) to simulate a device sending data.
Select your payload type:
Send a message:
echo -e 'SN-002,default,temperature,25.7' | nc -q0 localhost 10560
Multiple messages (newline-delimited):
echo -e 'SN-002,default,temperature,25.7\nSN-002,default,humidity,69' | nc -q1 -w1 localhost 10560
To receive a downlink response, keep the connection open:
echo -e 'SN-002,default,temperature,25.7' | nc localhost 10560
Multiple messages with open connection:
echo -e 'SN-002,default,temperature,25.7\nSN-002,default,humidity,69' | nc -w60 localhost 10560
Send a message:
echo -e '{"deviceName": "SN-002", "deviceType": "default", "temperature": 25.7, "humidity": 69}' | nc -q1 -w1 localhost 10560
To receive a downlink response, keep the connection open:
echo -e '{"deviceName": "SN-002", "deviceType": "default", "temperature": 25.7, "humidity": 69}' | nc -w60 localhost 10560
The binary payload used in this tutorial requires the following Handler Configuration (Binary) settings in the integration’s Connection settings:
| Parameter | Value |
|---|---|
| Max Frame Length (in bytes) | 128 |
| Length Field Offset | 4 |
| Length Field Length | 1 |
| Length Adjustment | 0 |
| Number of first bytes to strip out from the decoded frame | 5 |
| Byte Order of the length field | Little Endian |
Send a message:
echo -e -n '\x30\x30\x30\x30\x11\x53\x4e\x2d\x30\x30\x32\x64\x65\x66\x61\x75\x6c\x74\x32\x35\x2e\x37\x00\x00\x00' | nc -q1 -w1 localhost 10560
To receive a downlink response, keep the connection open:
echo -e -n '\x30\x30\x30\x30\x11\x53\x4e\x2d\x30\x30\x32\x64\x65\x66\x61\x75\x6c\x74\x32\x35\x2e\x37\x00\x00\x00' | nc -w60 localhost 10560
Verify Integration Events
Section titled “Verify Integration Events”Go to Integrations center ⇾ Integrations, open TCP integration, and click the Events tab. Each successfully processed uplink appears as a row with status OK.
Verify Converter Events
Section titled “Verify Converter Events”To inspect converter processing, go to Integrations center ⇾ Data converters, click TCP Uplink Converter, and open its Events tab:
- In — what the integration received (the raw payload bytes)
- Out — what the converter returned
- Error — error text, if any
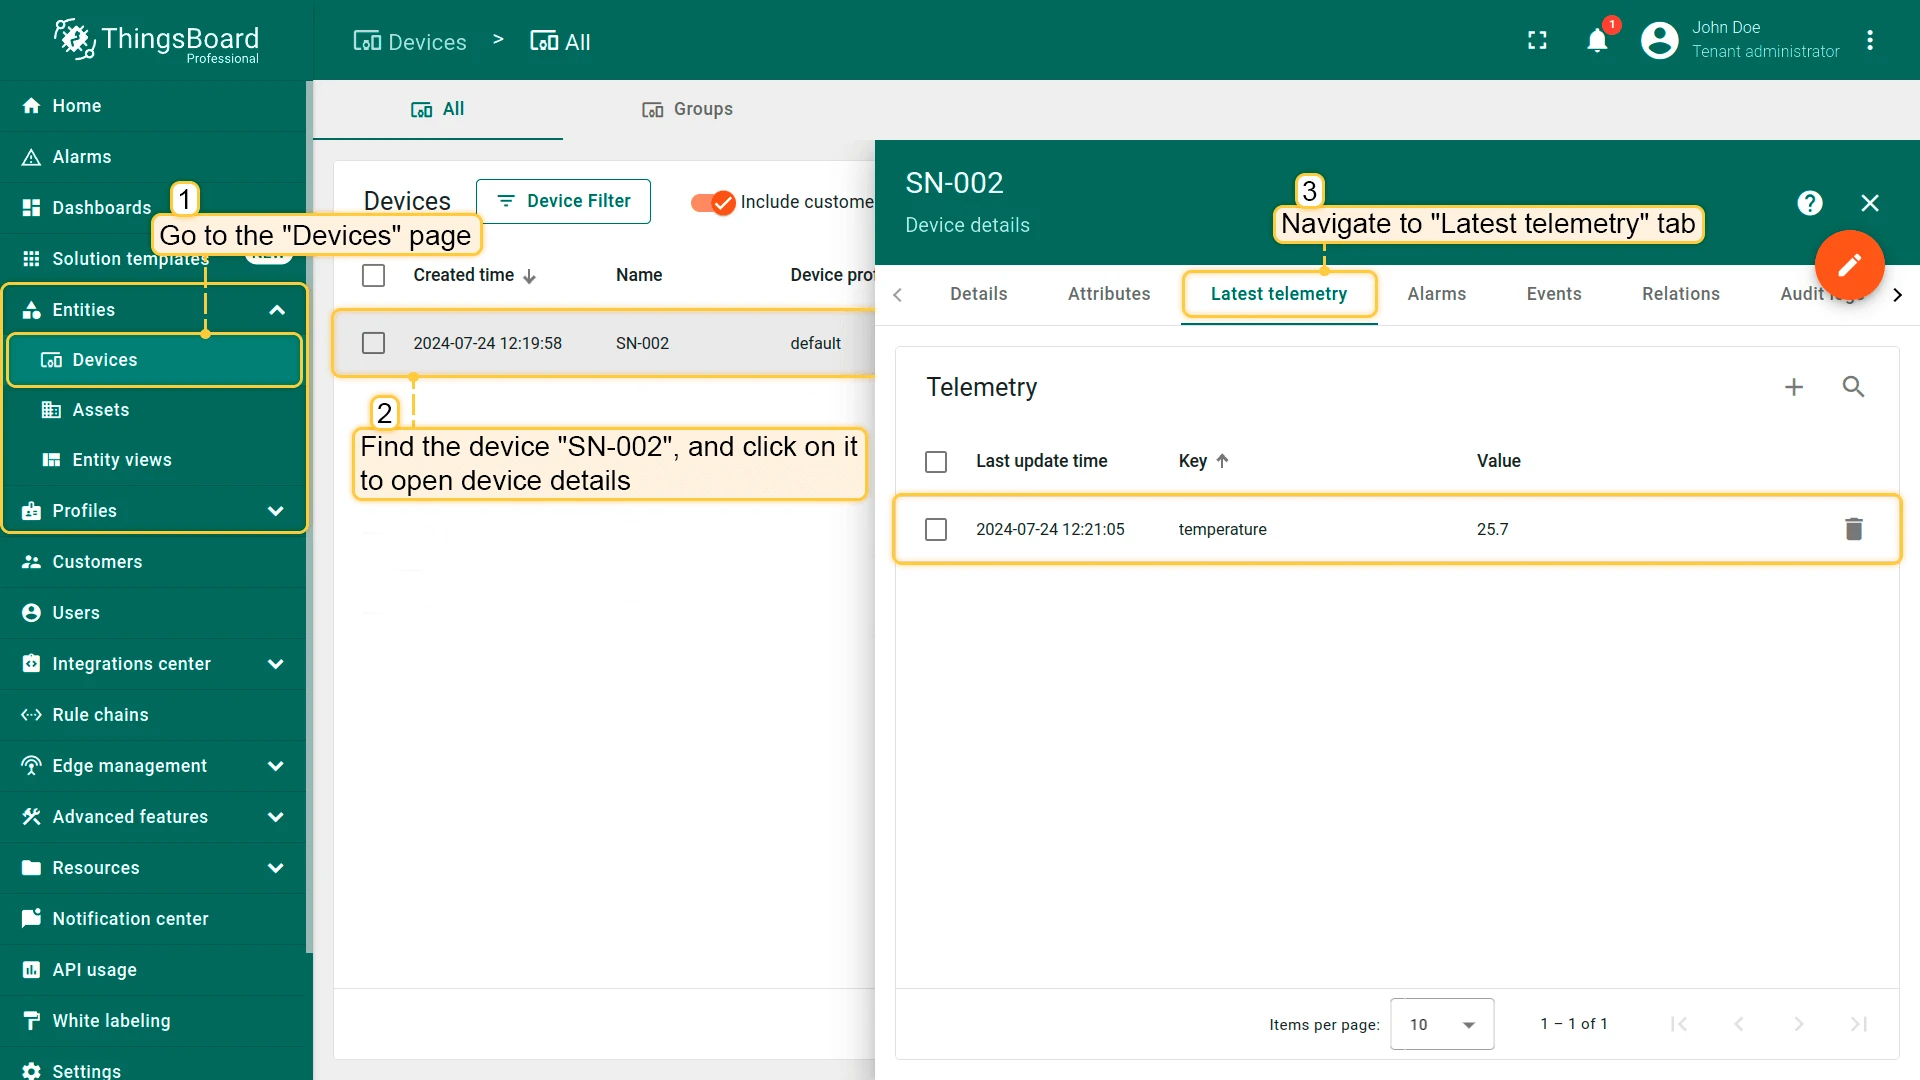
Verify Device Provisioning
Section titled “Verify Device Provisioning”Go to Entities ⇾ Devices. Device SN-002 is auto-created on the first uplink. Open the Latest telemetry tab to confirm temperature = 25.7.
Configure Downlink
Section titled “Configure Downlink”Downlink allows ThingsBoard to send messages back to devices over TCP — for example, in response to an RPC call or a shared attribute update. The message is delivered over the same TCP connection the device used to send its last uplink.
The downlink converter transforms a Rule Engine message into the bytes sent back to the device. The integration appends a \n newline after every downlink payload — device-side parsers should expect and strip this trailing byte.
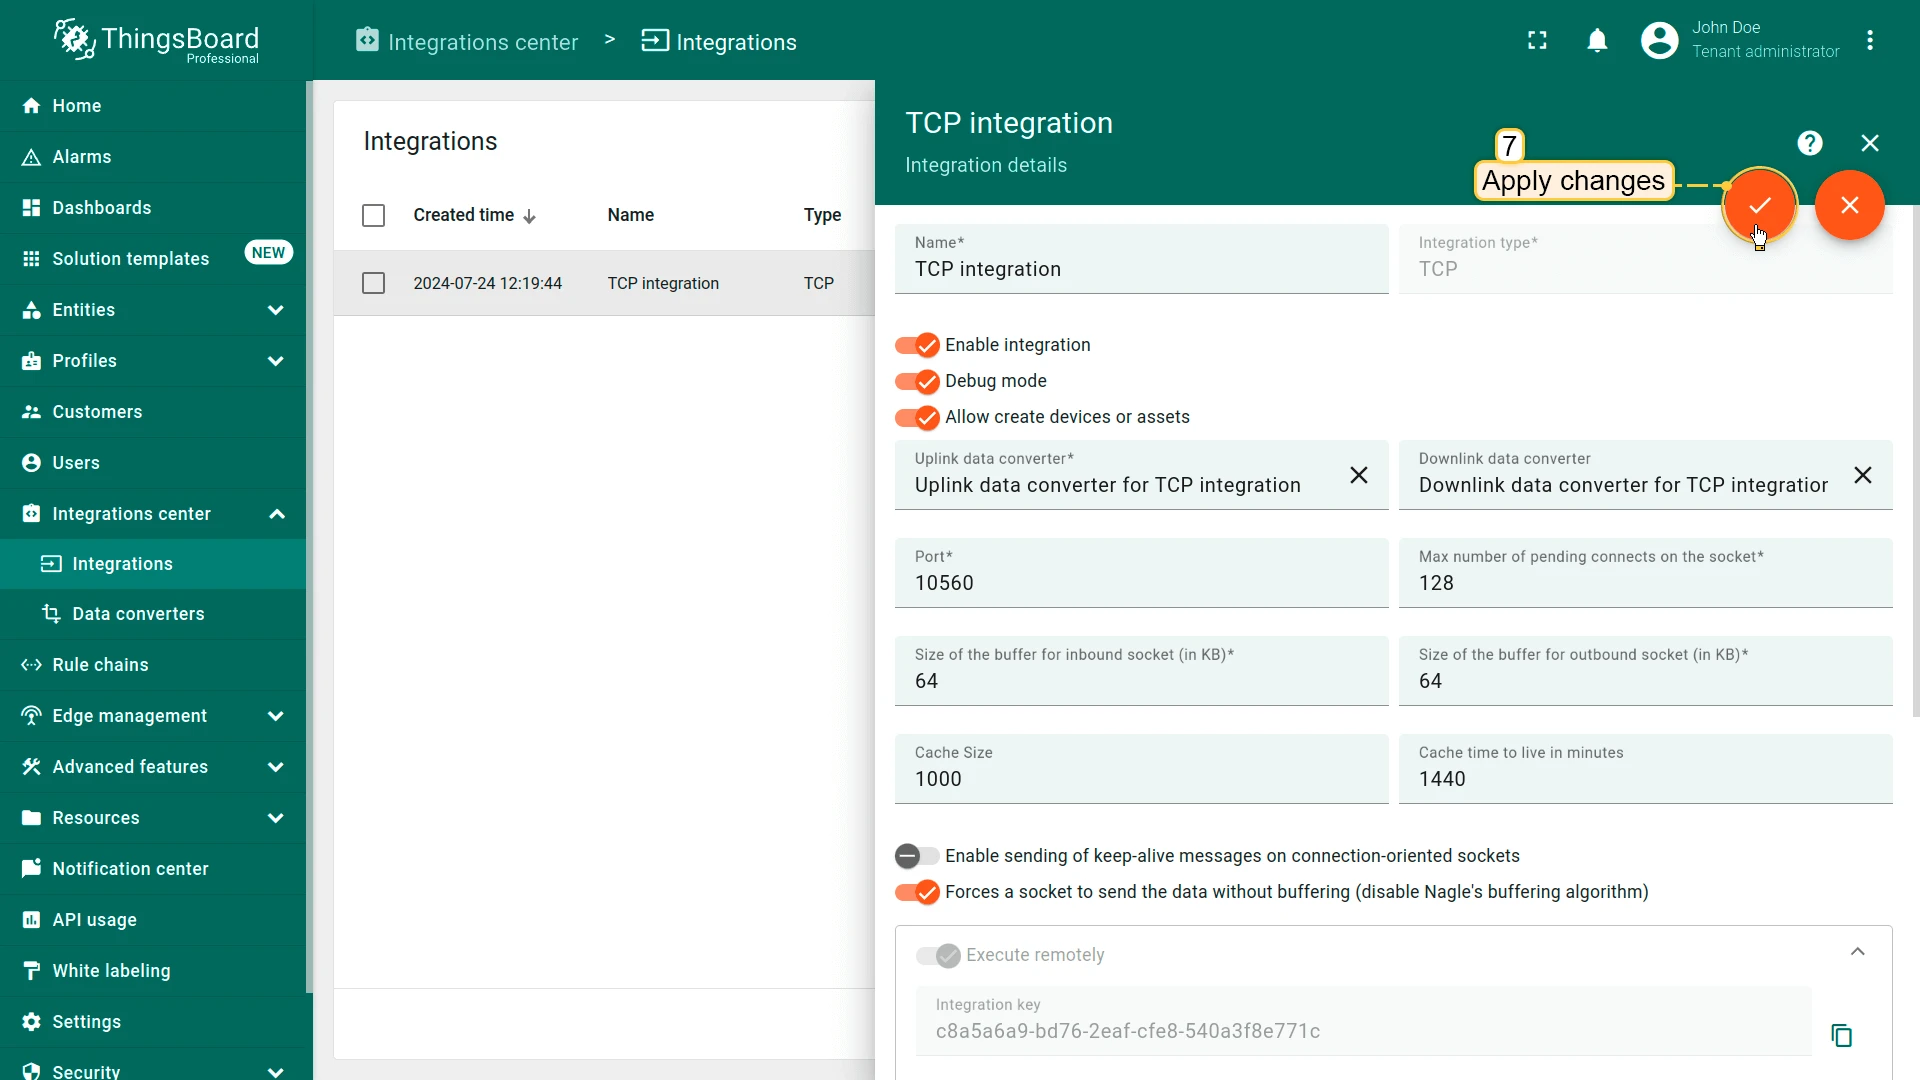
Add Downlink Converter
Section titled “Add Downlink Converter”- Go to Integrations center ⇾ Integrations and open the TCP integration.
- Click the pencil icon to enter edit mode.
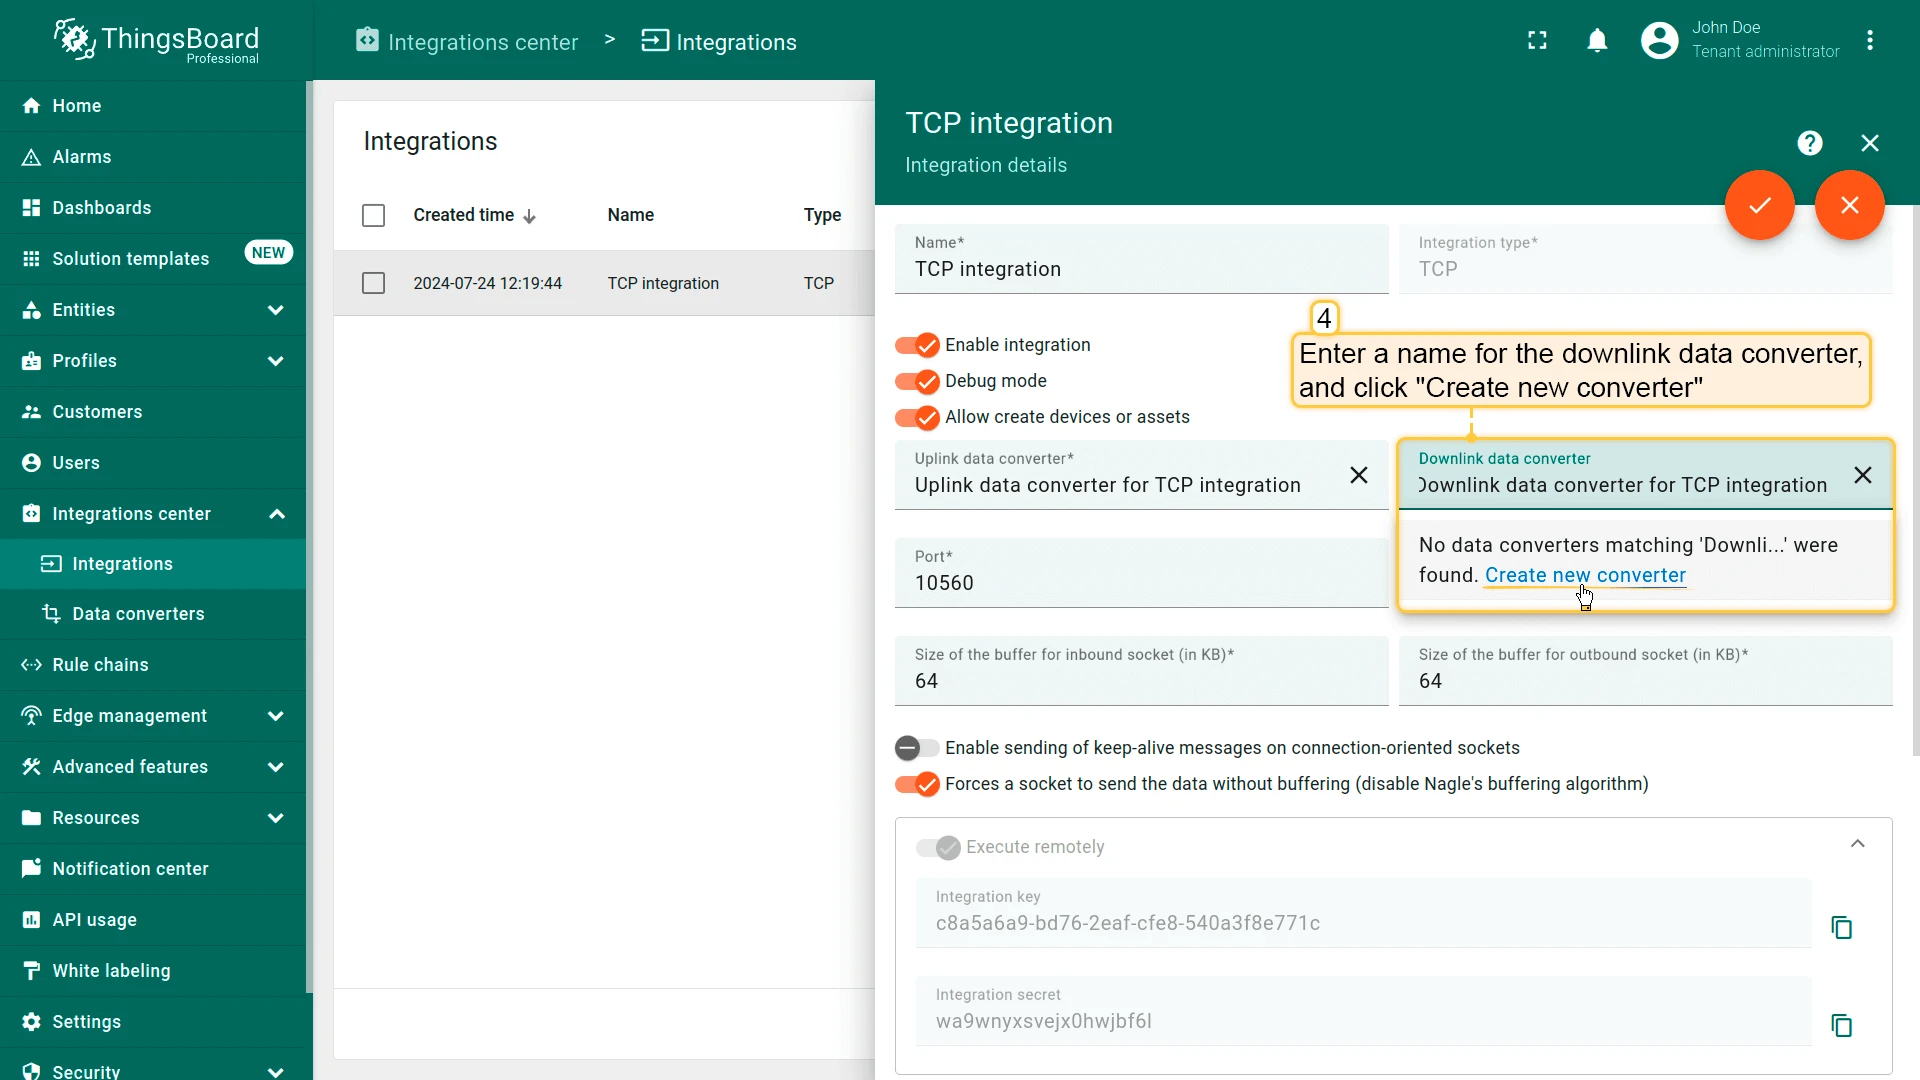
- In the Downlink data converter field, click Create new.
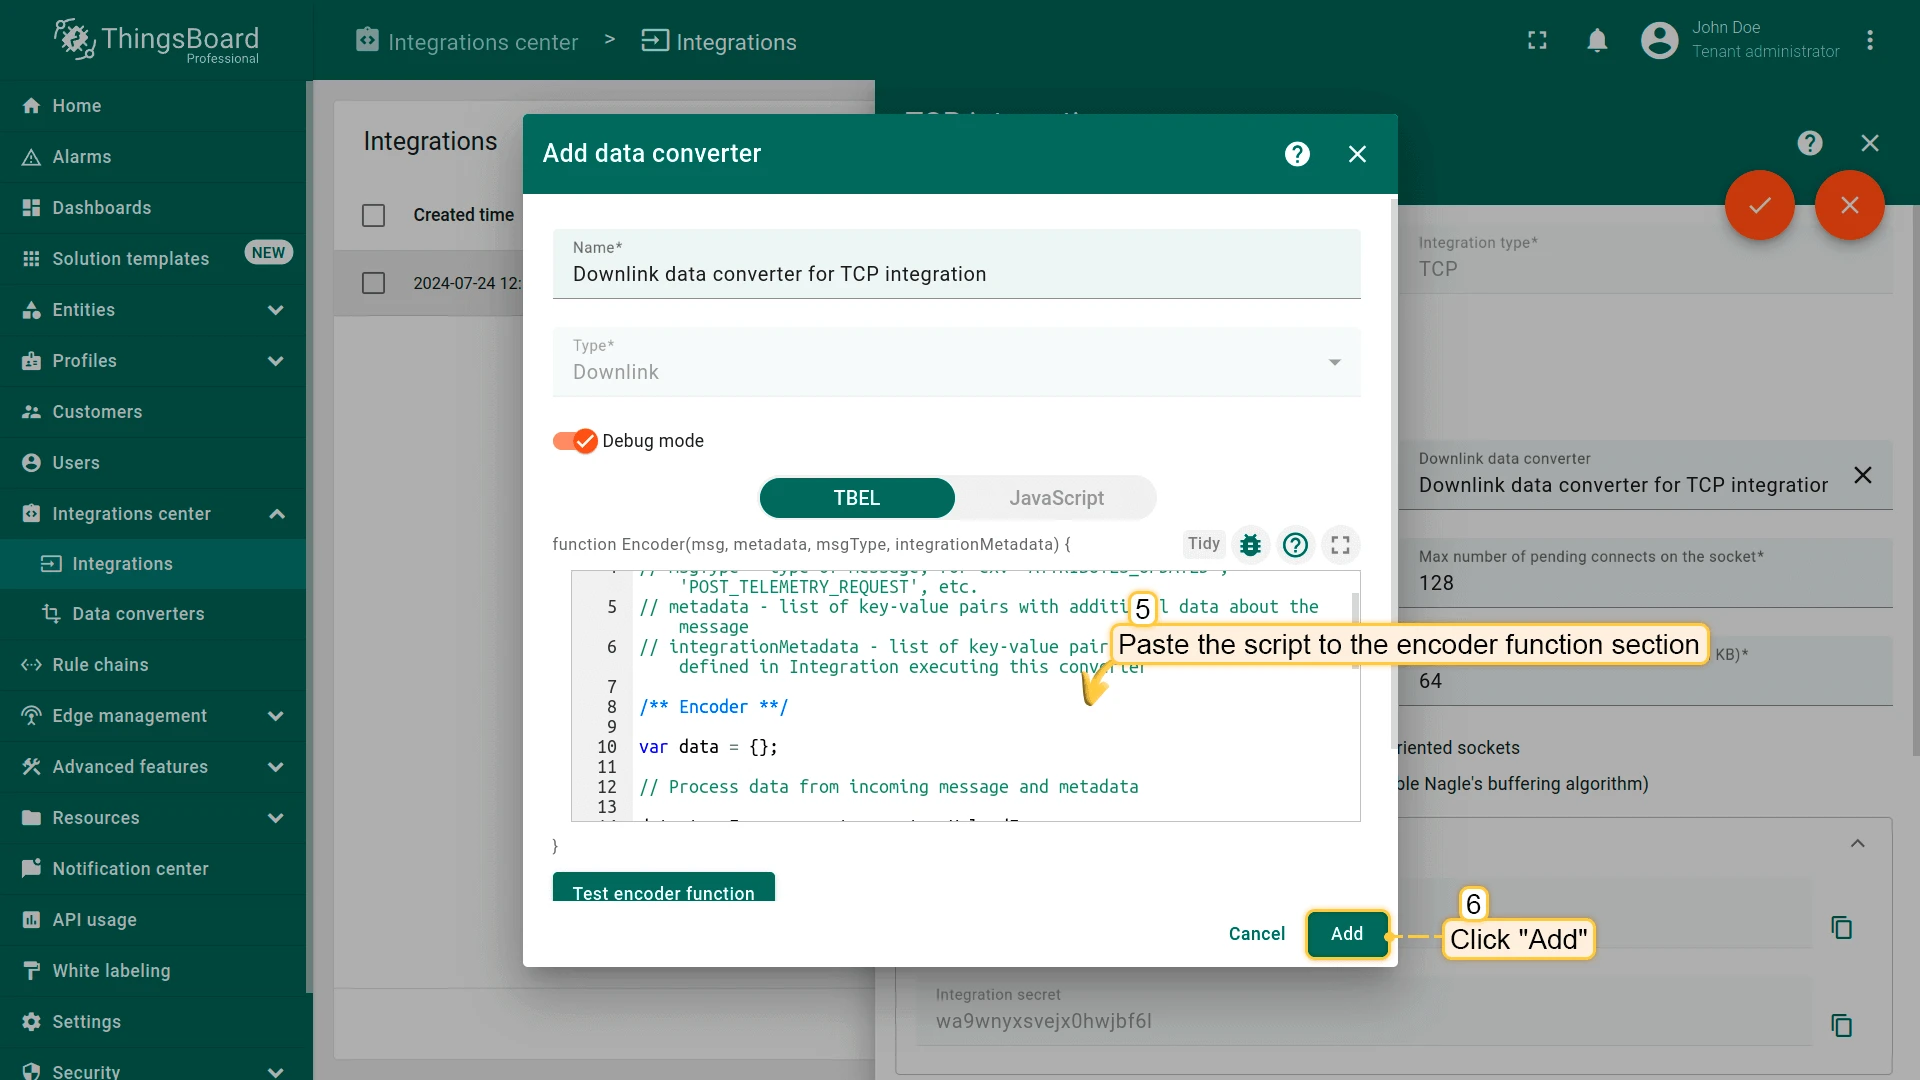
- Enter a name, paste the encoder script shown below, then click Add.
- Click Apply changes.
Select your script language:
/** Encoder **/var data = {};
data.tempFreq = msg.temperatureUploadFrequency;data.humFreq = msg.humidityUploadFrequency;data.devSerialNumber = metadata['ss_serialNumber'];
var result = {  contentType: "JSON",  data: JSON.stringify(msg),  metadata: {    topic: metadata['deviceType'] + '/' + metadata['deviceName'] + '/upload'  }};
return result;
/** Encoder **/var data = {};
data.tempFreq = msg.temperatureUploadFrequency;data.humFreq = msg.humidityUploadFrequency;data.devSerialNumber = metadata['ss_serialNumber'];
var result = { contentType: "JSON", data: JSON.stringify(msg), metadata: { topic: metadata['deviceType'] + '/' + metadata['deviceName'] + '/upload' }};
return result;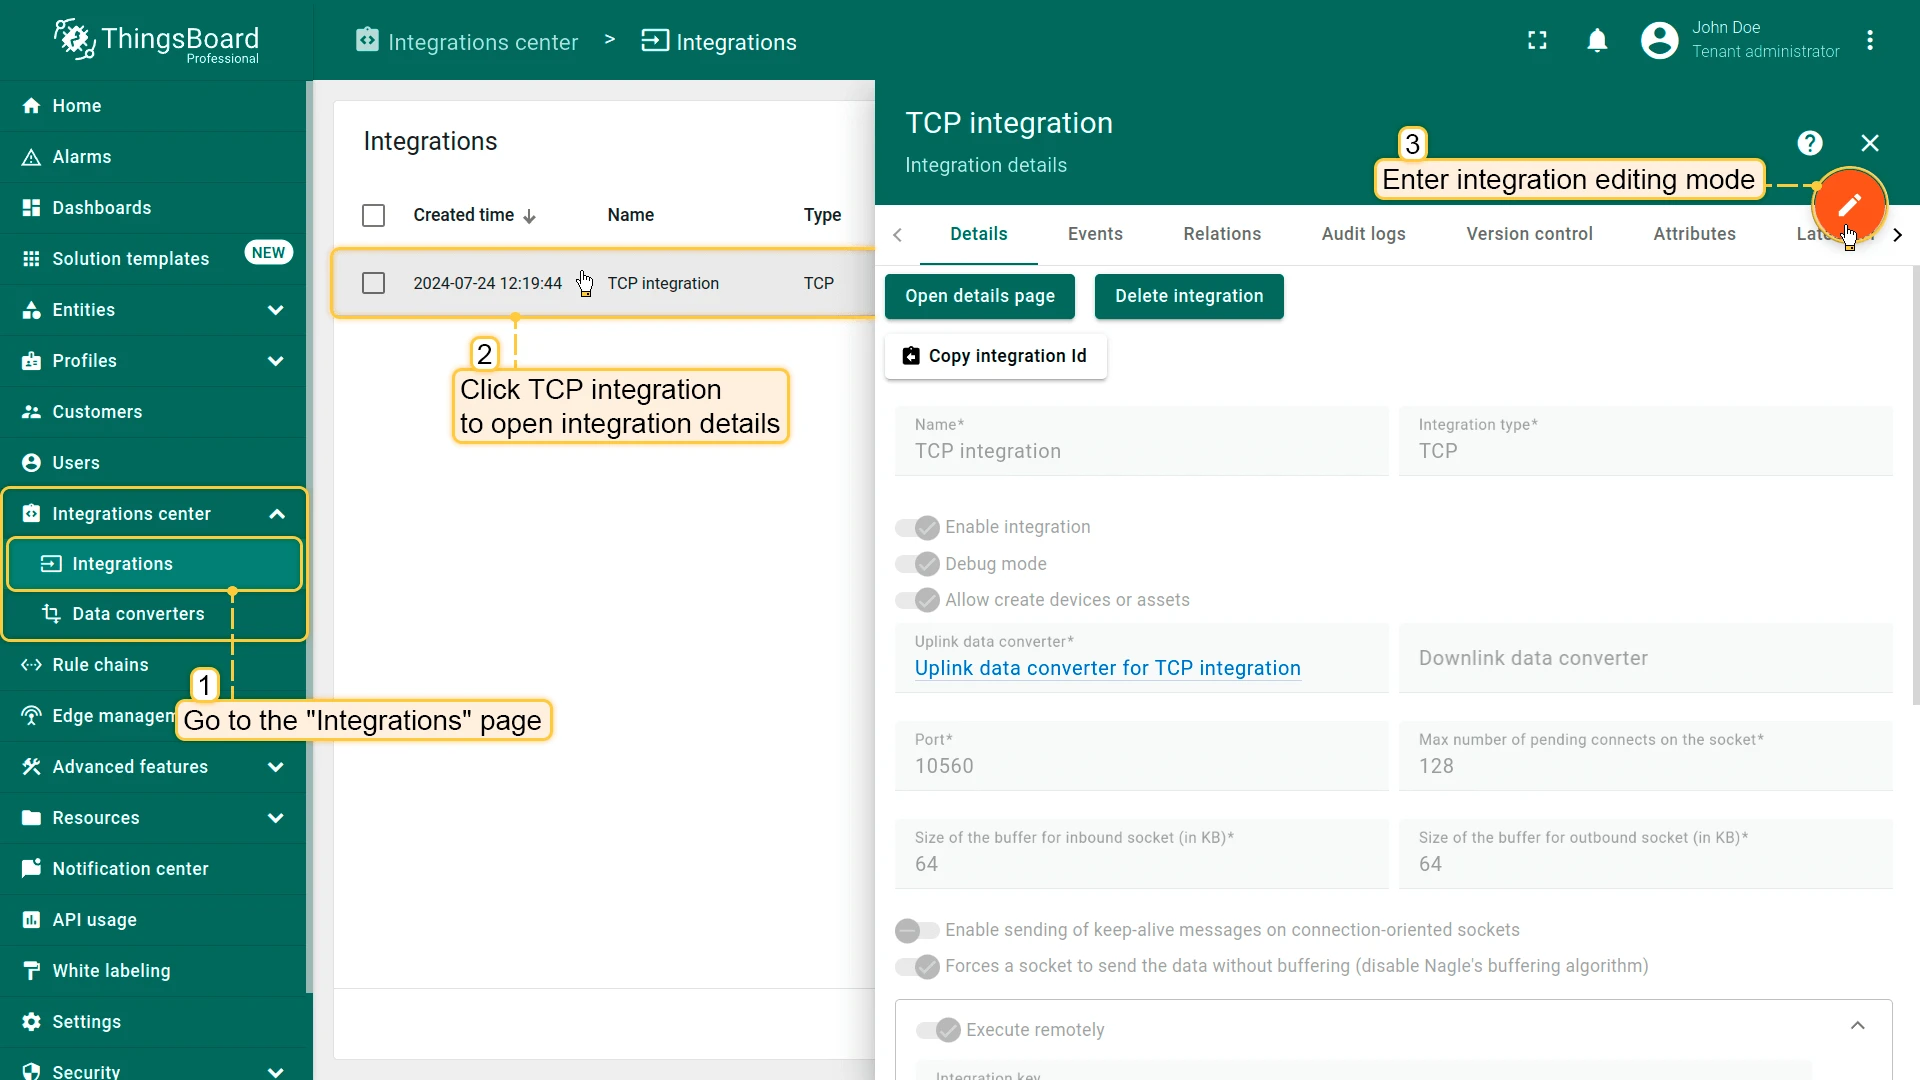
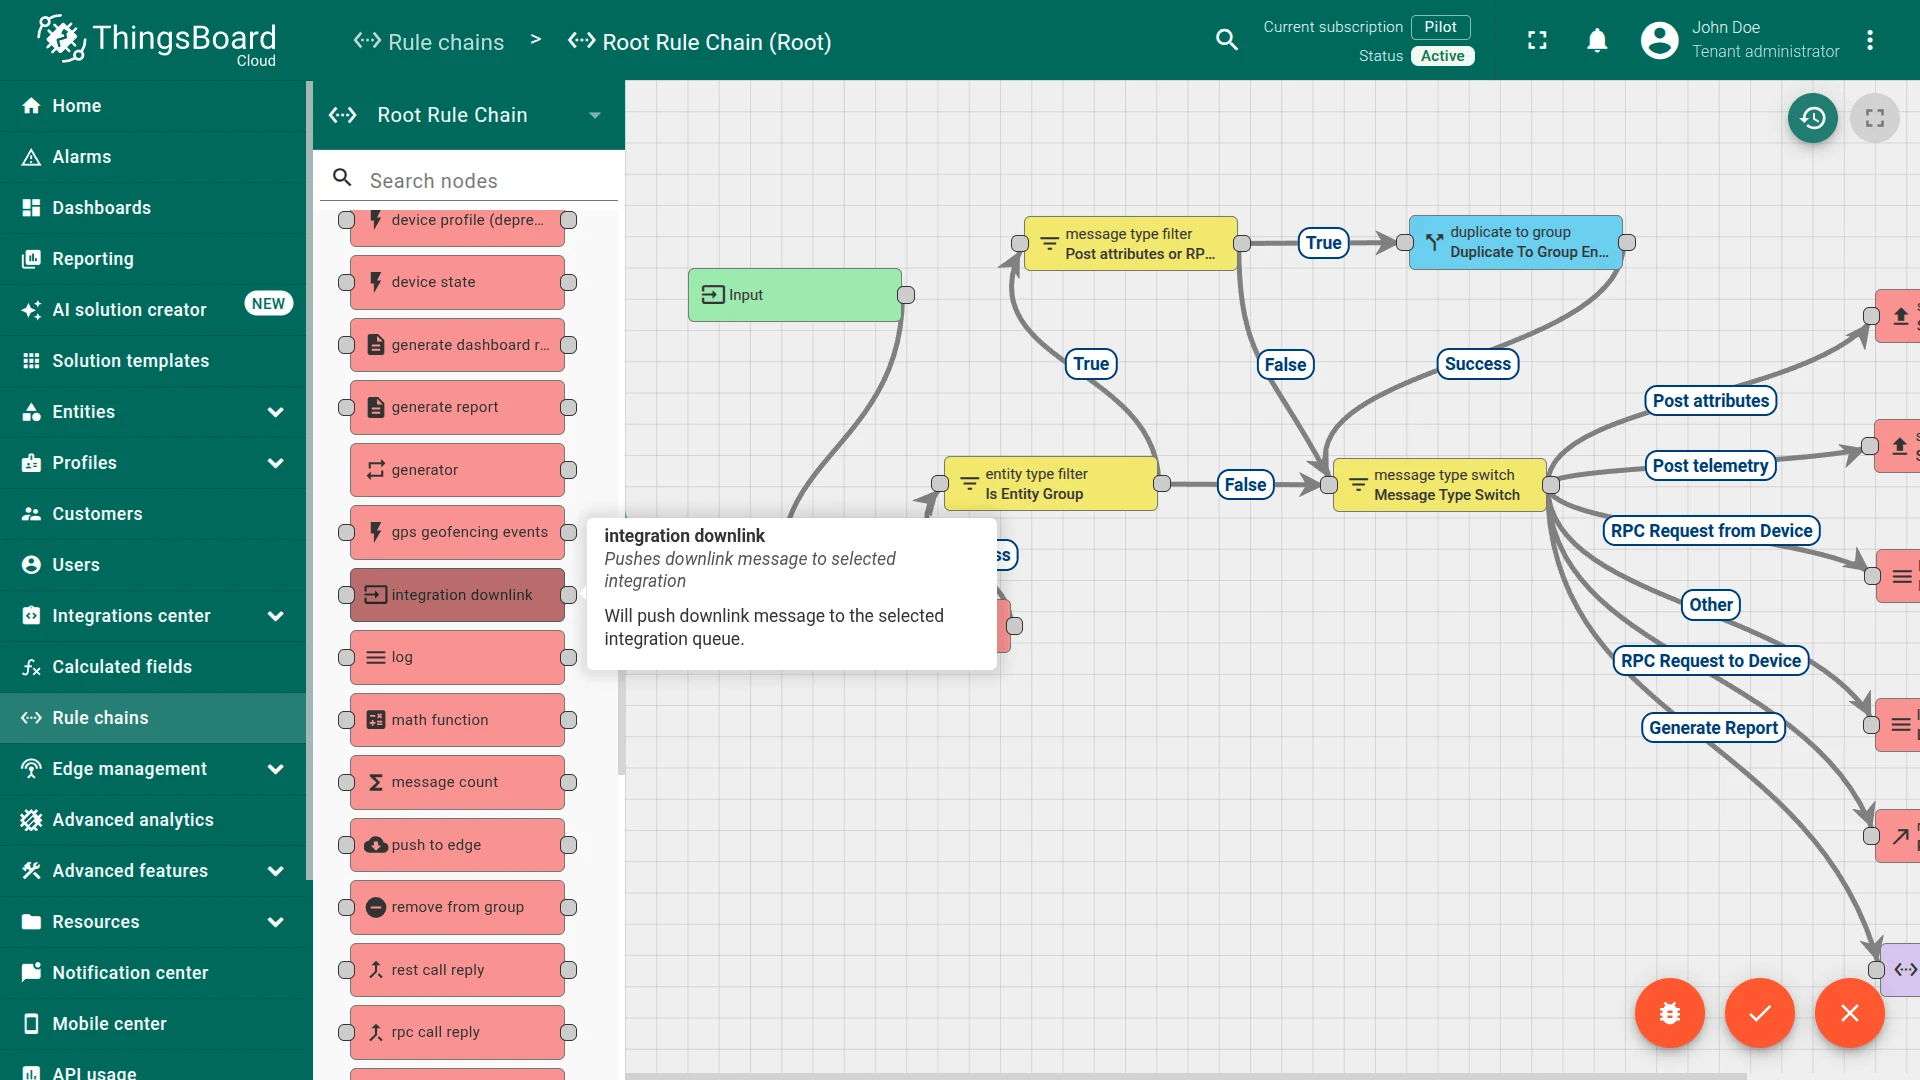
Configure the Root Rule Chain
Section titled “Configure the Root Rule Chain”To send downlinks through the integration, modify the Root Rule Chain:
- Go to Rule chains and open the Root Rule Chain.
- Find the integration downlink node in the node library panel on the left. Drag it onto the canvas.
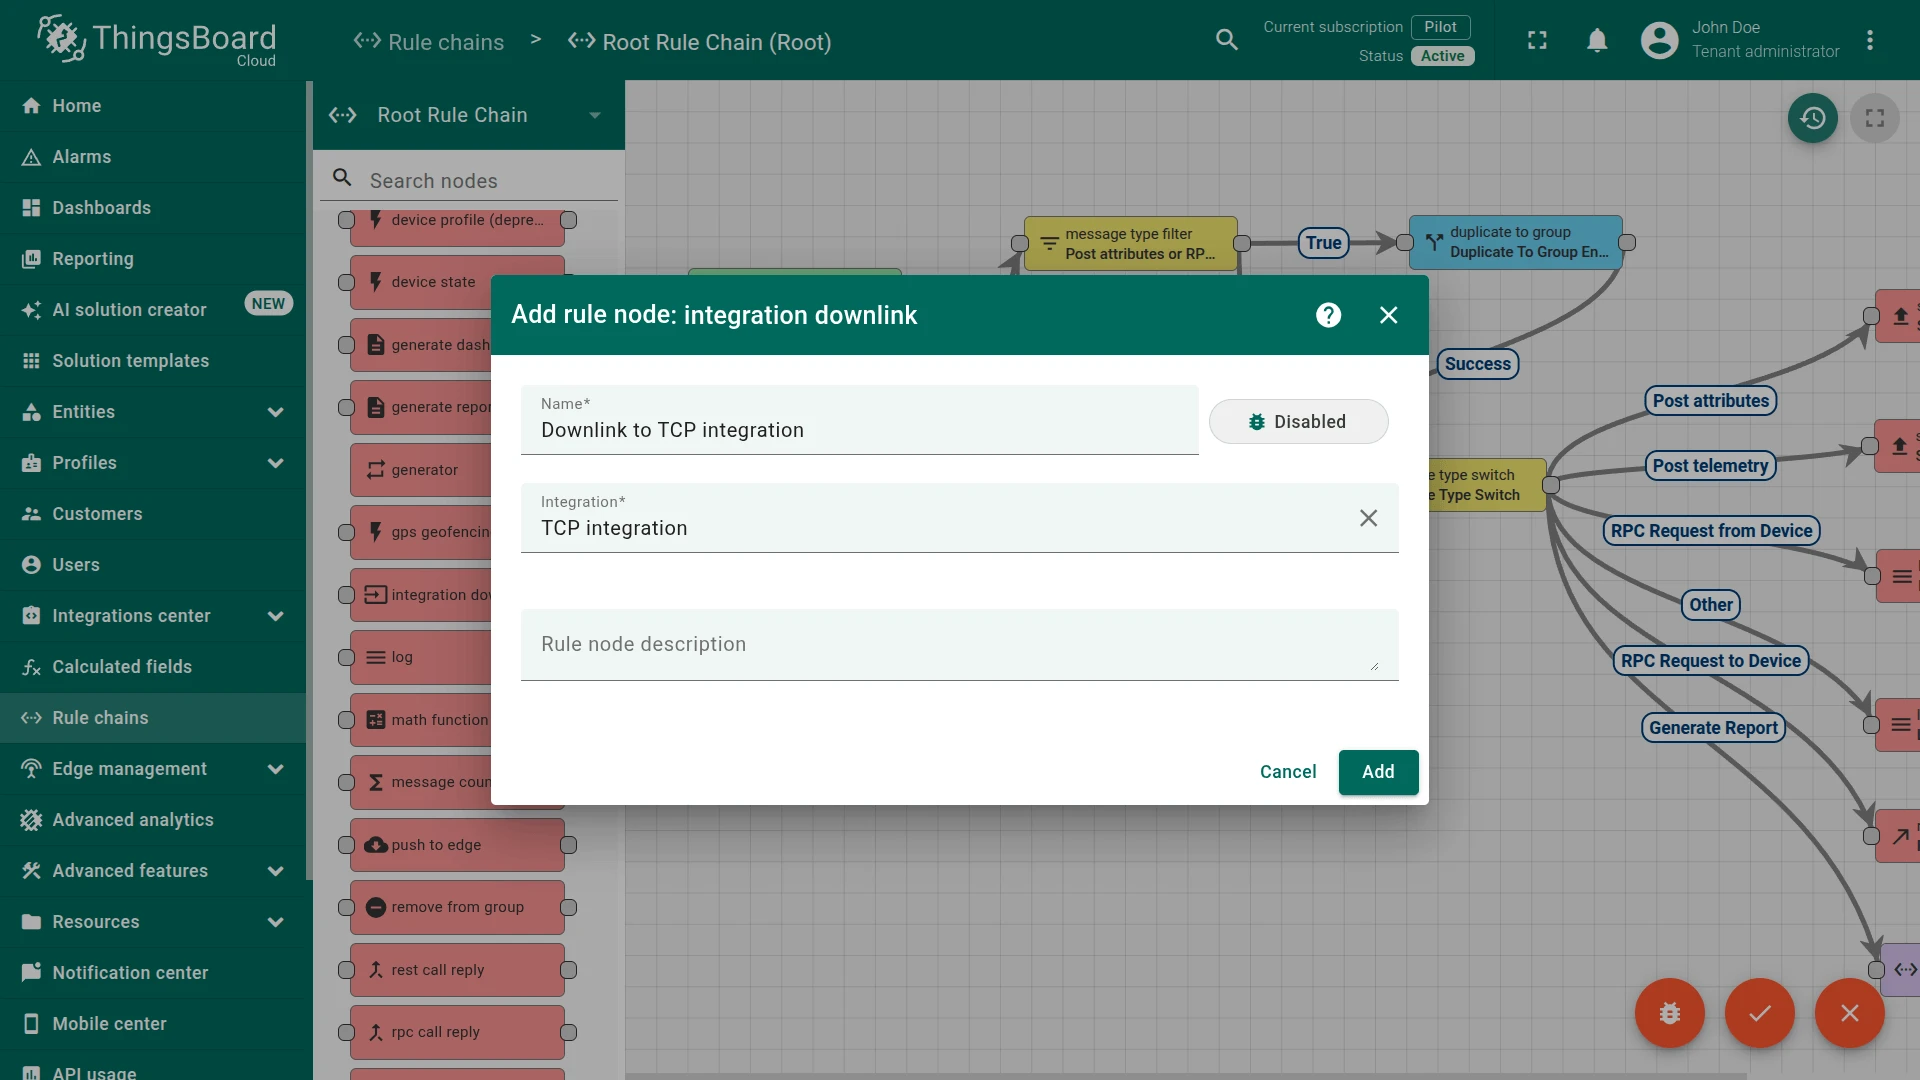
- In the node configuration dialog, enter a name (e.g.
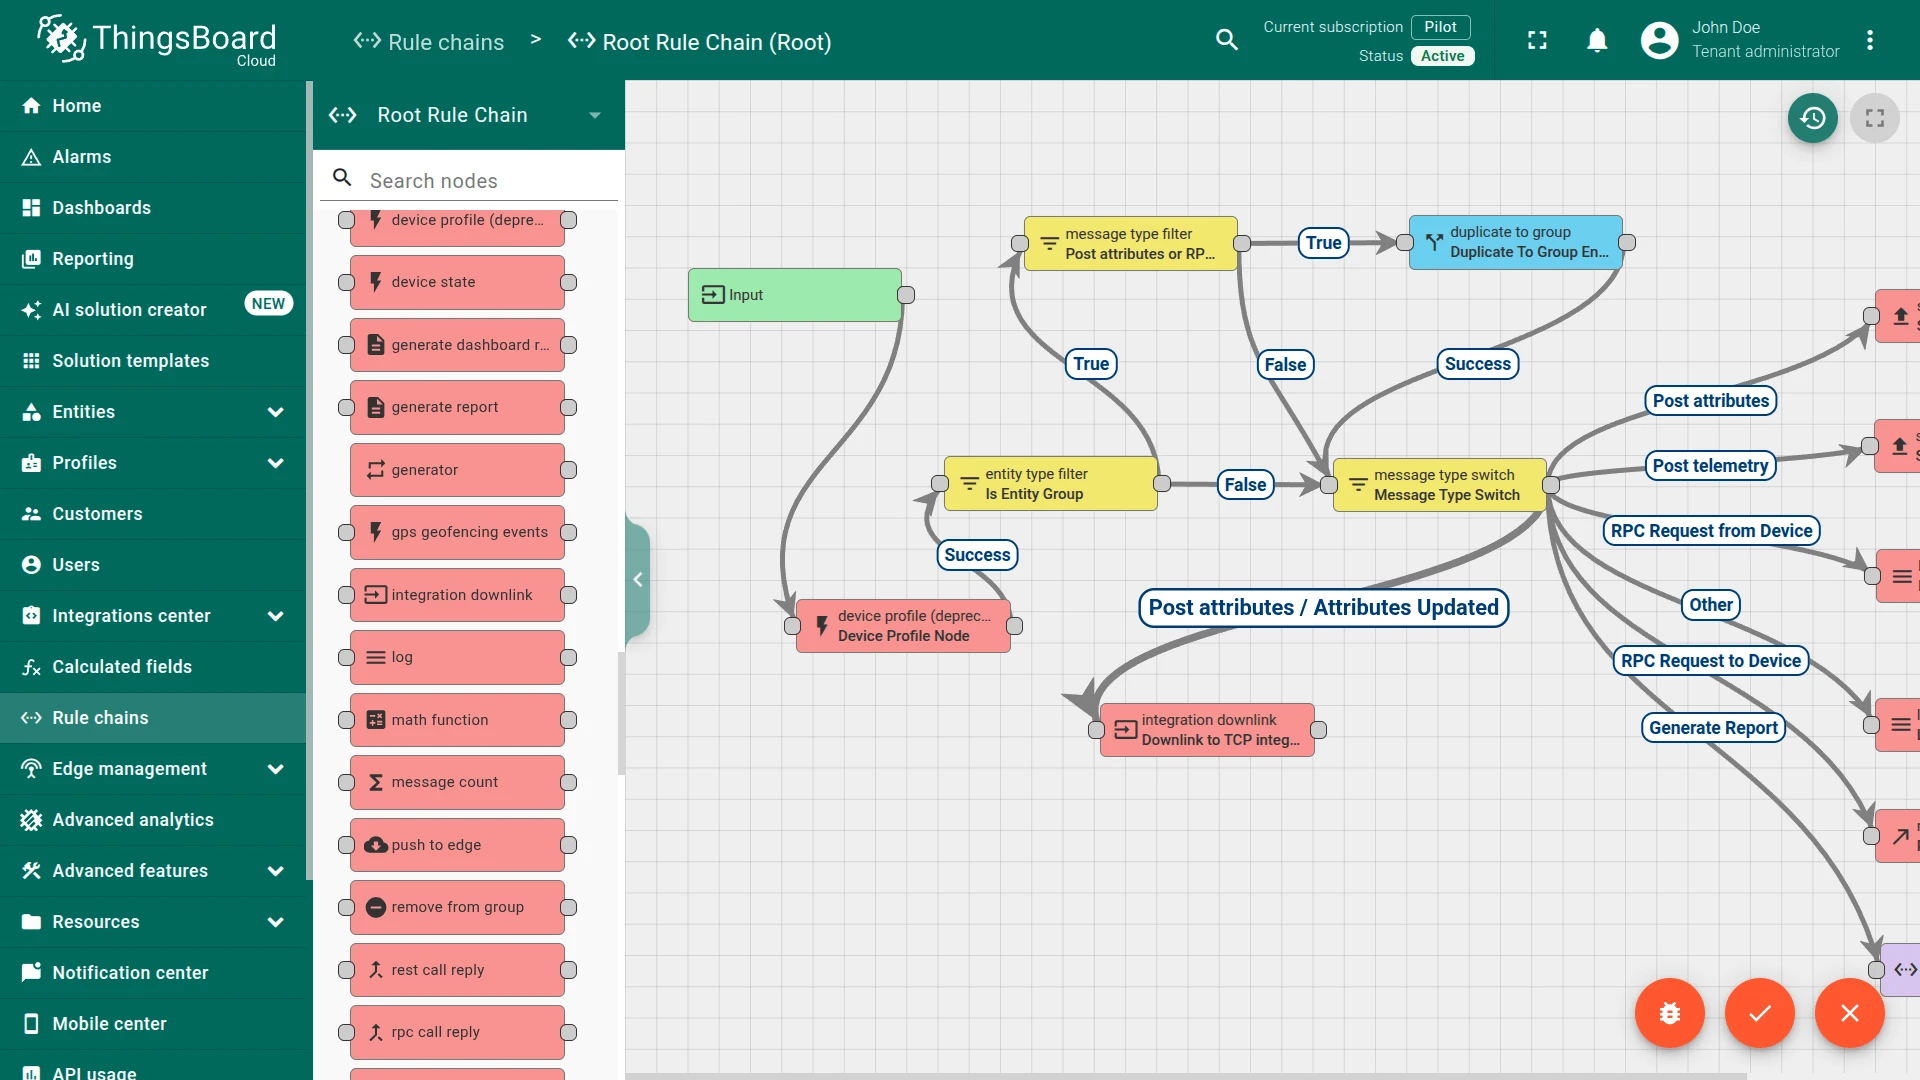
Downlink to TCP integration) and select your TCP integration. Click Add. - Connect the message type switch node to the newly created integration downlink node using the Post attributes and Attributes Updated relation types to trigger downlinks whenever shared attributes are created or updated.
- Apply the changes.
Test Downlink
Section titled “Test Downlink”Open a persistent TCP connection to receive the downlink and keep it open:
nc localhost 10560Then type uplink manually and press Enter:
SN-002,default,temperature,25.7Do not close the terminal.
Trigger a downlink by adding a shared attribute to the device:
- Go to Entities ⇾ Devices, open SN-002, and navigate to the Attributes tab.
- Select Shared attributes, click + to add a new attribute.
- Set the key (e.g.
powerState) and value (e.g.on). - Click Add.
The Rule Engine routes the attribute creation message to the Integration Downlink node, which encodes it and sends it to the device. The terminal will print:
john@doe:~$ nc localhost 10560SN-002,default,temperature,25.7{"powerState":"on"}To inspect the exchange, open the downlink converter’s Events tab:
- In shows the Rule Engine message
- Out shows the encoded payload sent to the device
- Metadata shows additional context
Troubleshooting
Section titled “Troubleshooting”| Symptom | Cause | Fix |
|---|---|---|
| No device created after sending data | deviceName is empty or undefined | Check Events → Out on the uplink converter; verify the decoder correctly extracts deviceName from the payload |
Error in converter | TBEL or JavaScript exception | Open Events → Error on the uplink converter and inspect the stack trace; use Test payload decoder to validate against a sample payload |
| Messages split or merged incorrectly | Handler type mismatch | Verify the Handler Configuration matches your device’s framing protocol; use a packet capture to inspect raw TCP bytes |
| Integration process fails to connect to ThingsBoard | Wrong host, port, key, or secret | Verify host, port, routingKey, and secret in tb-remote-integration.yml; ensure ThingsBoard gRPC port 9090 is reachable from the remote integration host |
| Port already in use | Another process is using the same port | Choose a different port in Connection settings and restart the remote integration process |
| Device does not receive downlink | Connection closed after uplink | The device must keep the TCP connection open; single-shot nc closes immediately — use -w60 or a persistent client for testing |
| Data present but timestamp is wrong | Device sends ts in seconds | Convert before assigning: ts: data.ts * 1000 |
| Telemetry not saved | Converter returns {} or [] | Ensure telemetry contains at least one key-value pair |
See Also
Section titled “See Also”- Integrations Overview — how ThingsBoard connects to external platforms and how uplink/downlink flow works
- Uplink Data Converter — full decoder function reference: input parameters, output fields, and scripting patterns
- Downlink Data Converter — full encoder function reference for sending commands to devices
- Remote Integration — install and run the TCP Integration as a standalone process outside the ThingsBoard server
- TBEL scripting reference — built-in functions and operators for writing converter scripts
- Rule Engine — how uplink messages are processed after the converter runs
Was this helpful?