Contribution Guide
ThingsBoard Community Edition is open source and the team is constantly looking for feedback on how to improve the platform. If you have an idea or a new feature in mind, open an issue on the GitHub issue tracker first — and check that a similar ticket does not already exist before submitting.
The ThingsBoard team will review and comment on your issue. Wait for that feedback before starting any implementation so the approach can be agreed on upfront.
Prerequisites
Section titled “Prerequisites”Install the following tools before proceeding:
| Tool | Version | Notes |
|---|---|---|
| Java | 17 | Eclipse Temurin or OpenJDK |
| Maven | 3.6+ | Apache Maven |
| Docker + Docker Compose | Latest | Required for integration and black-box tests |
Fork and build
Section titled “Fork and build”Fork the thingsboard/thingsboard
repository on GitHub and clone it locally. The clone path is referred to as TB_WORK_DIR throughout this guide.
Build from the root folder to generate the protobuf files required for IDE compilation:
cd $TB_WORK_DIRmvn clean install -DskipTestsImport the project into your IDE as a Maven project. See instructions for IntelliJ IDEA and Eclipse.
Database
Section titled “Database”ThingsBoard uses PostgreSQL by default for both entities and timeseries data. Optionally, you can use Cassandra for timeseries data instead.
PostgreSQL
Section titled “PostgreSQL”Install PostgreSQL using the official installation guide.
Connect to PostgreSQL and create the ThingsBoard database:
psql -U postgres -d postgres -h 127.0.0.1 -WCREATE DATABASE thingsboard;\qCassandra (optional)
Section titled “Cassandra (optional)”Install Apache Cassandra,
then set the timeseries database type in application/src/main/resources/thingsboard.yml:
database: ts: type: "${DATABASE_TS_TYPE:cassandra}"If Cassandra runs on a remote host or a non-default port, update the connection settings in the same file. See the configuration guide for the full property reference.
Rebuild the application module after updating the config:
cd $TB_WORK_DIR/applicationmvn clean install -DskipTestsInitialize the schema
Section titled “Initialize the schema”Run the install script to create database tables and populate demo data. The script is generated during the Maven build.
On Linux:
cd $TB_WORK_DIR/application/target/bin/installchmod +x install_dev_db.sh./install_dev_db.shOn Windows:
cd %TB_WORK_DIR%\application\target\windowsinstall_dev_db.batRun the dev environment
Section titled “Run the dev environment”UI (hot reload)
Section titled “UI (hot reload)”Skip this step if you are not modifying the UI.
Start the UI dev server on port 4200. REST API and WebSocket requests are forwarded to port 8080:
cd $TB_WORK_DIR/ui-ngxmvn clean install -P yarn-startServer
Section titled “Server”Start the server using one of these two options.
IDE: Run the main method of org.thingsboard.server.ThingsboardServerApplication in the application module.
Command line:
java -jar application/target/thingsboard-4.3.1.3-boot.jarVerify the setup
Section titled “Verify the setup”Open http://localhost:4200 (with UI hot reload) or http://localhost:8080 and log in with the demo credentials:
| Field | Value |
|---|---|
| Login | tenant@thingsboard.org |
| Password | tenant |
Submit changes
Section titled “Submit changes”Verify the build
Section titled “Verify the build”Before committing, run the full build with tests:
mvn clean installAlso run the black-box tests.
Push and create a pull request
Section titled “Push and create a pull request”Commit and push your changes to your fork:
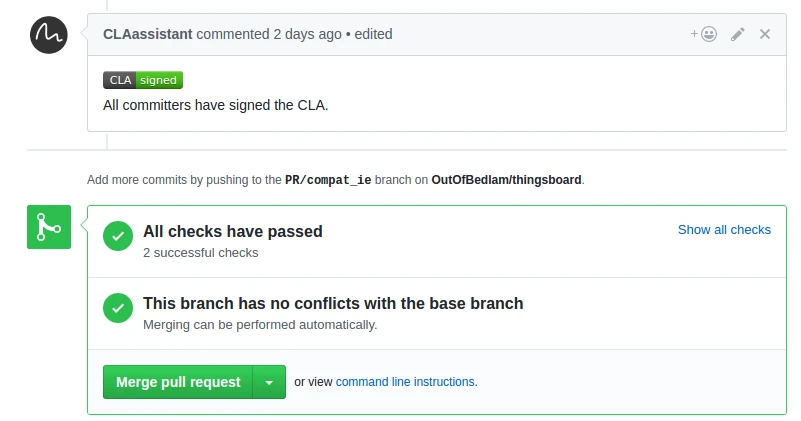
git commit -m 'Descriptive commit message'git push origin masterCreate a pull request against the master branch. If conflicts exist, resolve them first.
The GitHub CLA bot prompts you to sign the Contributor License Agreement (CLA) when you open the PR.
Review may take several days.
Next steps
Section titled “Next steps”- Rule Node Development — create custom rule nodes for ThingsBoard.
- Widgets Development — build custom widgets for ThingsBoard dashboards.
Was this helpful?