Filter by Dashboard Alias
This guide shows how to connect a Trendz view to a ThingsBoard dashboard alias so that selecting an entity in one widget automatically updates the Trendz chart to show data for that entity — without any page reload or manual filter change.
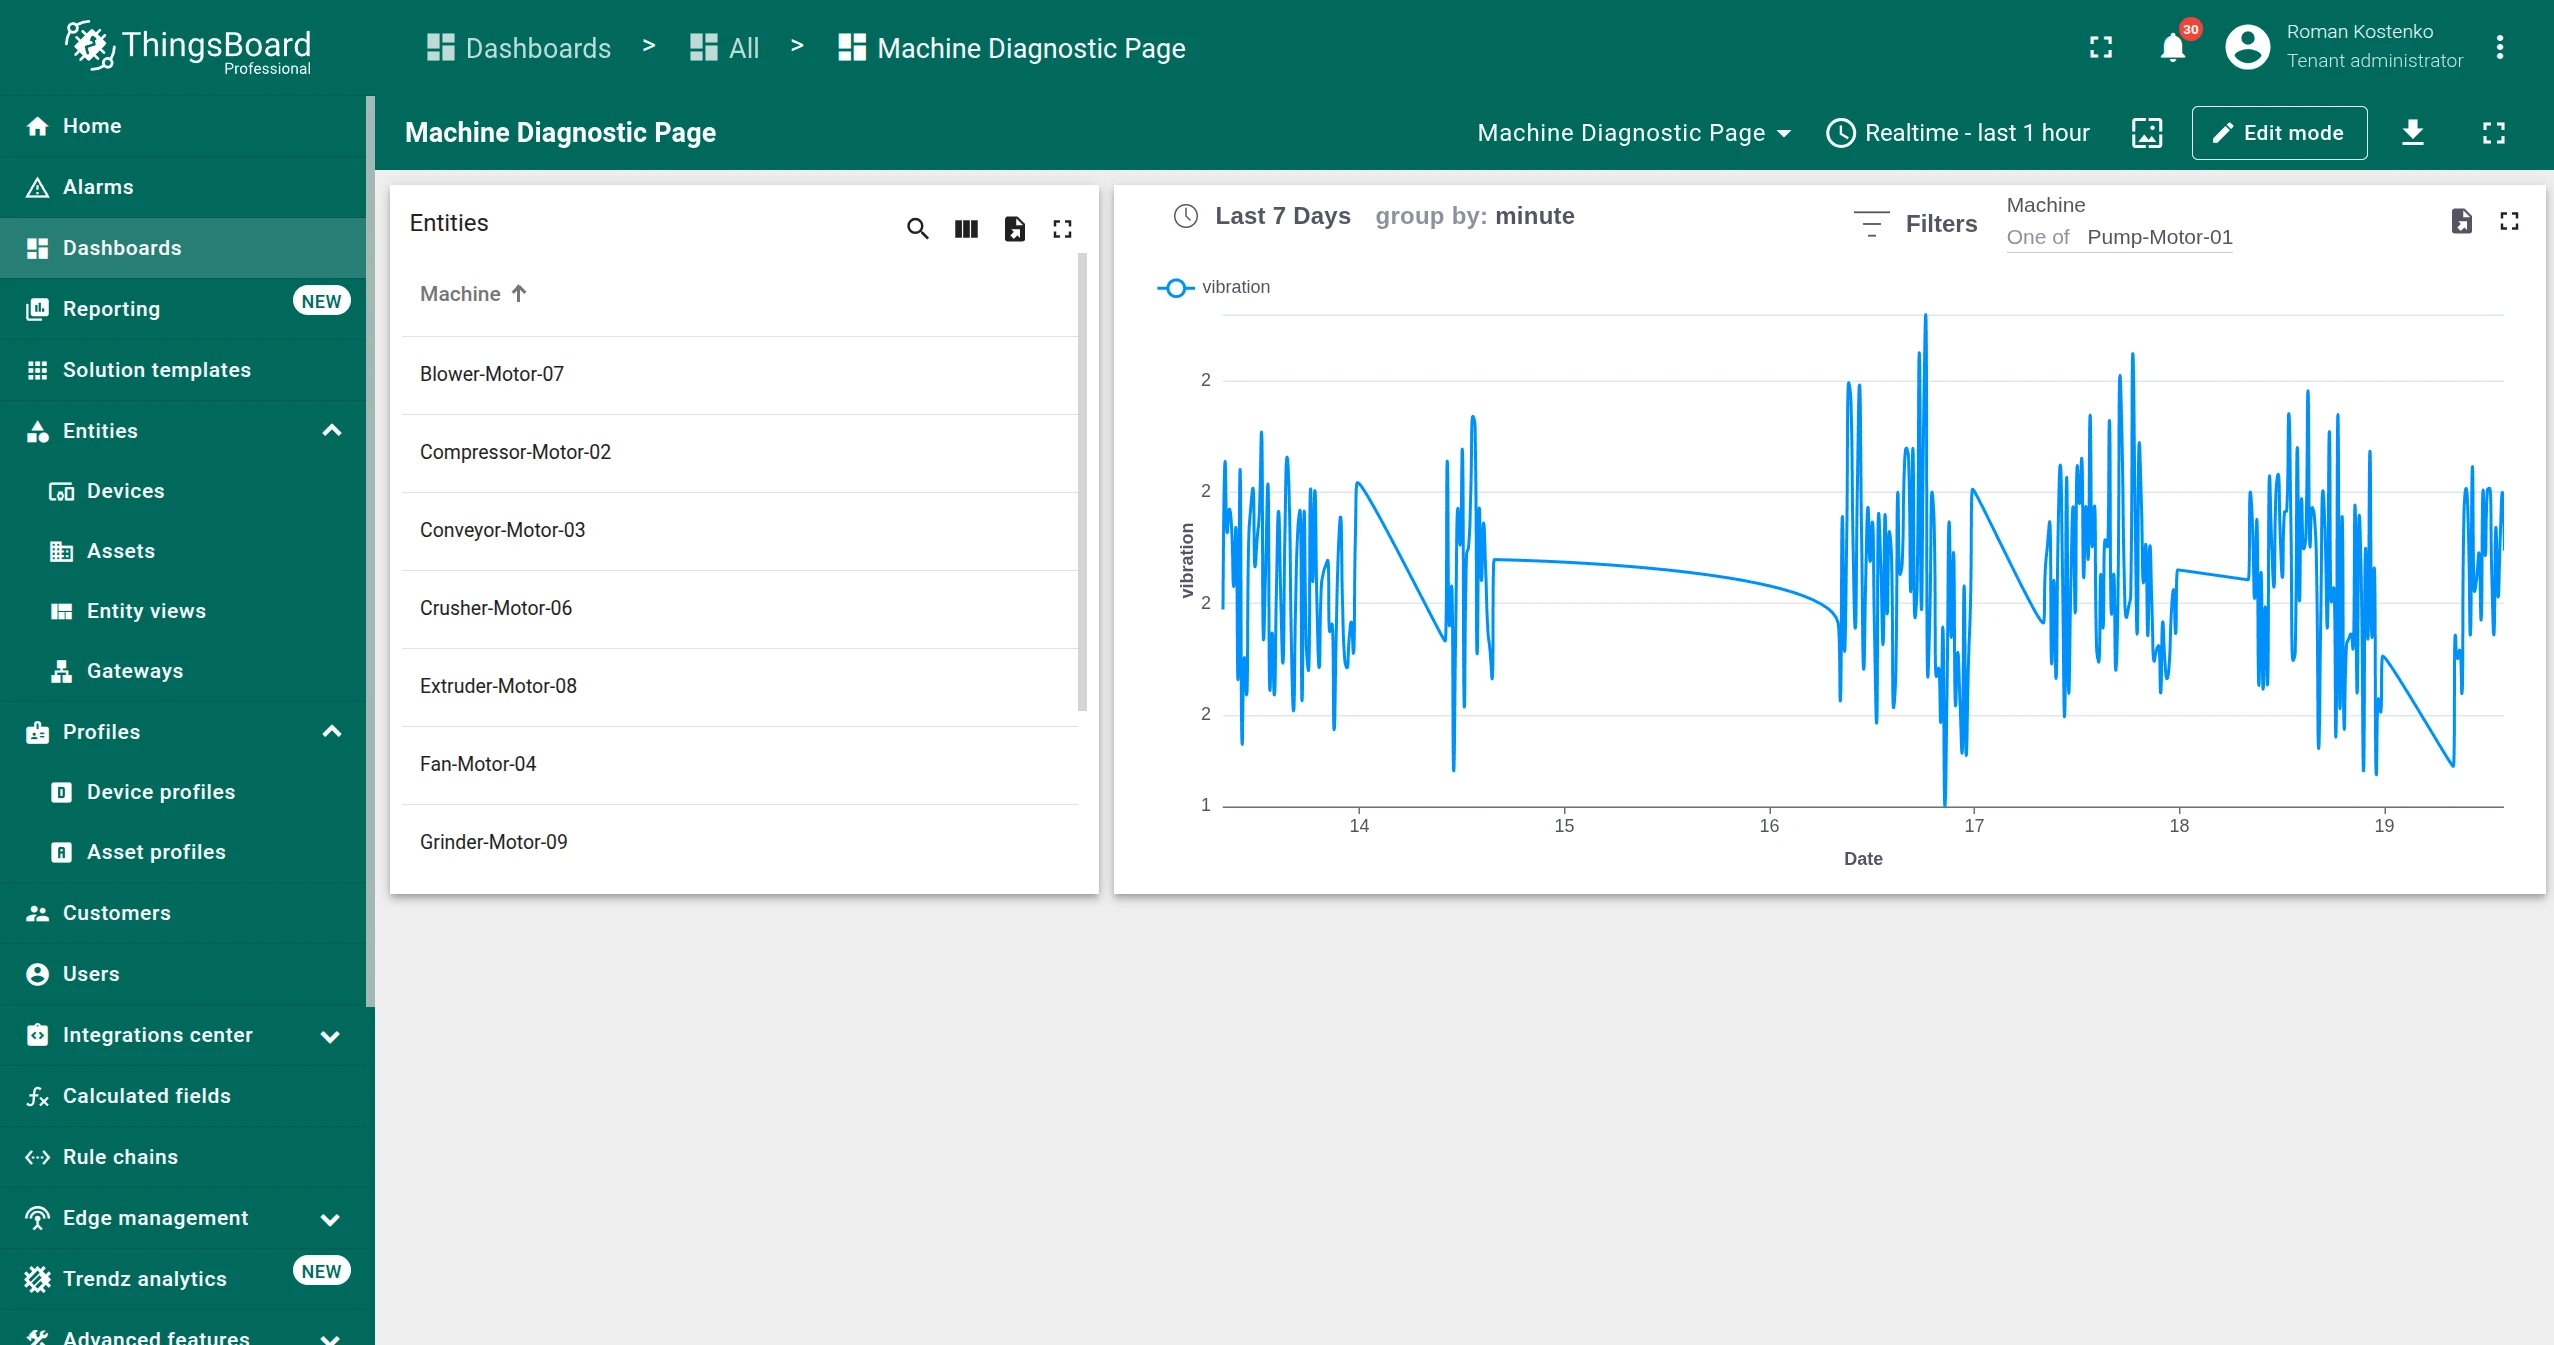
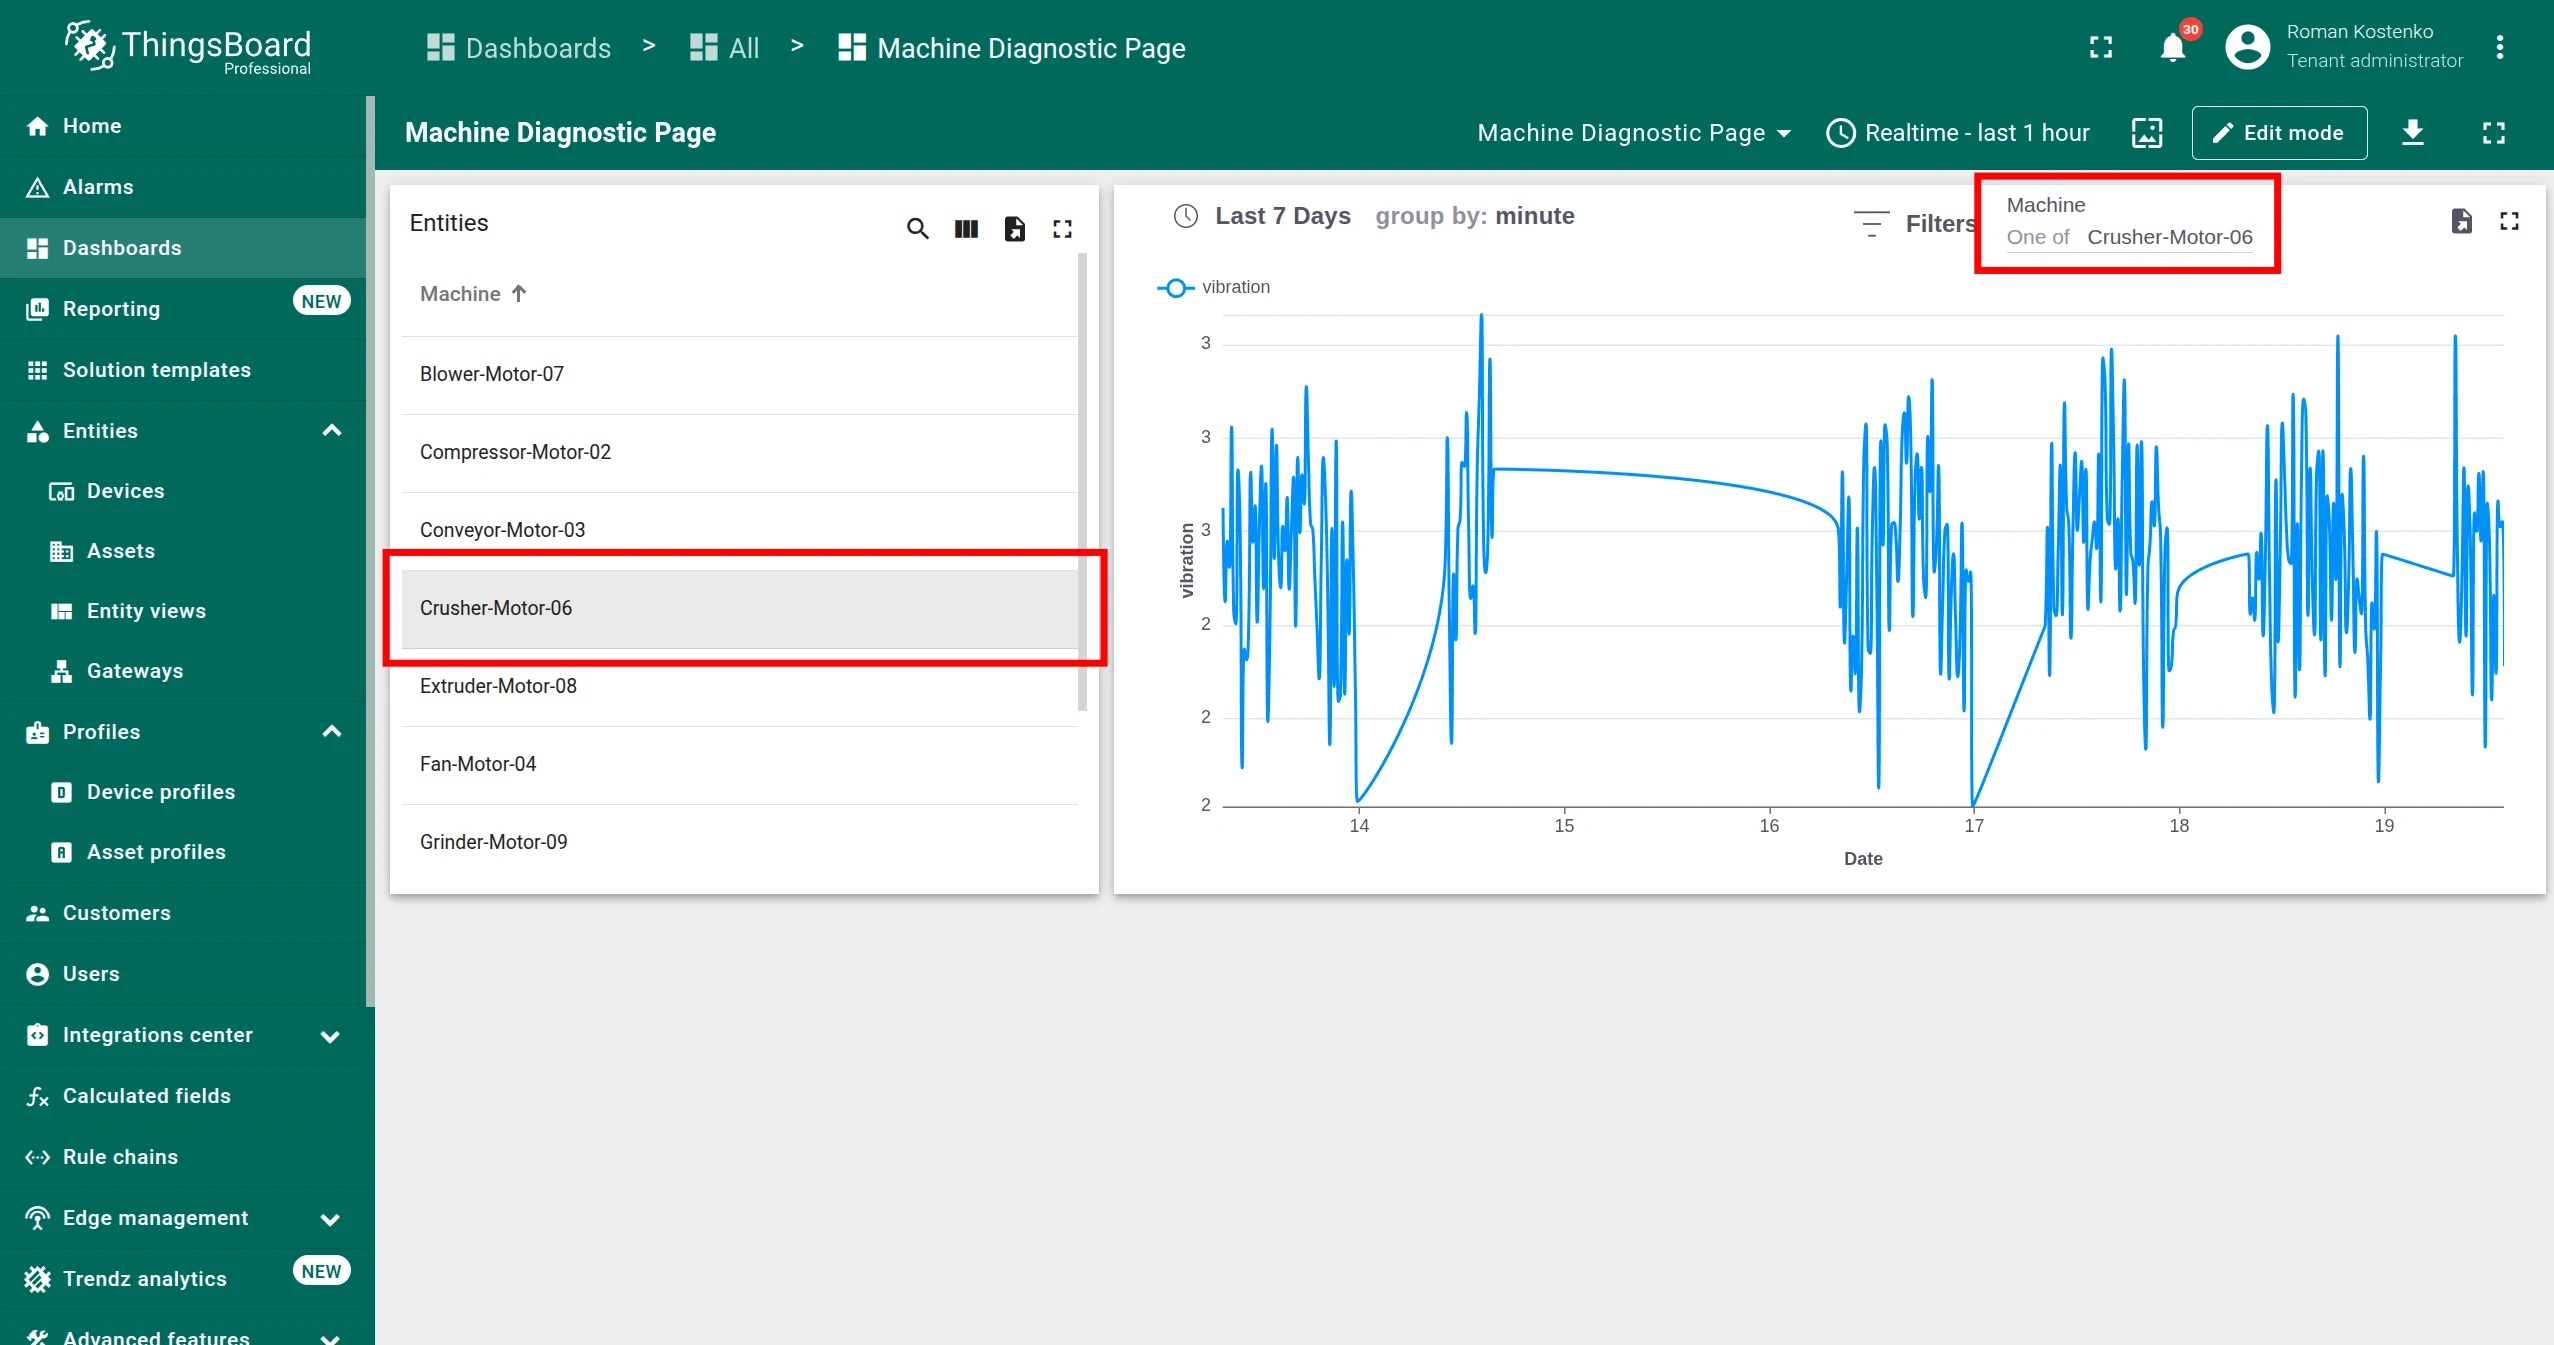
What you will build: a dashboard with an Entities table and a Trendz view side by side. When a user clicks a machine in the table, the chart re-renders instantly for the selected machine.
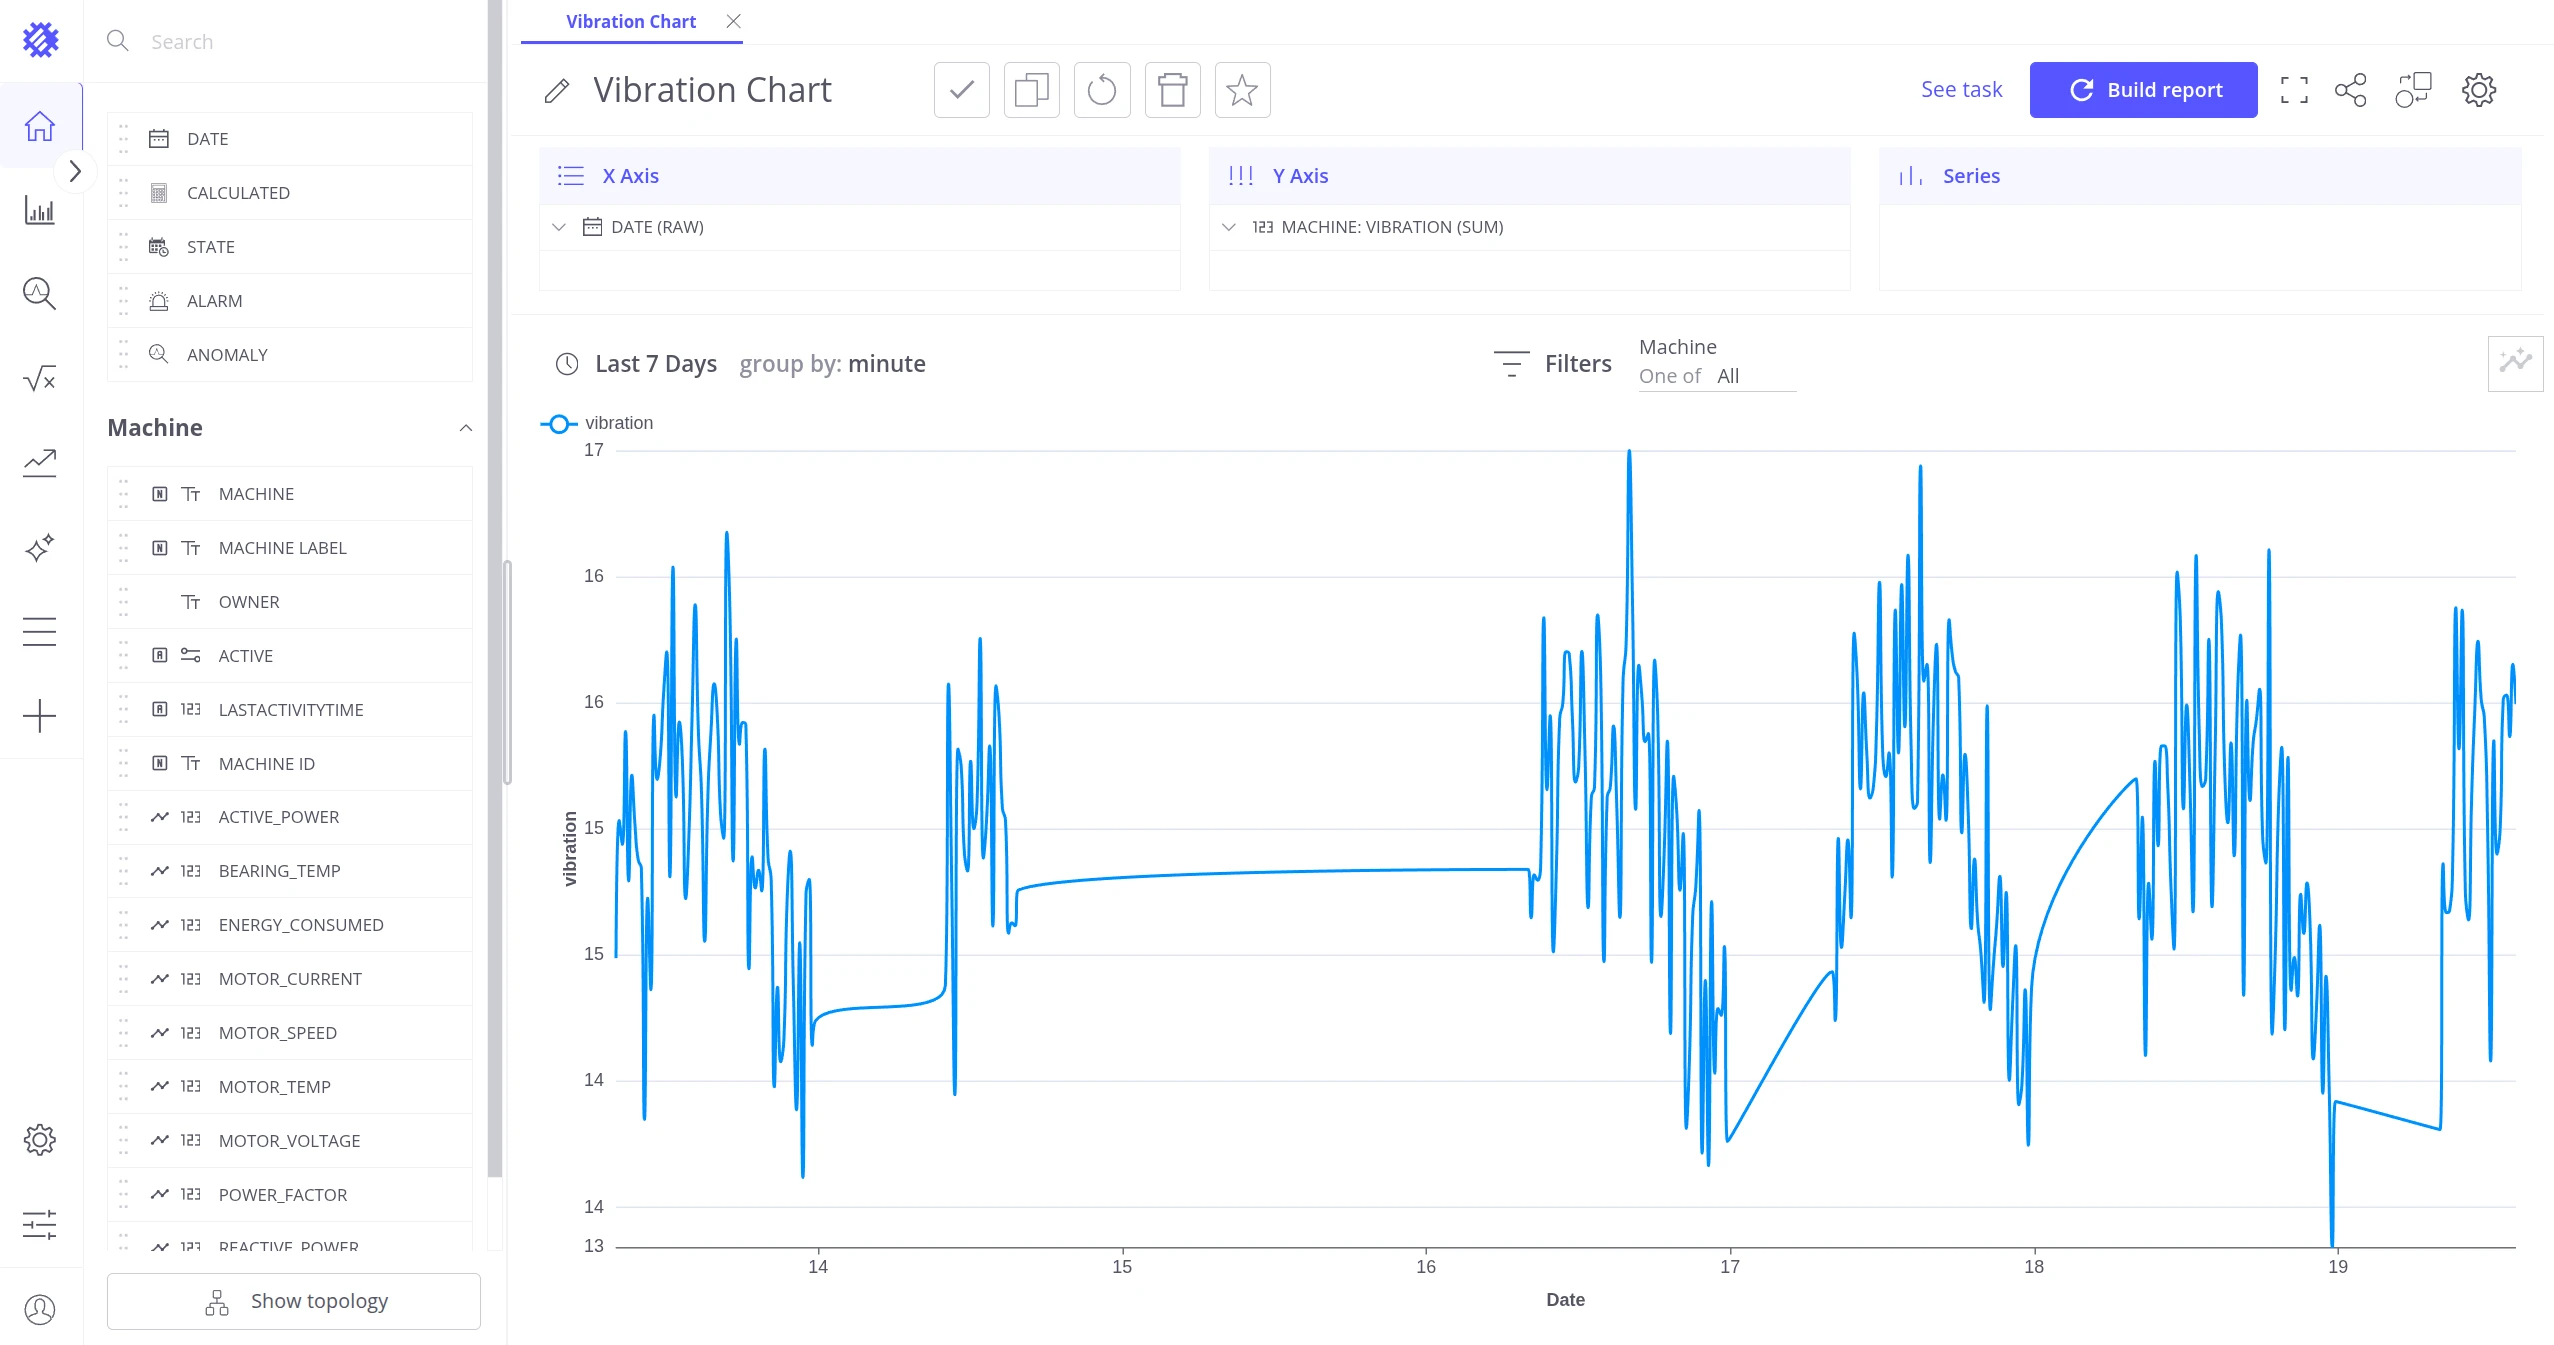
Throughout this guide we use a Vibration Chart with a Machine field in the Filter section as the example view.
How it works
Section titled “How it works”The Advanced analytics View widget accepts a ThingsBoard alias as its datasource. When the alias value changes — for example when a user clicks a row in an Entity List widget — ThingsBoard passes the selected entity name to the Trendz widget. Trendz injects that name into the view filter and the chart re-renders immediately.
┌─────────────────────────────────────┐ │ Entity List widget │ │ datasource: all_devices alias │ │ on row click → updates alias ──────┼──┐ └─────────────────────────────────────┘ │ entity name ▼ ┌─────────────────────────────────────┐ │ Advanced analytics View widget │ │ datasource: selected_device alias │ │ Filter Name: "Machine" │ │ │ │ → chart re-renders for the │ │ selected entity │ └─────────────────────────────────────┘The Filter Name on the widget must match the field name used in the Trendz view filter exactly. If the view has multiple filter fields, Trendz matches by name. When the alias is empty, the view shows data for all entities.
Prerequisites
Section titled “Prerequisites”Before you start, make sure:
- The Trendz view has at least one field added to the Filter section and is saved.
- The Advanced analytics Bundle is imported into ThingsBoard.
Option 1 — Using the Share Button
Section titled “Option 1 — Using the Share Button”The quickest way. Trendz automatically creates the required aliases and wires them to the widget — no manual alias configuration needed.
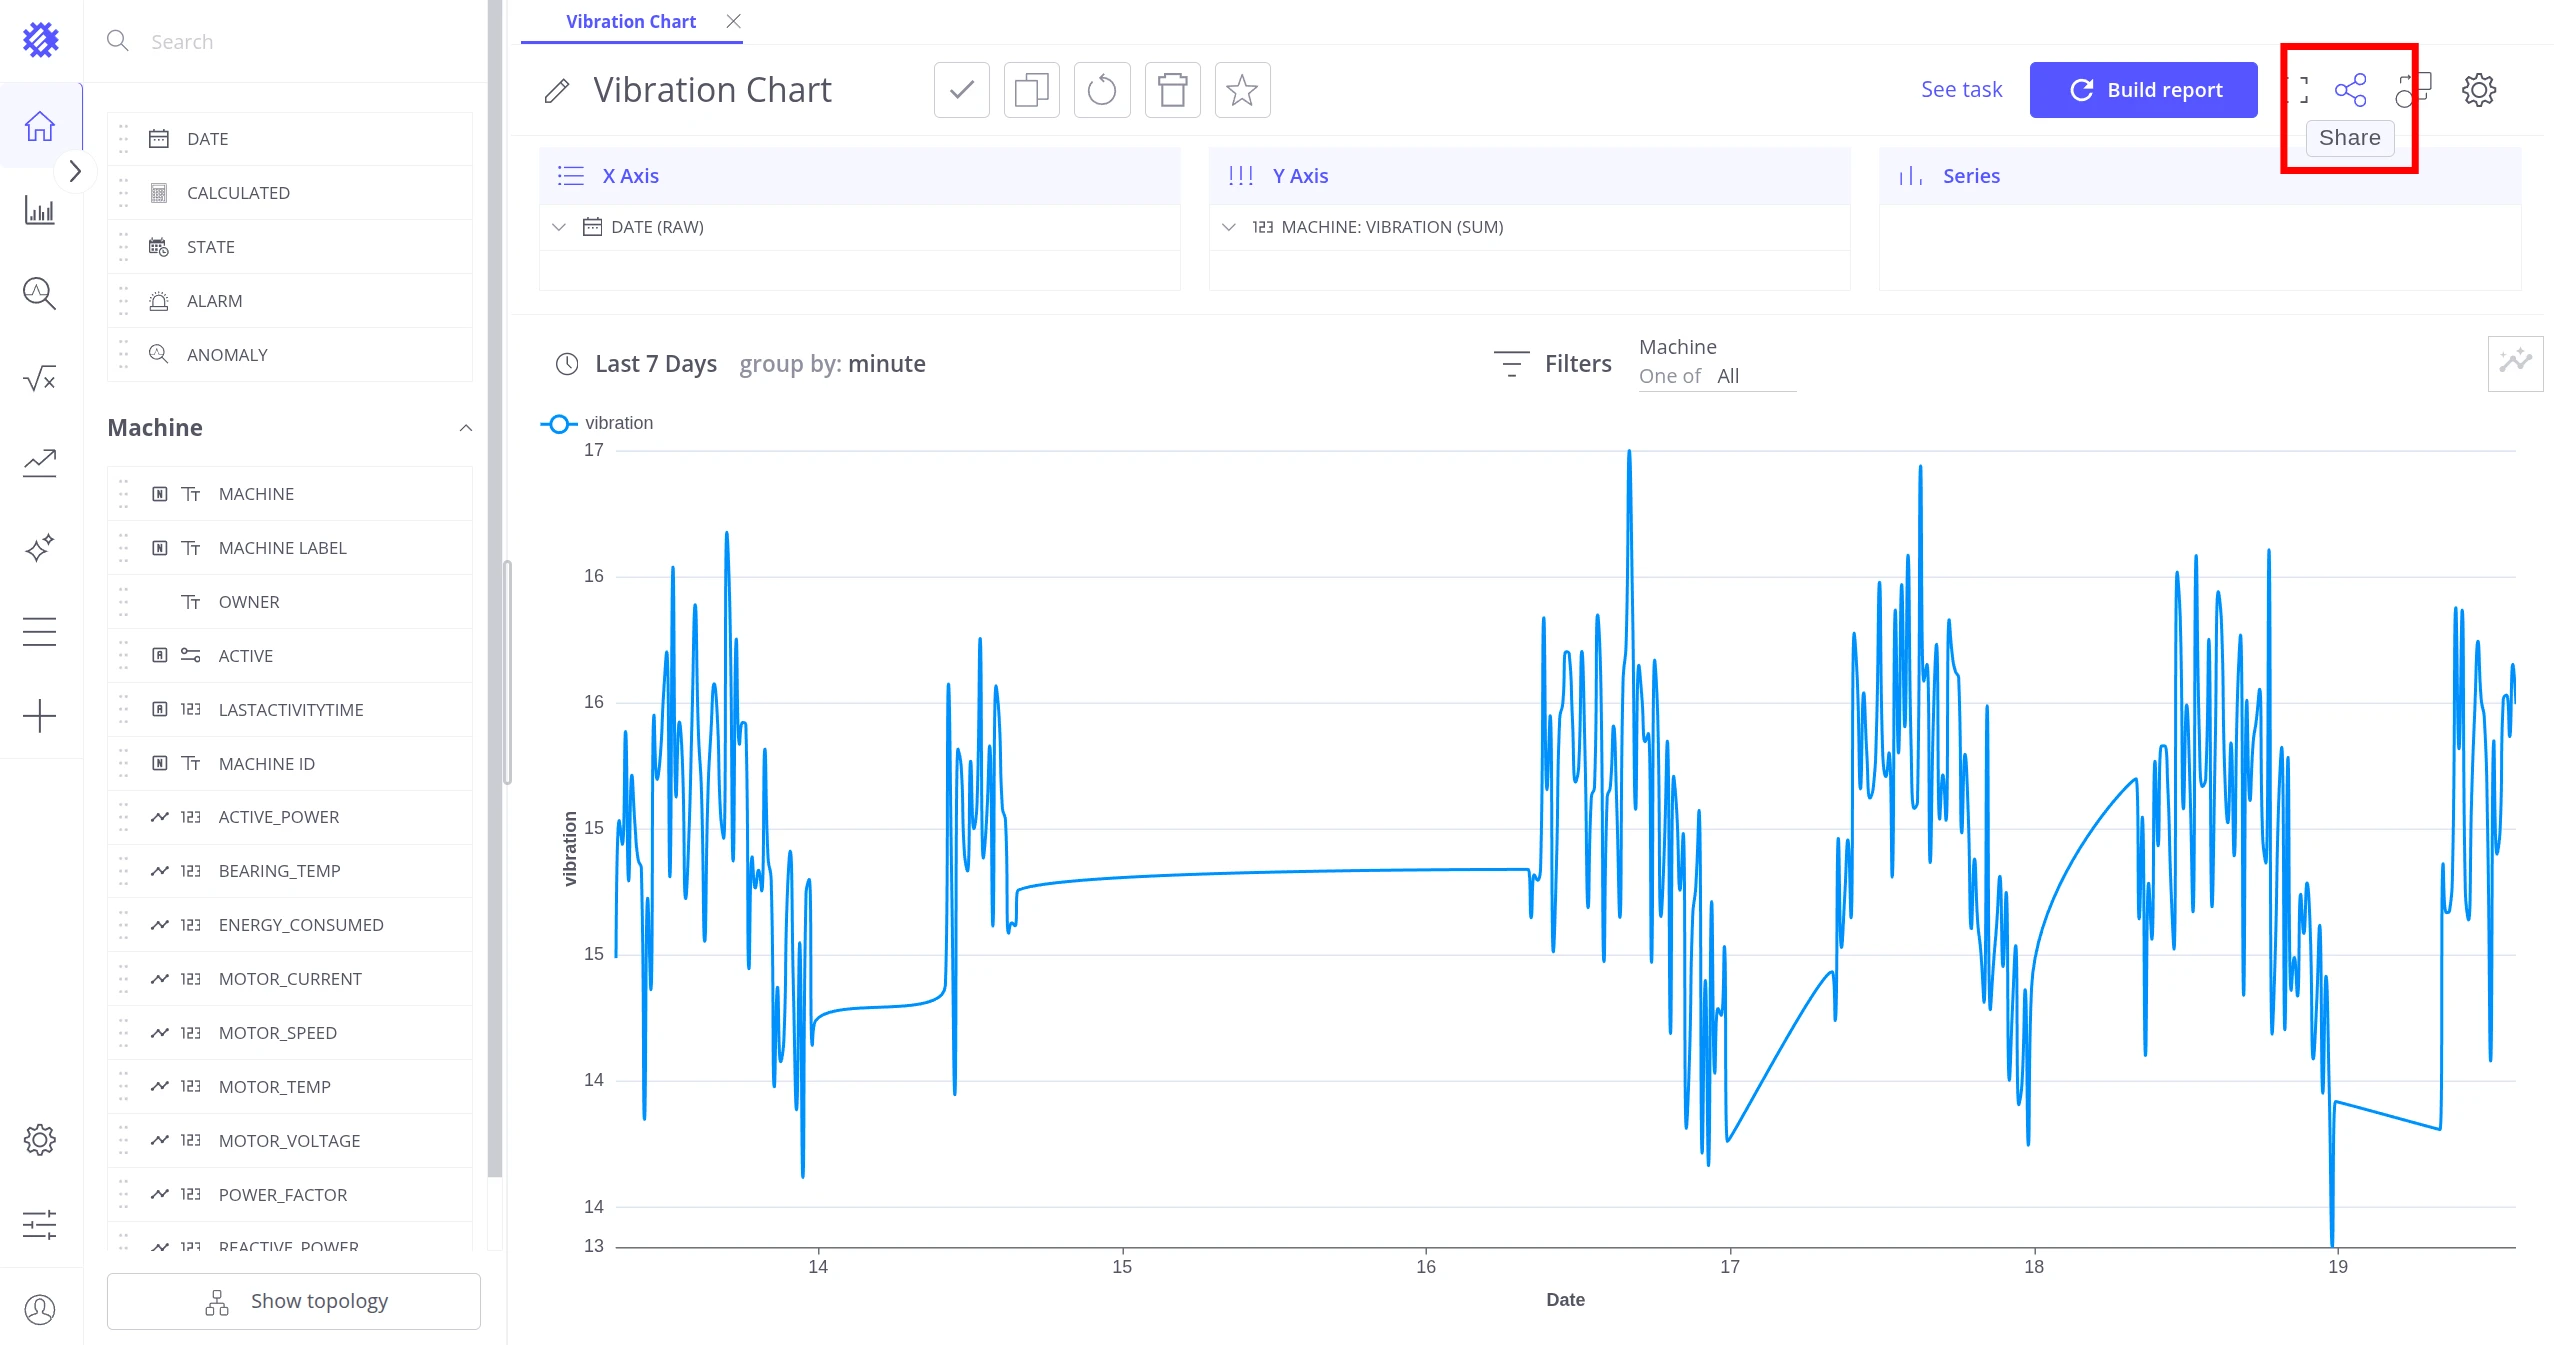
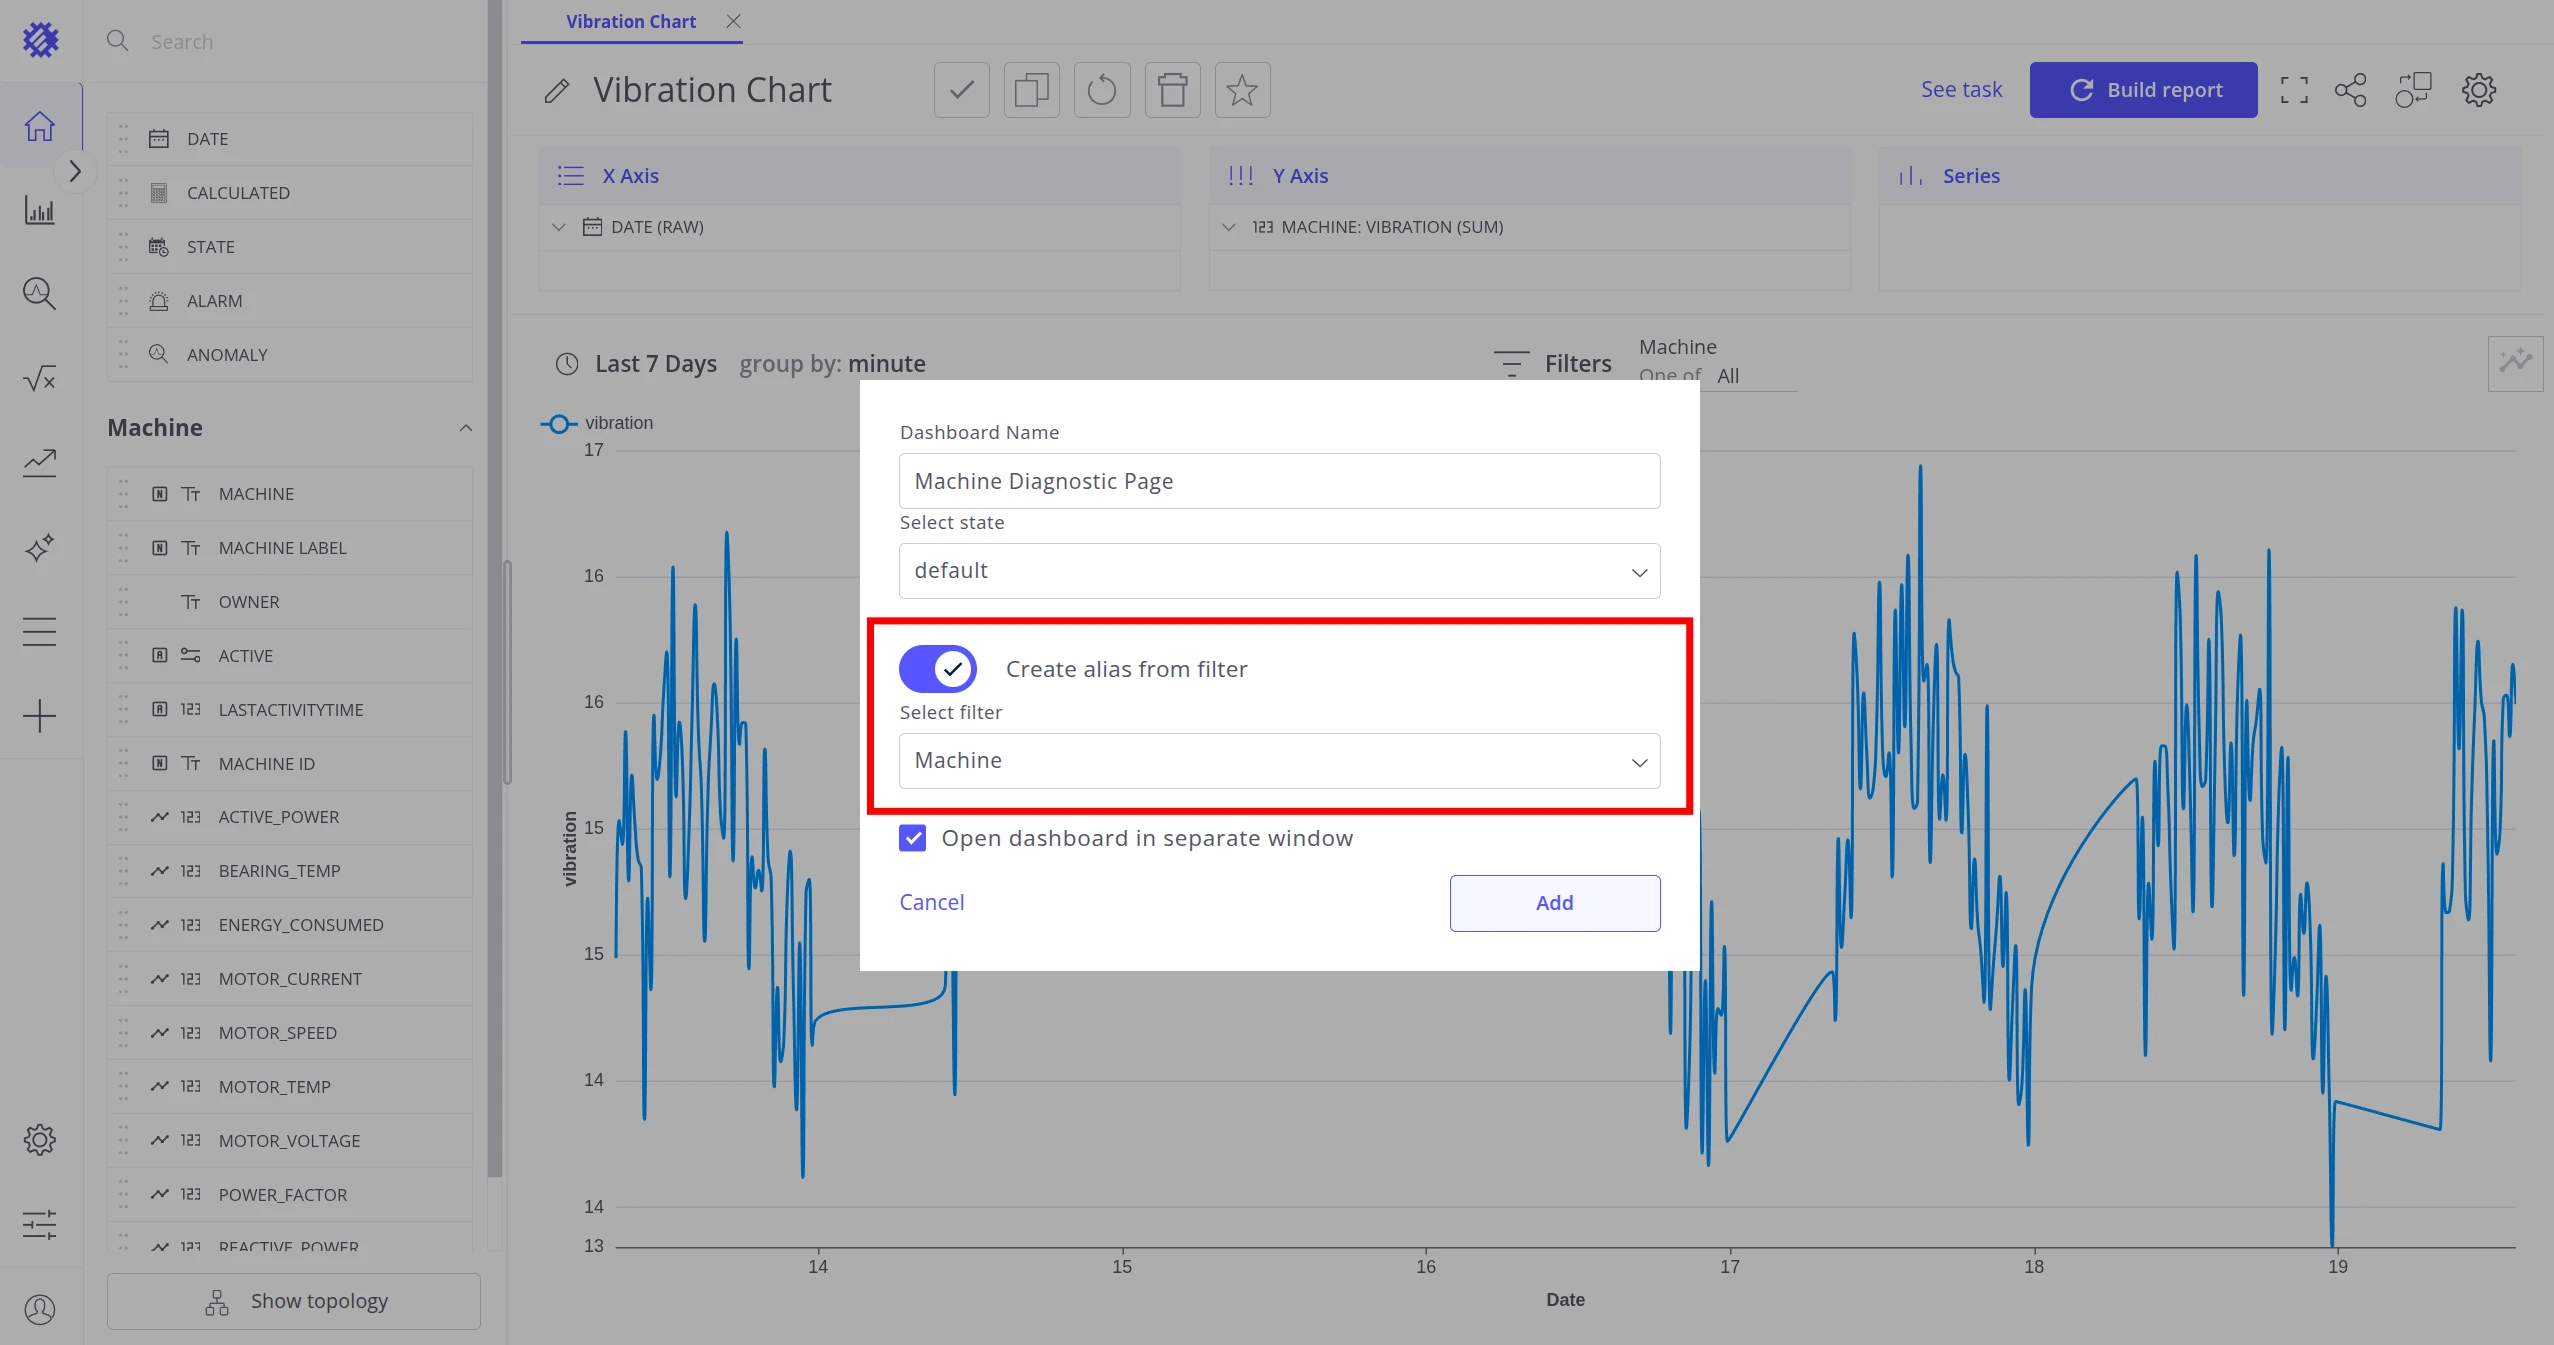
Click Share in the Trendz toolbar, then select Add on Dashboard or Add on New Dashboard. In the Share dialog, enable Create alias from filter and select the Machine filter as the alias source, then click Add. For a full walkthrough of the Share button flow, see Add view on Dashboard — Create alias from filter.
Automatically created aliases
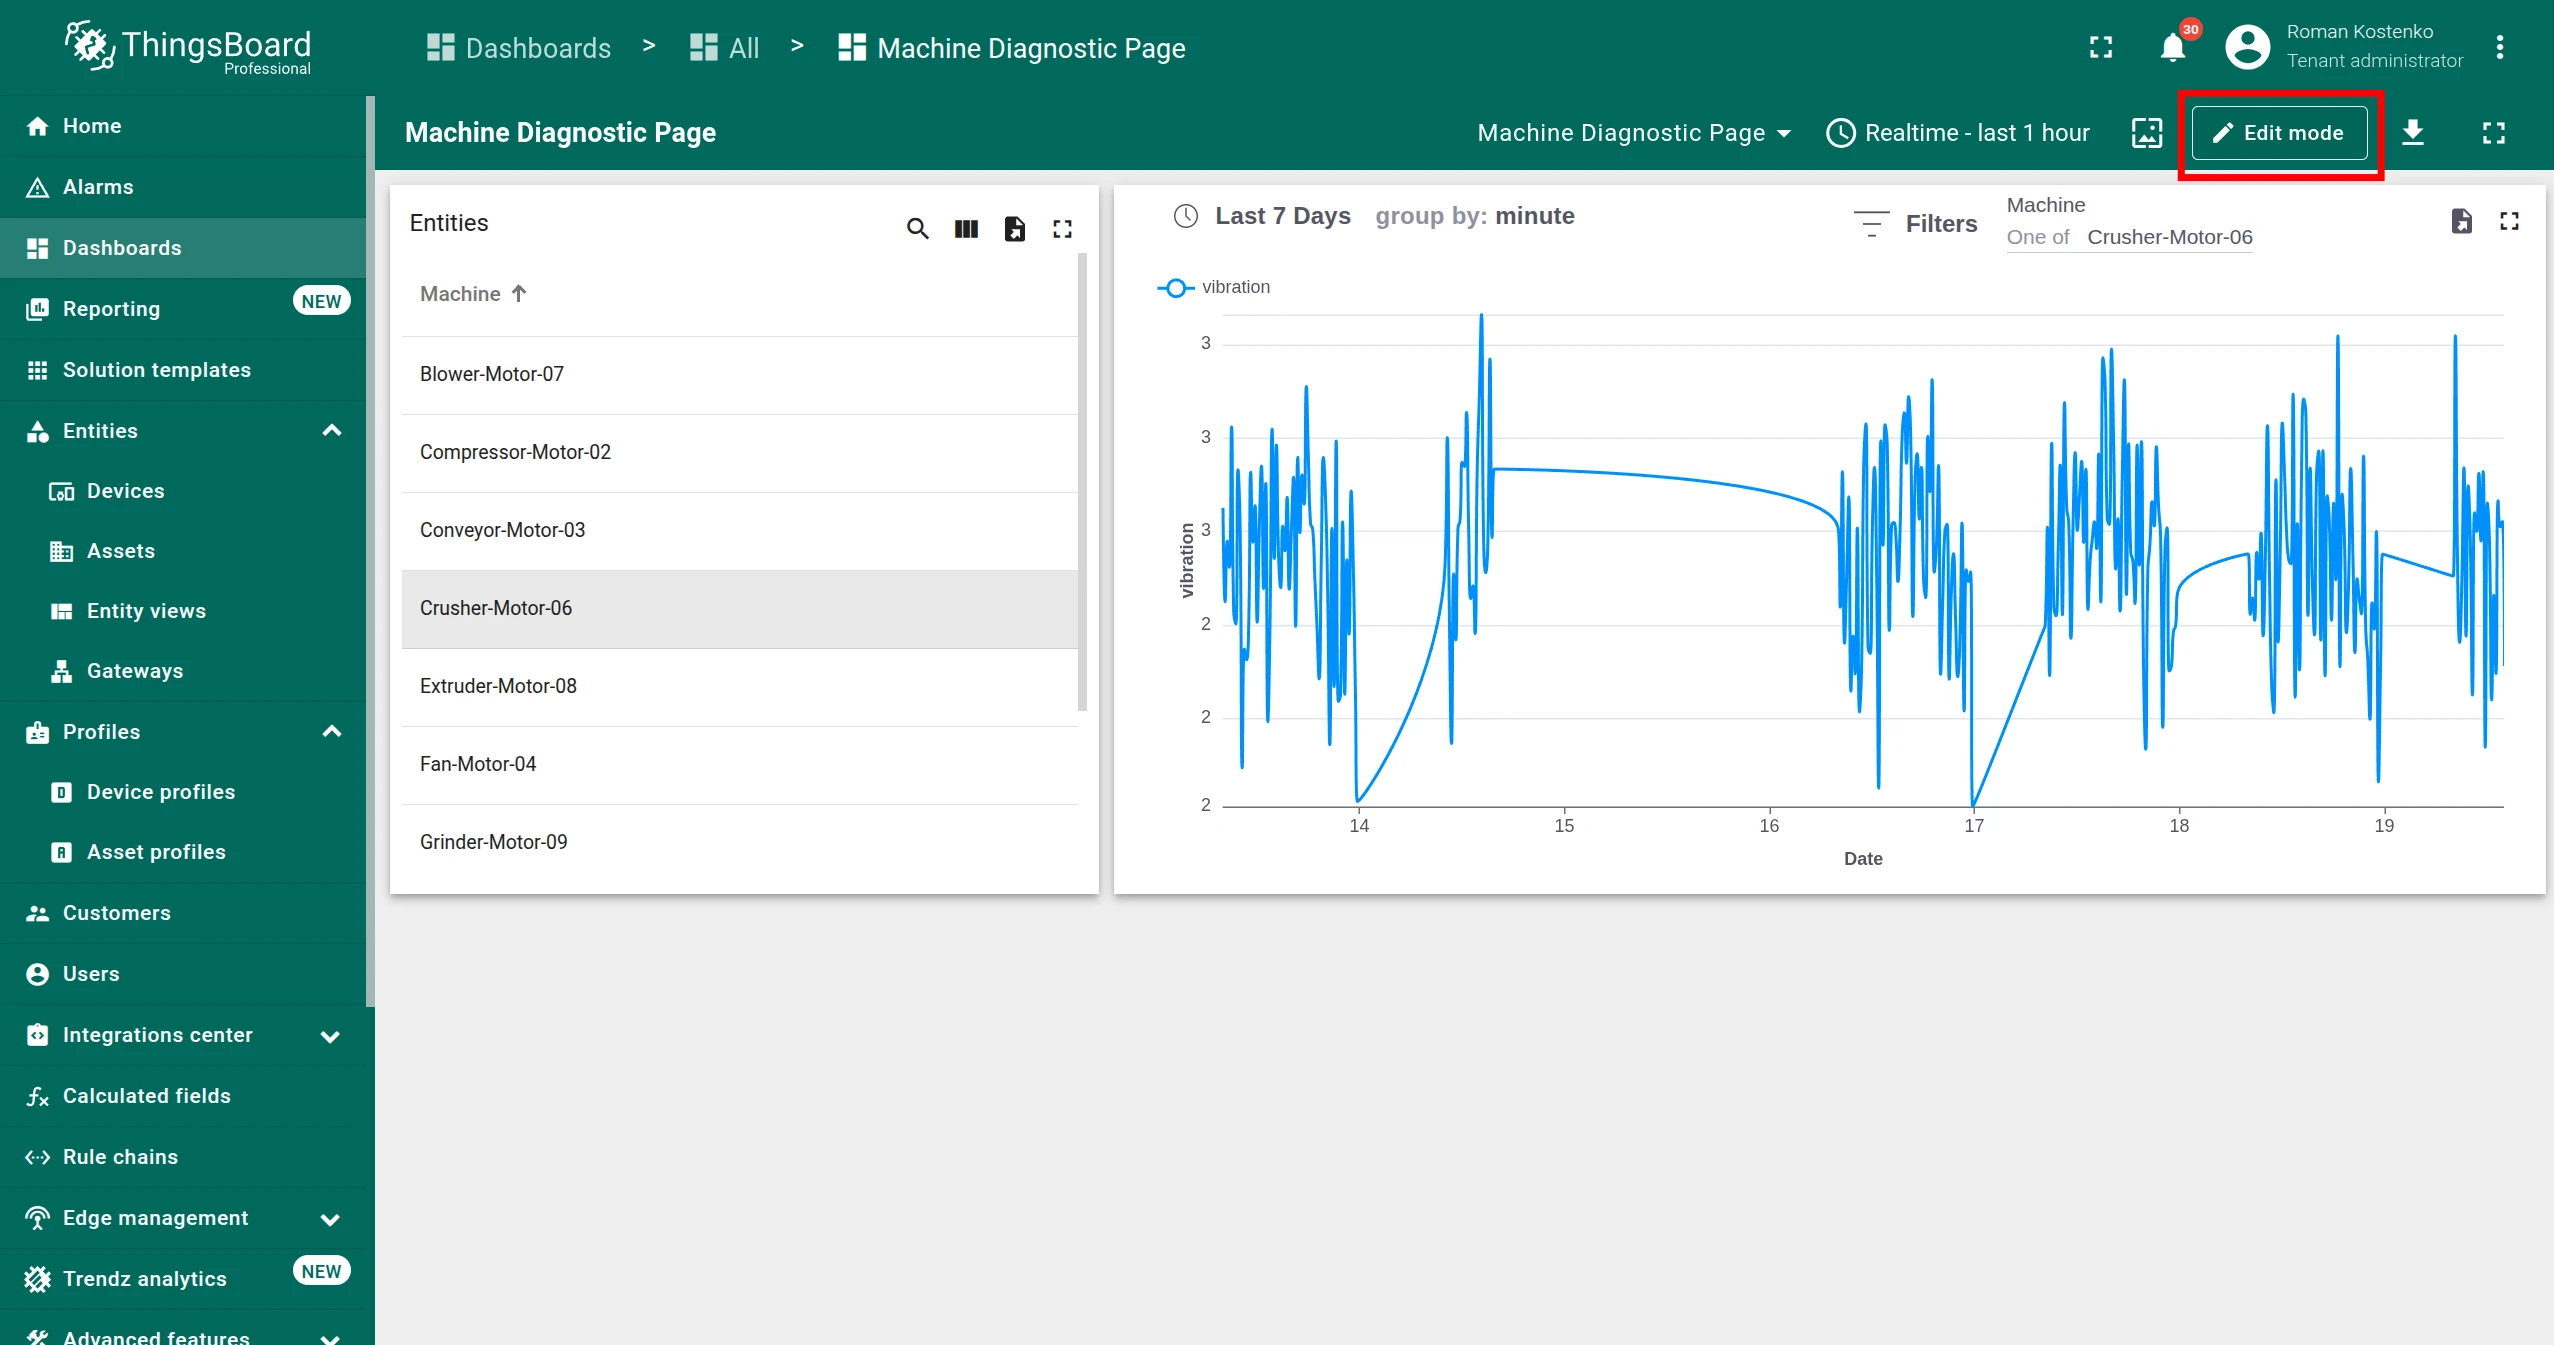
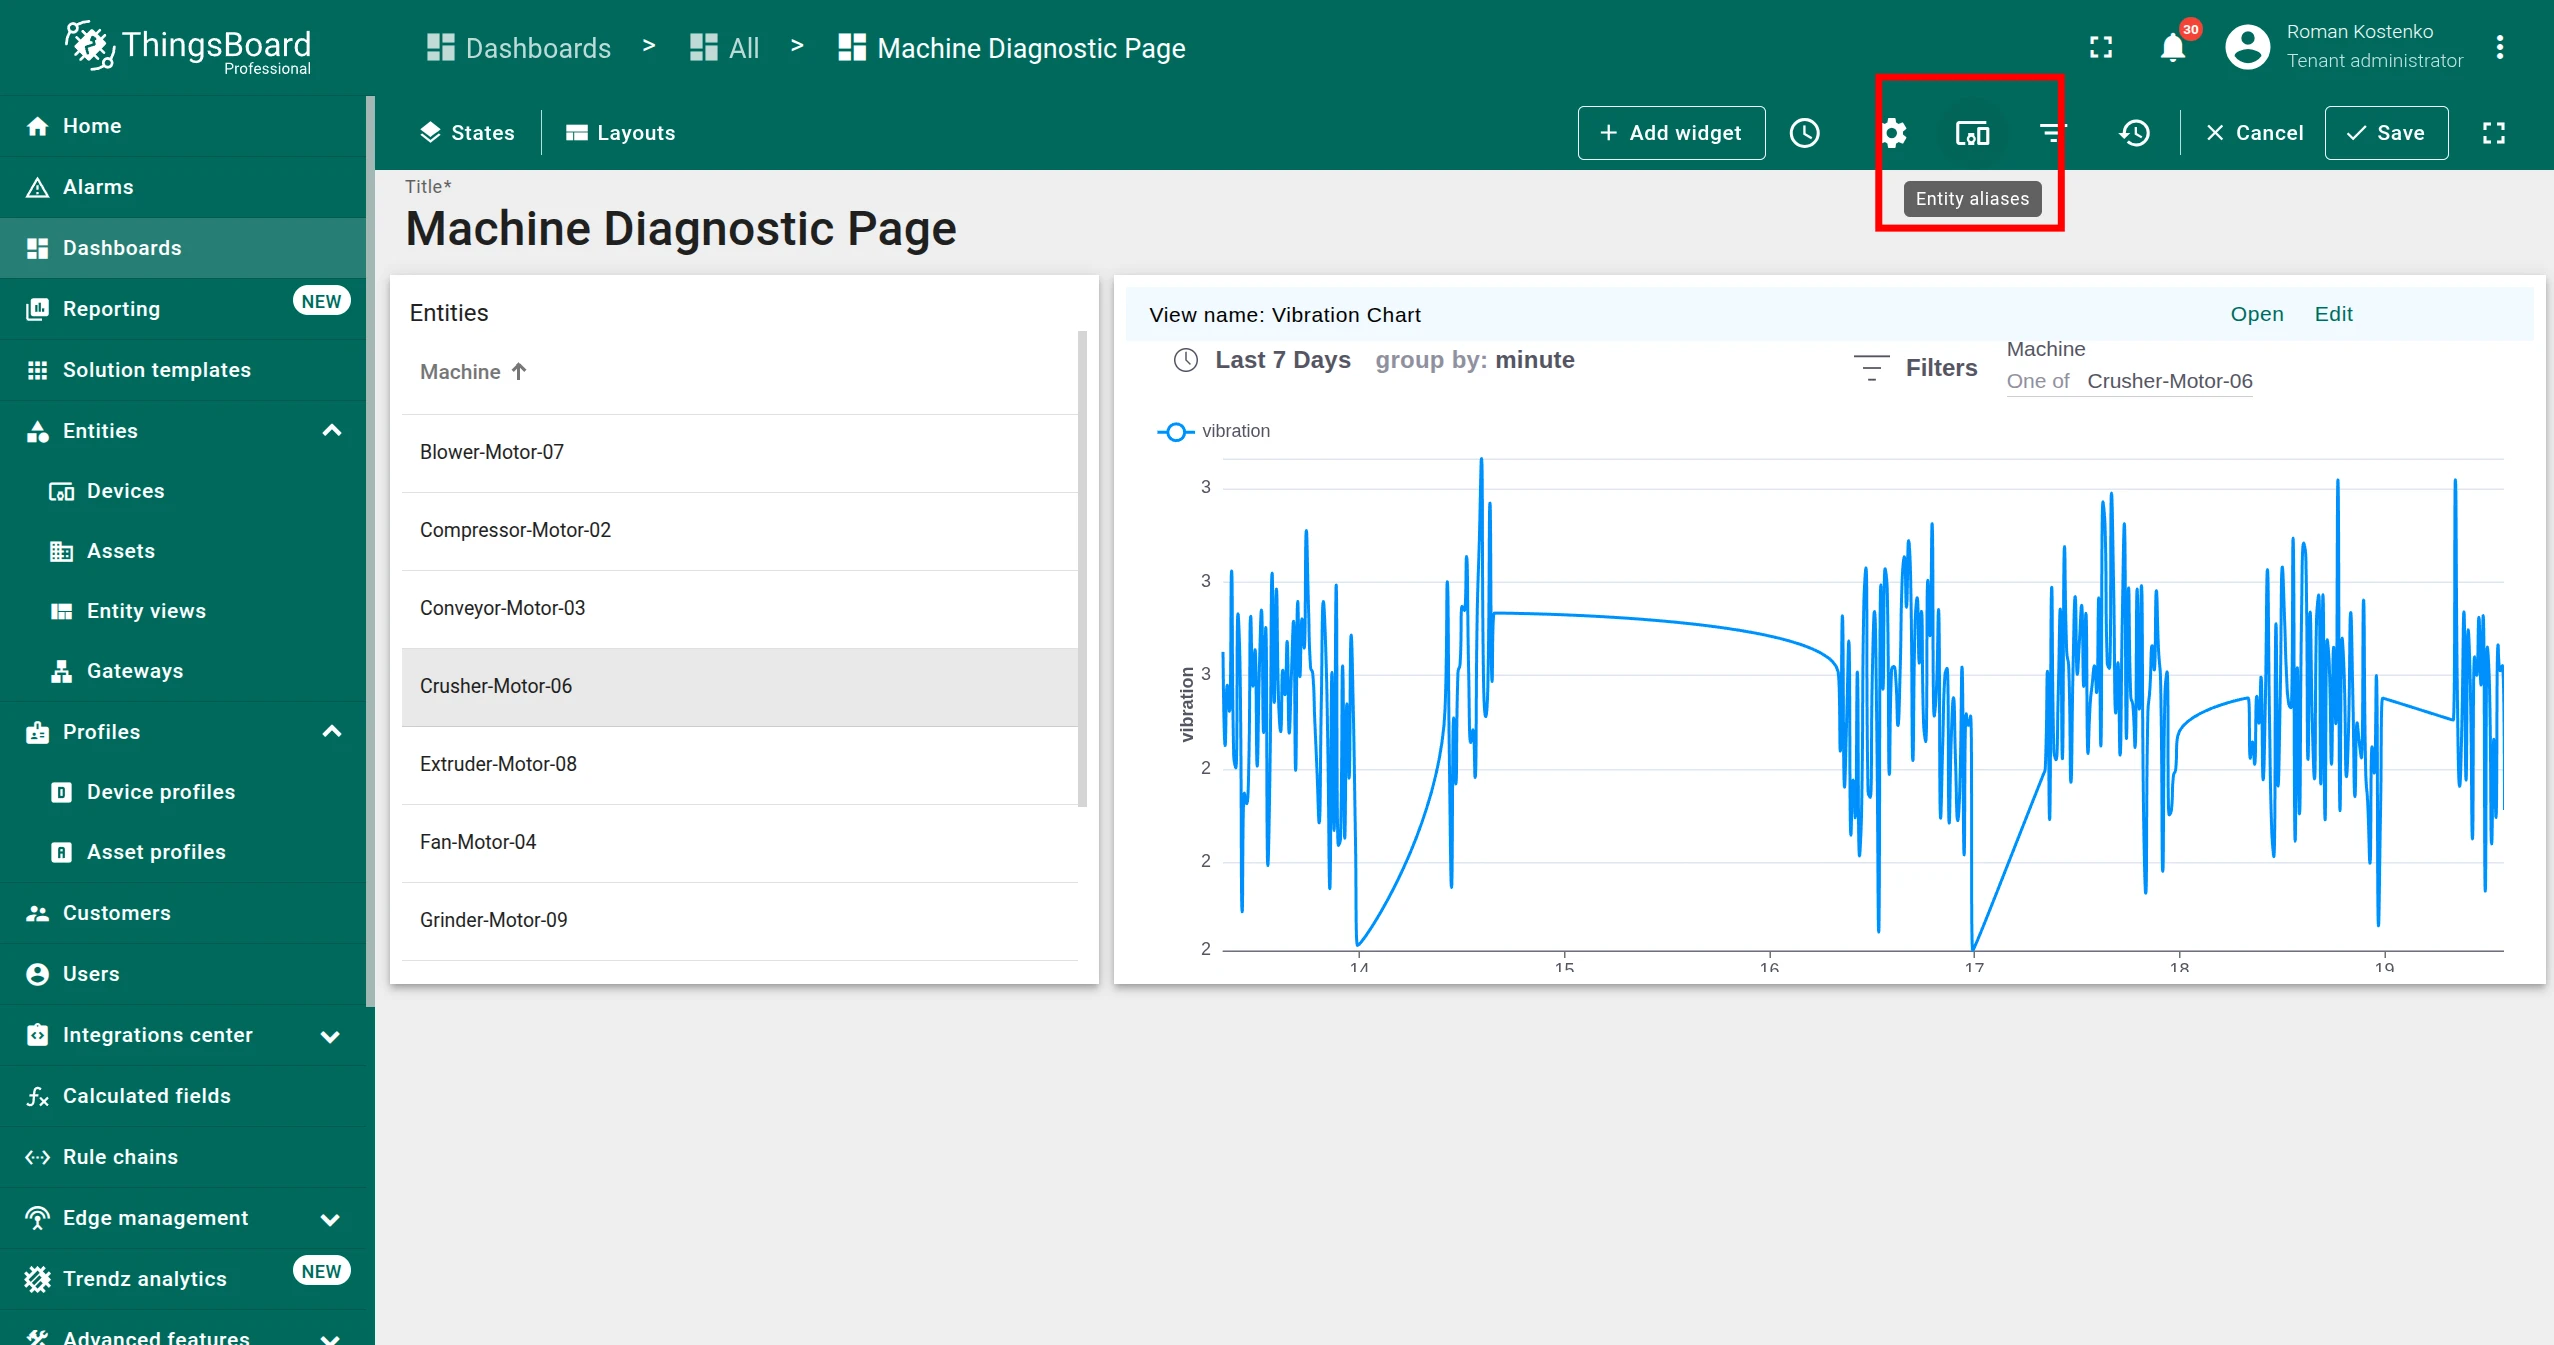
Section titled “Automatically created aliases”ThingsBoard created two aliases behind the scenes and connected them to the widgets. To inspect them, click Edit mode, then open Entity aliases in the toolbar.

To replace the Entities table with a different widget, or to connect the view to an alias that already exists in the dashboard, use Option 2.
Option 2 — Manual Configuration
Section titled “Option 2 — Manual Configuration”Use this approach when you need to connect the Trendz view to an existing alias, use a different entity-selection widget, or want full control over the dashboard setup.
Configure ThingsBoard aliases
Section titled “Configure ThingsBoard aliases”-
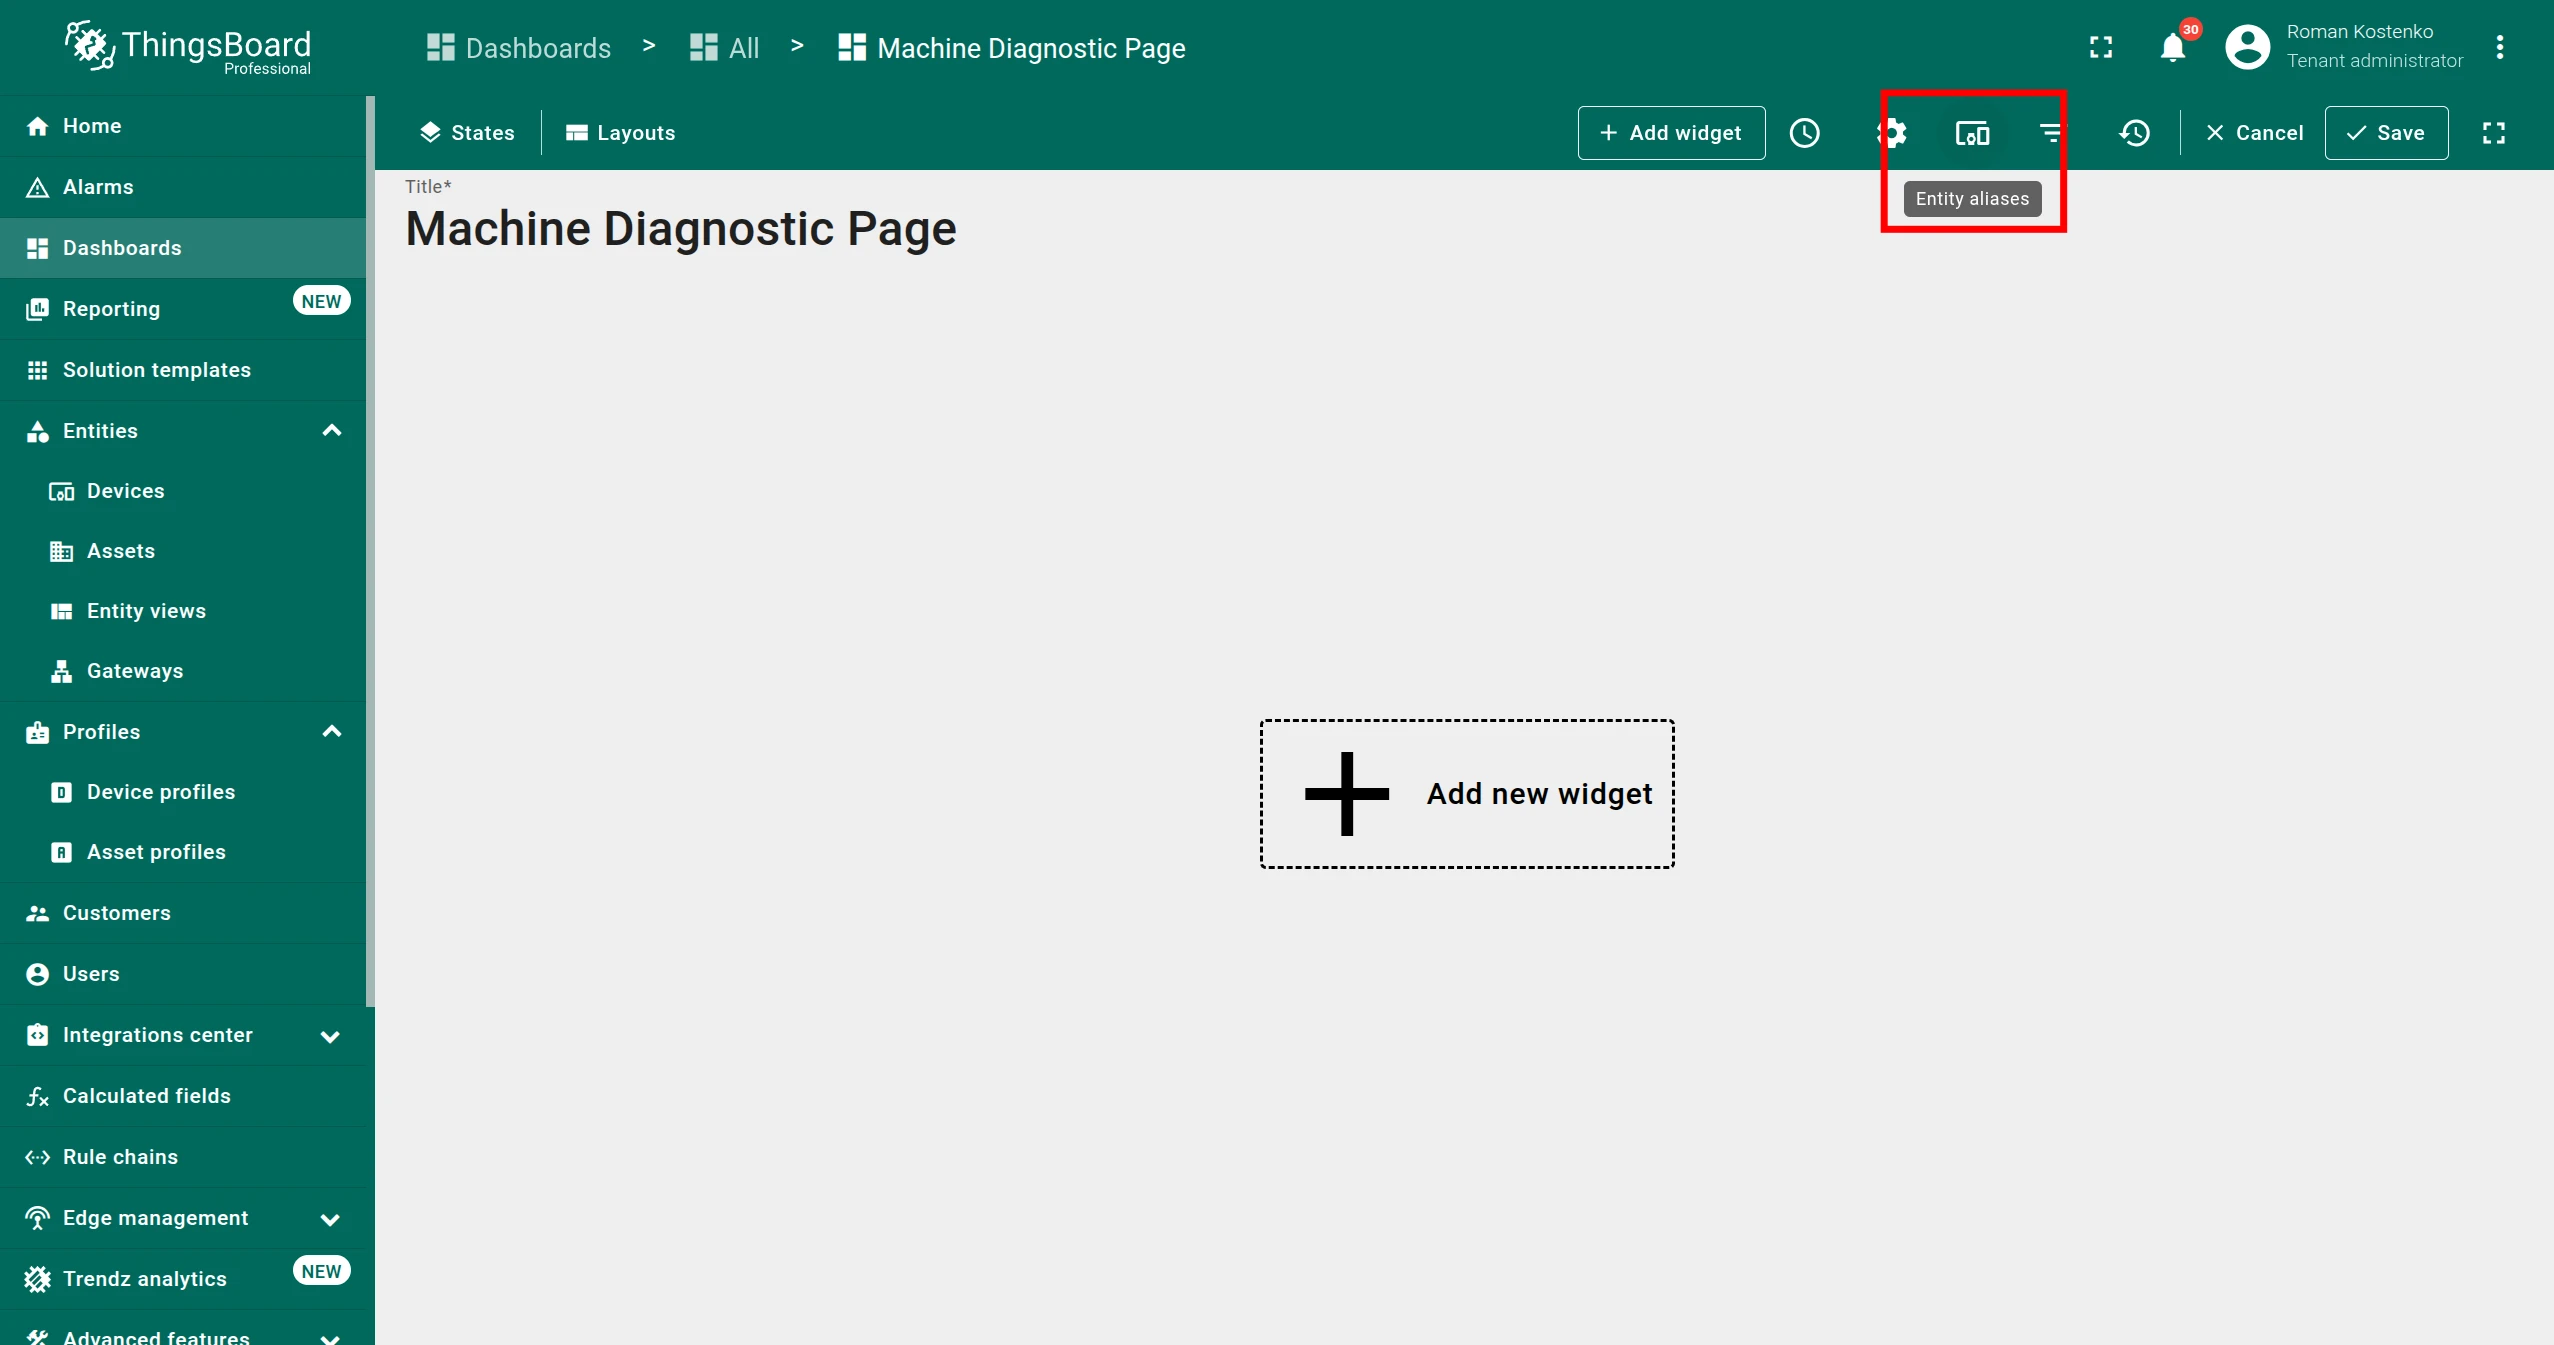
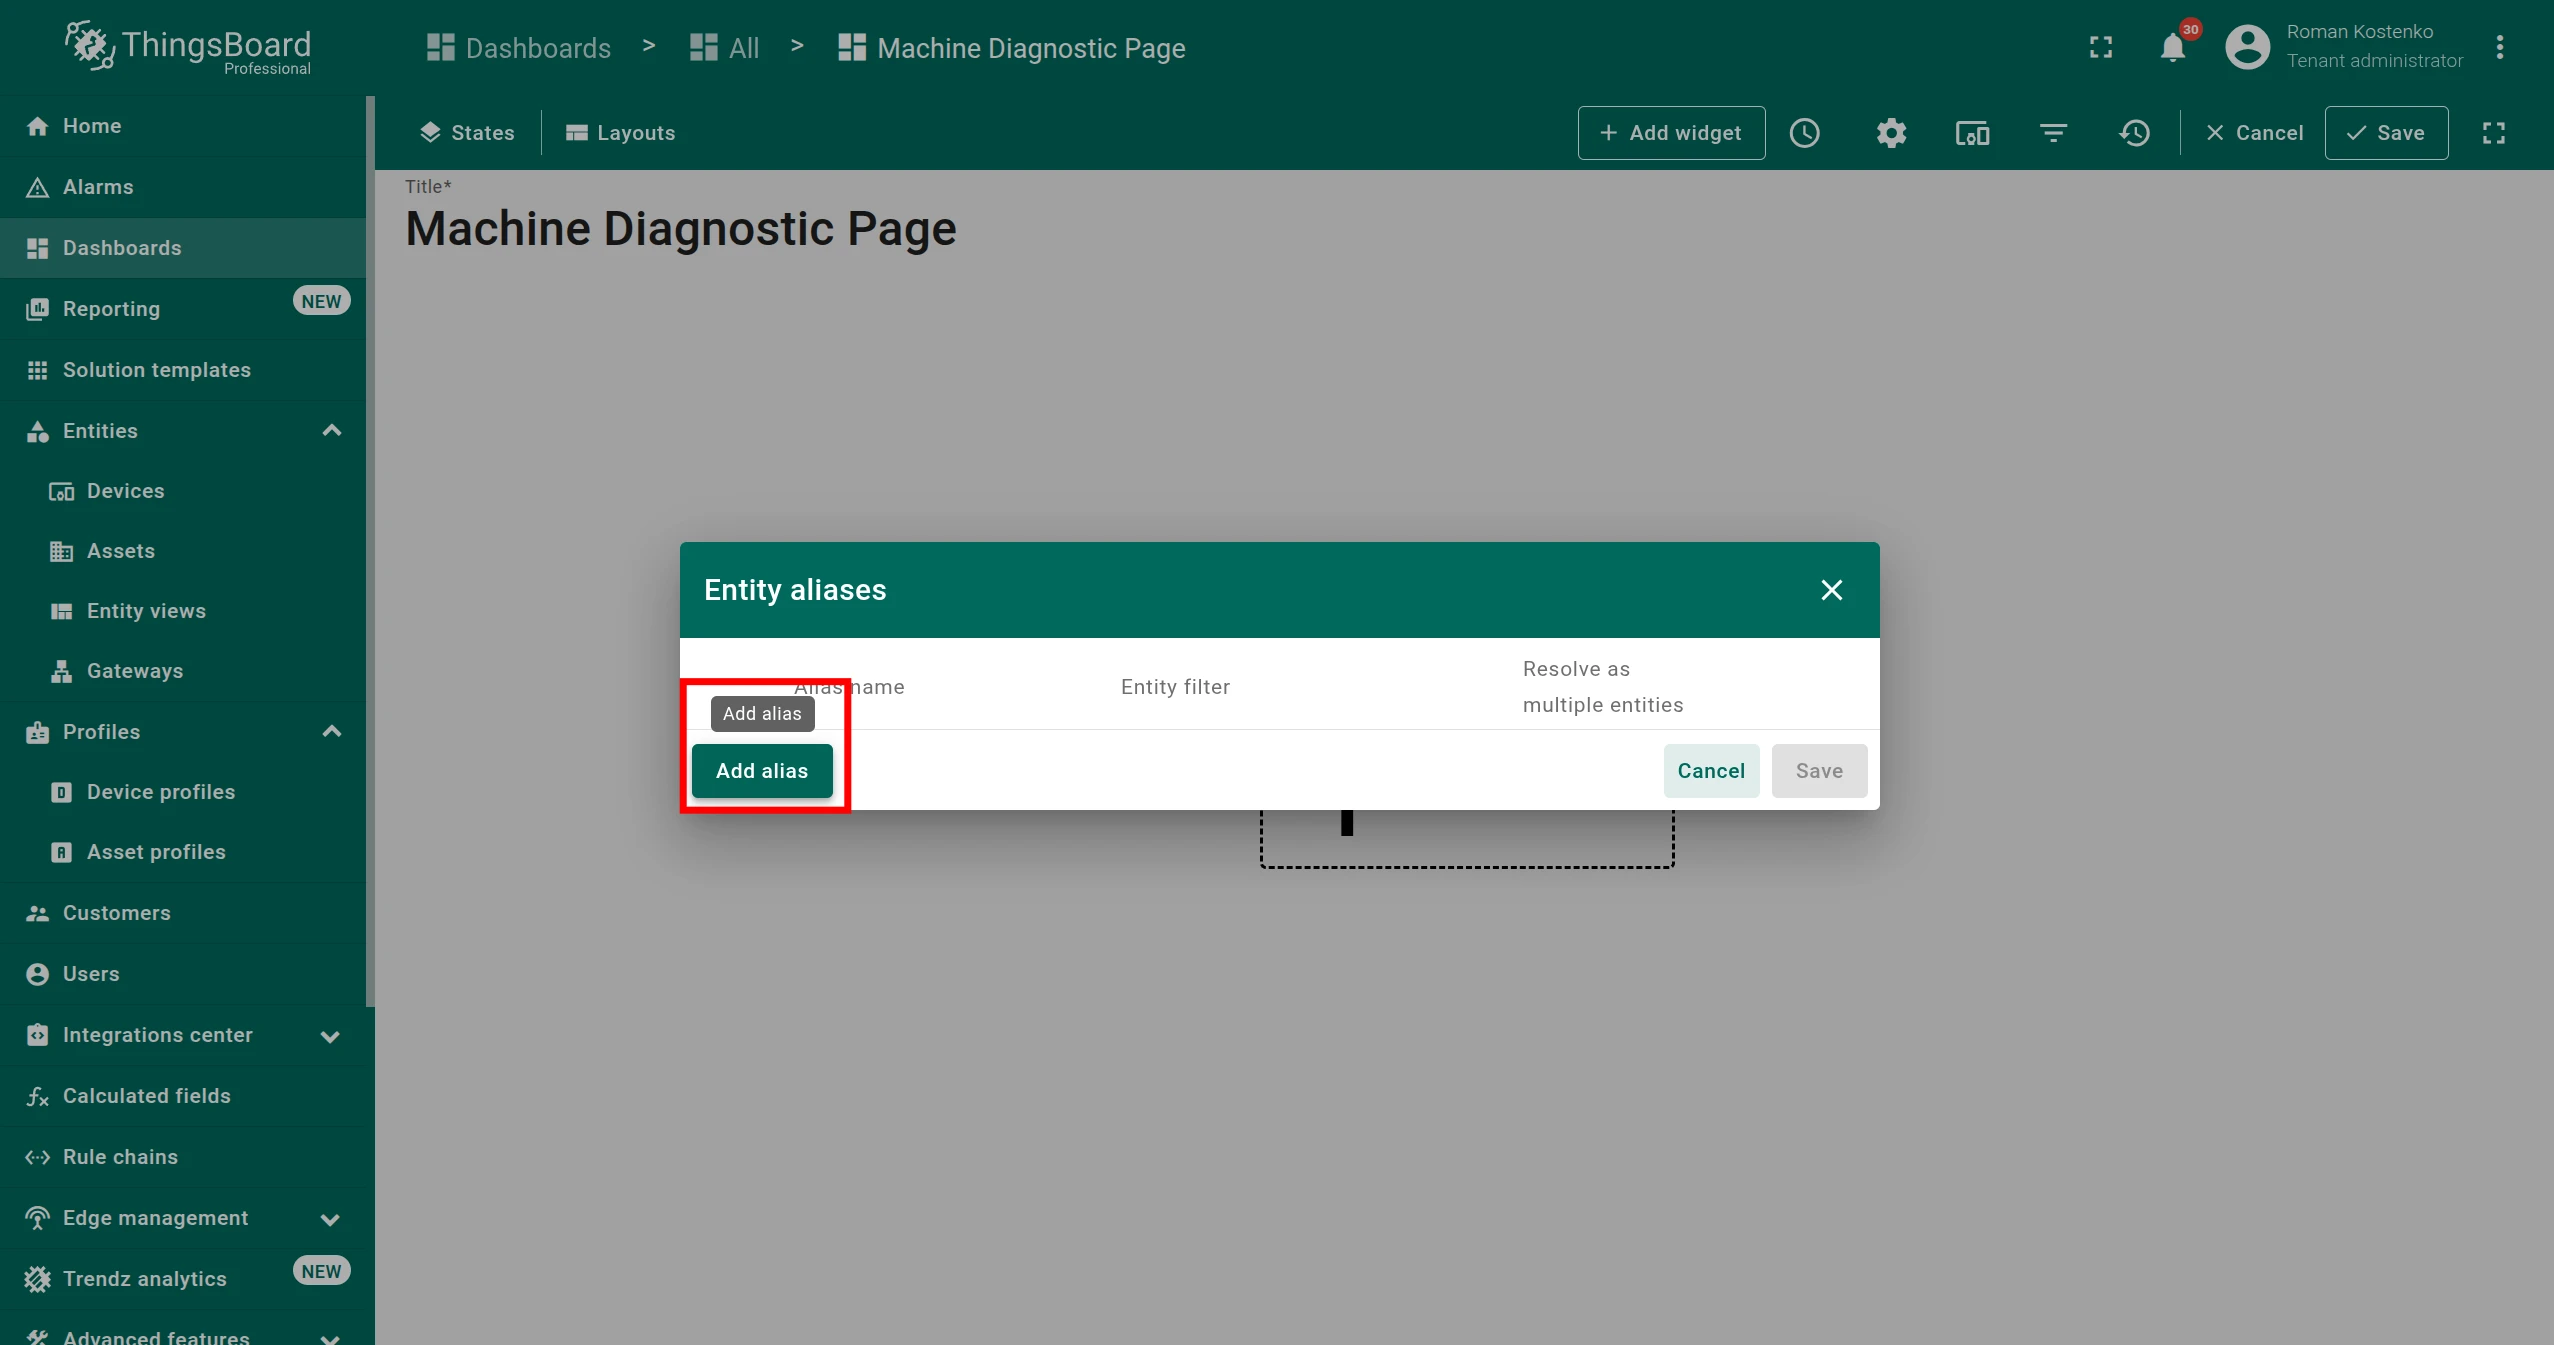
Open the dashboard in edit mode and click Entity aliases in the toolbar.
-
Click Add alias to create the first alias.
-
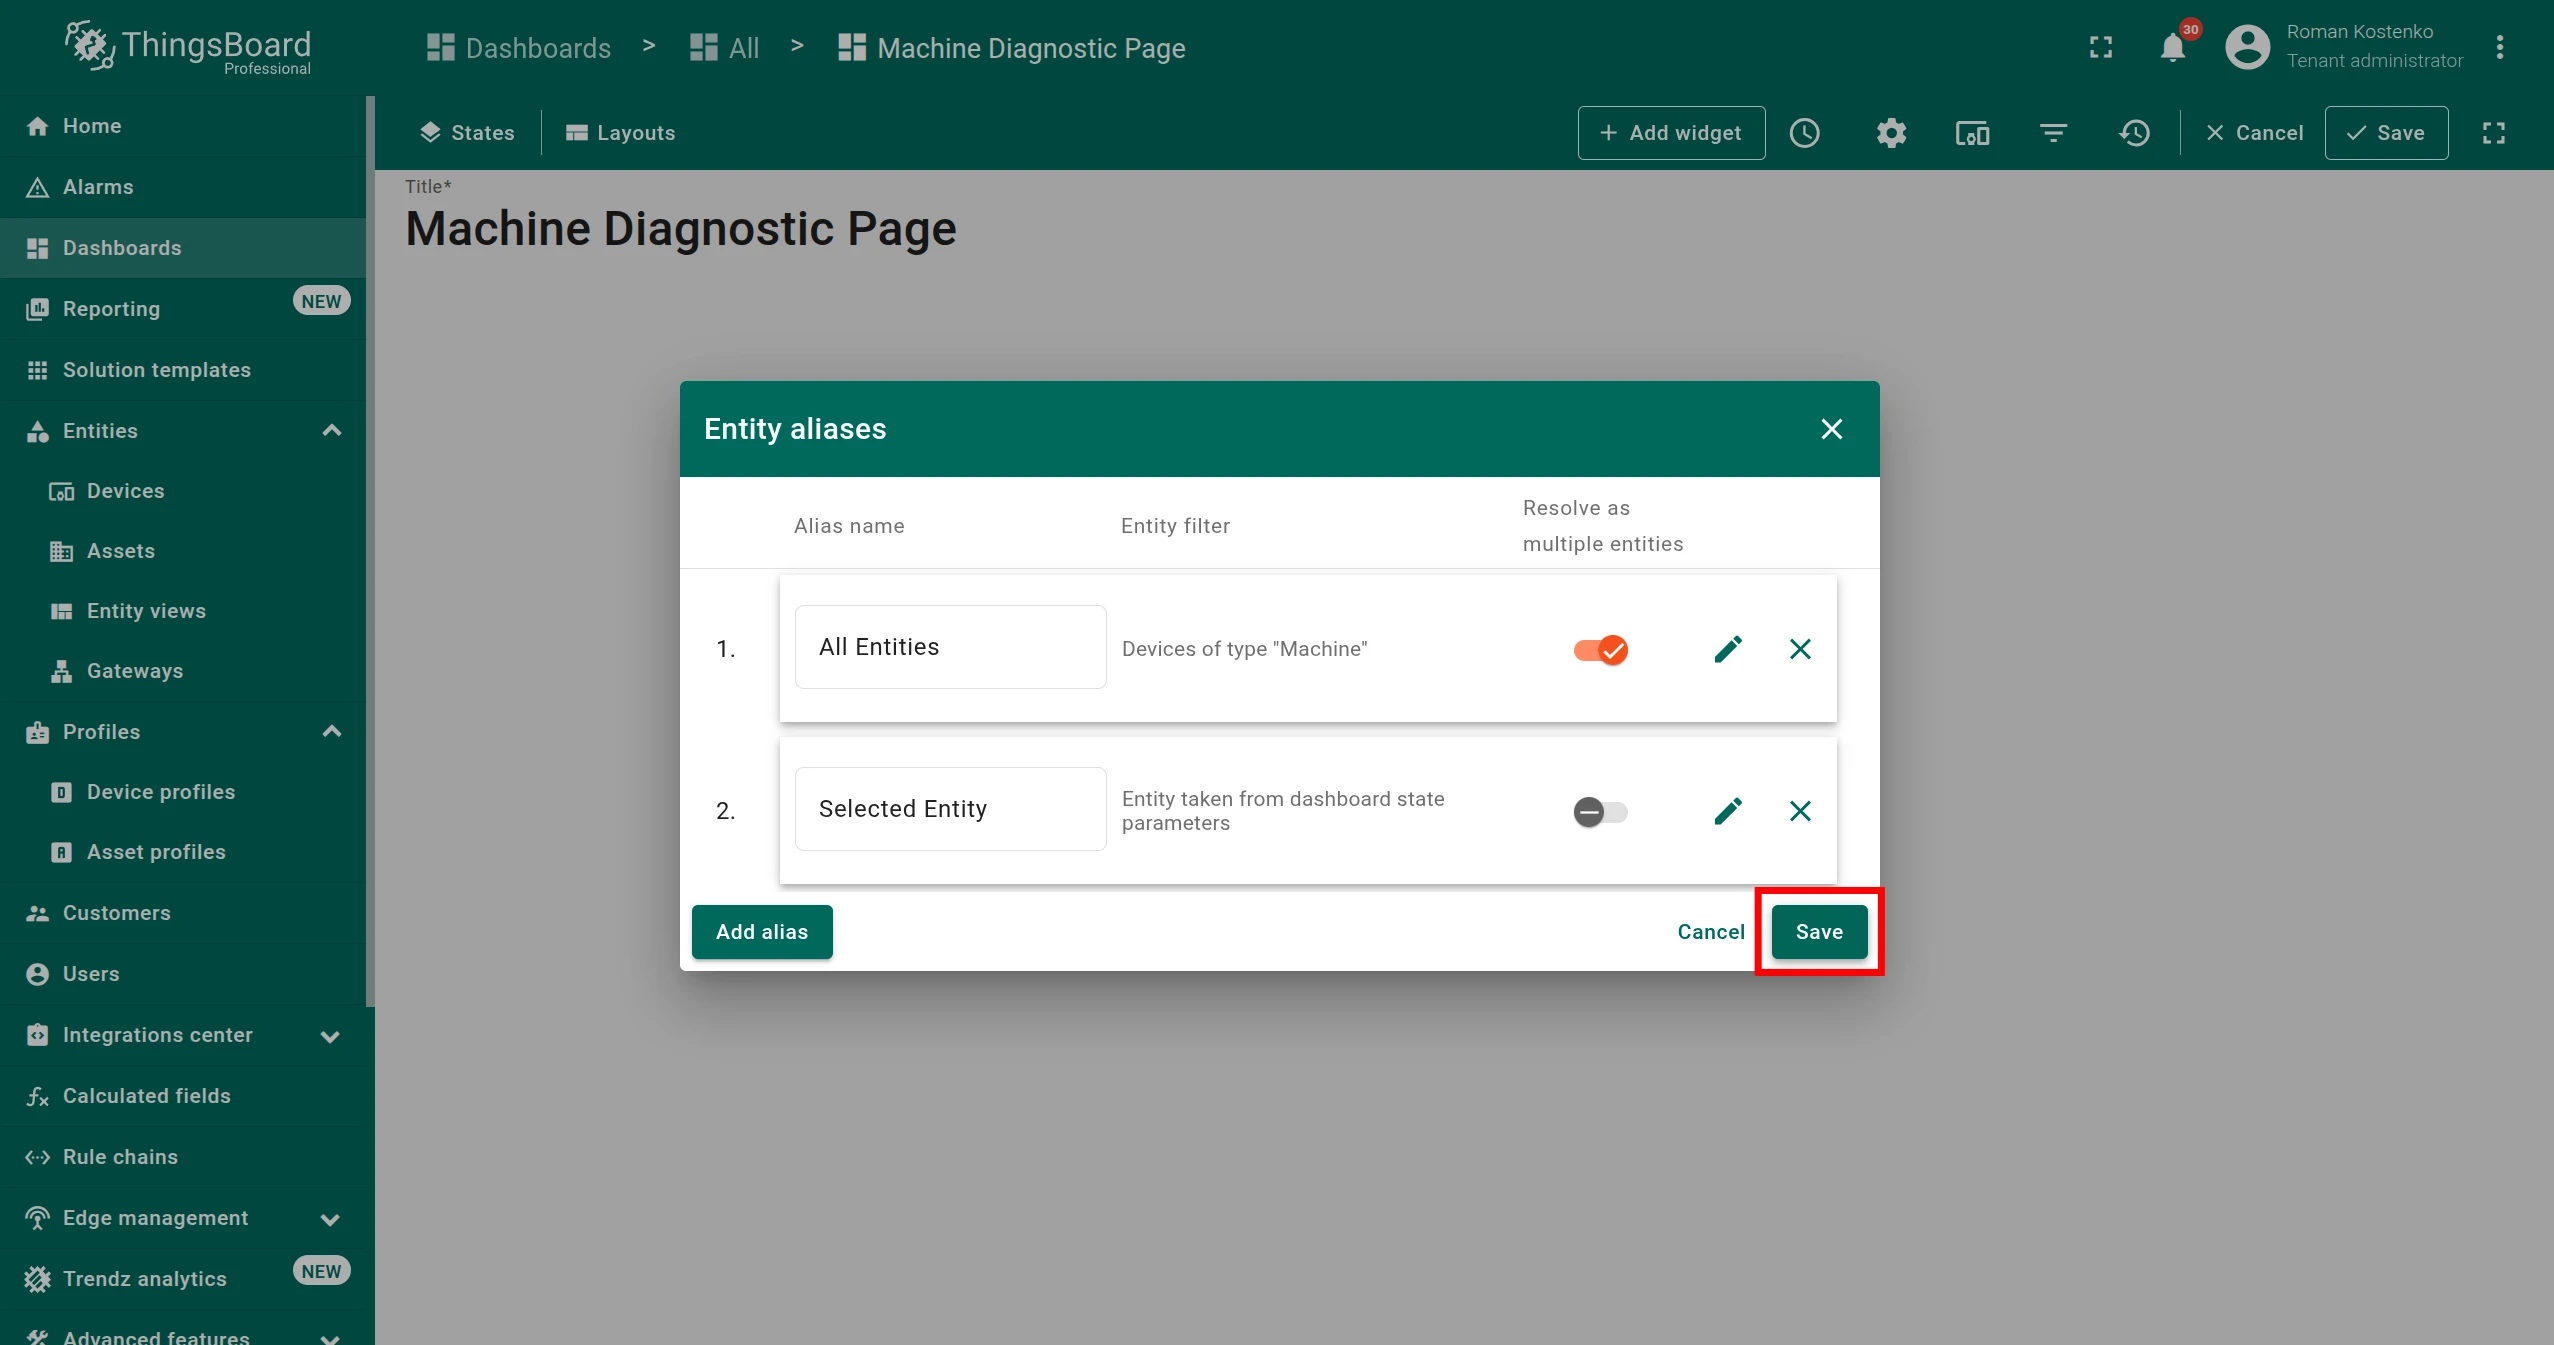
Name it All Entities, set Filter type to Device type, and select Machine as the device type. Click Add.
-
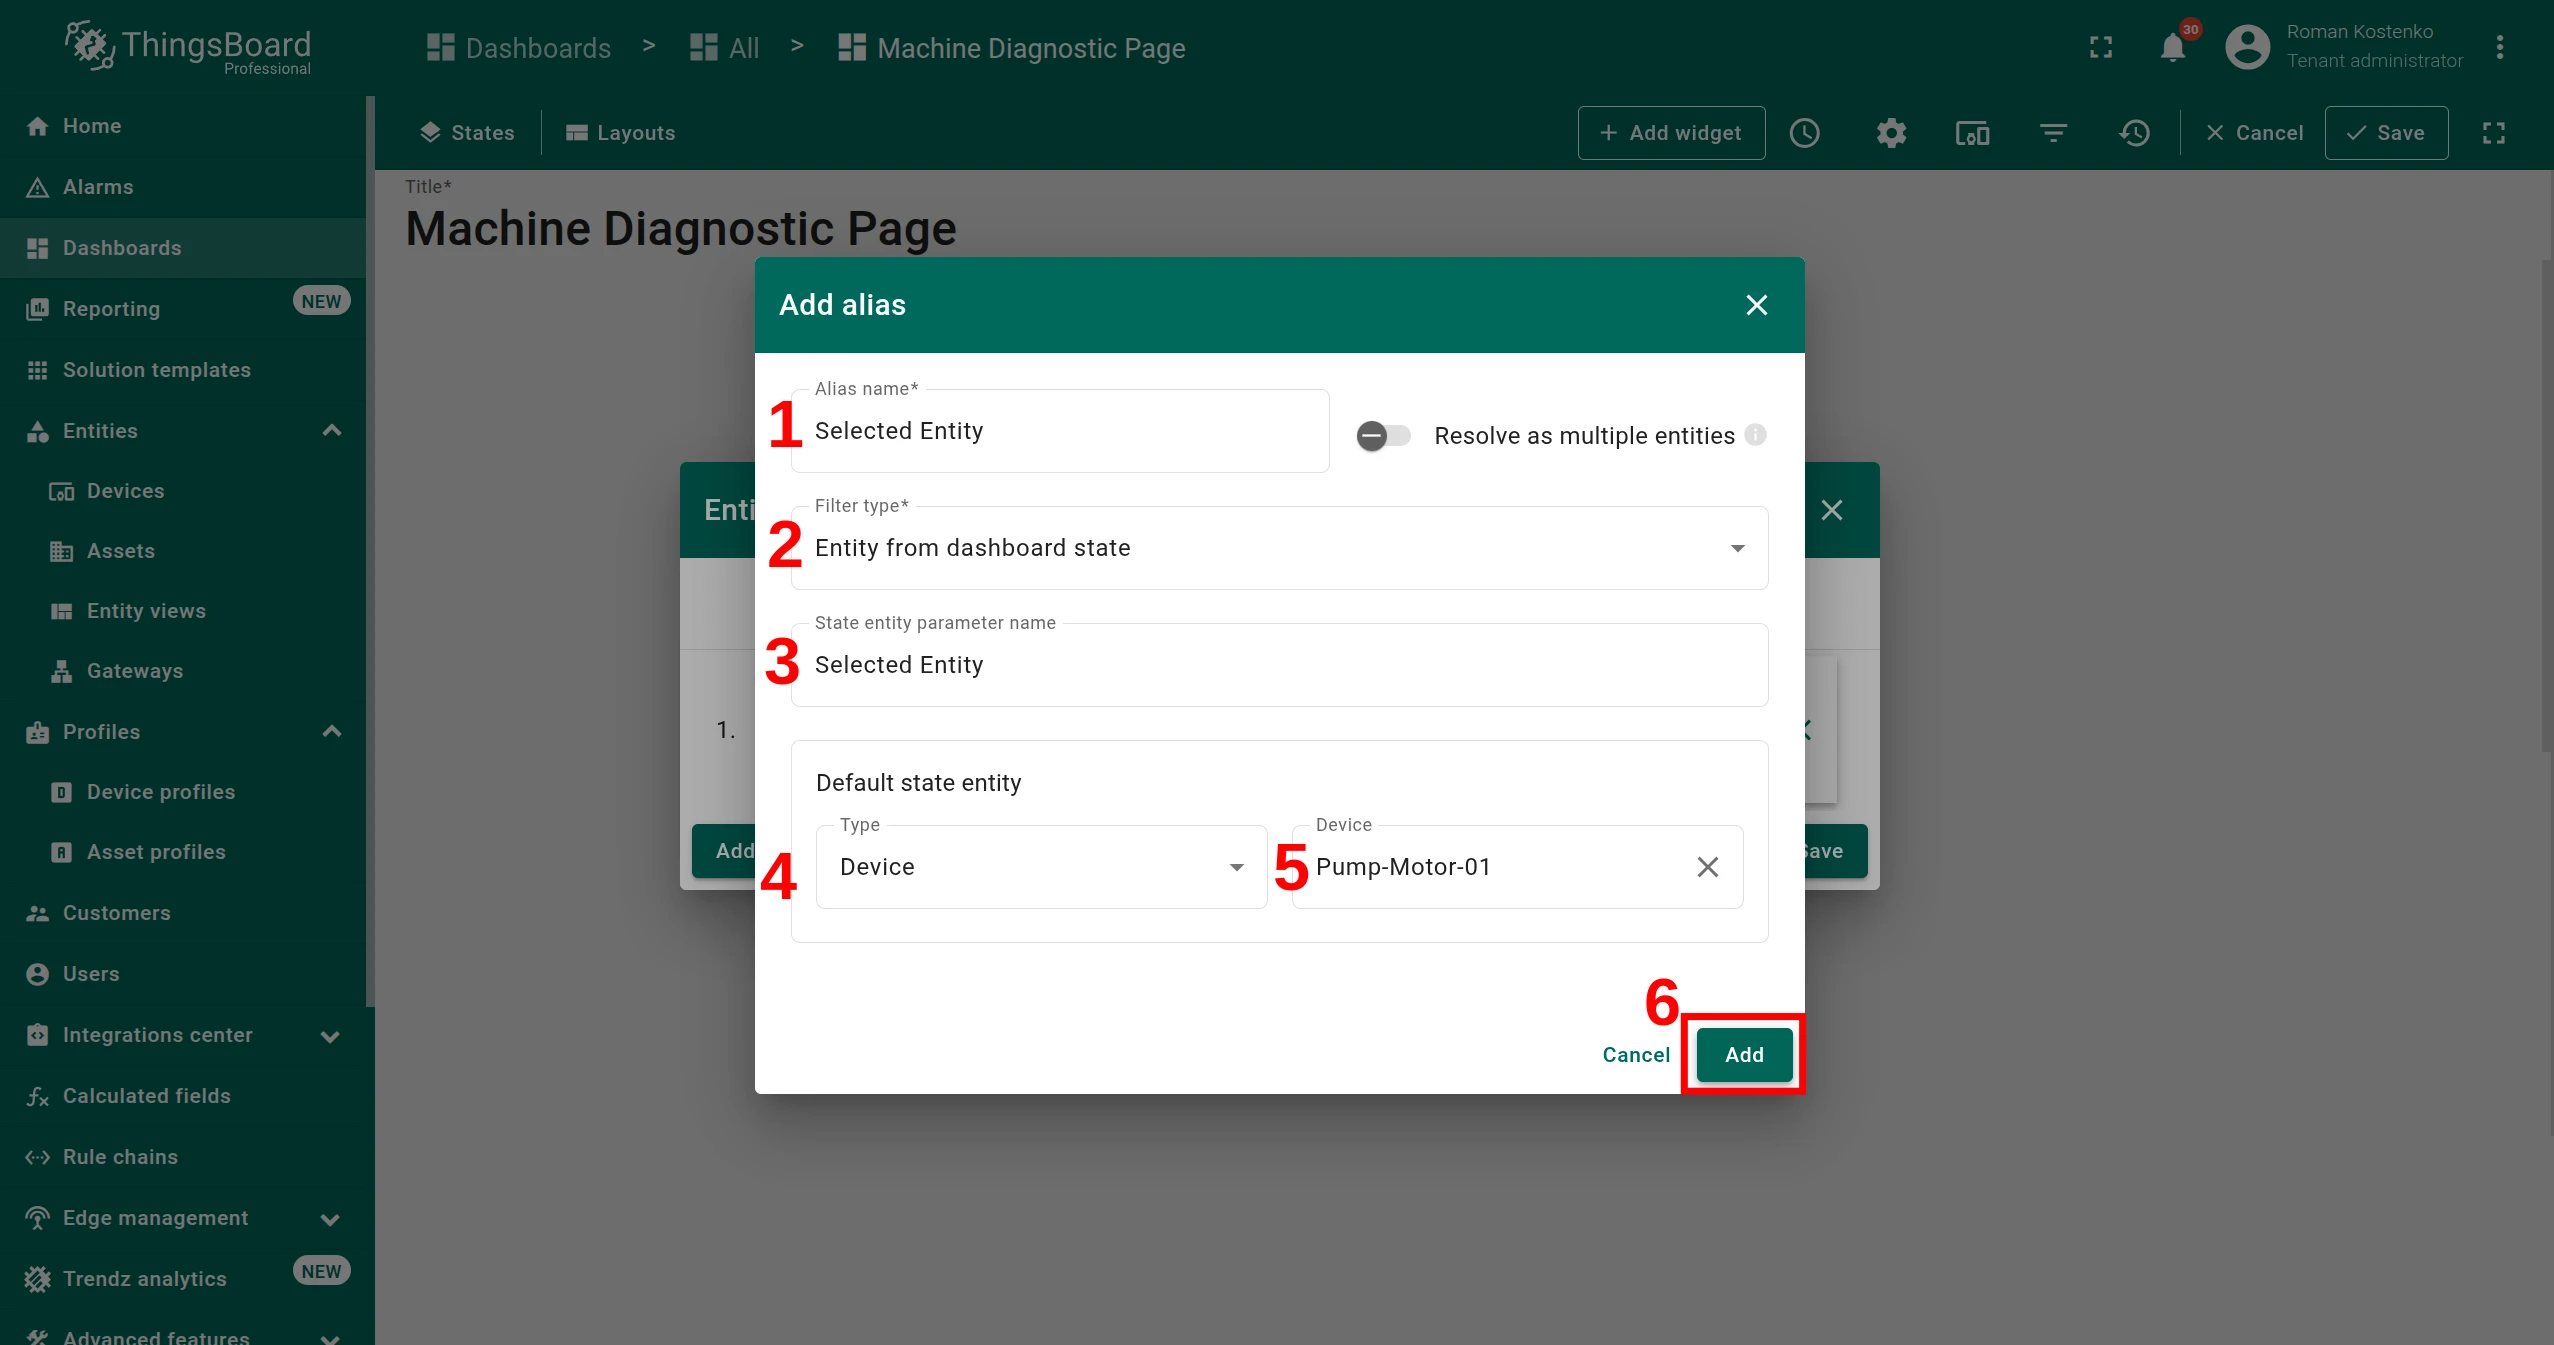
Click Add alias again. Name it Selected Entity, set Filter type to Entity from dashboard state, and enter Selected Entity as the state entity parameter name. Click Add.
-
Click Save to apply both aliases.

Add the Entities table widget
Section titled “Add the Entities table widget”-
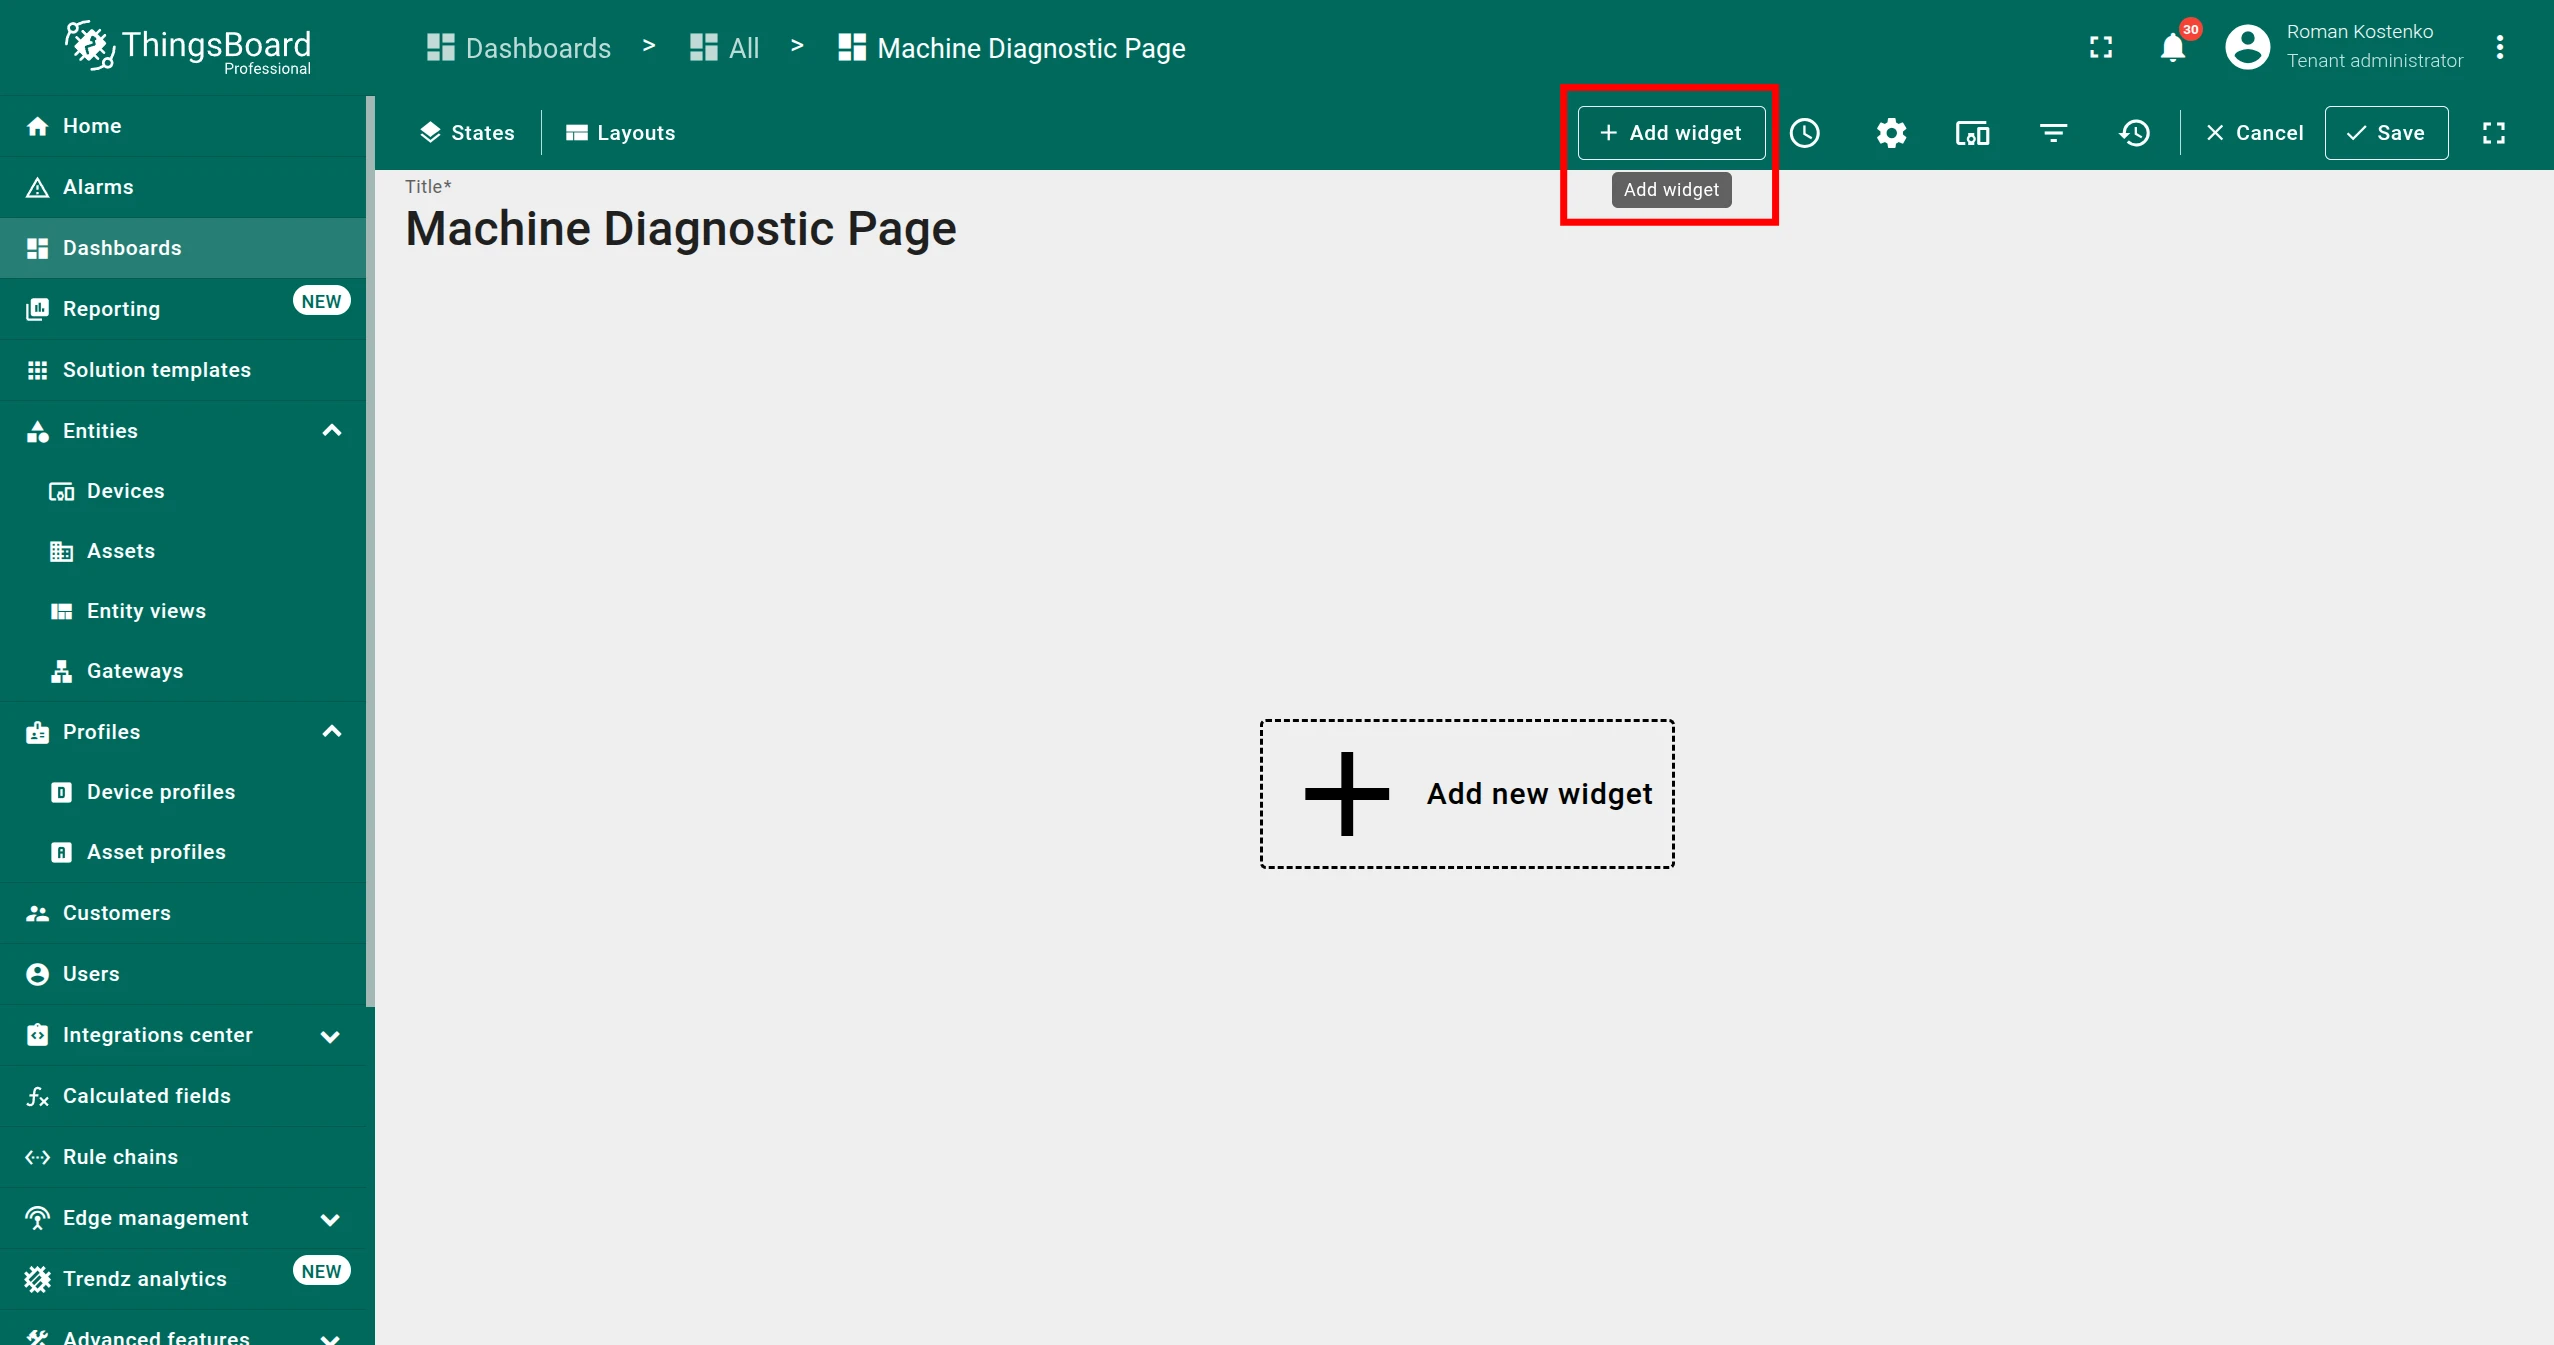
Click Add widget (+) in the dashboard toolbar.
-
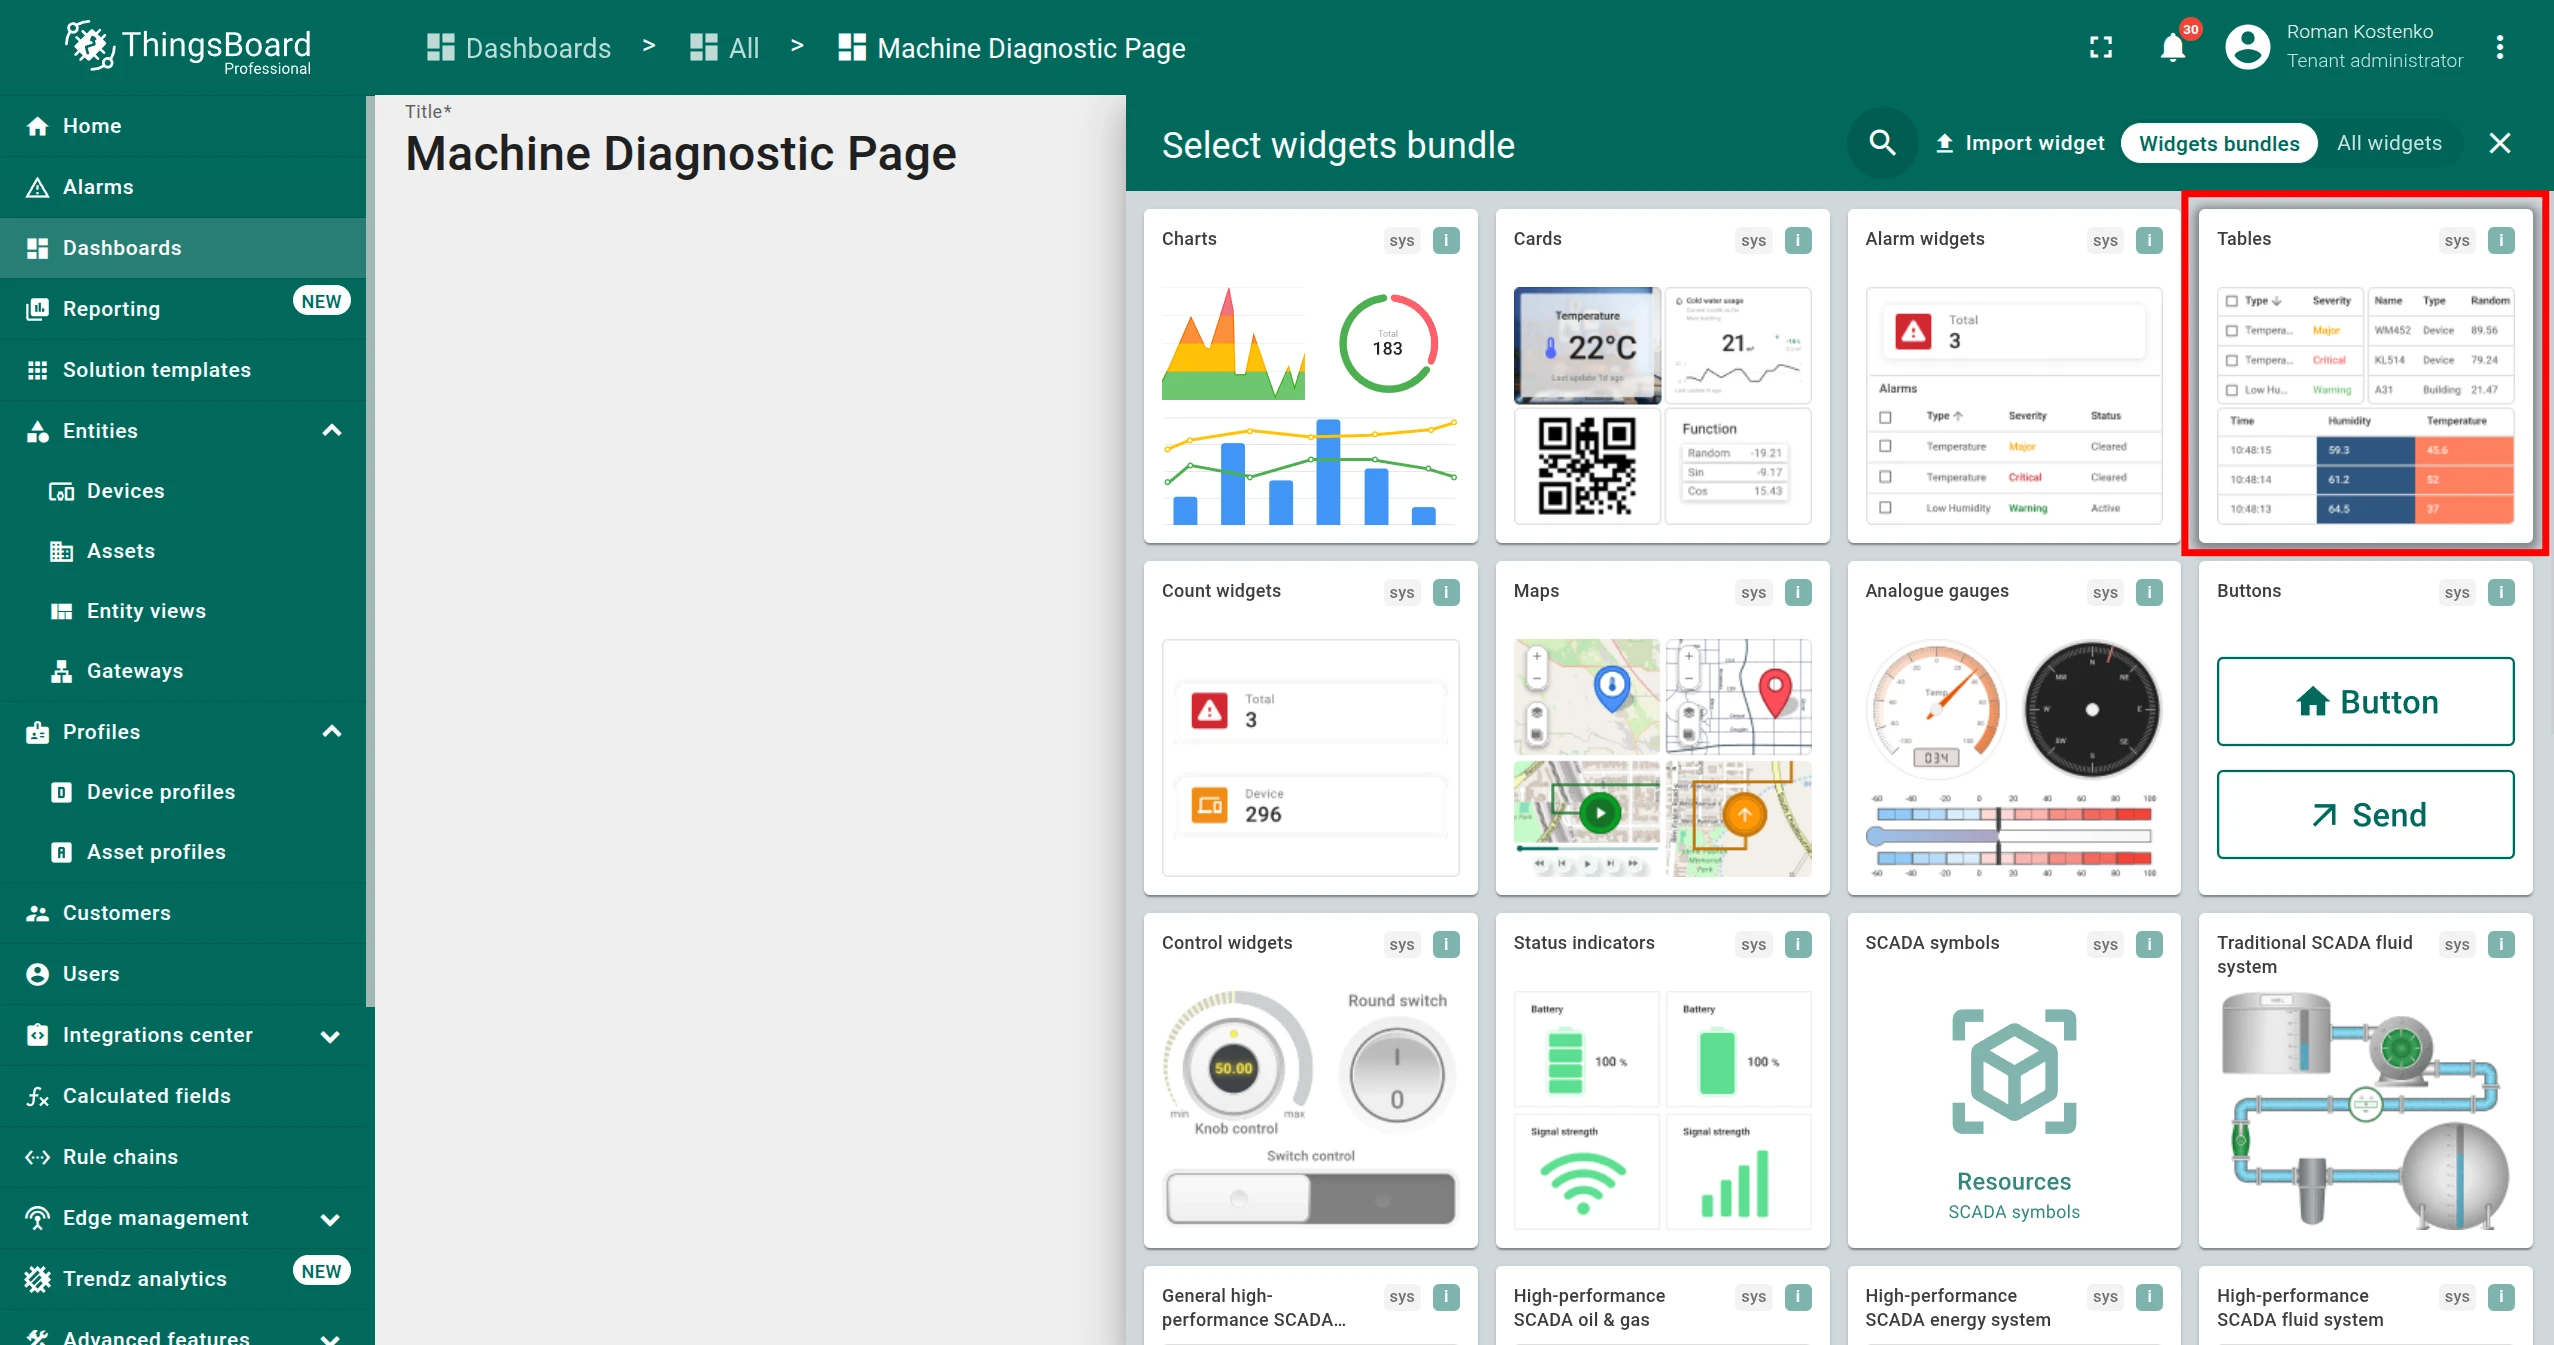
Select the Tables bundle.
-
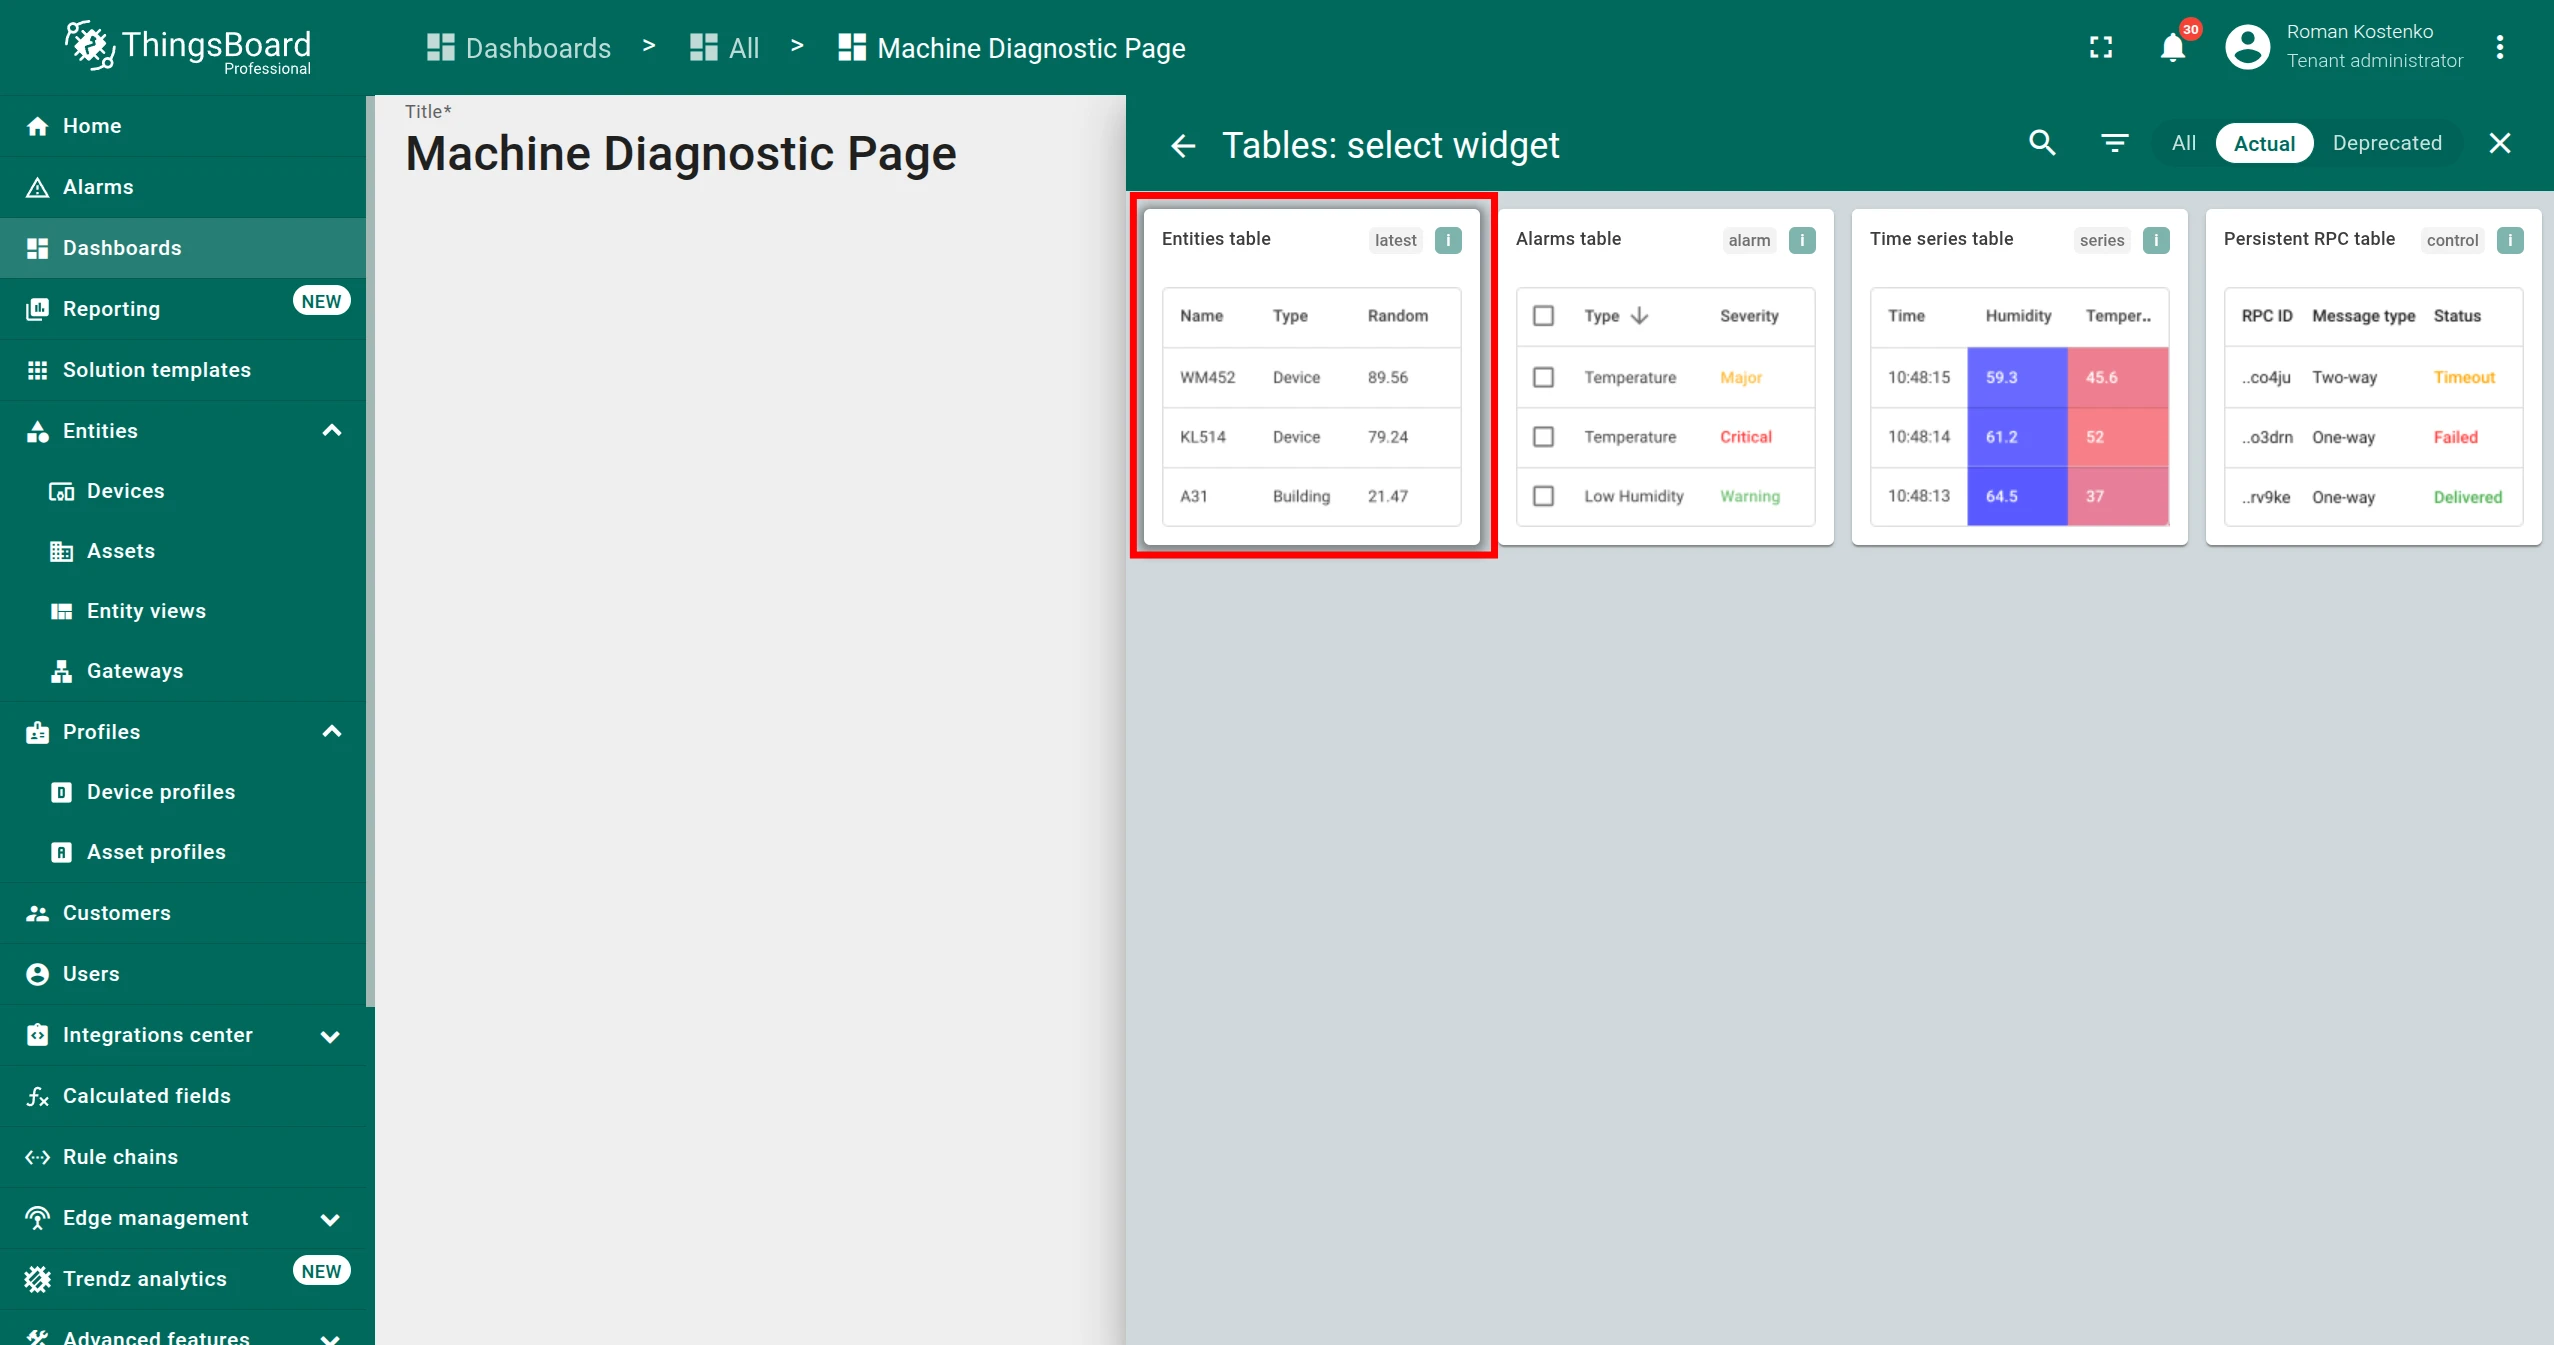
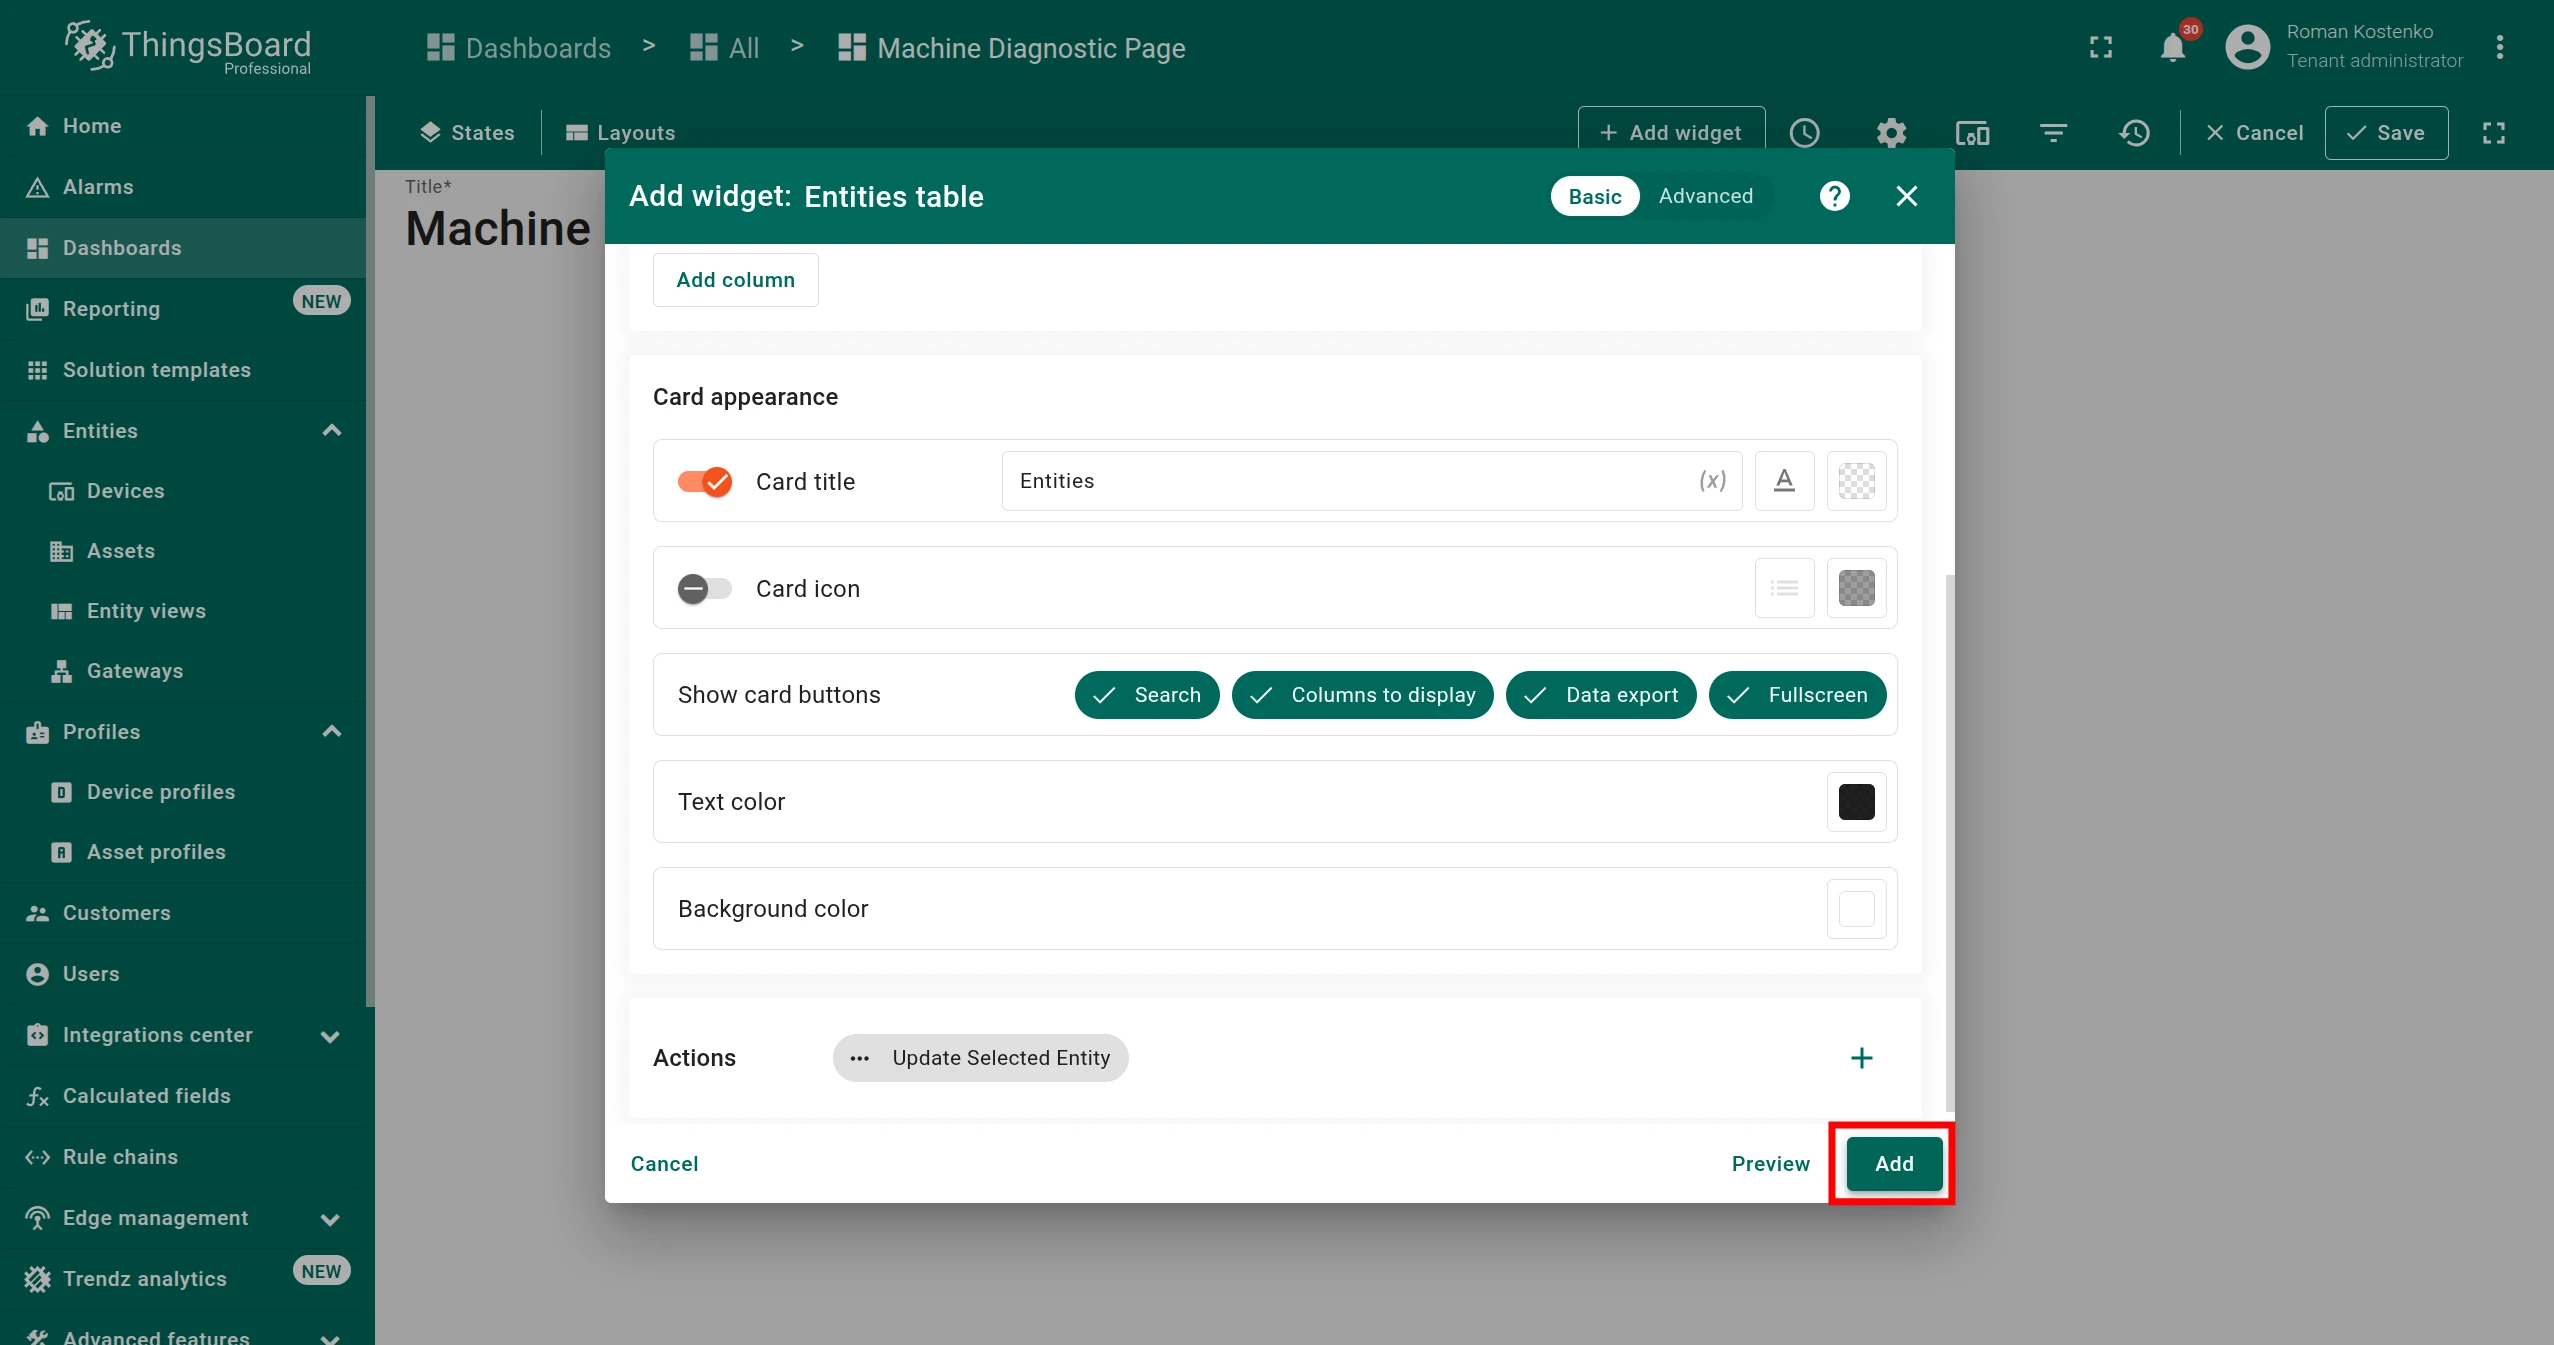
Select Entities table.
-
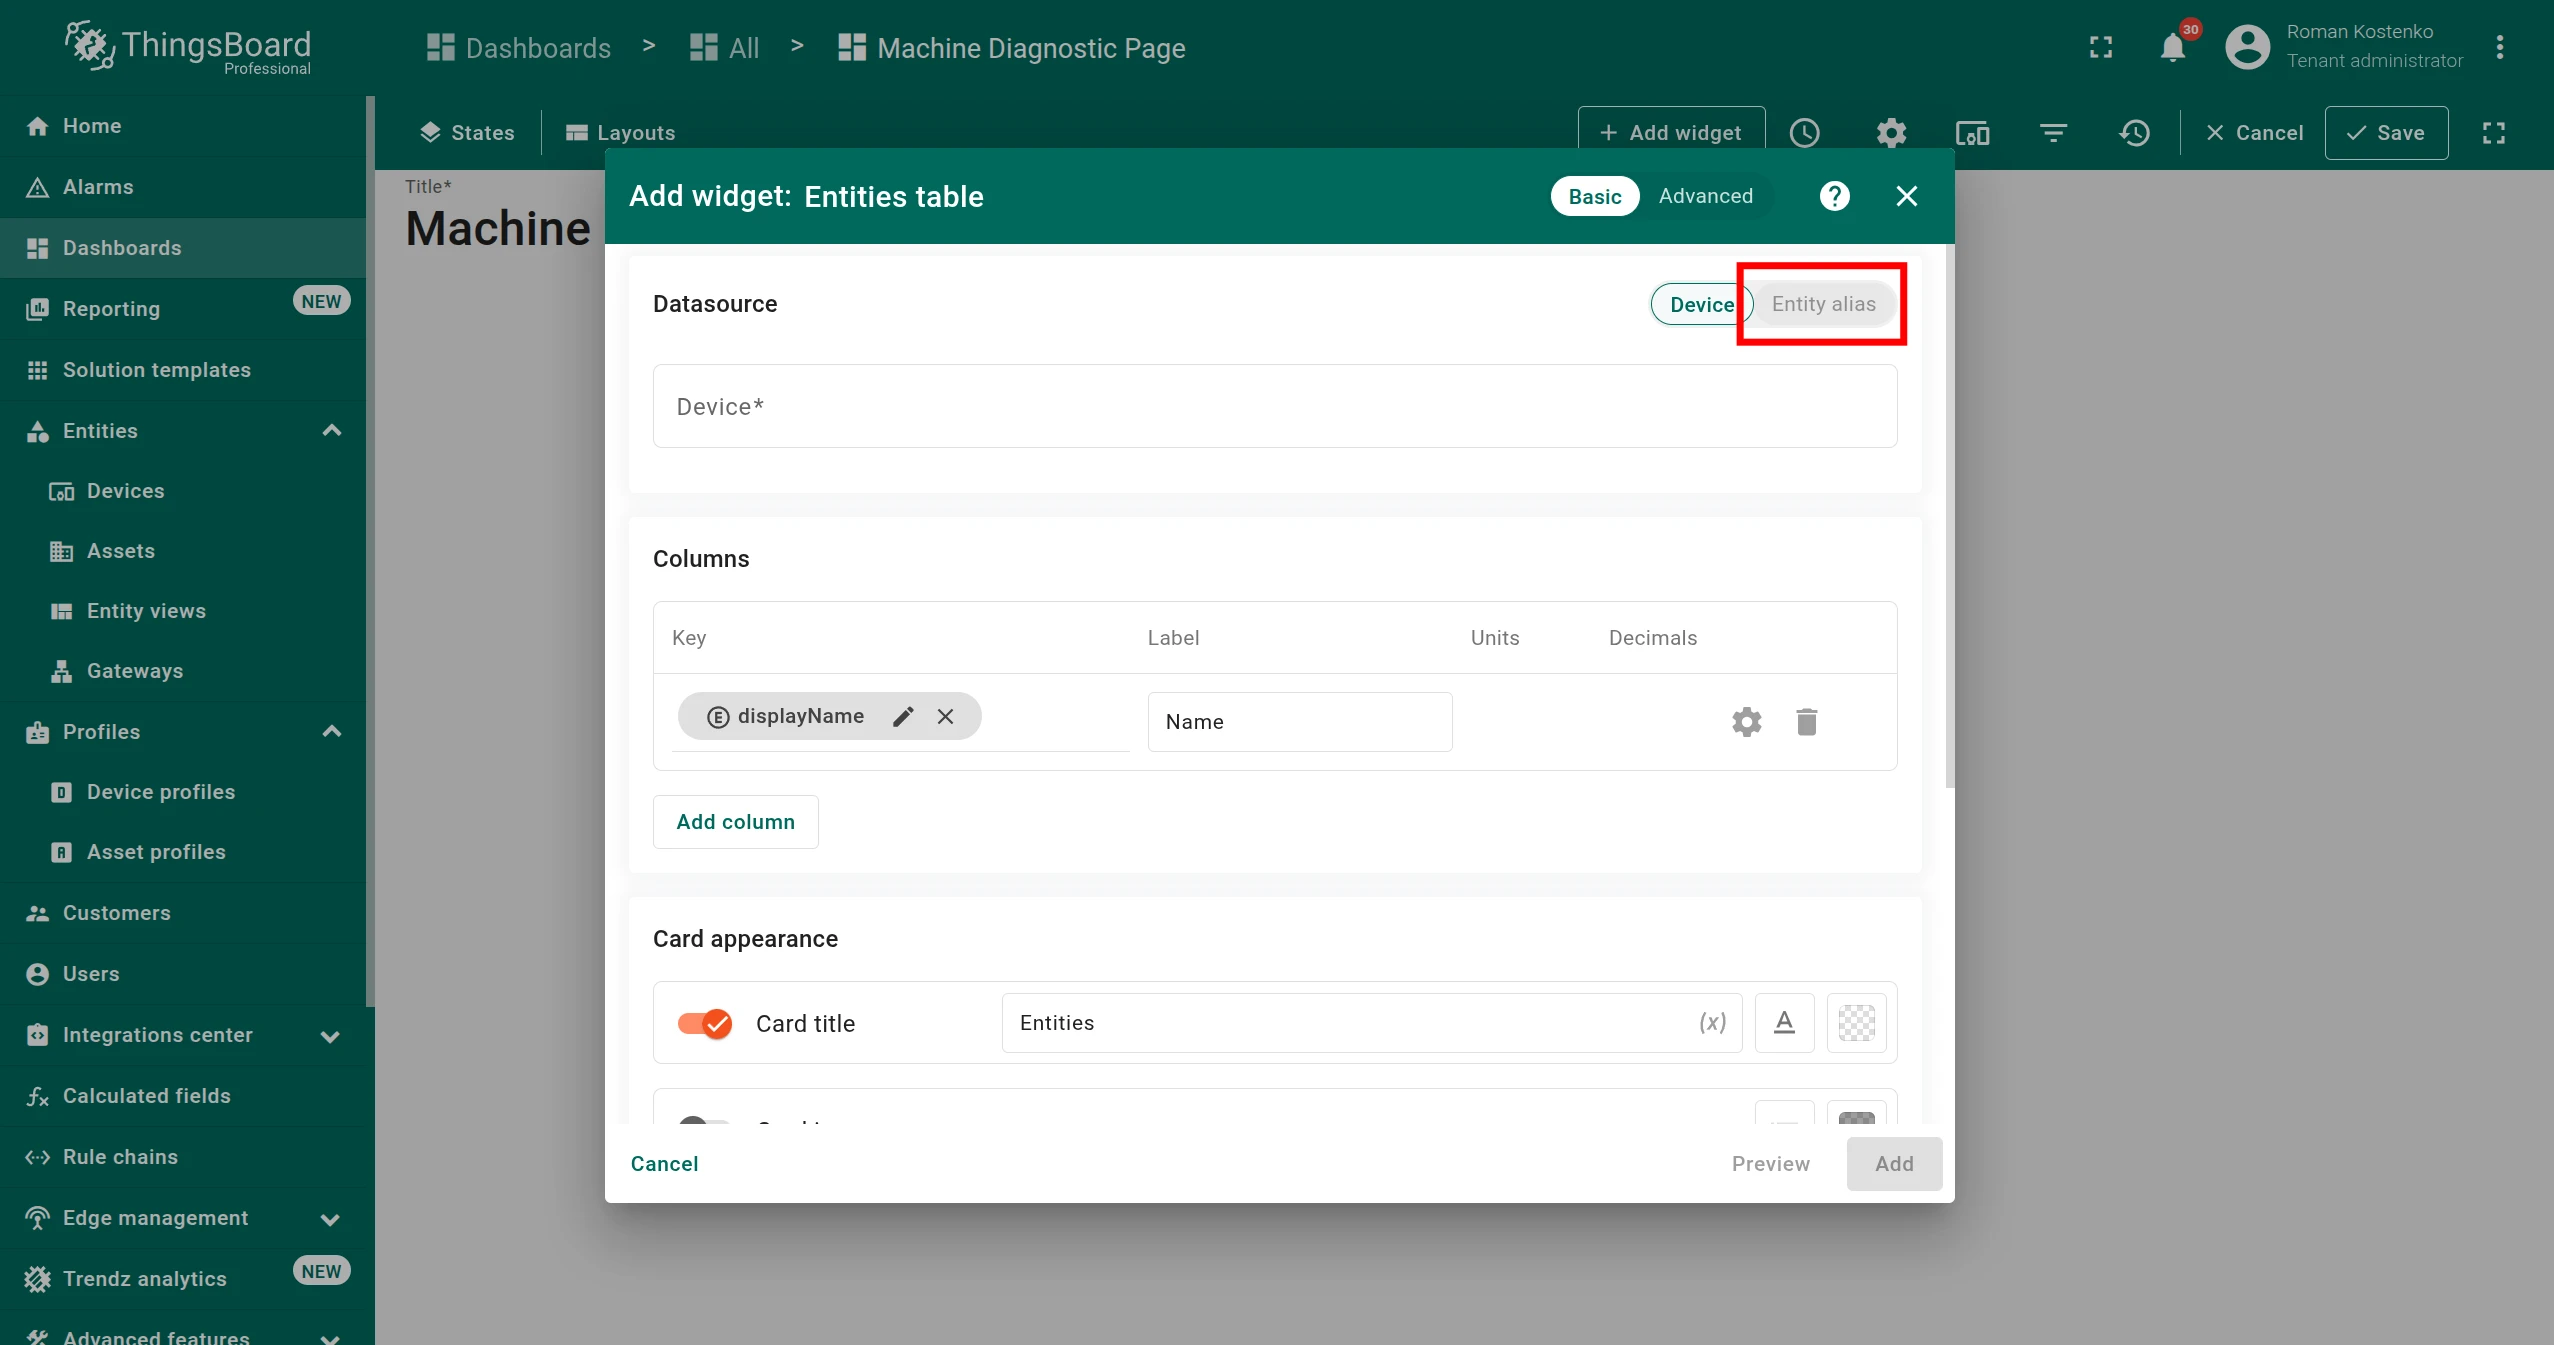
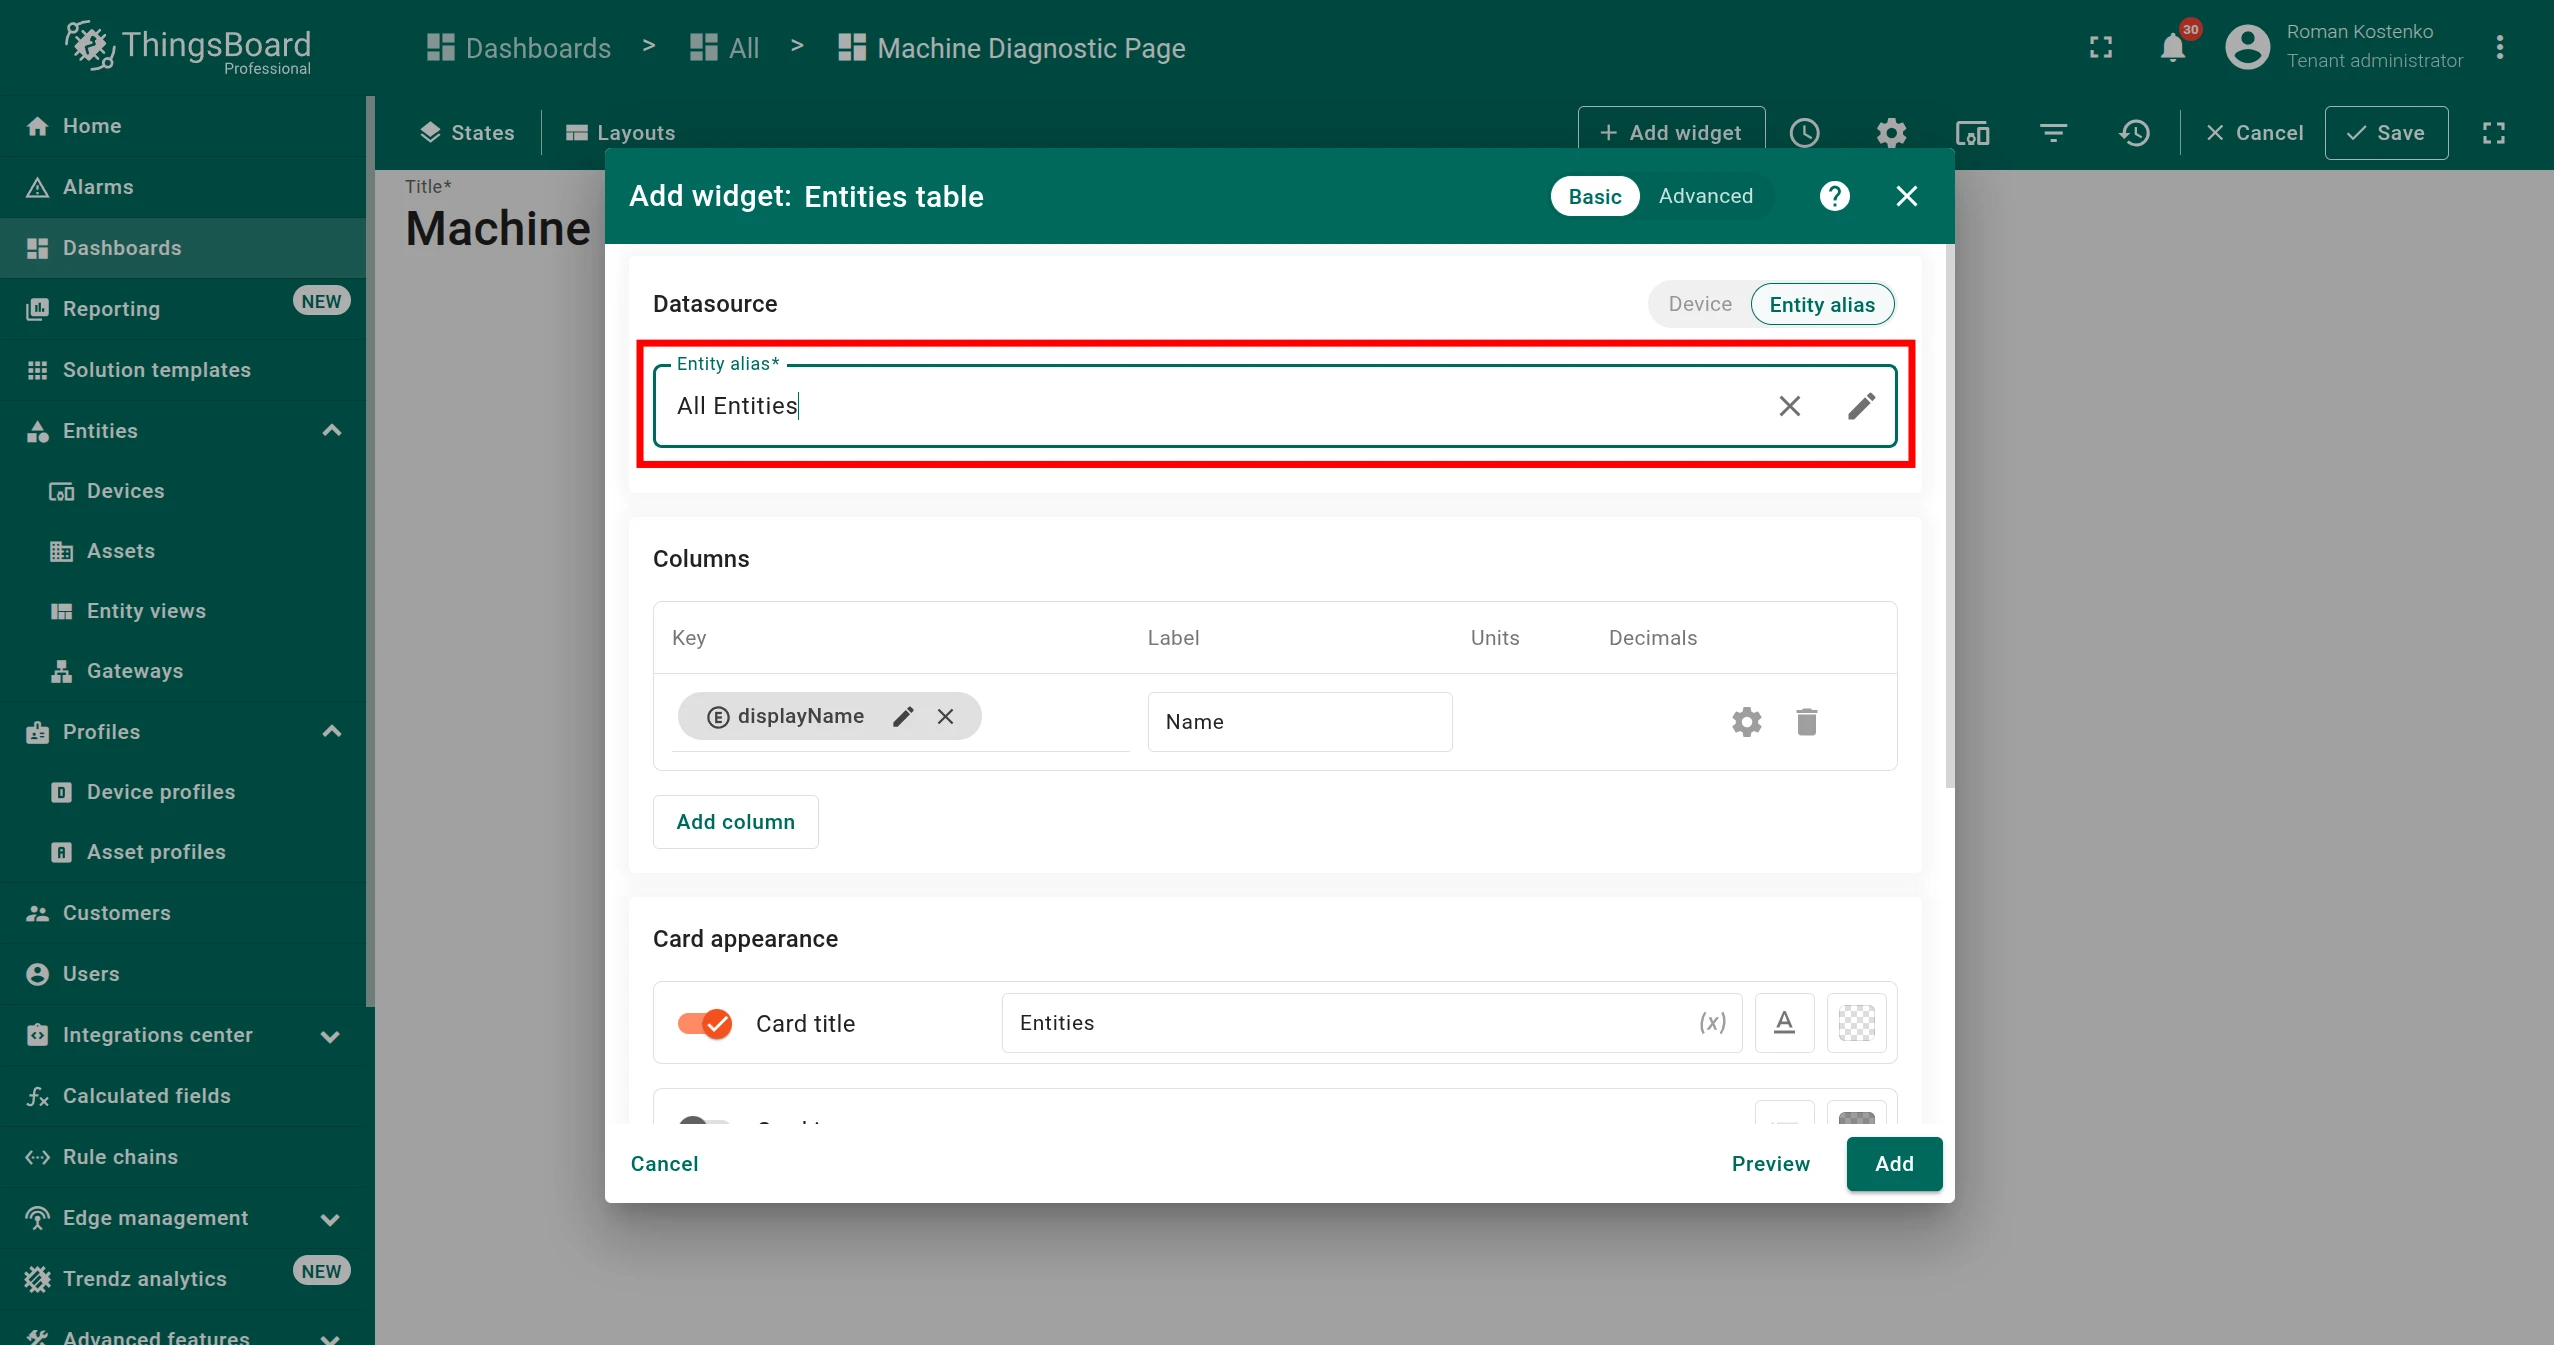
In the widget configuration, switch to the Entity alias datasource tab and select All Entities.
-
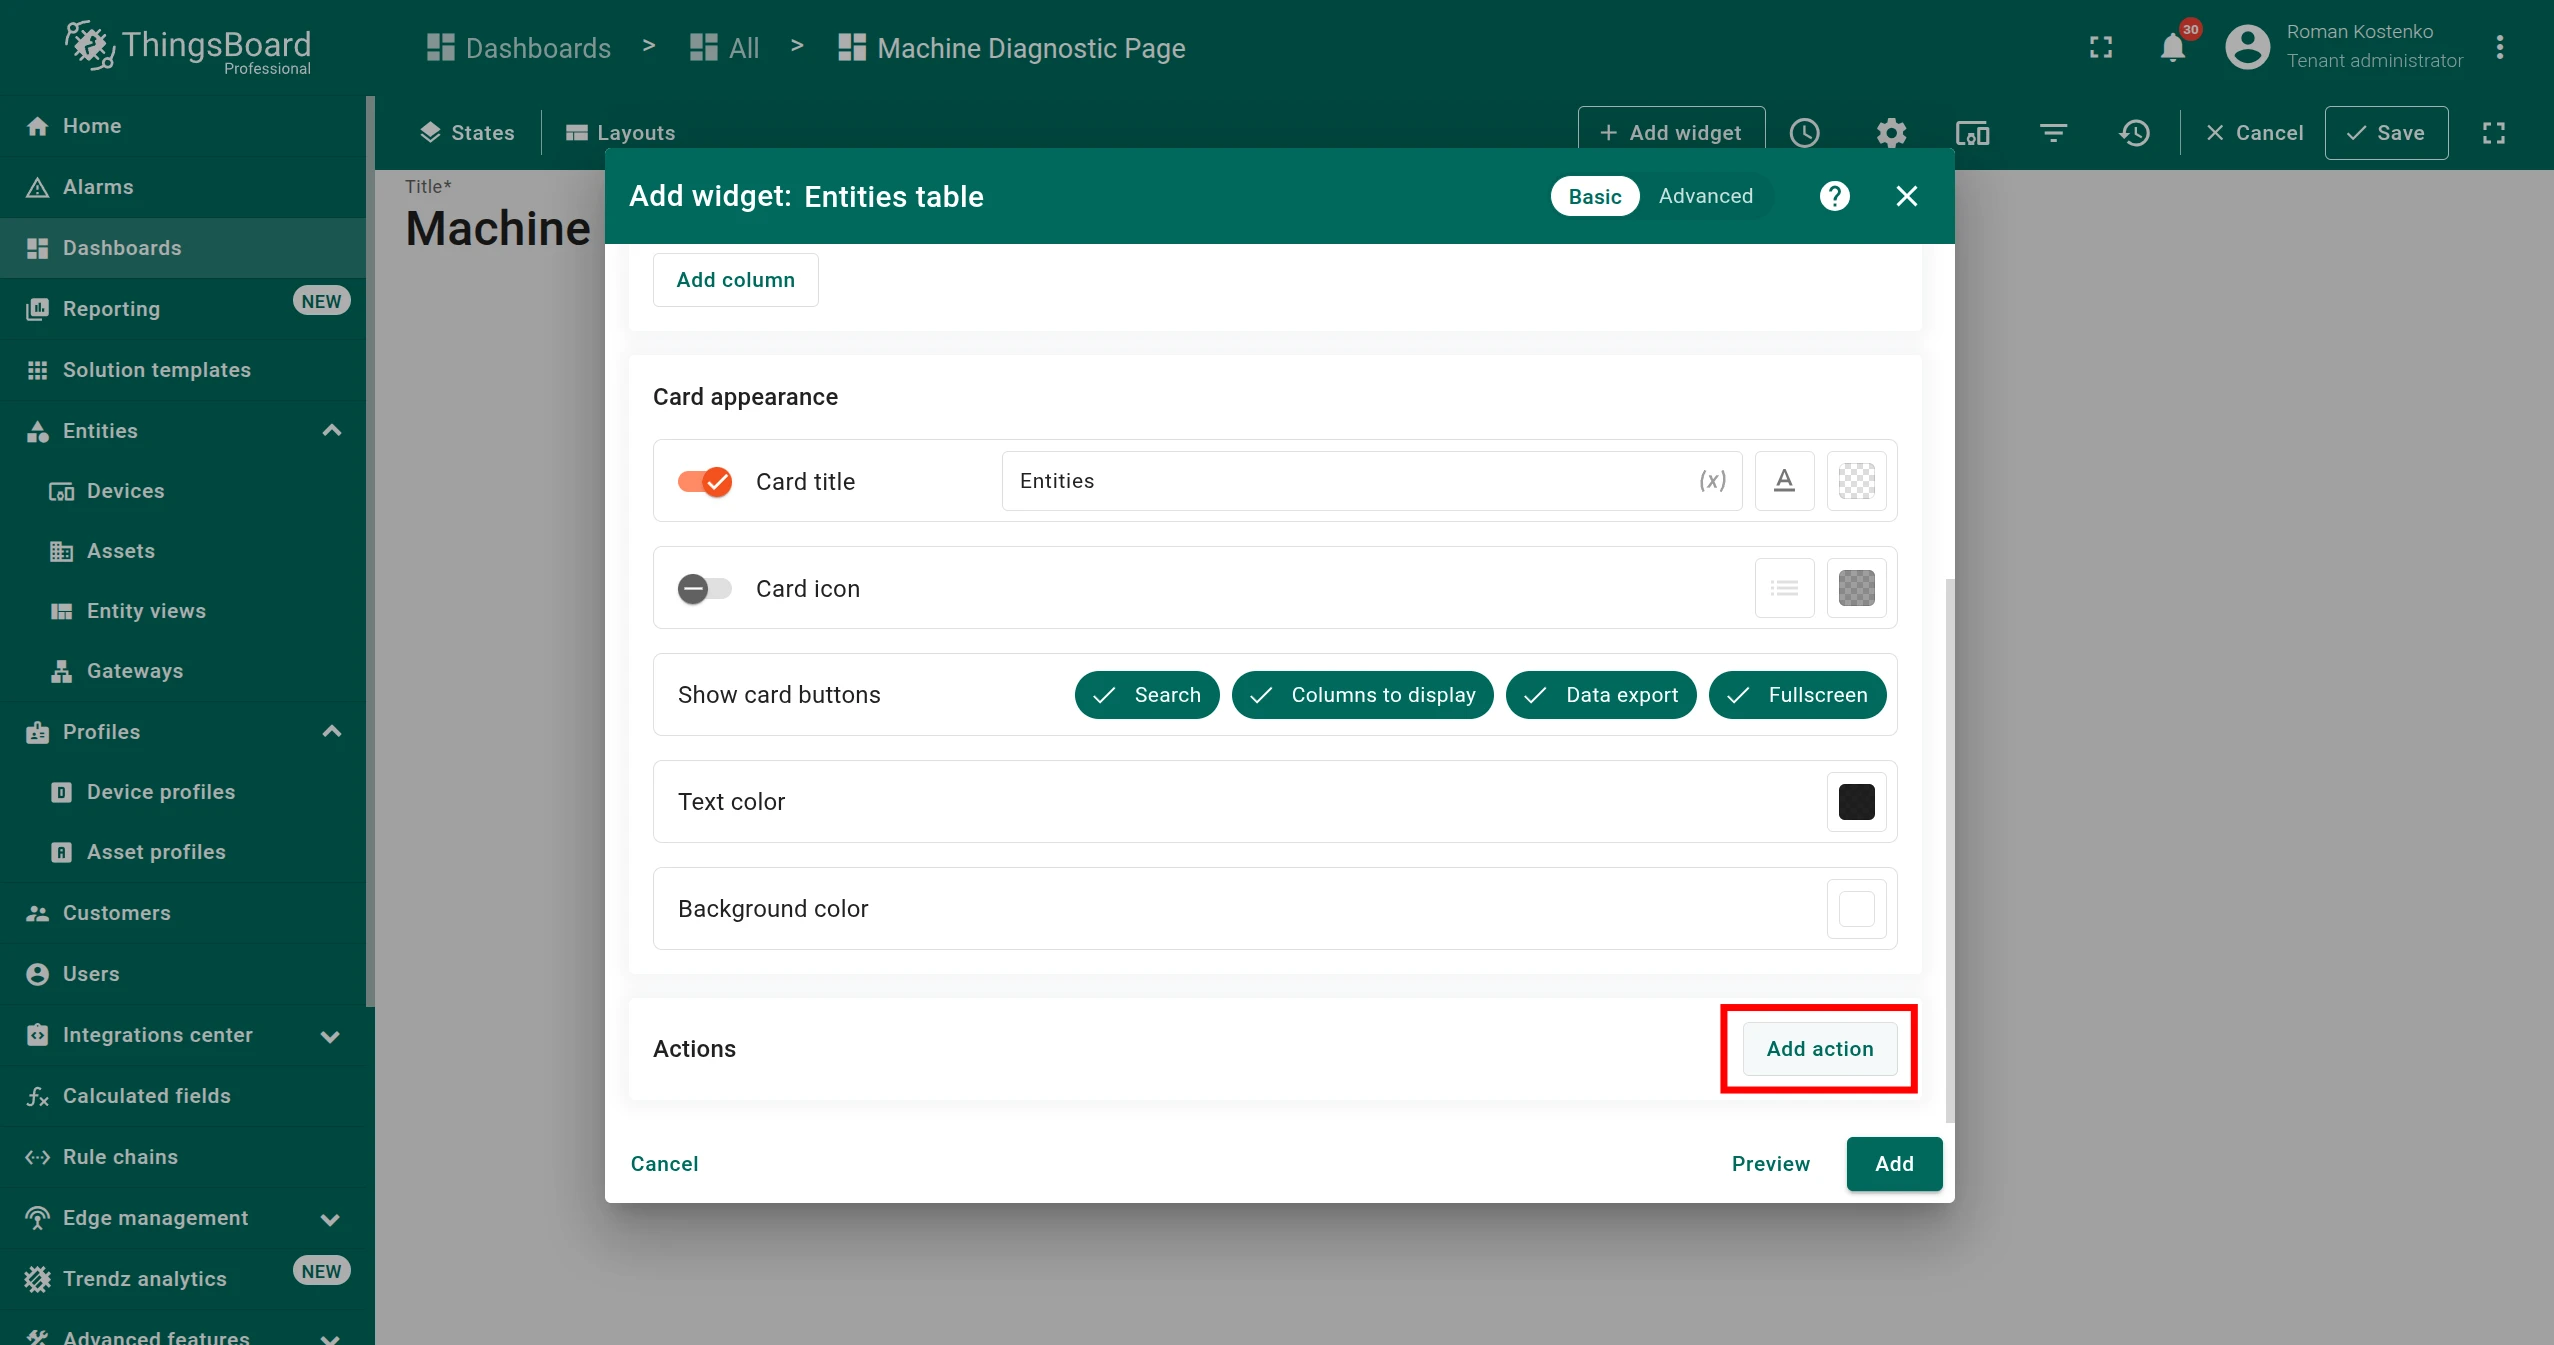
Scroll down to Actions and click Add action.
-
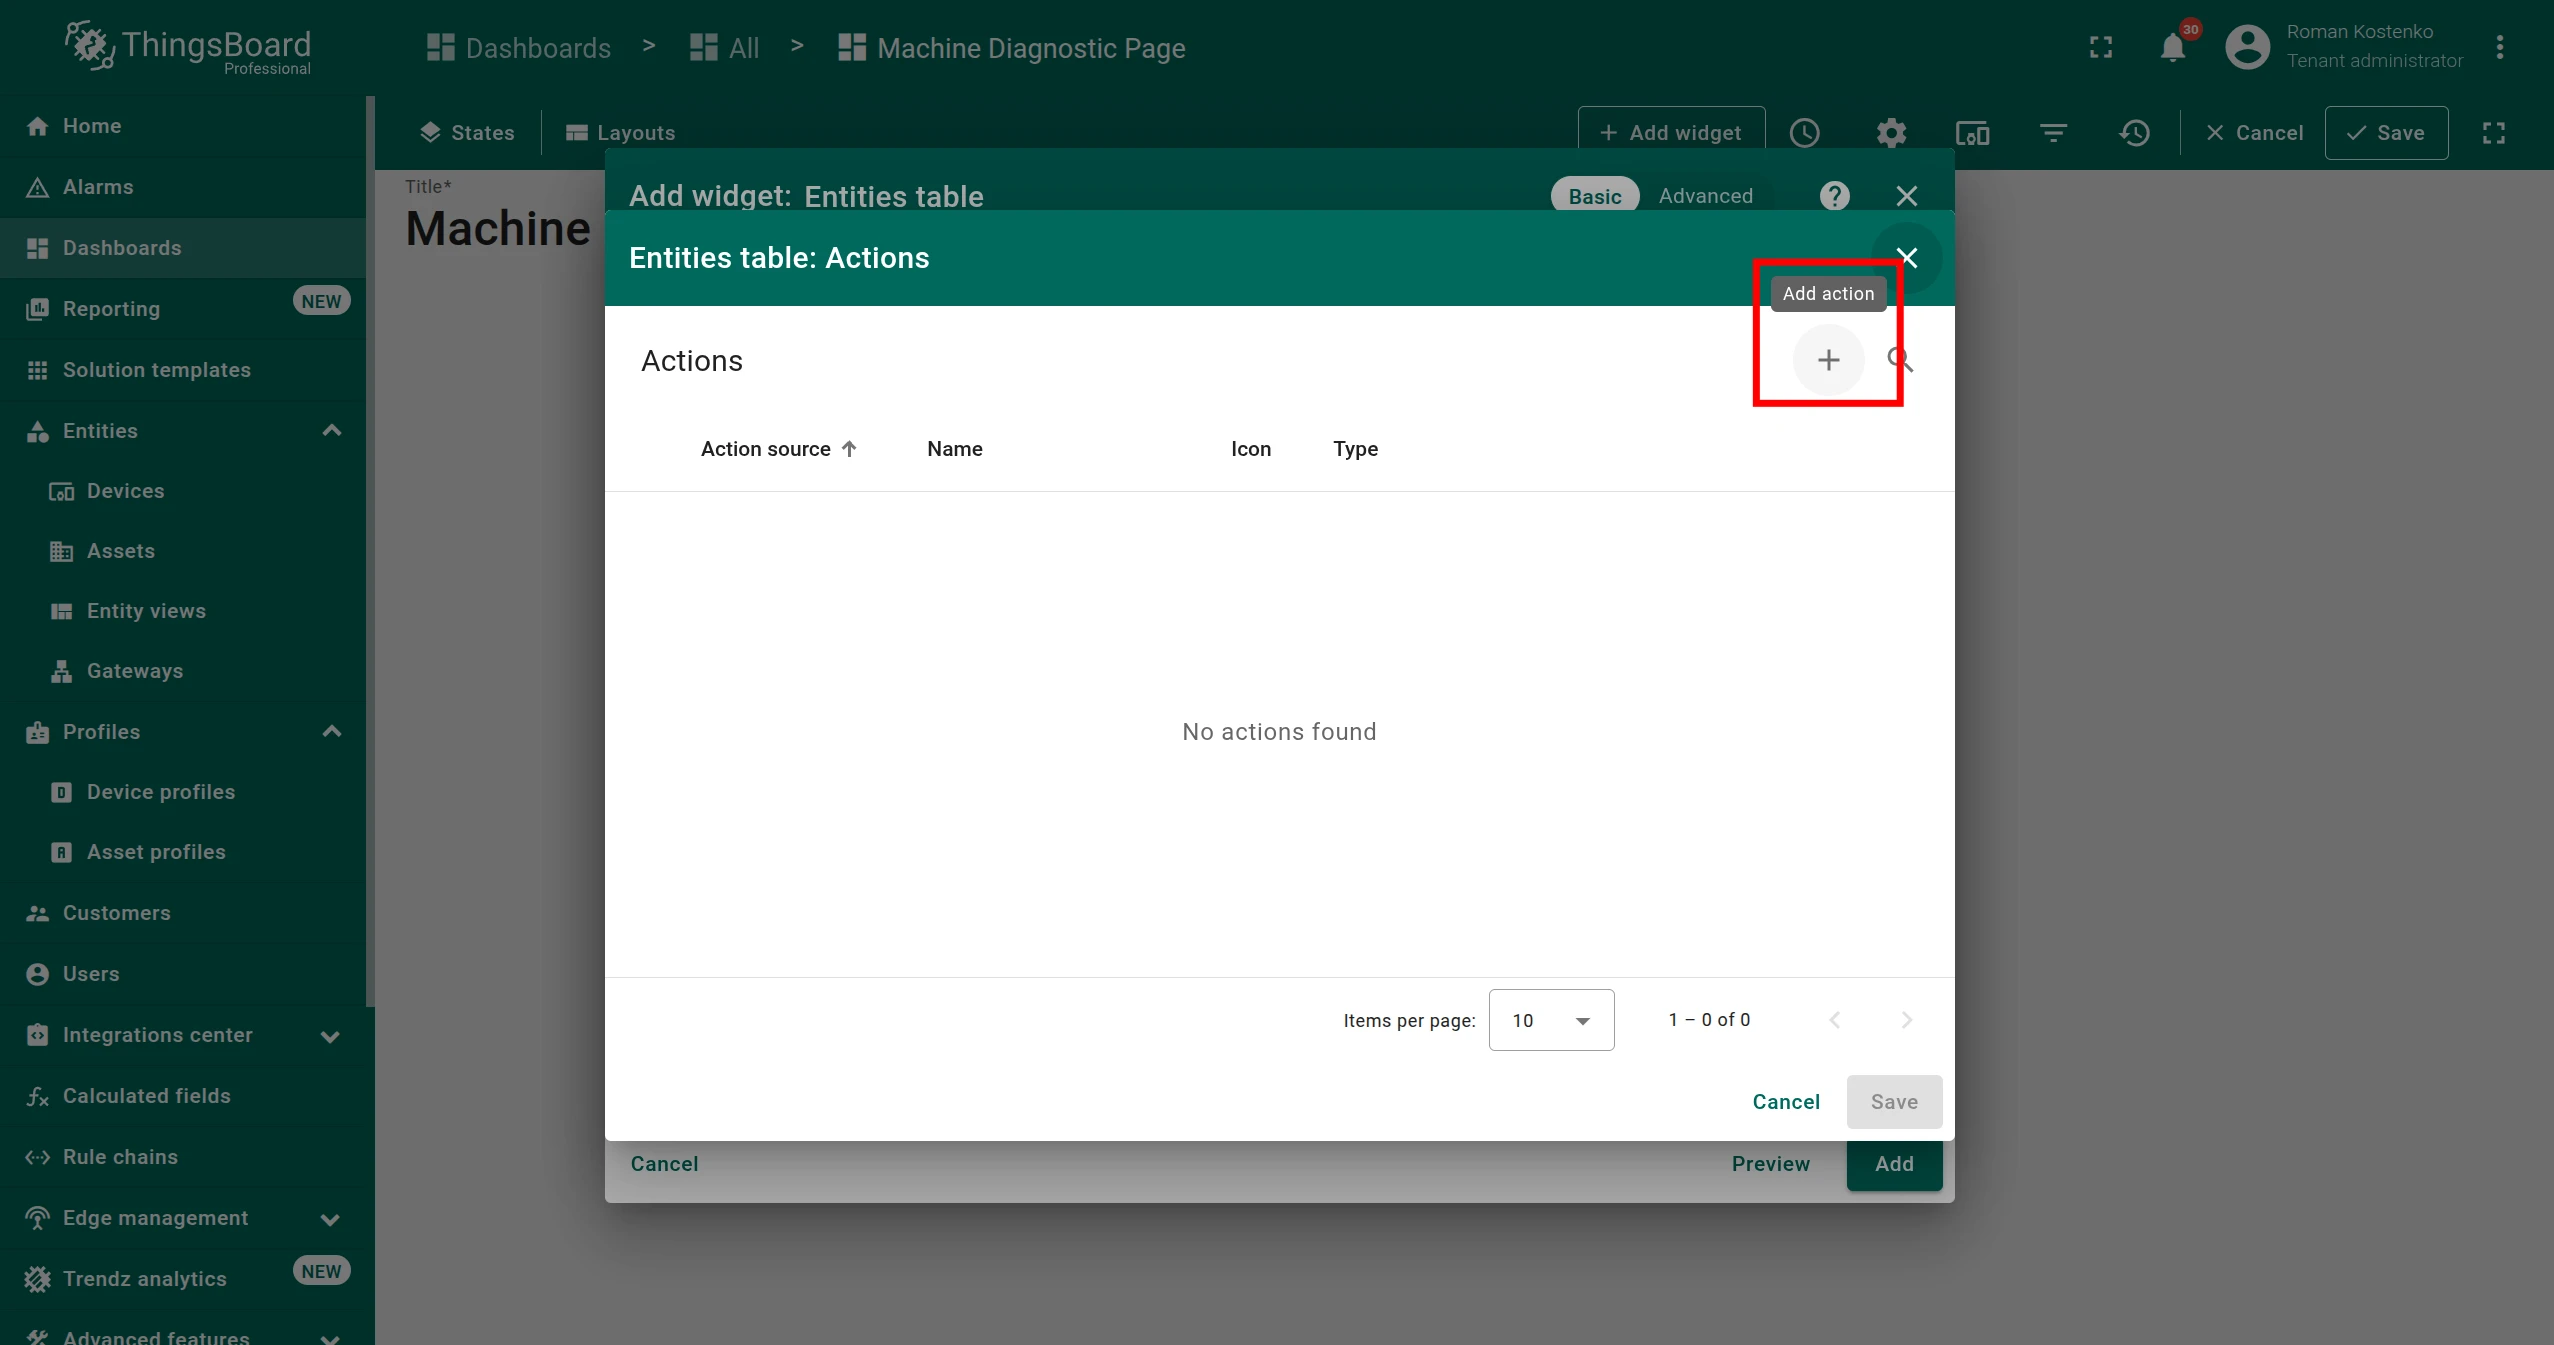
Click + to add a new action.
-
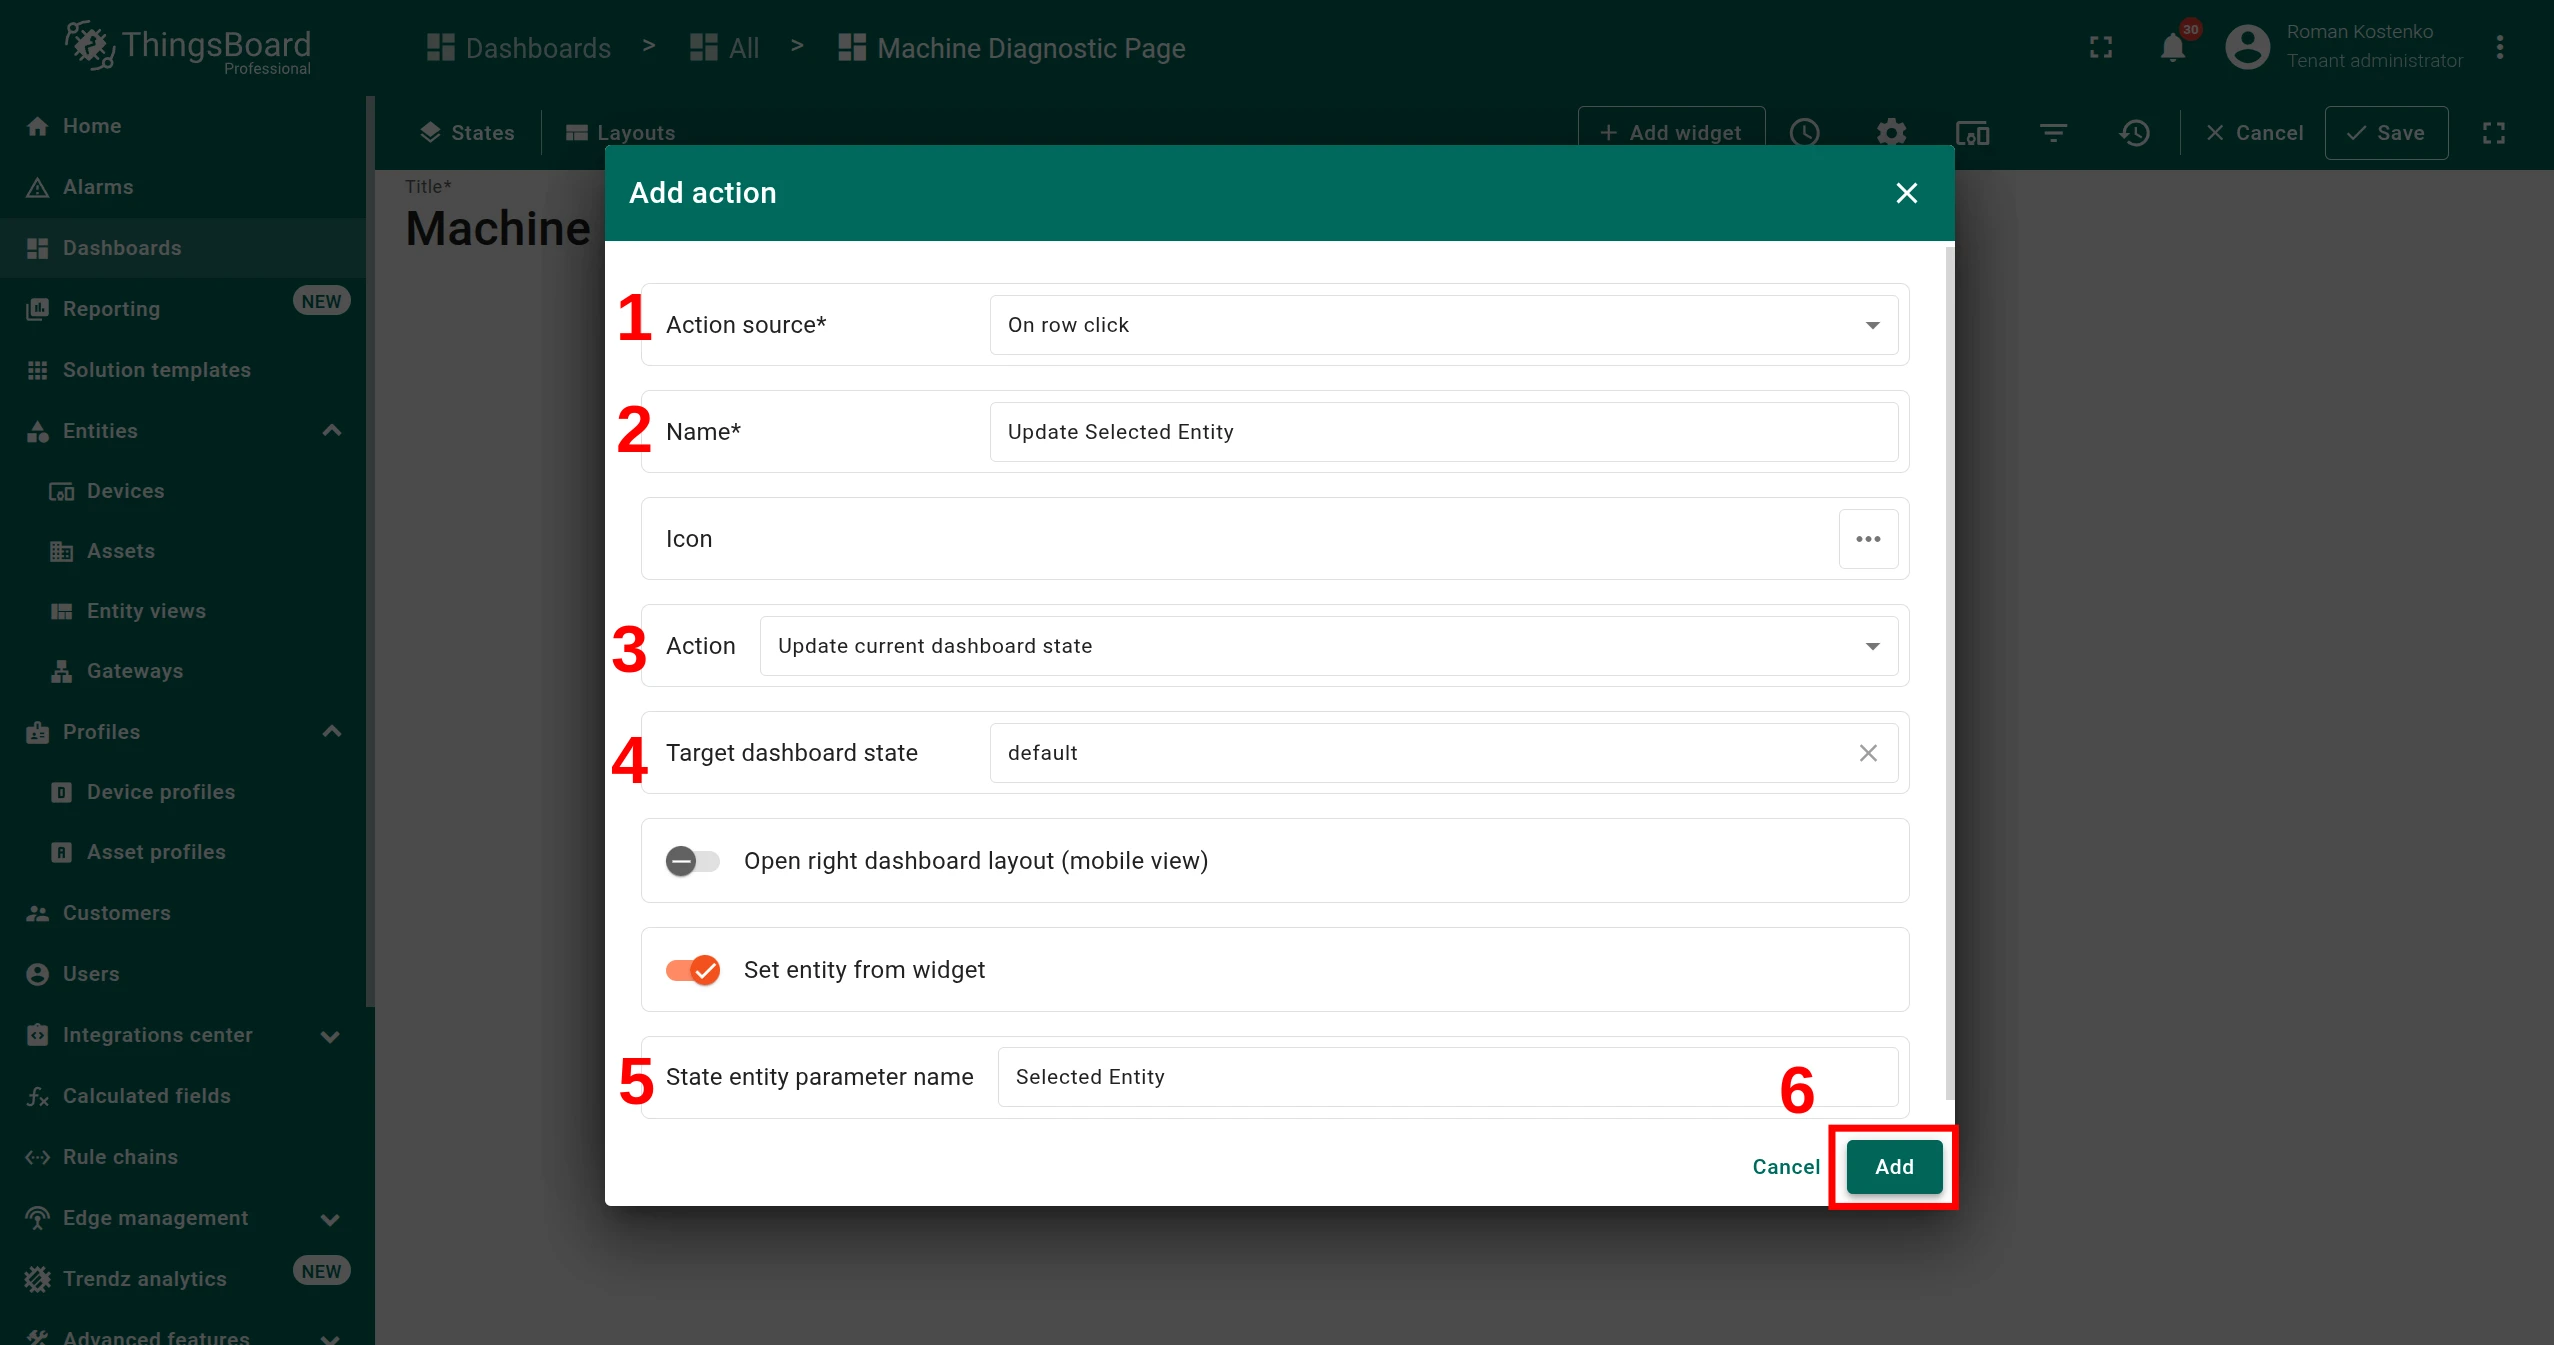
Configure the action: set Action source to On row click, set Action to Update current dashboard state, set Target dashboard state to default, enable Set entity from widget, and set State entity parameter name to Selected Entity. Click Add.
-
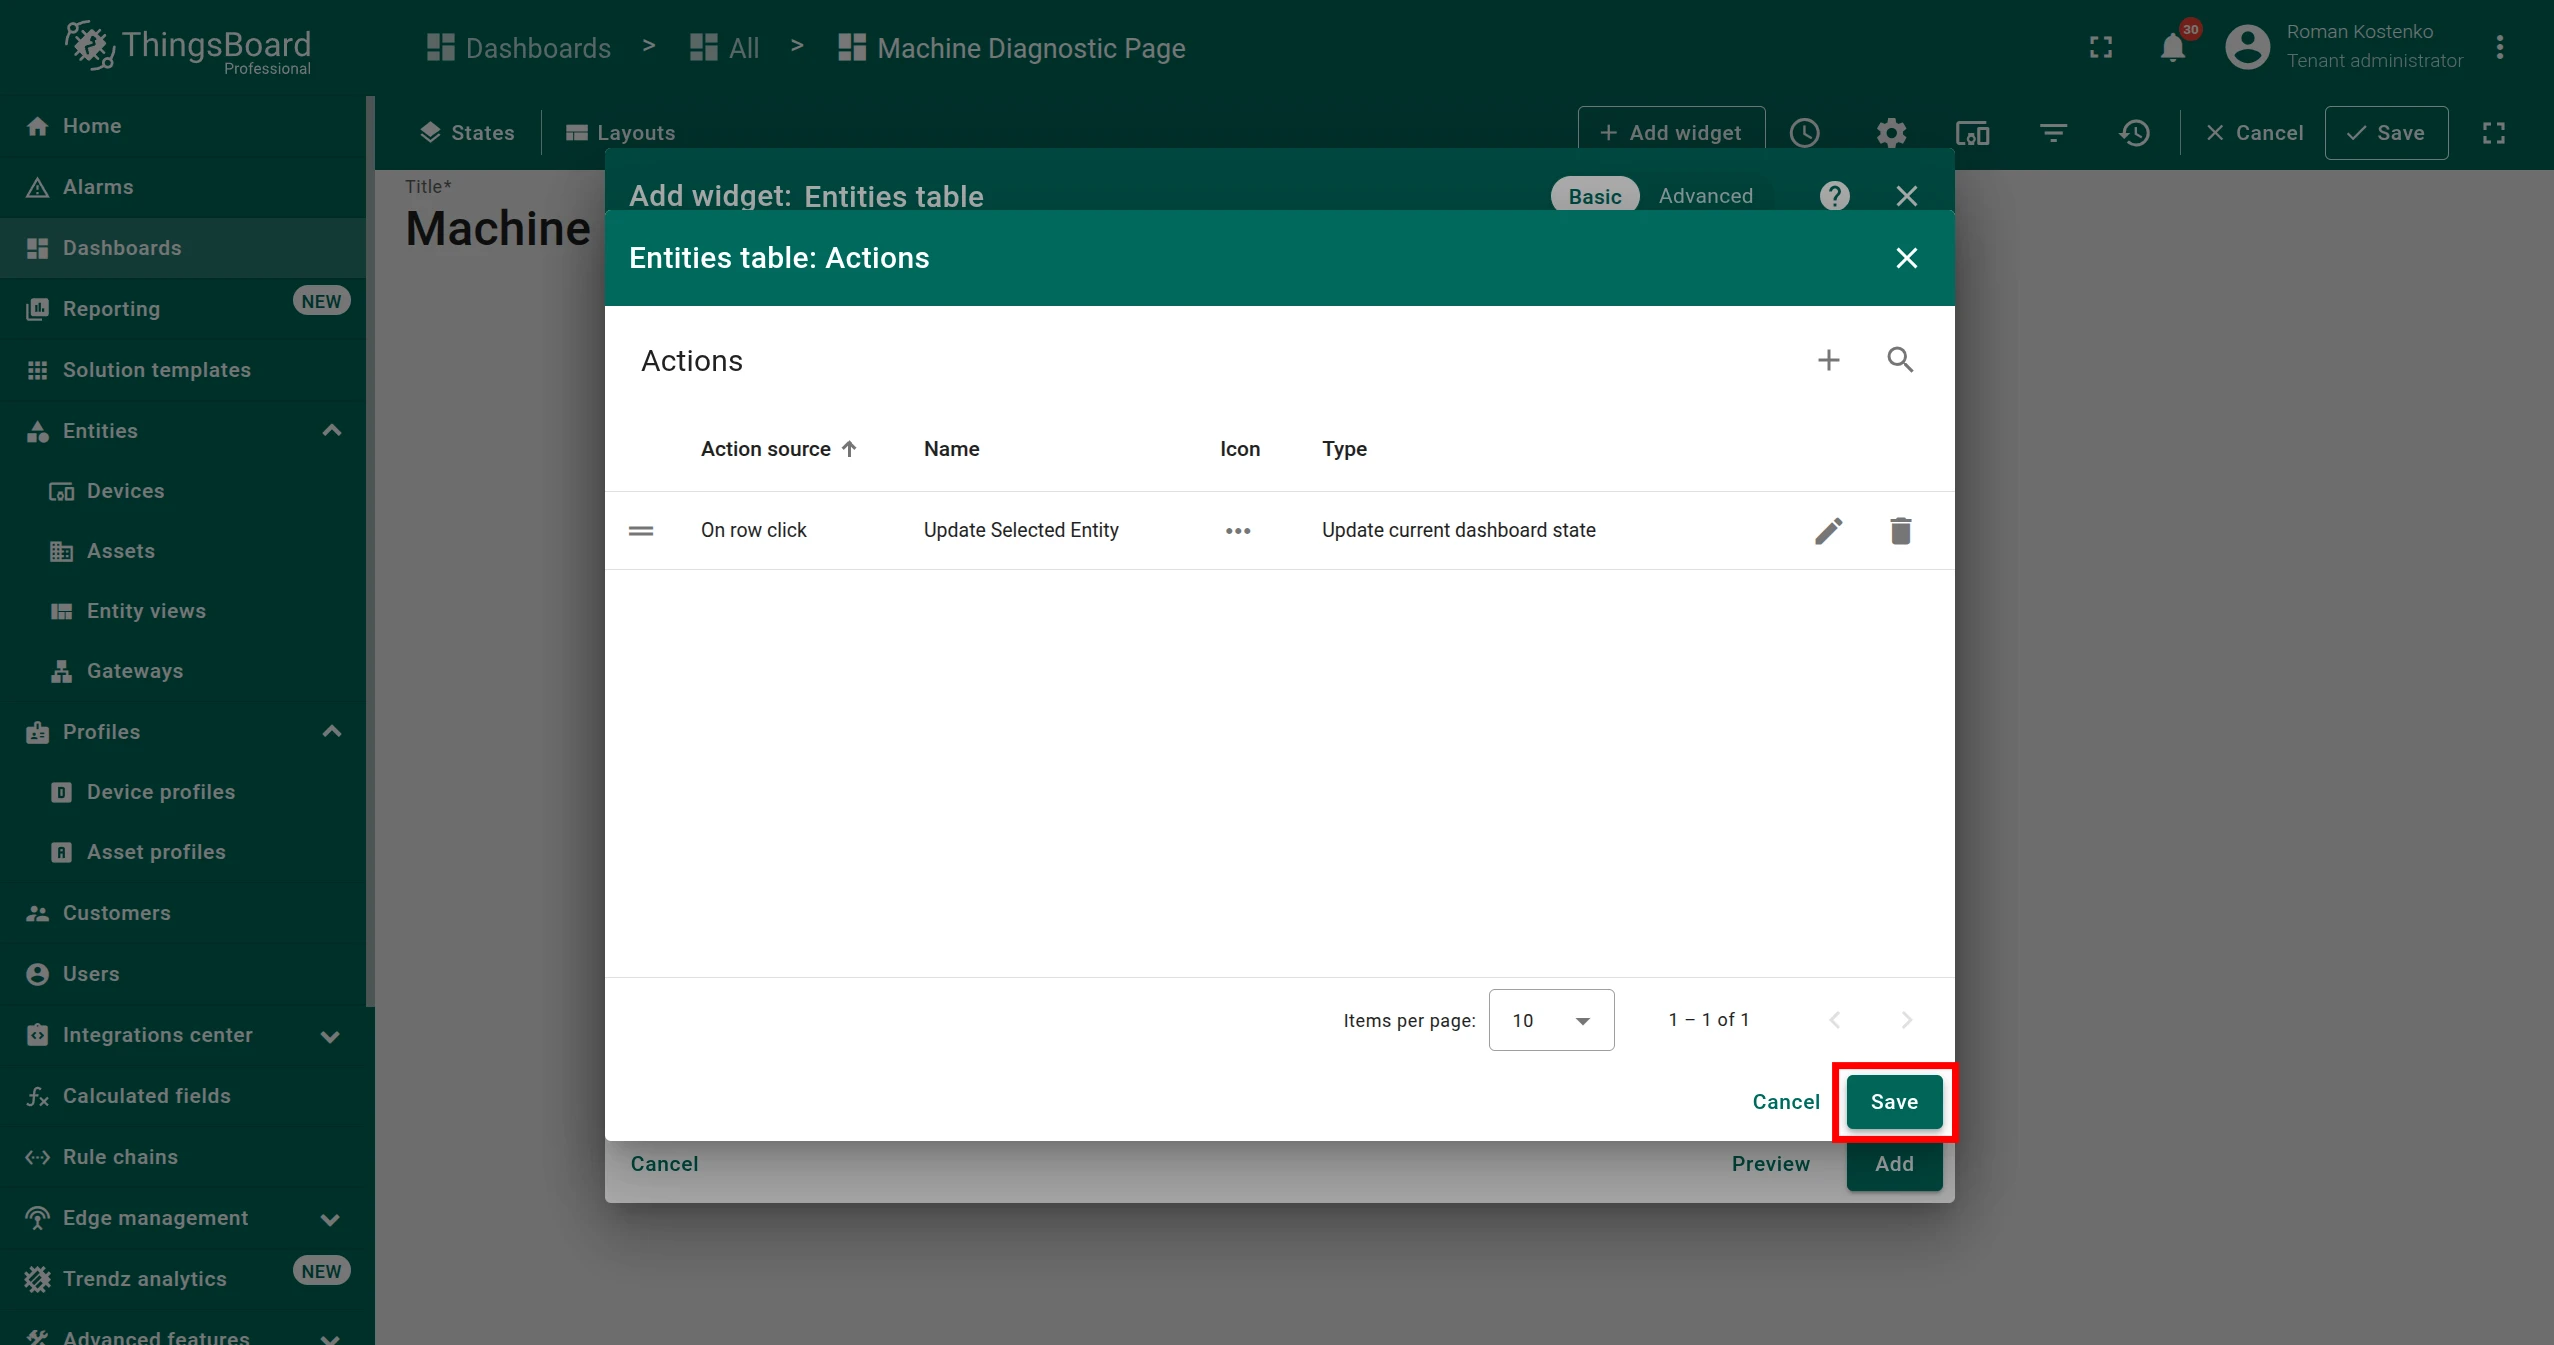
The action appears in the list. Click Save, then click Add to place the widget on the dashboard.

Add Trendz widget on dashboard
Section titled “Add Trendz widget on dashboard”Add the Advanced analytics View widget to the dashboard as described in Add view on Dashboard — Option 2.
Configure Trendz widget
Section titled “Configure Trendz widget”-
Click Edit widget on the Advanced analytics View widget.
-
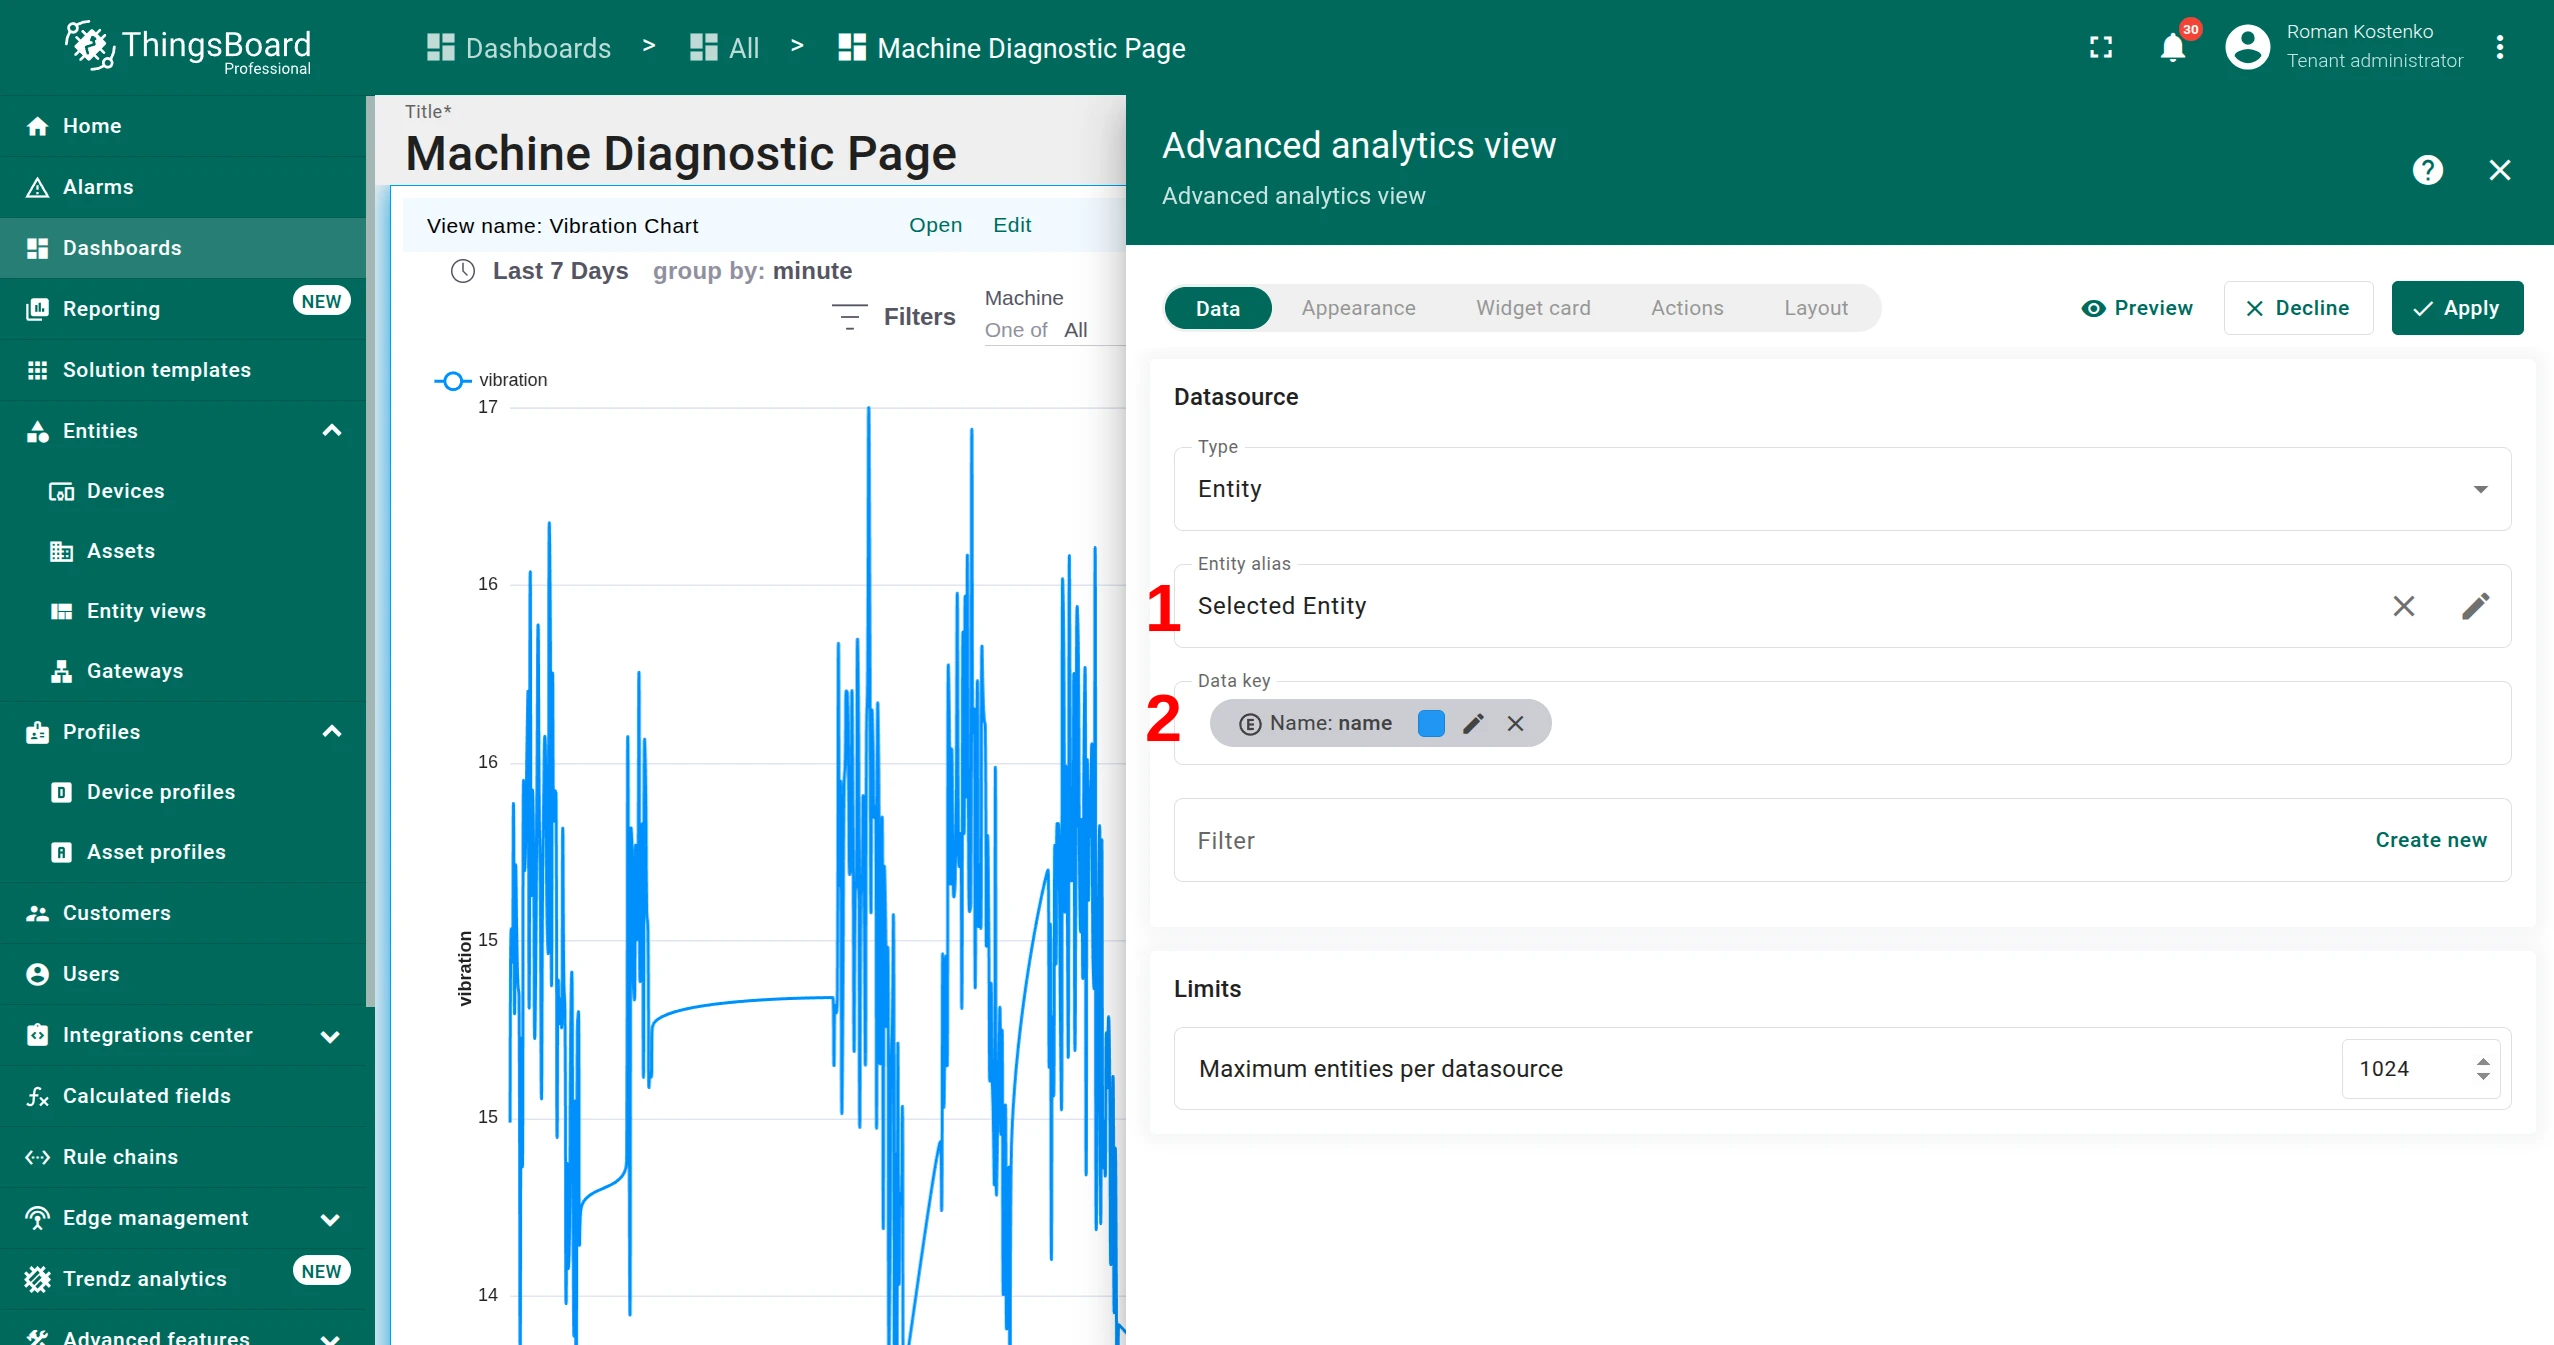
On the Data tab, set Entity alias to Selected Entity and add Name: name as the data key.
-
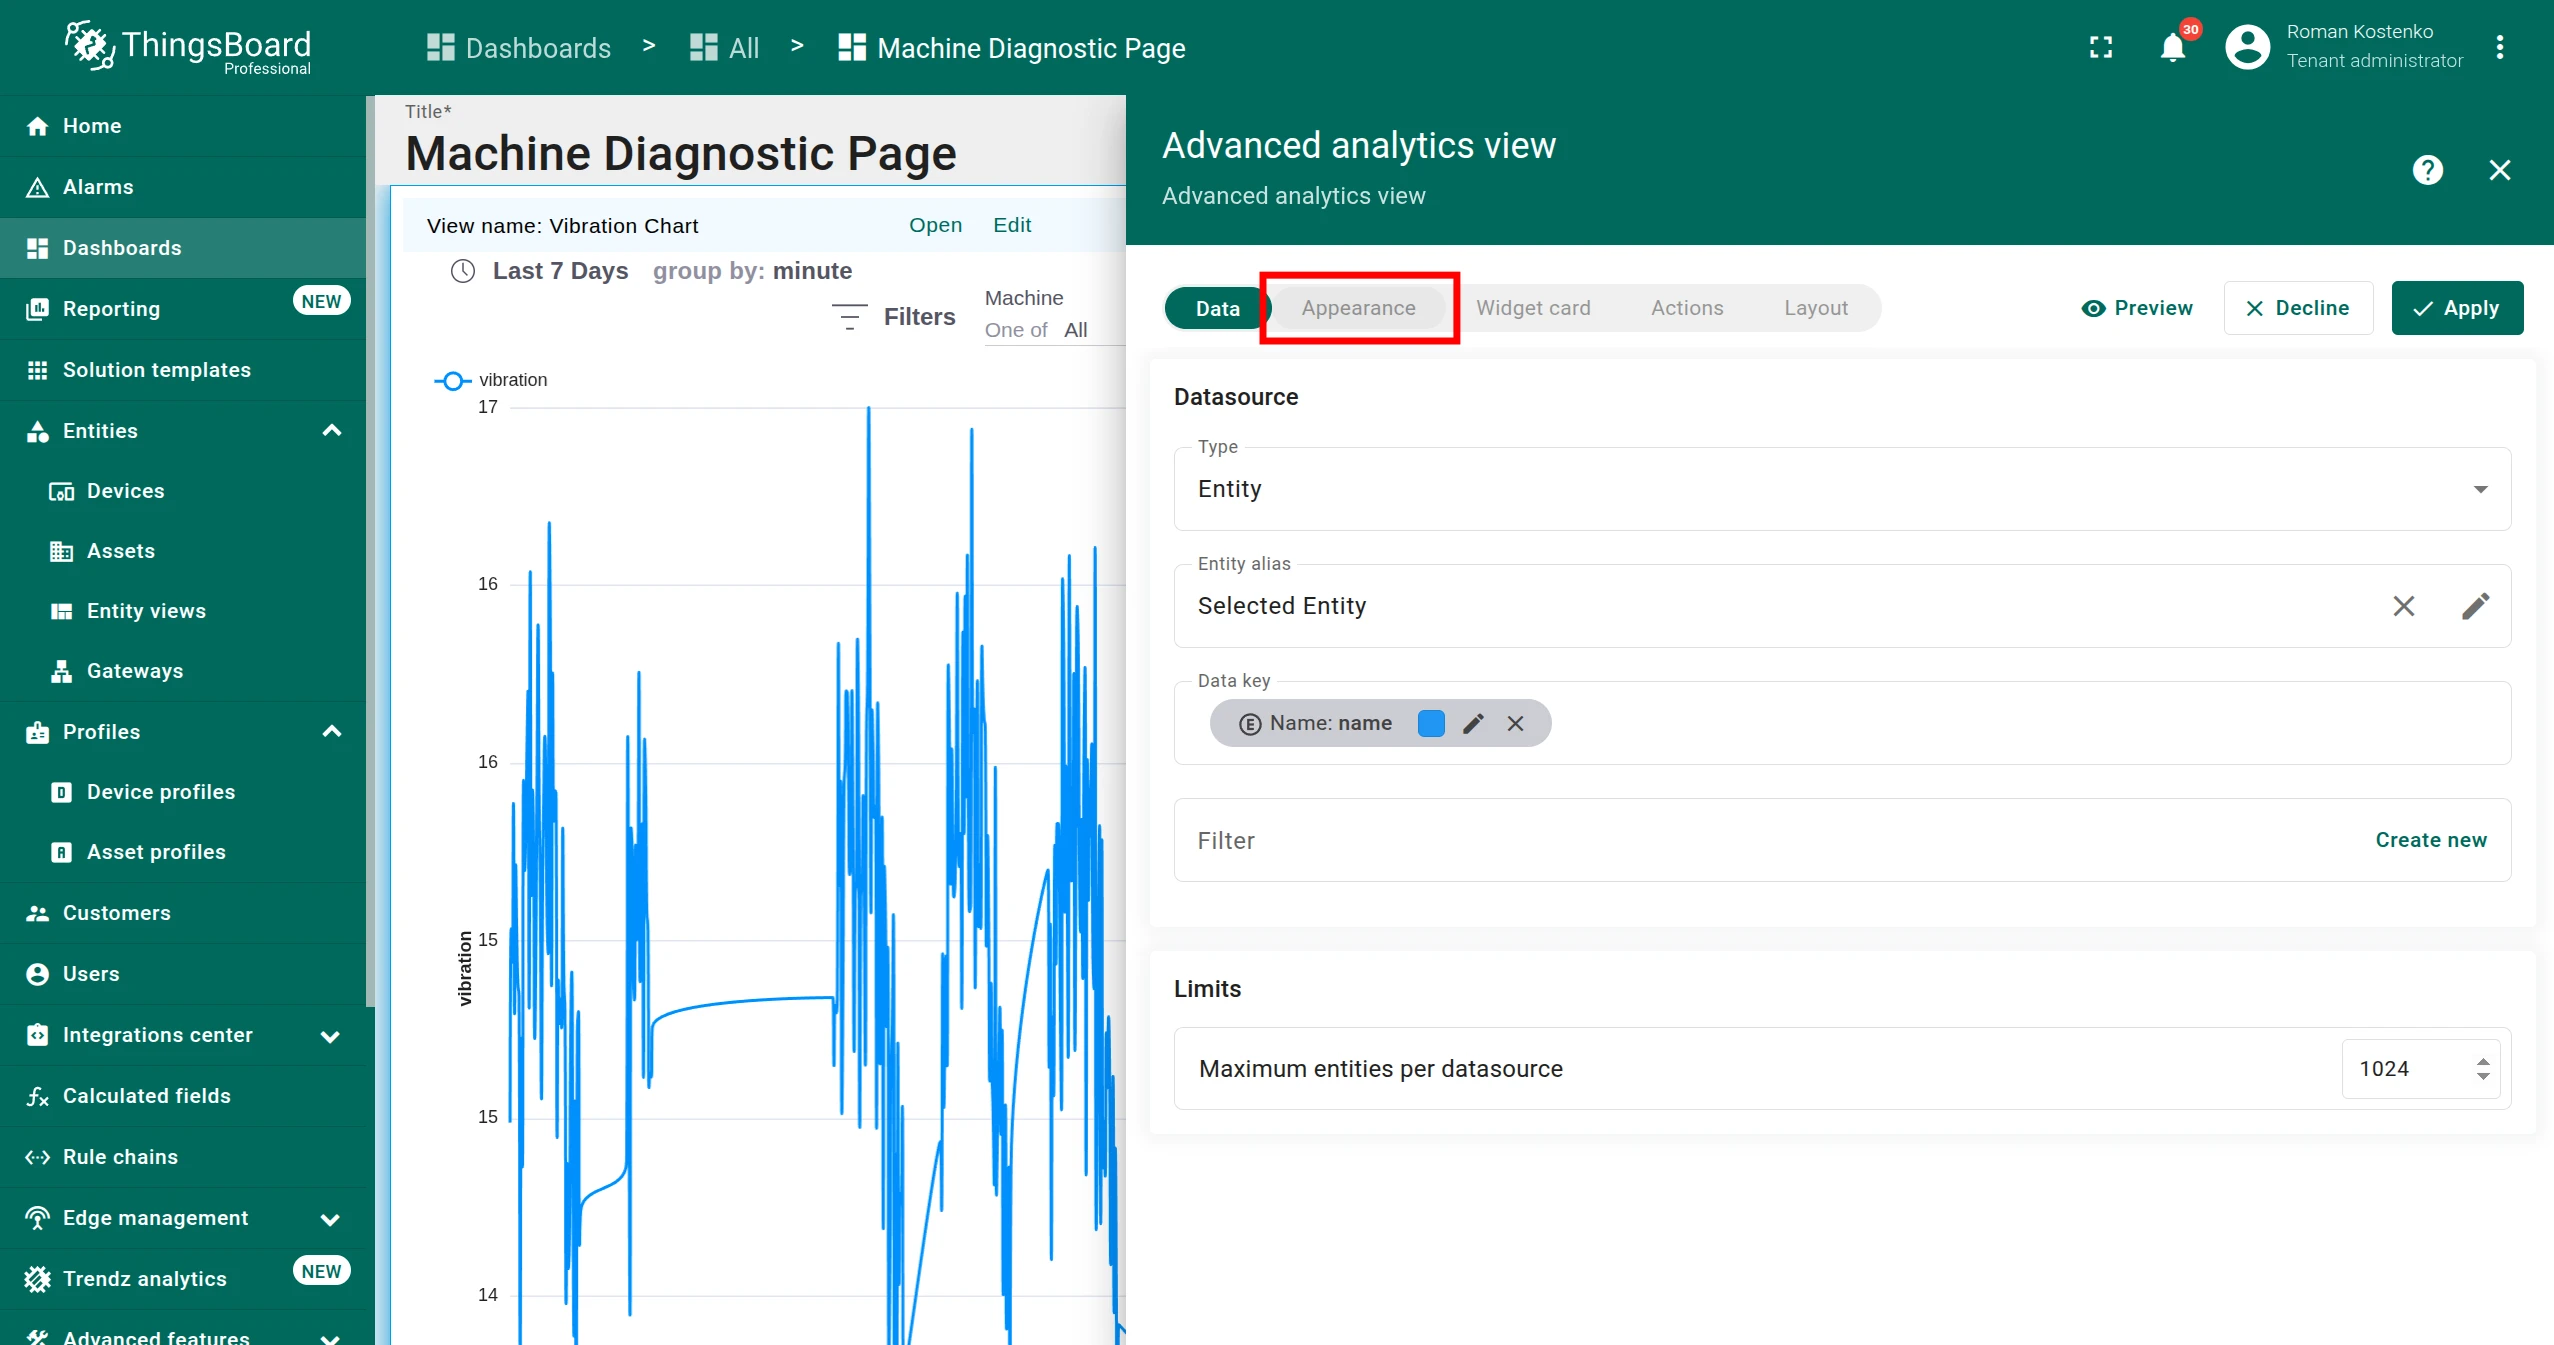
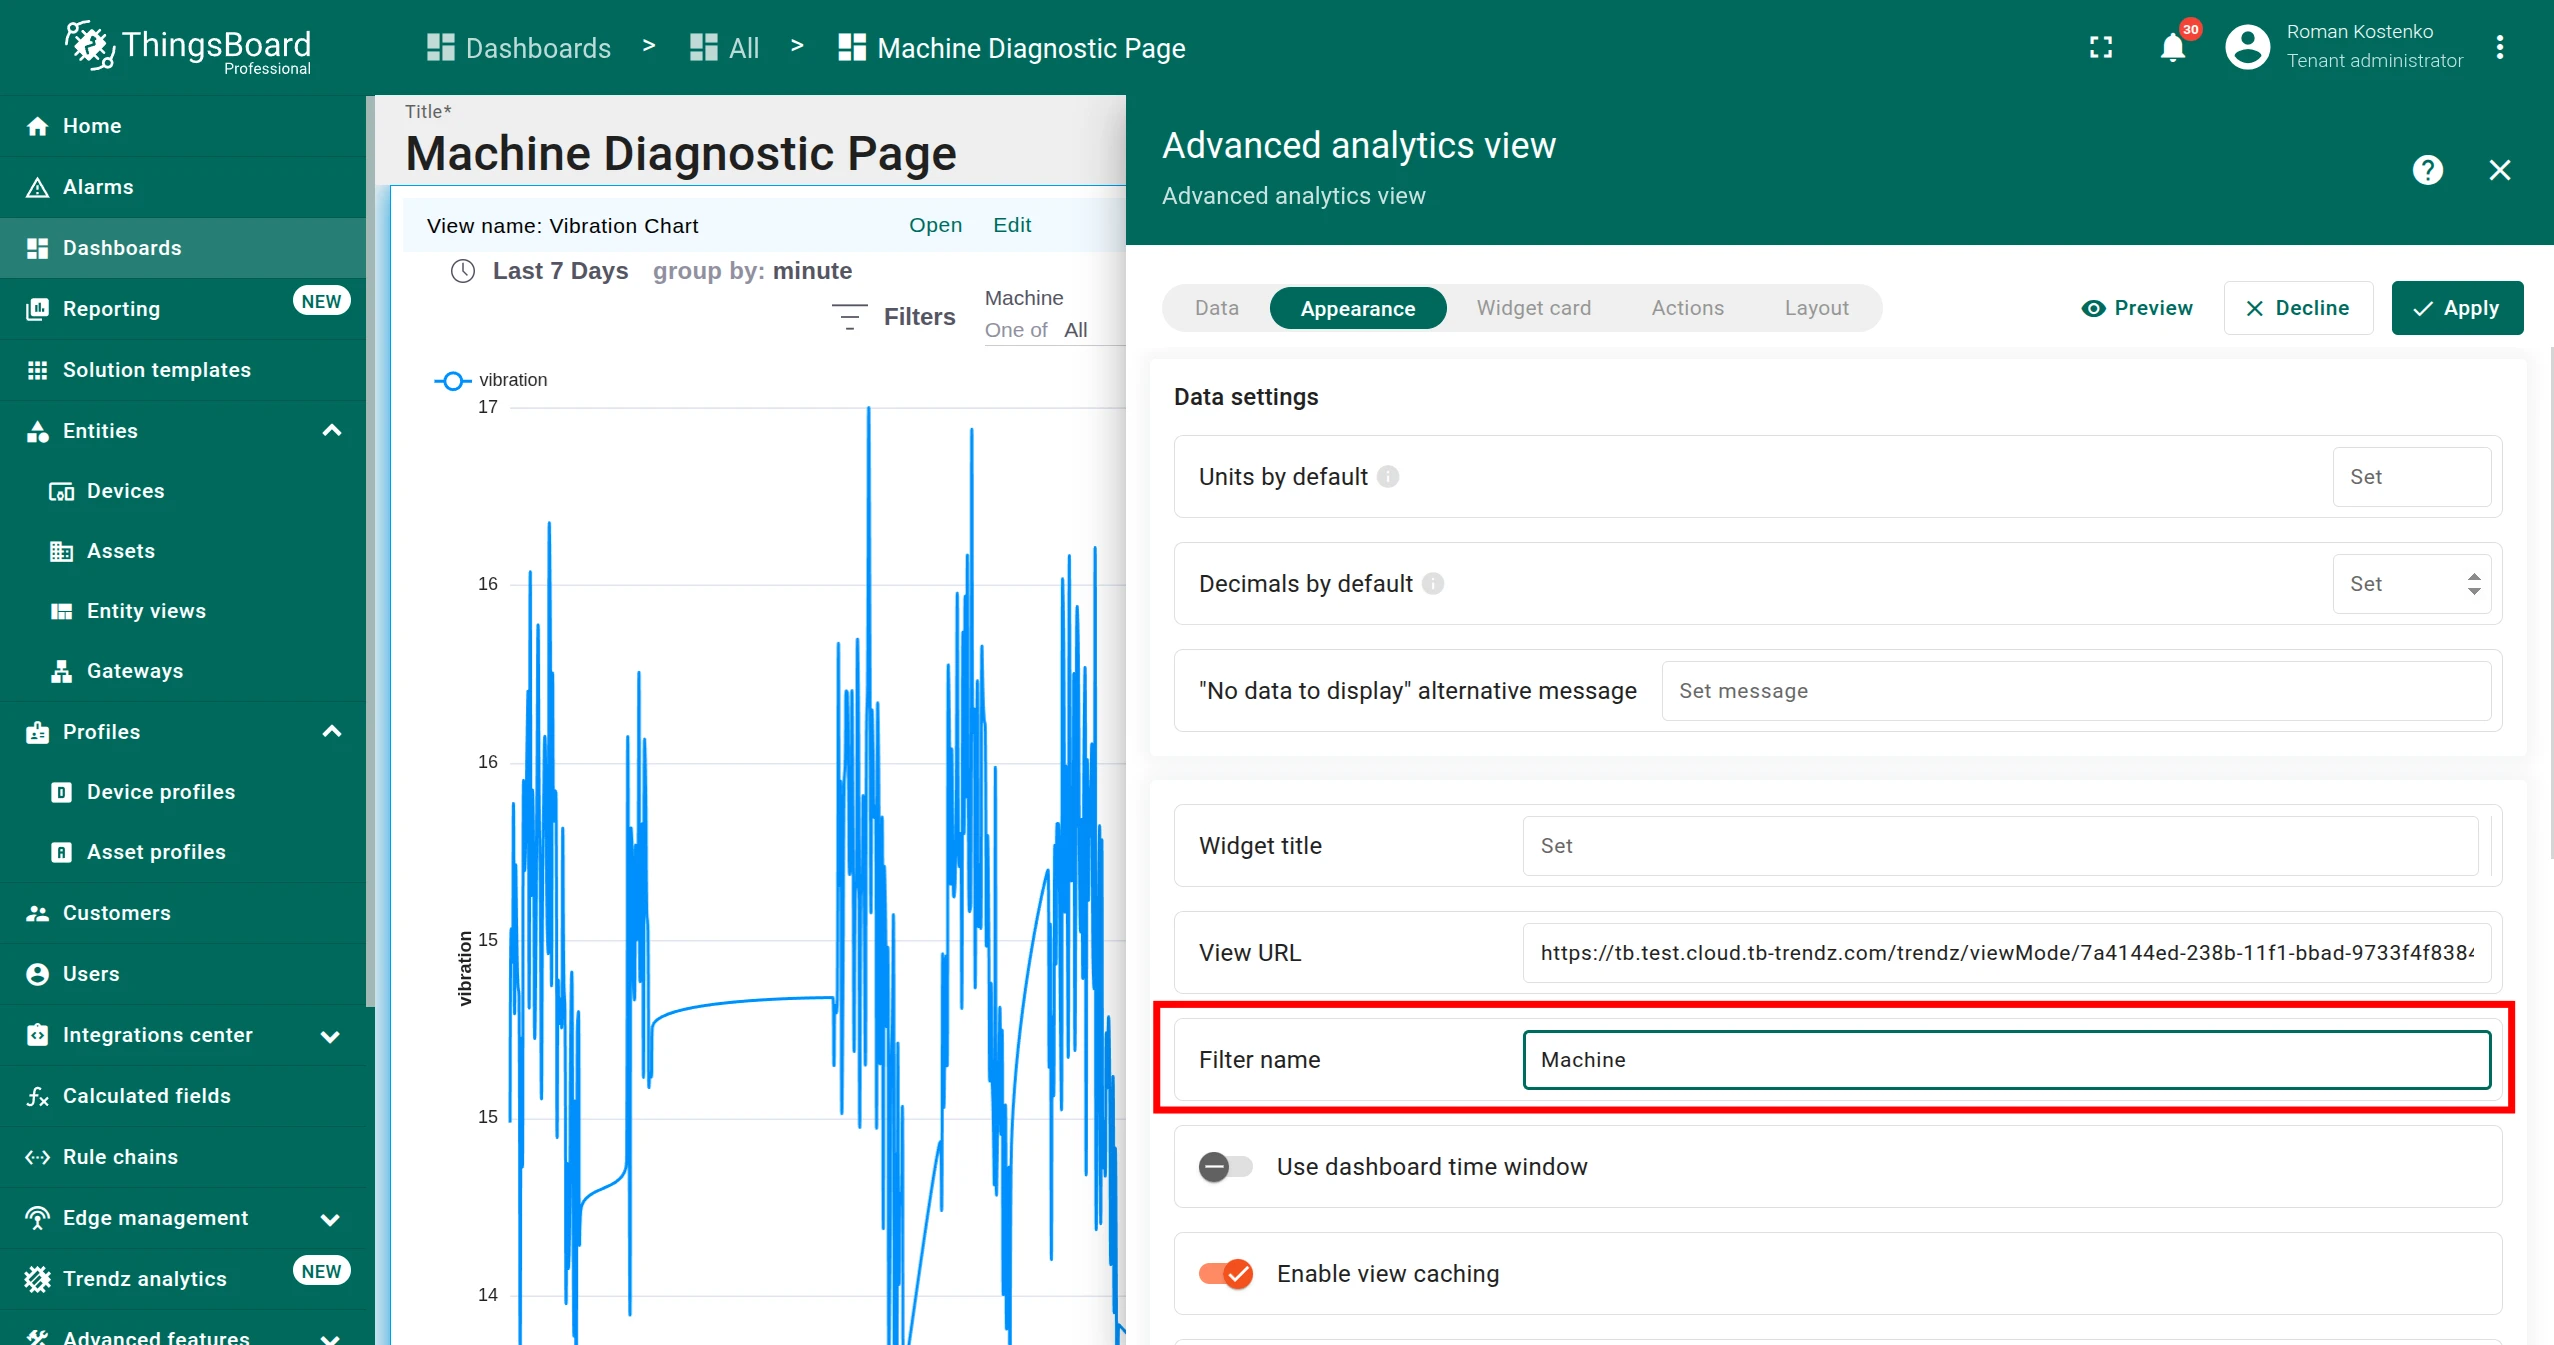
Switch to the Appearance tab.
-
Enter Machine in Filter name.
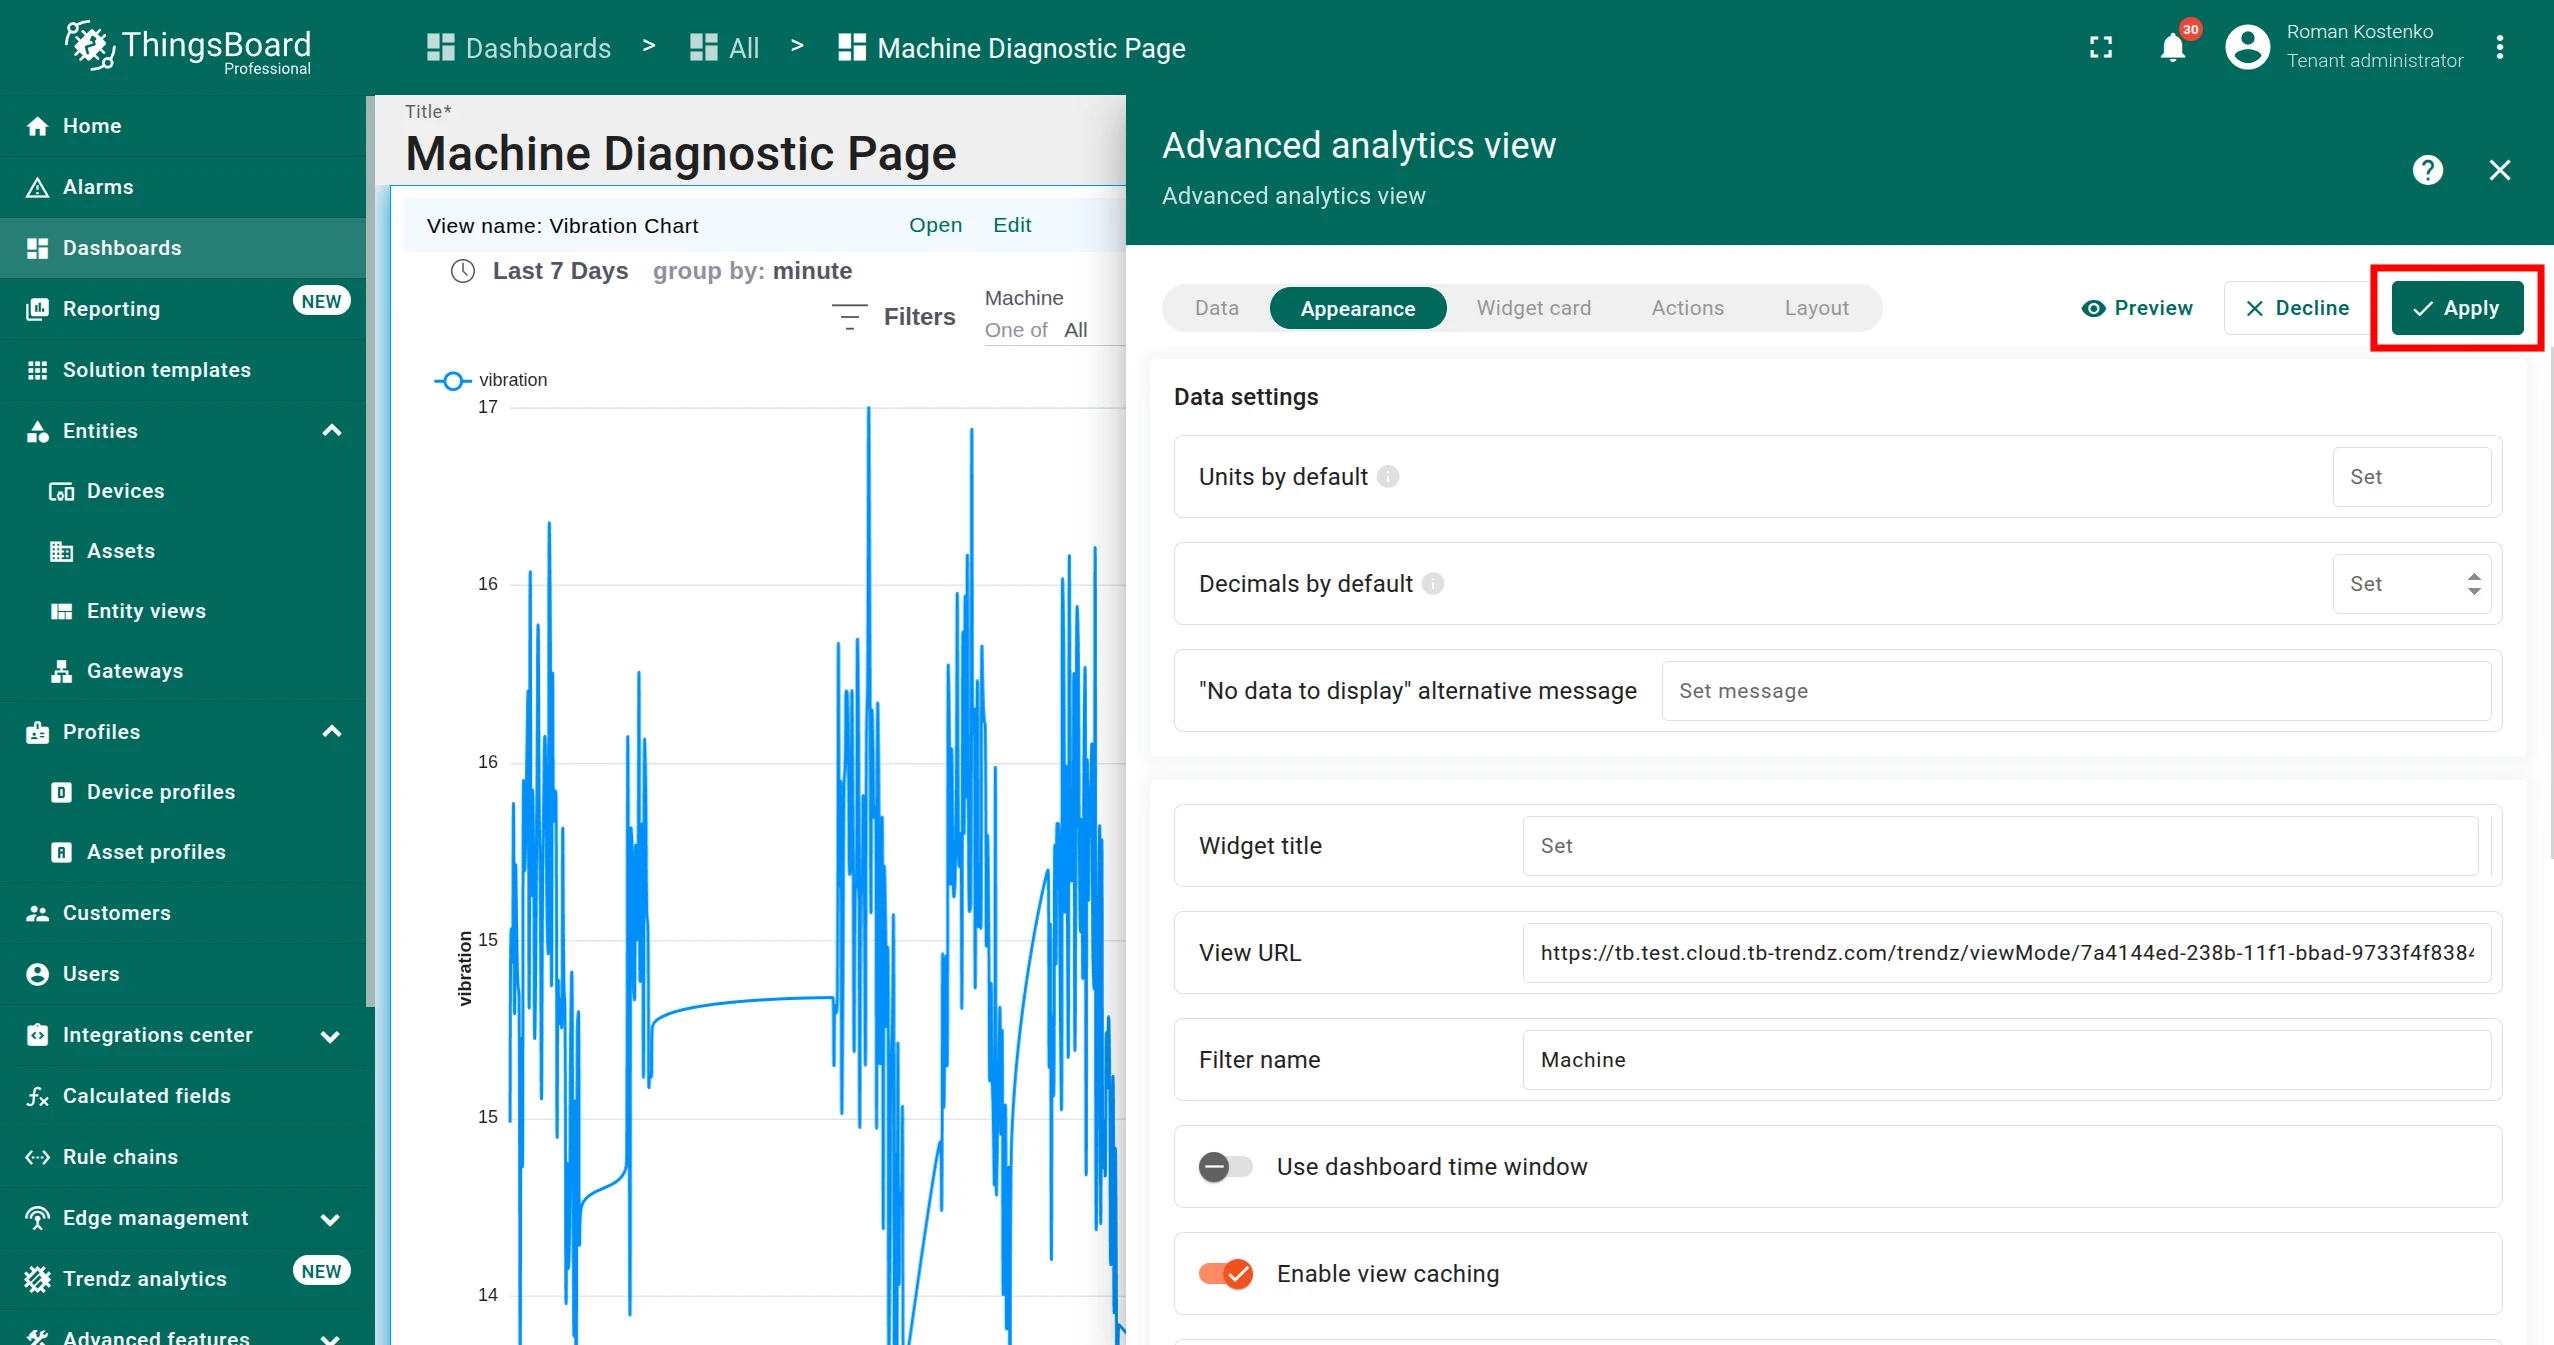
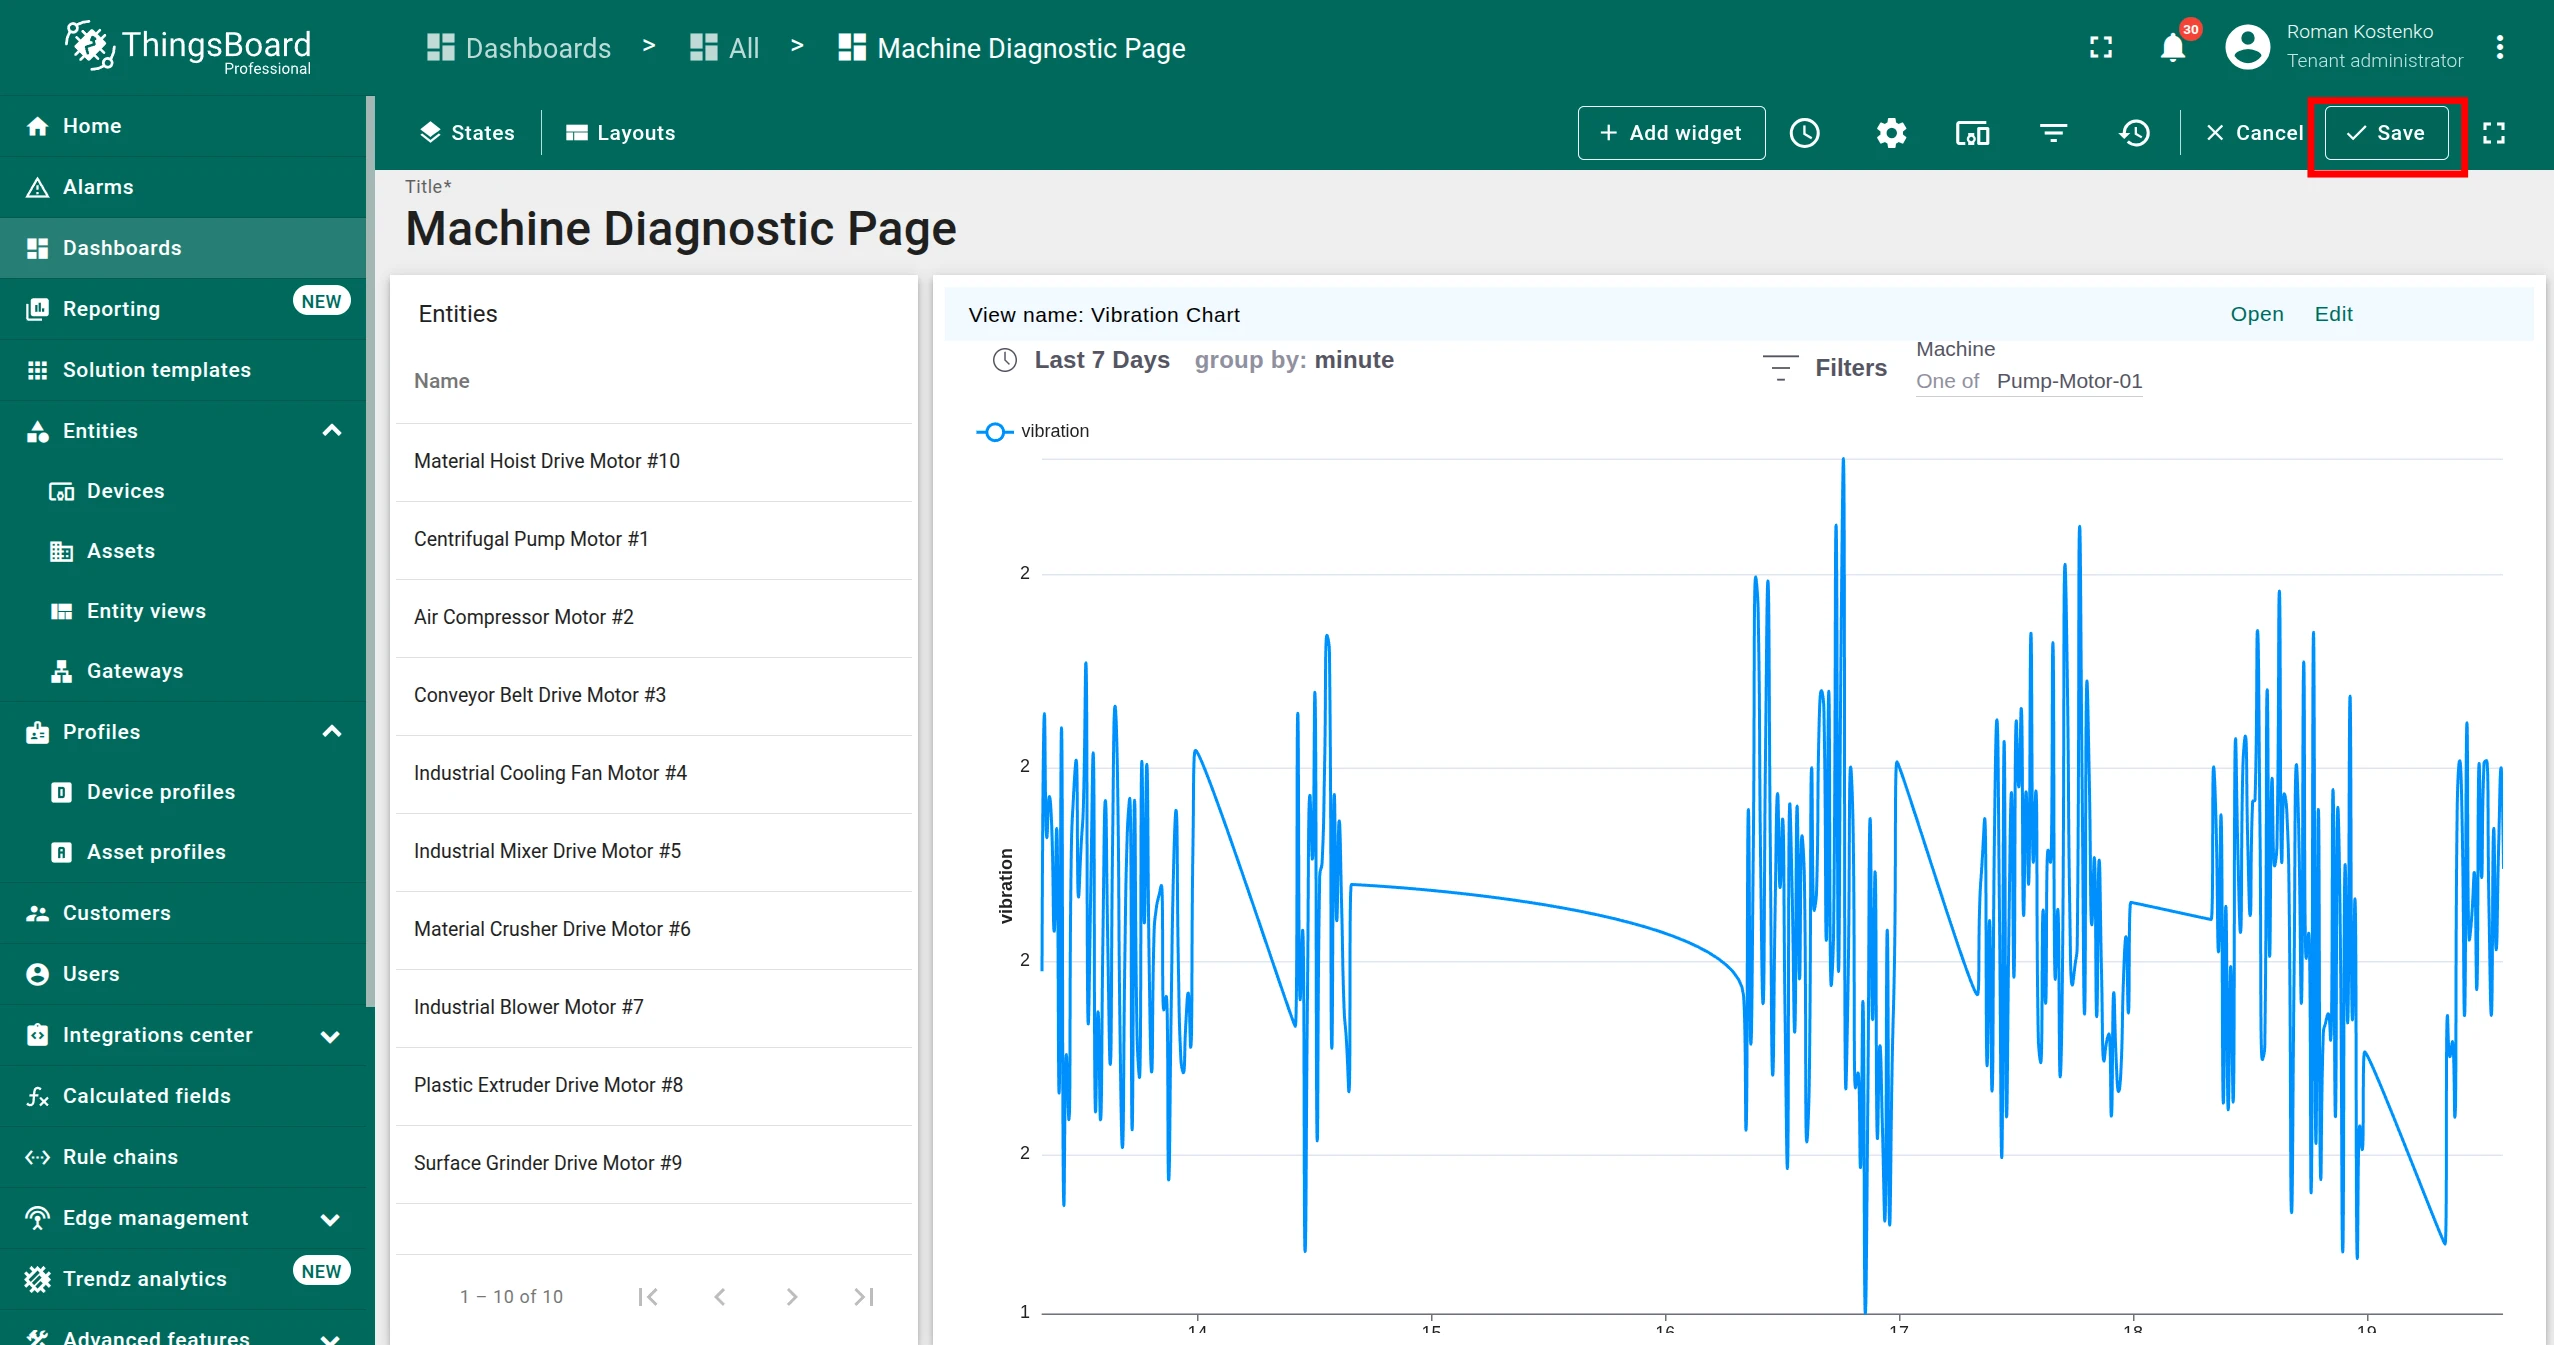
-
Click Apply, then Save.

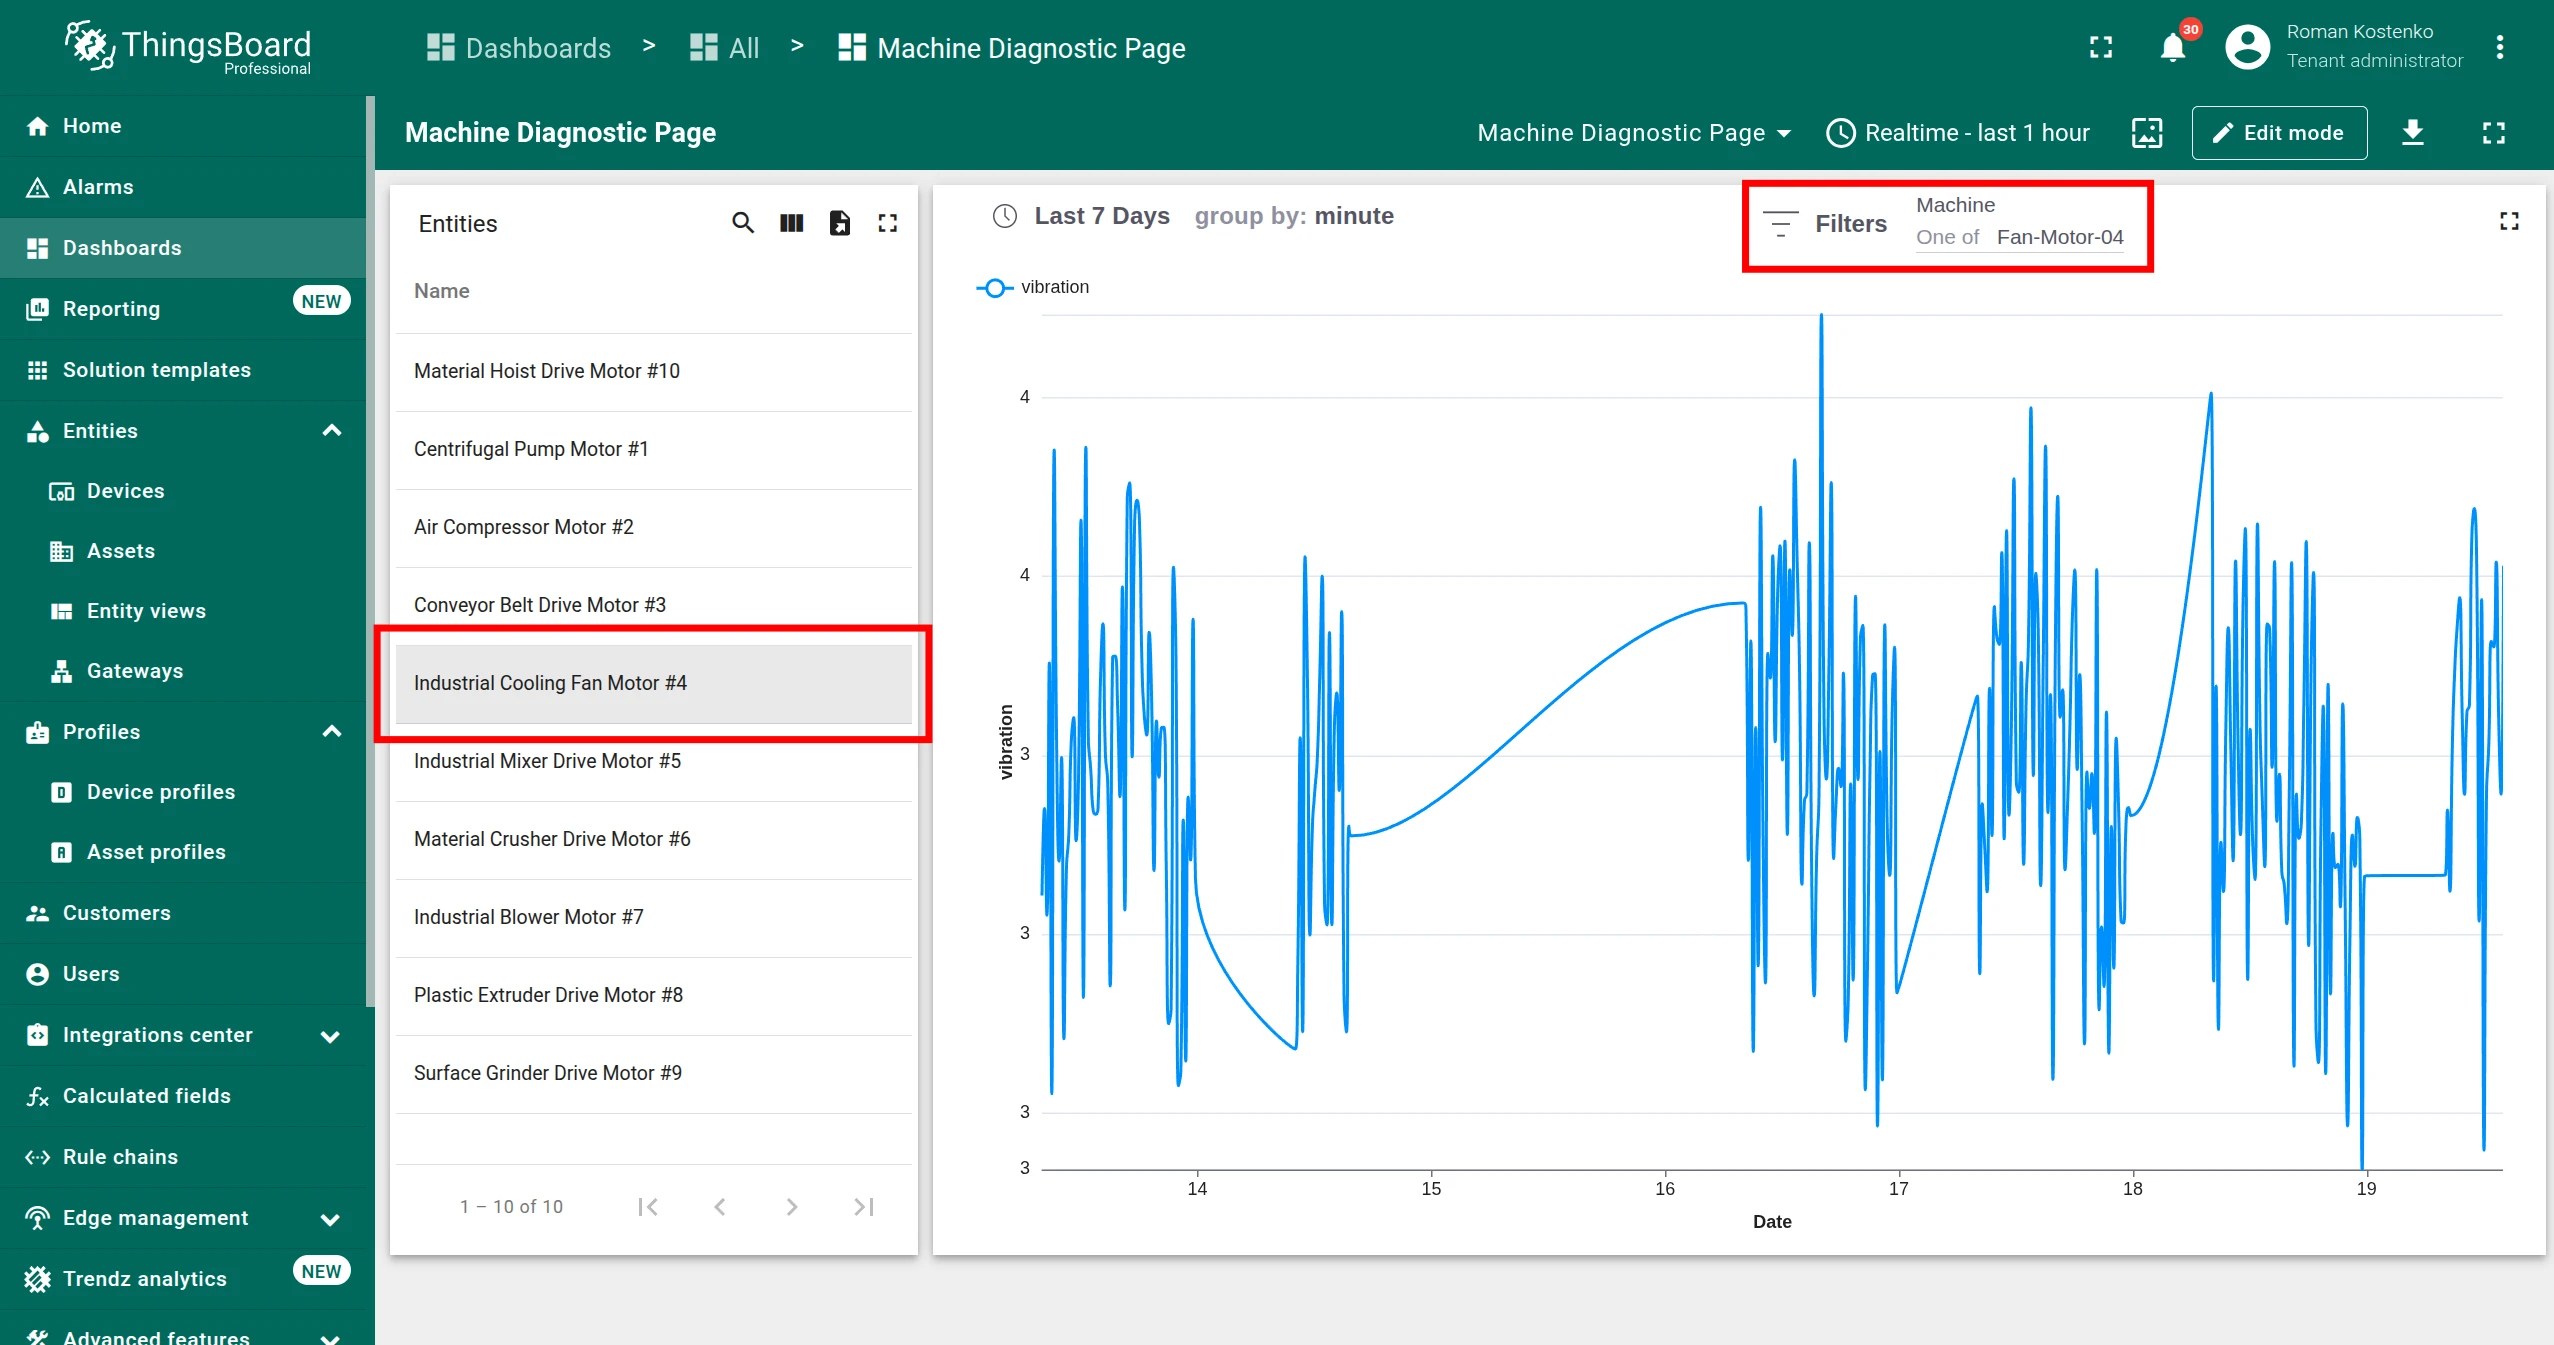
Verify the result
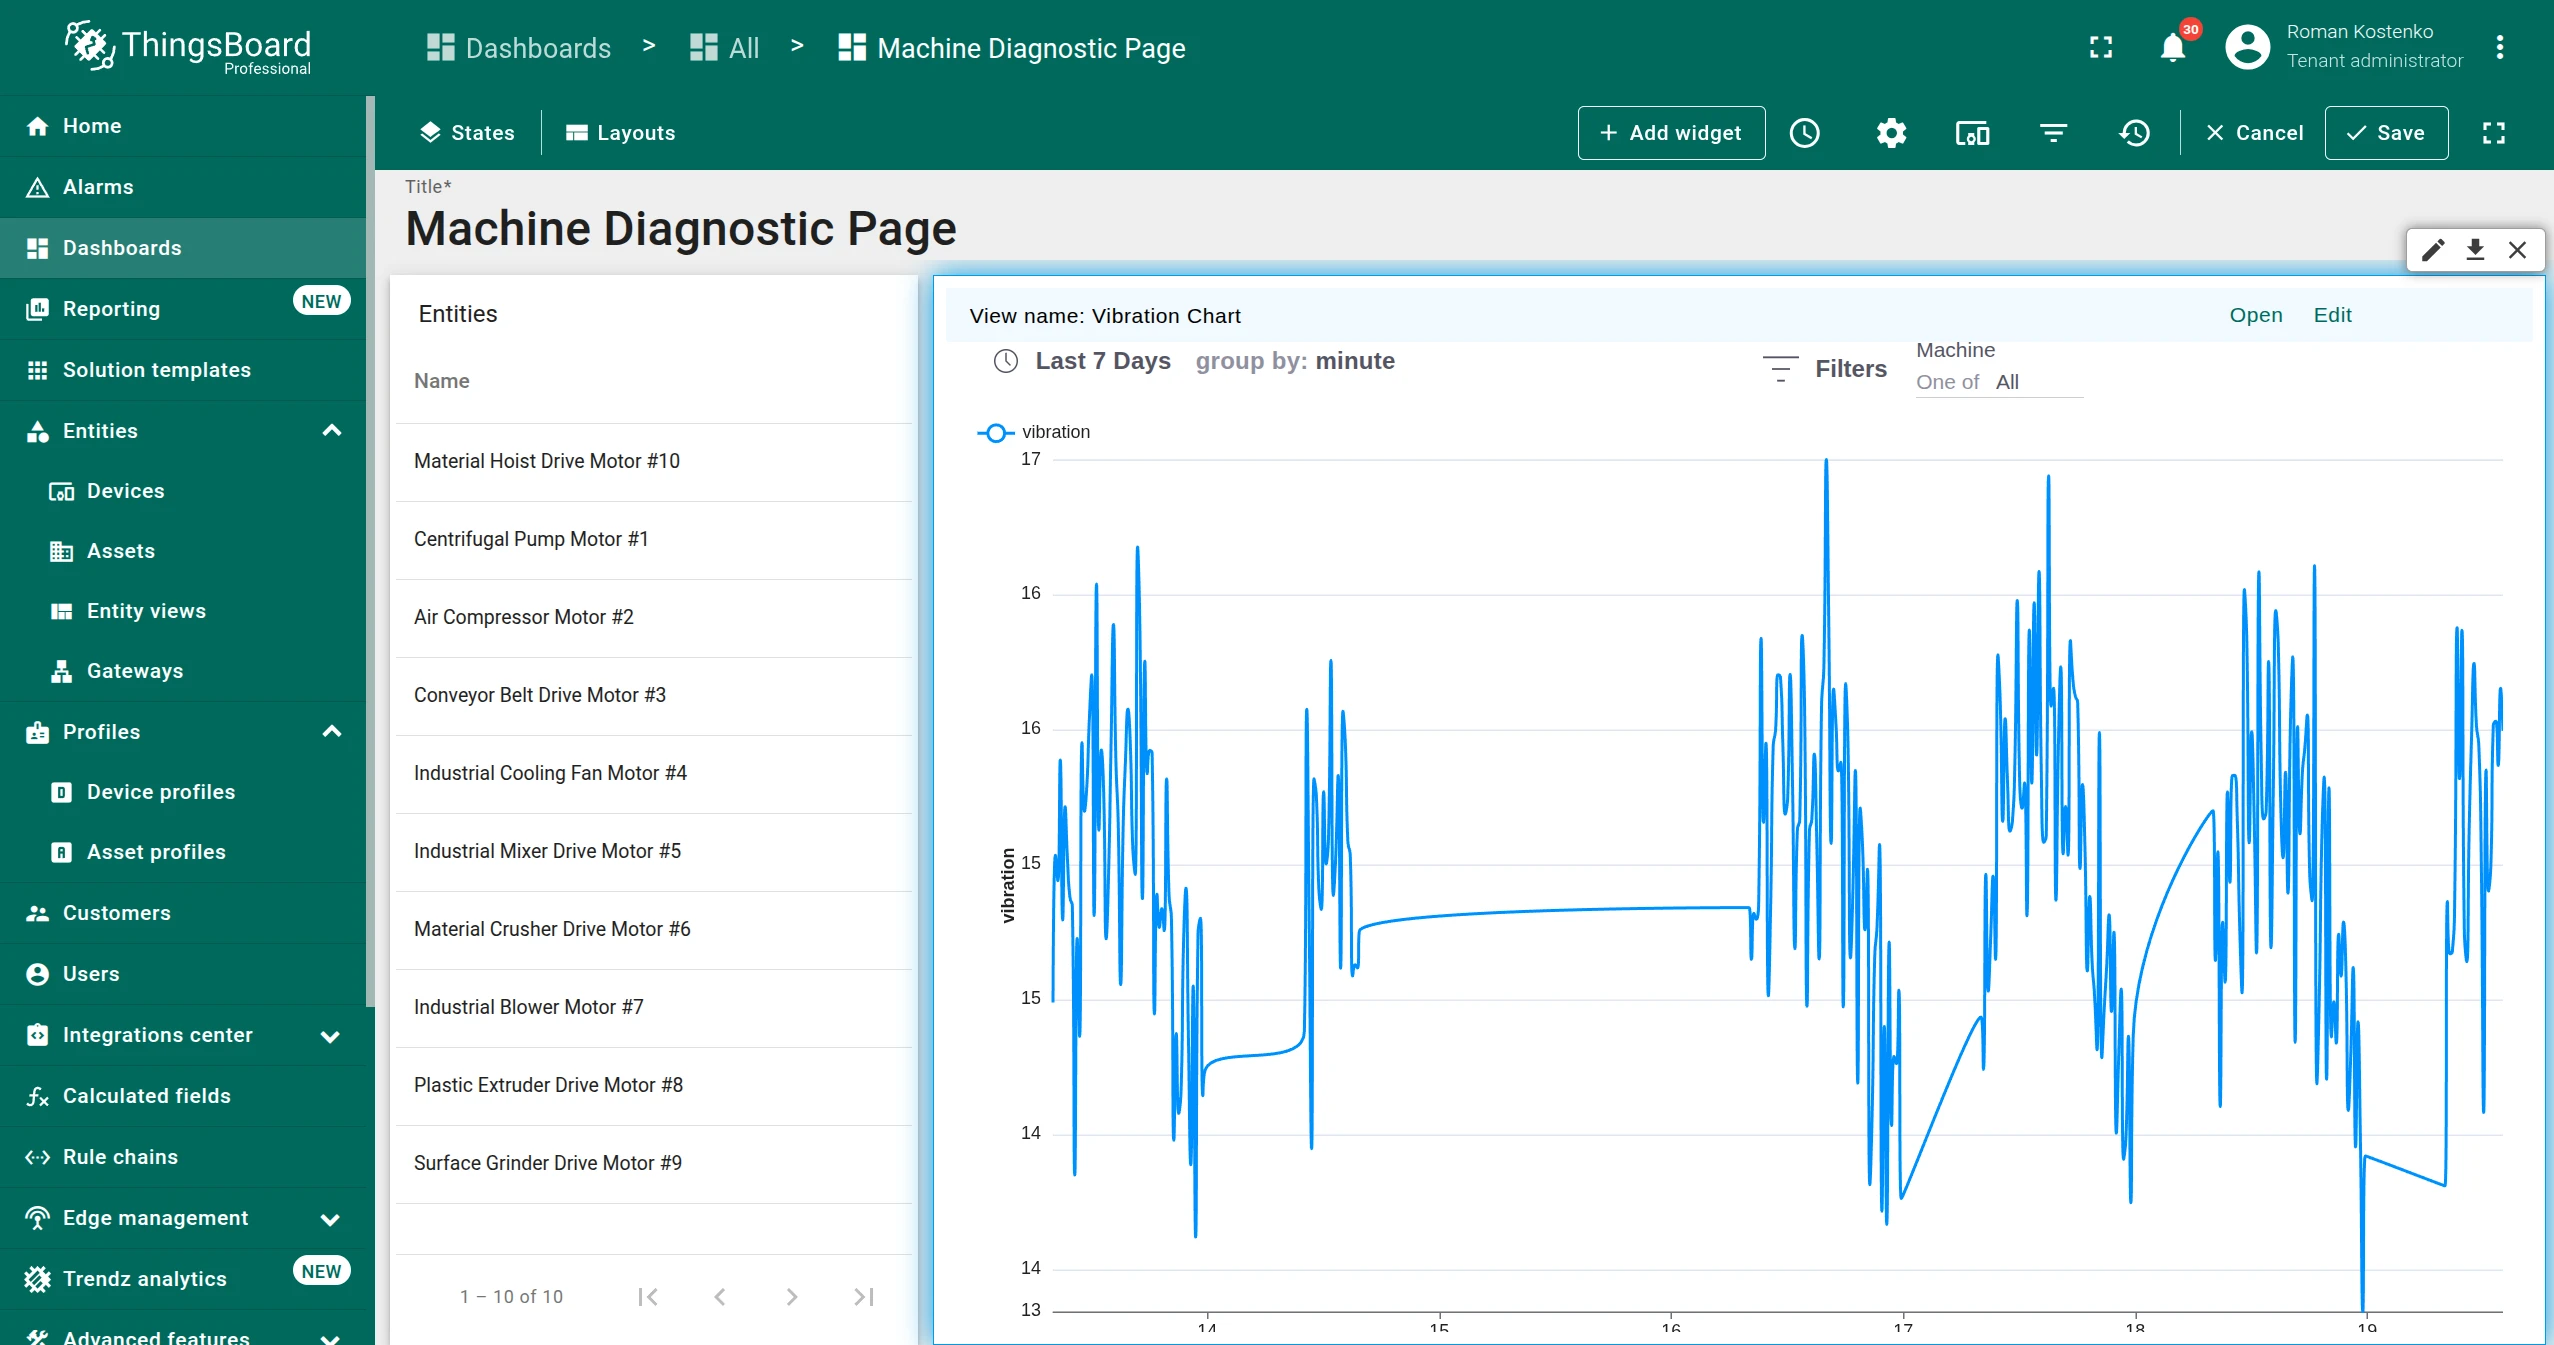
Section titled “Verify the result”Click a machine in the Entities table — the Trendz view should instantly re-render to show data for the selected entity. The filter chip in the top-right of the view reflects the current selection.
Was this helpful?