Settings
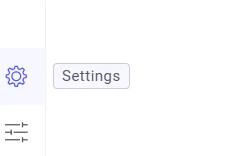
The Settings page gives you control over system-level configuration, AI integrations, and white labeling. Navigate to it by clicking the Settings button in the bottom-left corner of the screen.
System
Section titled “System”Import / Export
Section titled “Import / Export”Use the built-in Import/Export mechanism to migrate configuration from one Trendz instance to another.
The following items can be exported and imported:
- Business Entities and their Fields
- View Configurations and View Collections
- Calculation Fields
- Prediction Models
- Anomaly Models and Anomalies
- AI Assistant Chats and Messages
- Prompts
- Tasks
Exporting
Click the Export button — the configuration file downloads automatically.
Importing
- Click the Import button and select the previously exported file.
- Configure the Skip duplicates option:
- True — duplicate items in the import file are silently ignored.
- False — duplicate items cause import errors.
- Click Import Configuration. A confirmation message appears on success.
Cache Management
Section titled “Cache Management”Manage cache layers used by Trendz — such as clearing local or telemetry cache. See the Cache Settings documentation for details.
External Data Source
Section titled “External Data Source”Configure and manage external SQL data sources and integrate them with Trendz views. See the external datasource guide for details.
AI Settings
Section titled “AI Settings”Configure the AI model used by the following features:
See AI Settings to learn how to set up a custom AI model.
White Labeling
Section titled “White Labeling”Customize the Trendz UI — logo, colors, and labels — to match your brand identity. See the White Labeling documentation for full configuration options.
General
Section titled “General”Signing Key
Section titled “Signing Key”For background operations (sending generated telemetry, continuous prediction model fitting, forecasting), Trendz must authenticate with ThingsBoard on behalf of a user. Storing user credentials in memory is insecure — instead, Trendz uses a JWT signing key stored in configuration files on the server.
The Signing Key panel at the bottom of the Settings page shows the current key status:


Getting the signing key from ThingsBoard
-
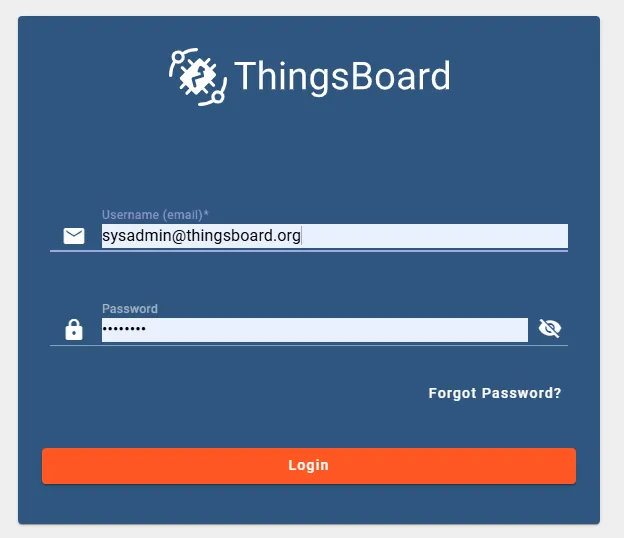
Log in to ThingsBoard as a System Administrator.
-
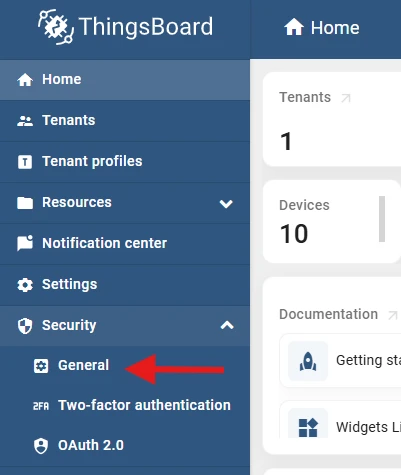
Go to Security → General.

-
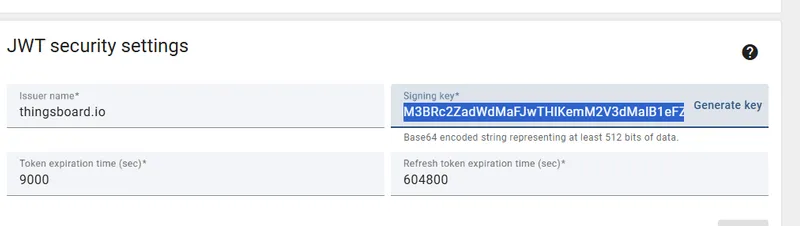
Scroll to the JWT Security Settings section and copy the value from the Signing key field.


Applying the signing key
Once you have the key, add it to the Trendz configuration for your installation type:
Ubuntu installation
- SSH into the server running Trendz.
- Open the Trendz configuration file:
Terminal window sudo nano /etc/trendz/conf/trendz.conf - Add the signing key at the end of the file:
Terminal window export JWT_TOKEN_SIGNING_KEY=<signing-key>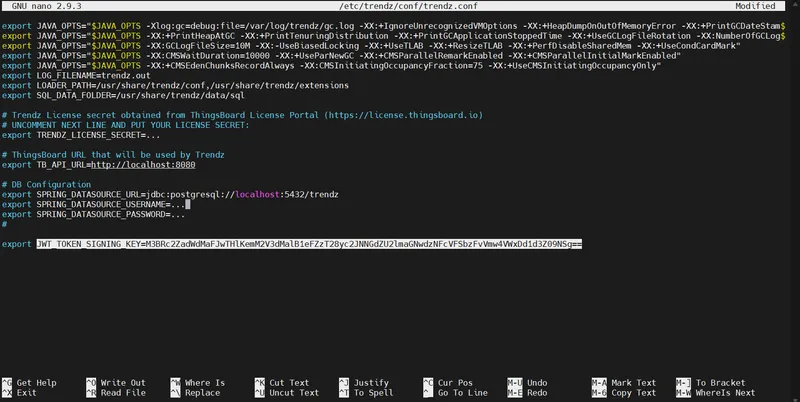
- Save the file and restart the Trendz service.

Docker Compose installation
- Open your
docker-compose.ymlfile. - Add an environment variable under the Trendz service:
environment:- JWT_TOKEN_SIGNING_KEY=<signing-key>
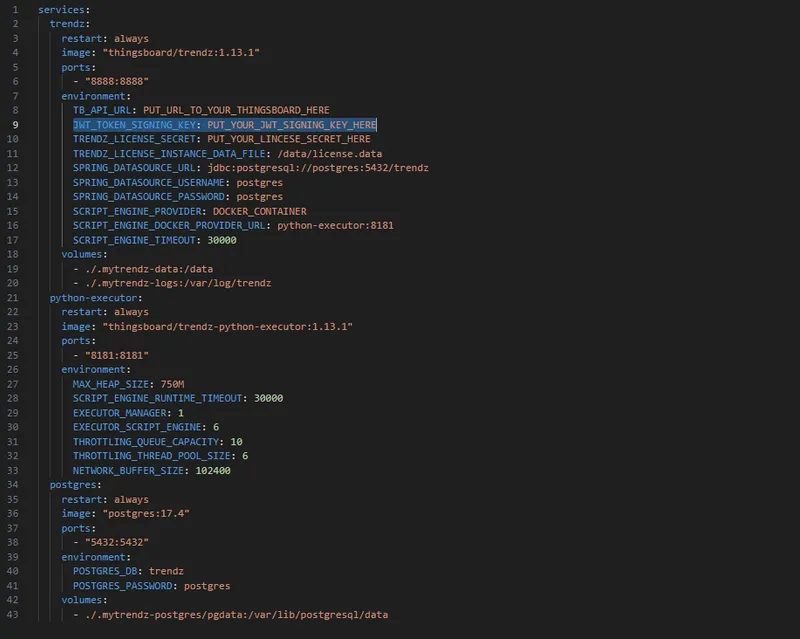
- Save the file and restart the Trendz container.

Trendz Widget Bundle
Section titled “Trendz Widget Bundle”The Trendz Widget Bundle must be uploaded to enable sharing Trendz views in ThingsBoard dashboards. See embedding Trendz visuals in ThingsBoard for usage instructions.
The Trendz Widget Bundle section shows one of the following statuses:
| Status | Meaning |
|---|---|
| Not installed | The bundle is missing. |
| Update required | A newer version is available. |
| Latest version installed | No action needed. |
| Bundle is invalid | The current bundle is corrupted or incomplete. |
If the status is anything other than Latest version installed, click the Upload bundle button to install or update it.
Trendz JS Summary Module
Section titled “Trendz JS Summary Module”The Trendz JS Summary Module is recommended for configuring AI Widget Summaries across ThingsBoard widgets. See AI Widget Summary for configuration instructions.
The Trendz JS Summary Module section shows one of the following statuses:
| Status | Meaning |
|---|---|
| Not installed | The module is missing. |
| Update required | A newer version is available. |
| Latest version installed | No action needed. |
If the status is anything other than Latest version installed, click the Upload Module button to install or update it.
Was this helpful?