Vibration Model Properties & Bearings
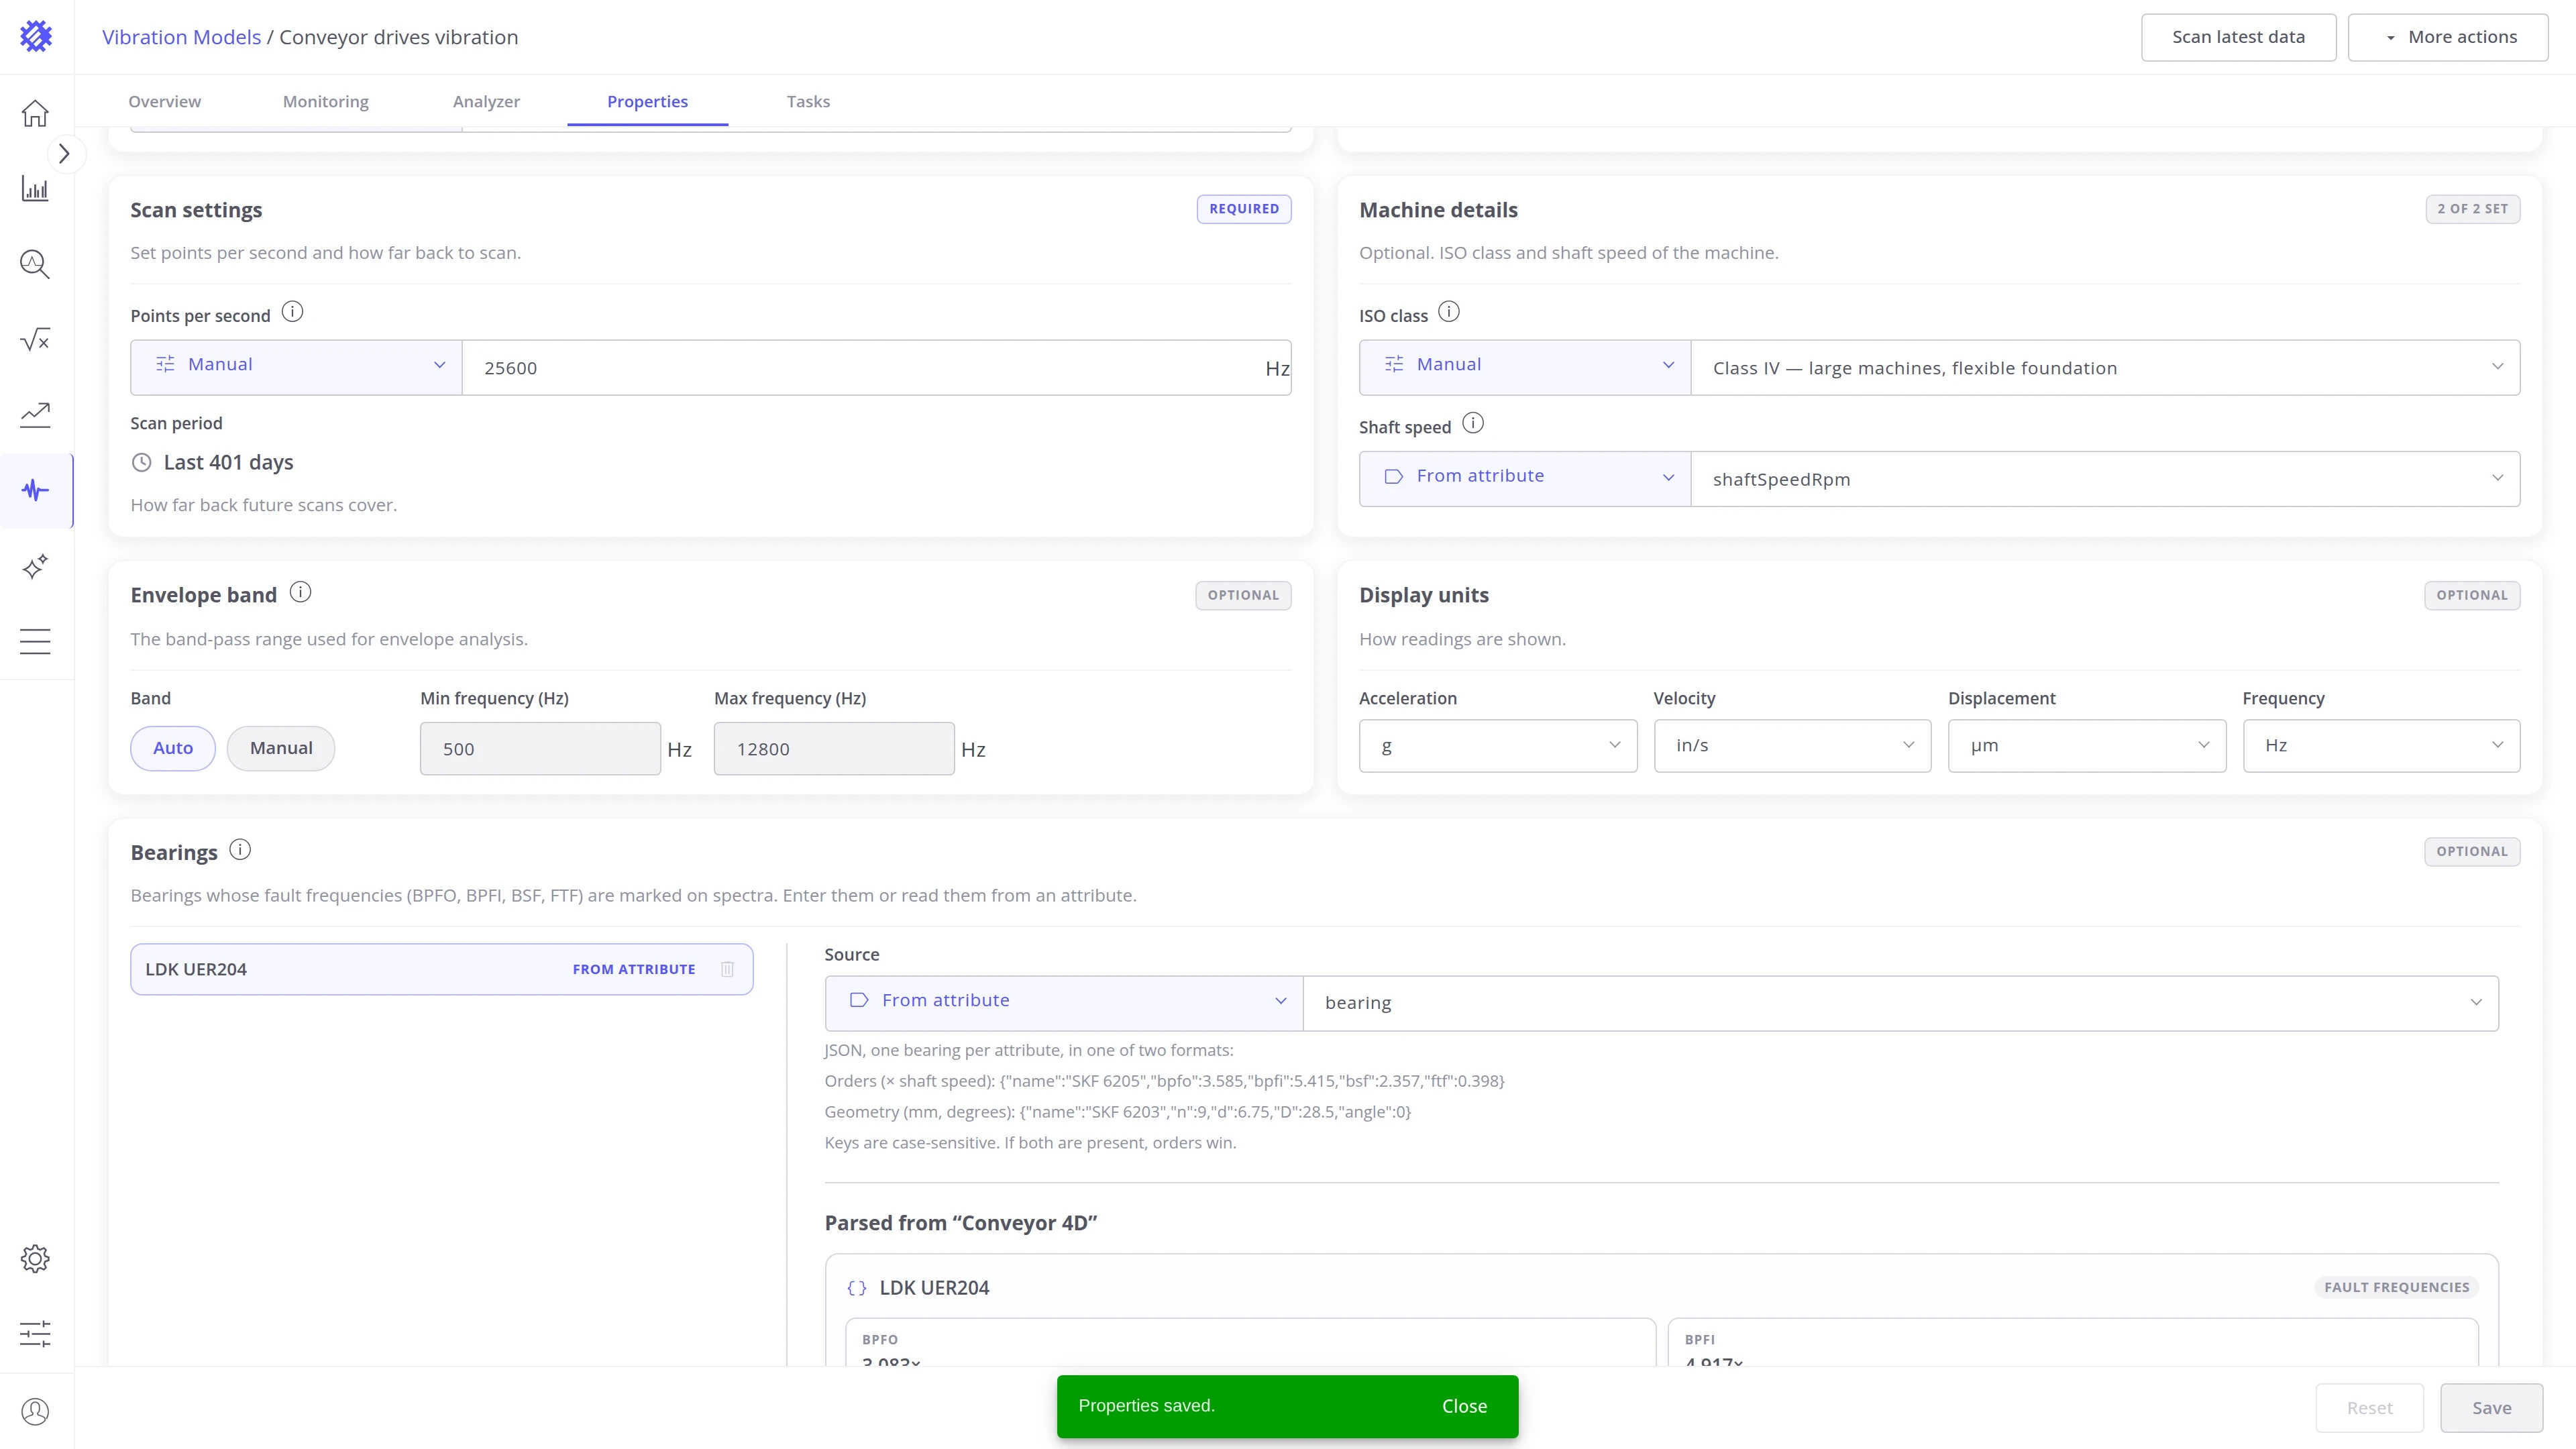
The Properties tab shows how the model is set up. Here you can check its settings, change them when needed, and add details the model does not have yet, such as the shaft speed, the ISO class, or the bearings.
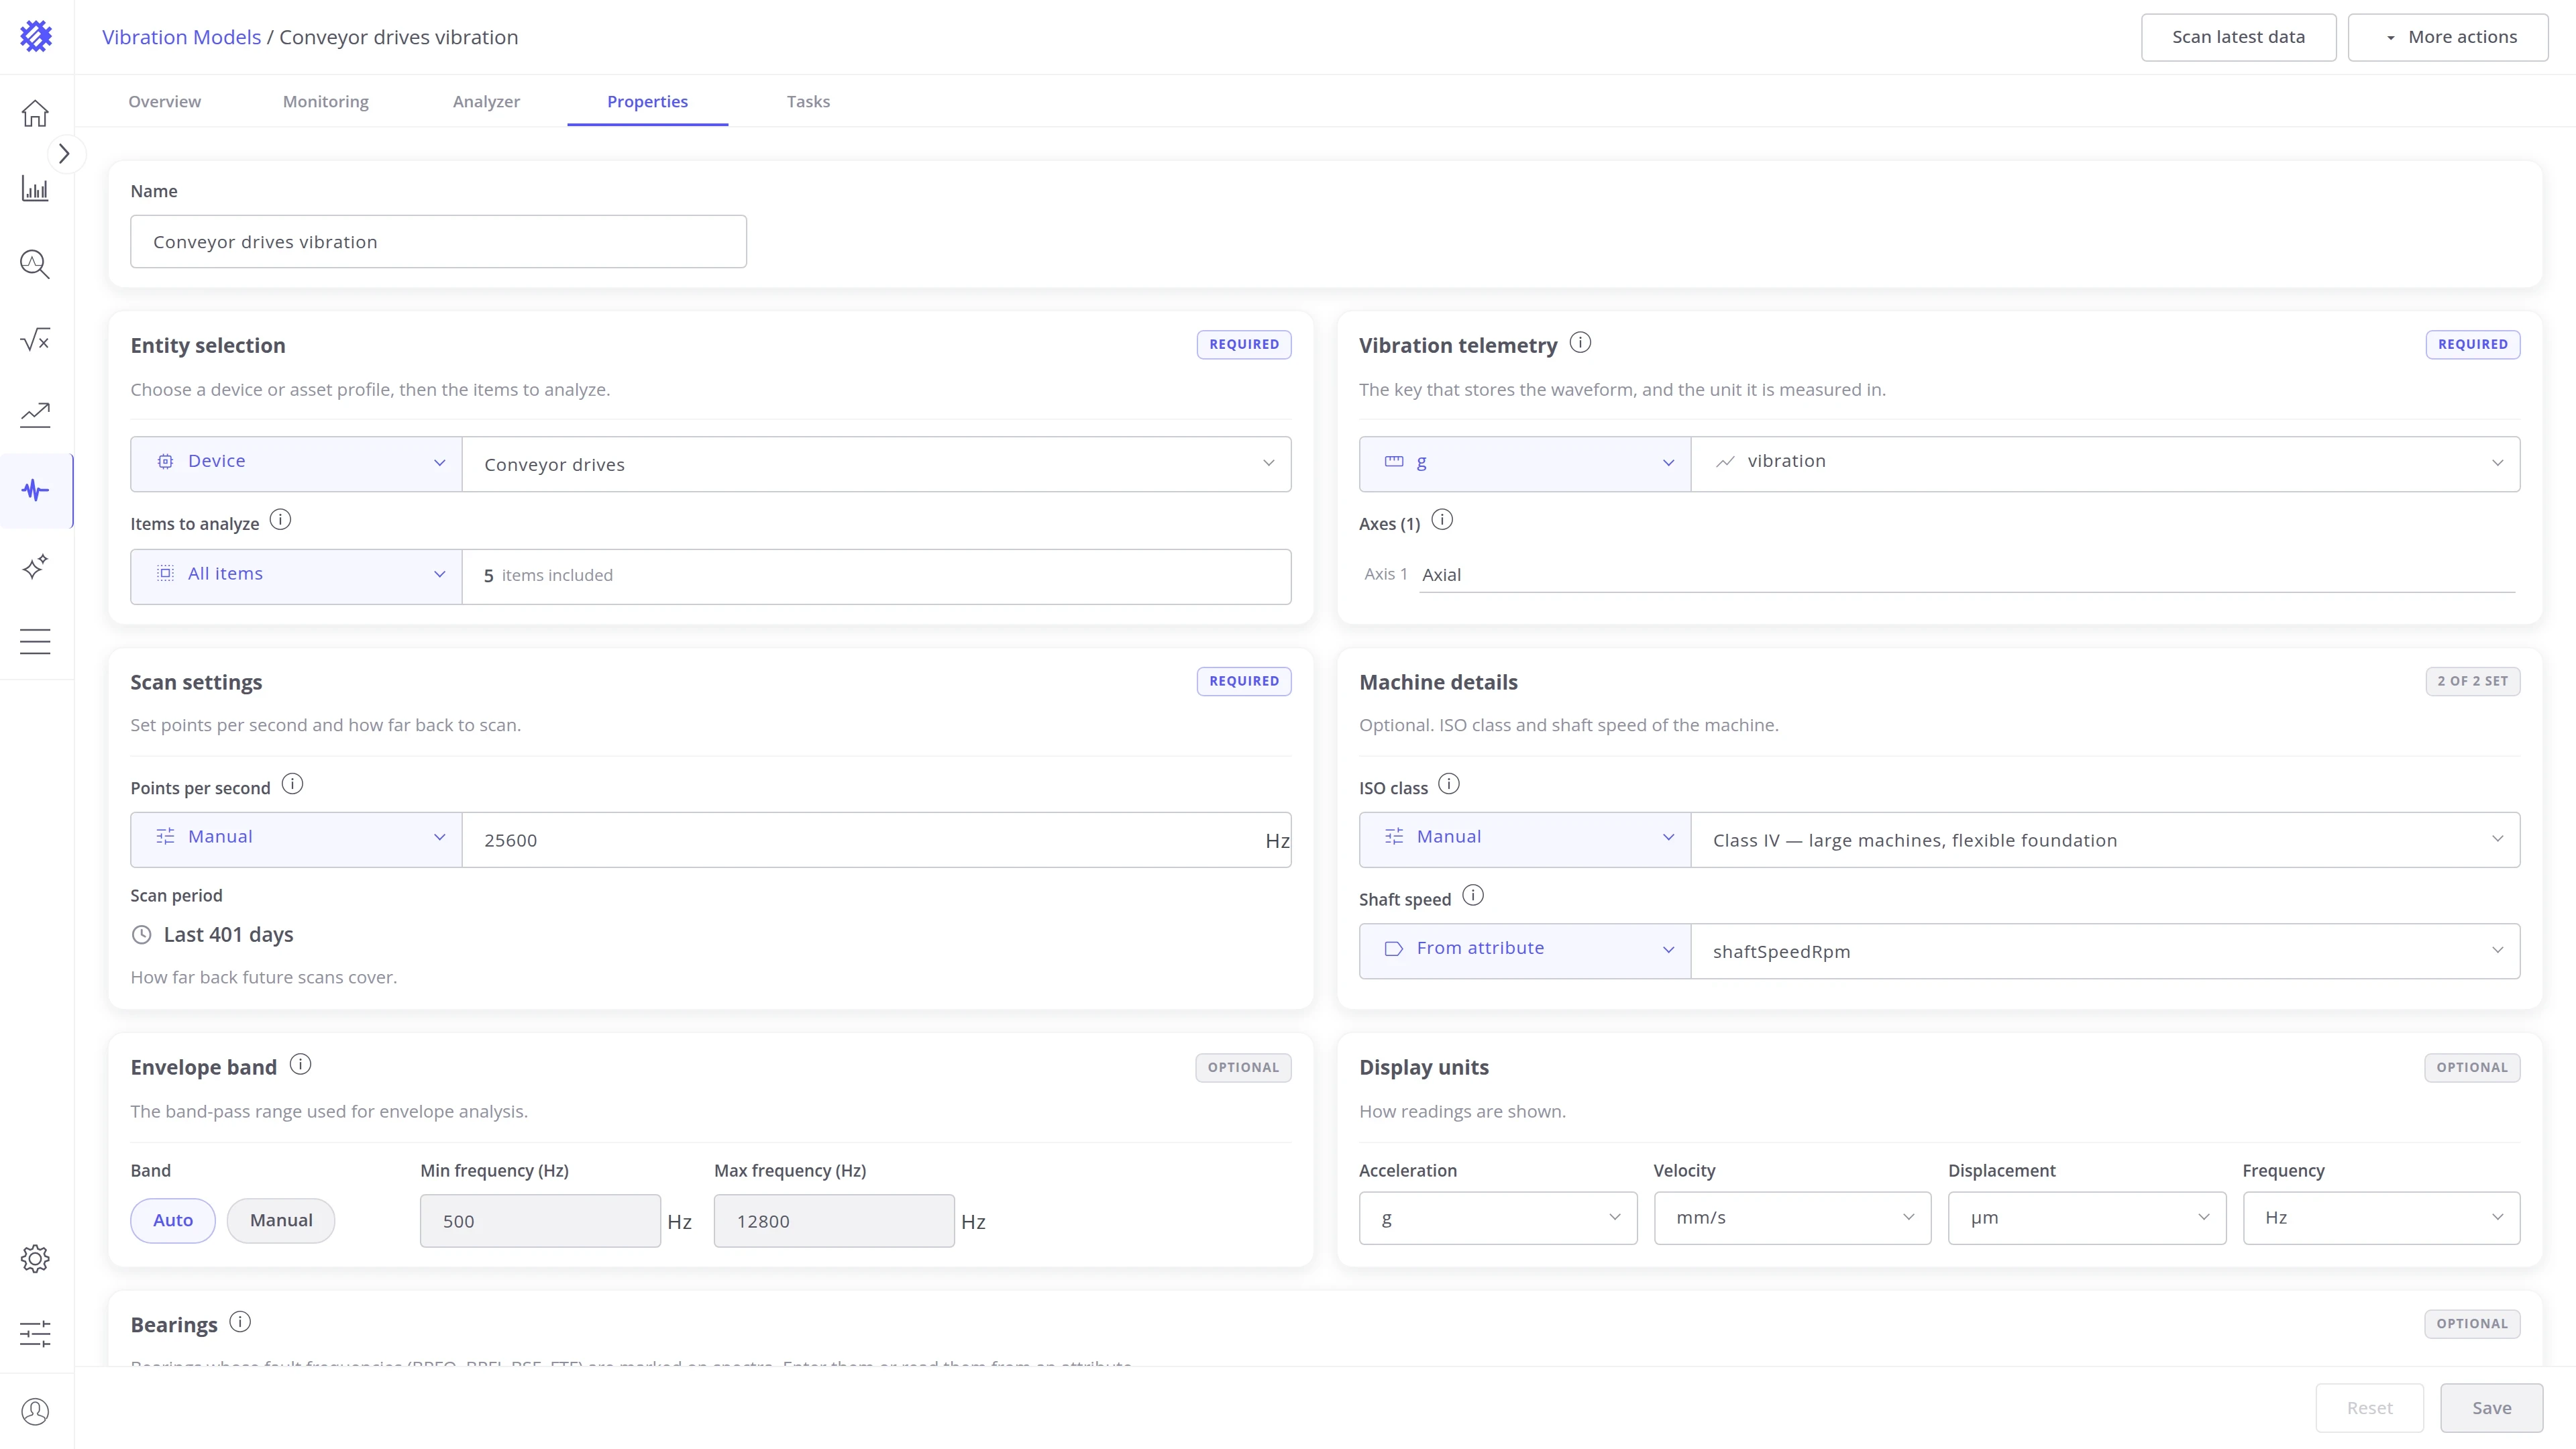
Layout
Section titled “Layout”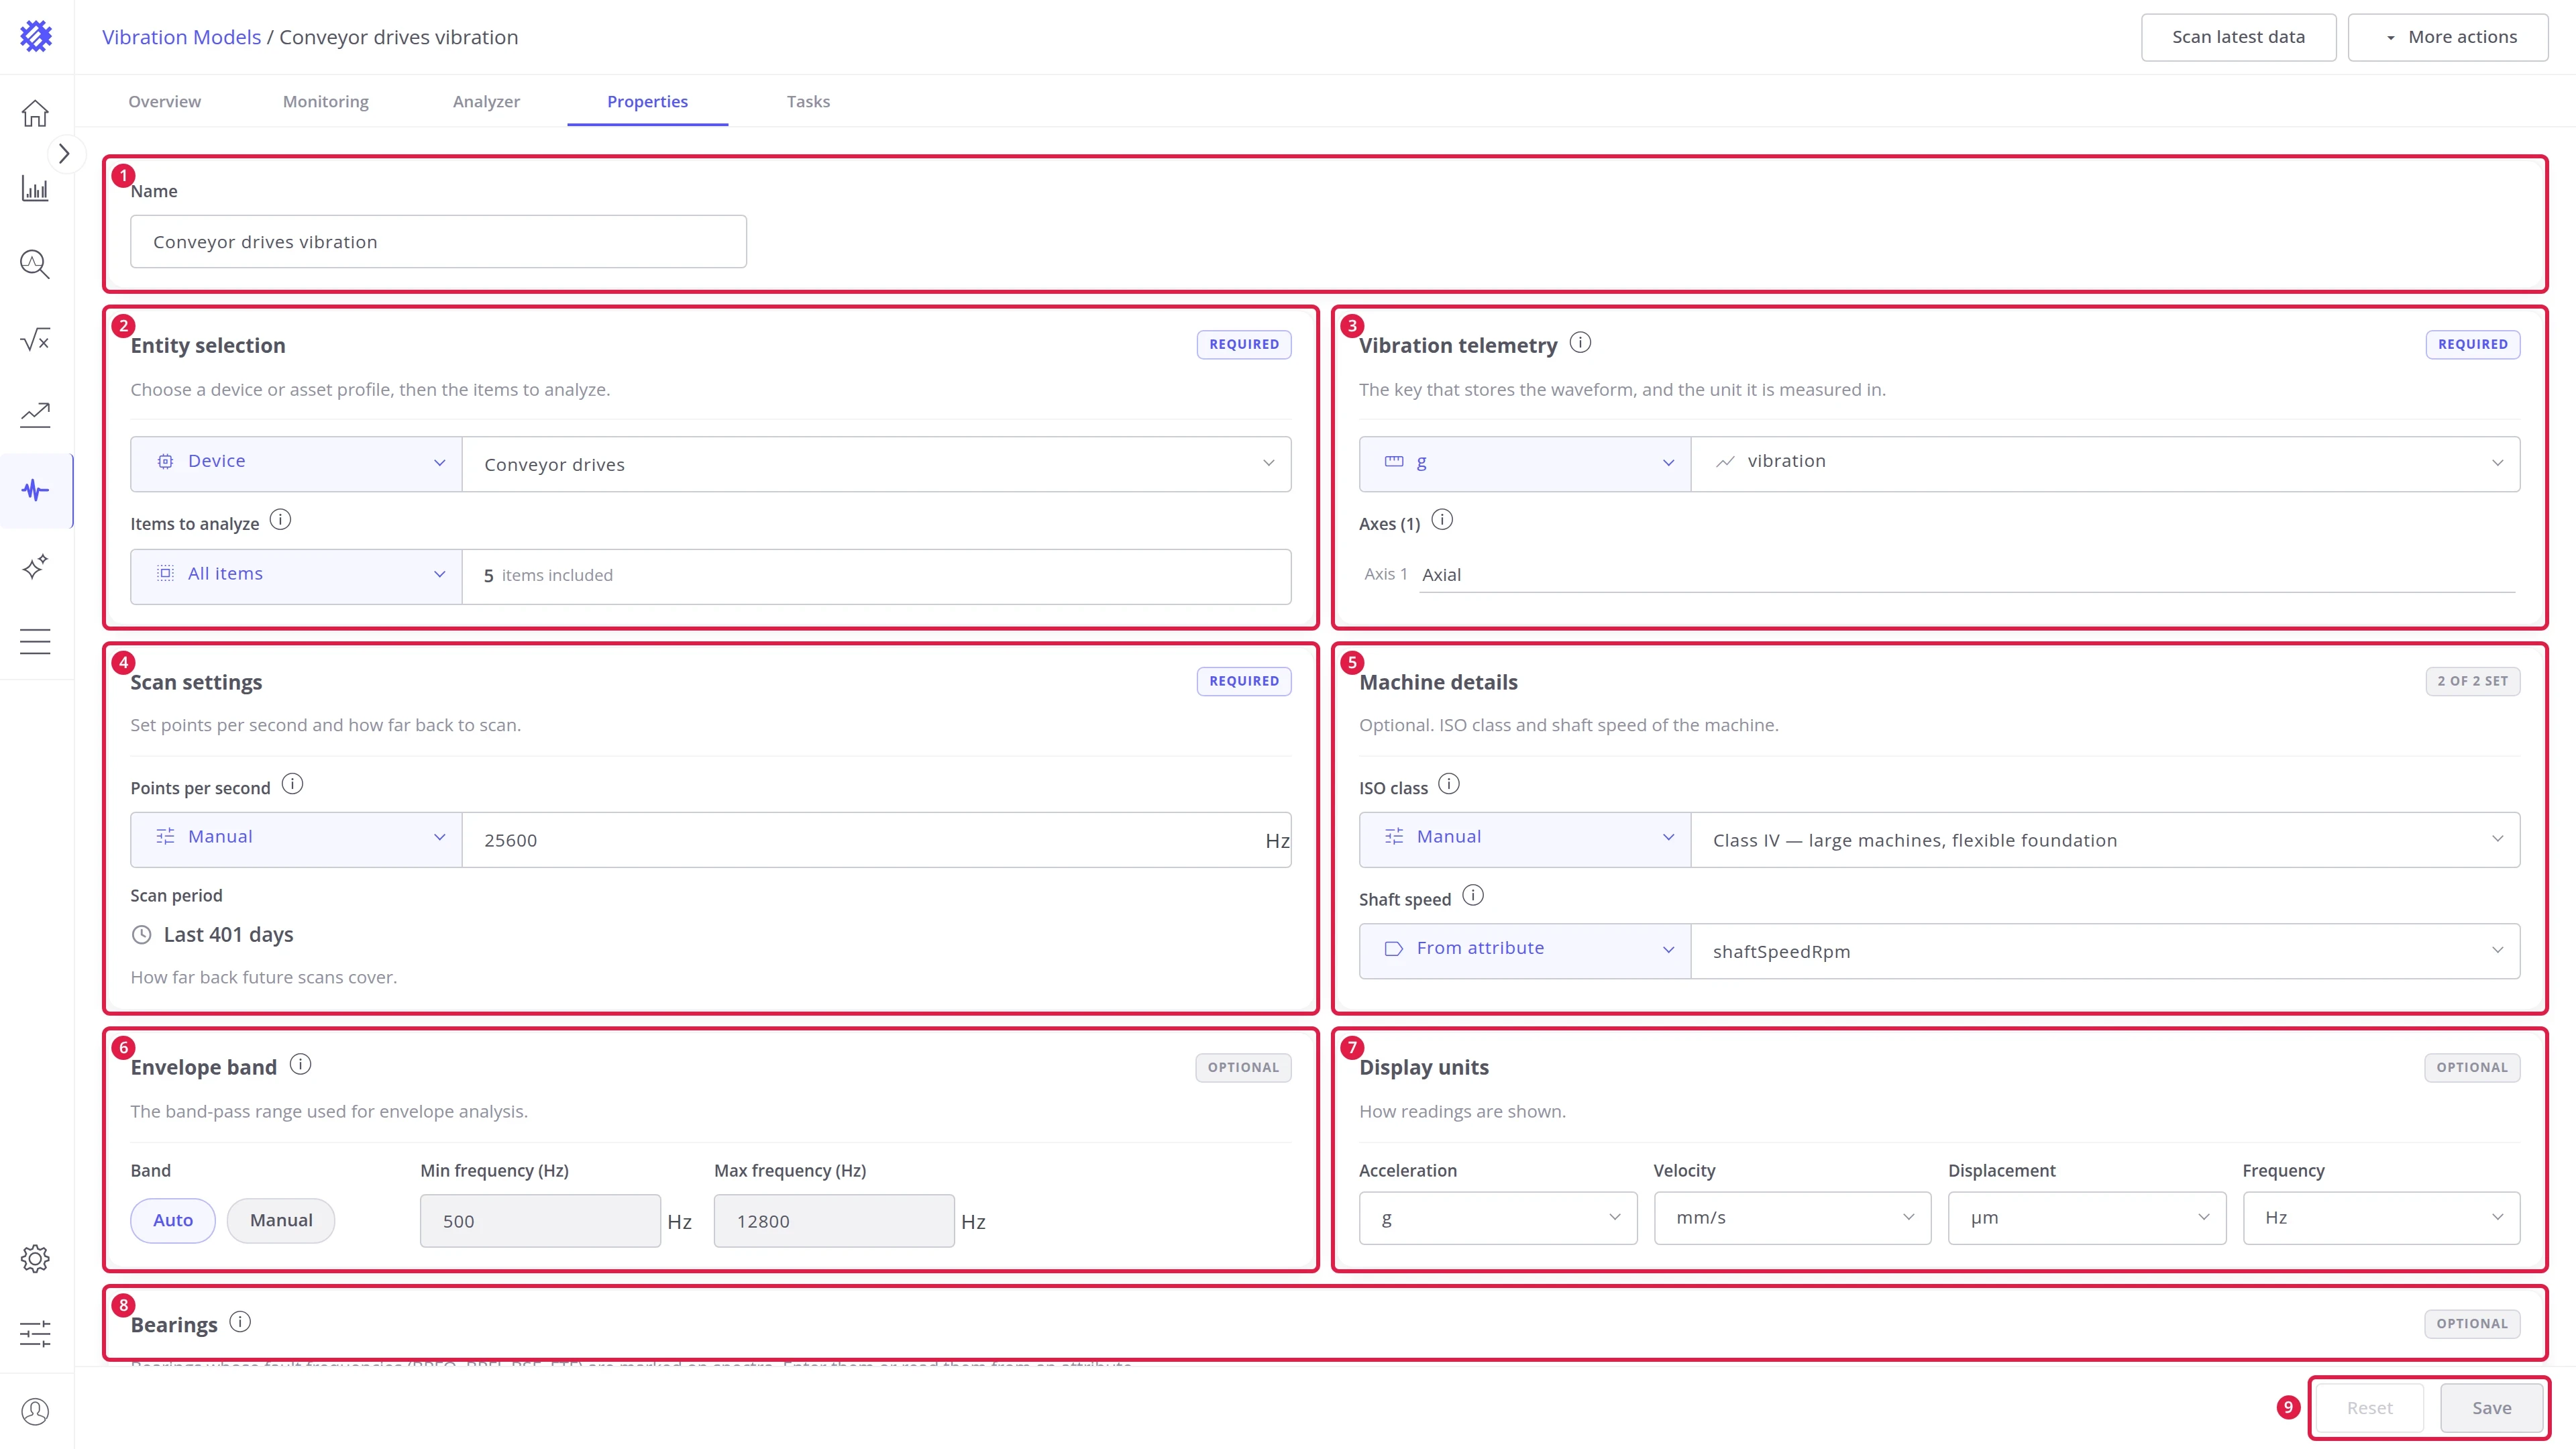
| # | Area | Contents |
|---|---|---|
| 1 | Name | The model name |
| 2 | Entity selection | The profile, and which of its items to analyze |
| 3 | Vibration telemetry | The waveform key, its unit, and the axes |
| 4 | Scan settings | Points per second, and how far back scans reach |
| 5 | Machine details | ISO class and shaft speed |
| 6 | Envelope band | The band-pass range of the envelope spectrum |
| 7 | Display units | How readings are shown on every tab |
| 8 | Bearings | The bearings whose fault frequencies are marked |
| 9 | Reset and Save | Discard or apply the edits |
The label in the corner of each card tells you how much it matters:
- Required: the model needs these settings to scan.
- Optional: extra details that make the results richer, such as bearing faults or ISO zones.
- 1 of 2 set, 2 of 2 set: how many of the card’s settings are filled in.
After you change something, click Save to apply it, or Reset to go back to the saved settings.
Components
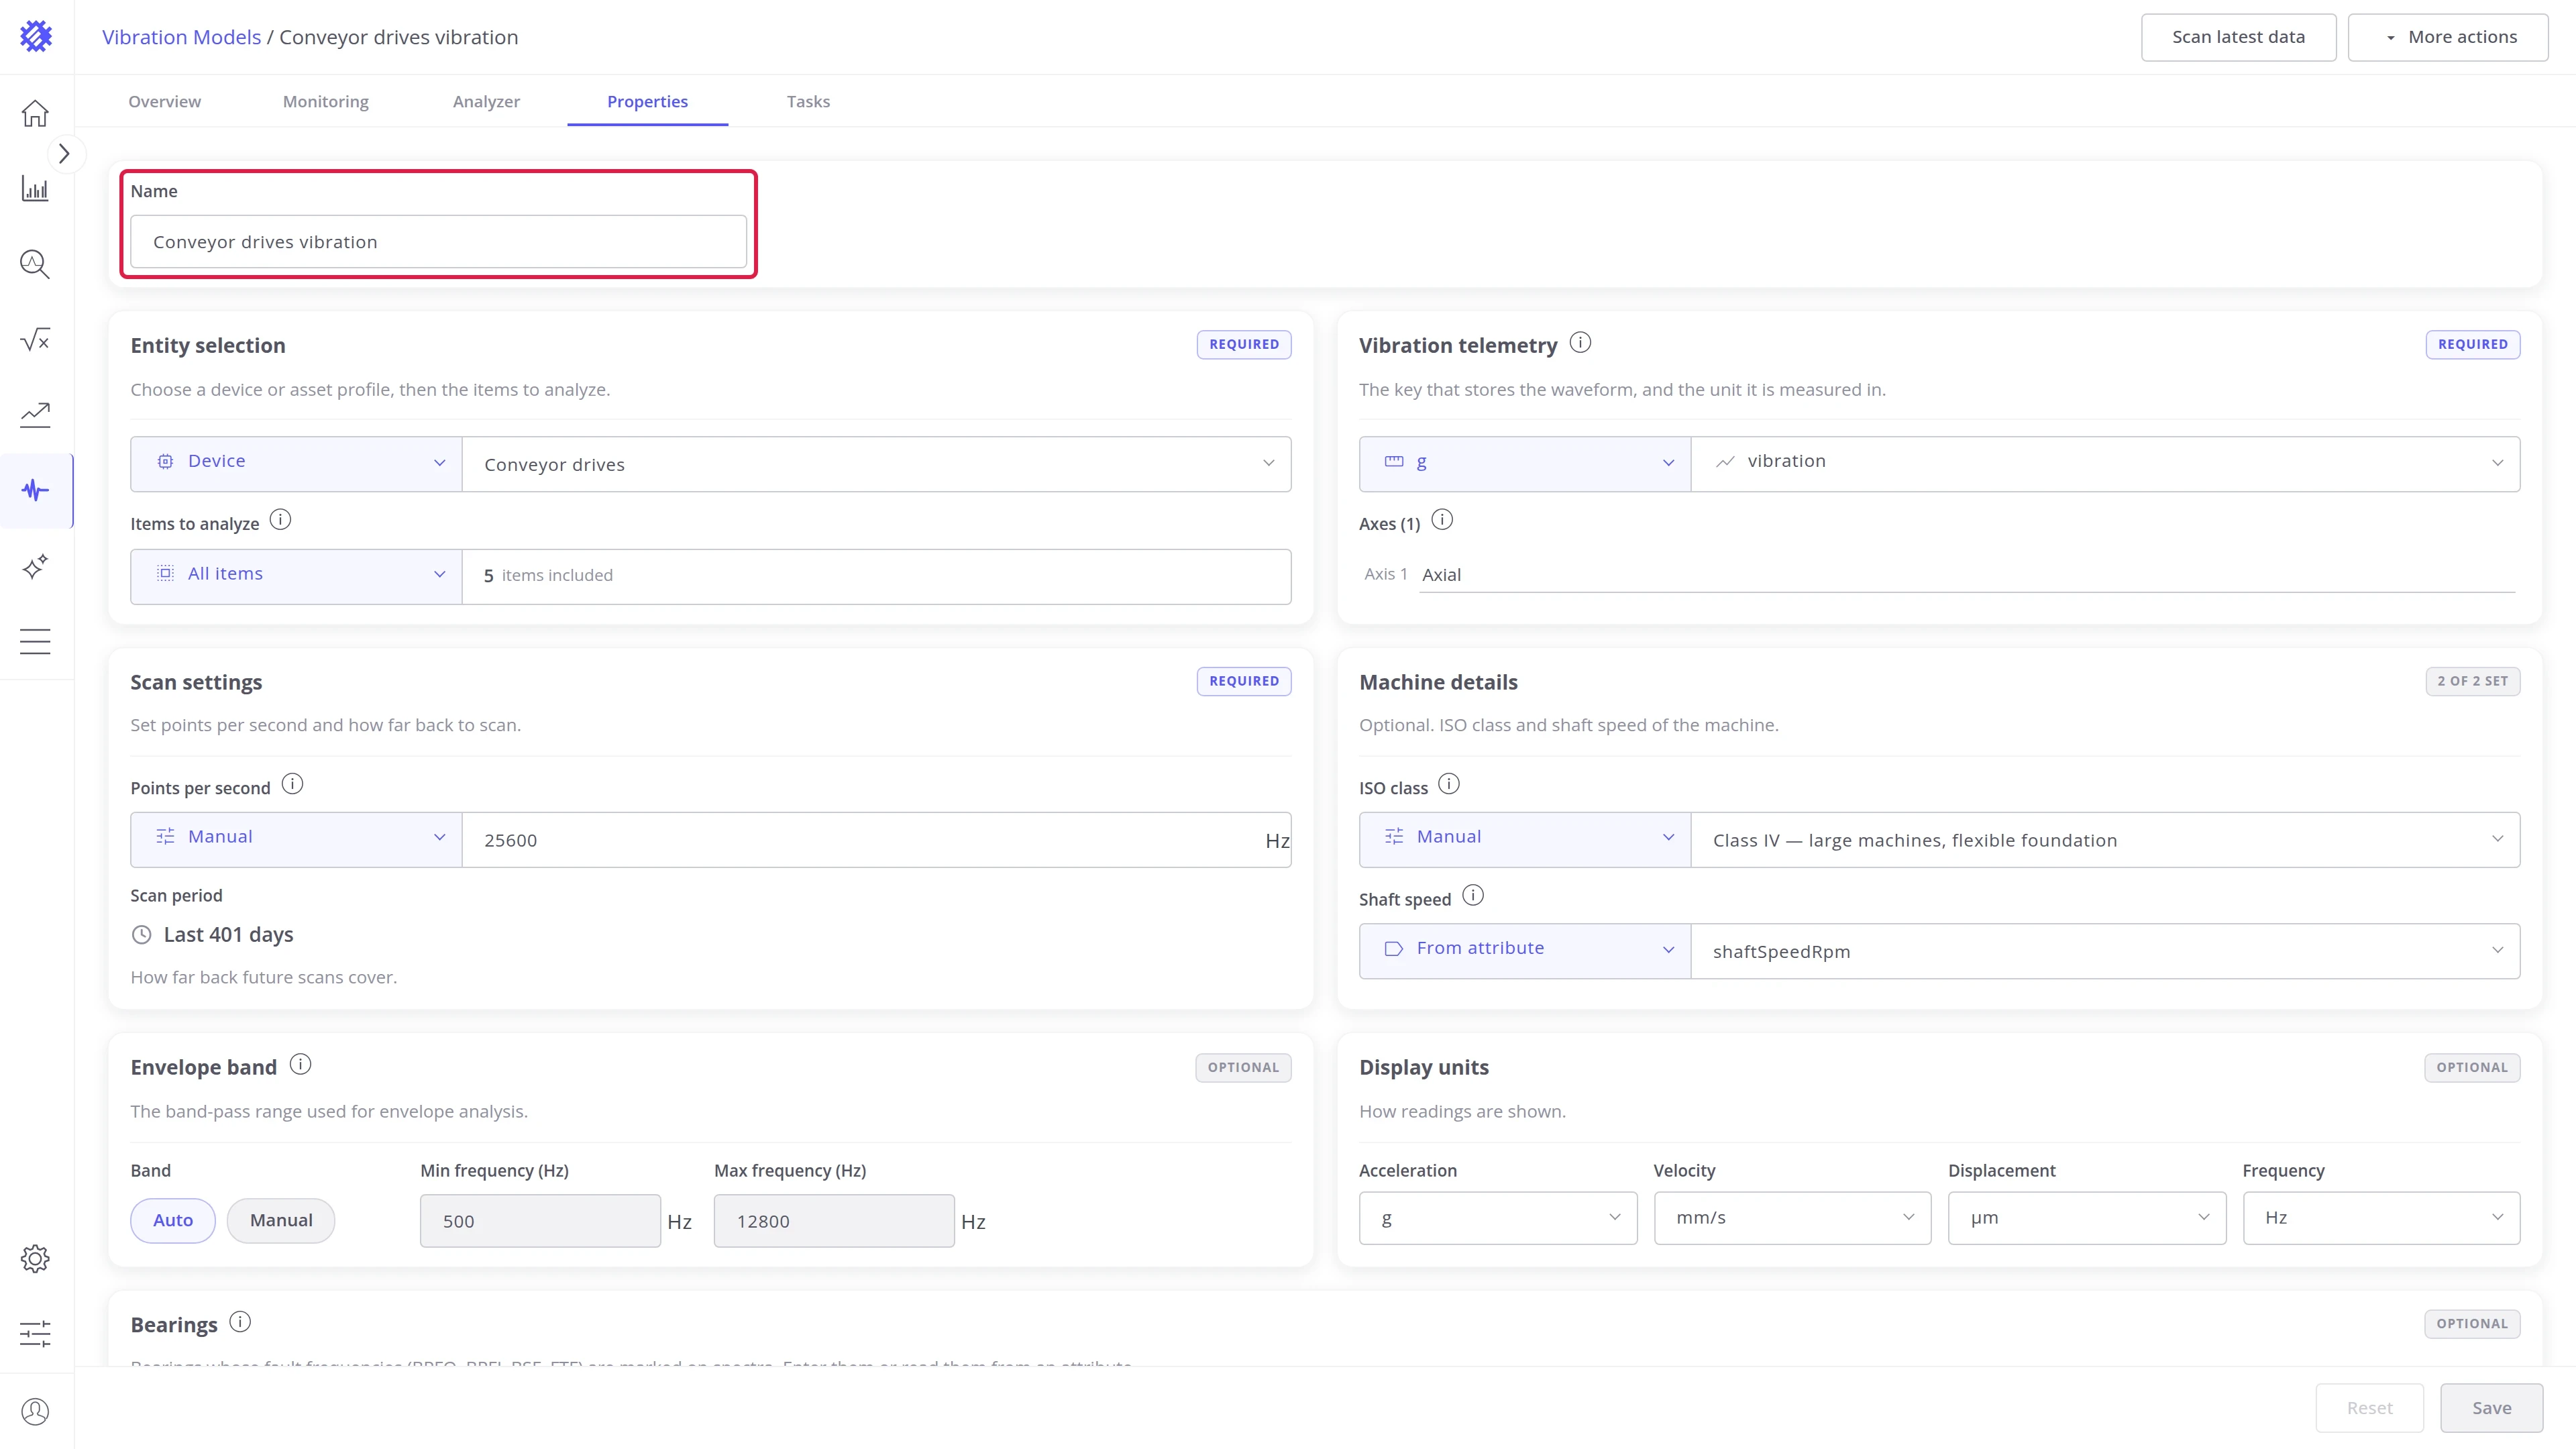
Section titled “Components”The name the model is listed under.
Entity selection
Section titled “Entity selection”What the model covers: a profile, and which of its items to analyze.
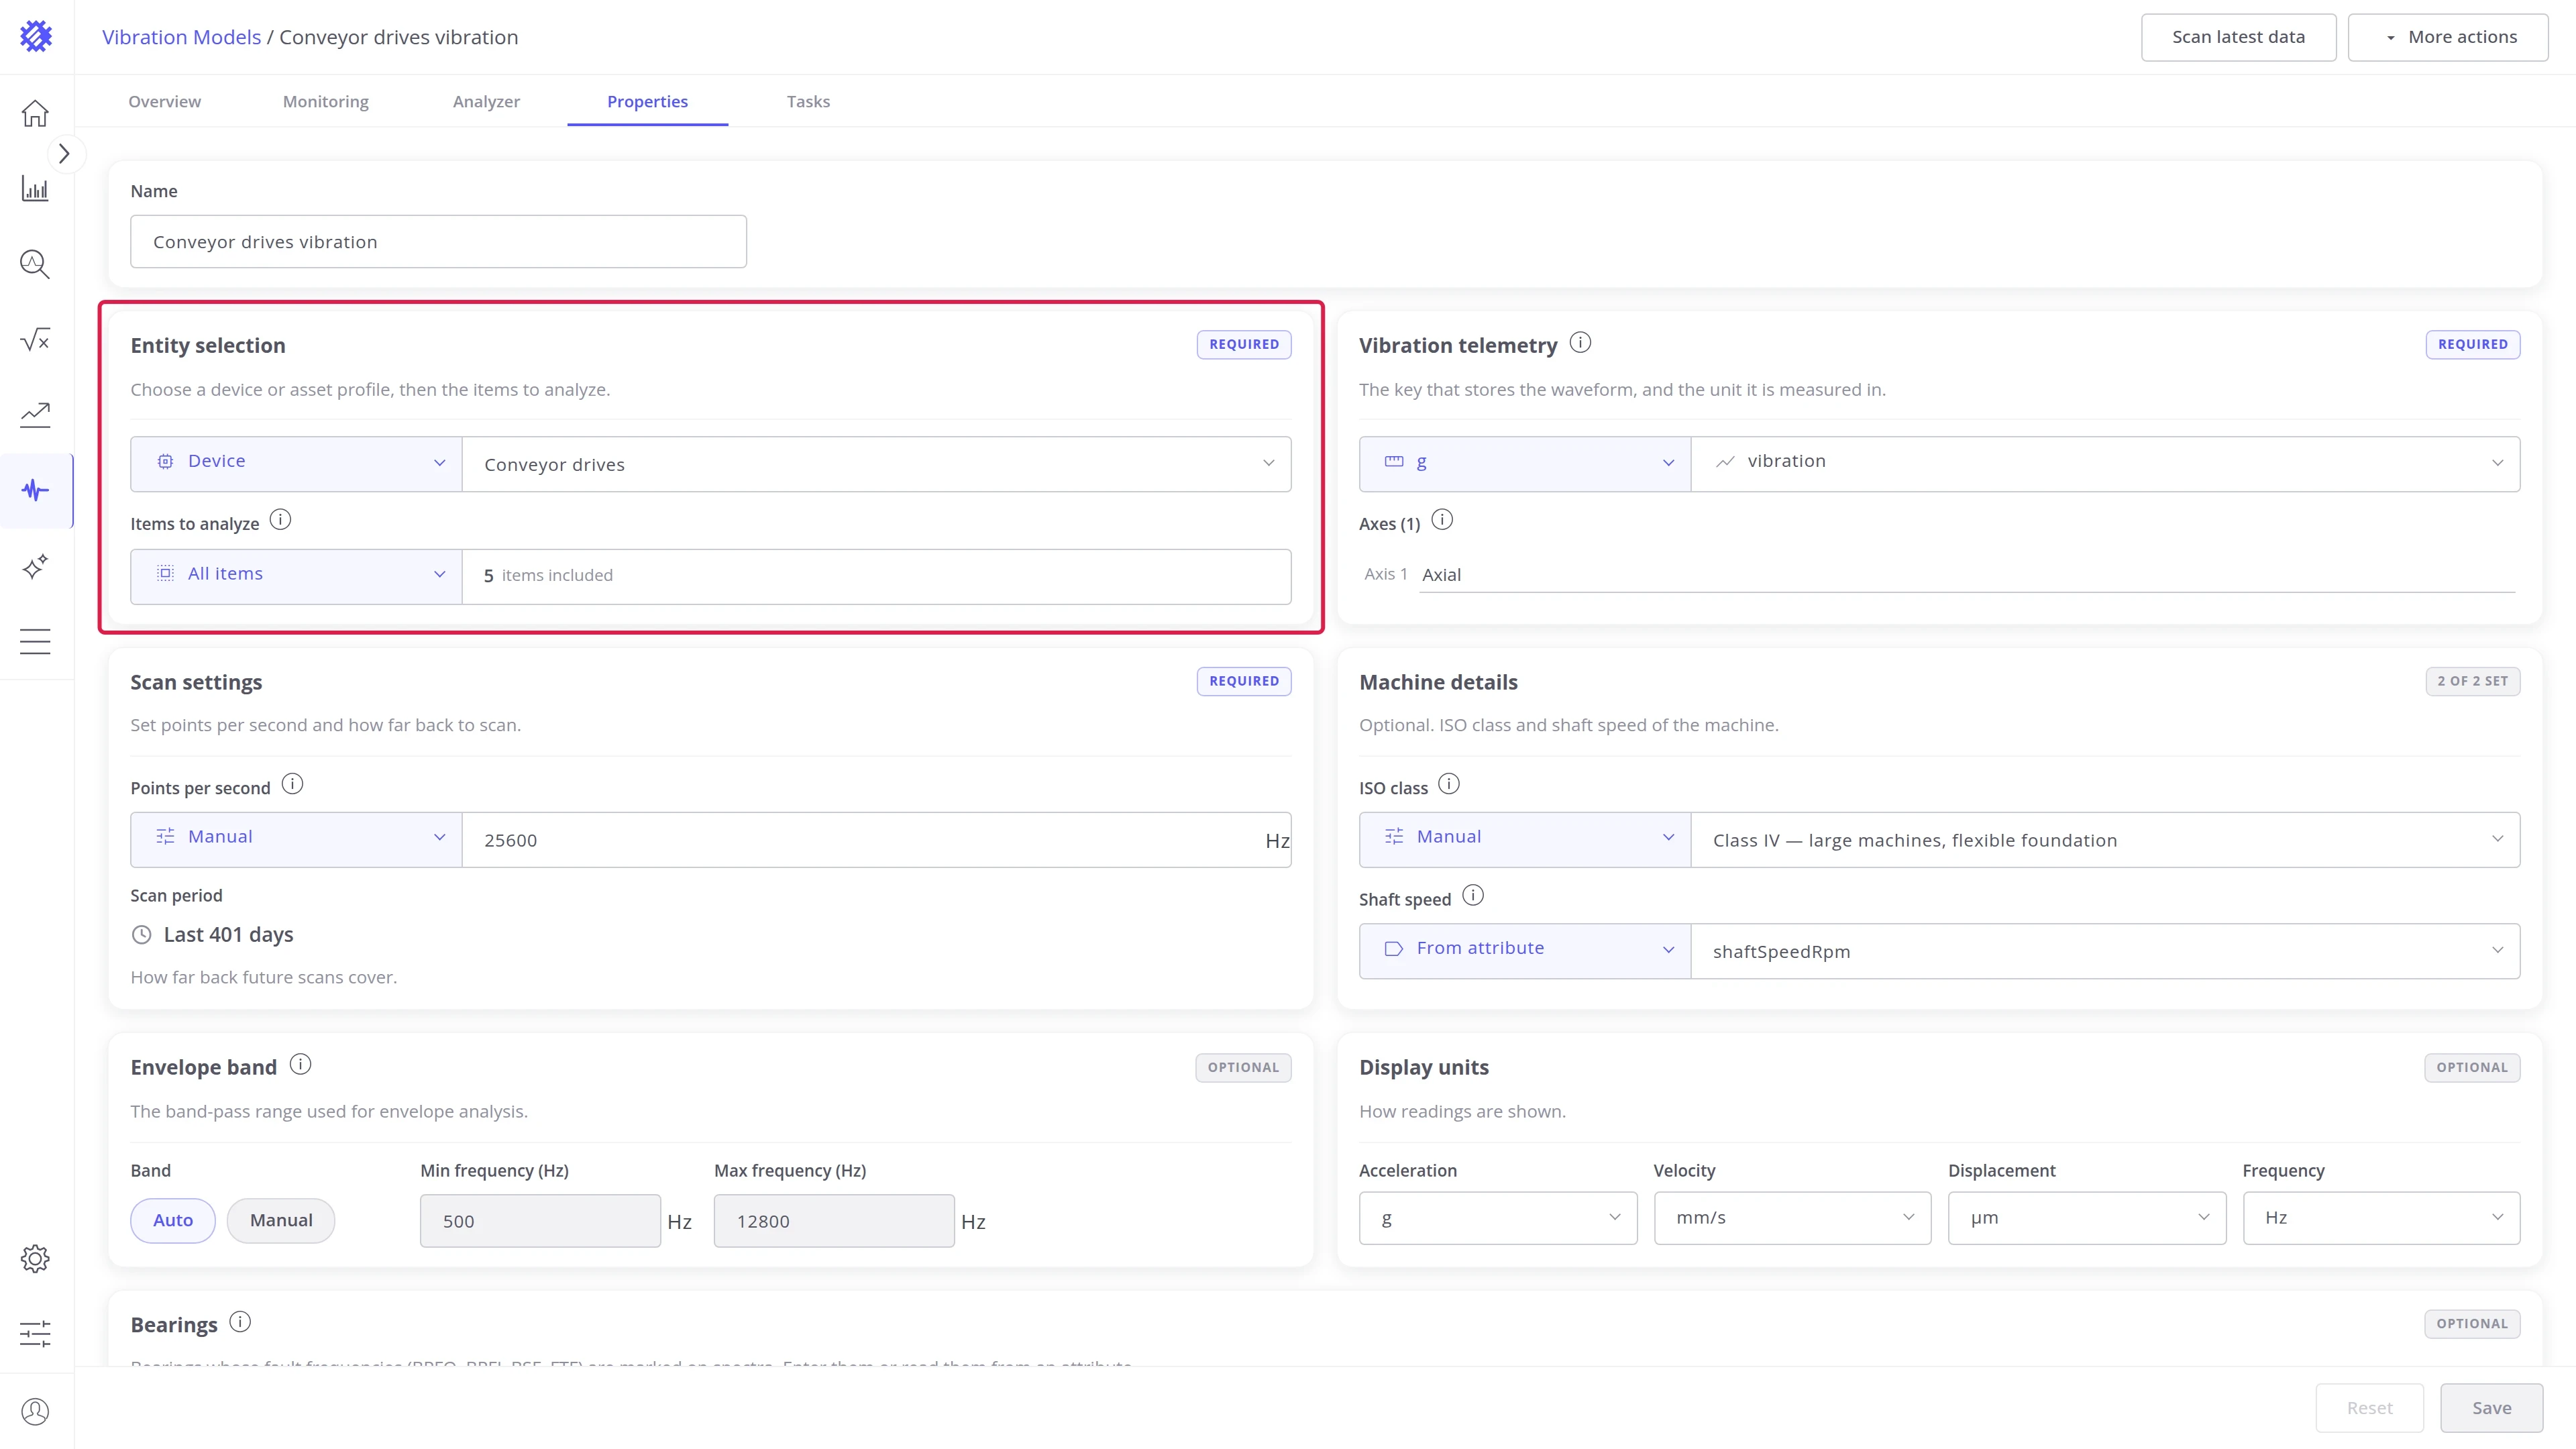
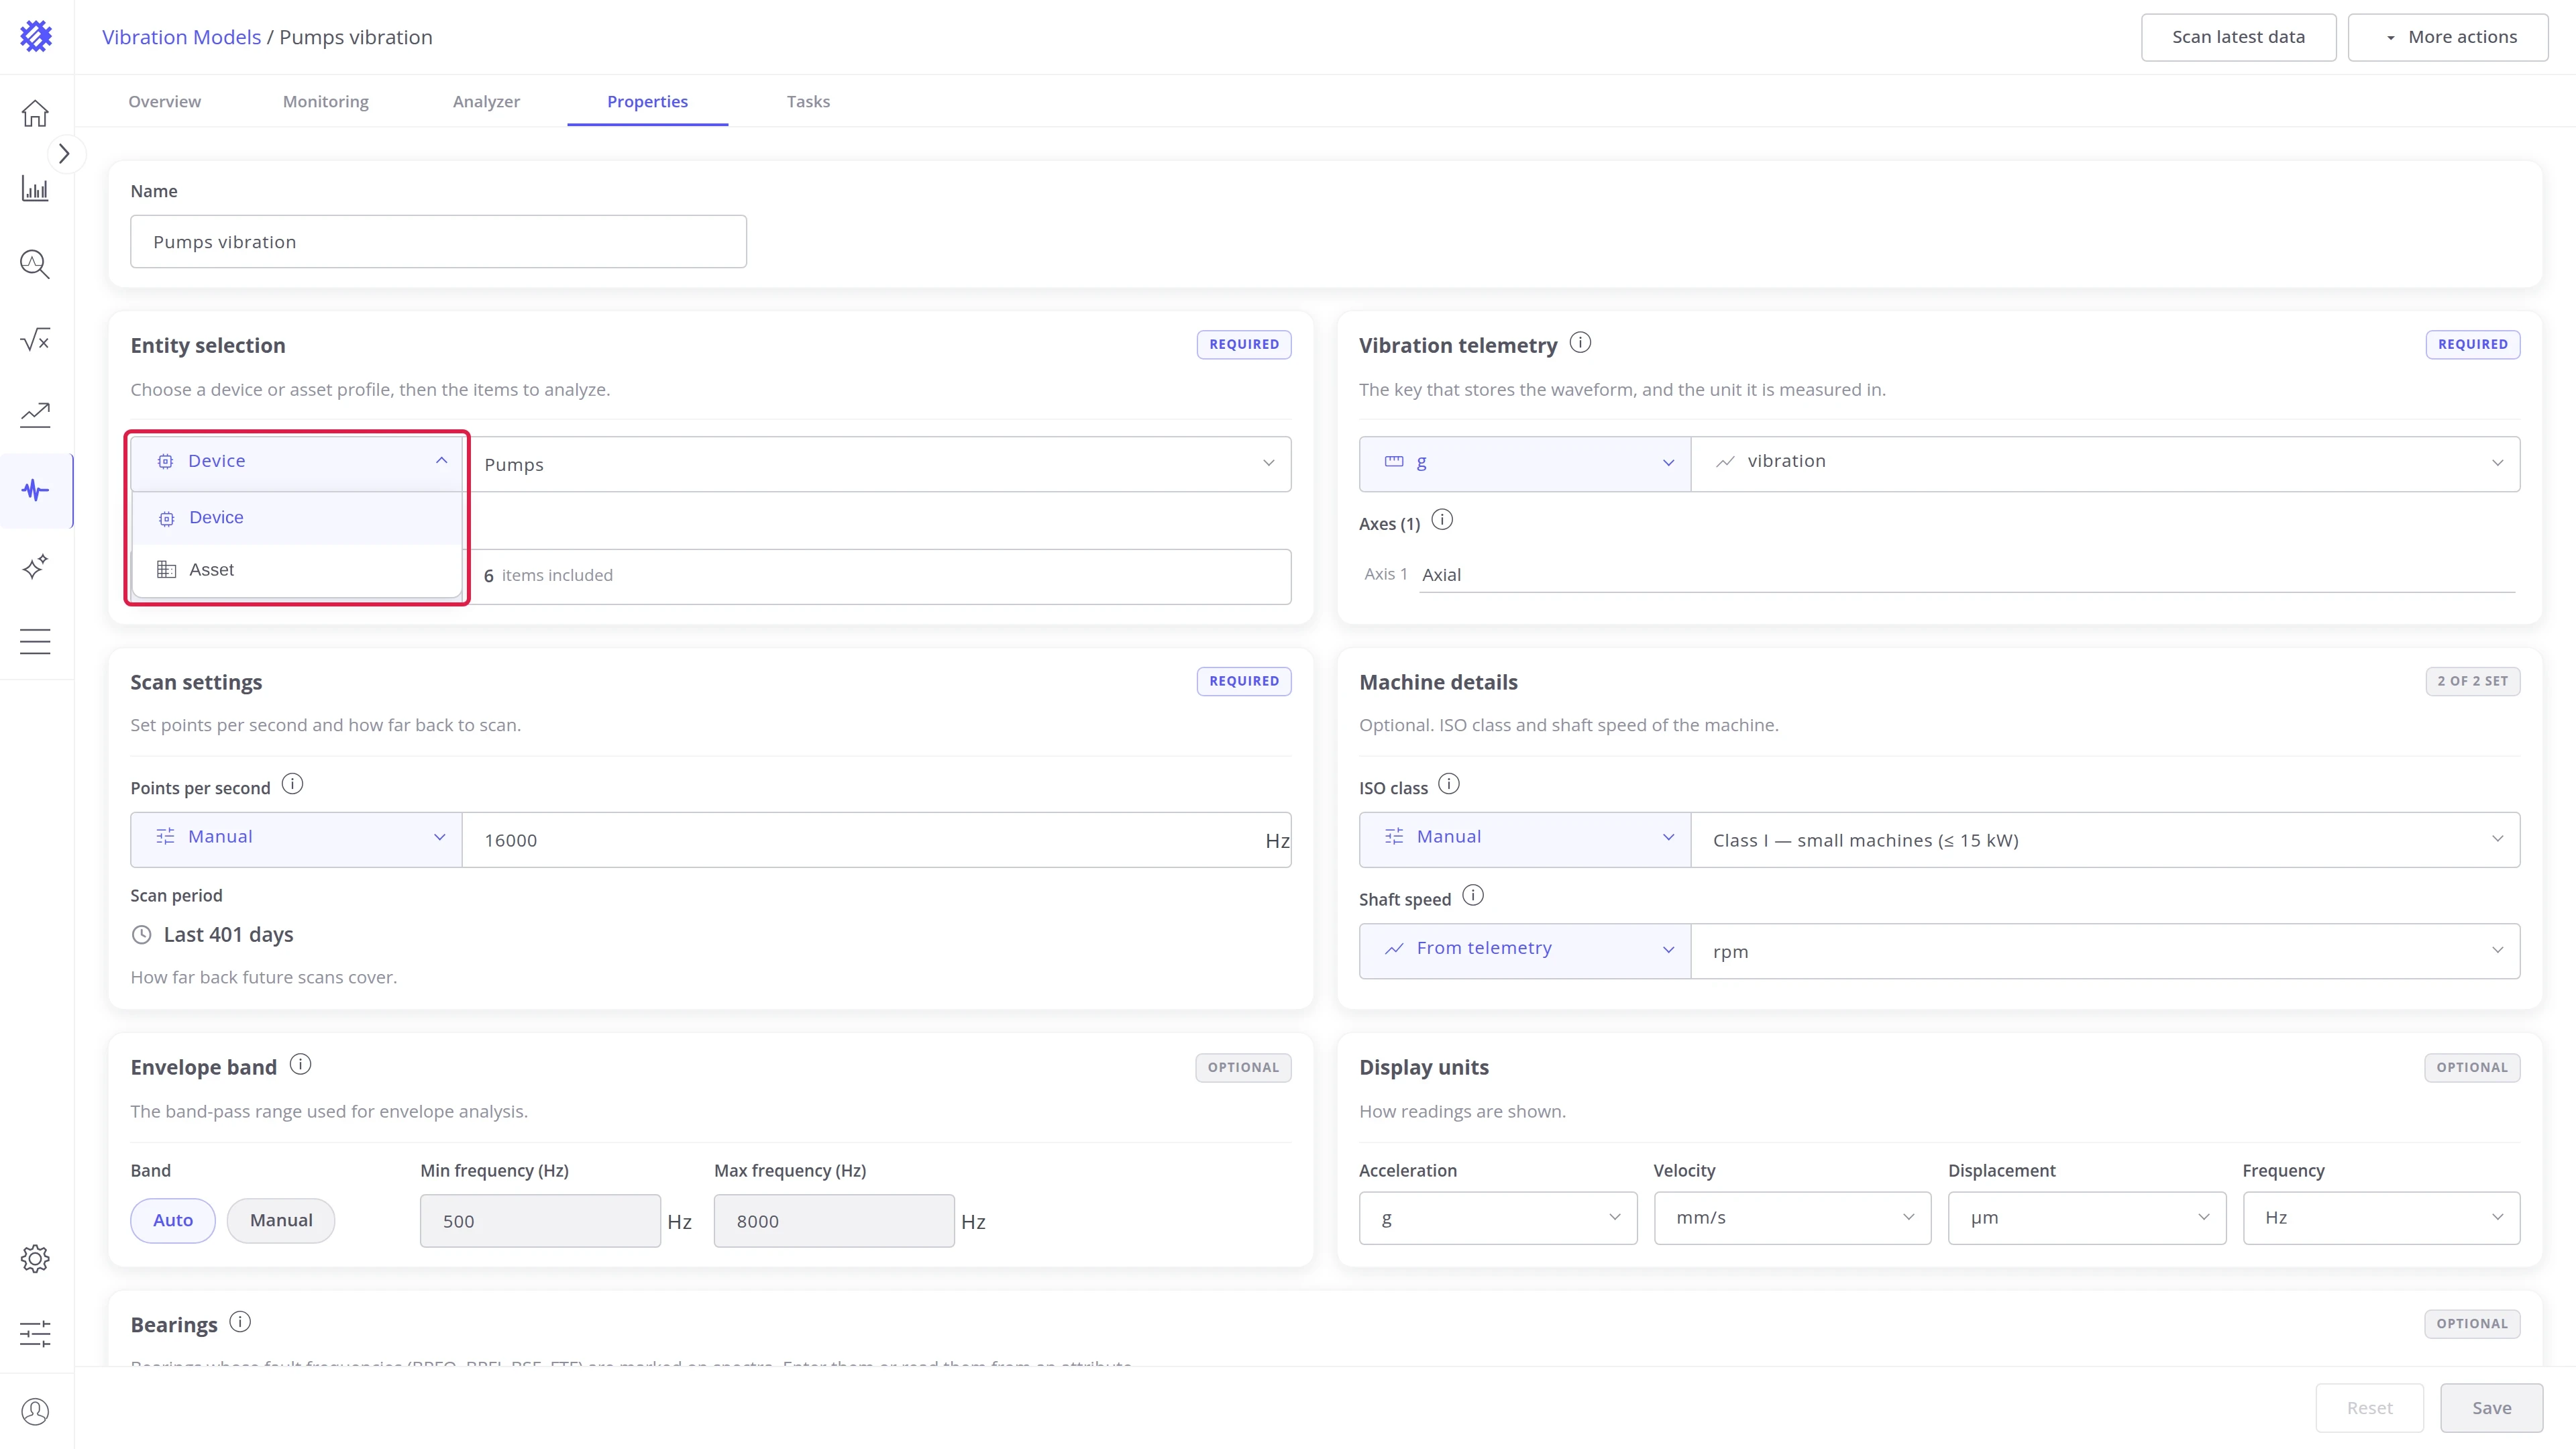
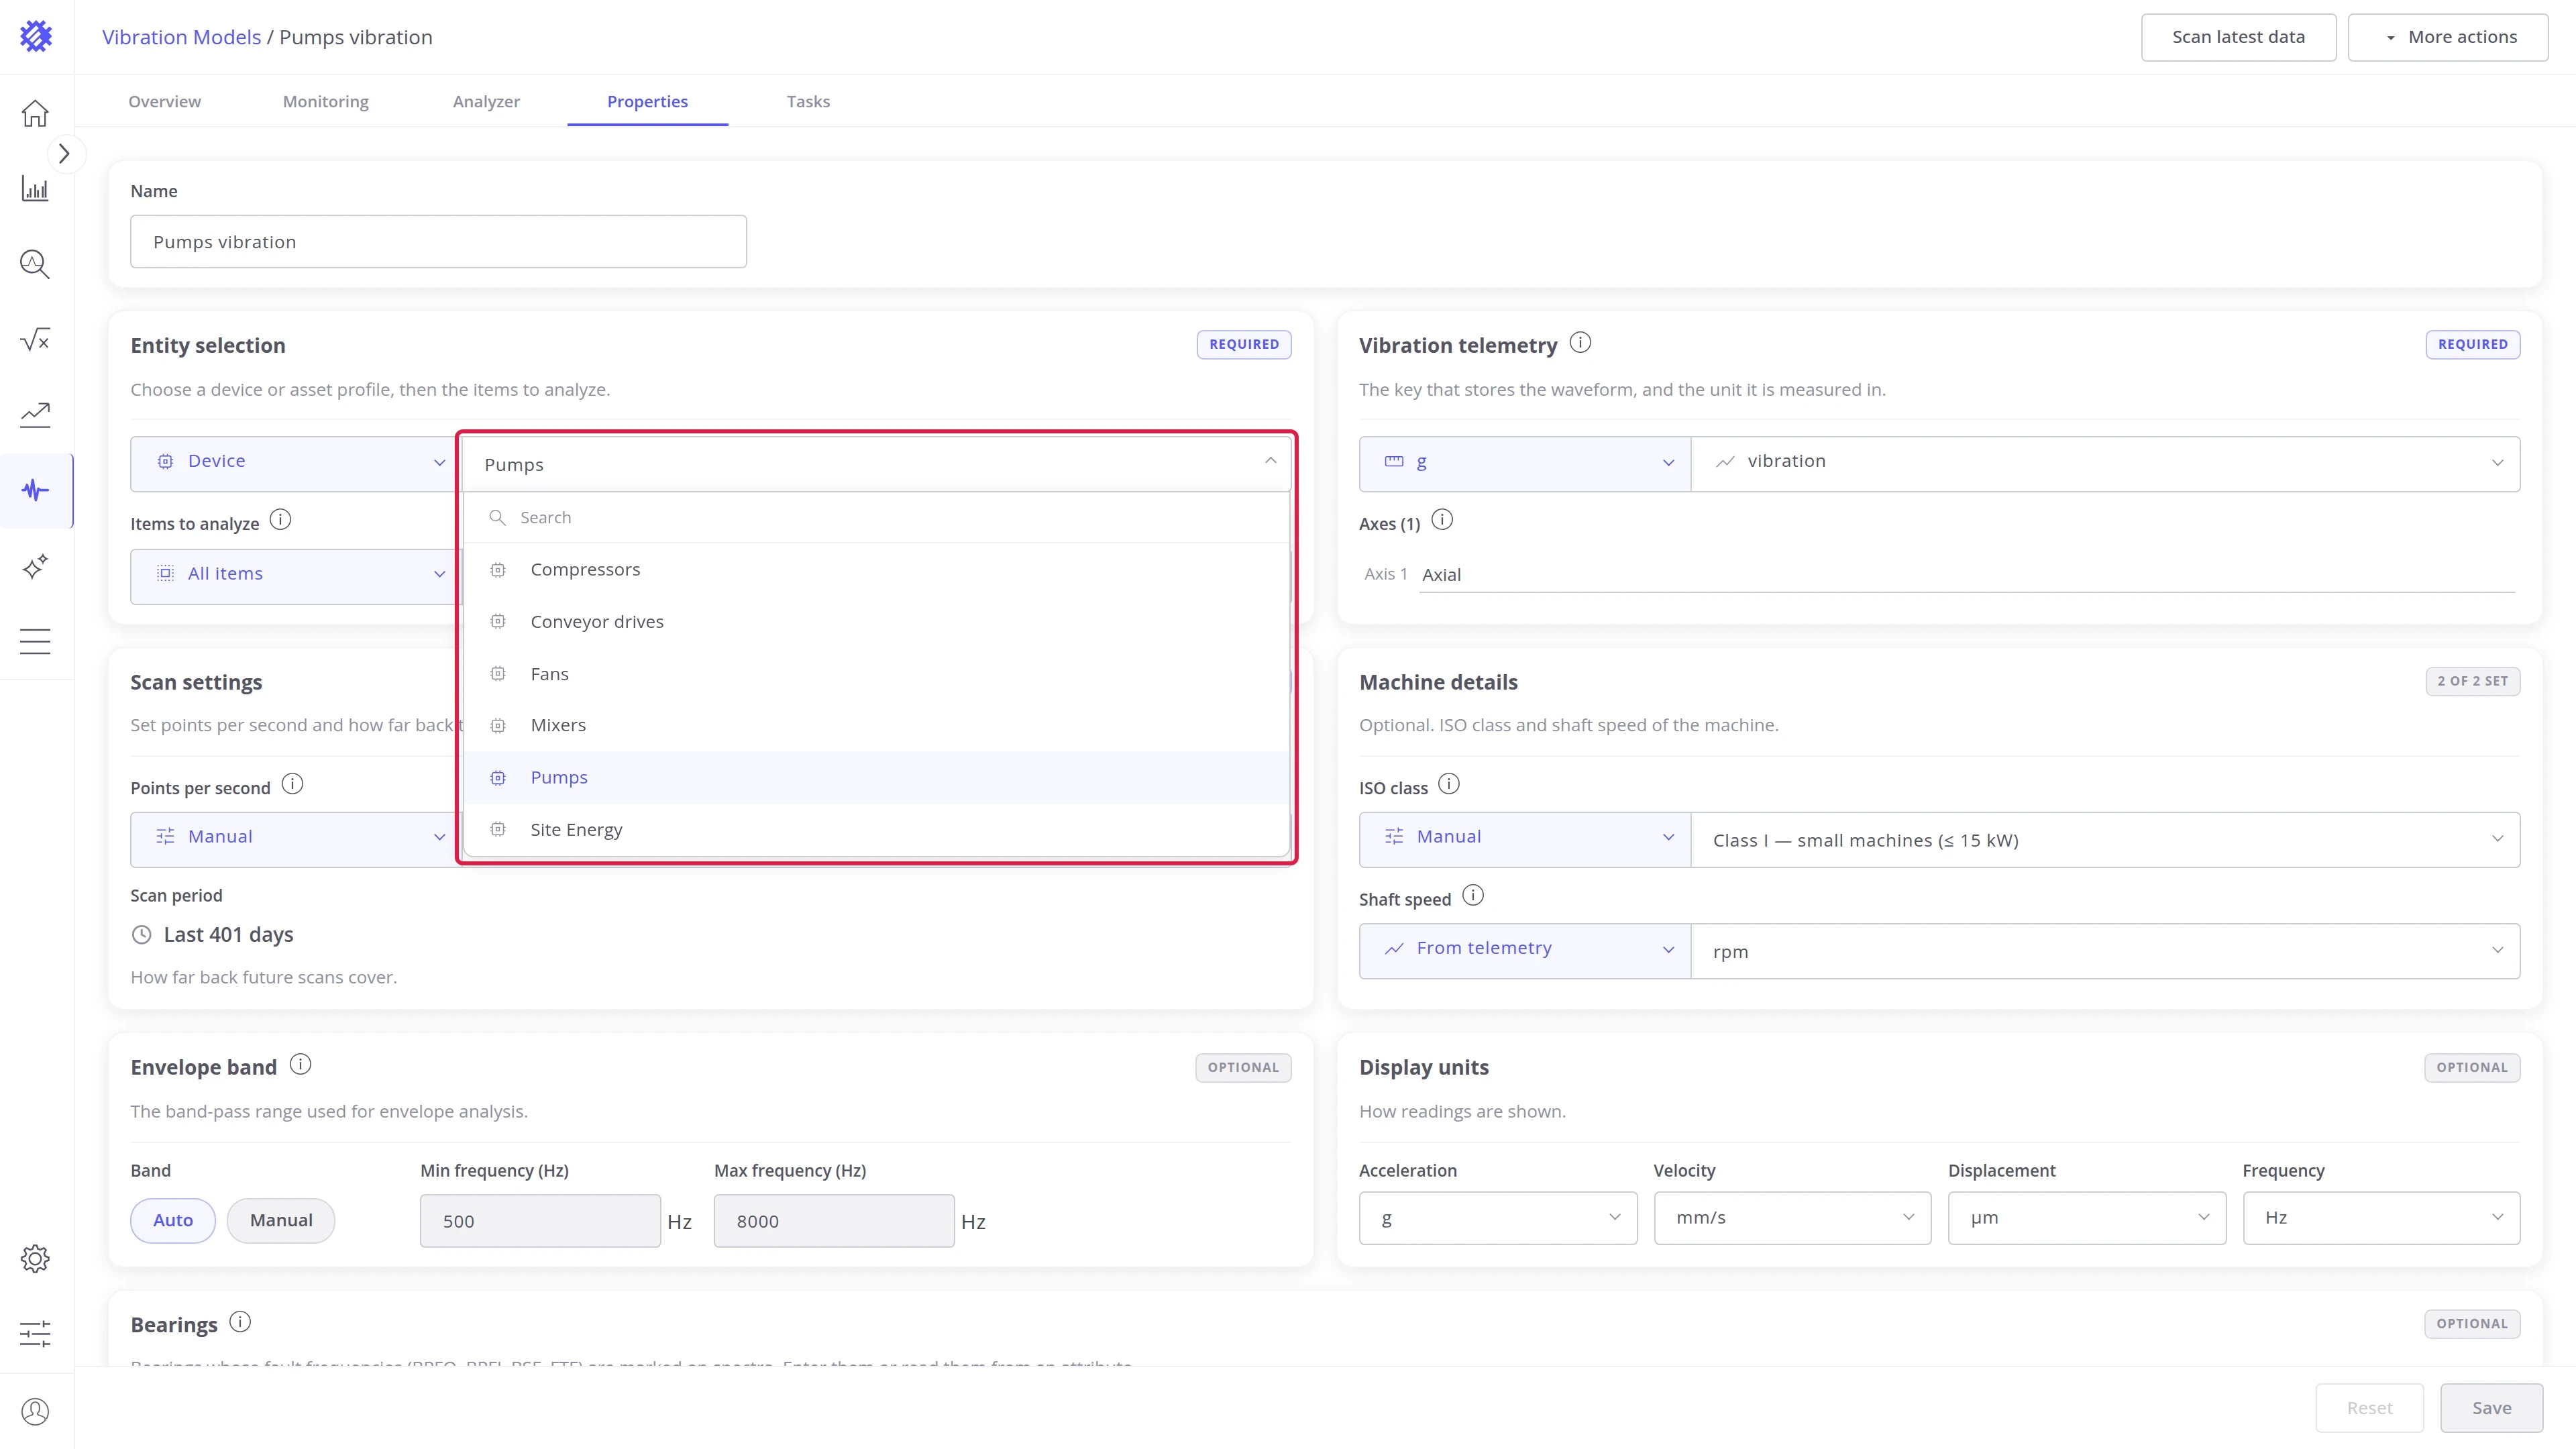
Profile type and profile. The left select chooses Device or Asset, the right one the profile of that type.
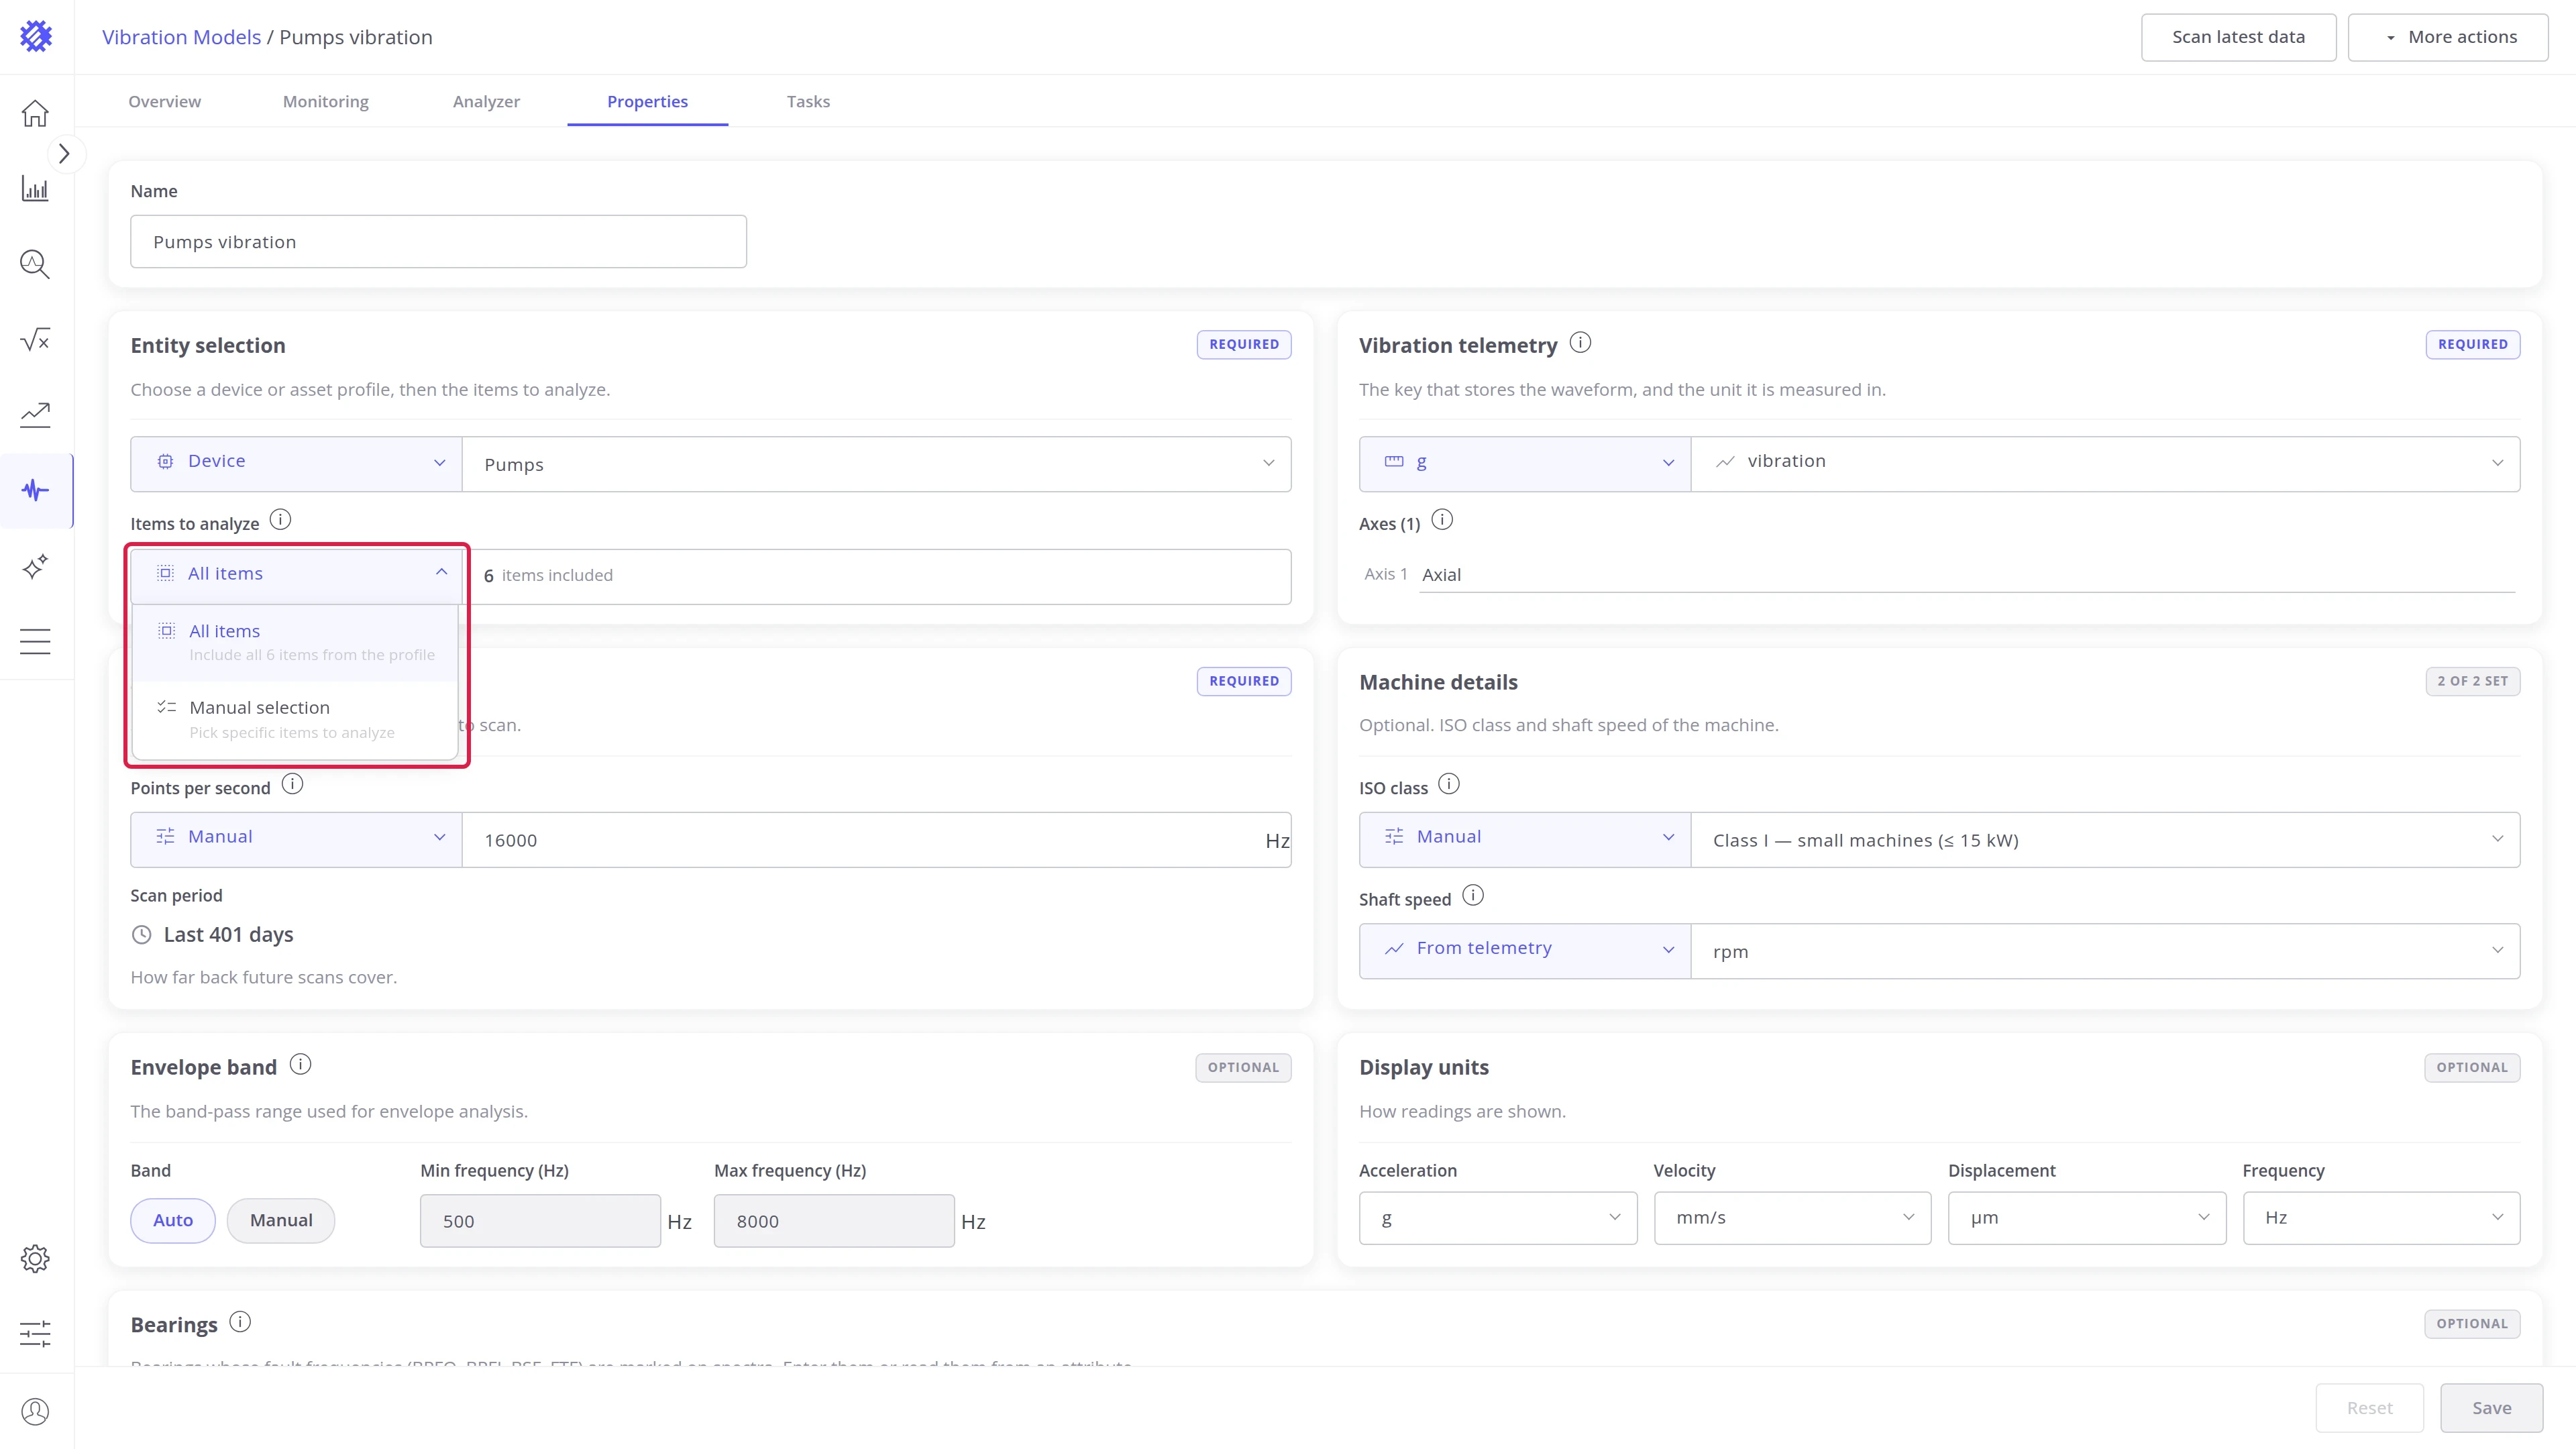
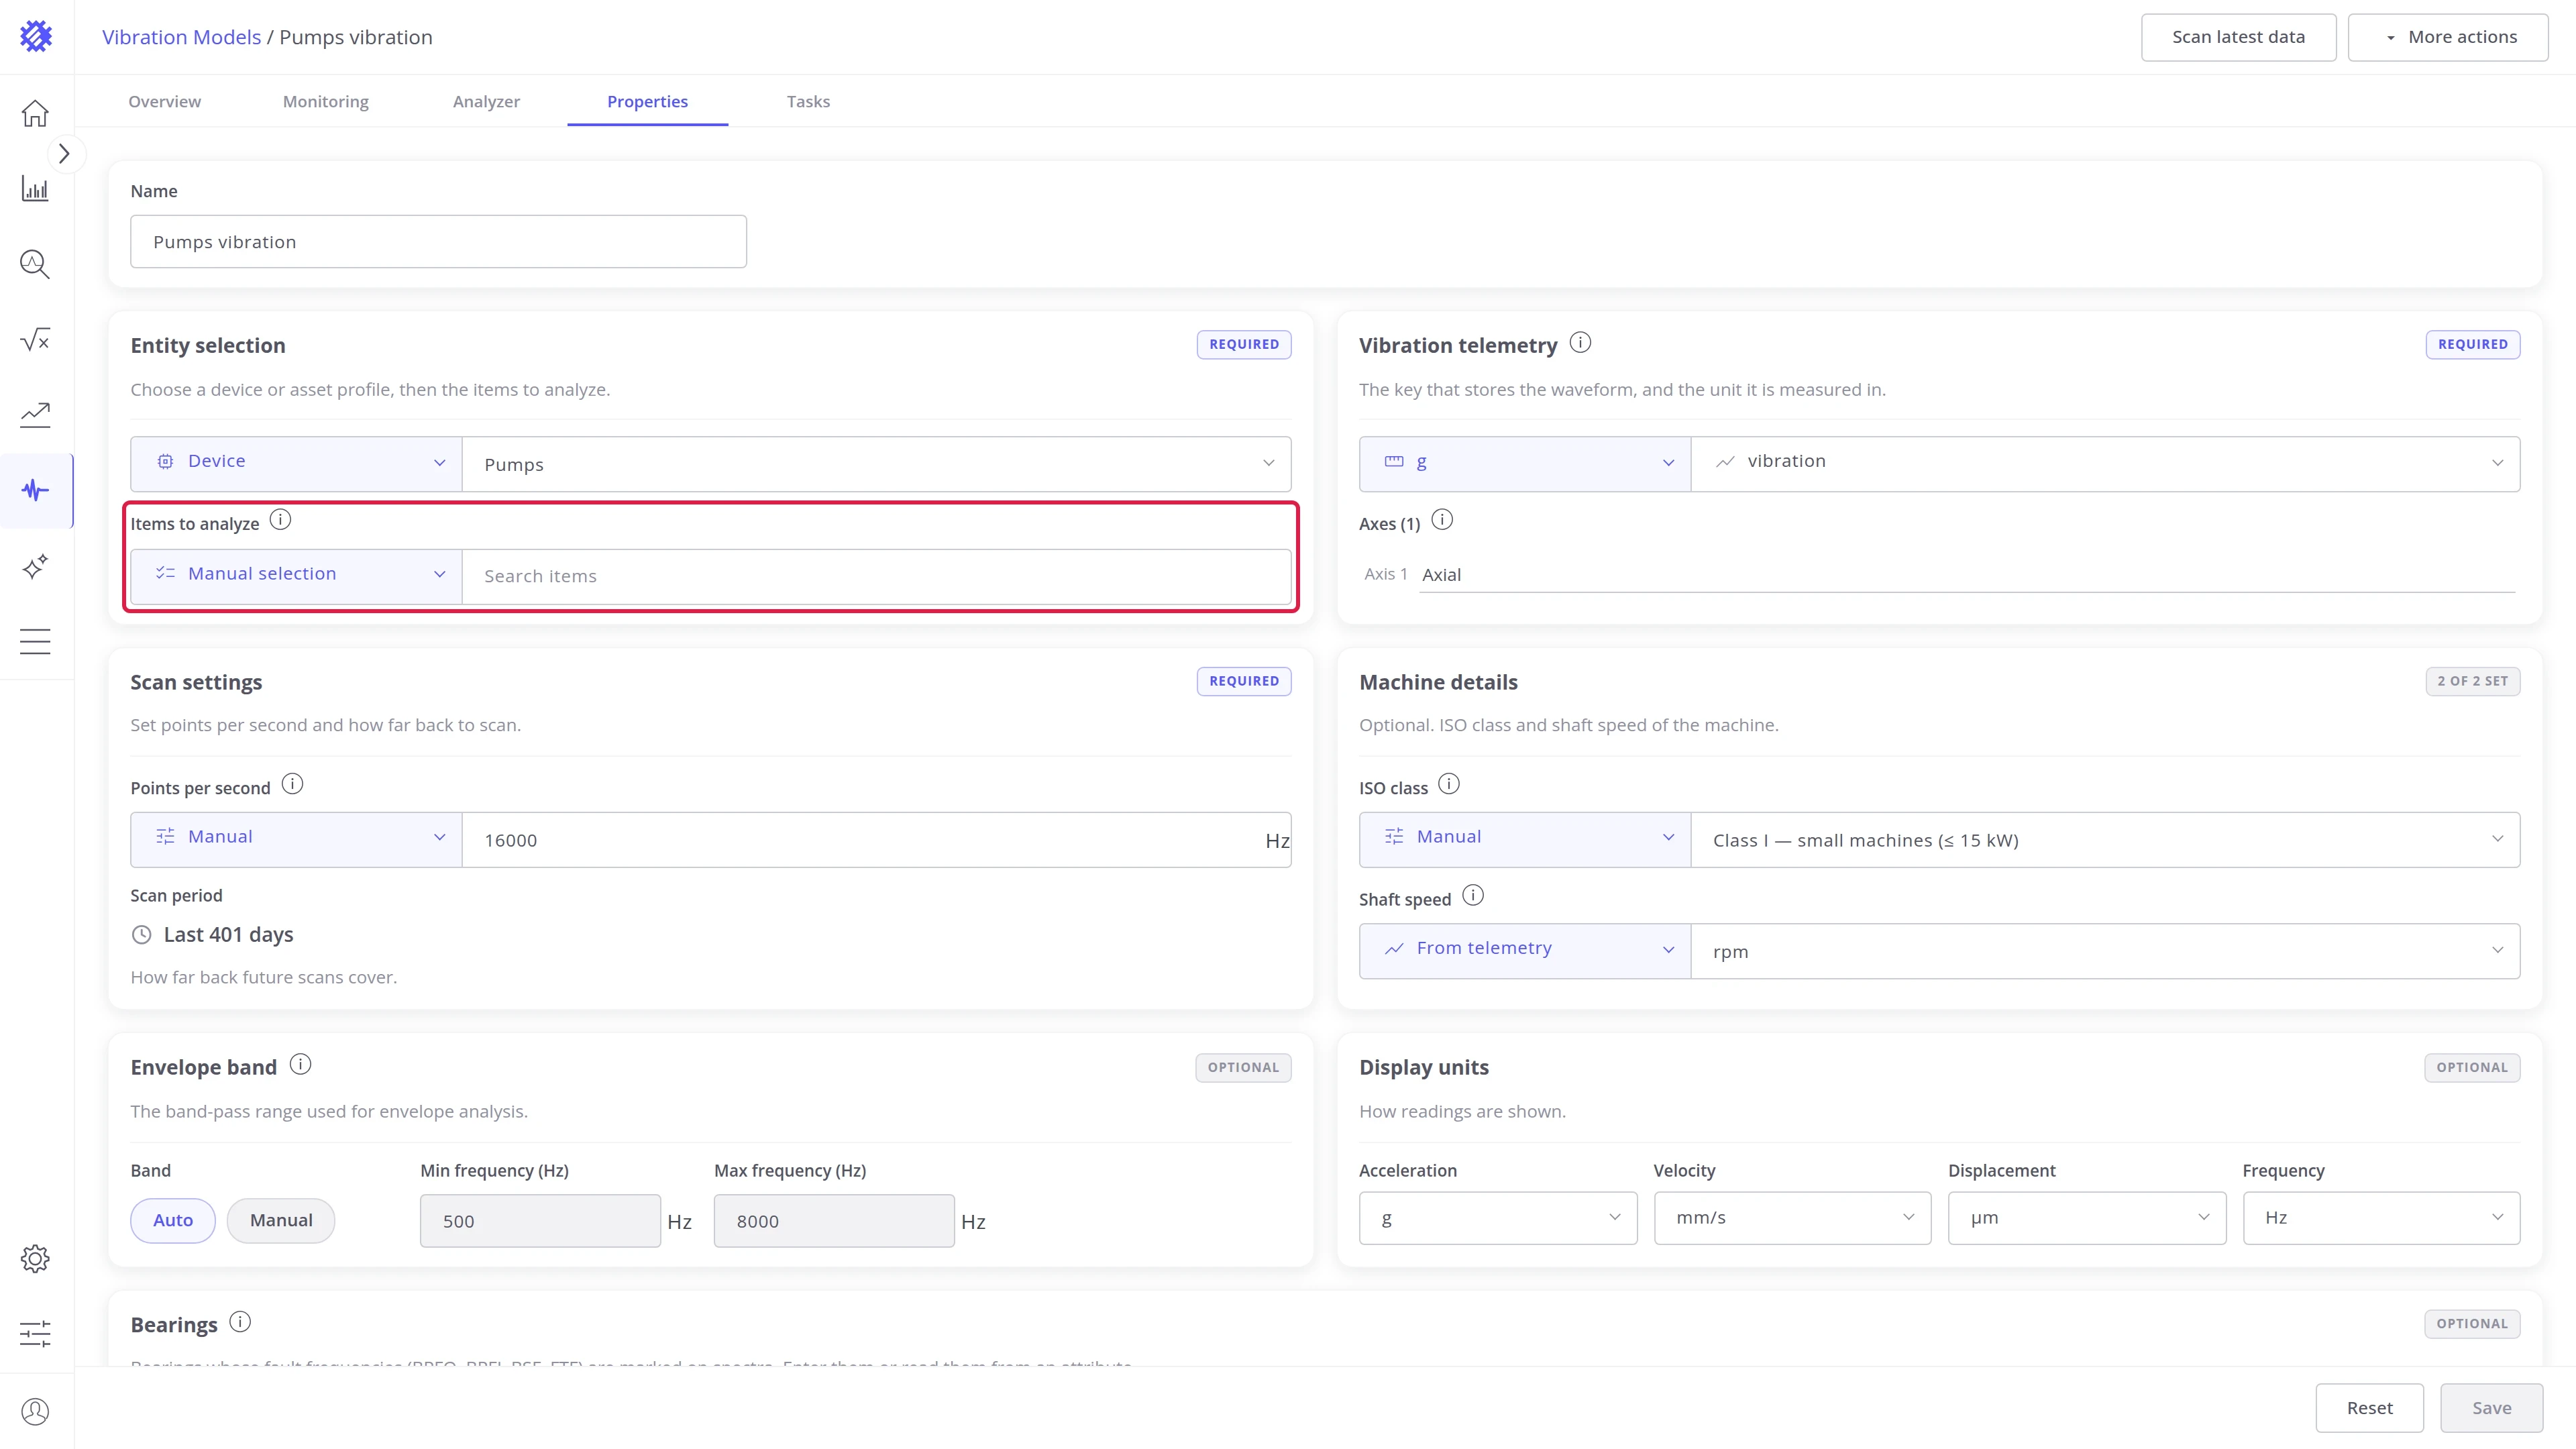
Items to analyze. Choose which machines of the profile the model scans:
| Mode | Behavior |
|---|---|
| All items | Every machine the profile holds, including ones added later |
| Manual selection | Only the machines you pick from a searchable list |
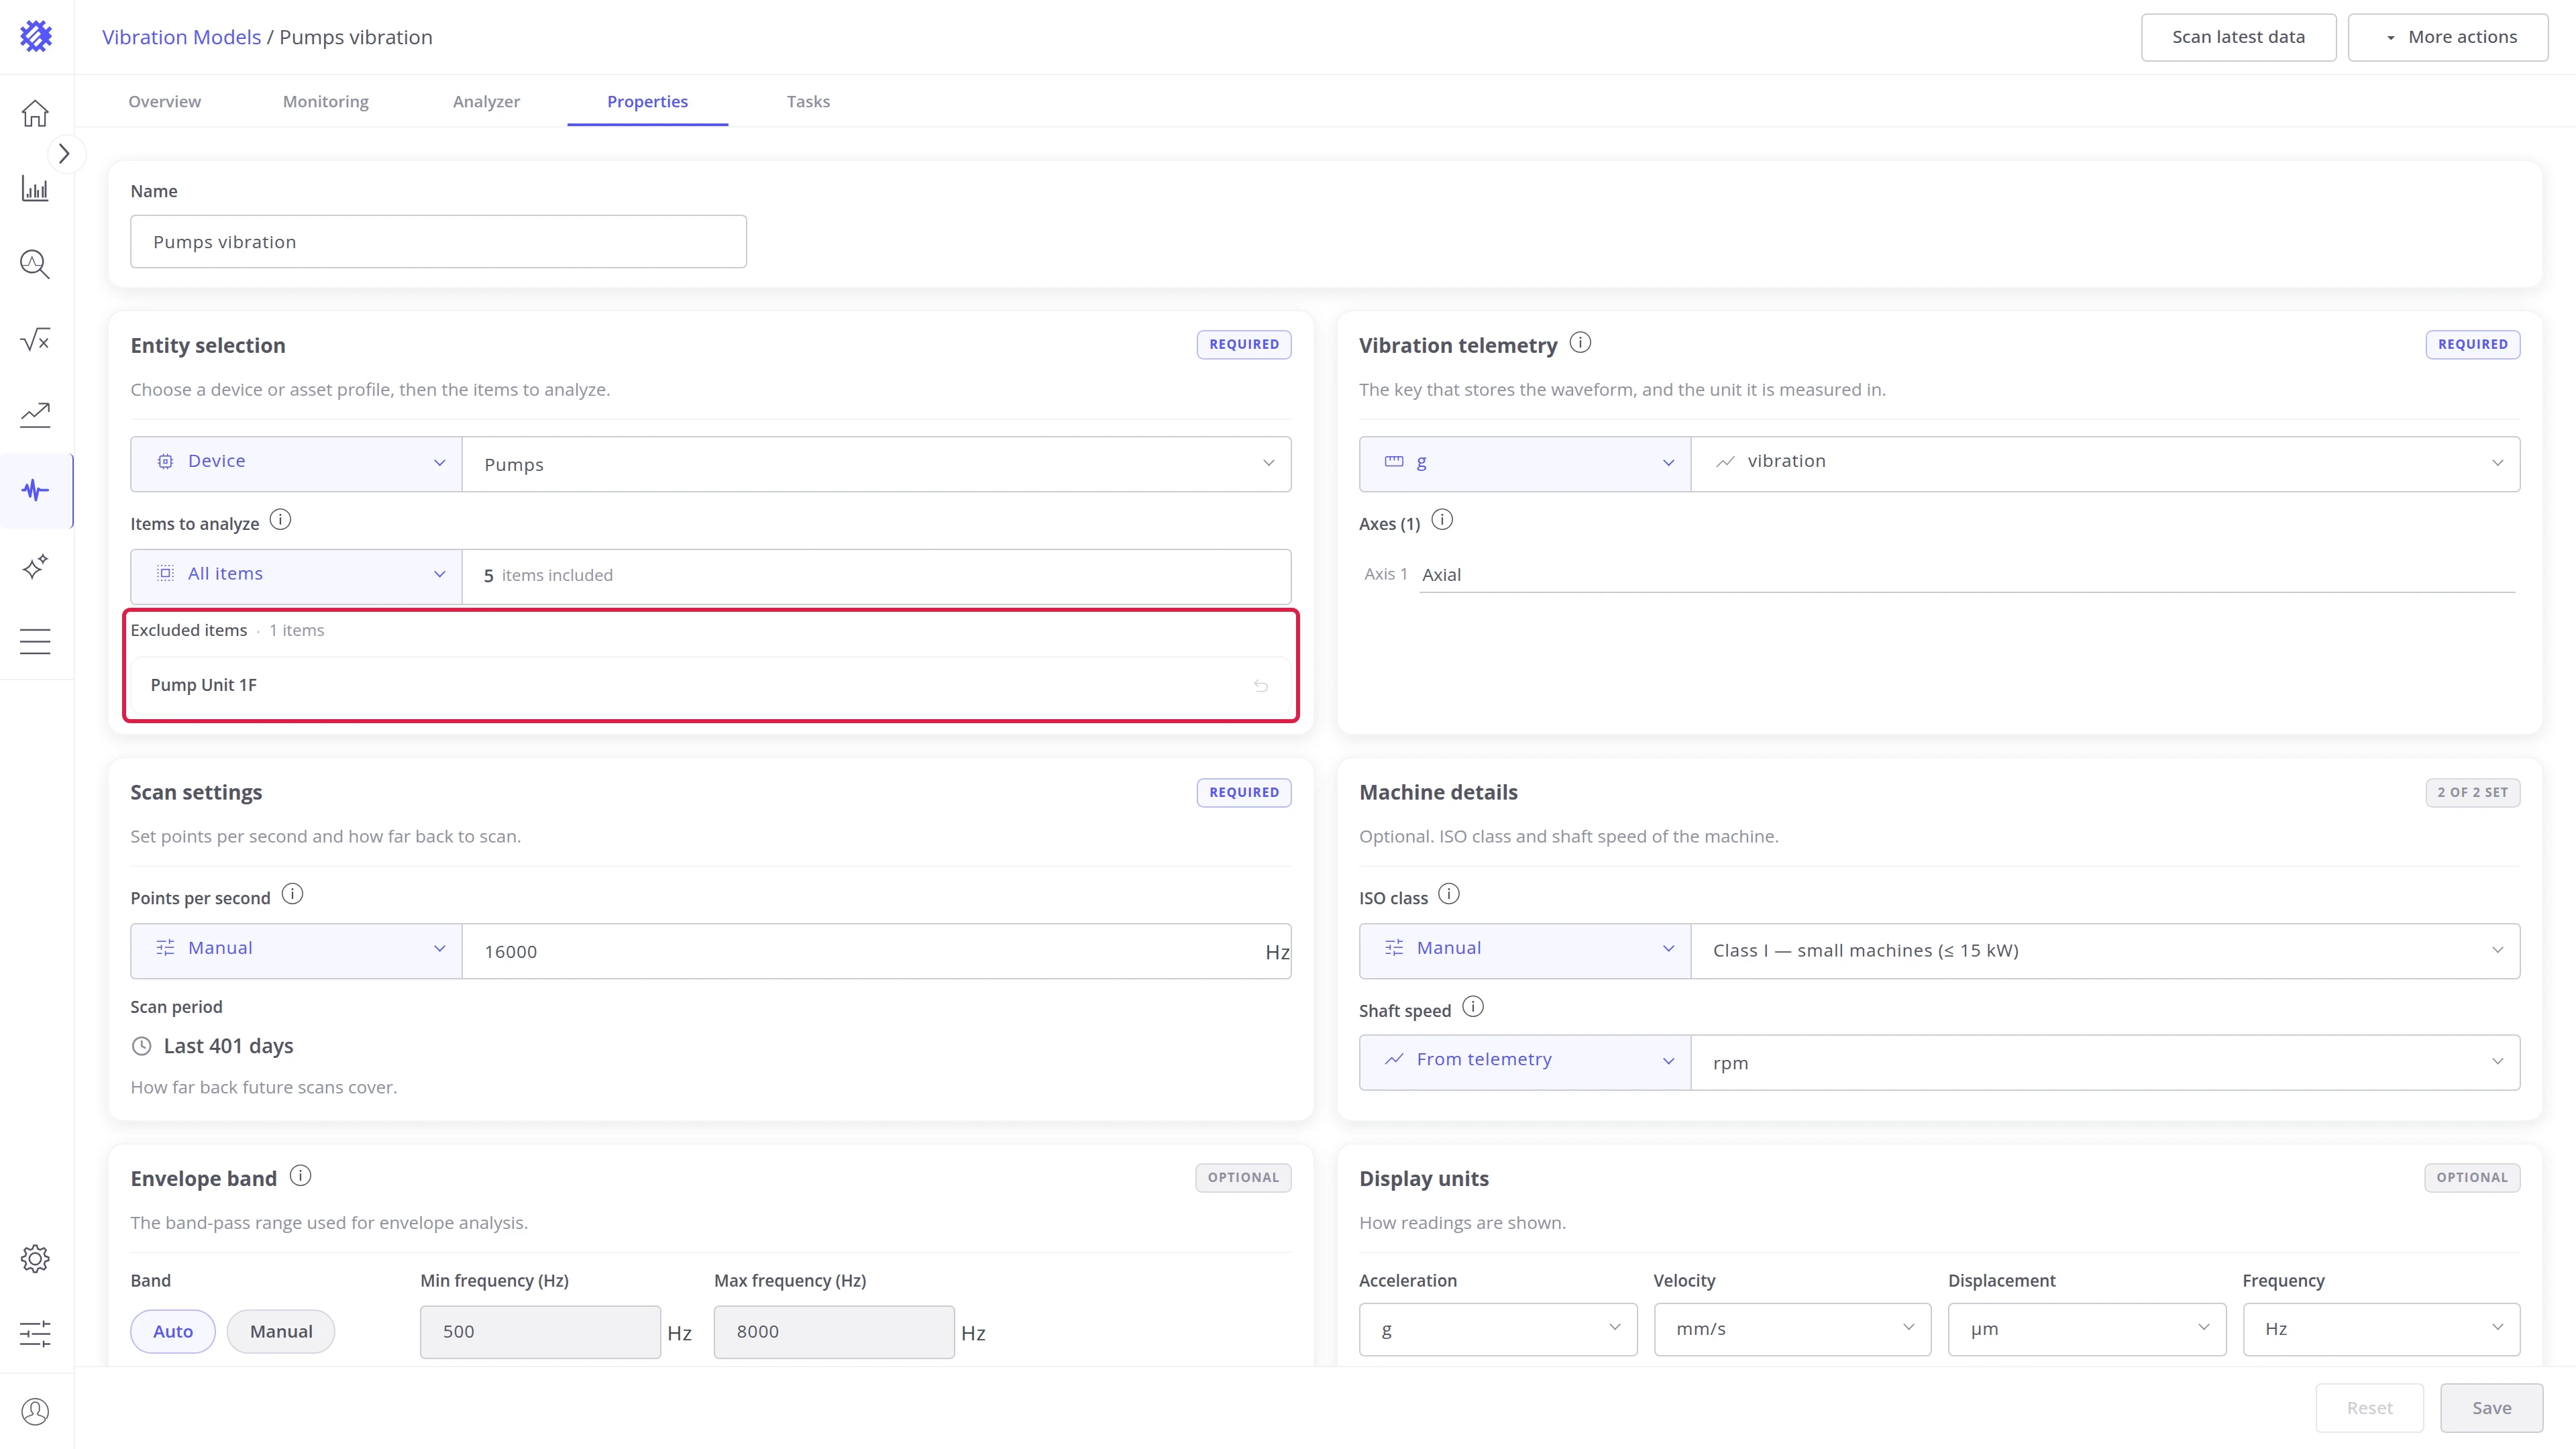
Excluded items. In All items mode, a machine you delete from the model, with Delete in its row menu on the Overview tab, is not scanned any more and is listed under Excluded items. To bring it back:
- Open the Properties tab. The machine is listed under Excluded items.
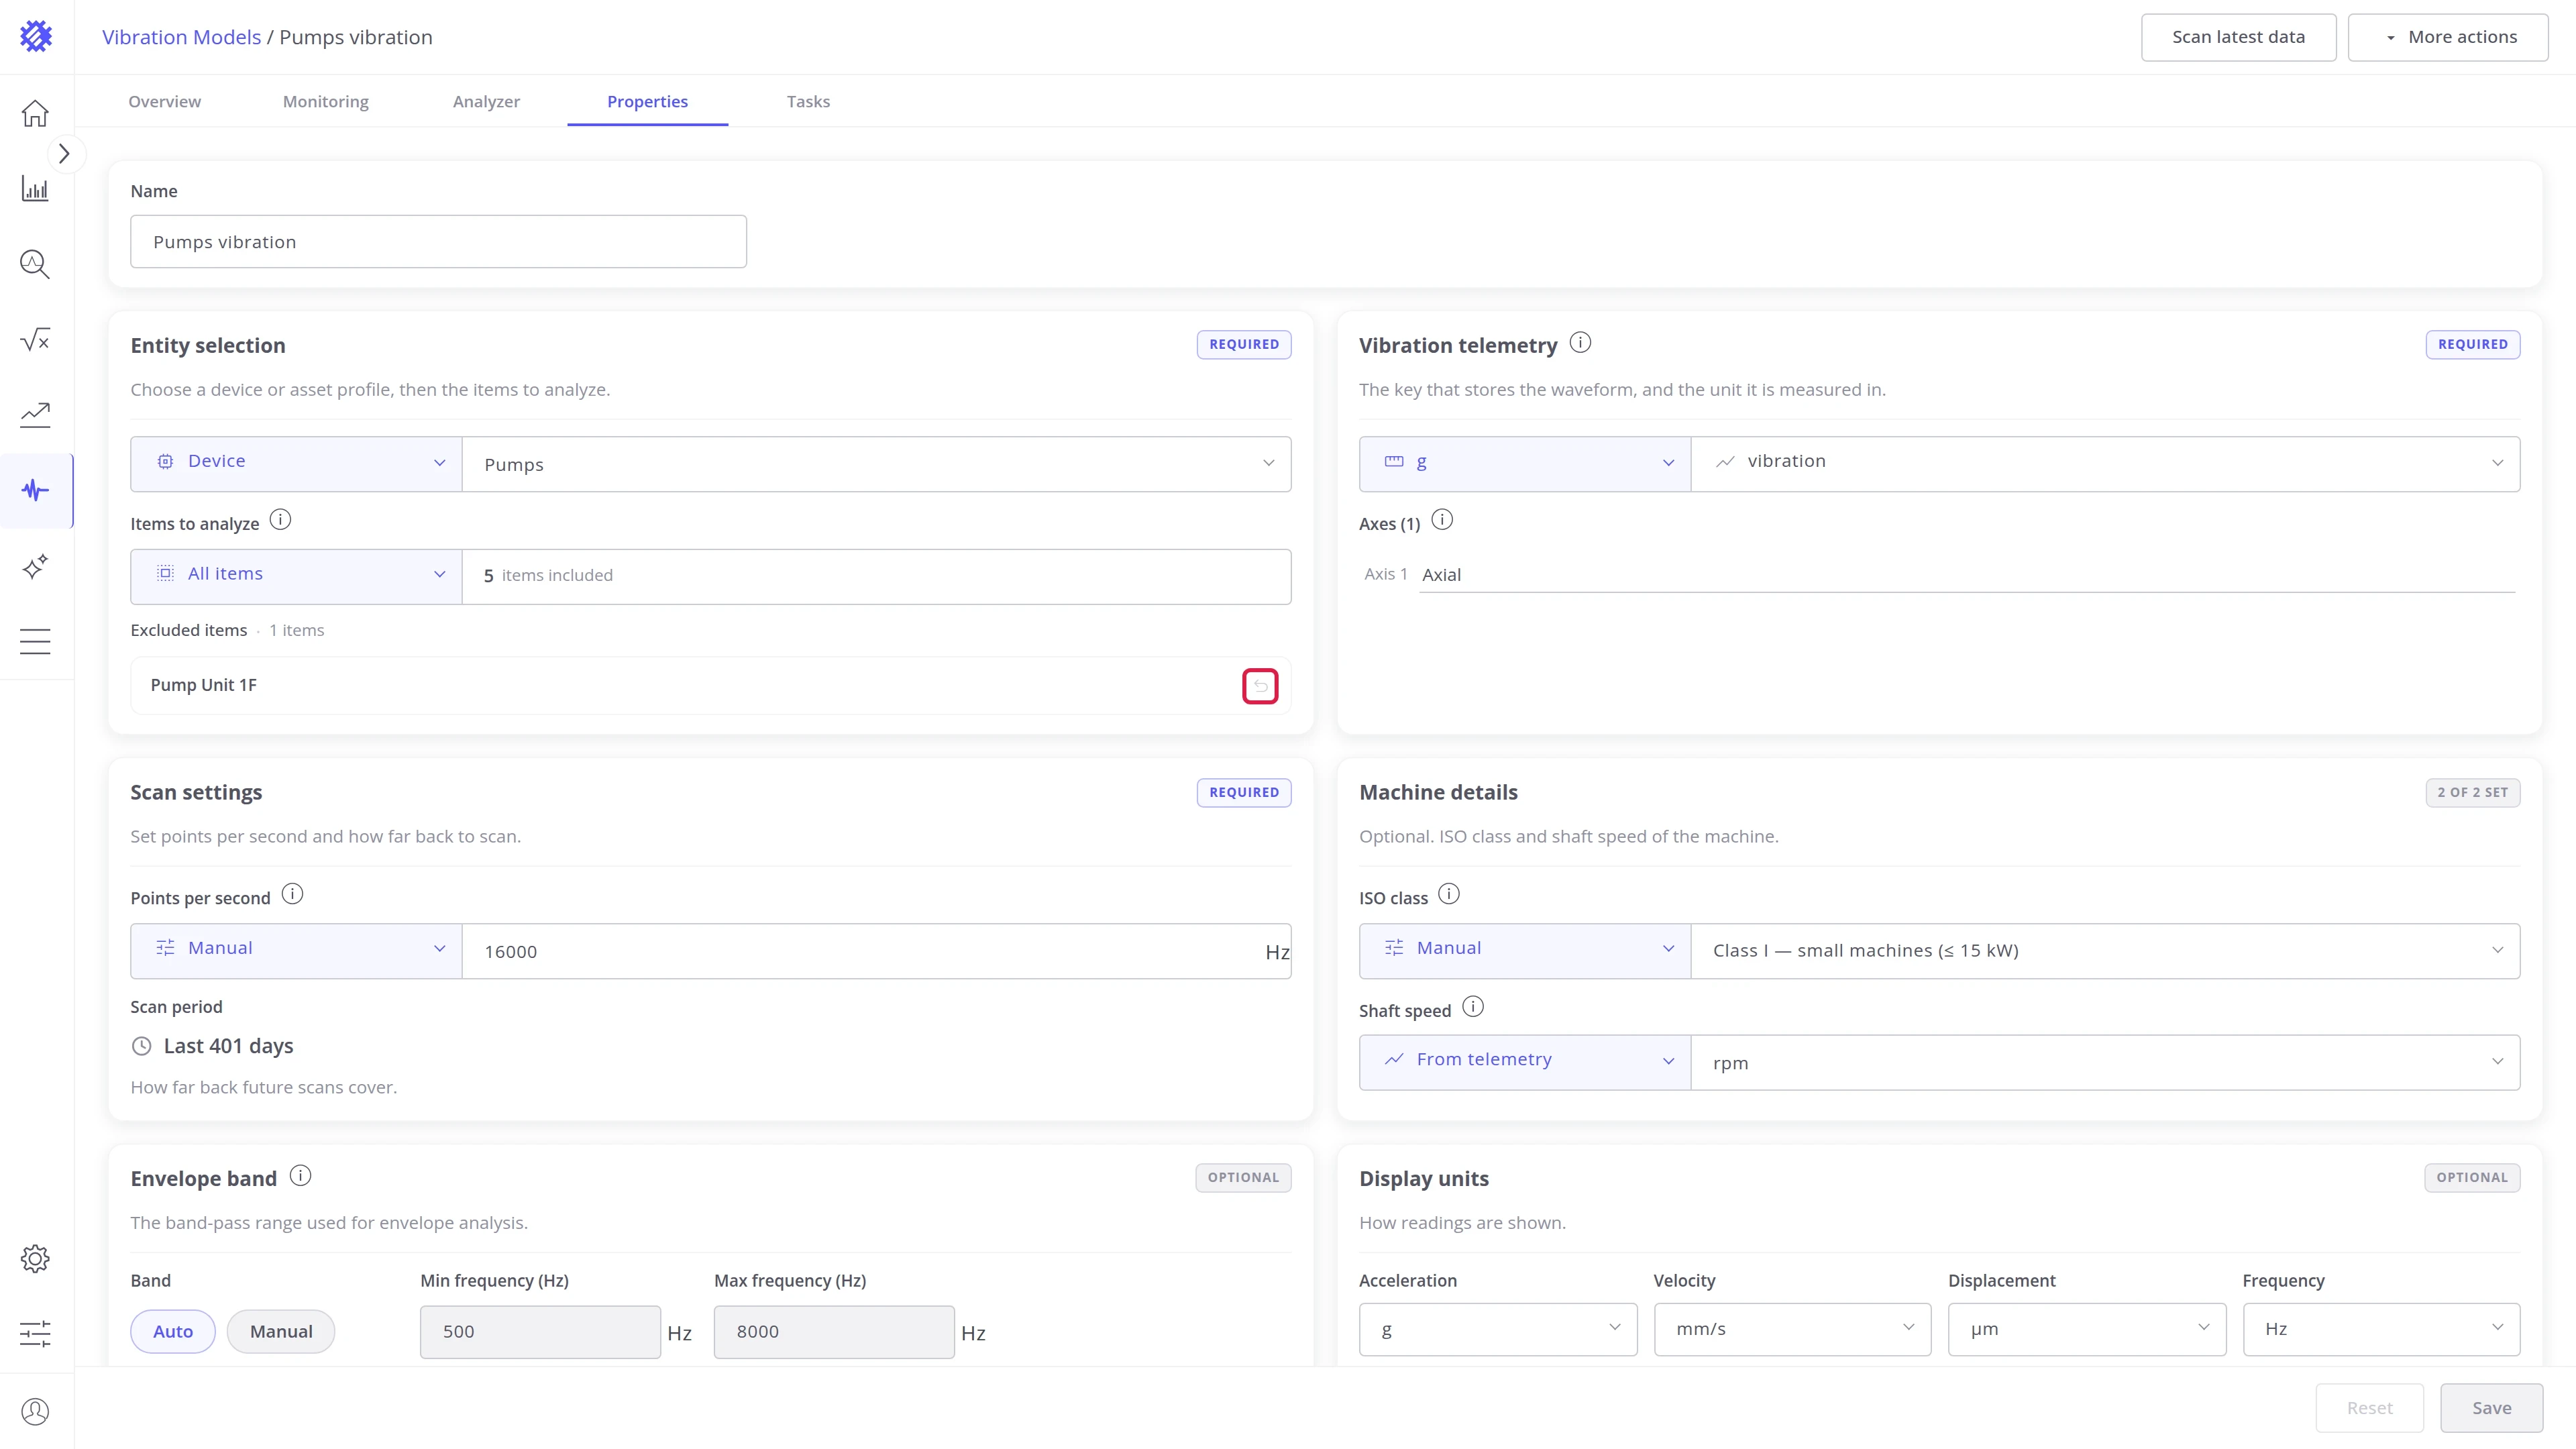
- Click the restore icon at the end of its row. It is marked Will be restored.
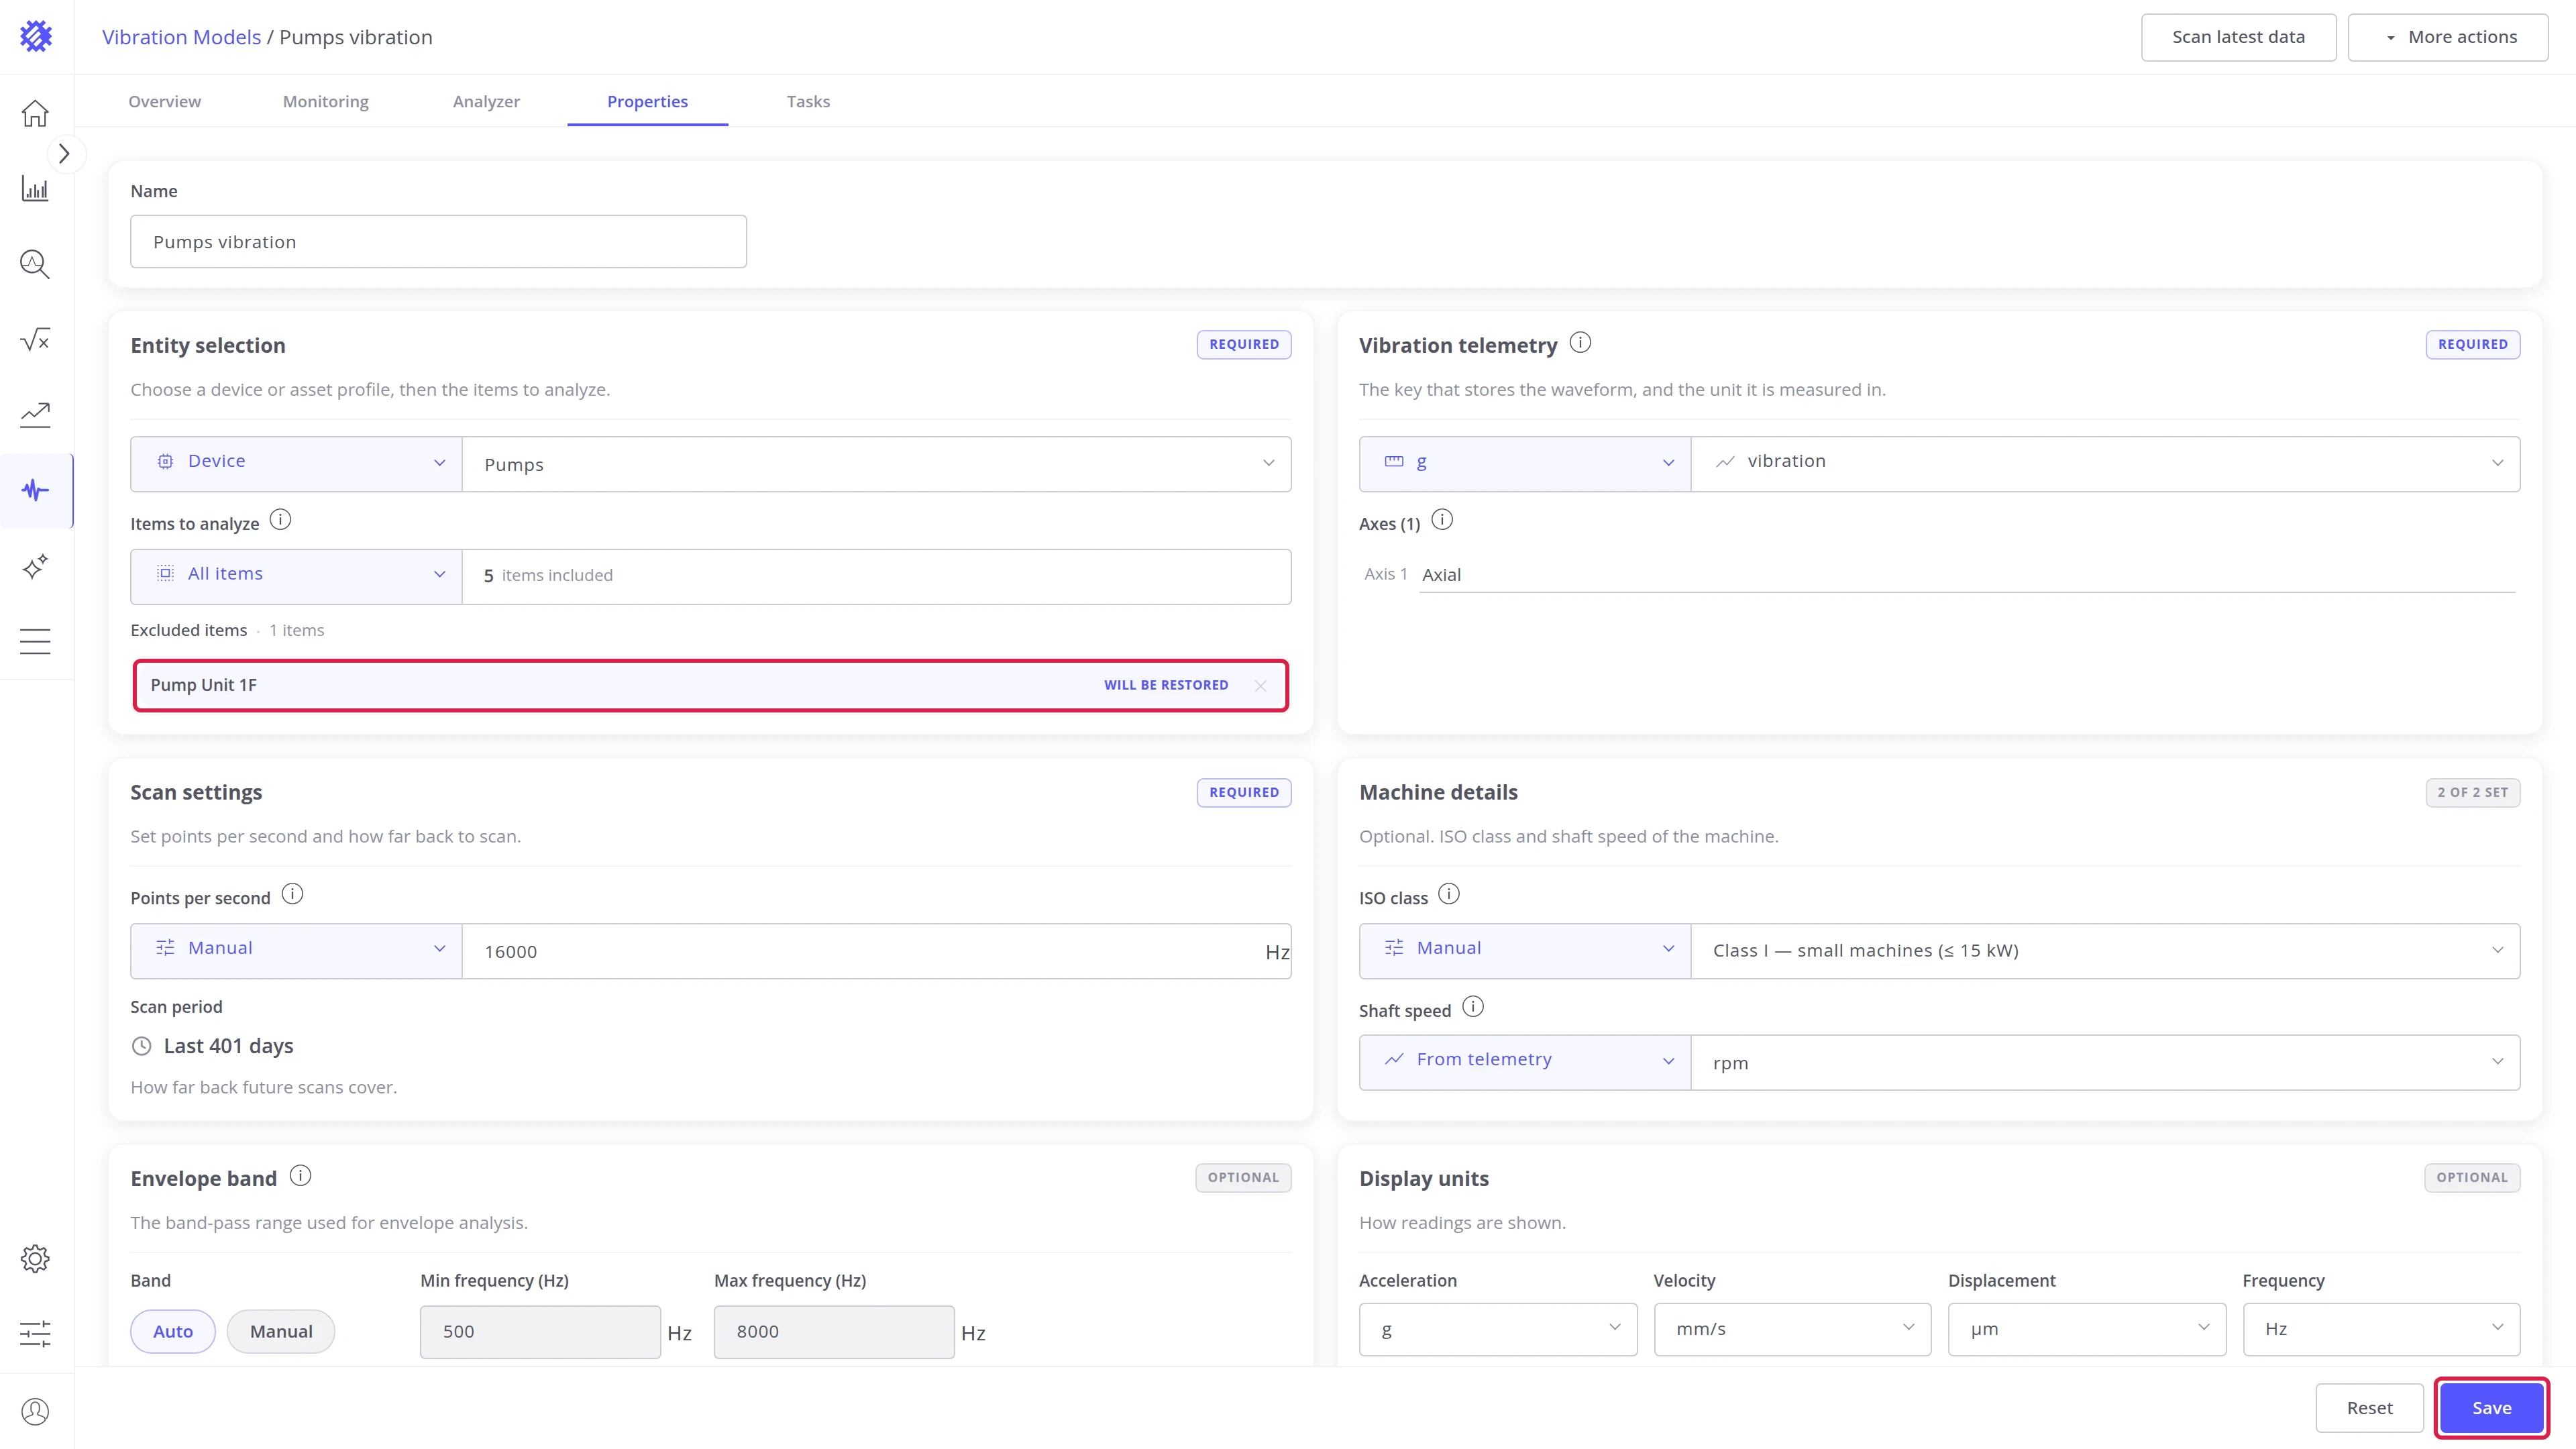
- Click Save. The machine returns to the model and is scanned again.
Vibration telemetry
Section titled “Vibration telemetry”The signal the model reads: the key that stores the waveform, the unit it is recorded in, and its axes.
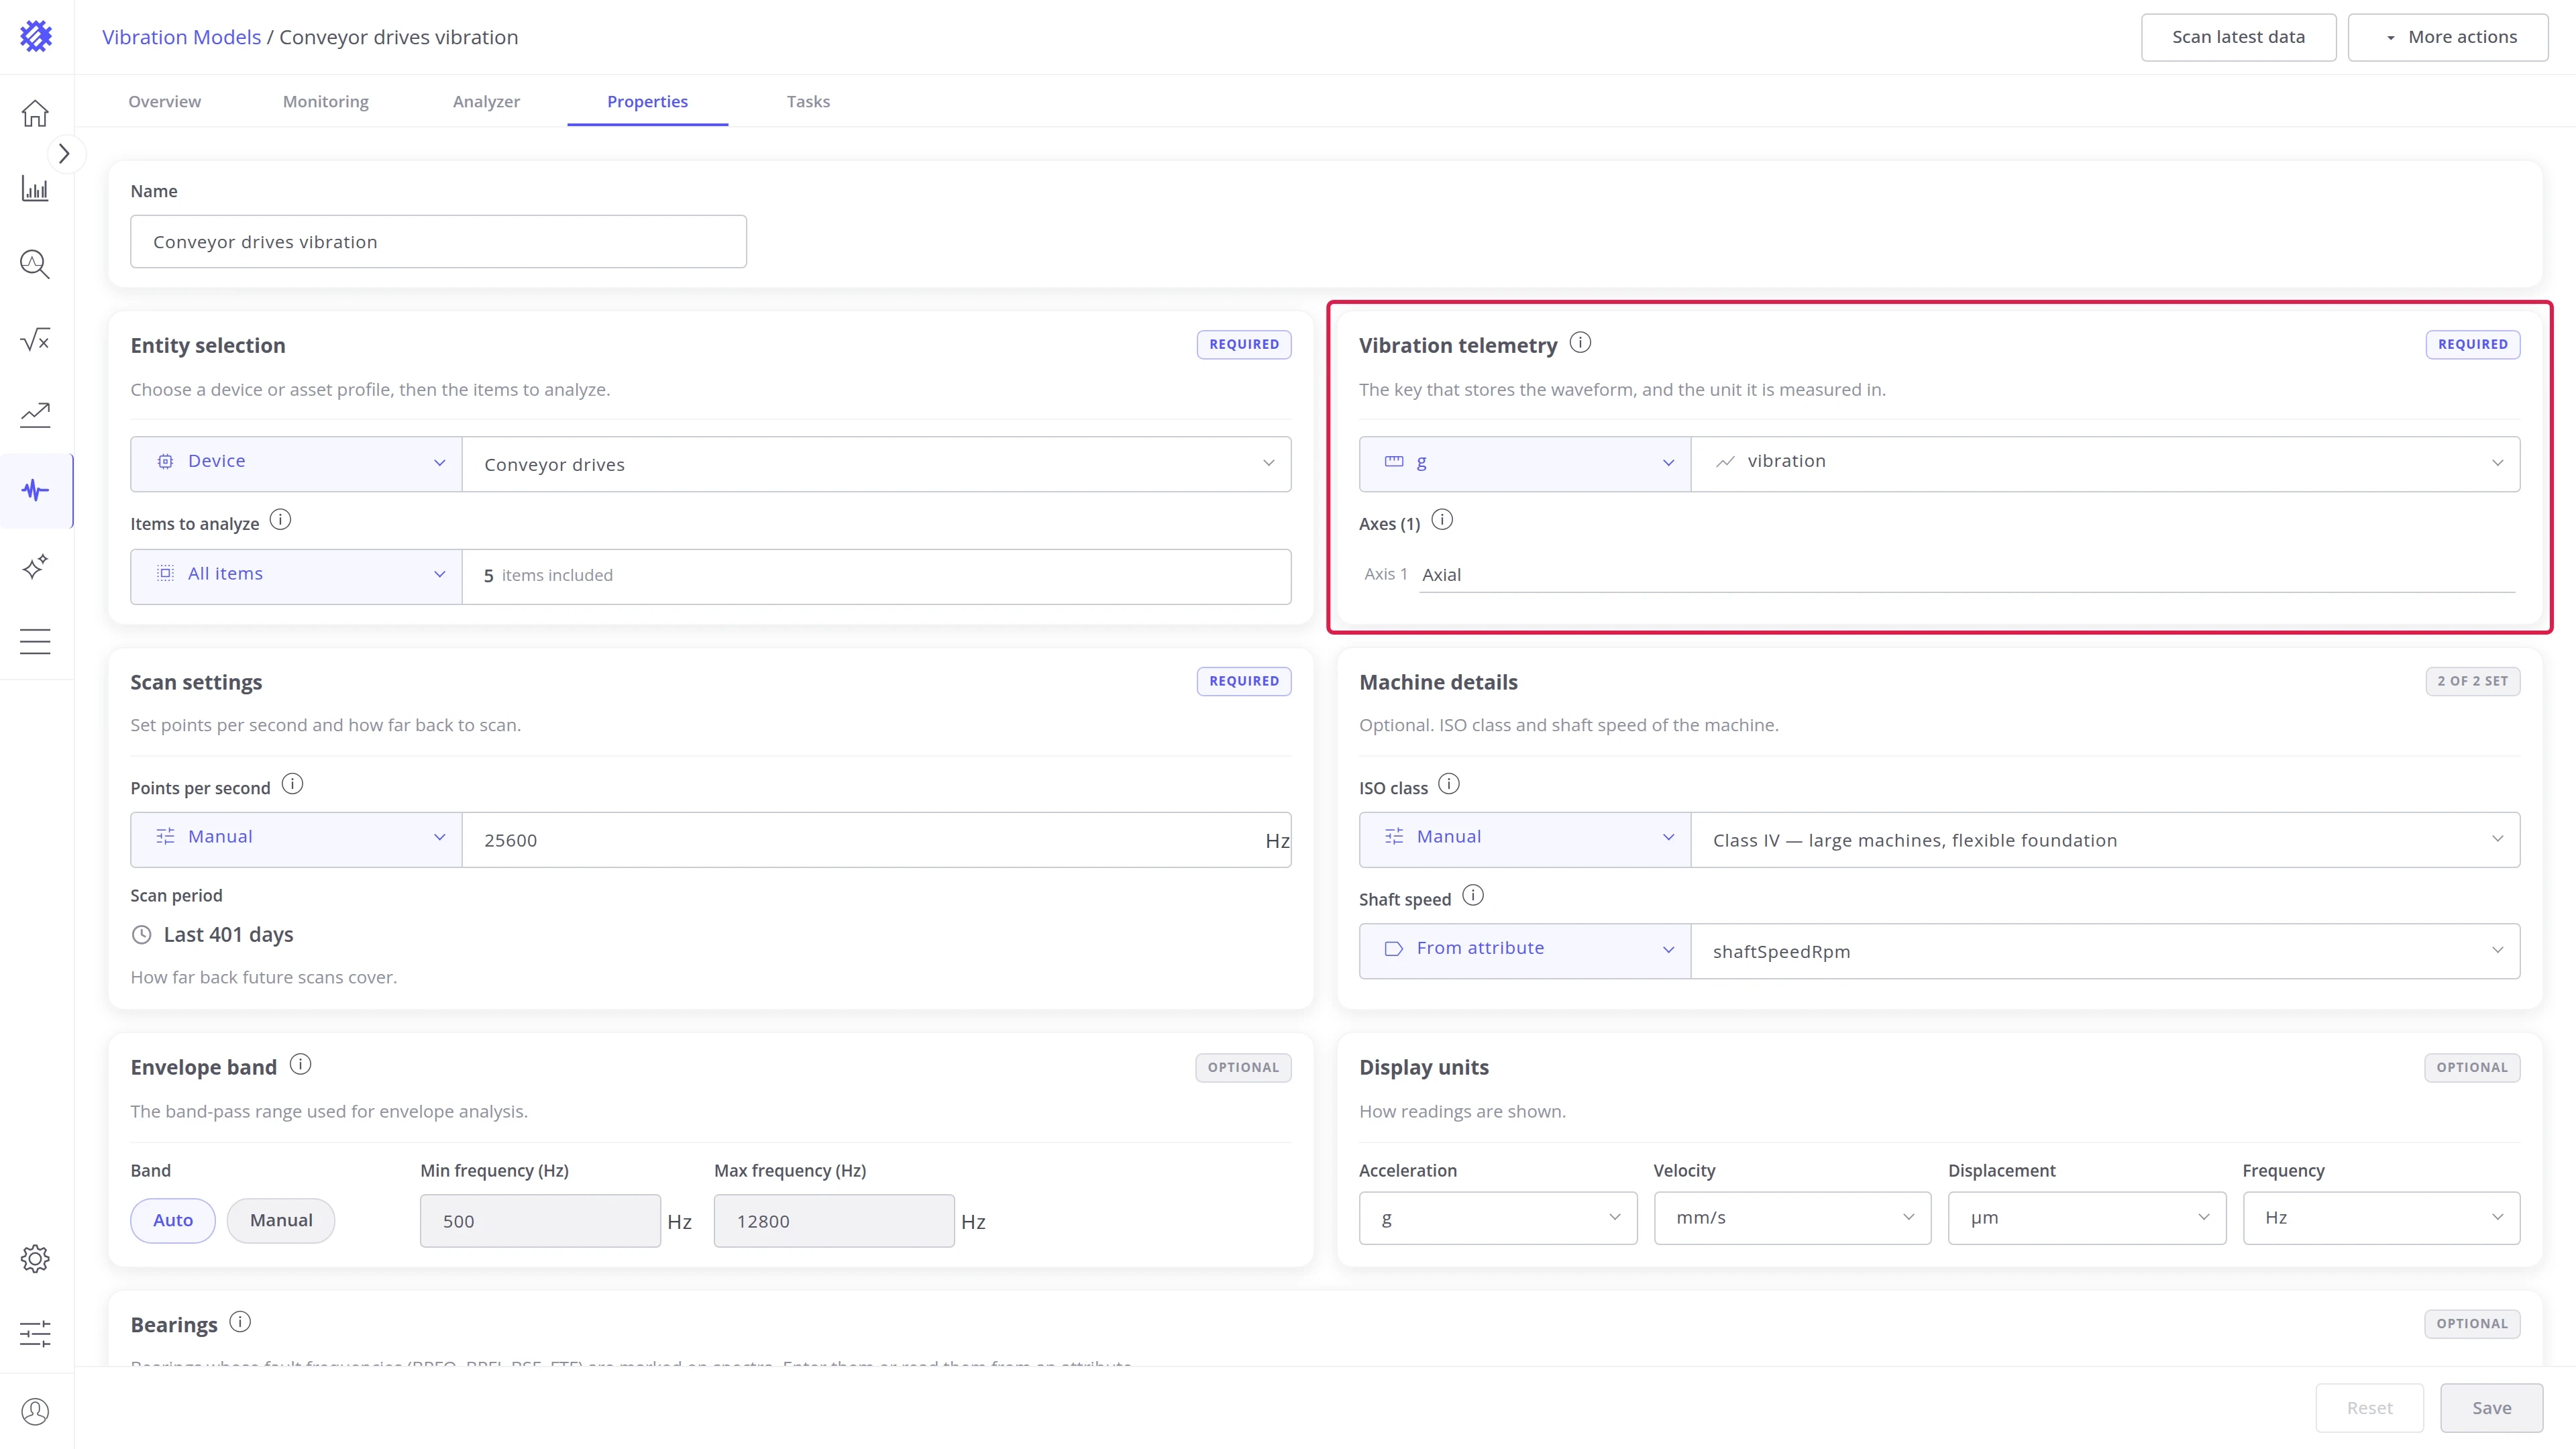
| Field | Description |
|---|---|
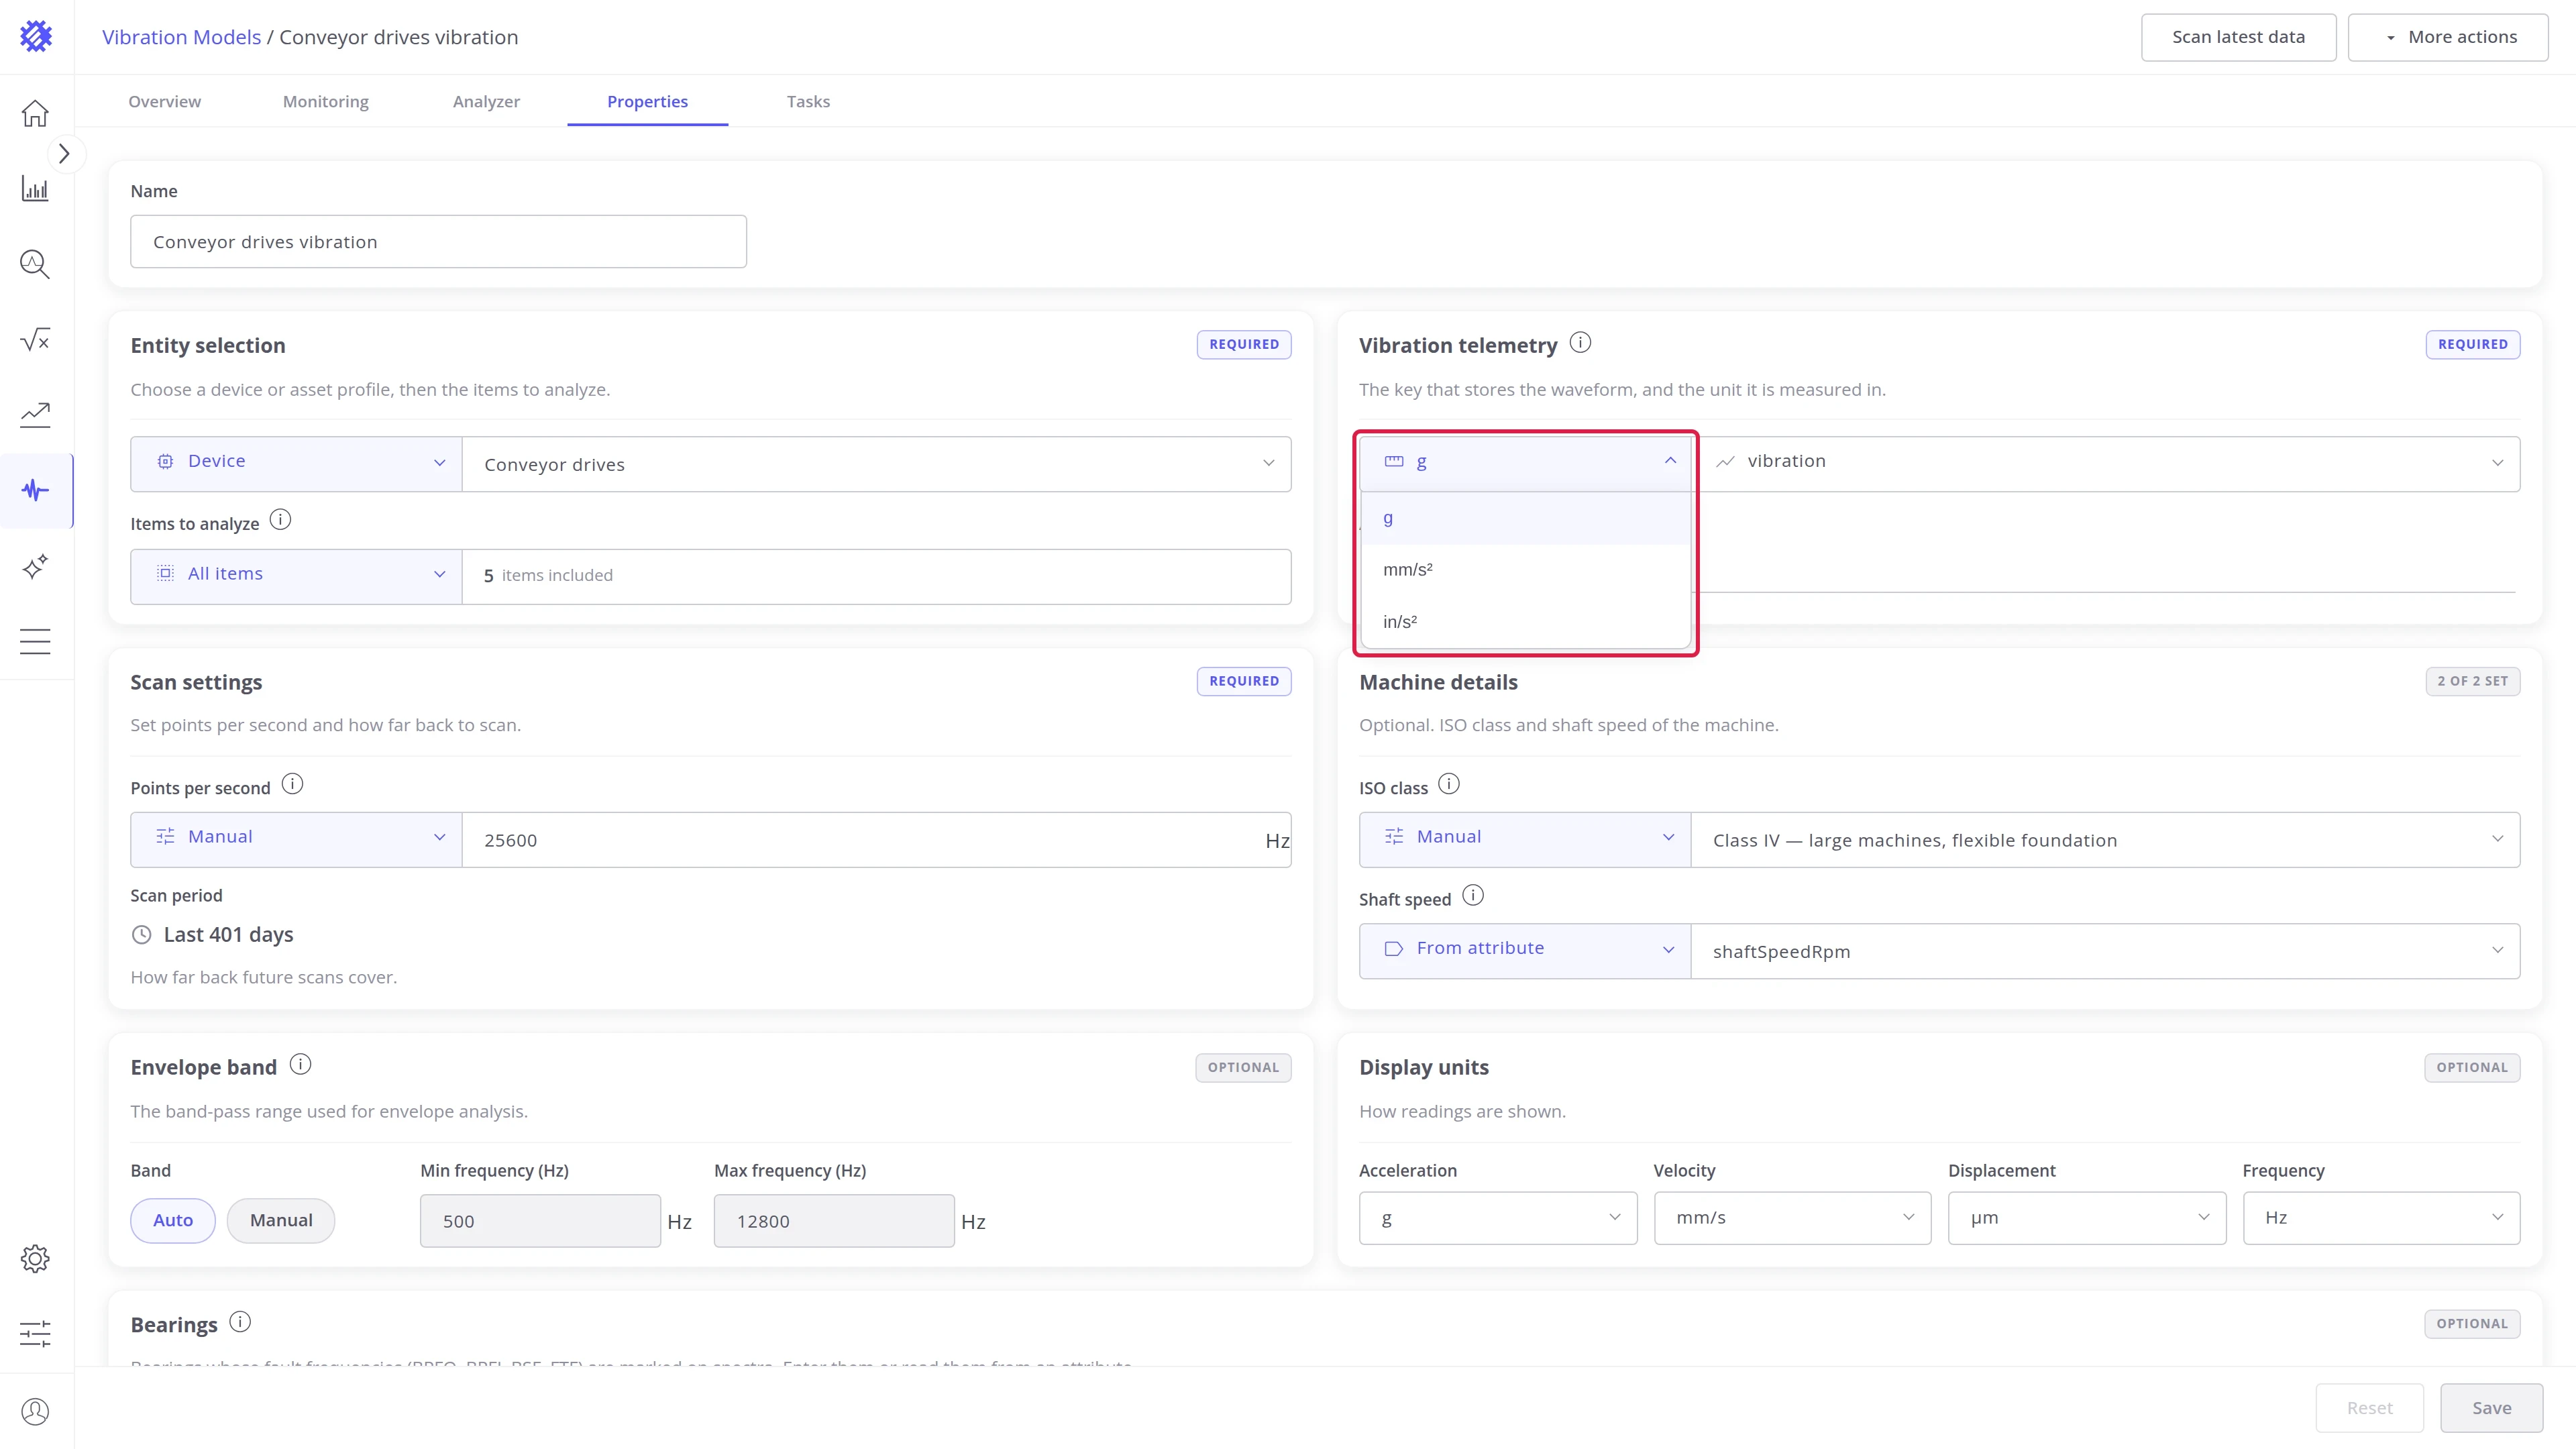
| Signal unit | The unit the sensor records in: g, mm/s², or in/s² |
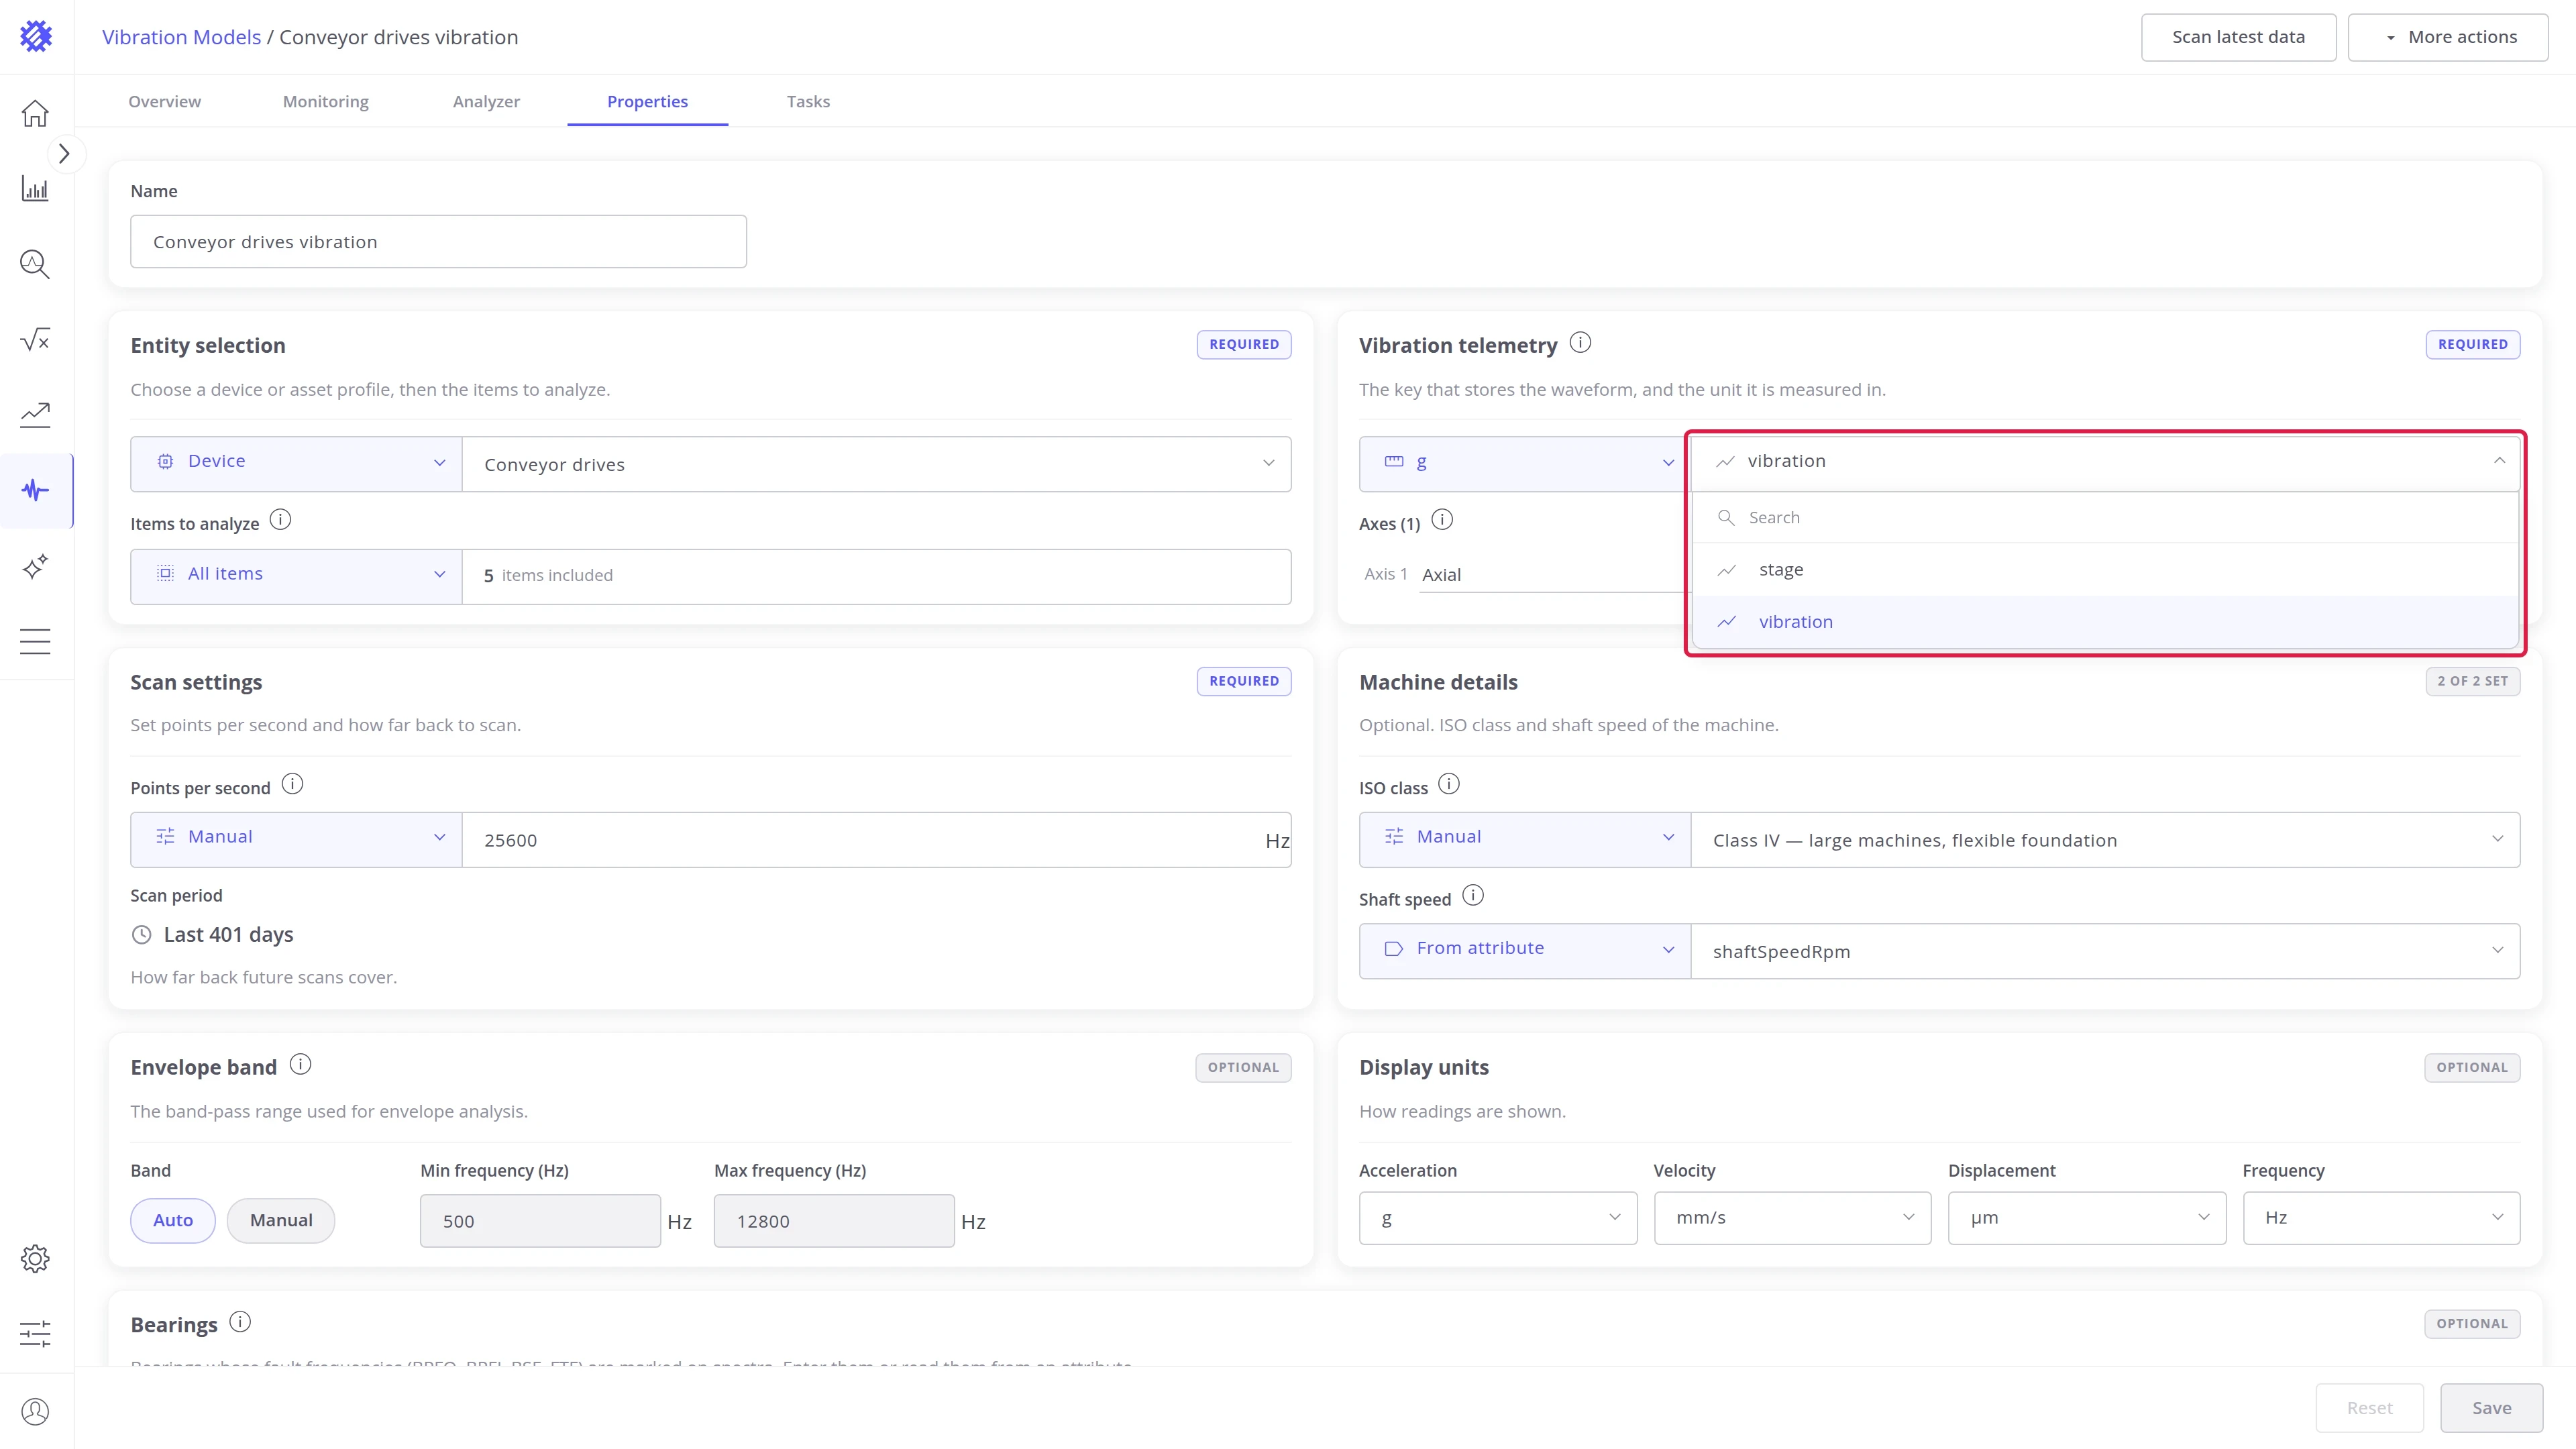
| Telemetry key | The key that holds the waveform. The format the values must arrive in is described in Getting Started |
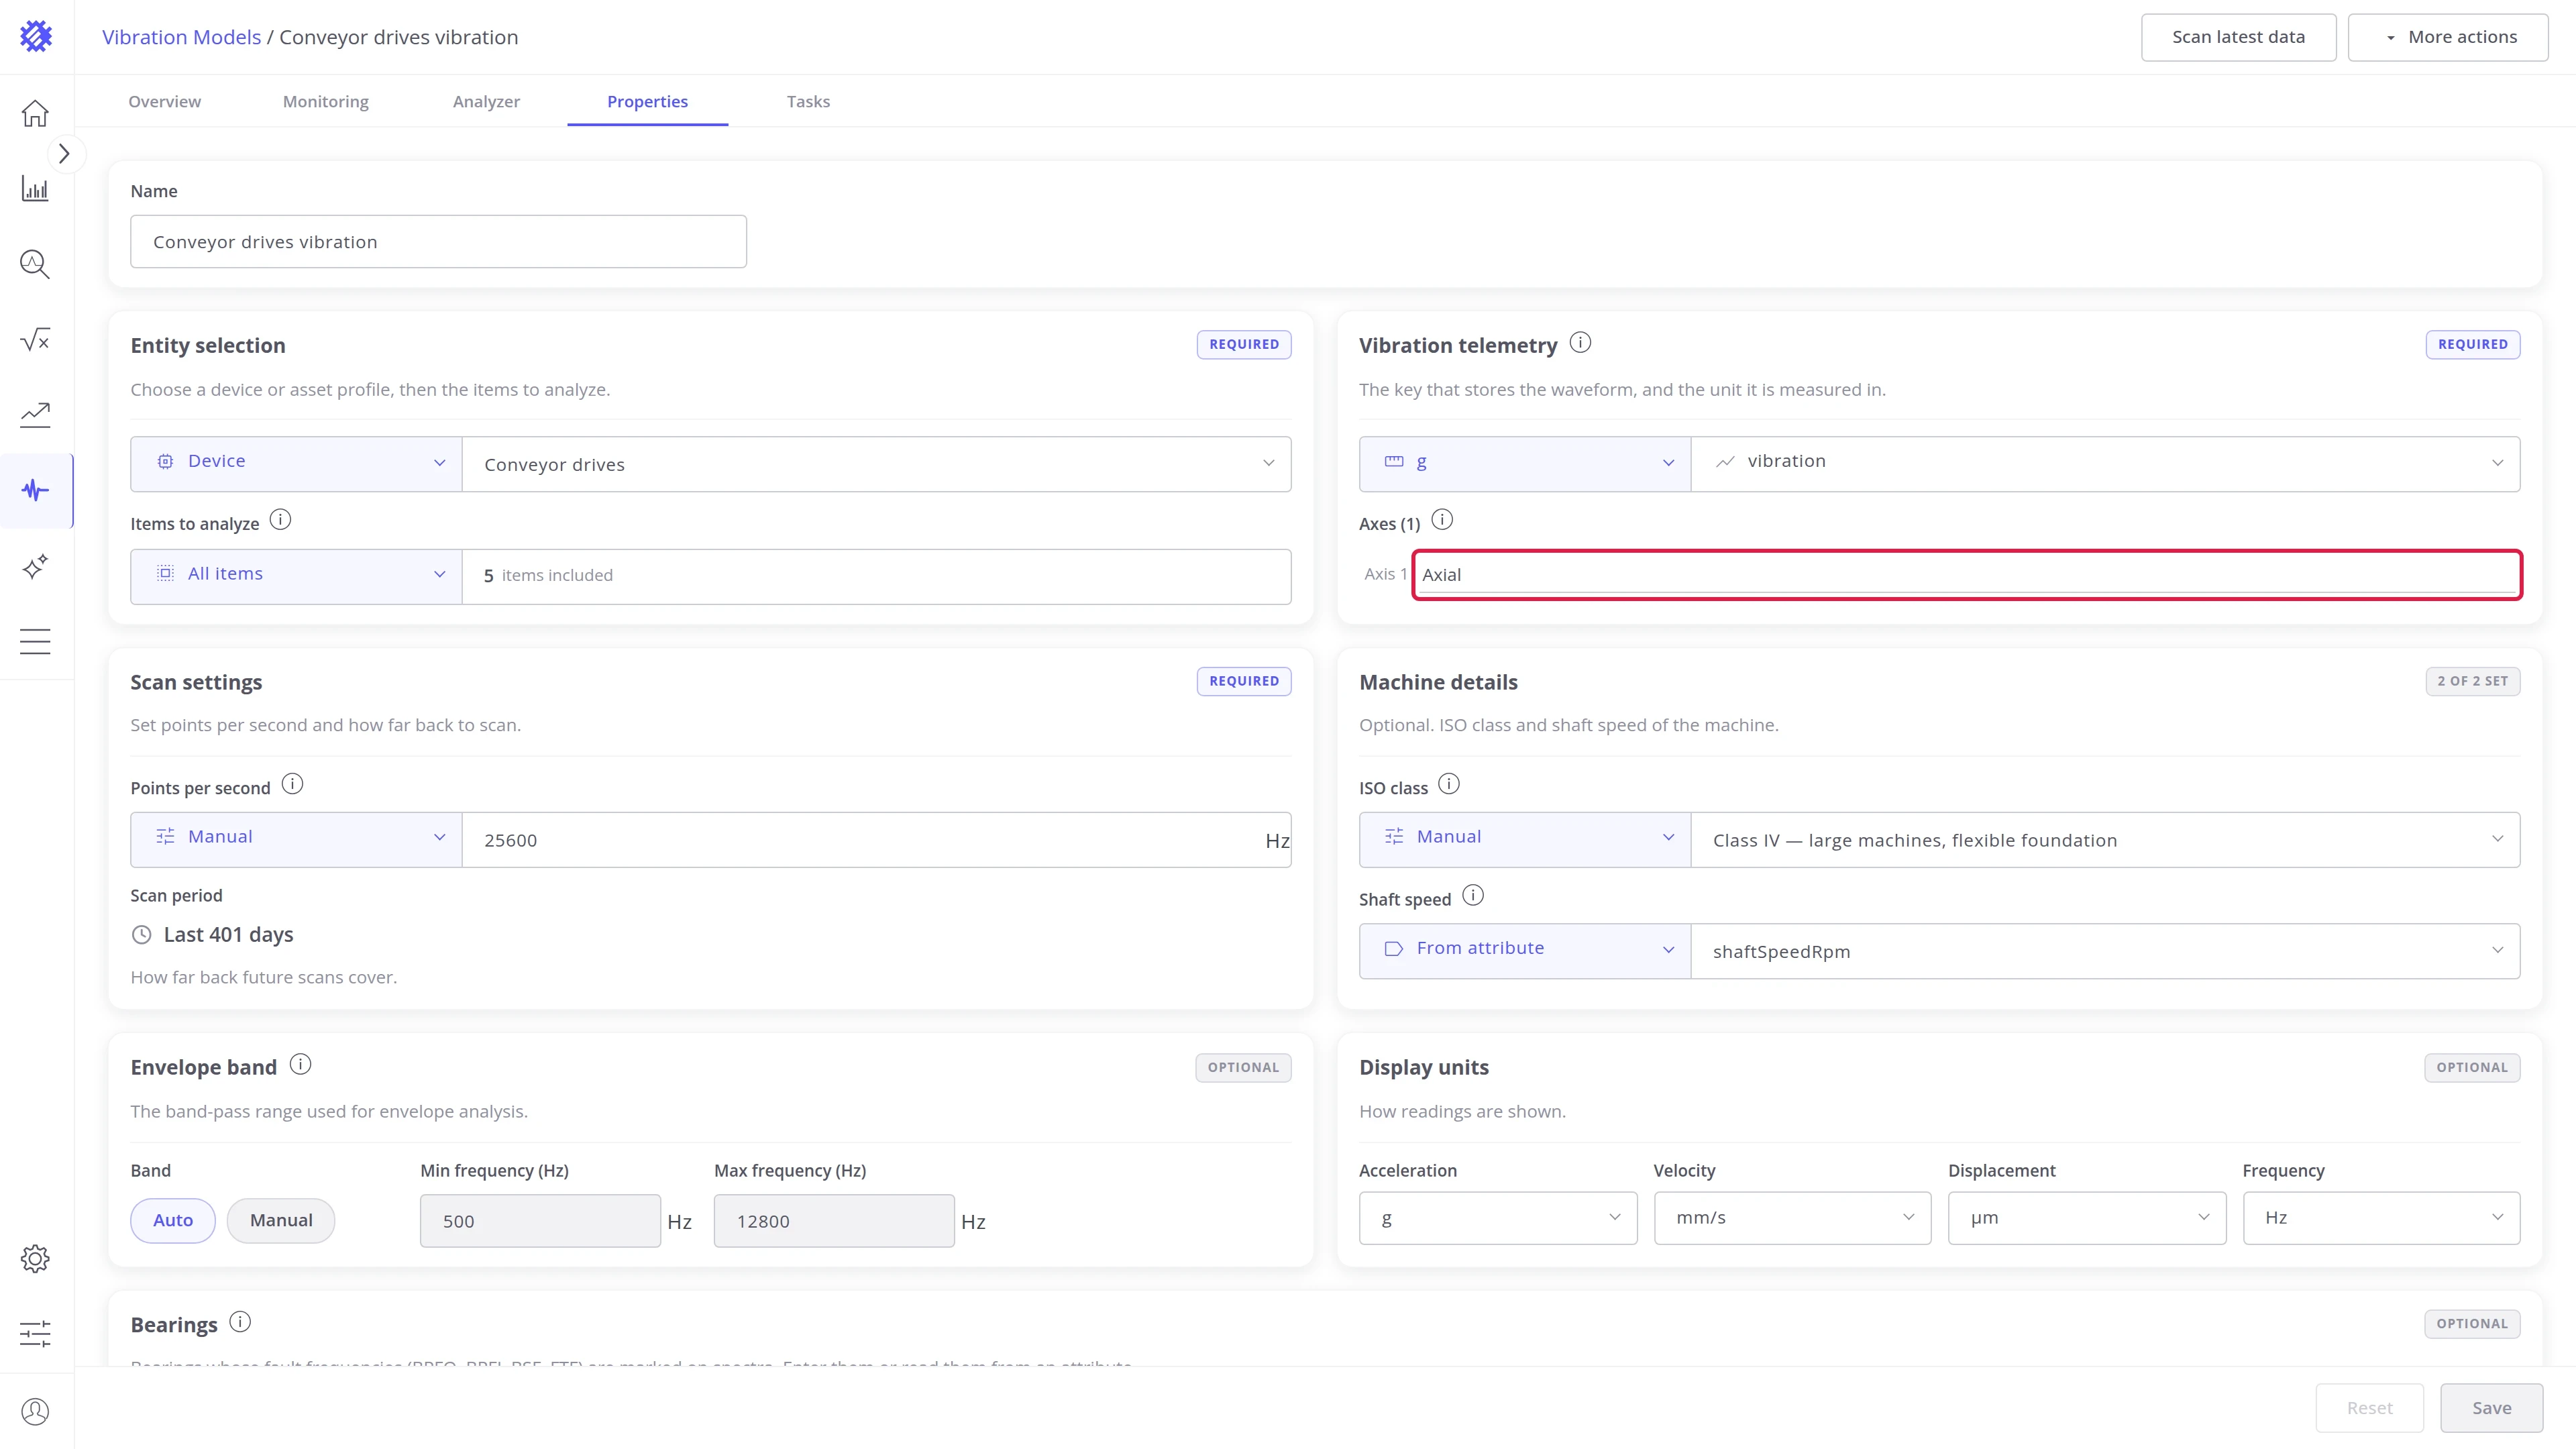
| Axes | One row per axis the value holds. You can rename the labels; how many axes there are, and their order, comes from the data |
Scan settings
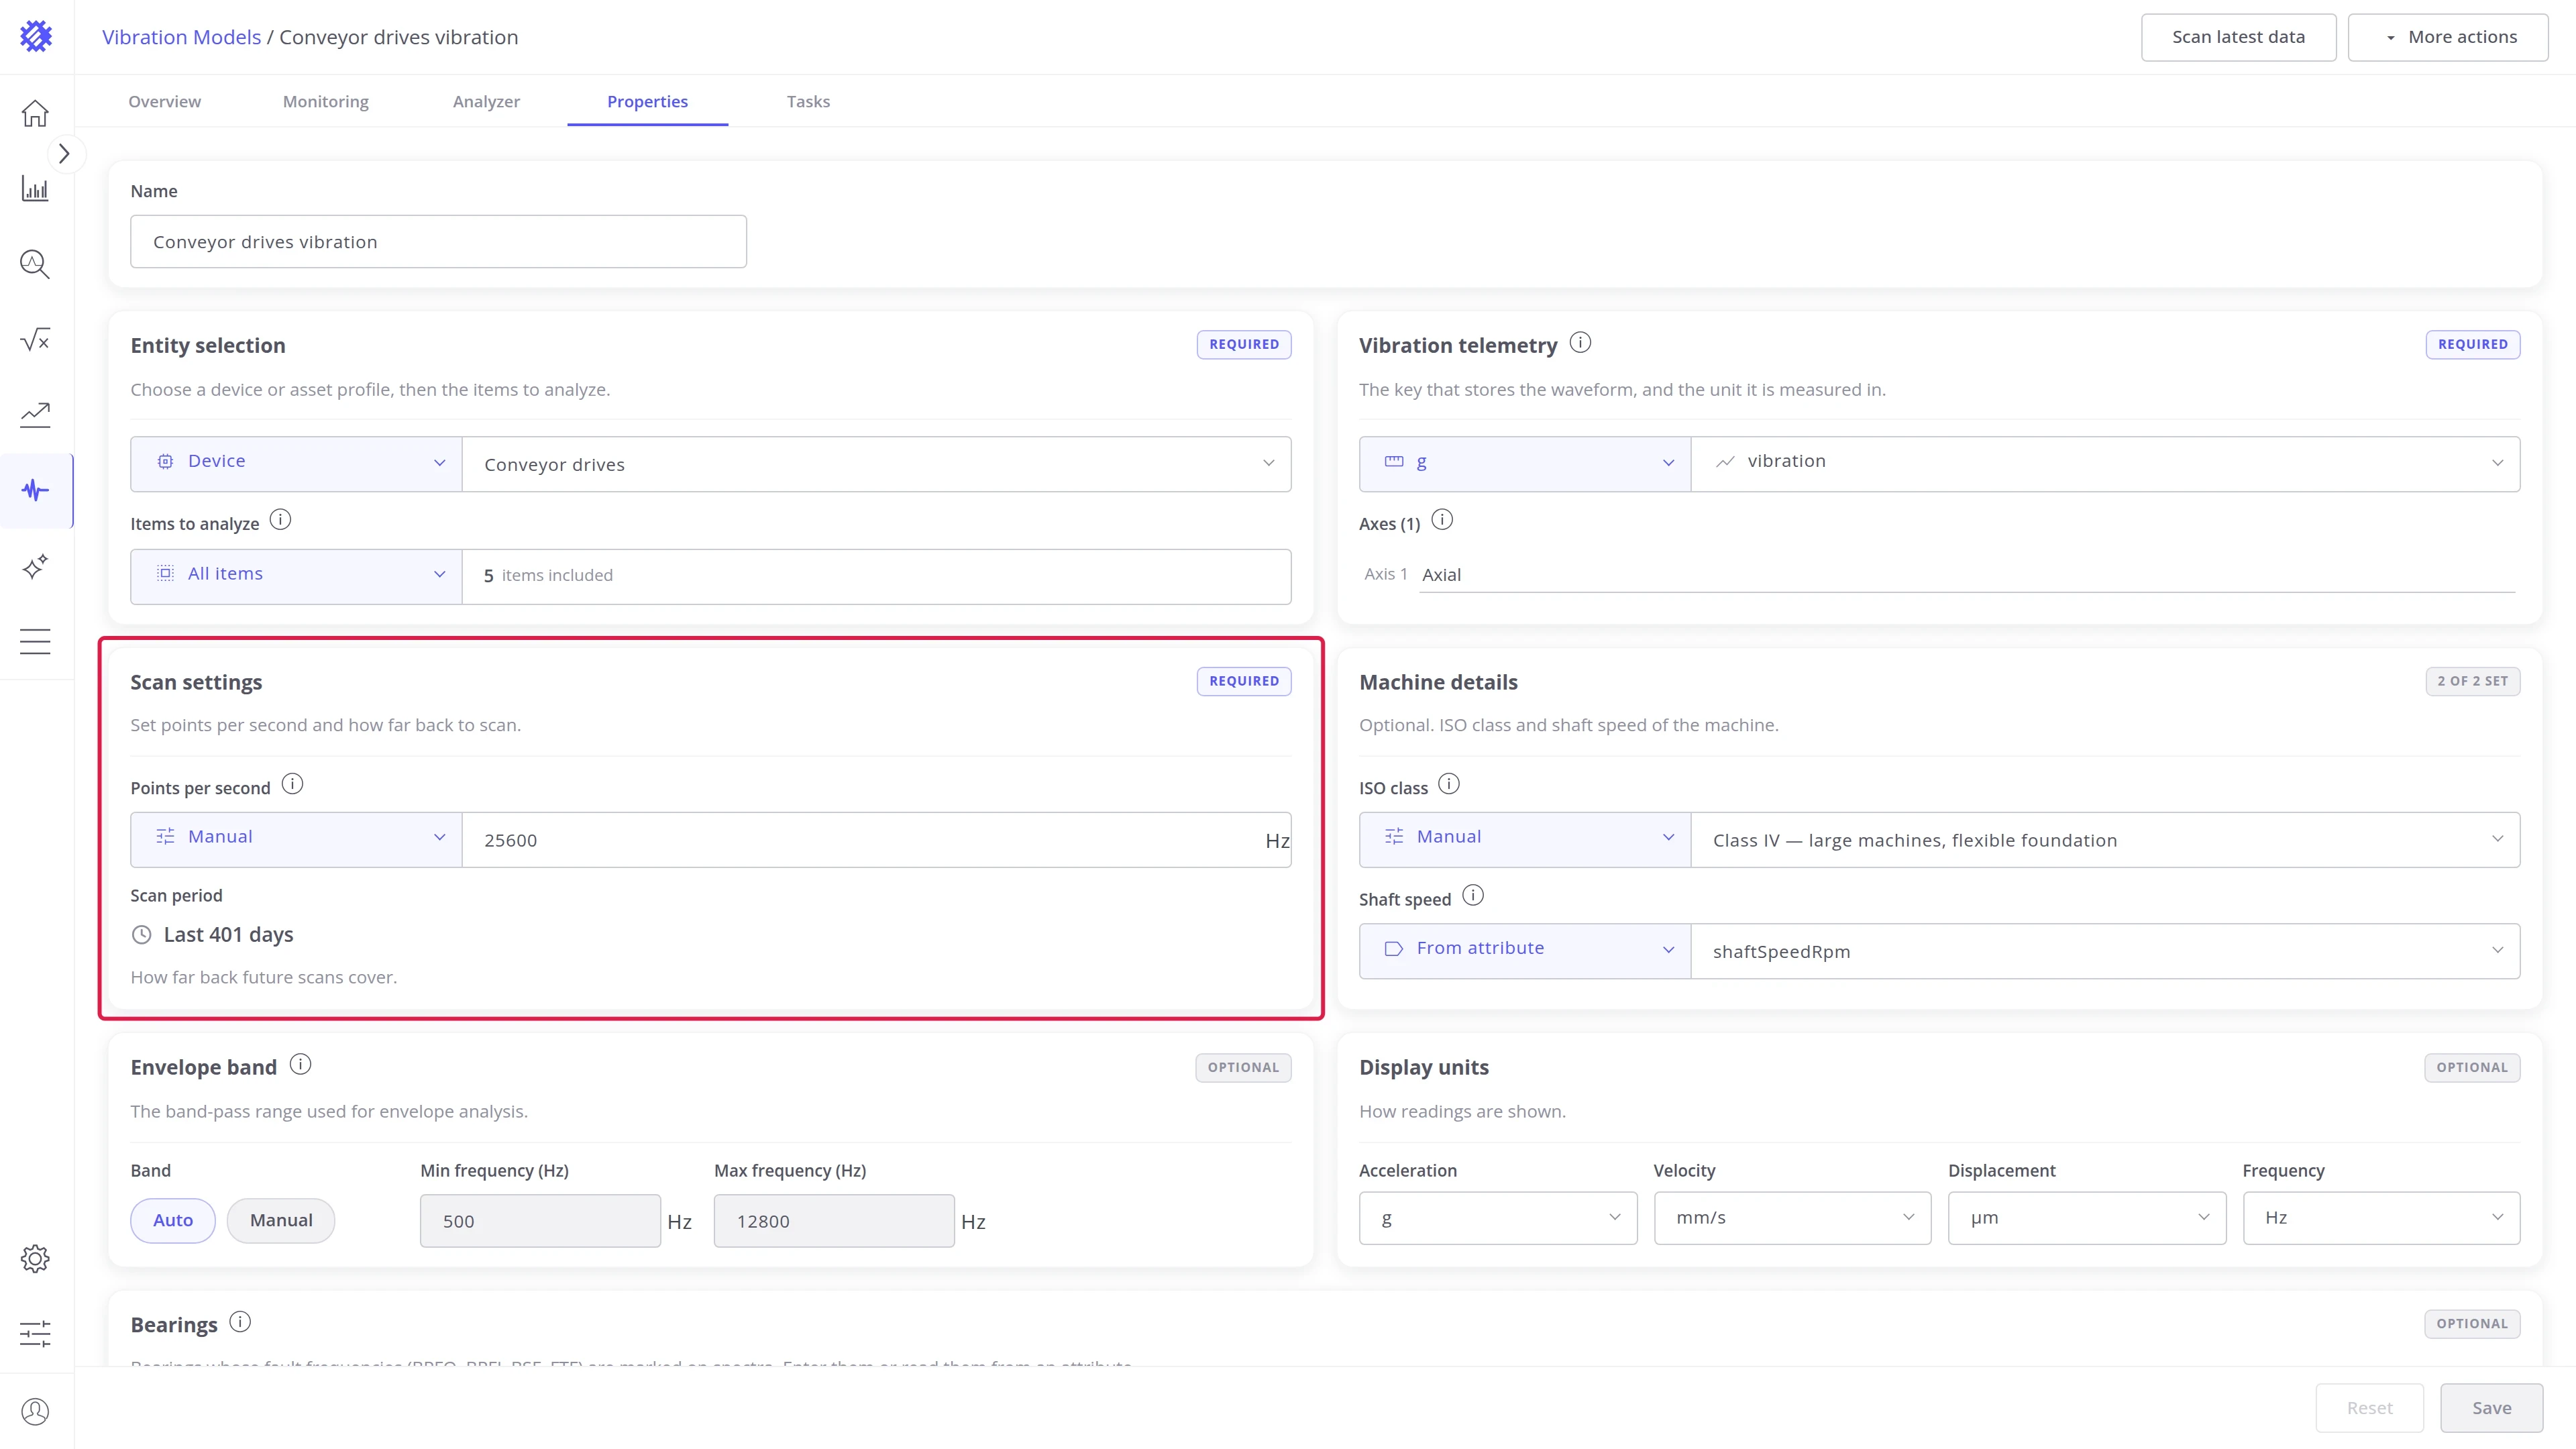
Section titled “Scan settings”How fast the sensor records, and how far back scans reach.
| Field | Description |
|---|---|
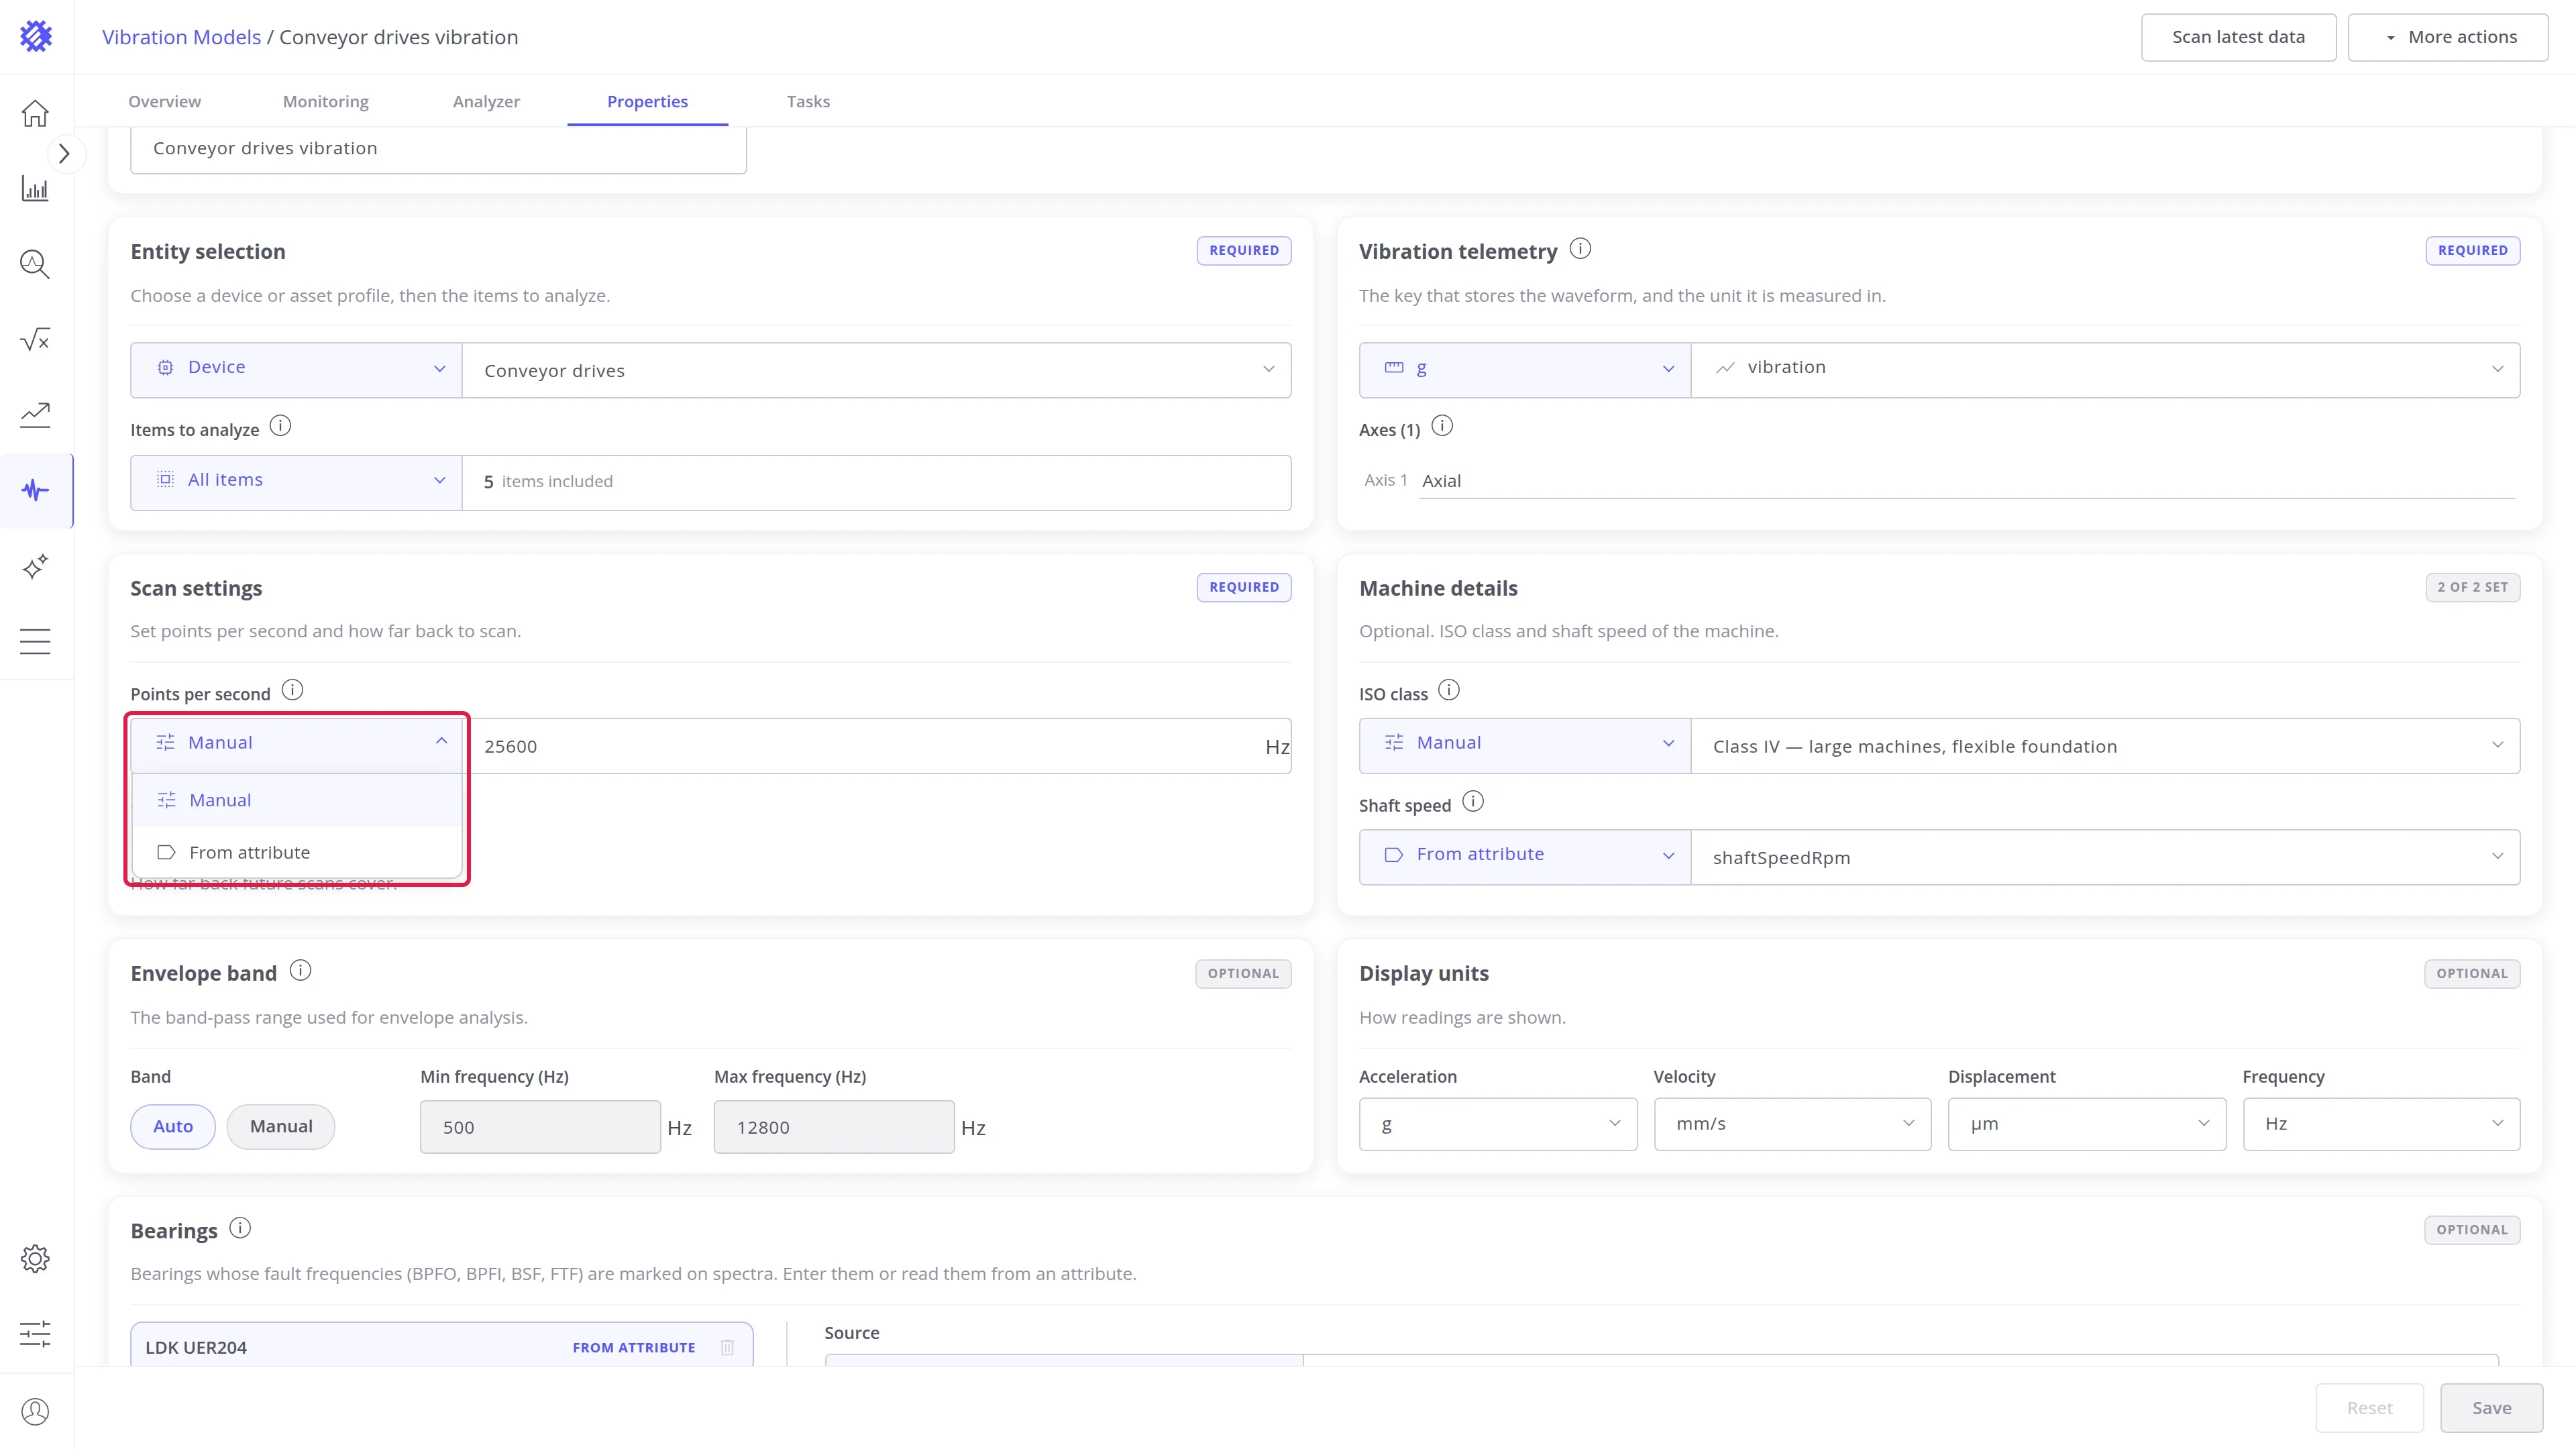
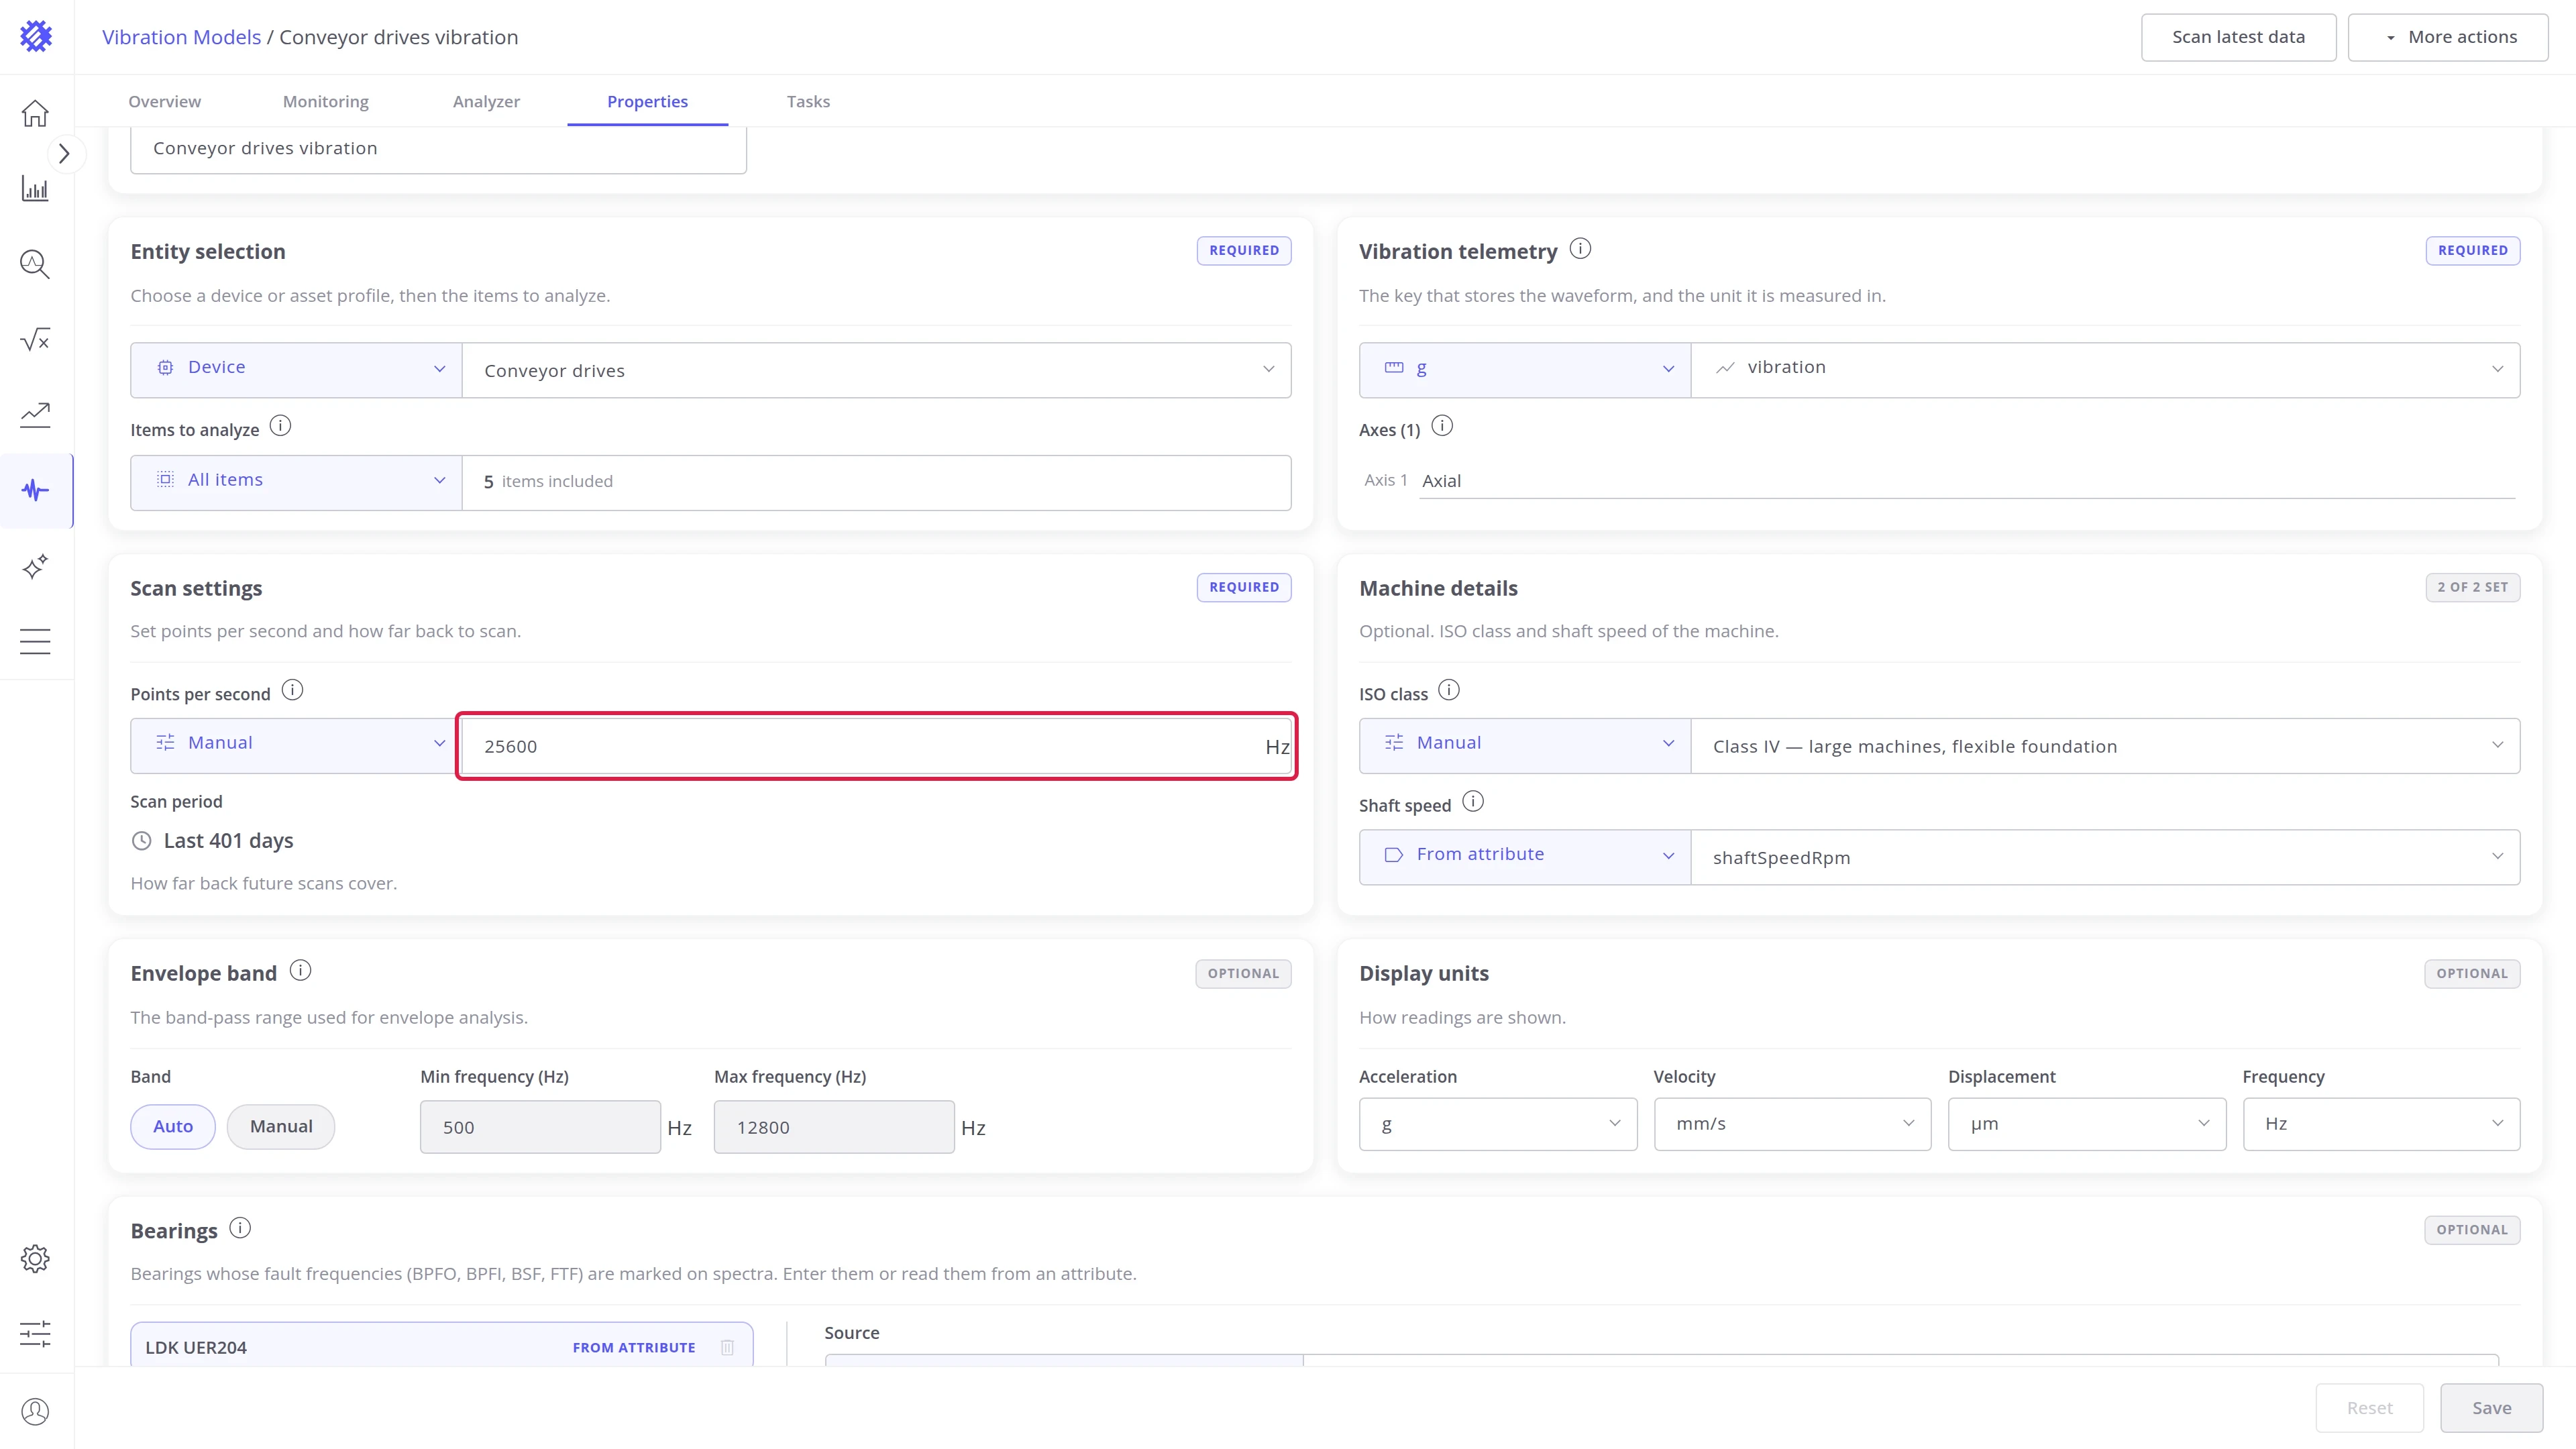
| Points per second | The sample rate of the recording. Manual sets one value for the whole model; From attribute reads it per machine, for a fleet whose sensors differ |
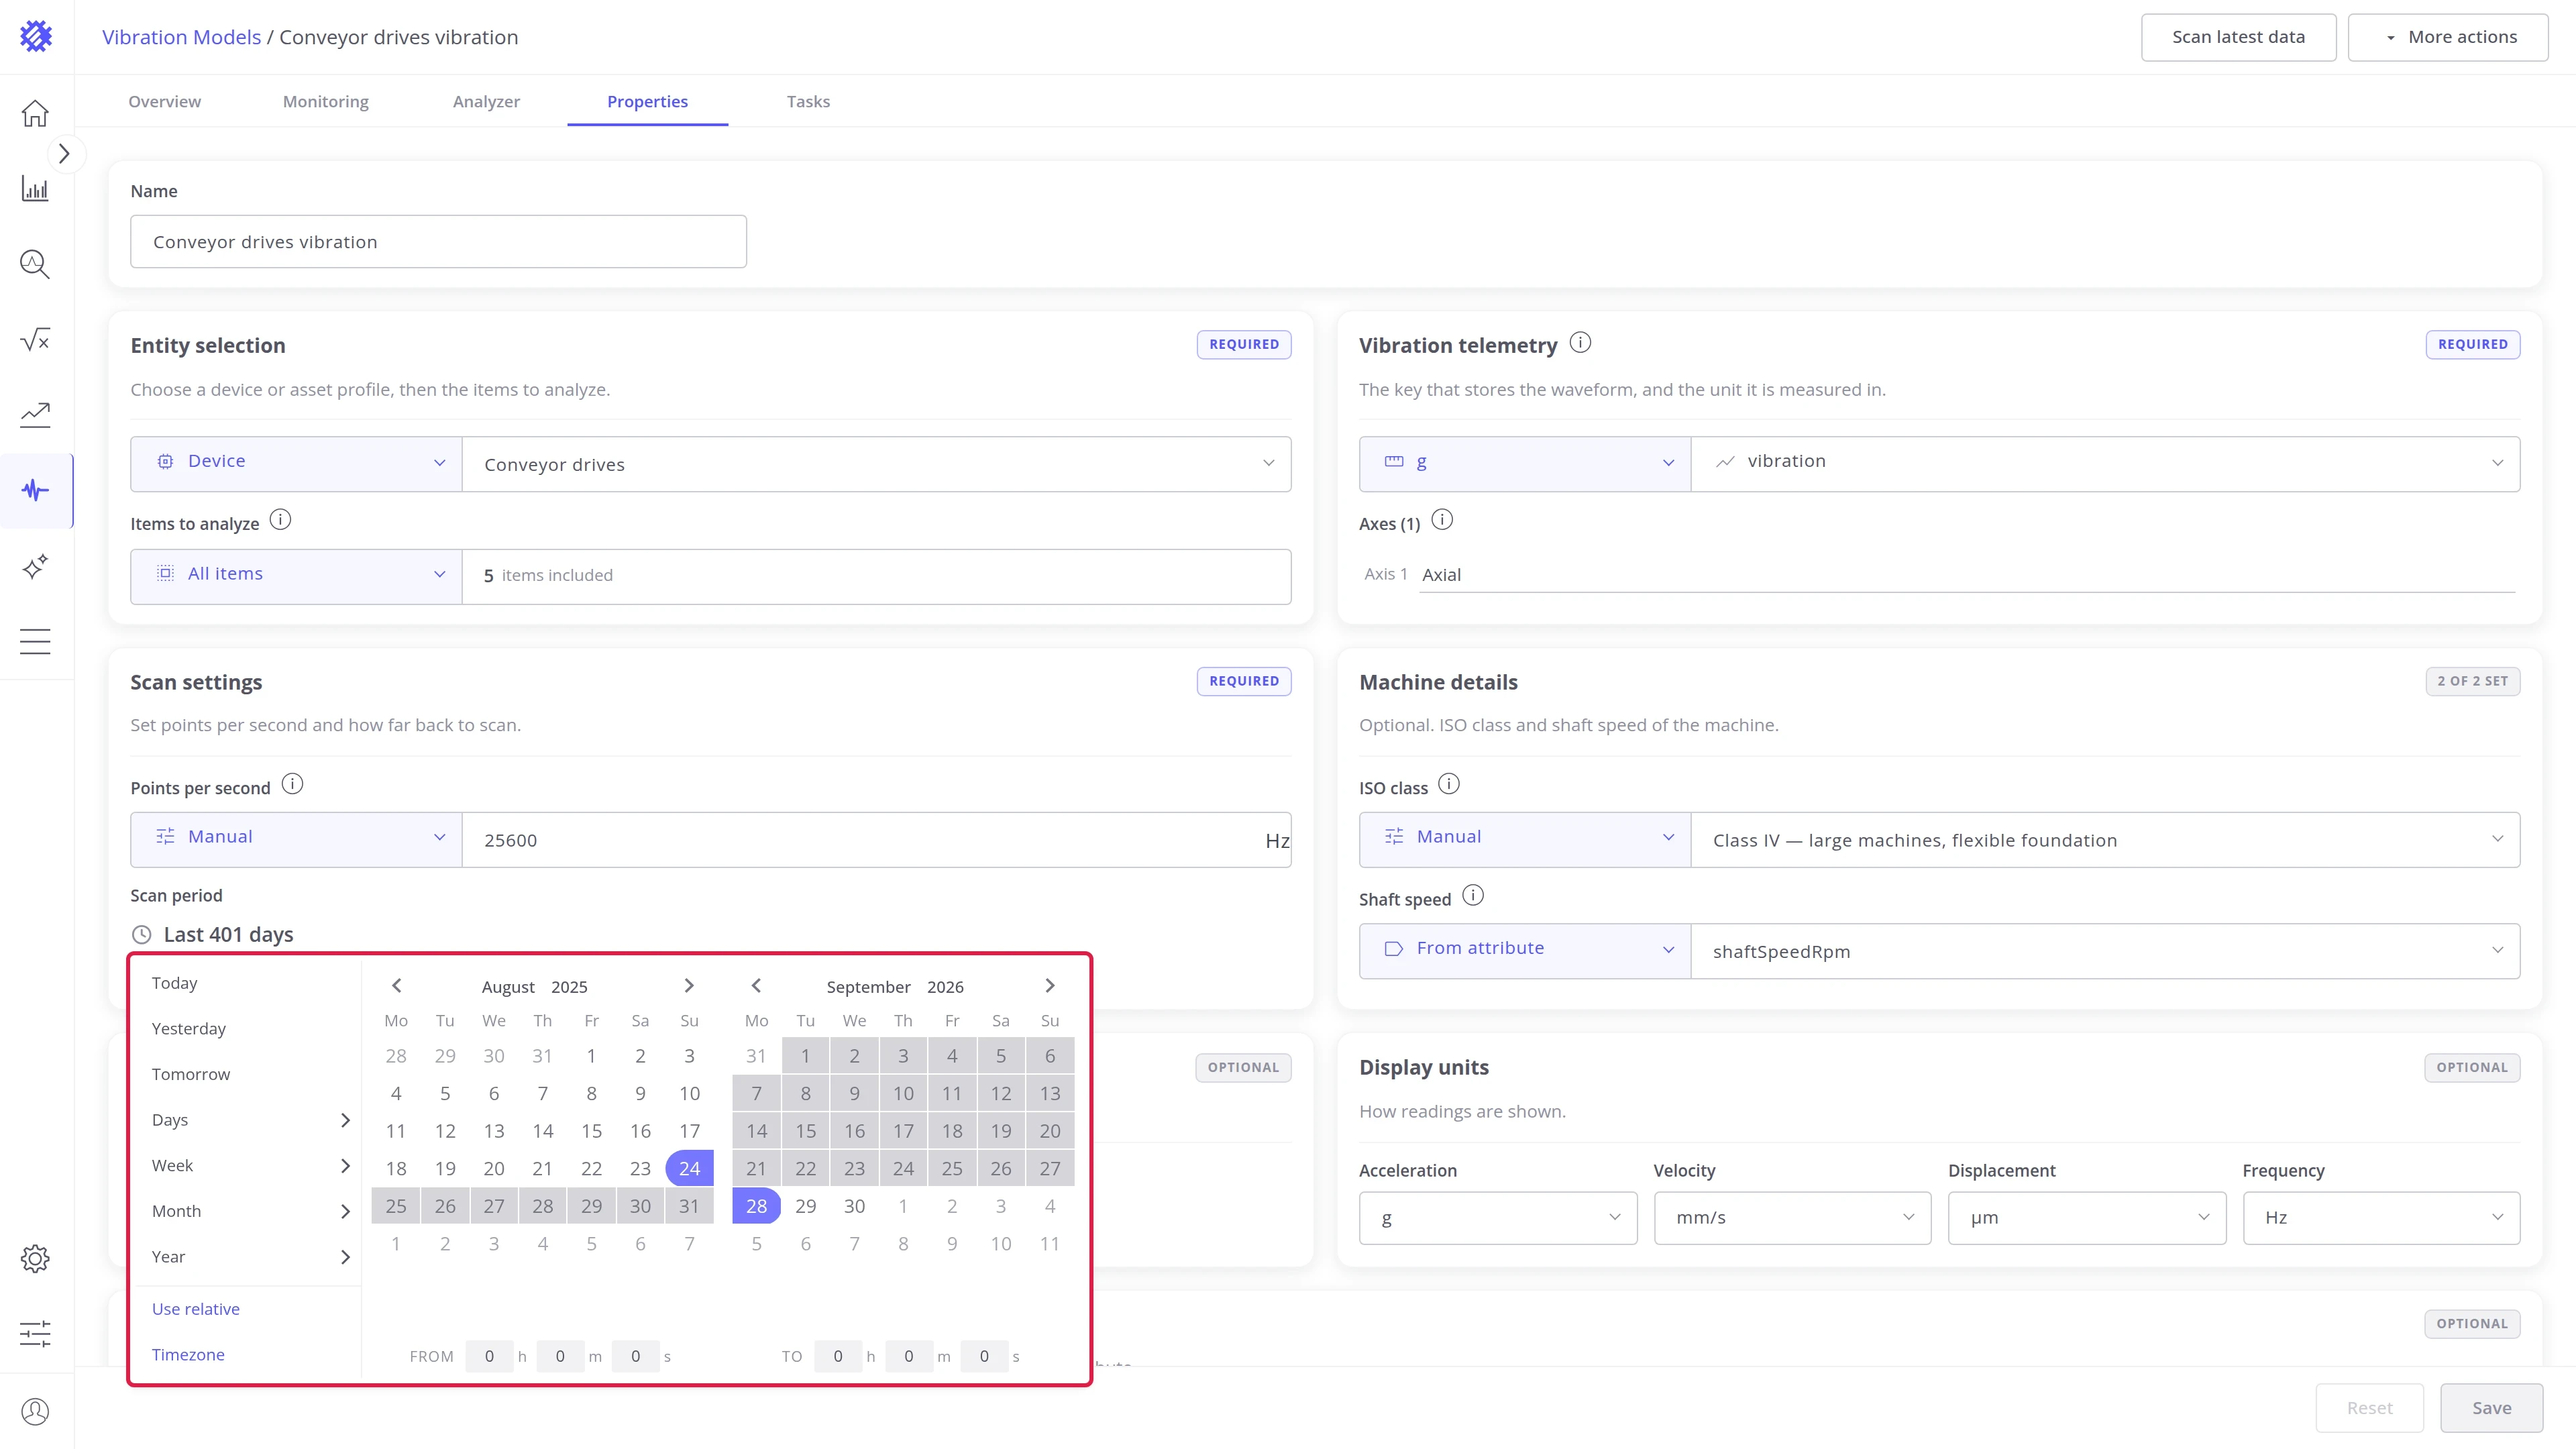
| Scan period | How far back future scans cover |
Machine details
Section titled “Machine details”The two settings that turn readings into verdicts: the ISO class and the shaft speed.
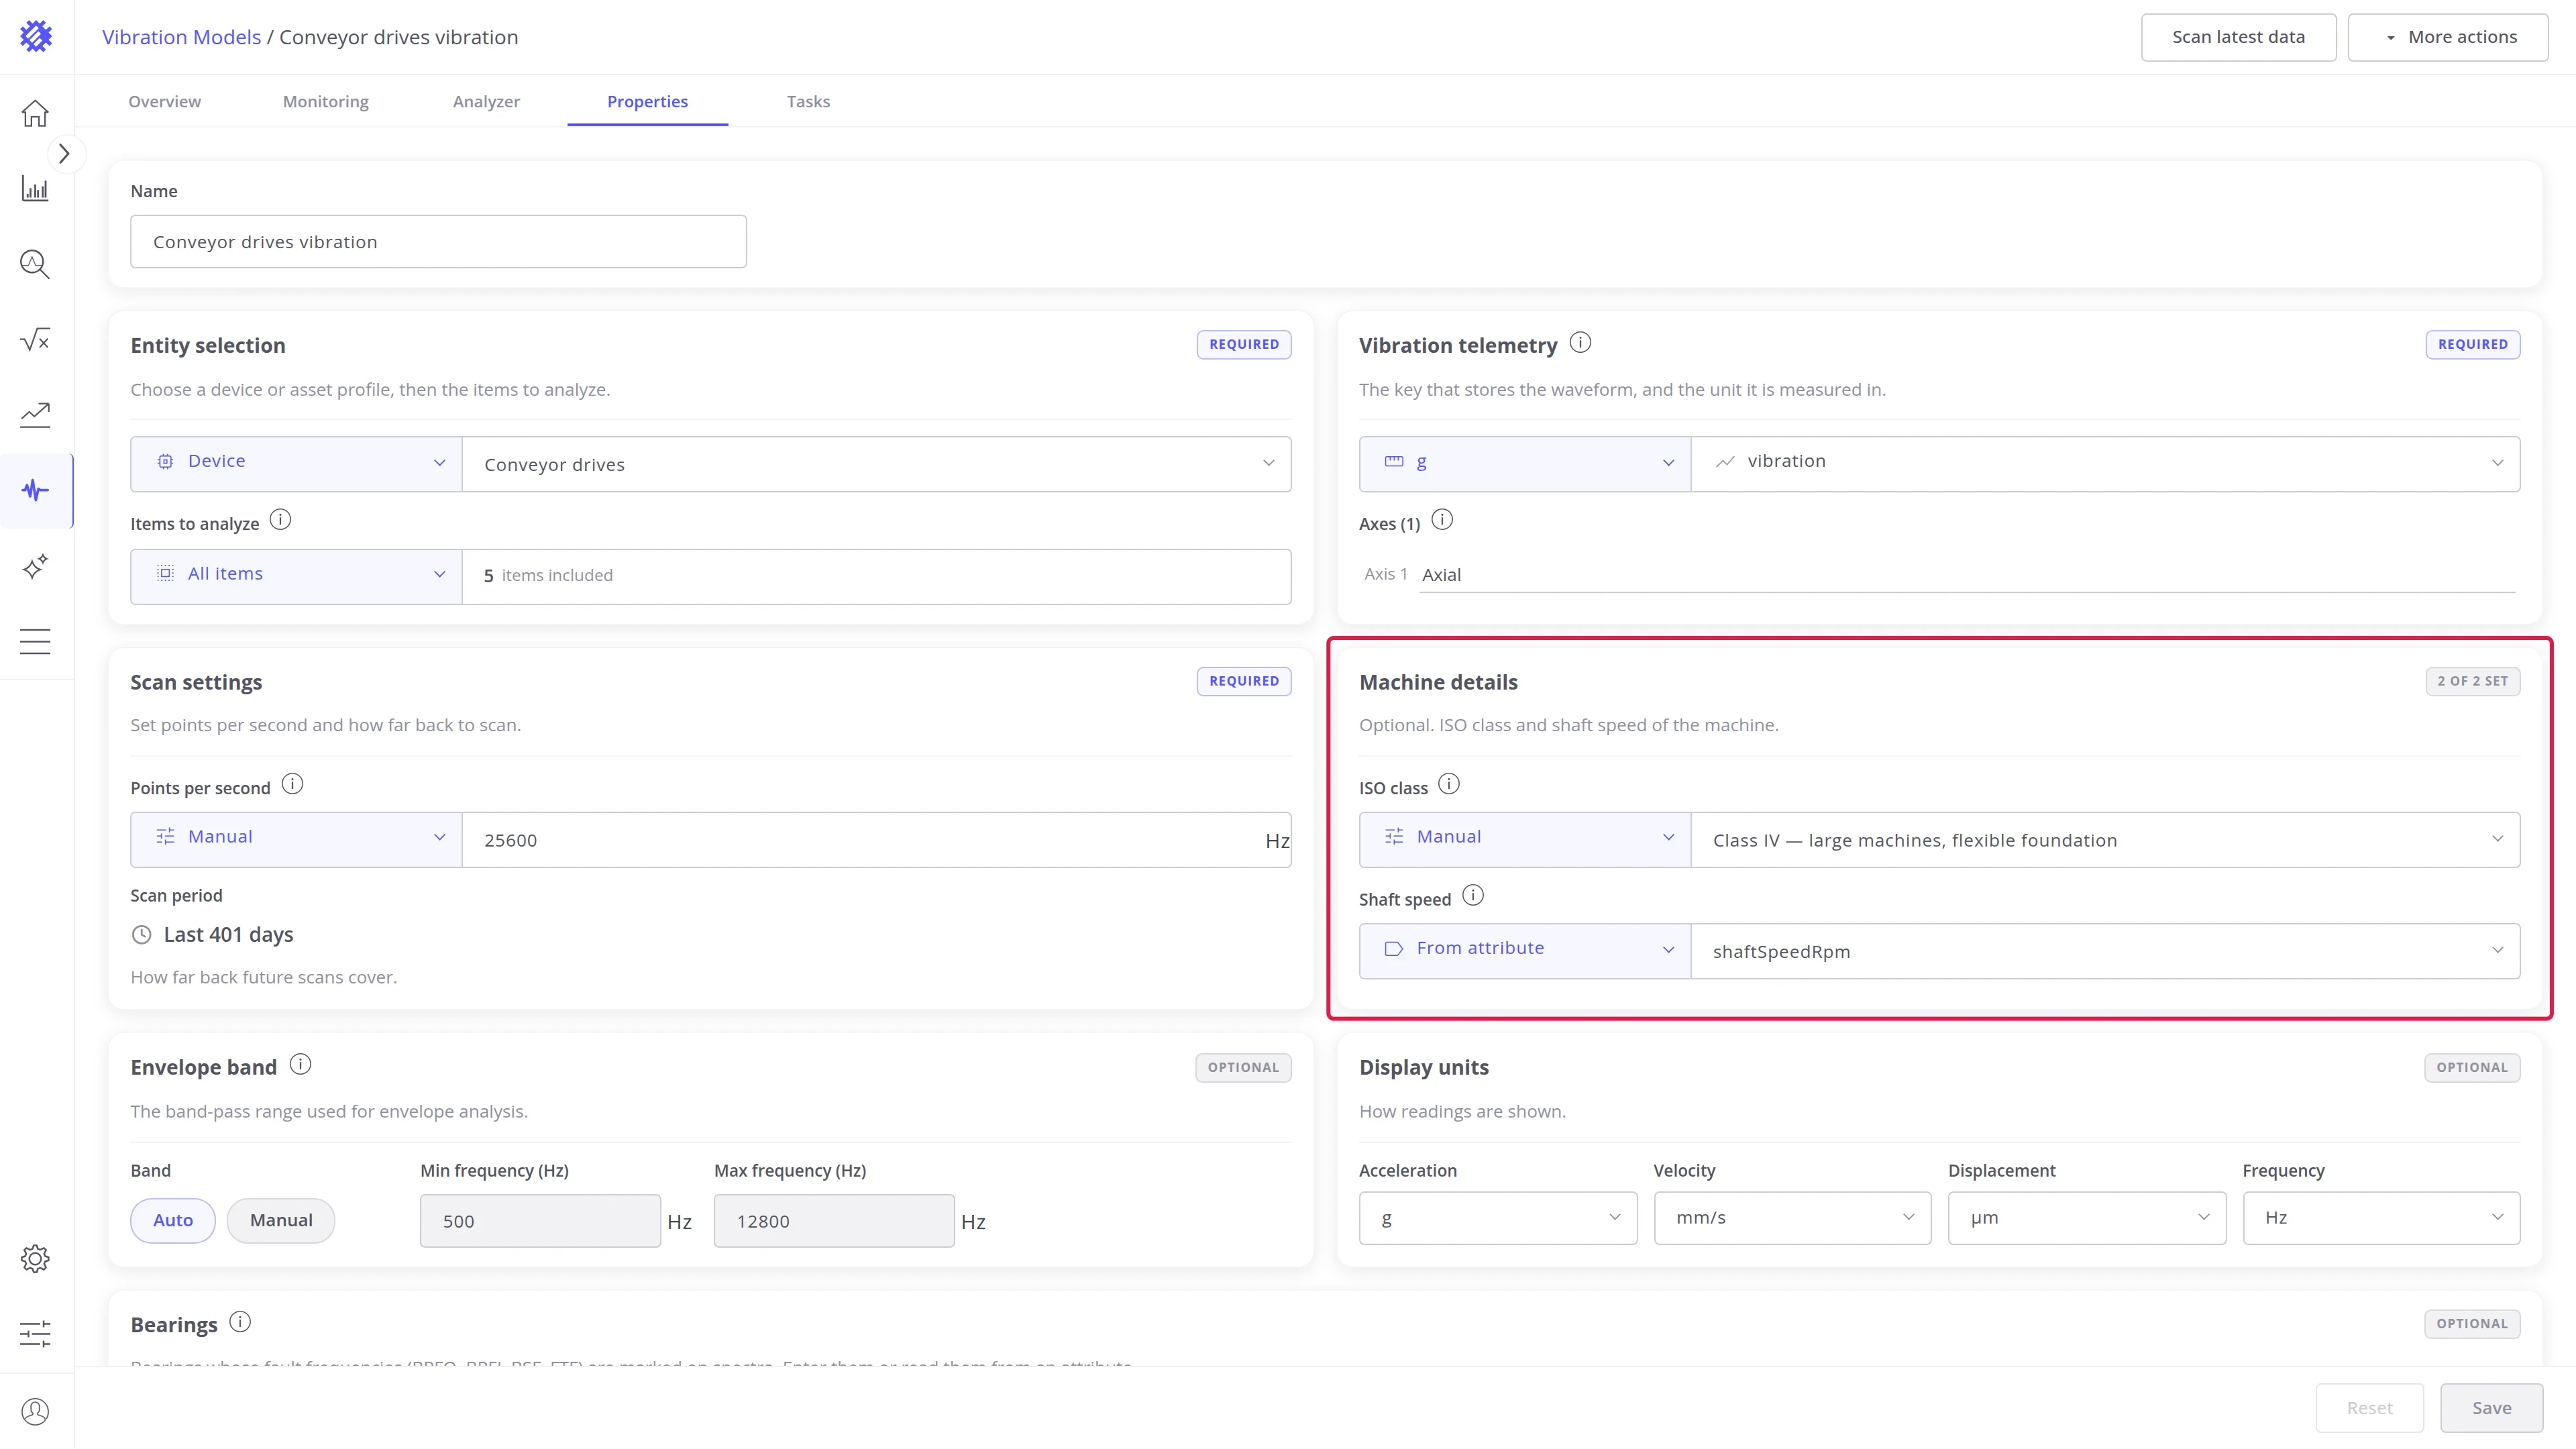
ISO class. Grades velocity RMS into zones A to D. How the zones are defined is explained in ISO 10816-1 severity zones.
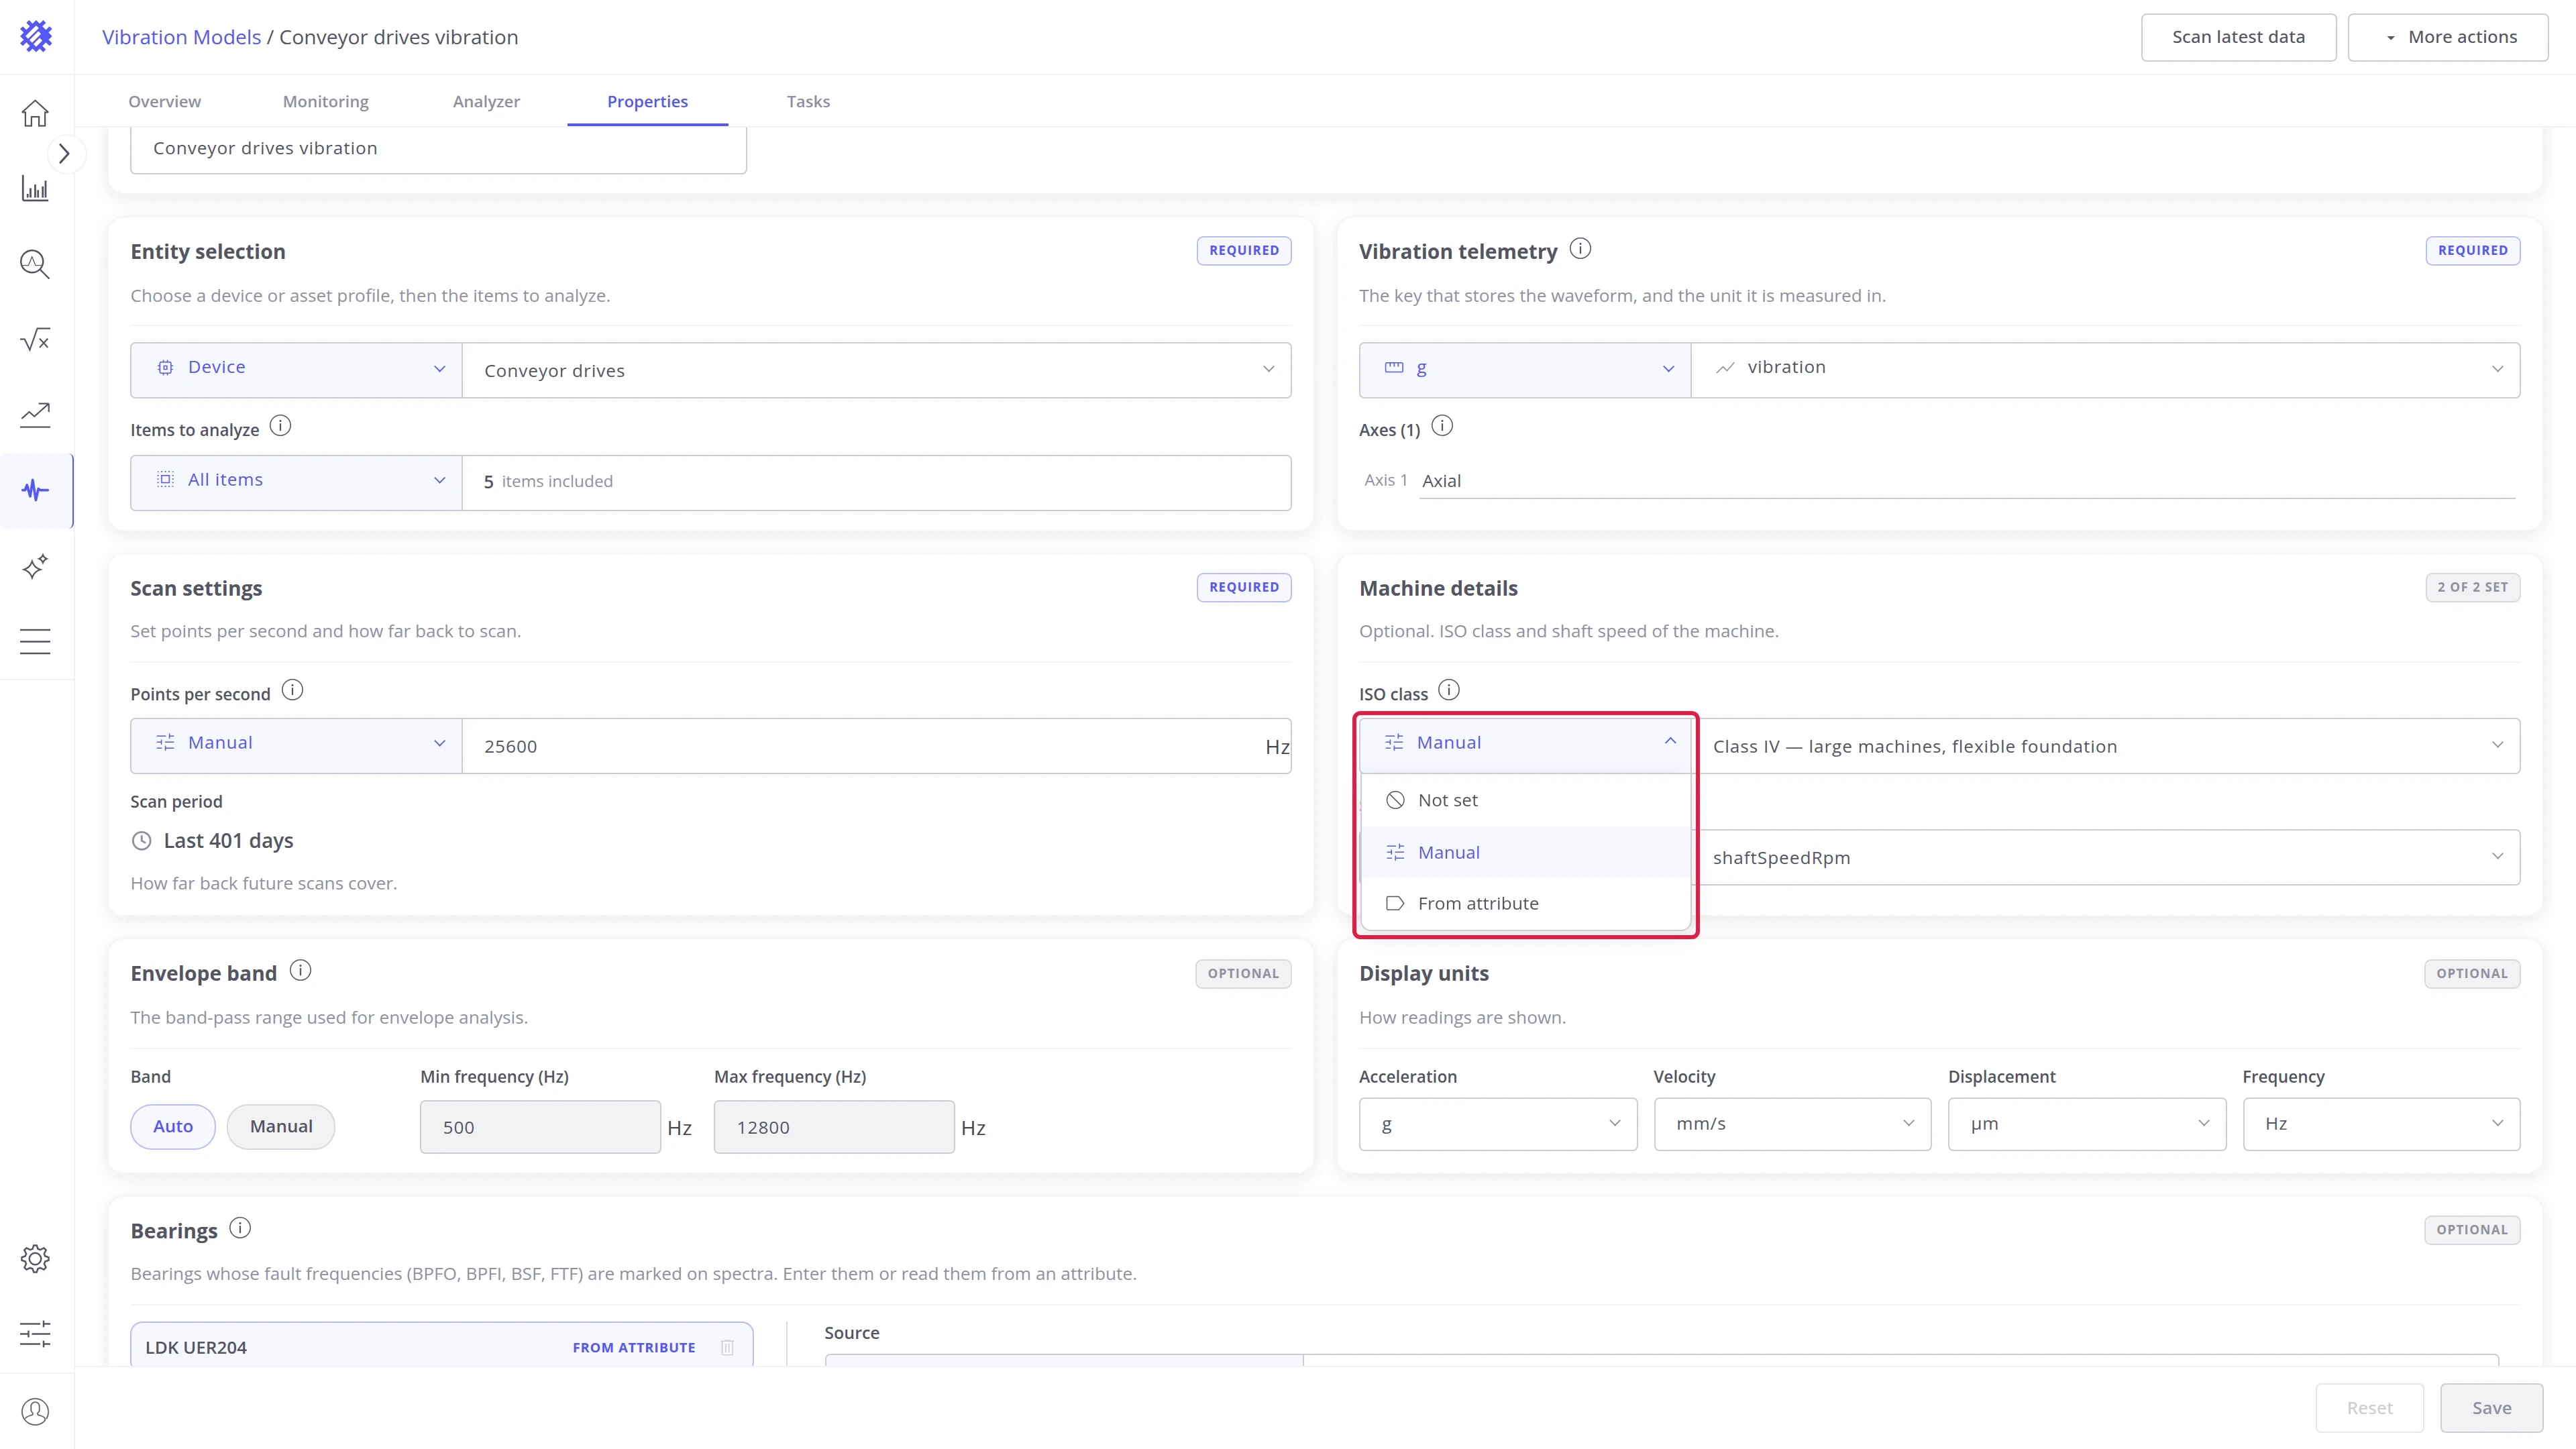
| Source | Description |
|---|---|
| Not set | No ISO zone is computed |
| Manual | One class for every machine of the model |
| From attribute | A class read from an attribute of each machine |
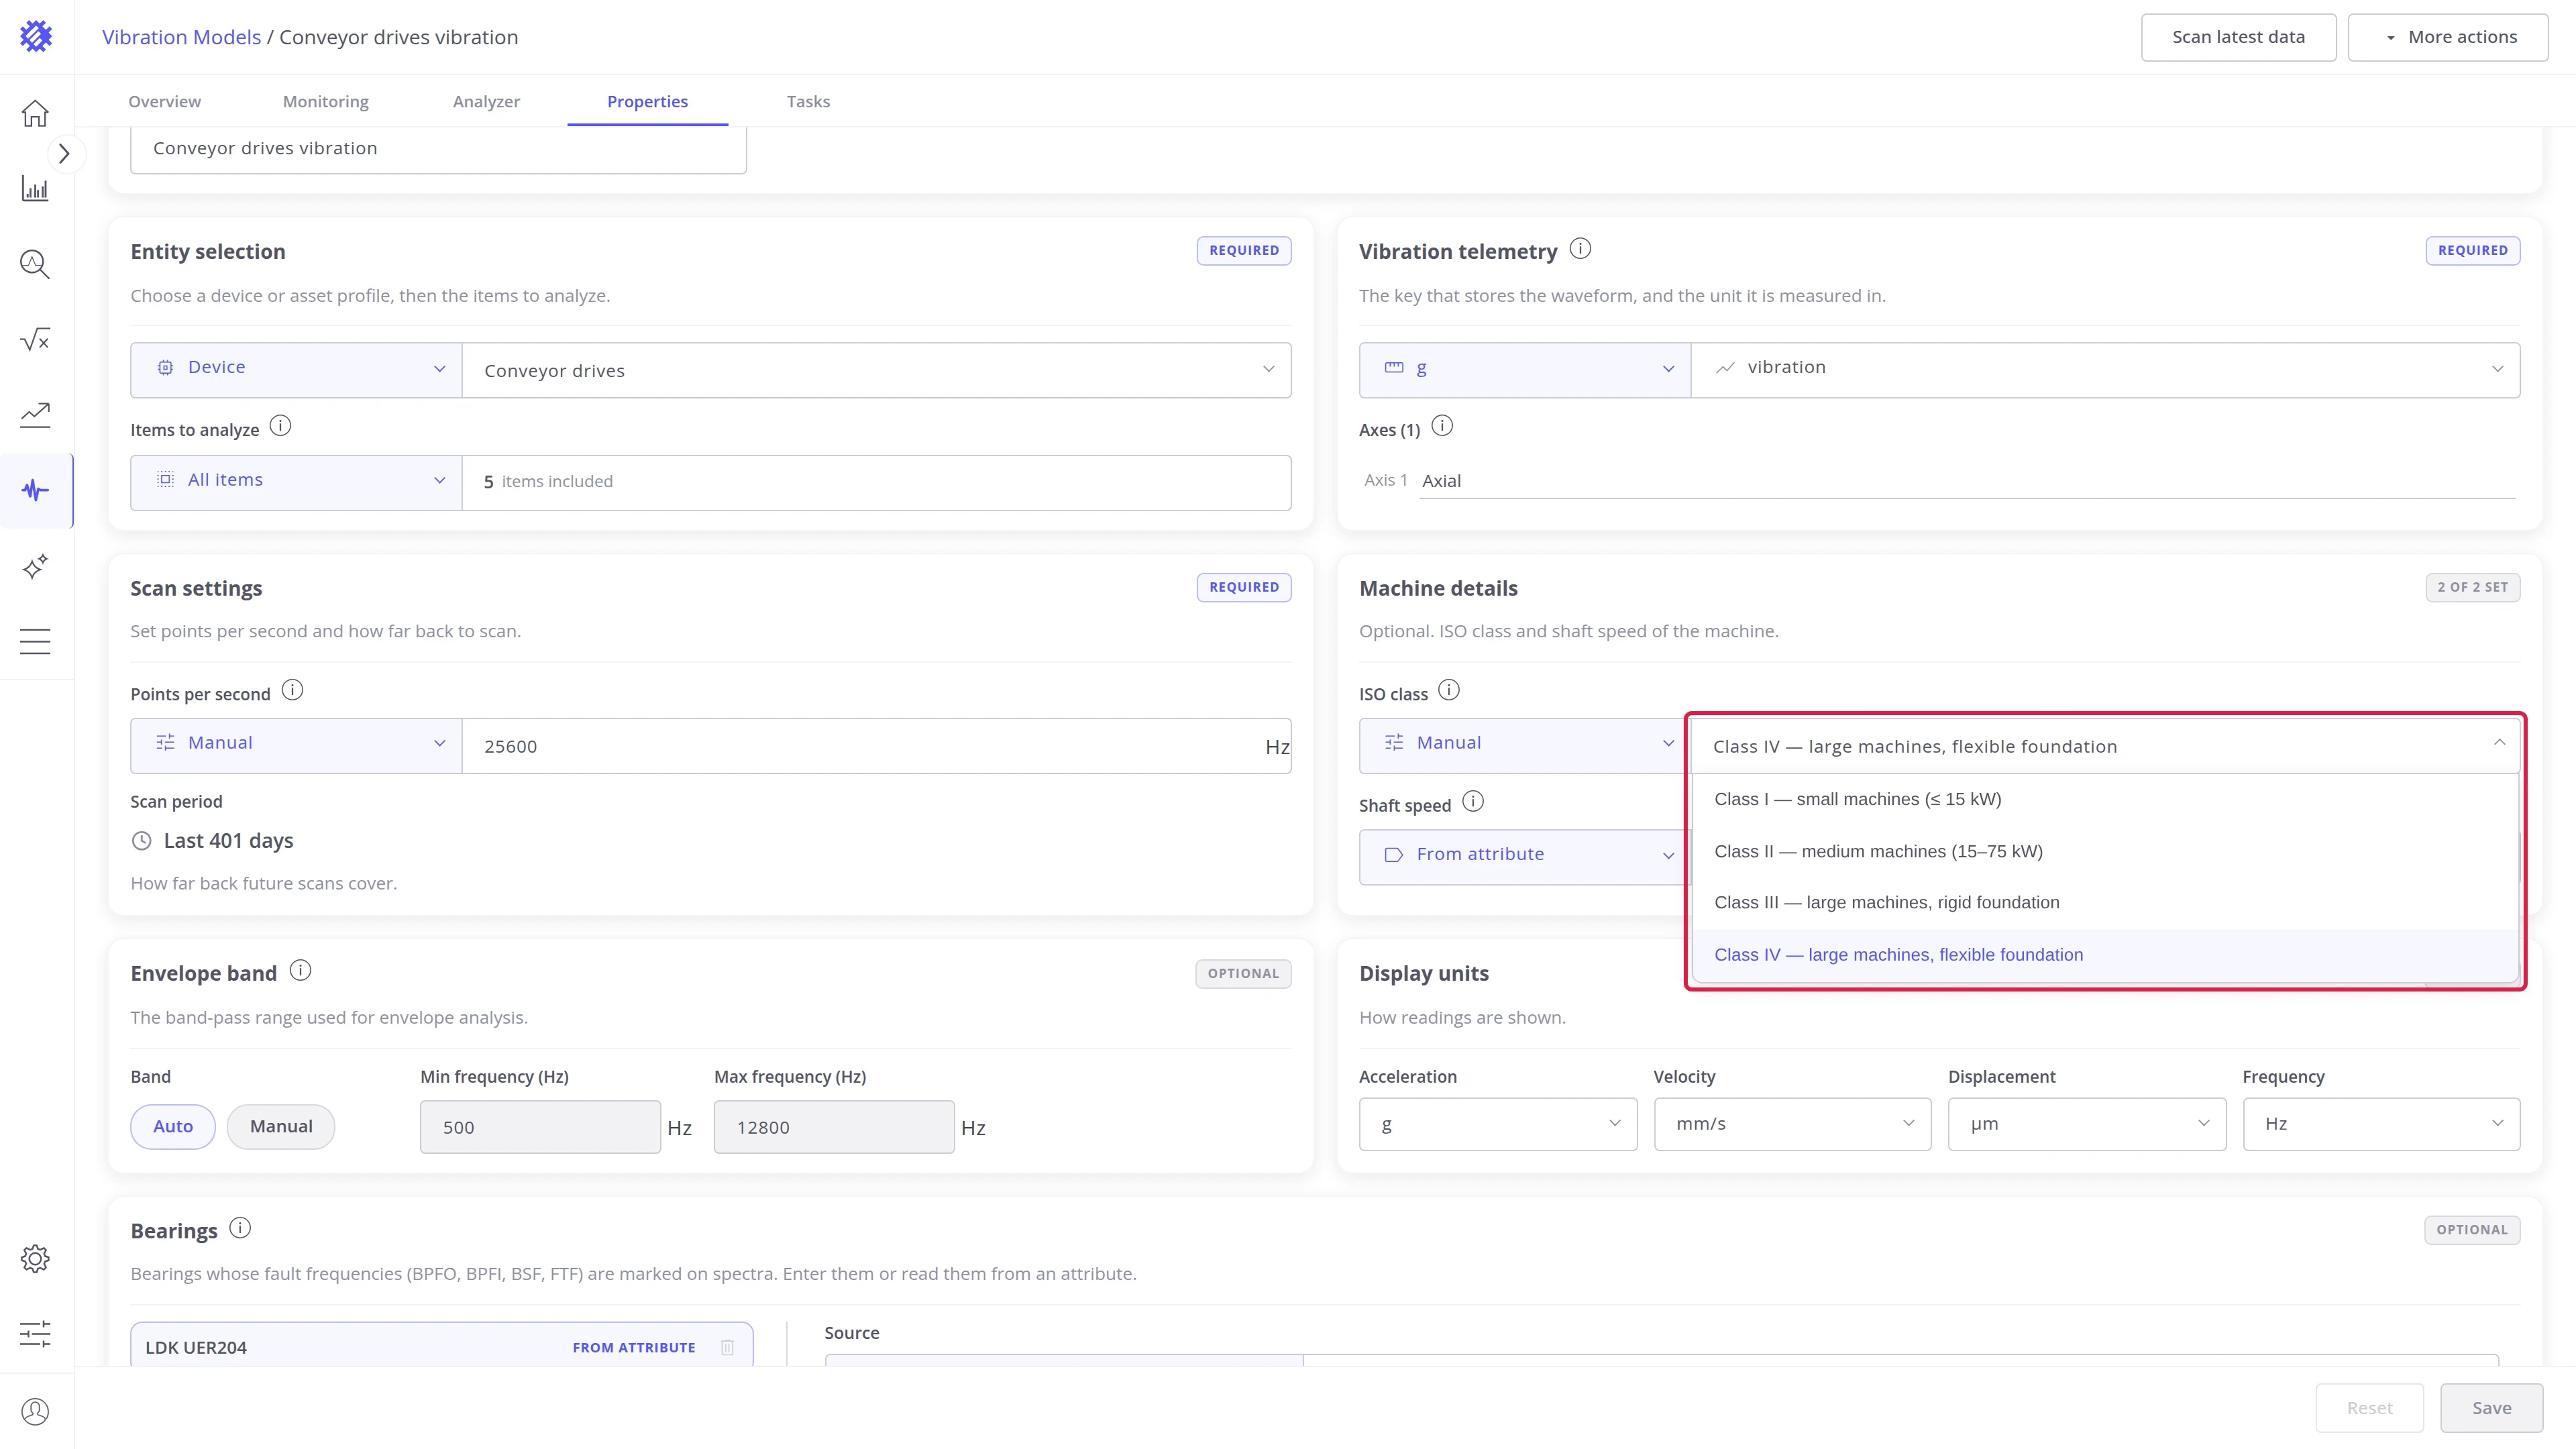
| Class | Machines |
|---|---|
| Class I | Small machines, up to 15 kW |
| Class II | Medium machines, 15 to 75 kW |
| Class III | Large machines on a rigid foundation |
| Class IV | Large machines on a flexible foundation |
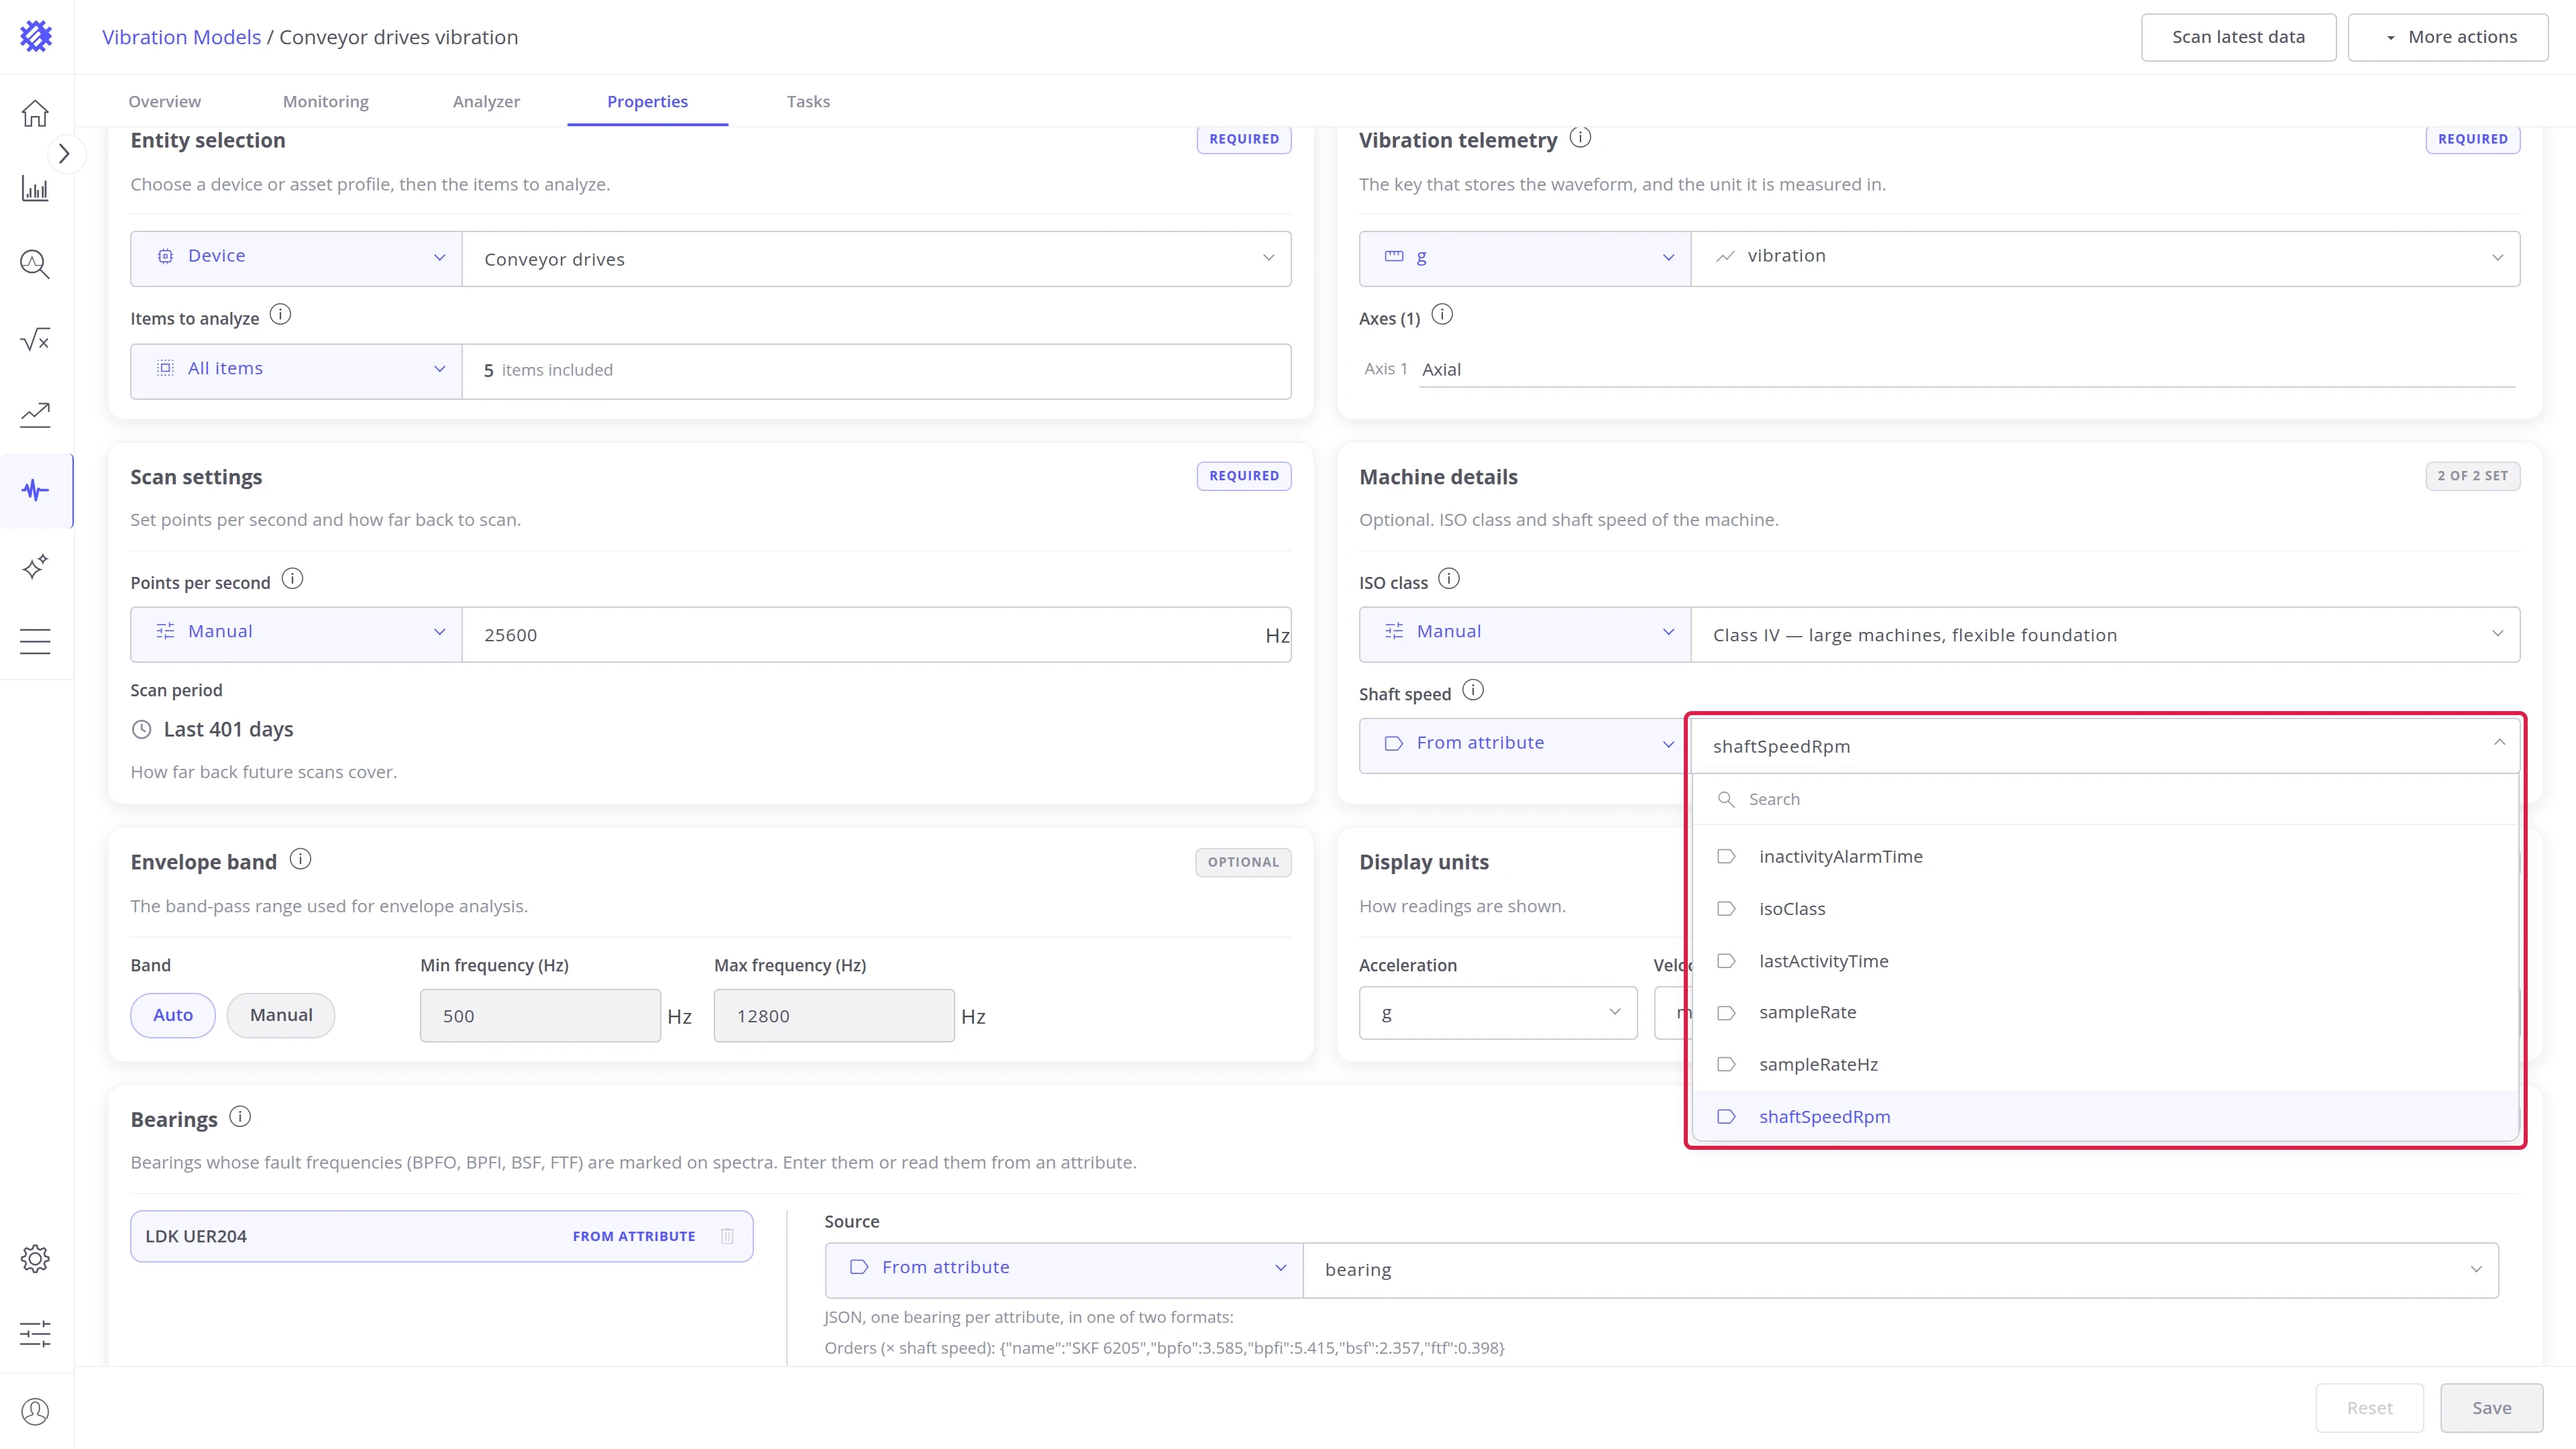
Shaft speed. Bands, orders, and bearing fault frequencies are all measured against it, so most of the Overview tab depends on it. See Rotation speed and orders.
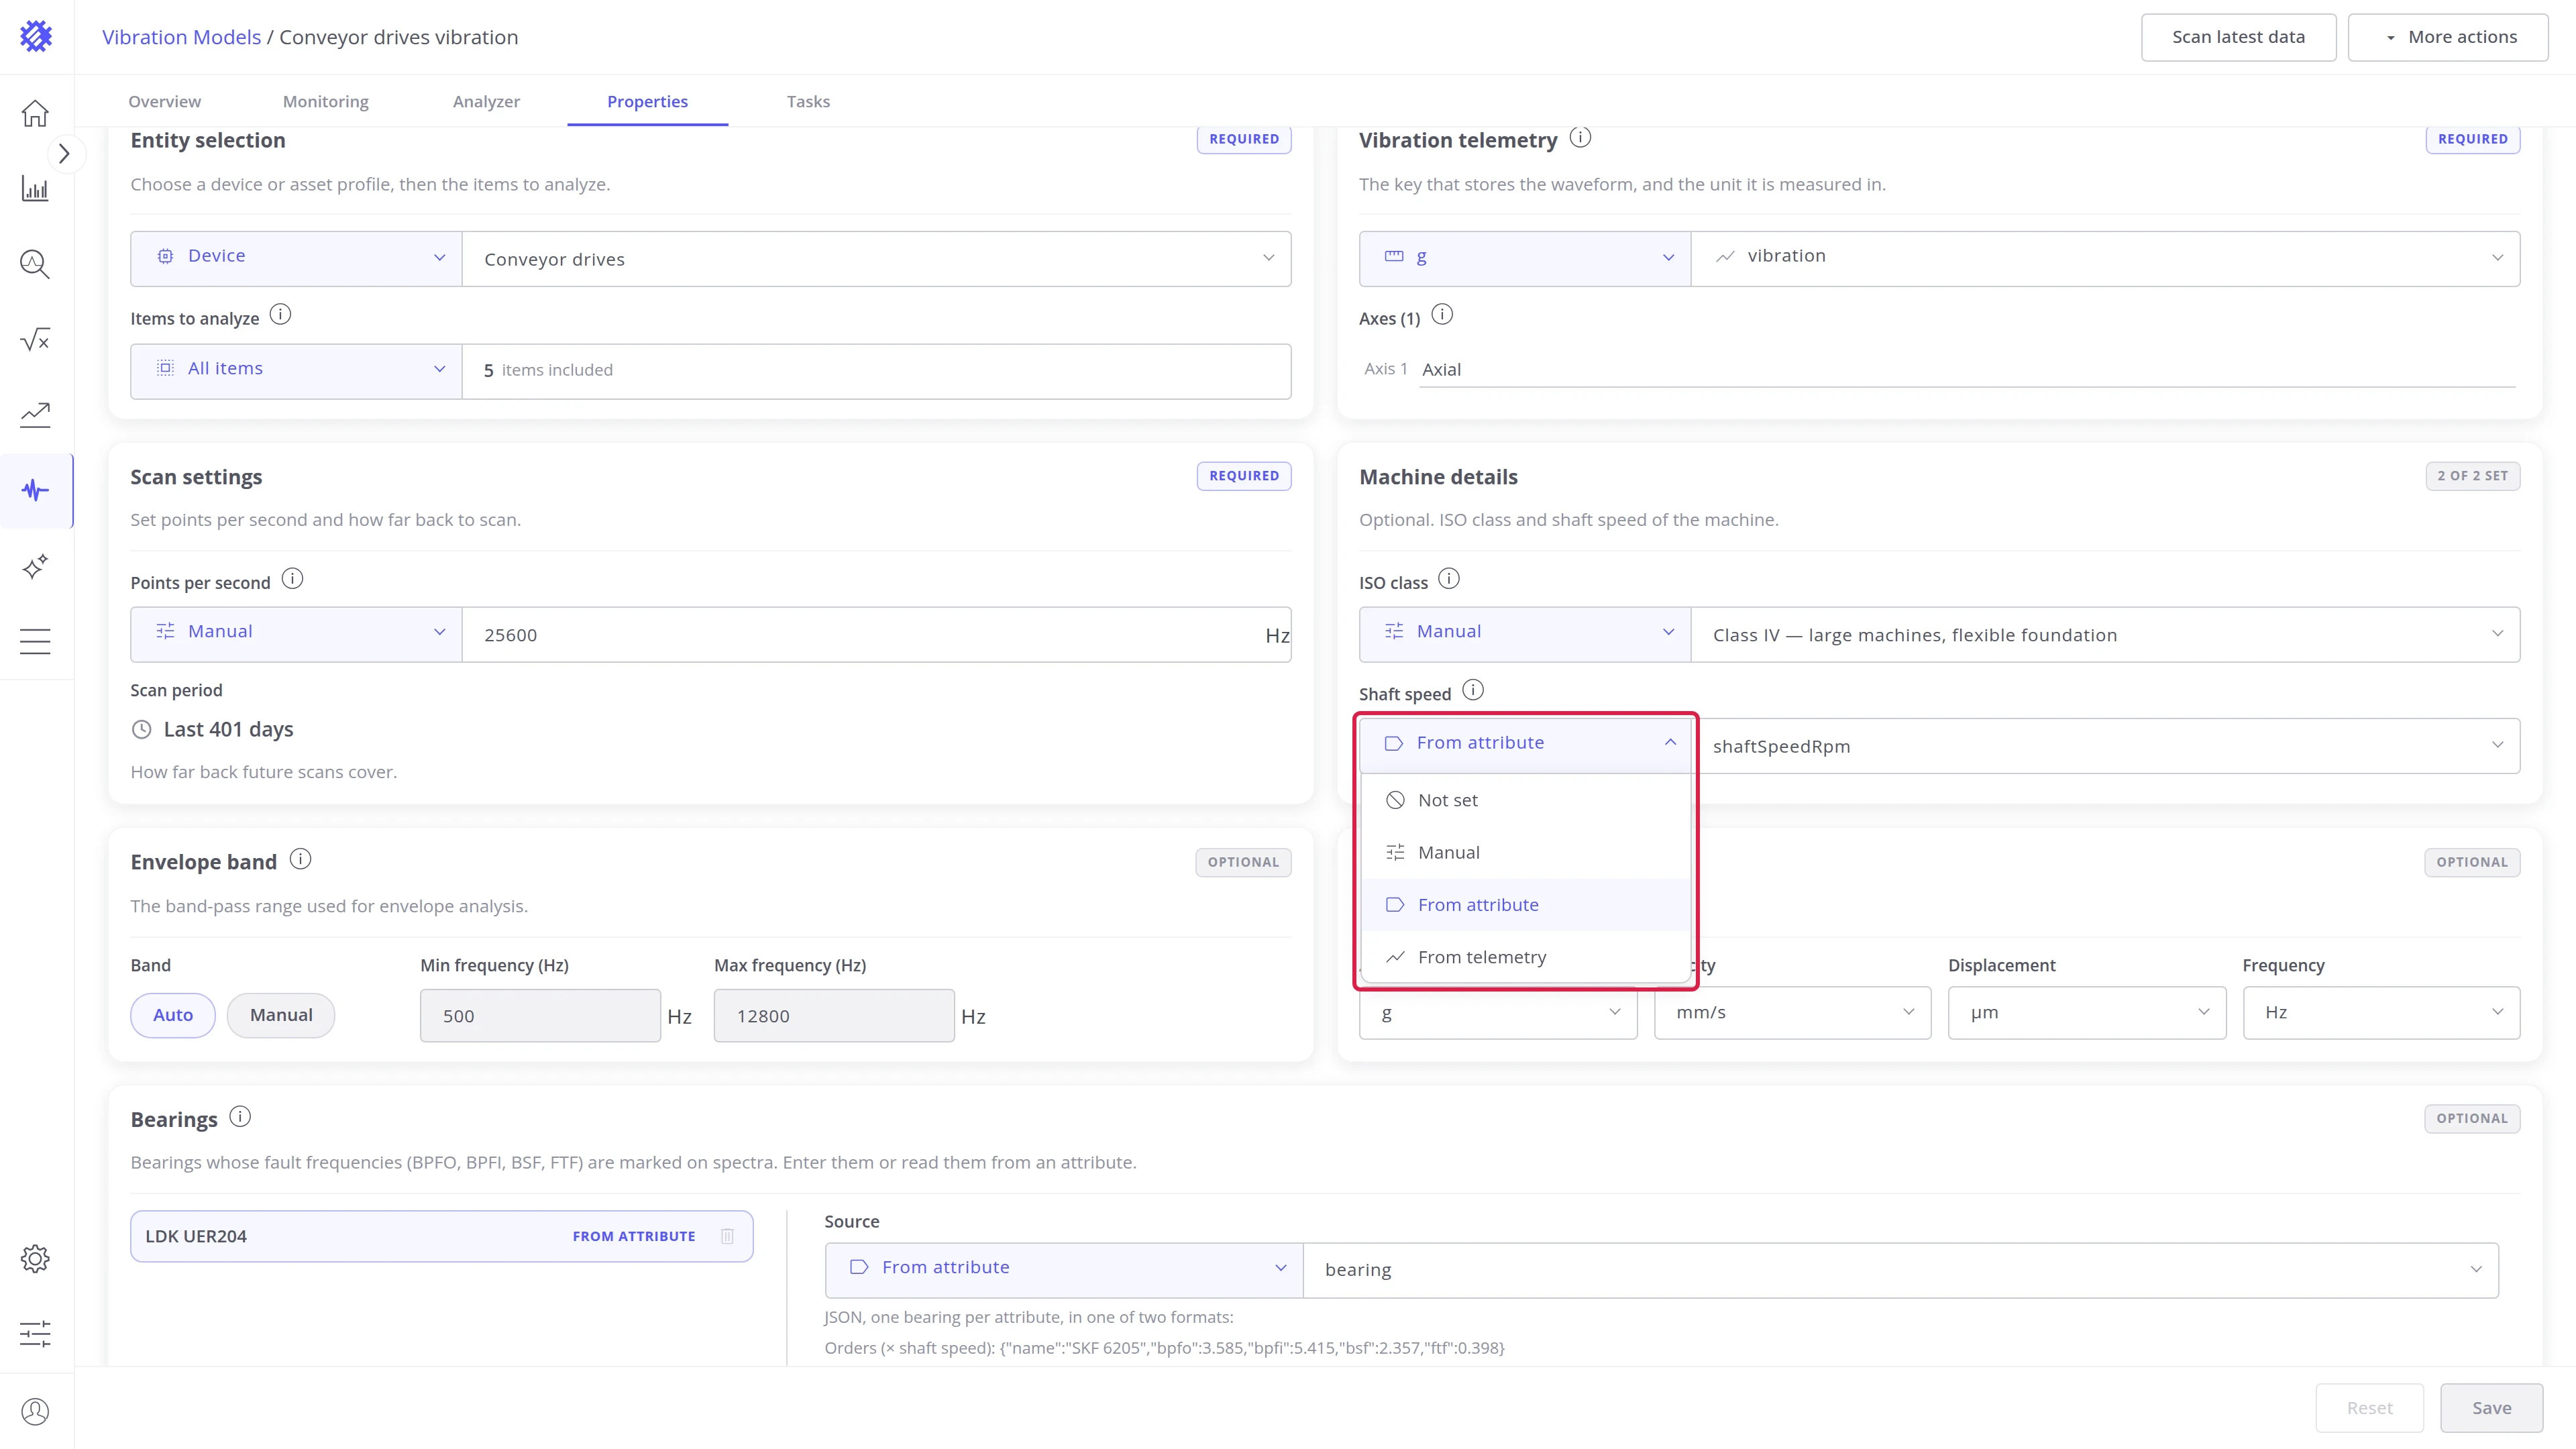
| Source | Description |
|---|---|
| Not set | No shaft speed. Bands, shaft faults, and bearing faults are not computed |
| Manual | One speed for every machine of the model |
| From attribute | A speed read from an attribute of each machine |
| From telemetry | A speed read from a telemetry key, for a machine whose speed changes |
Envelope band
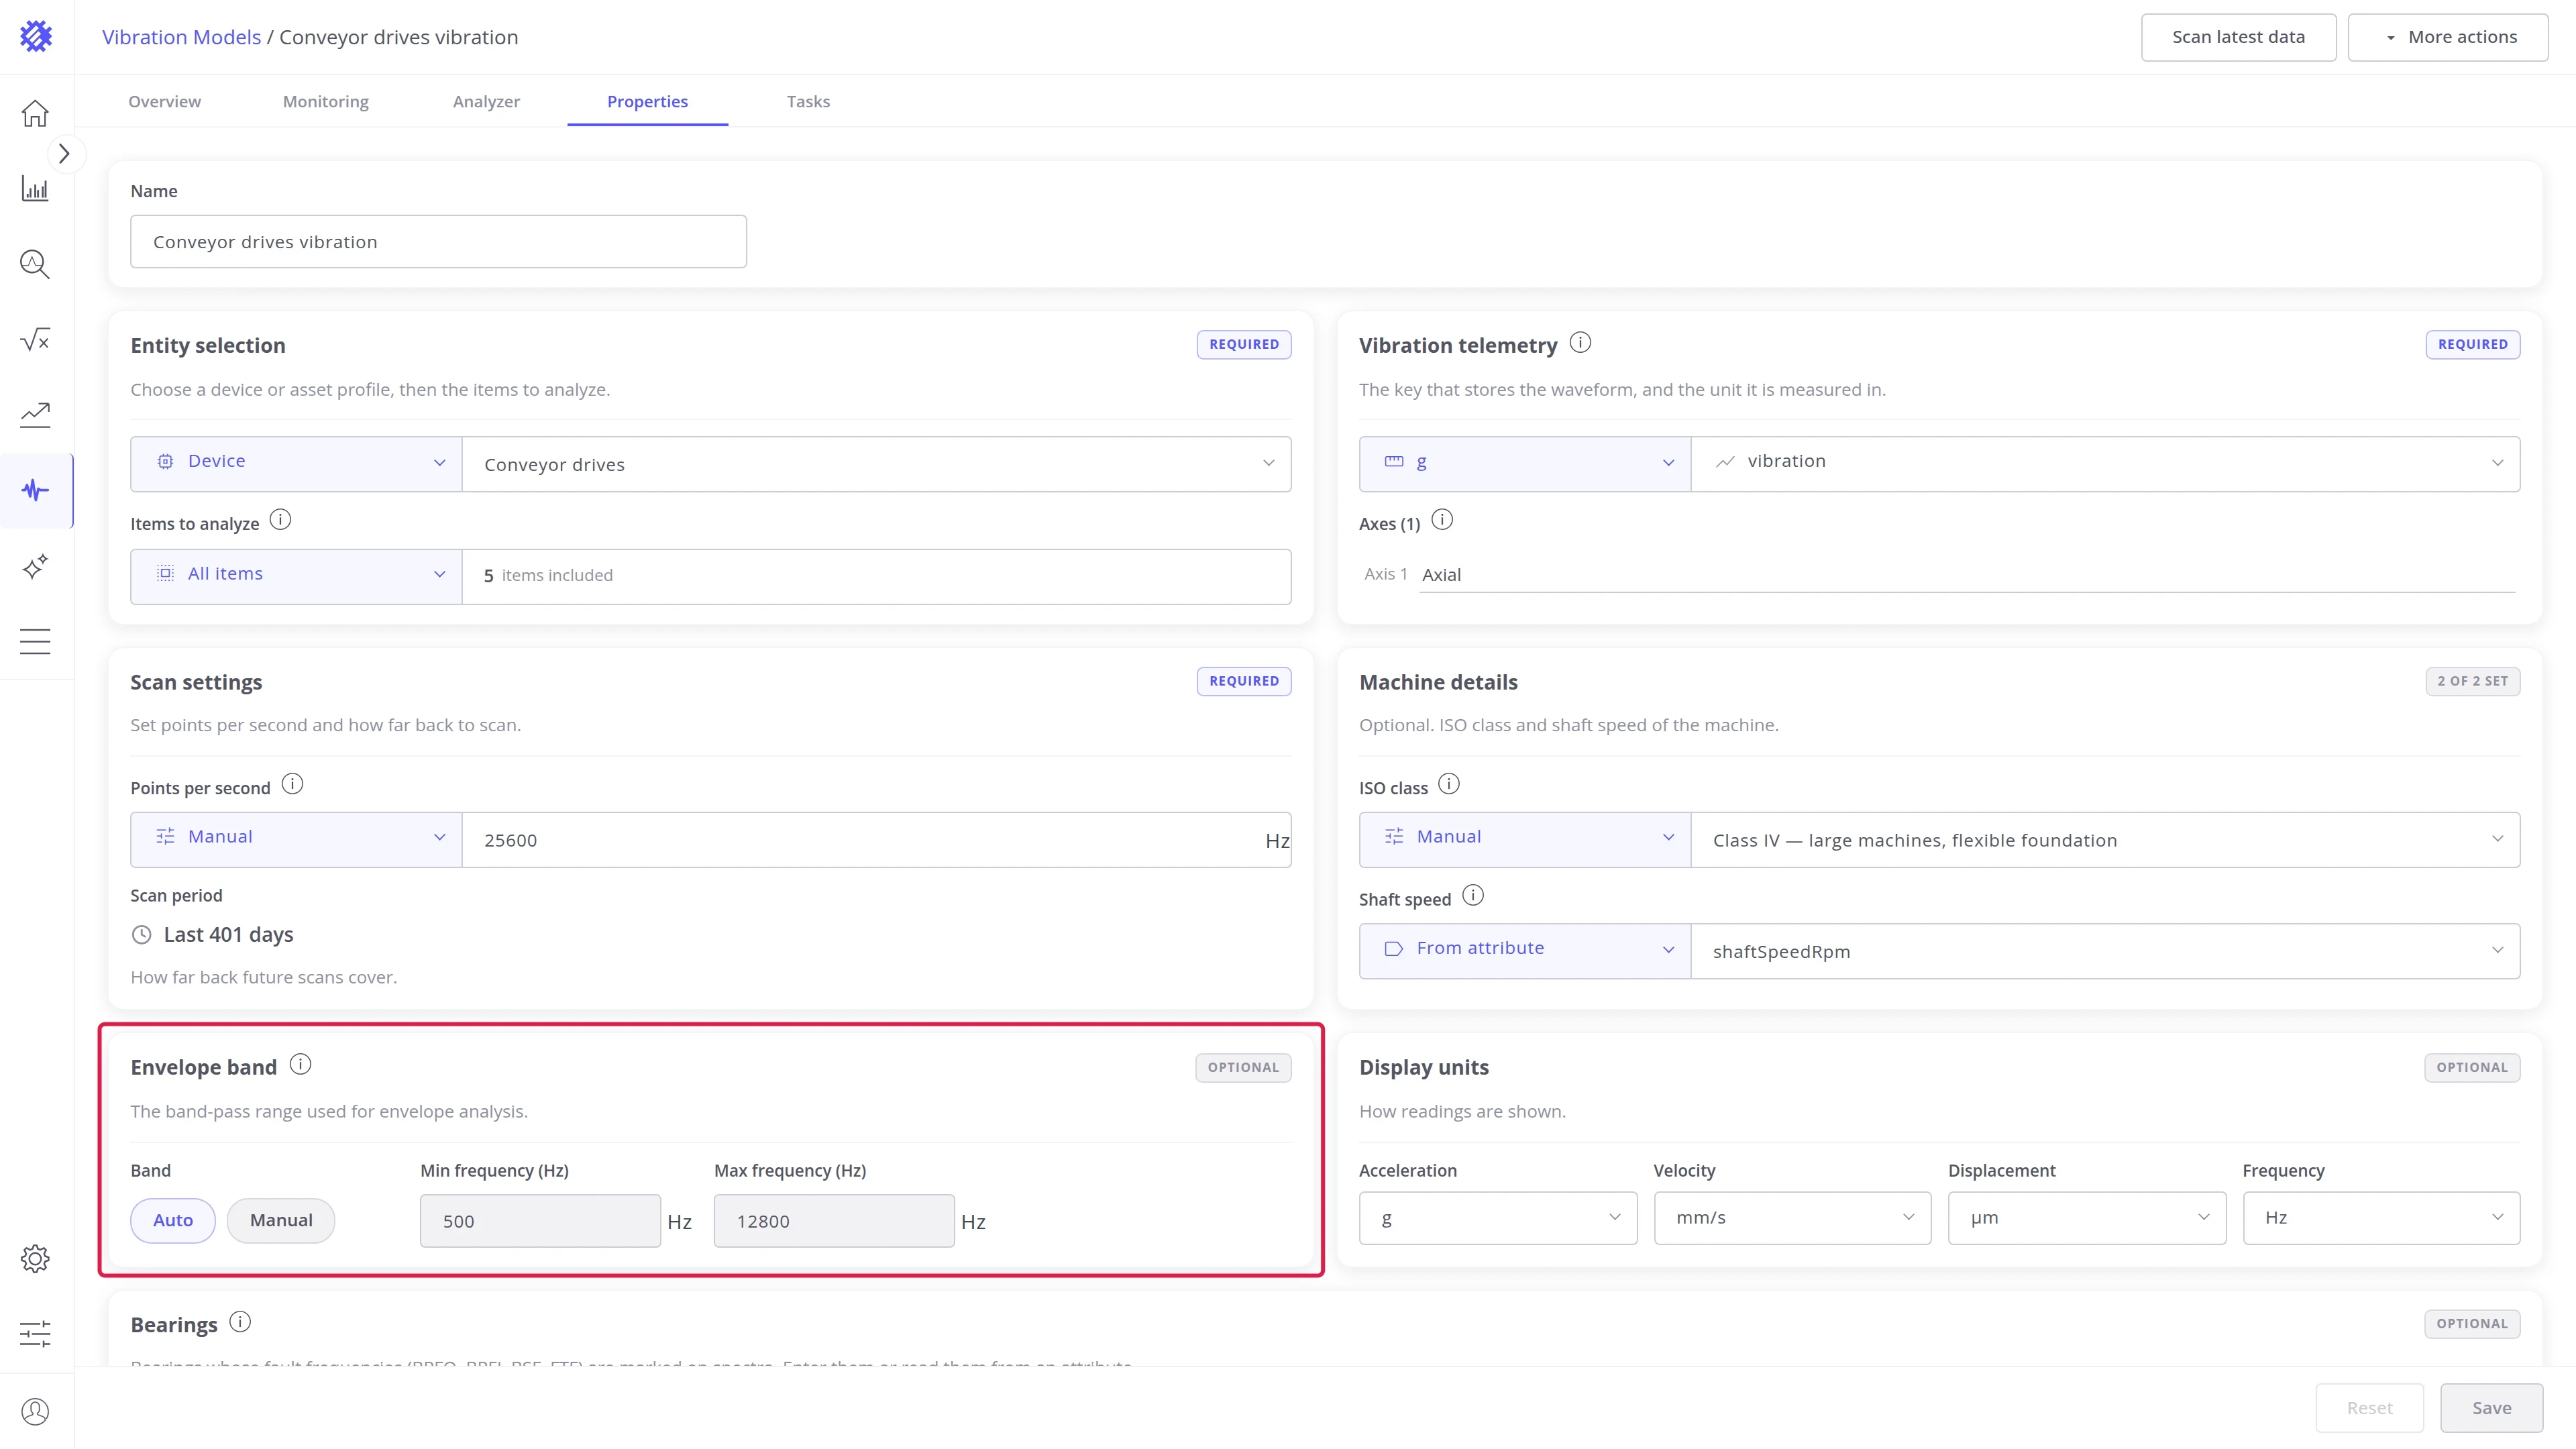
Section titled “Envelope band”The band-pass range the envelope spectrum is taken from. Bearing impacts excite high frequencies, and the envelope of that band shows how often they repeat. See Envelope analysis.
| Mode | Description |
|---|---|
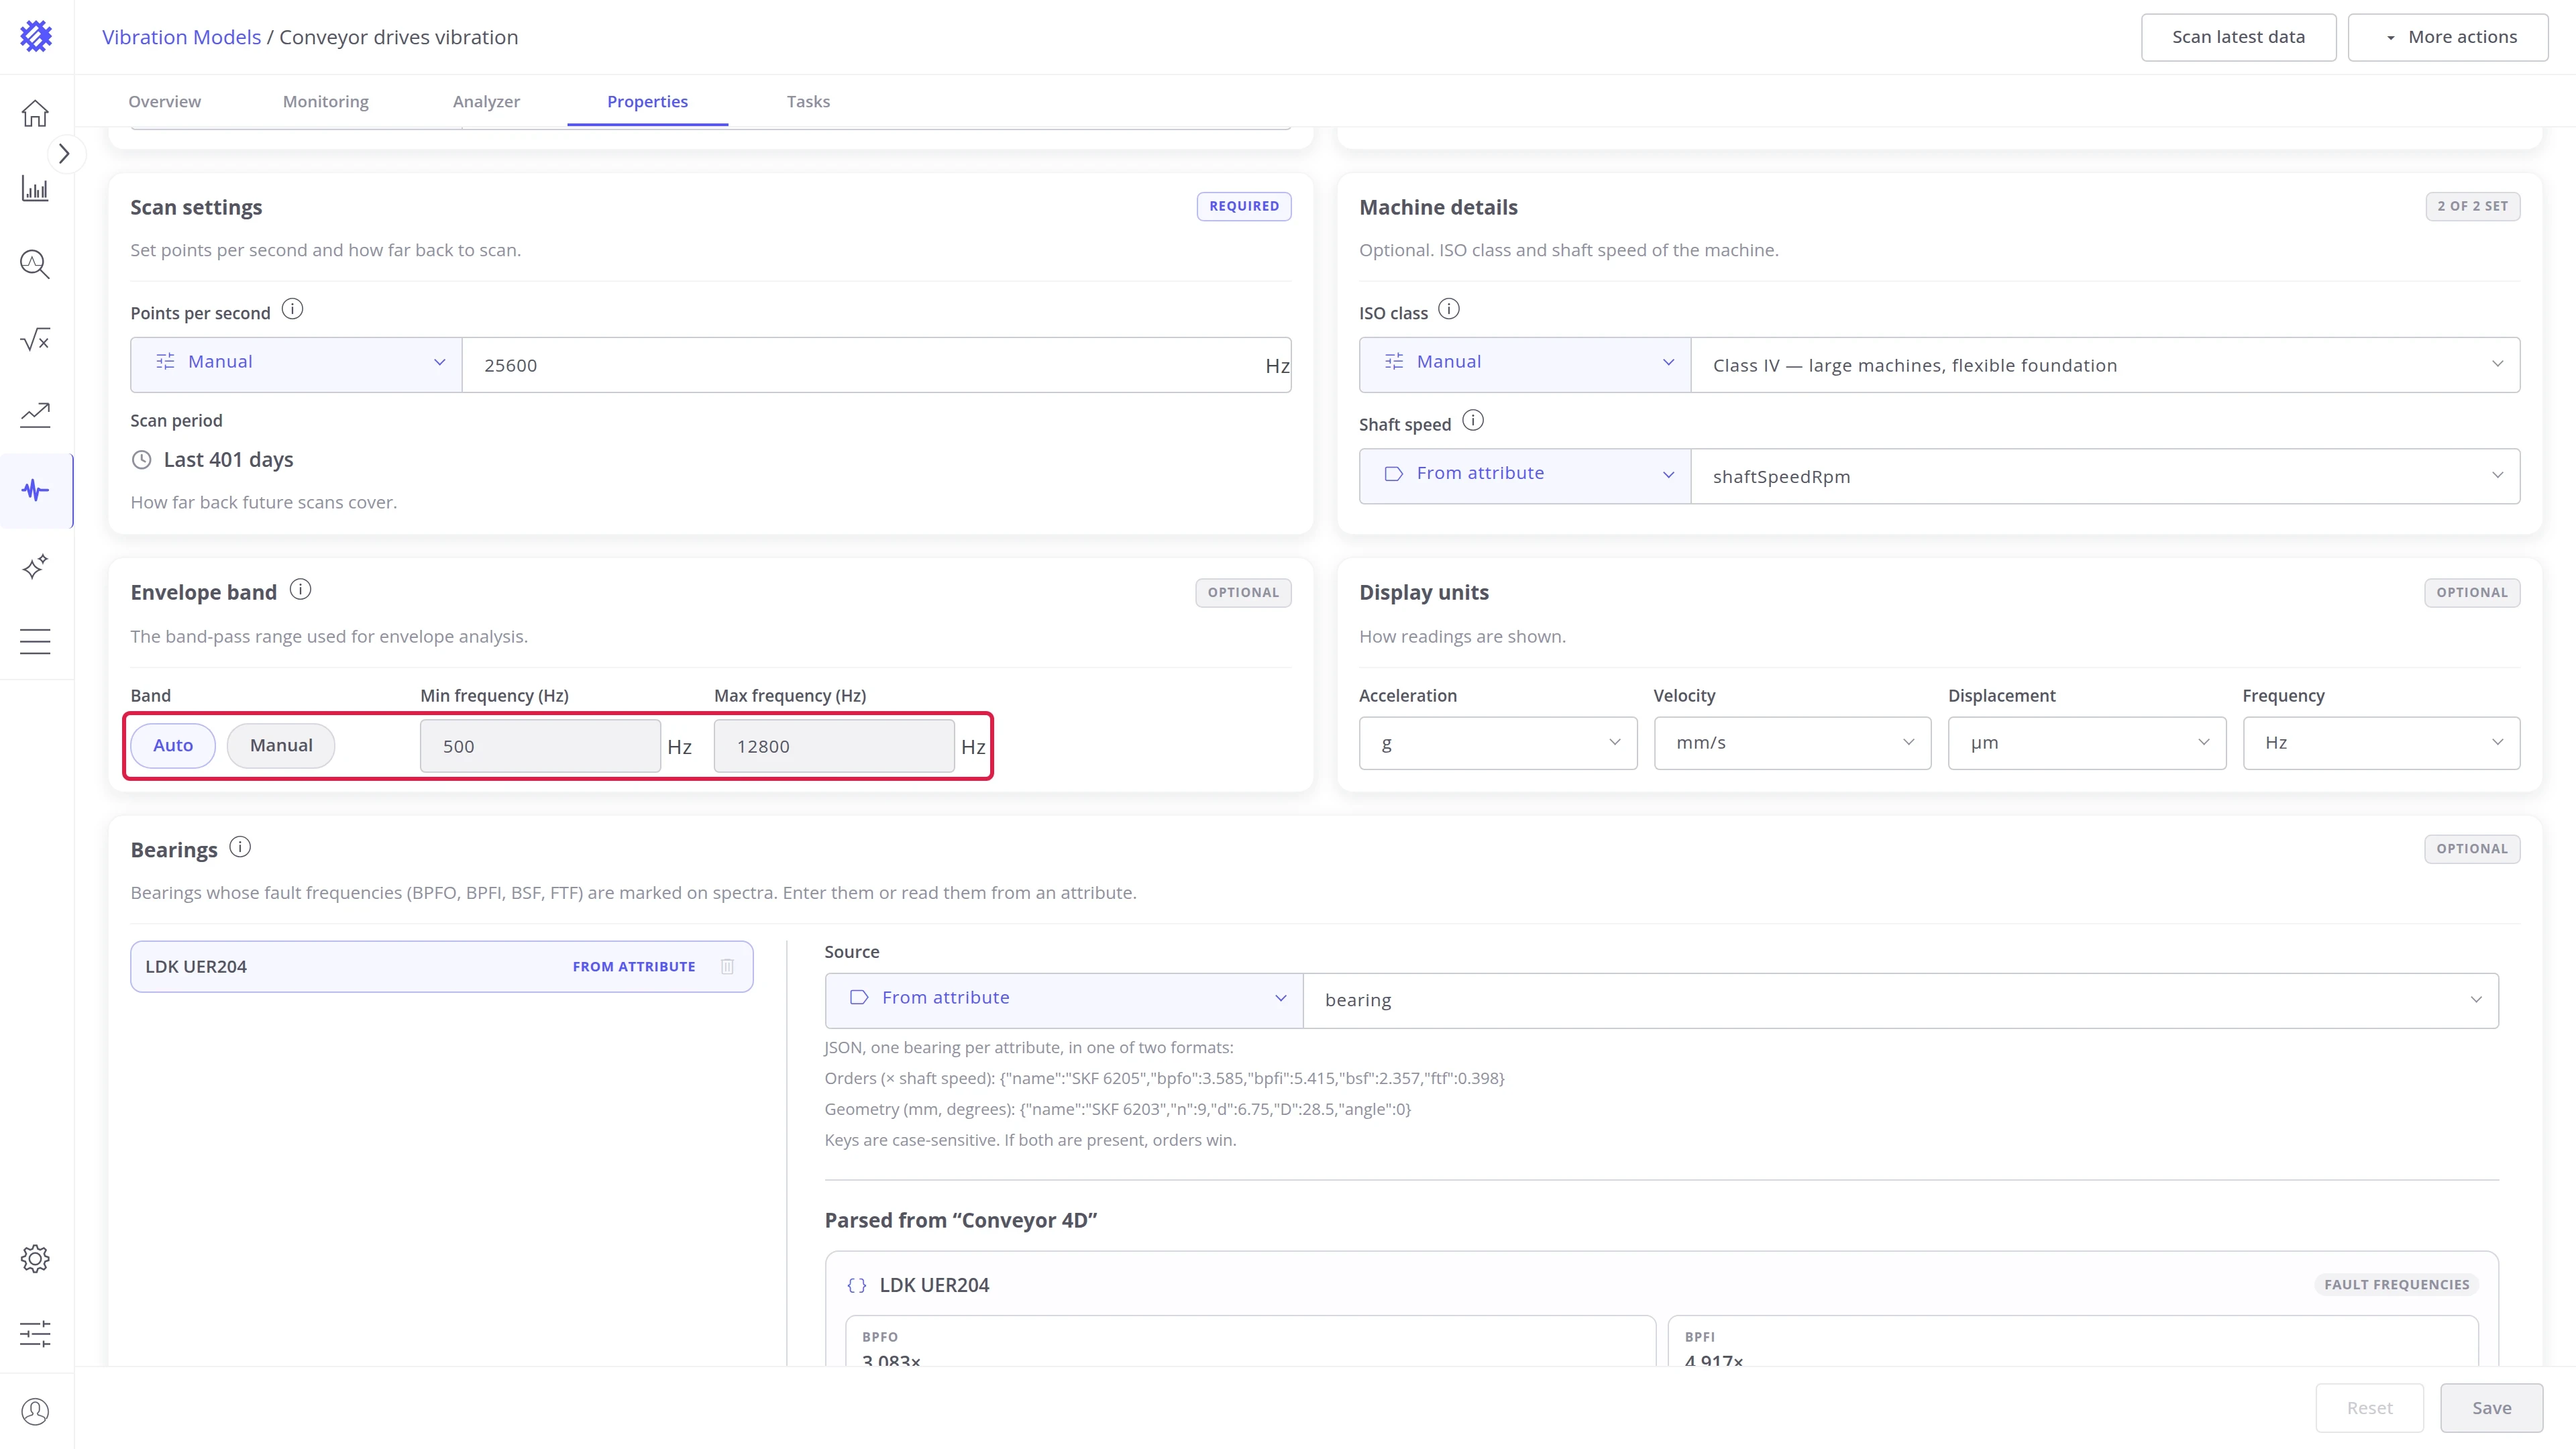
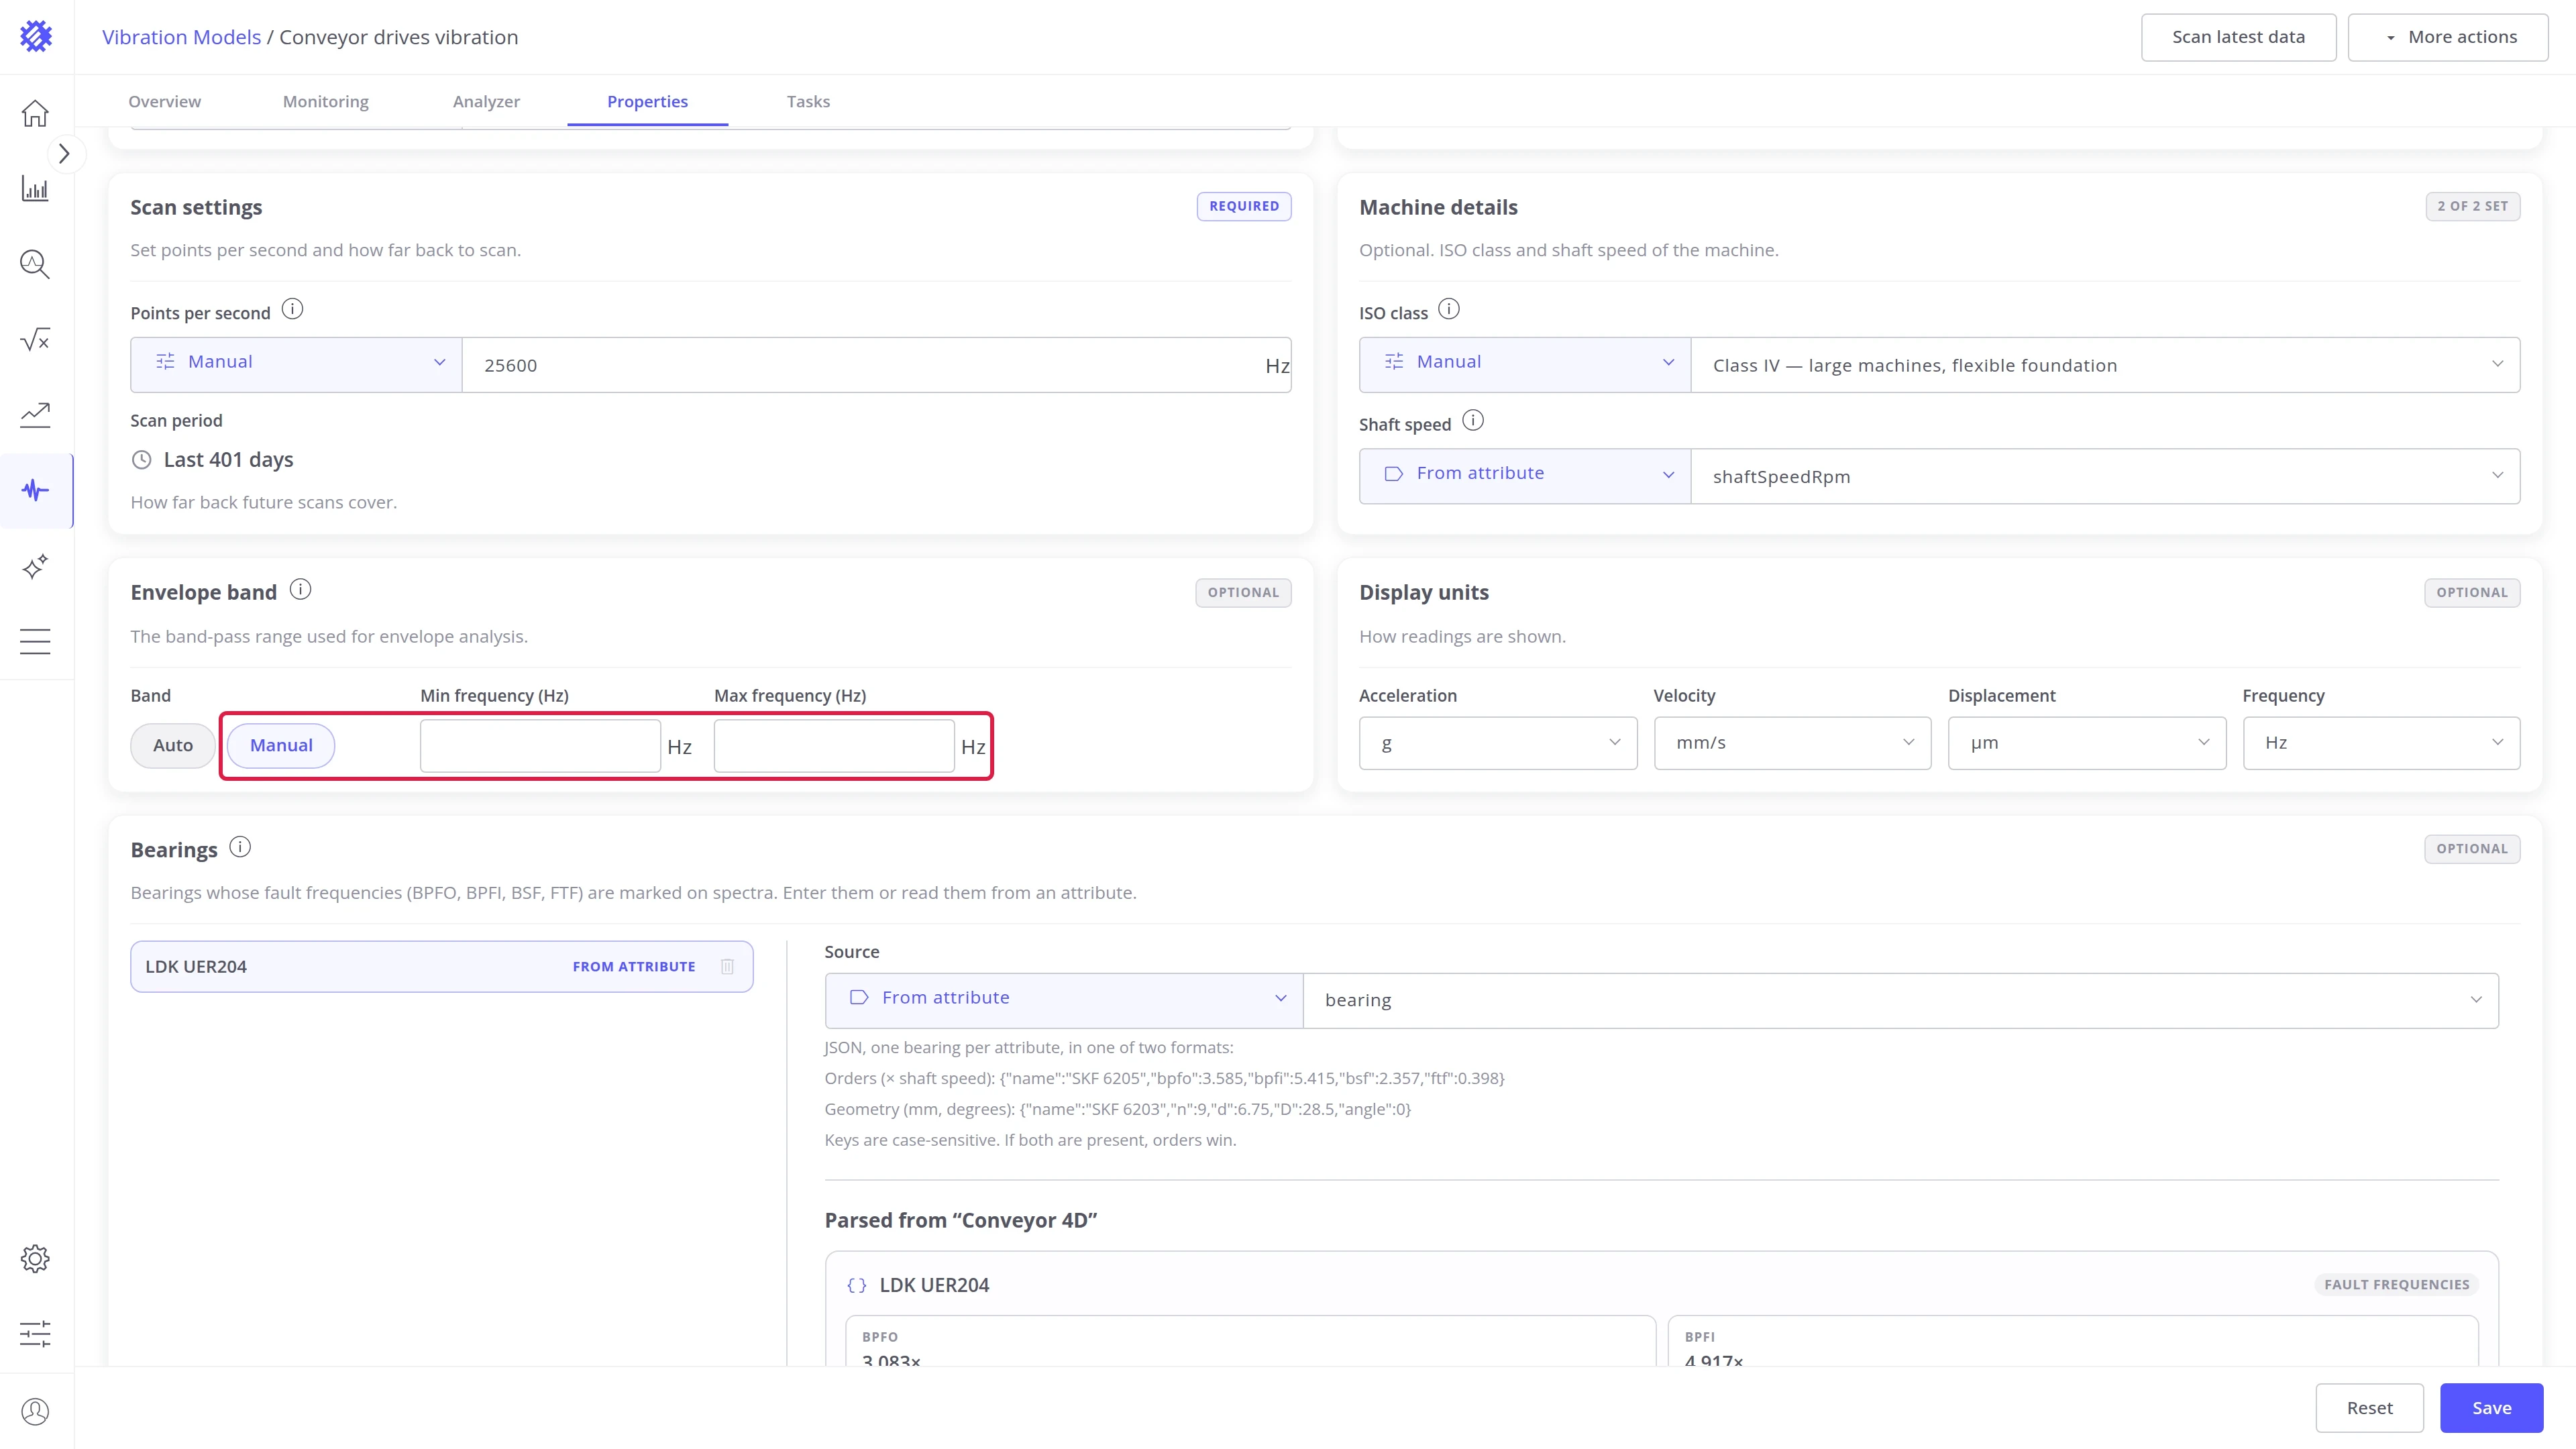
| Auto | From 500 Hz up to half the points per second. The limits are shown but cannot be edited |
| Manual | You enter Min frequency and Max frequency in Hz |
The band is part of every stored envelope spectrum, so changing it rescans the model.
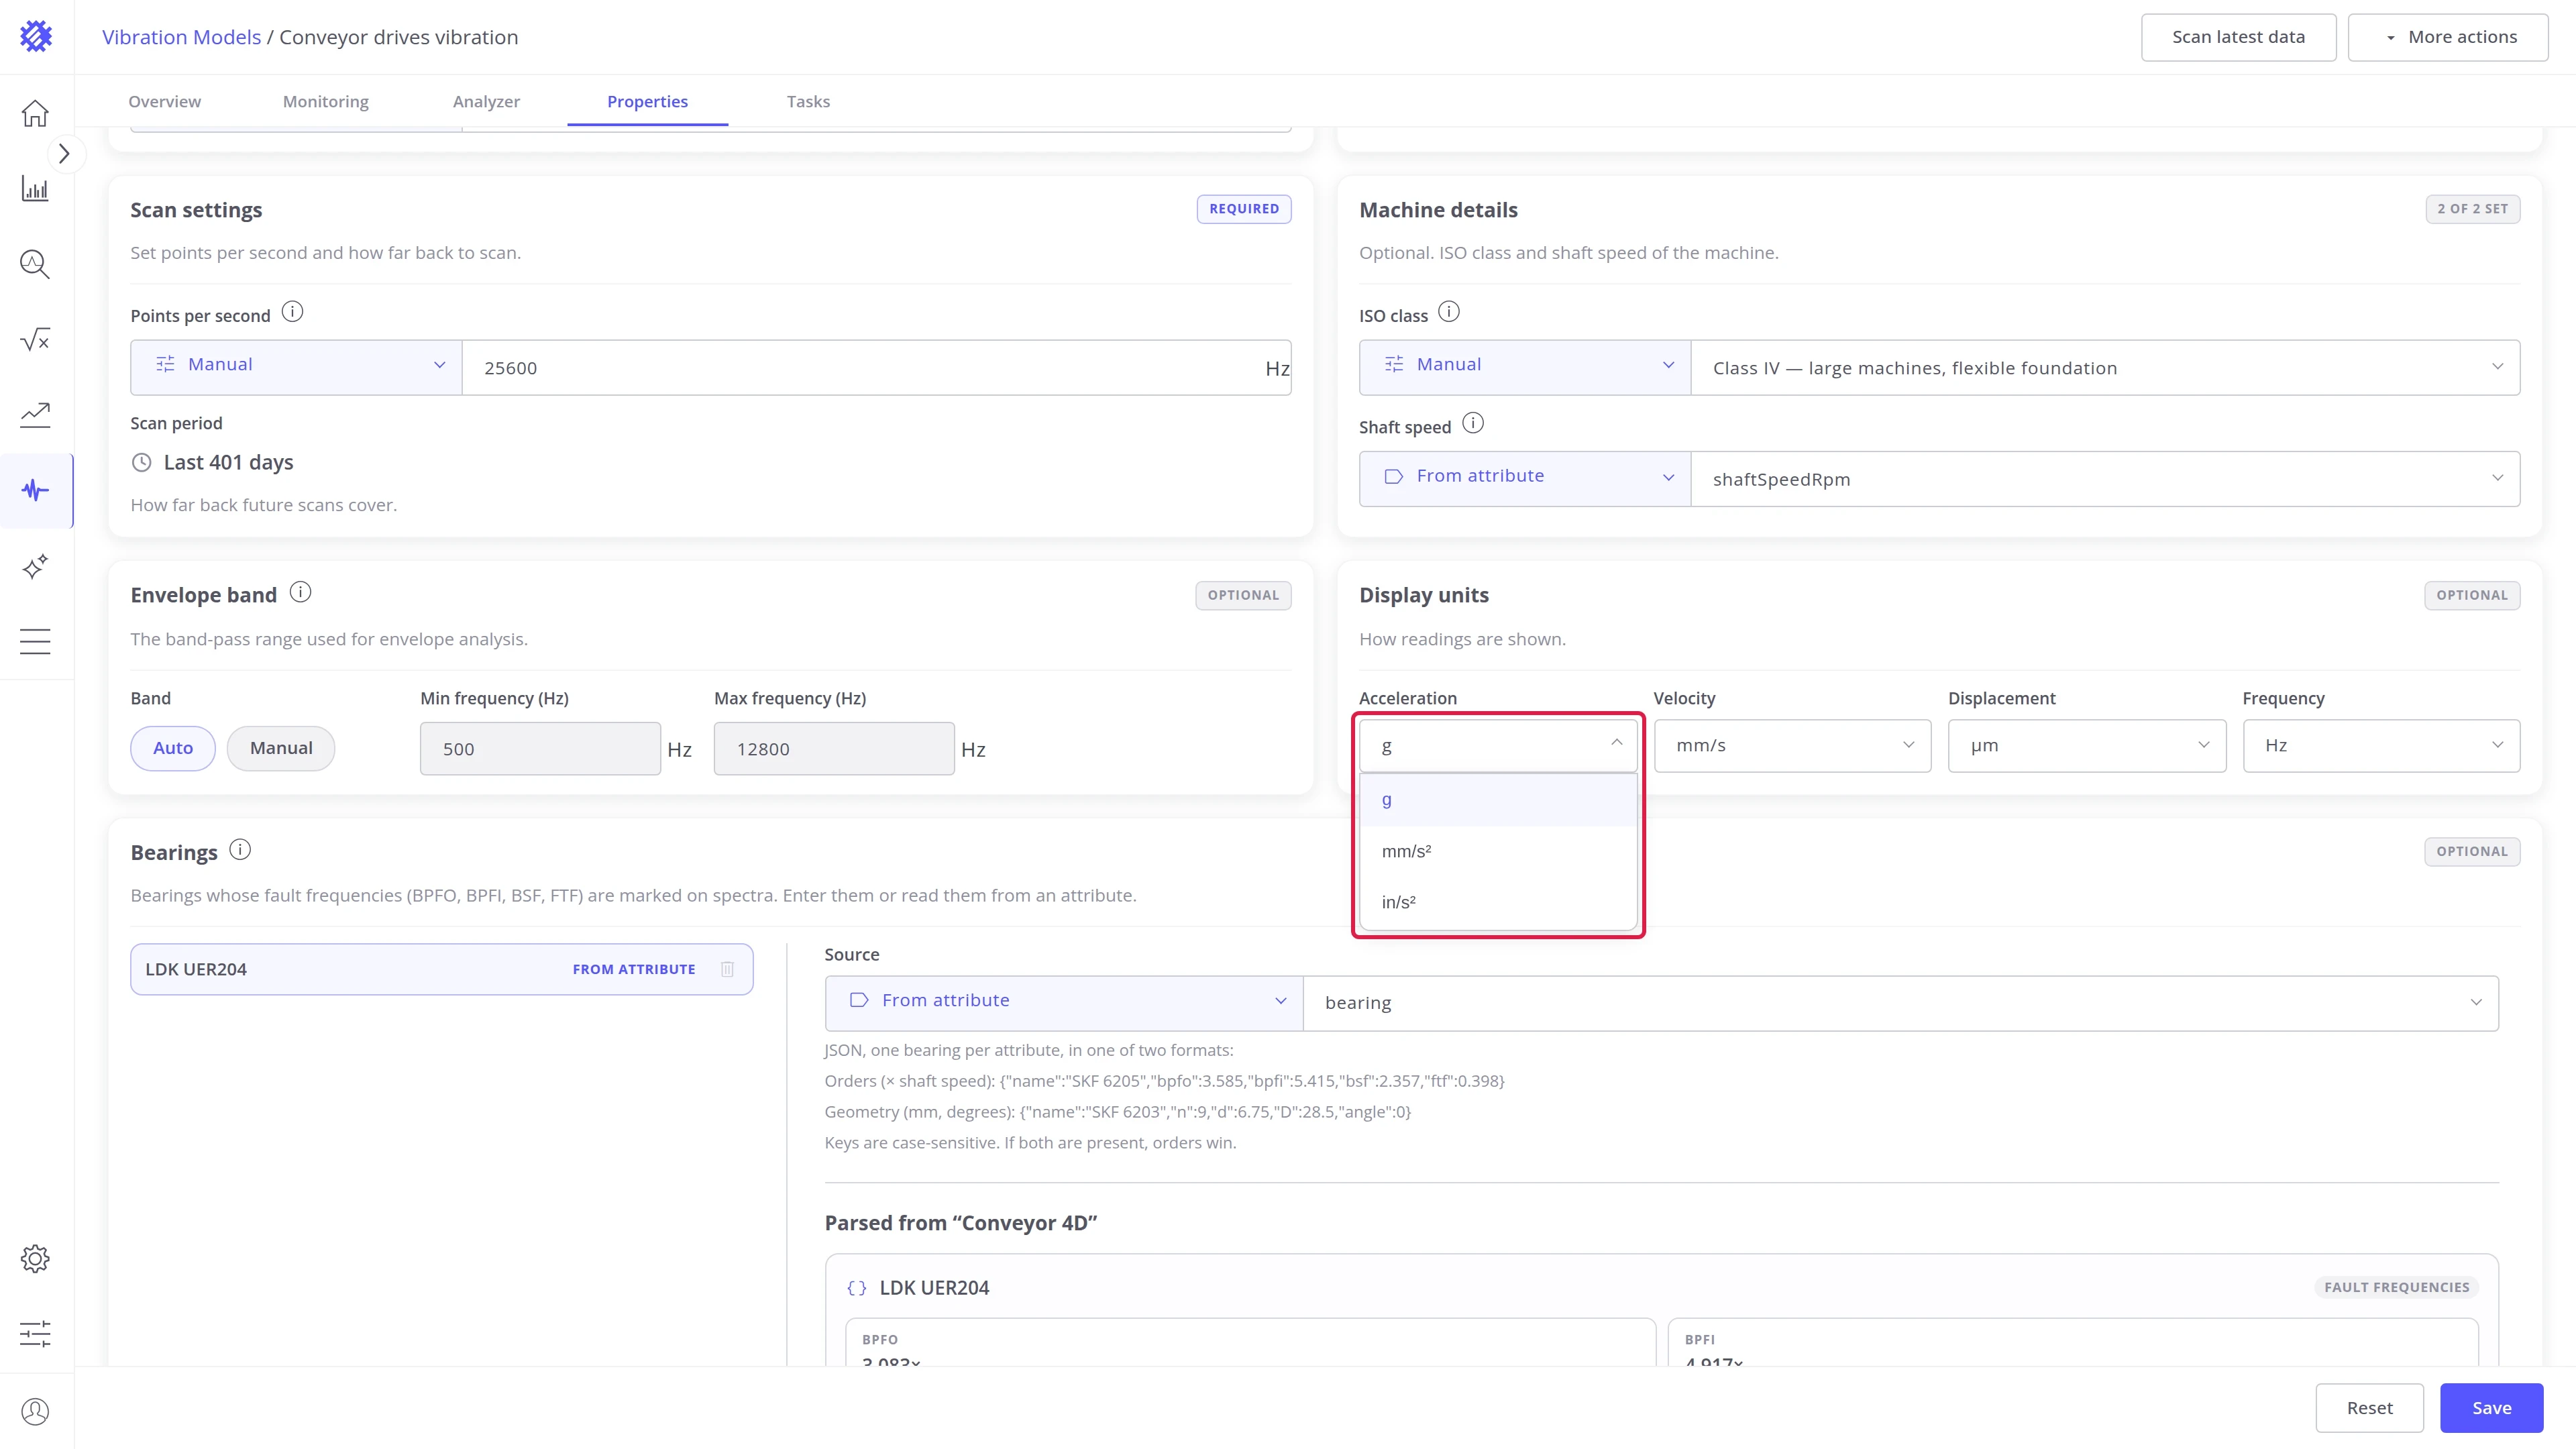
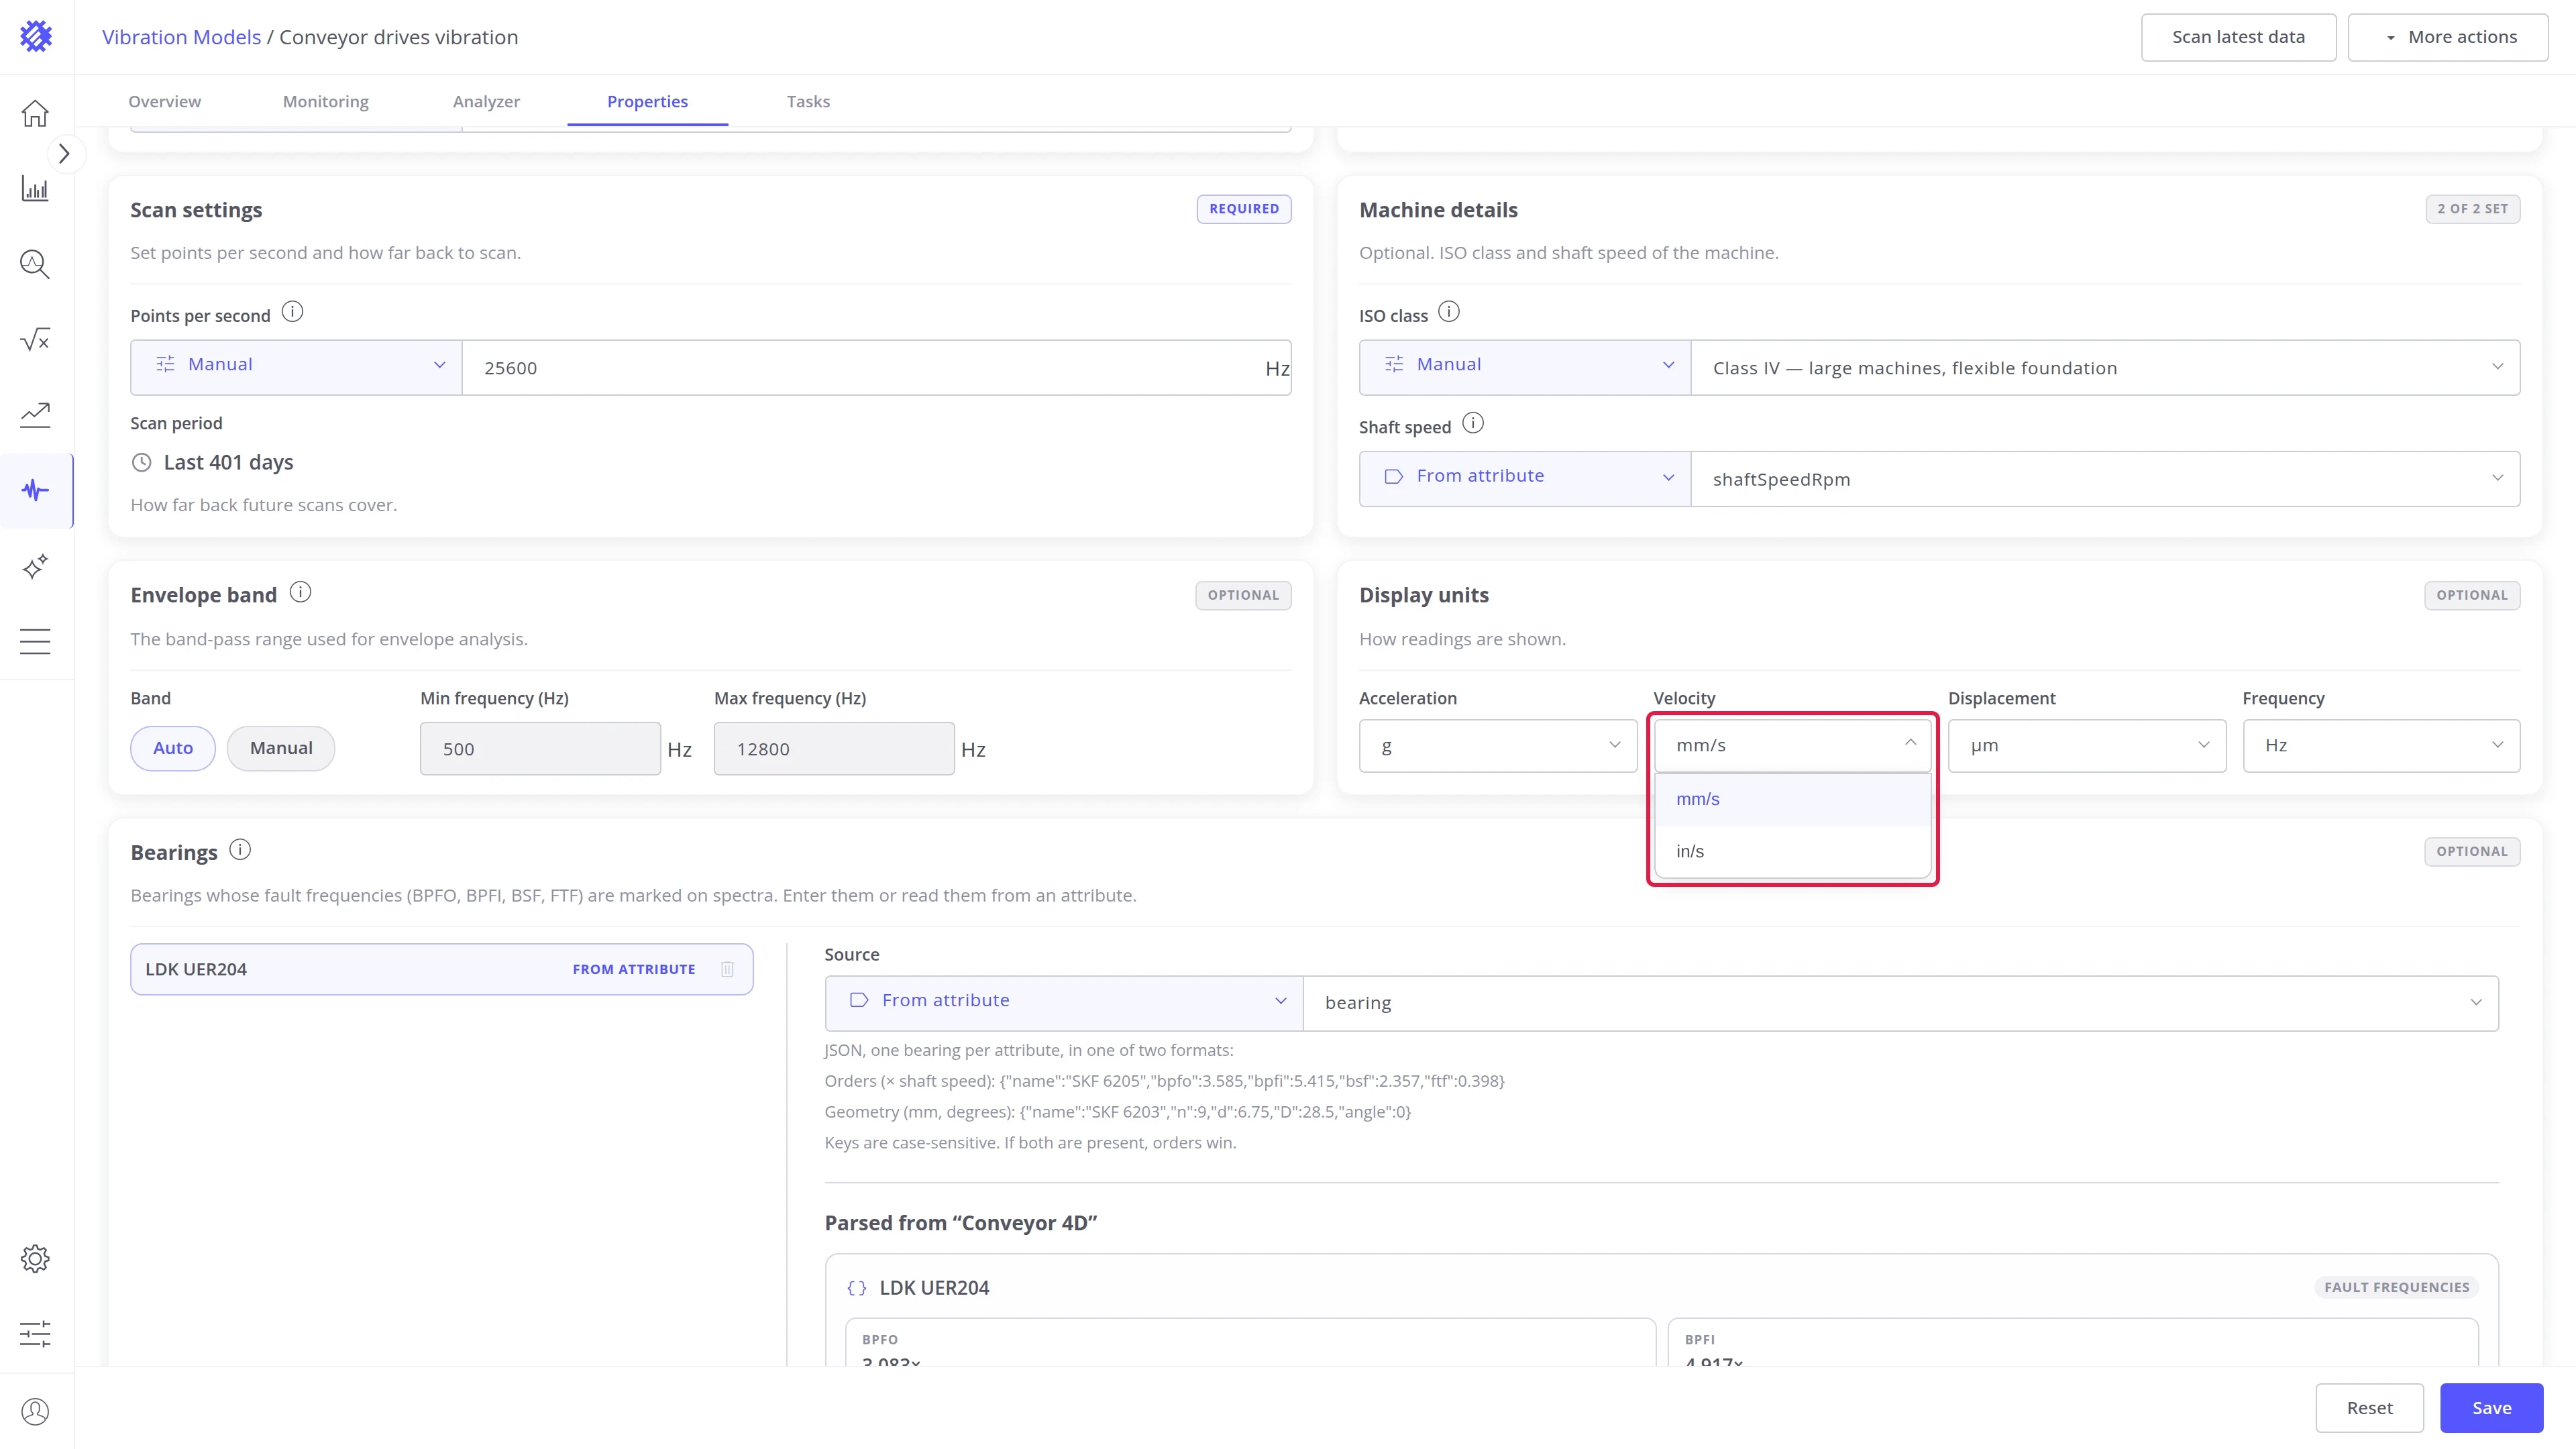
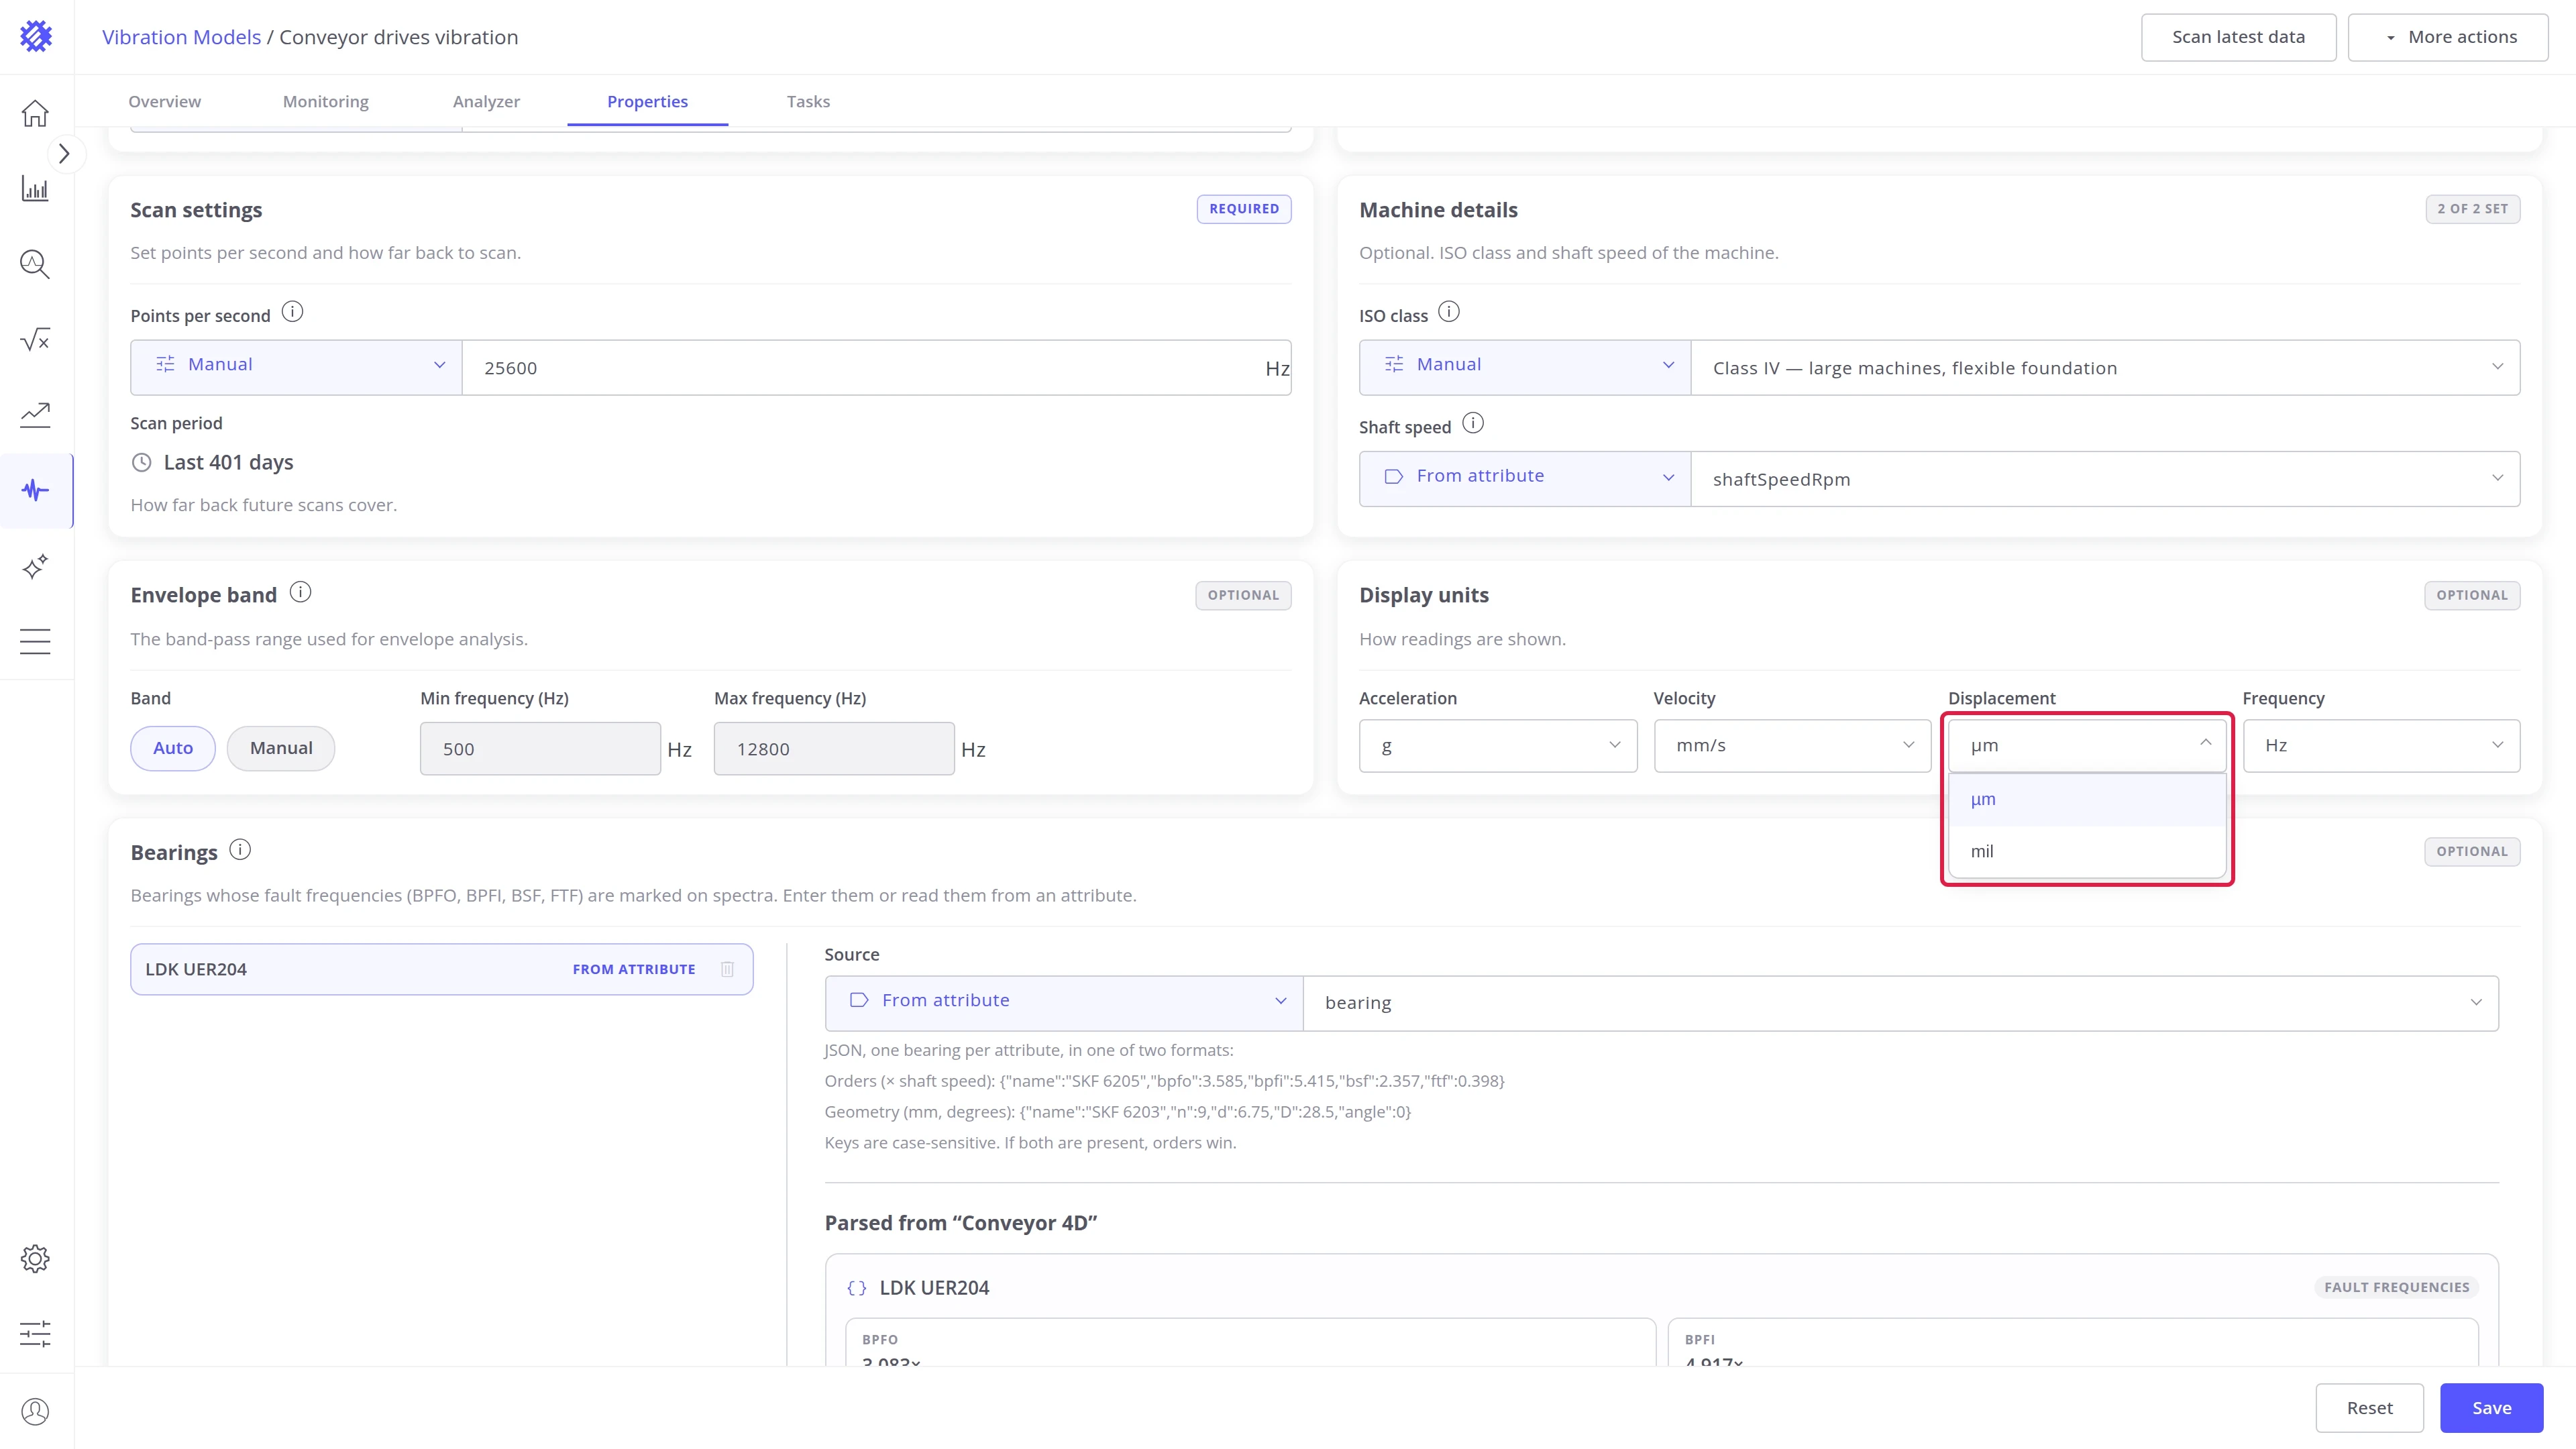
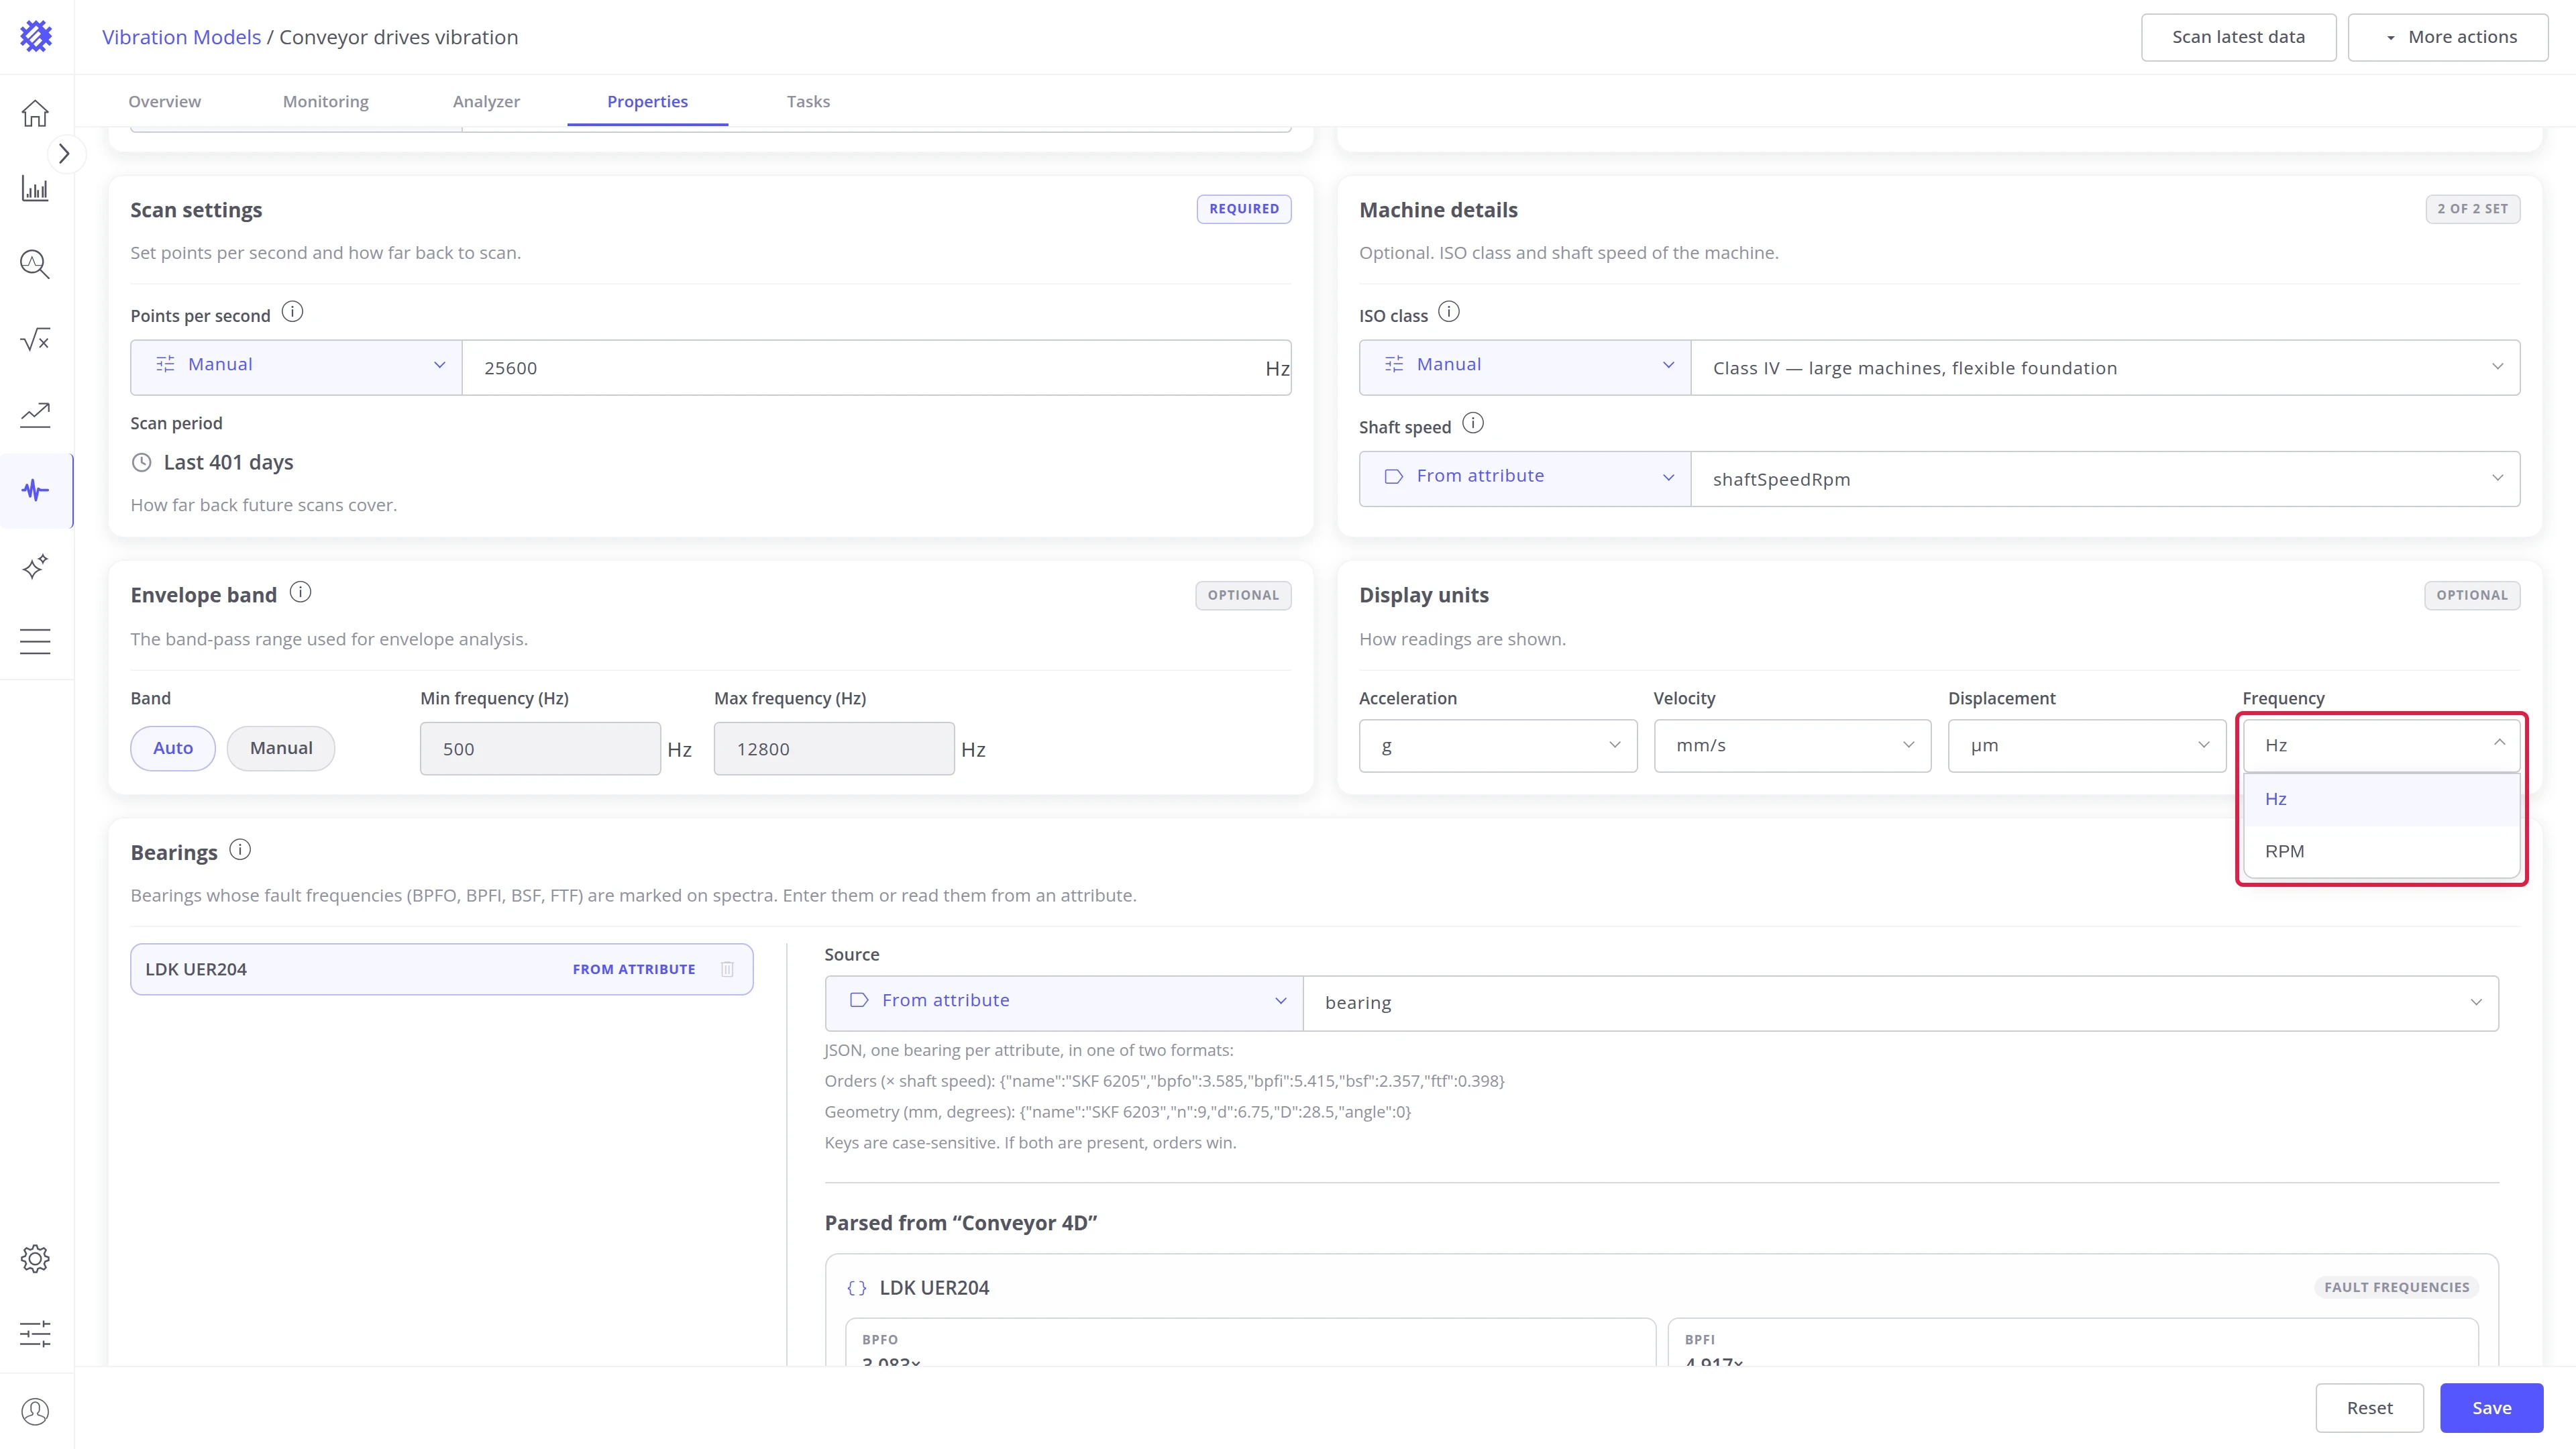
Display units
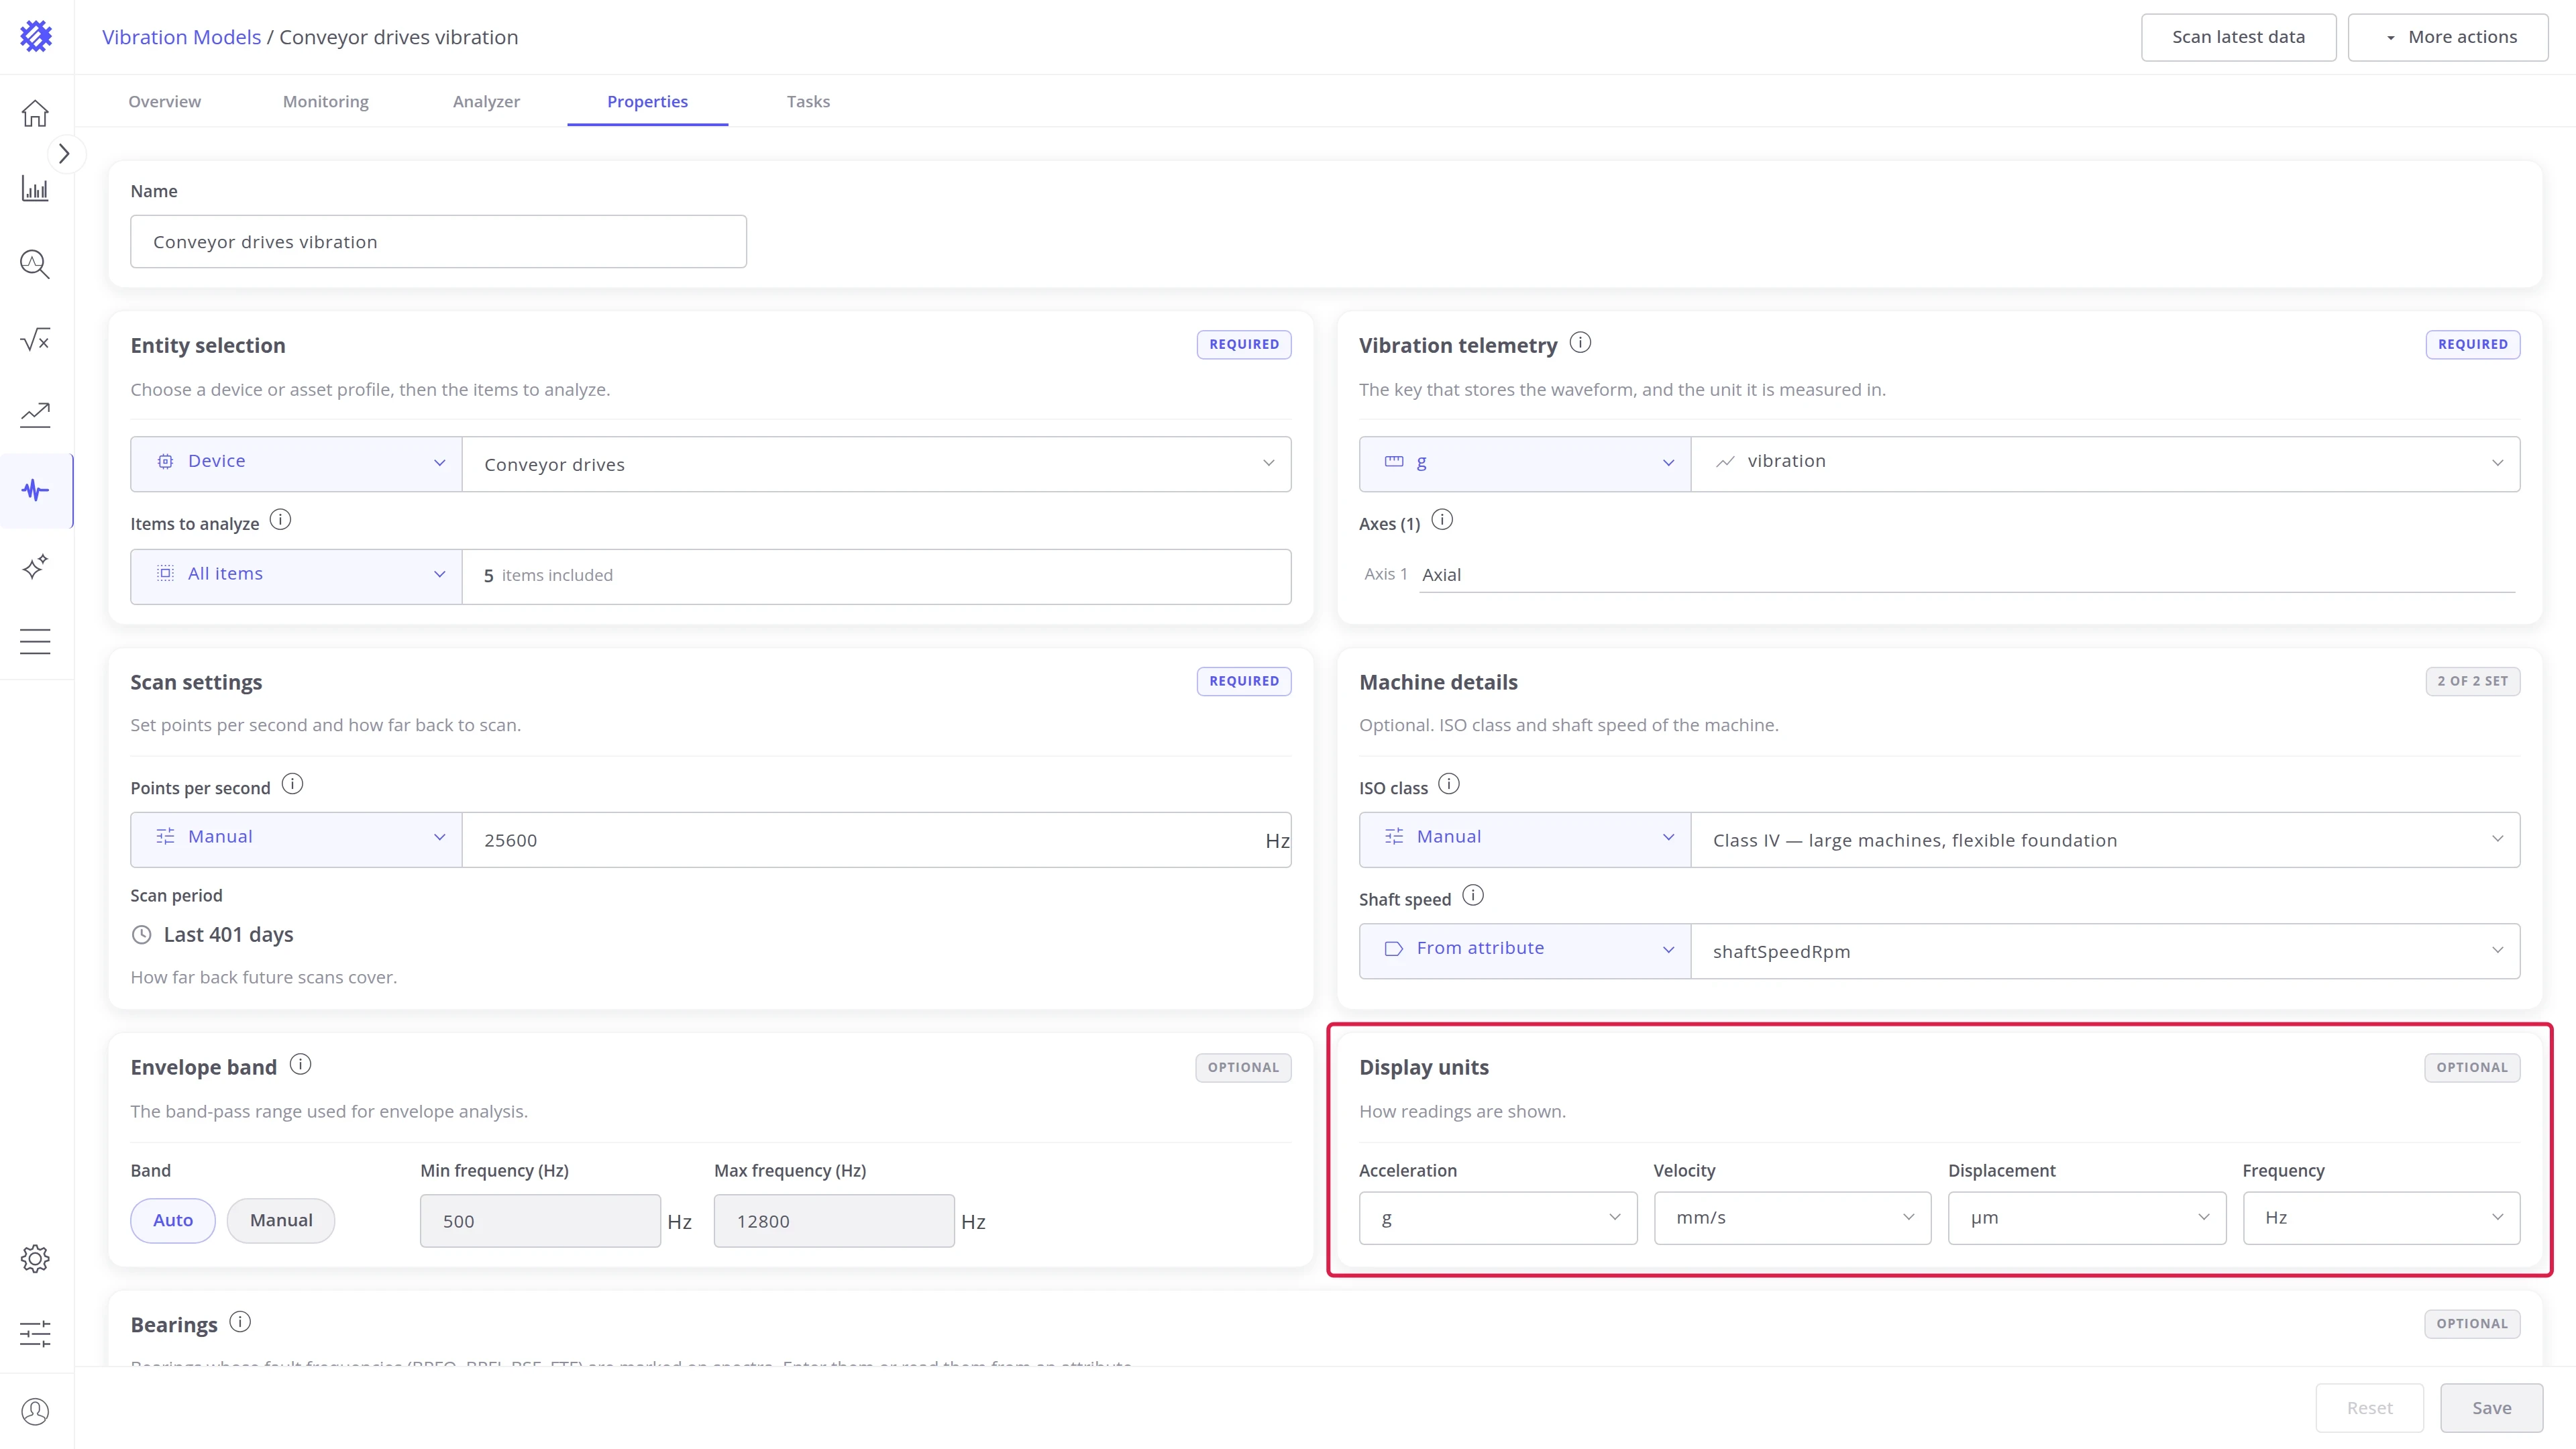
Section titled “Display units”How stored readings are shown on every tab of the model. Changing a unit only changes the display; nothing is rescanned.
| Field | Options |
|---|---|
| Acceleration | g, mm/s², in/s² |
| Velocity | mm/s, in/s |
| Displacement | µm, mil |
| Frequency | Hz, RPM |
Bearings
Section titled “Bearings”The bearings whose fault frequencies, BPFO, BPFI, BSF, and FTF, are marked on the spectra. What the four frequencies mean is explained in Vibration Analysis Basics.
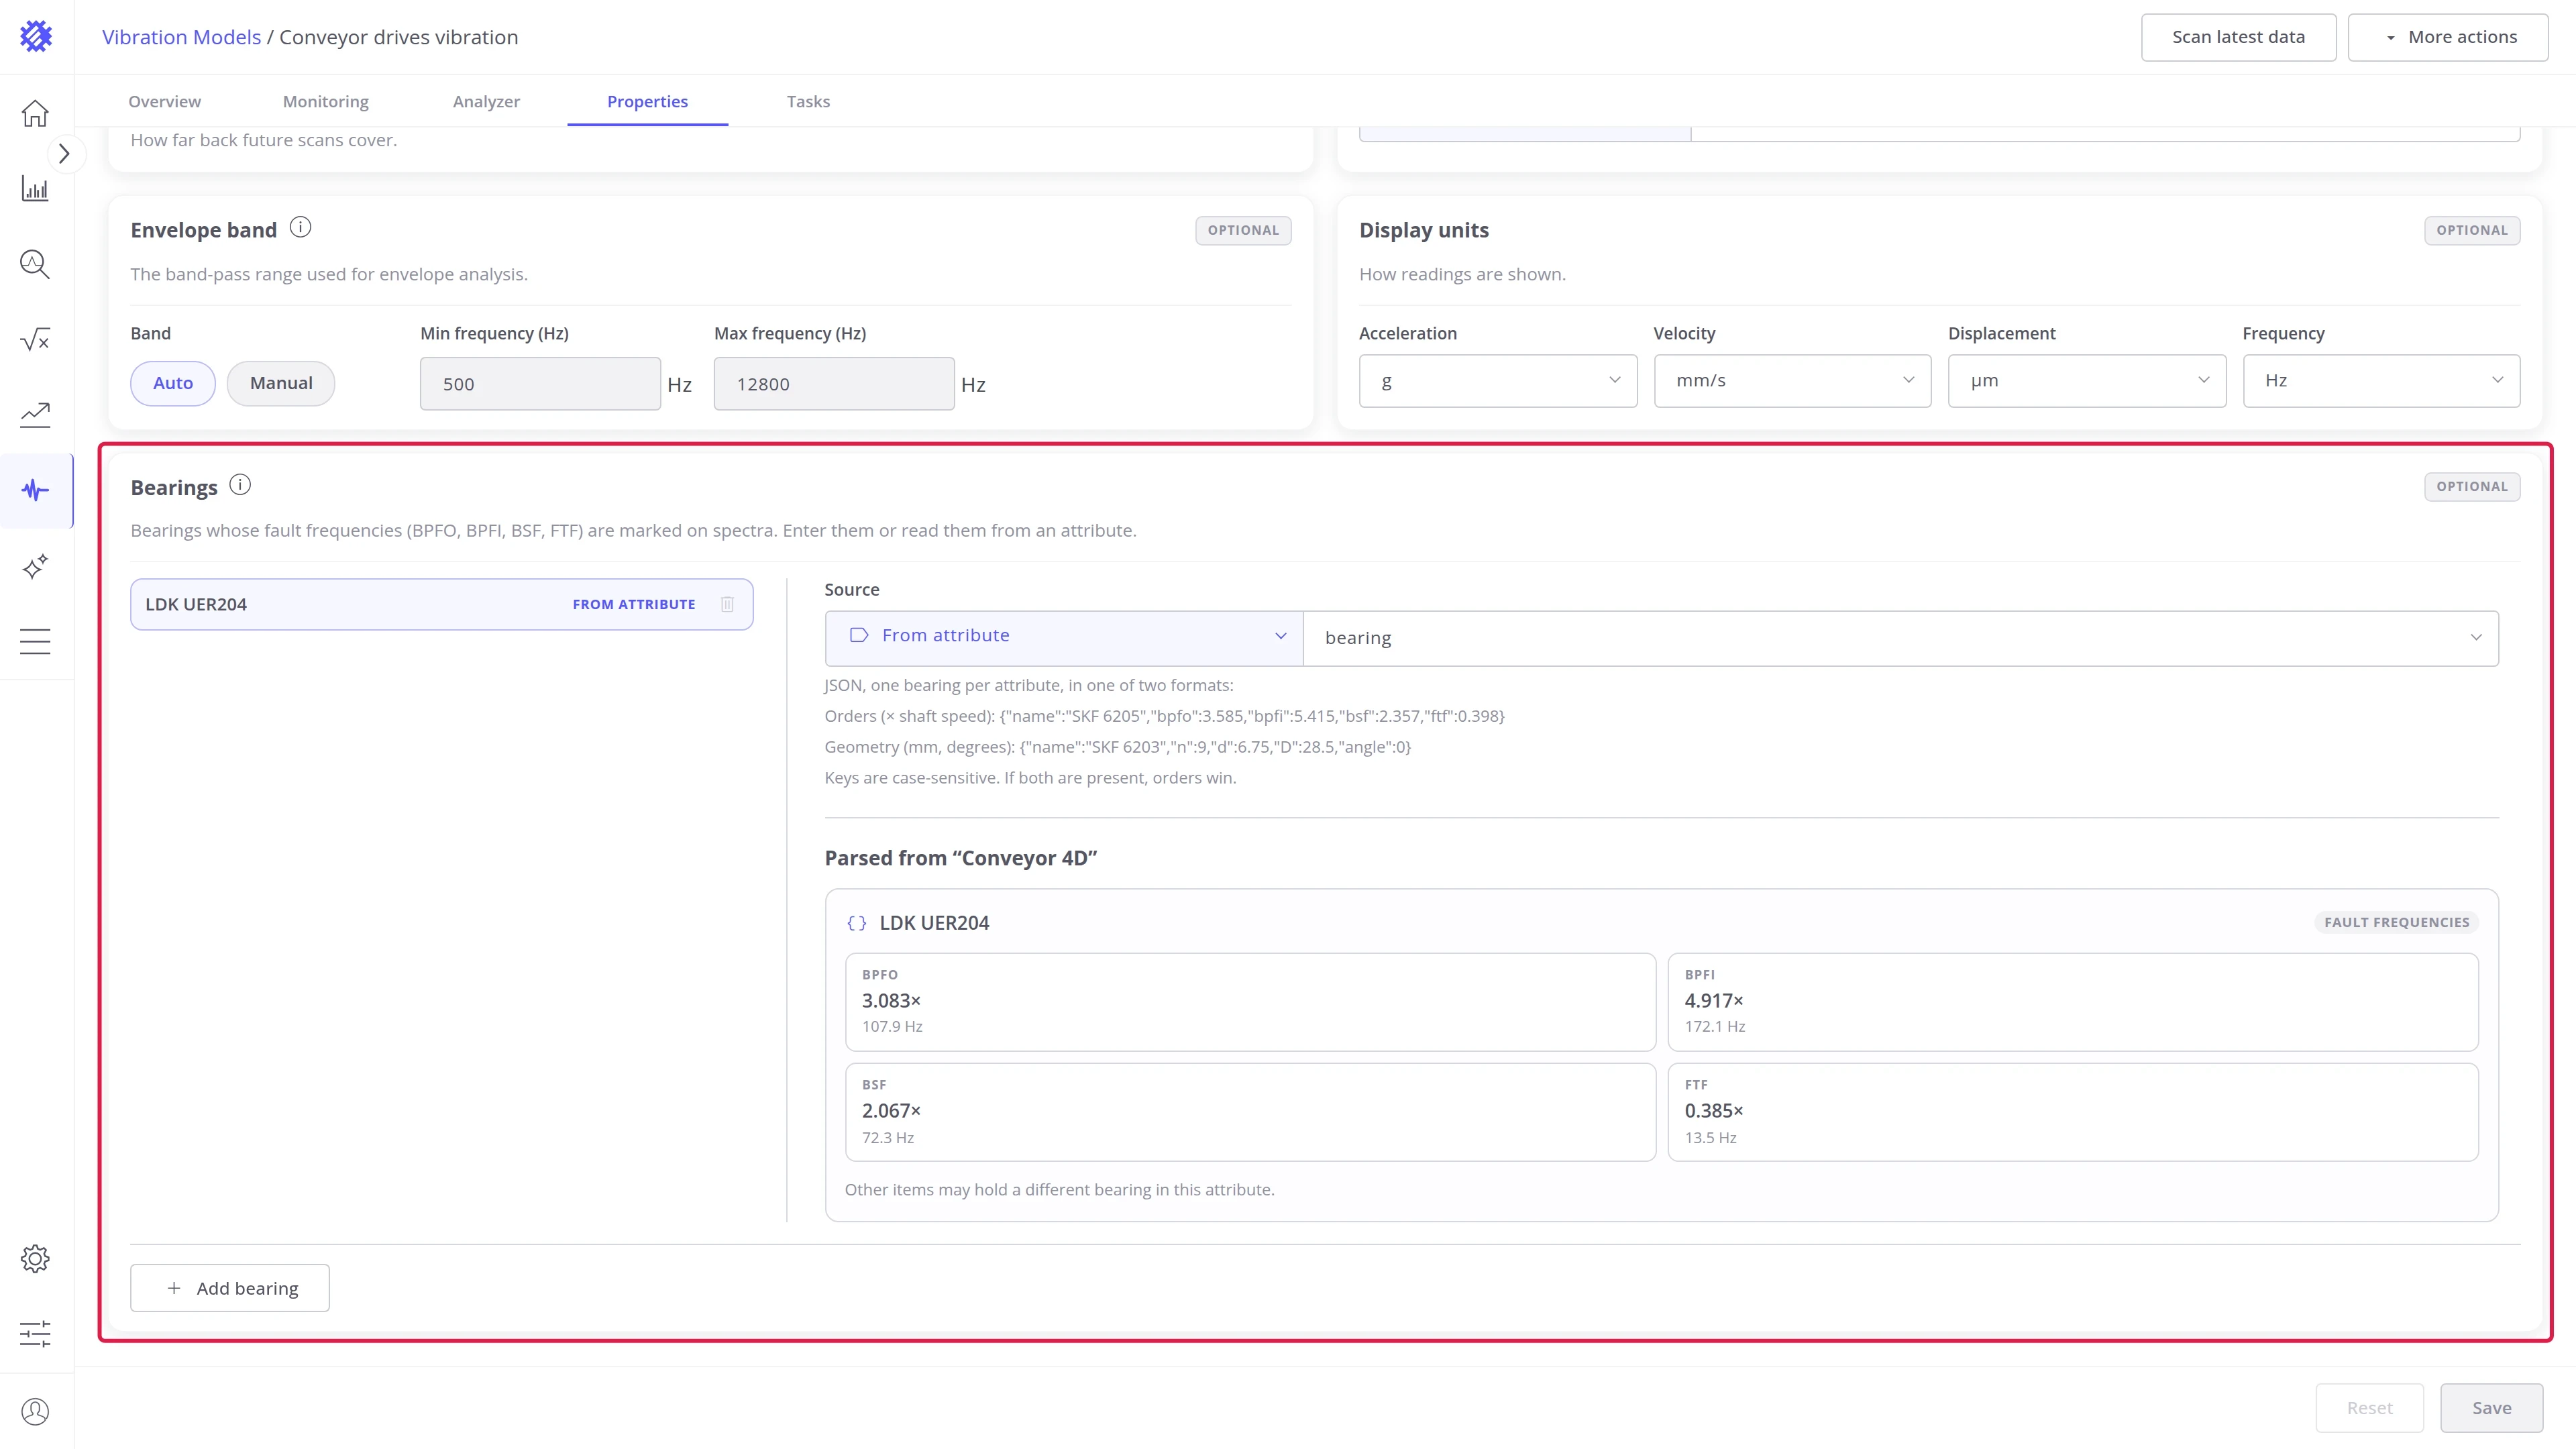
The bearings are listed on the left. Click one to edit it on the right. The fault frequencies turn into hertz only with a shaft speed, so set the speed as well.
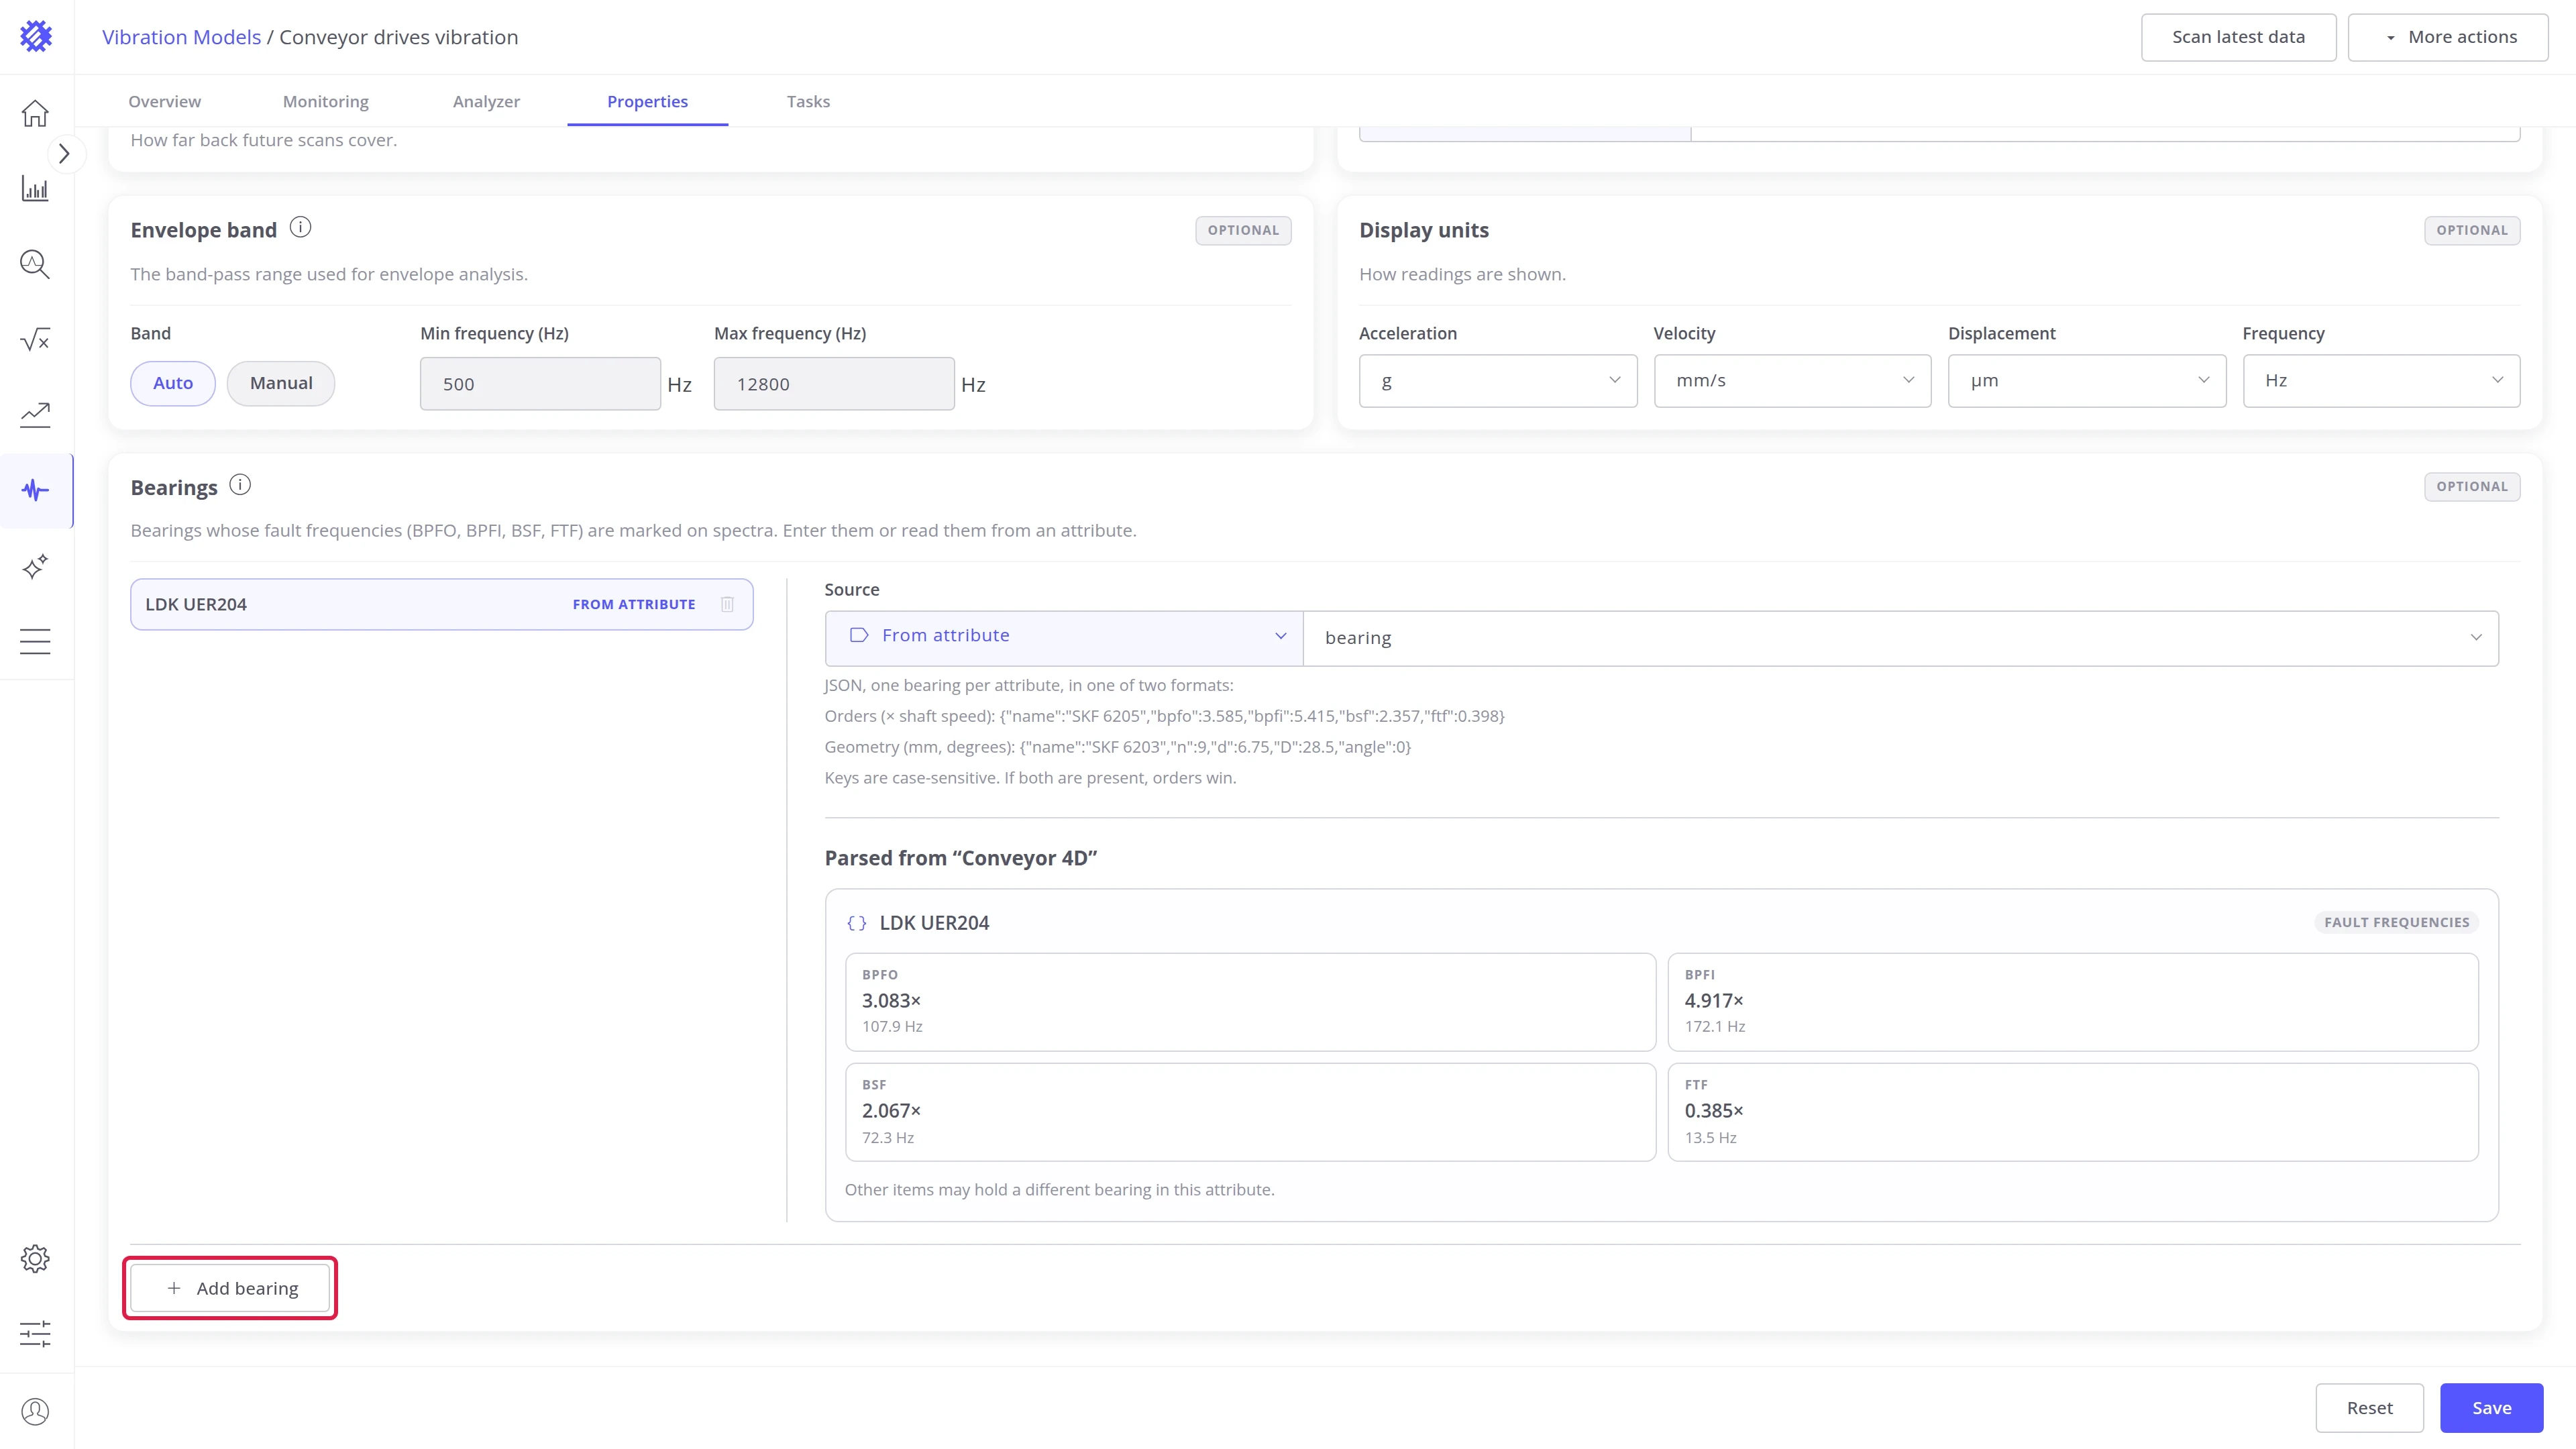
Add a bearing.
- Click Add bearing under the list.
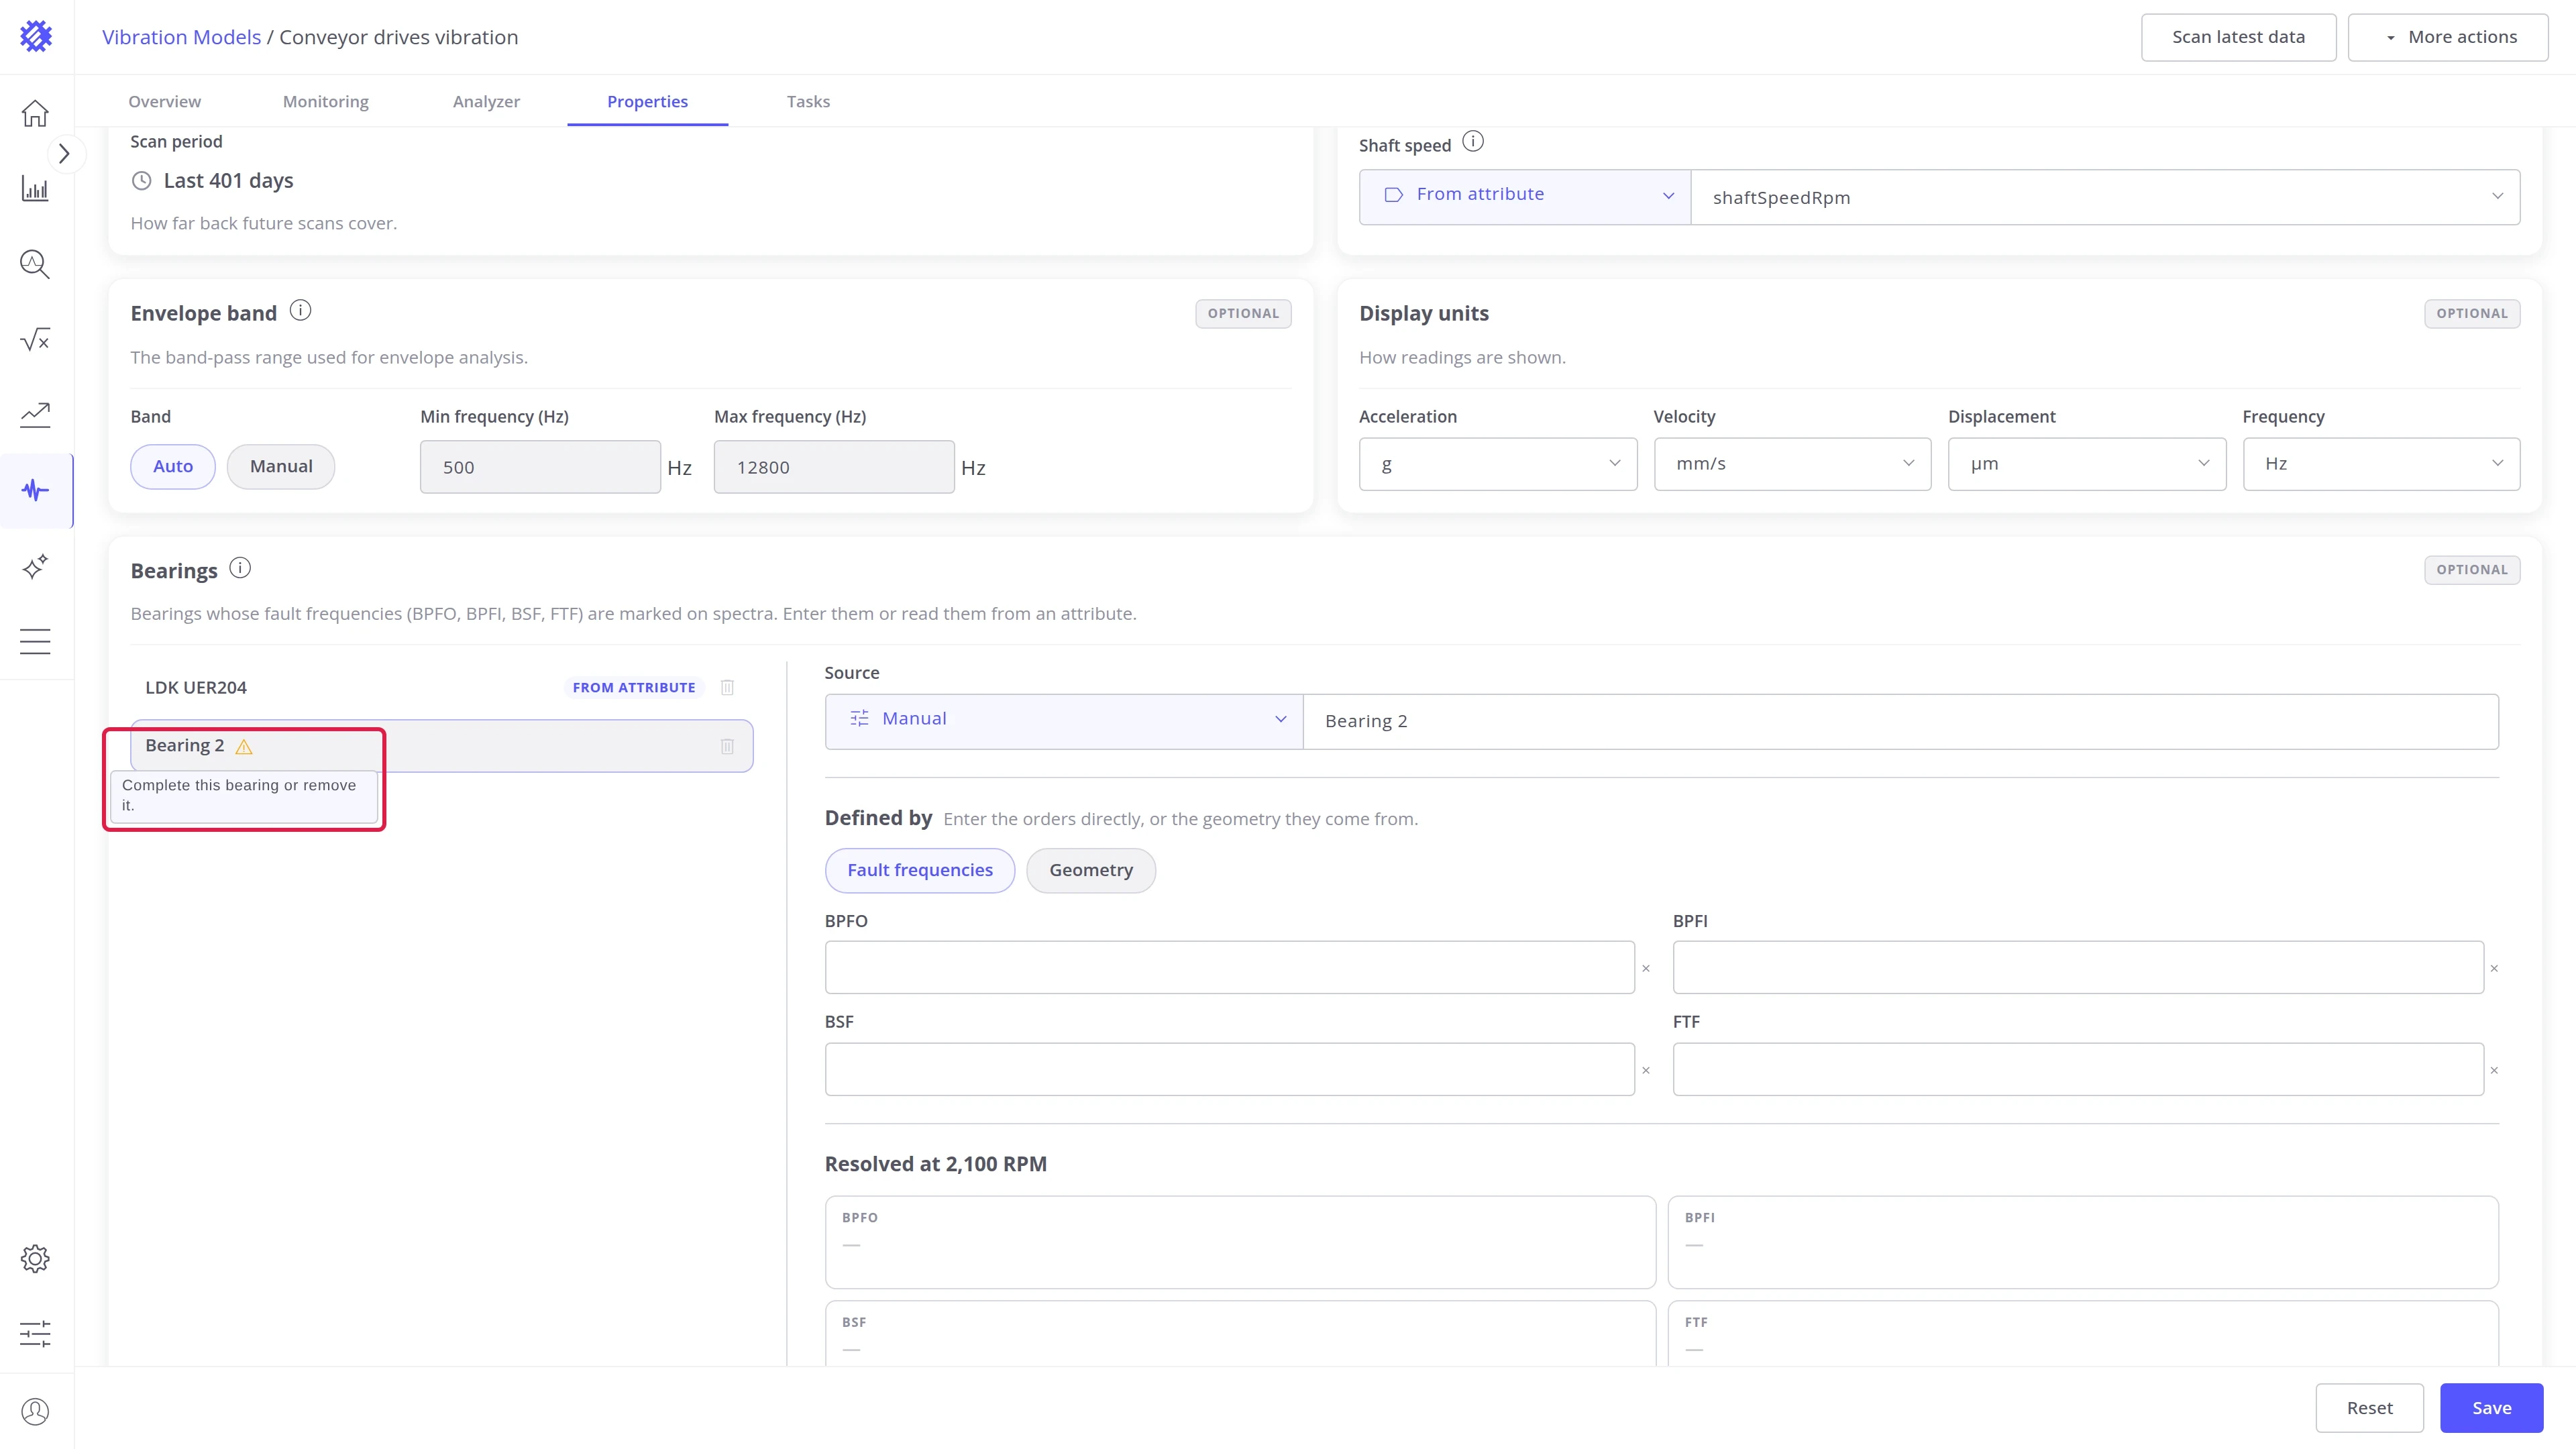
- A new row, such as Bearing 2, appears in the list and opens on the right. A warning icon stays on it until the bearing is complete: hover it to read Complete this bearing or remove it.
- Specify the bearing frequencies manually, or take them from an attribute, as described below.
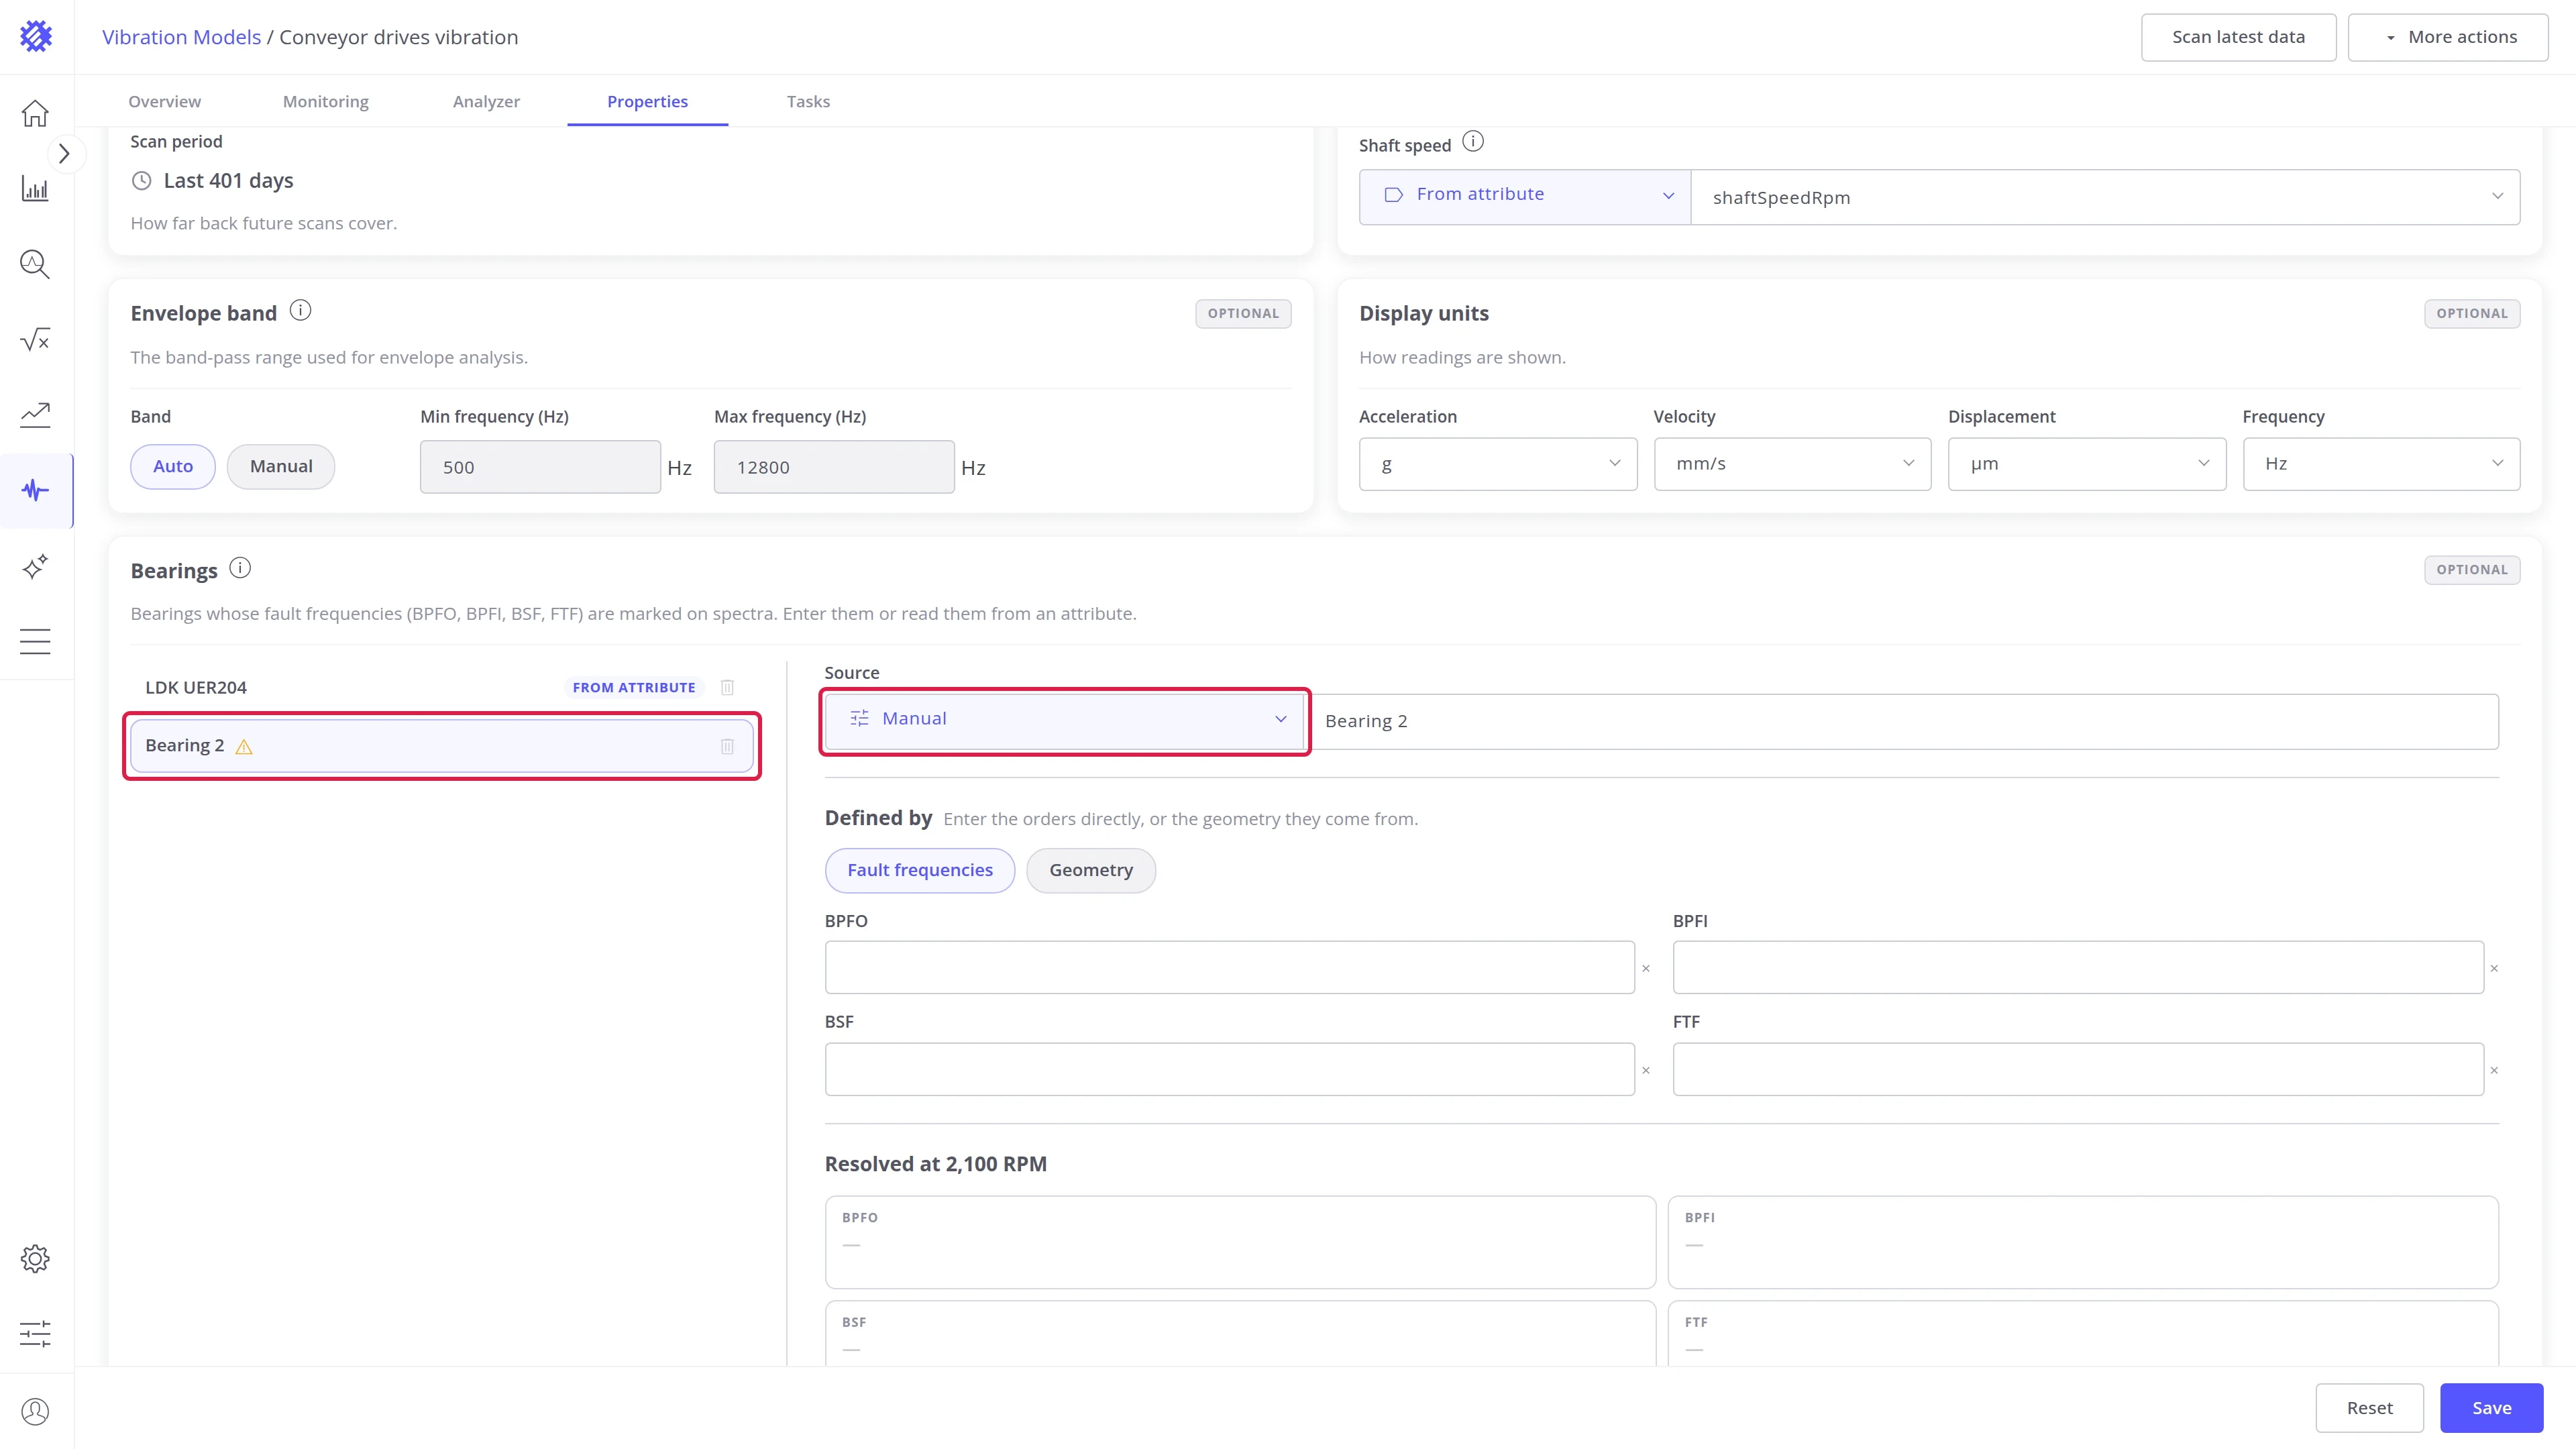
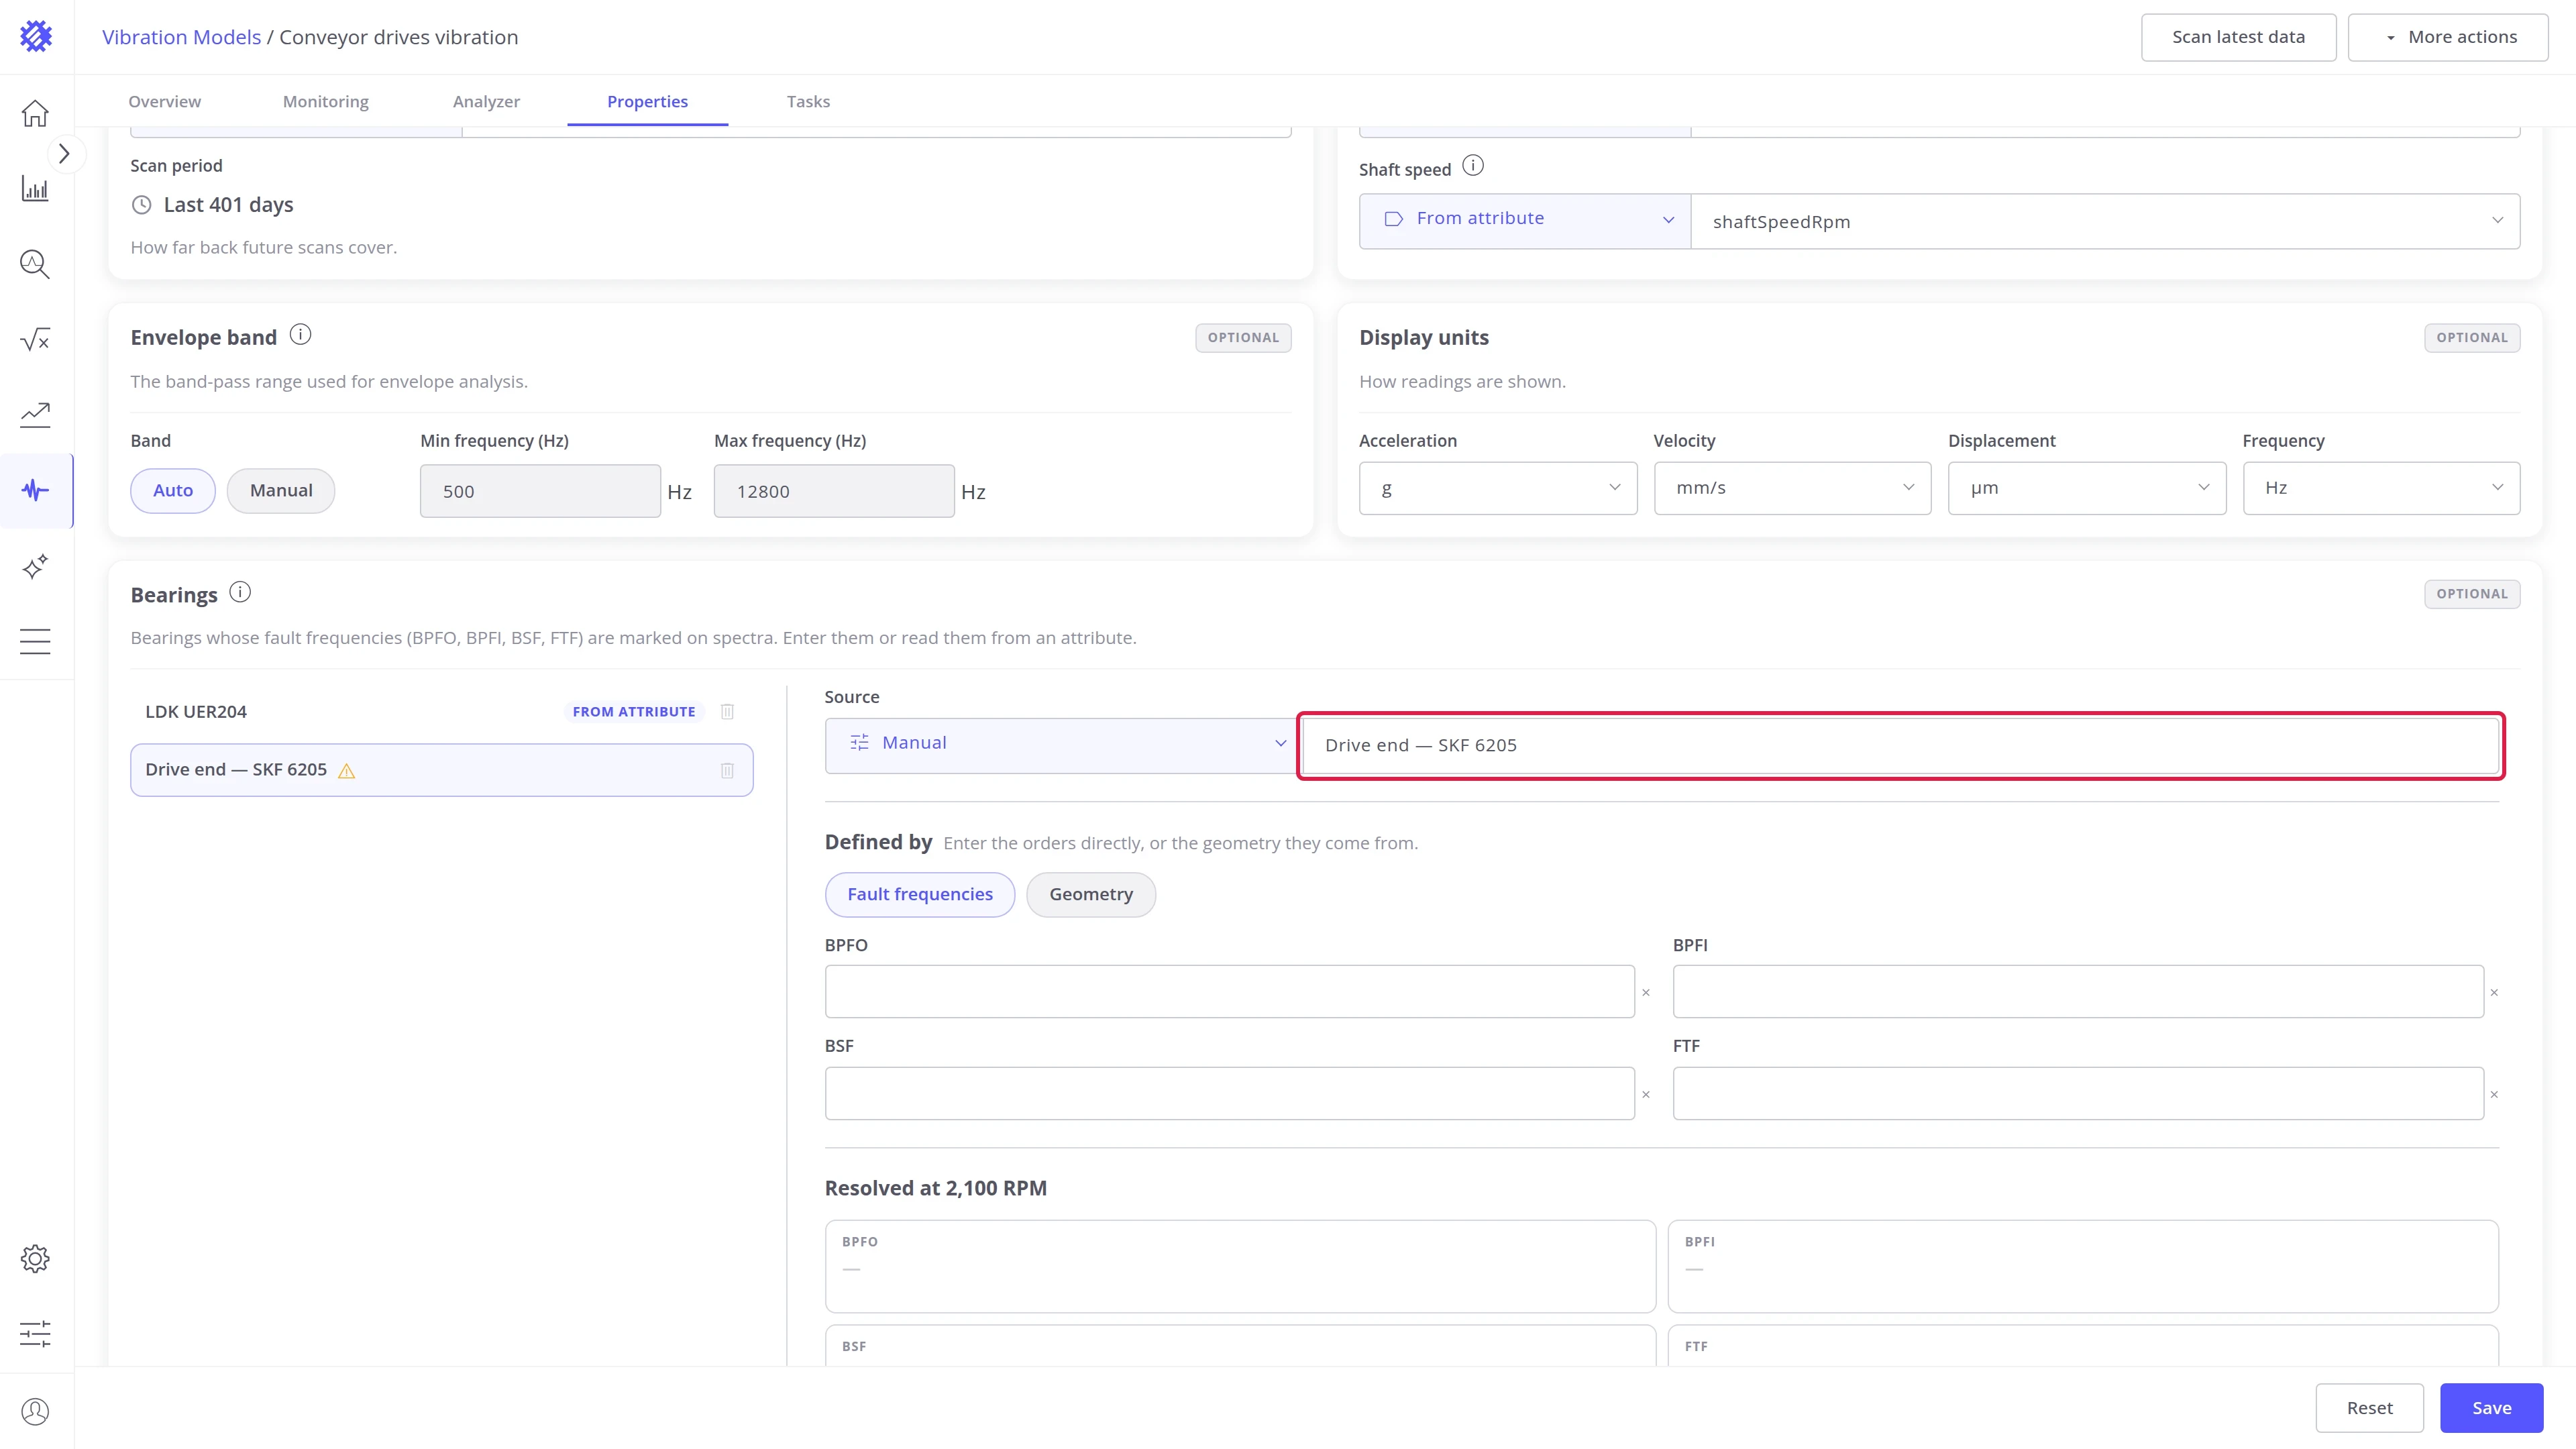
Manual. Enter one bearing for every machine of the model:
- Type a name, for example Drive end — SKF 6205.
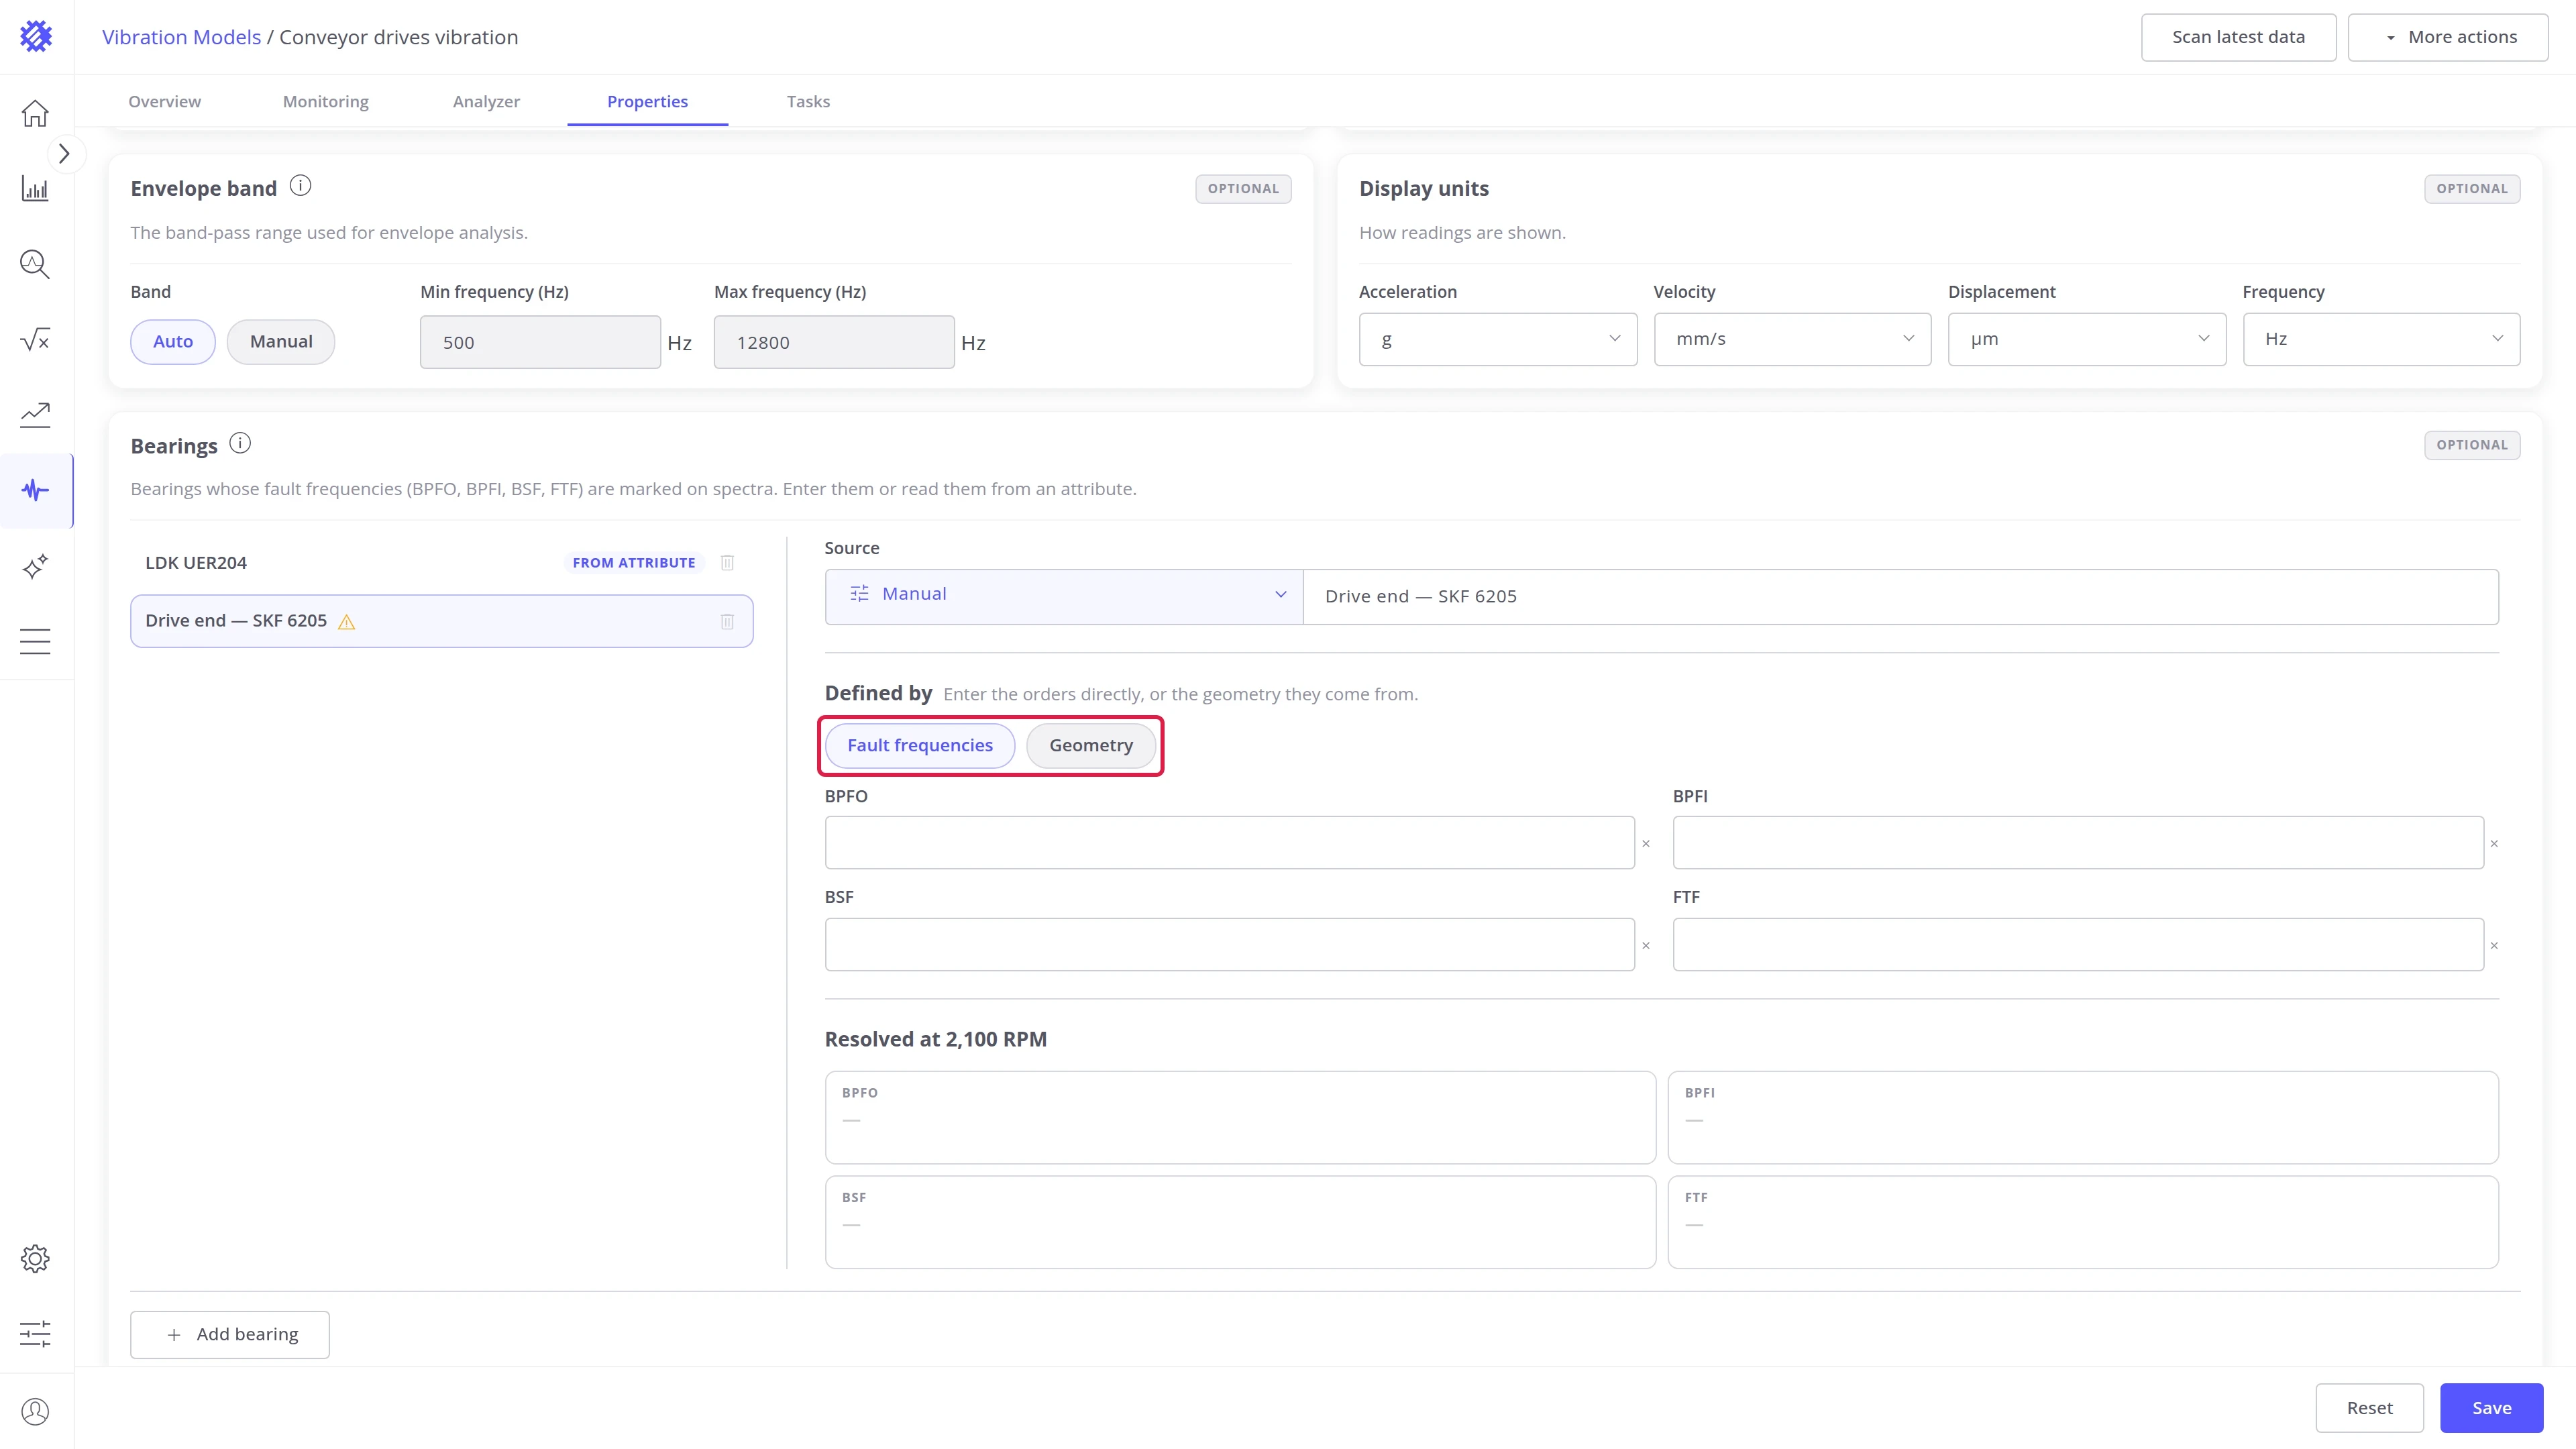
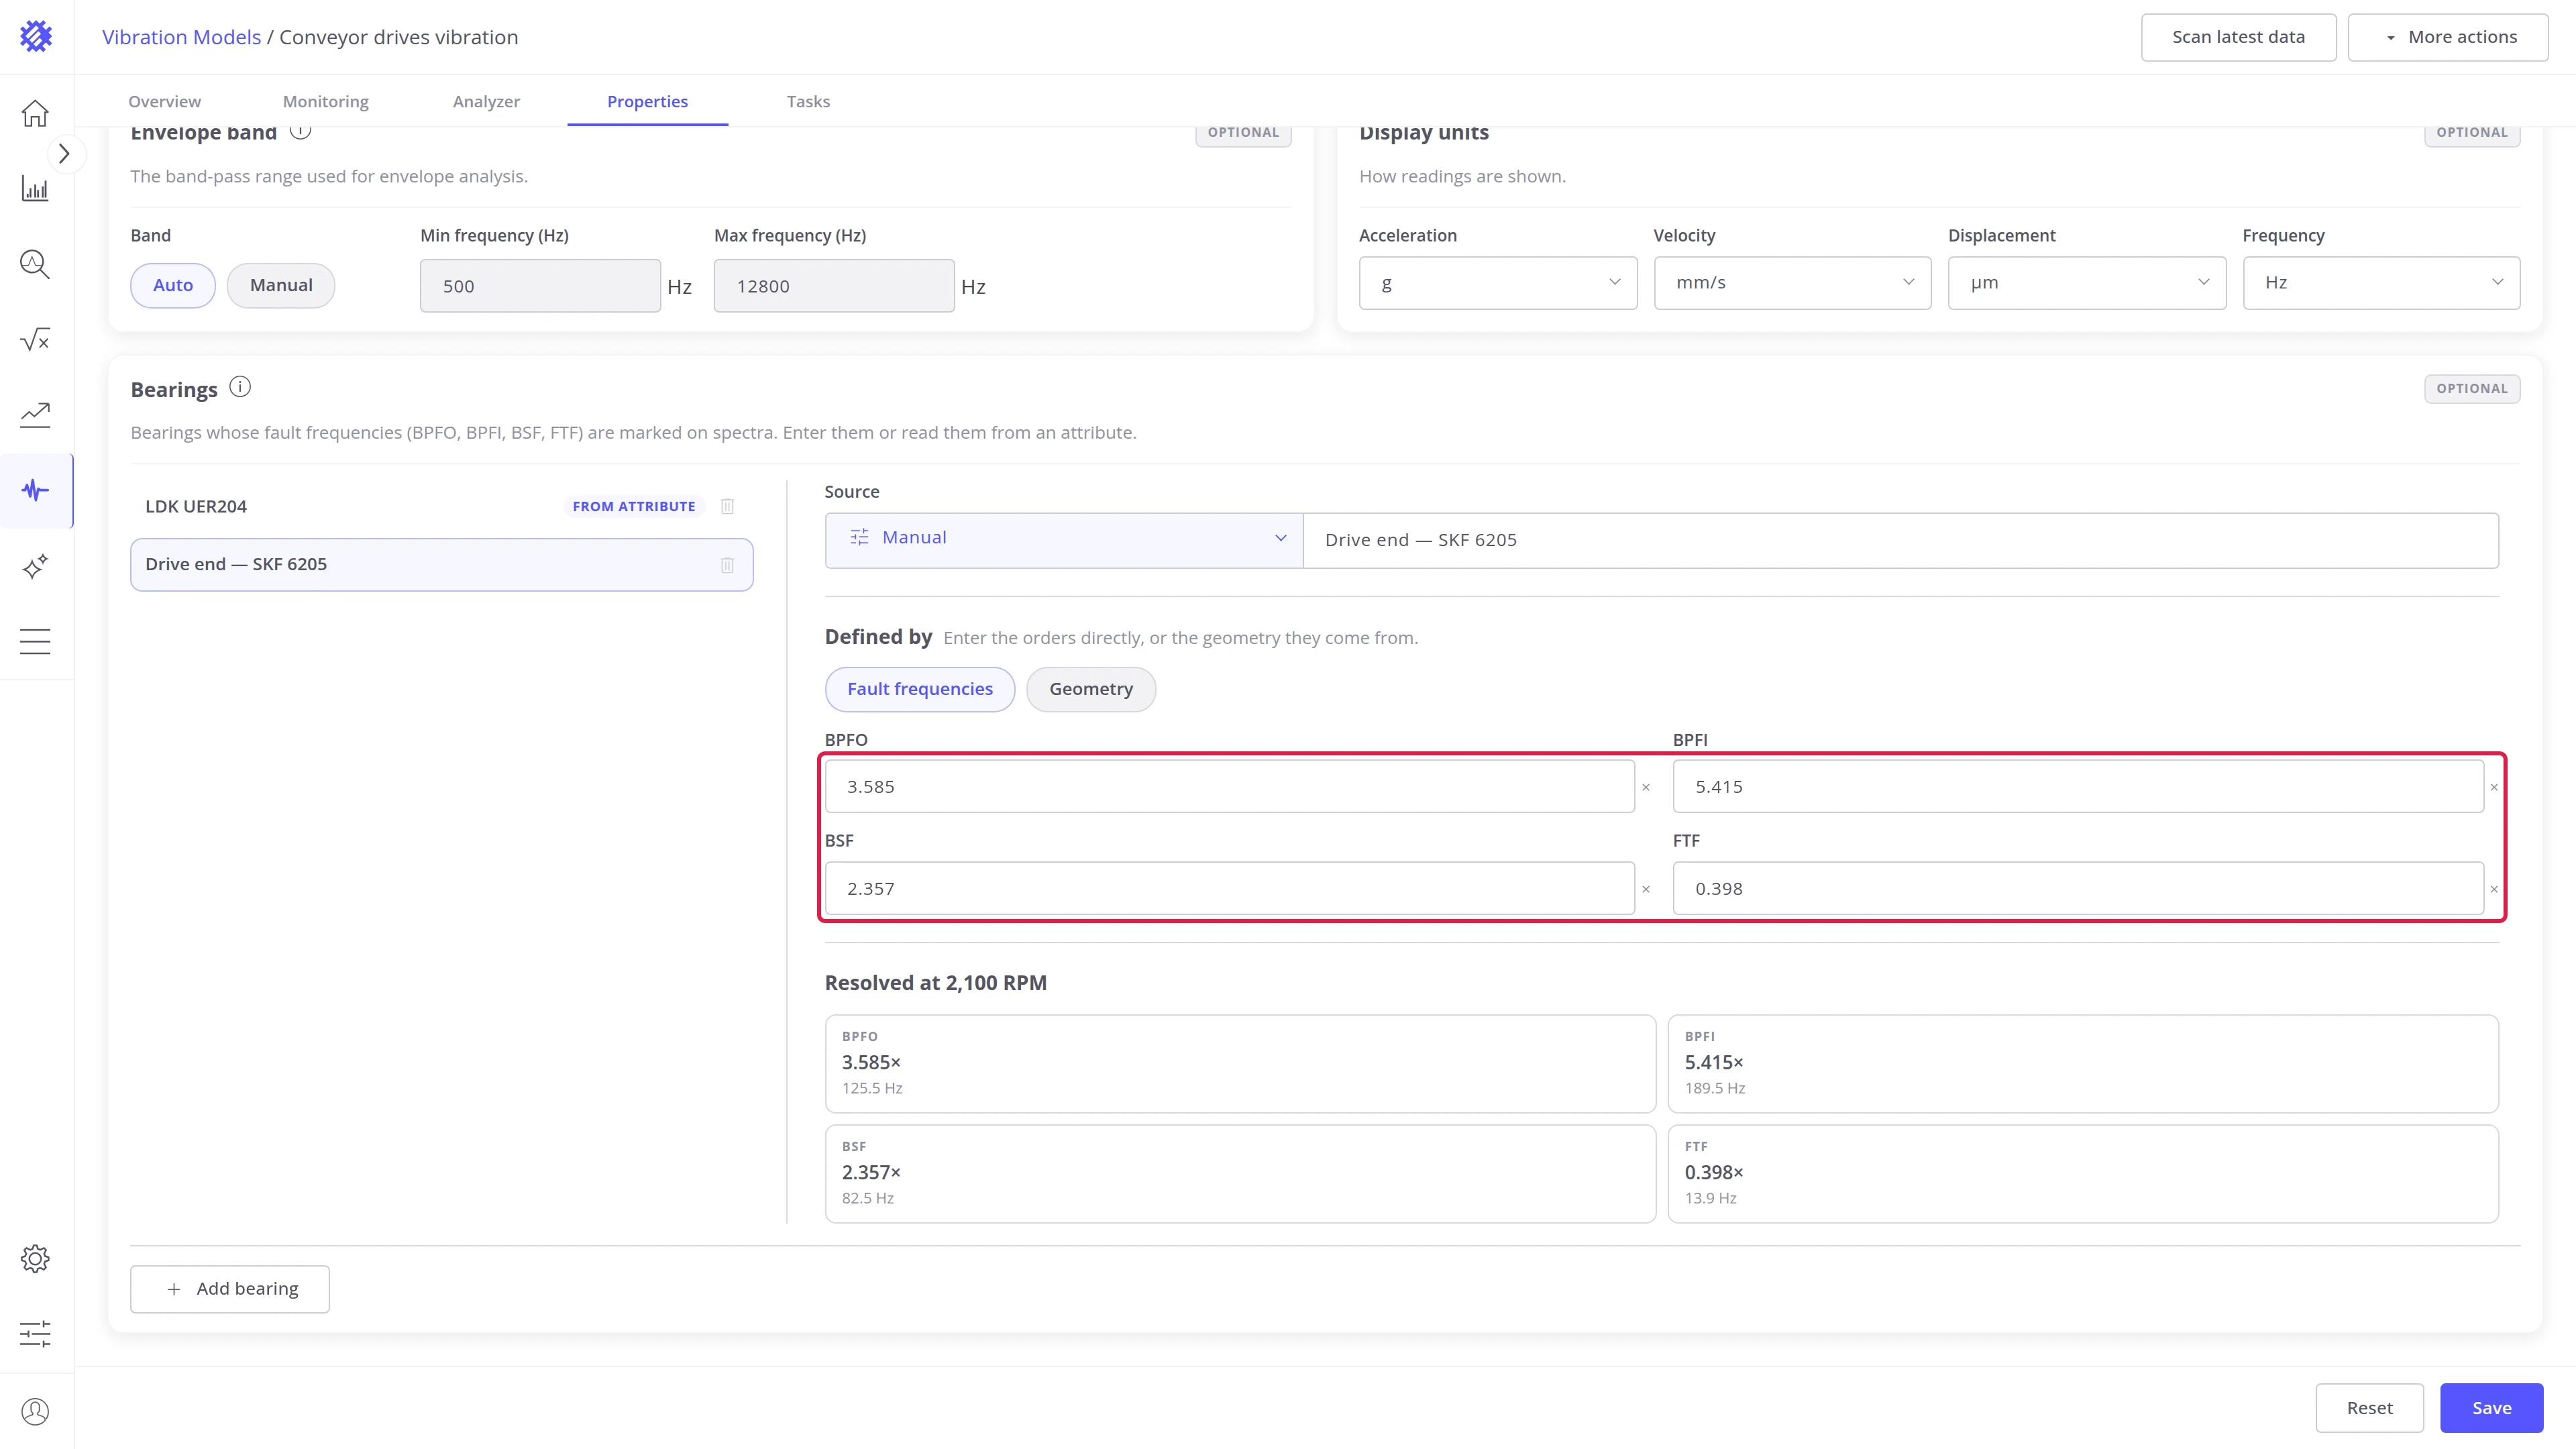
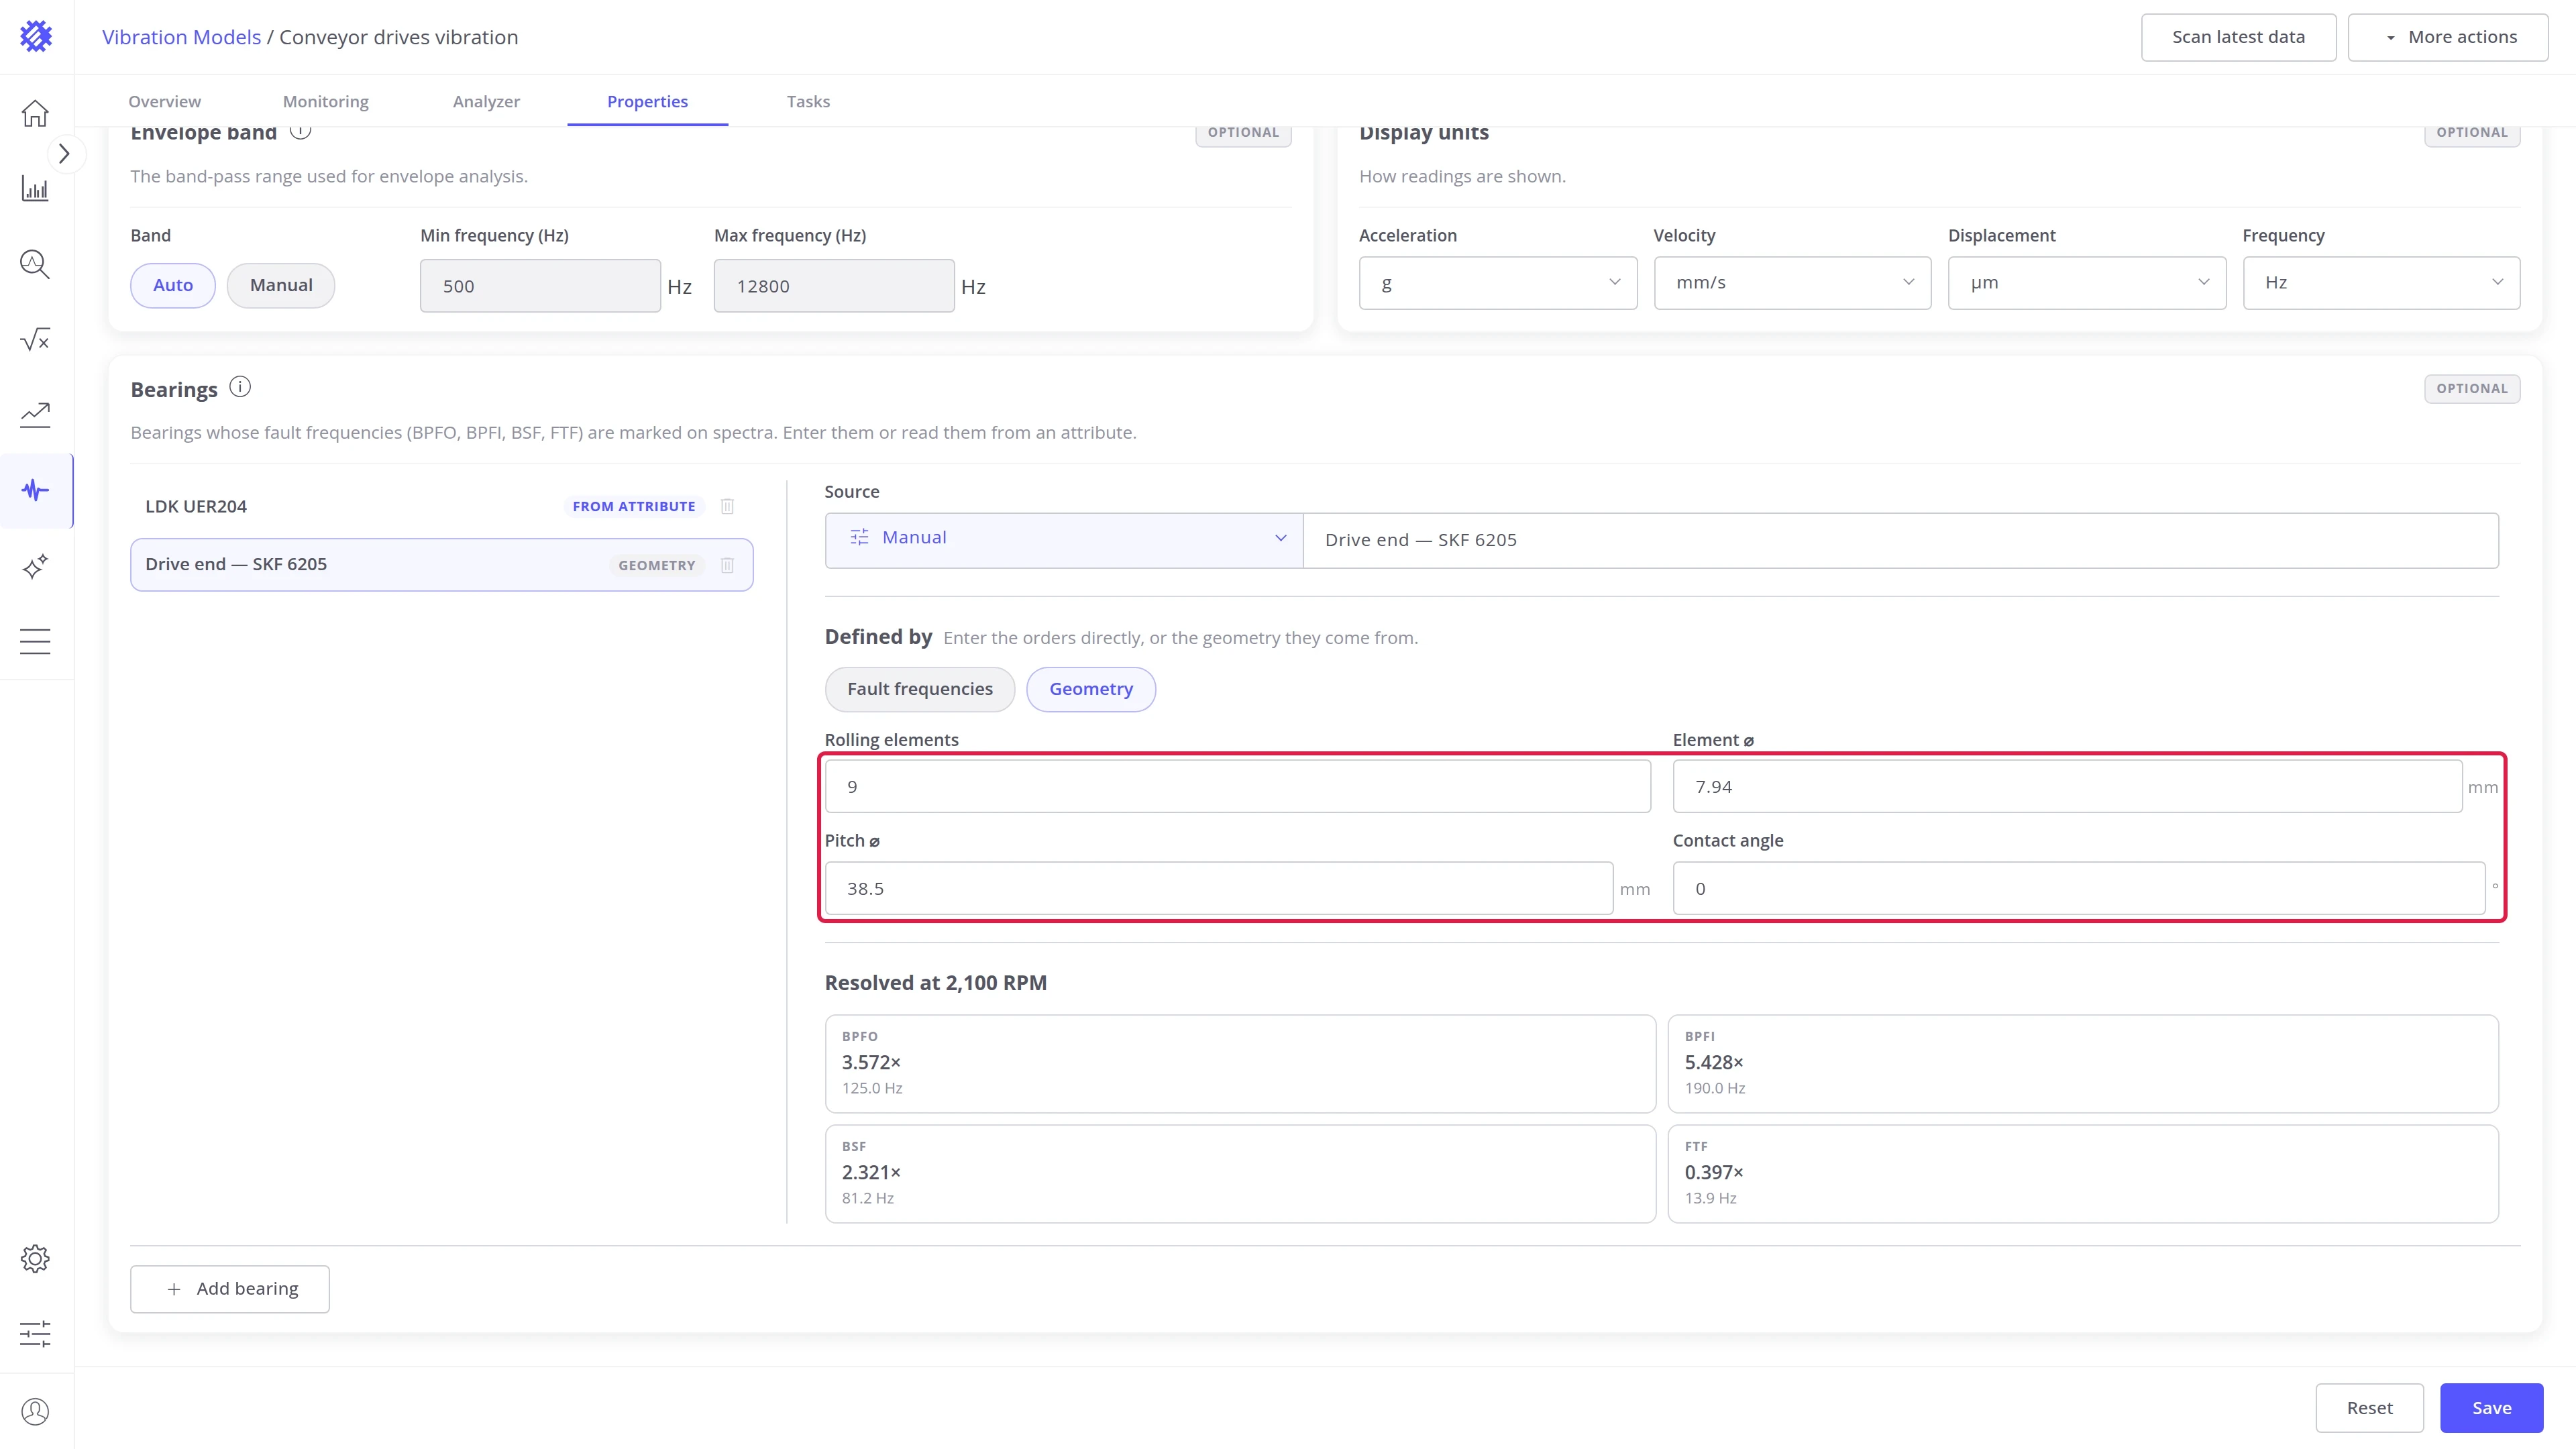
- Under Defined by, choose Fault frequencies or Geometry, and fill in the fields. Both are described in the table below.
- Check Resolved at … RPM below the fields: it shows each fault frequency in hertz at the current shaft speed.
| Defined by | What you enter |
|---|---|
| Fault frequencies | BPFO, BPFI, BSF, and FTF as orders, multiples of the shaft speed. They are usually in the bearing maker’s catalog |
| Geometry | Rolling elements, Element ⌀ and Pitch ⌀ in mm, and Contact angle in degrees. Trendz calculates the orders from them |
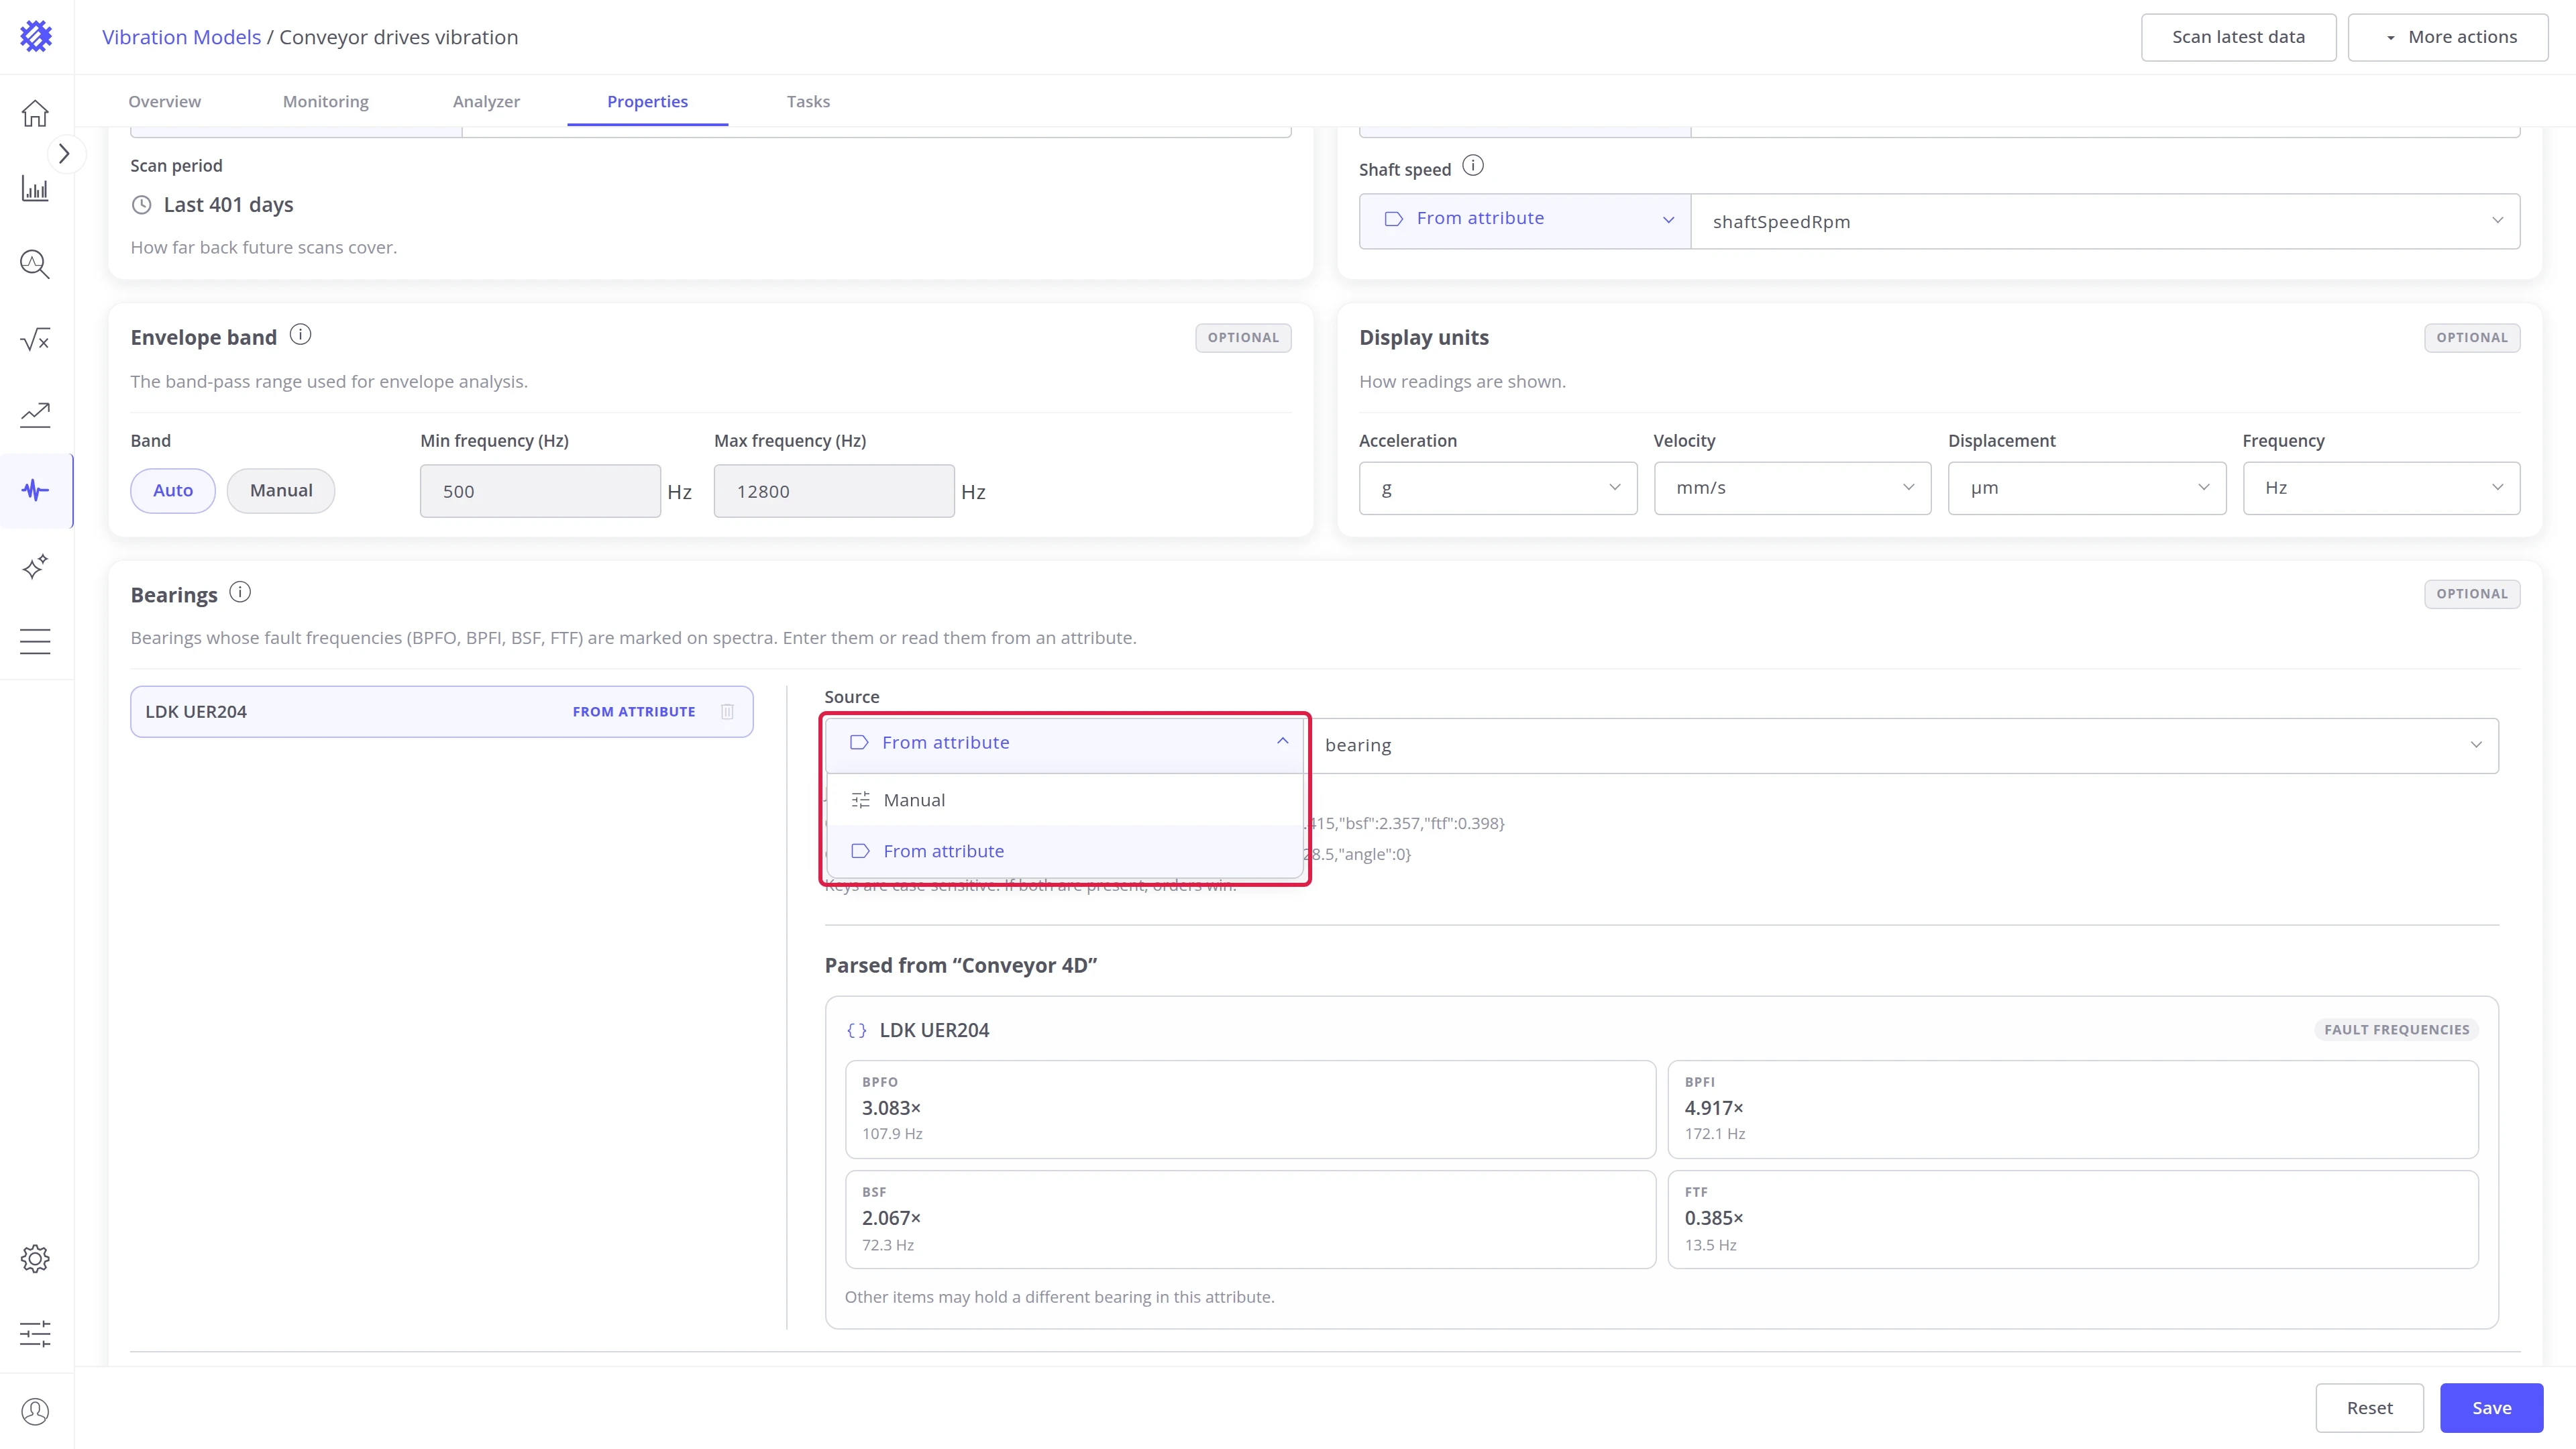
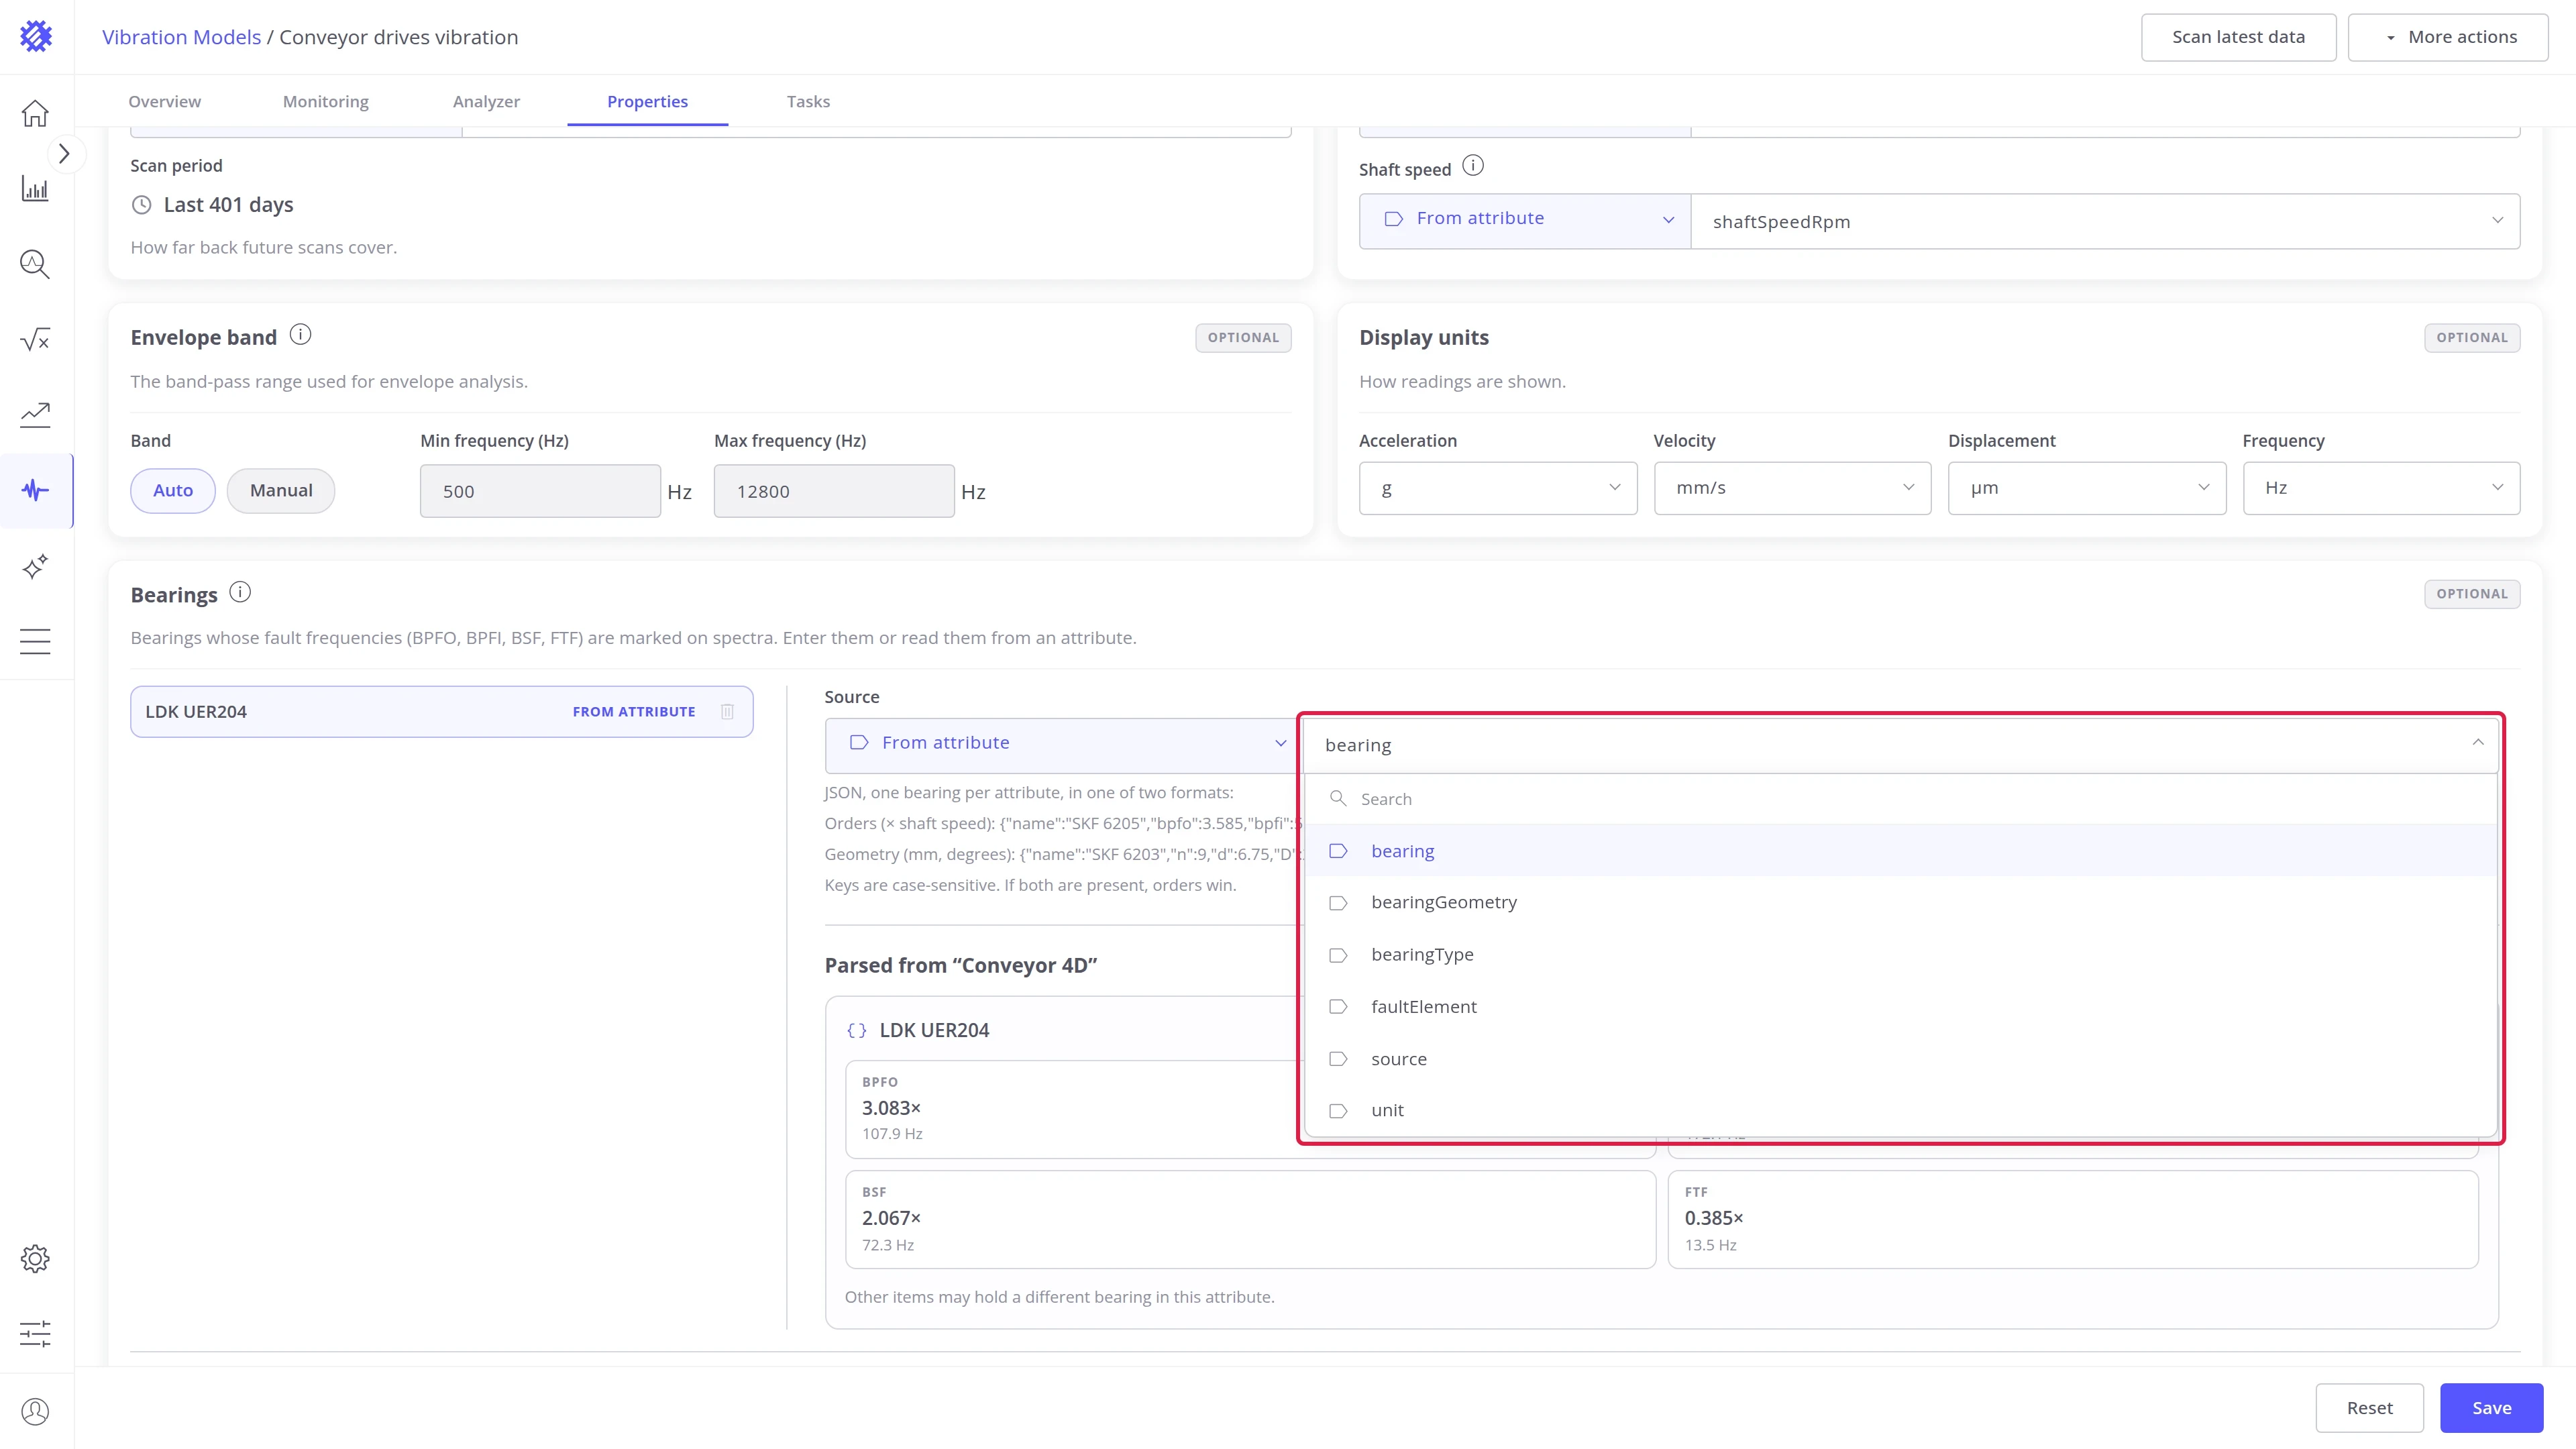
From attribute. Read the bearing from an attribute of each machine, for a fleet whose machines carry different bearings:
-
Set Source to From attribute.
-
Pick the attribute that holds the bearing.
-
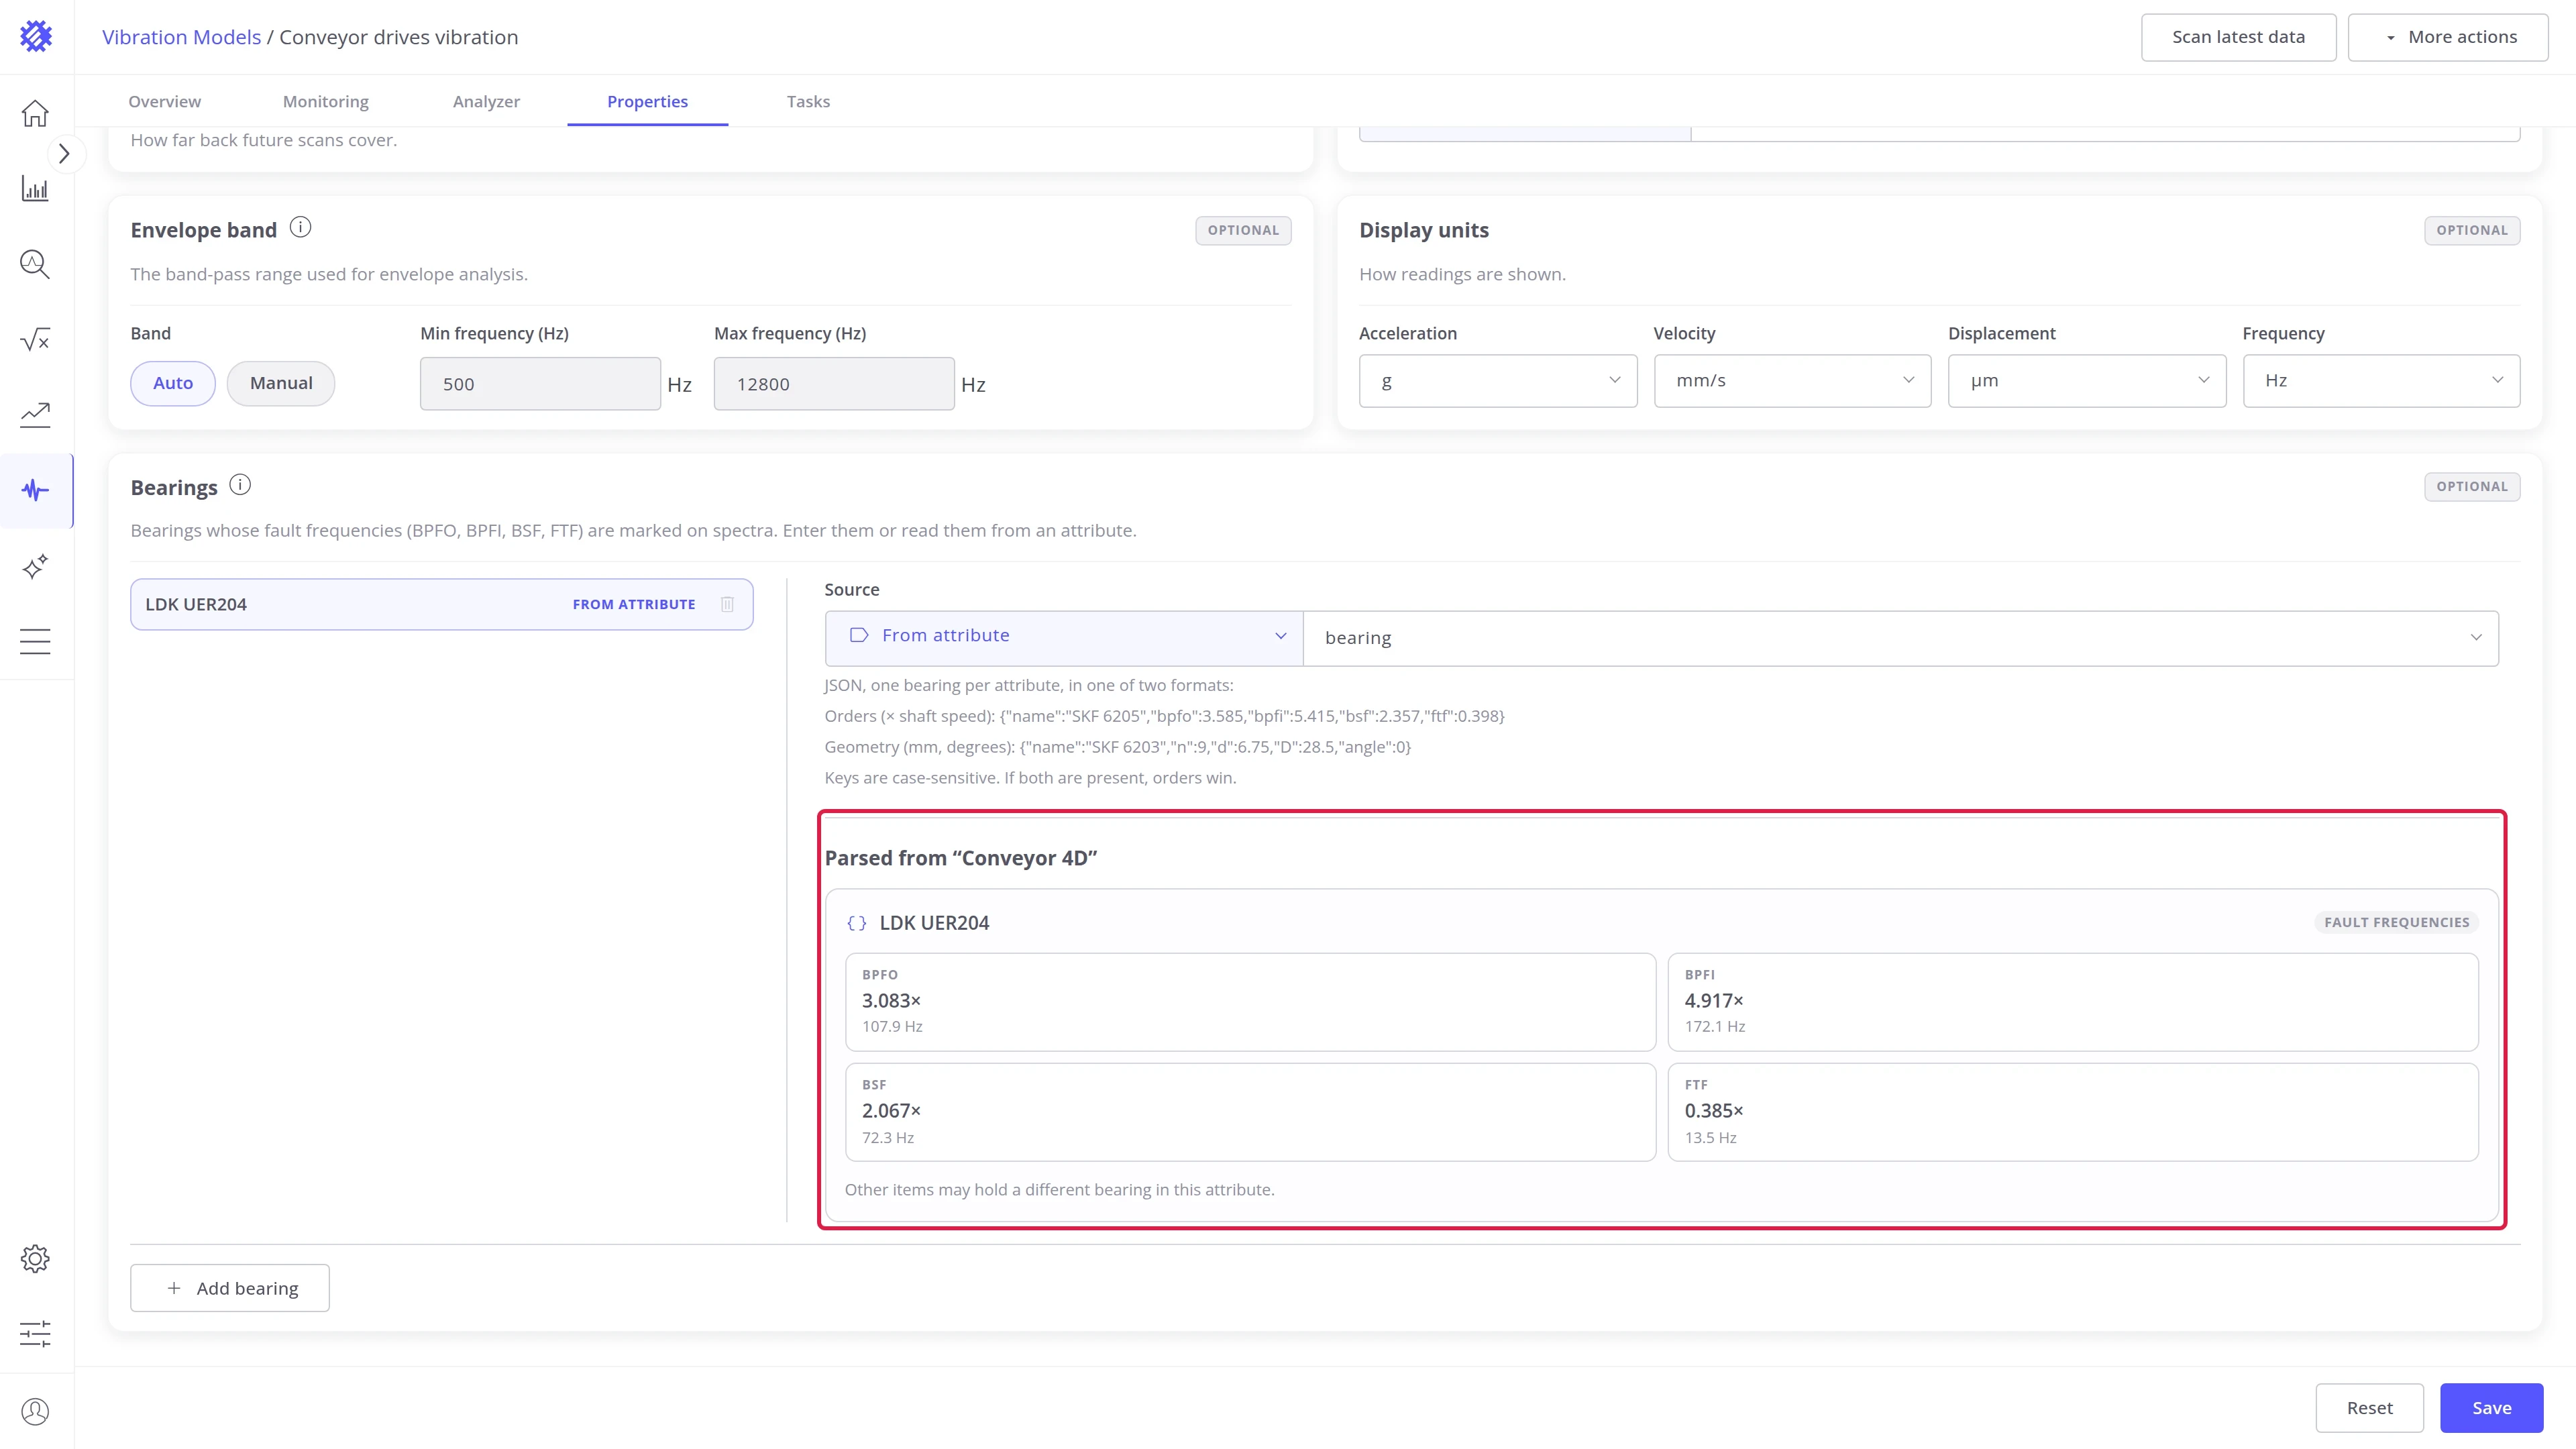
The attribute holds JSON, one bearing per attribute, in one of two formats:
{"name": "SKF 6205", "bpfo": 3.585, "bpfi": 5.415, "bsf": 2.357, "ftf": 0.398}{"name": "SKF 6203", "n": 9, "d": 6.75, "D": 28.5, "angle": 0}The first gives the orders, the second the geometry in mm and degrees. Keys are case-sensitive; if both are present, the orders are used.
-
Check Parsed from: it shows the bearing read for one machine. Other machines may hold a different bearing in the same attribute.
Remove a bearing.
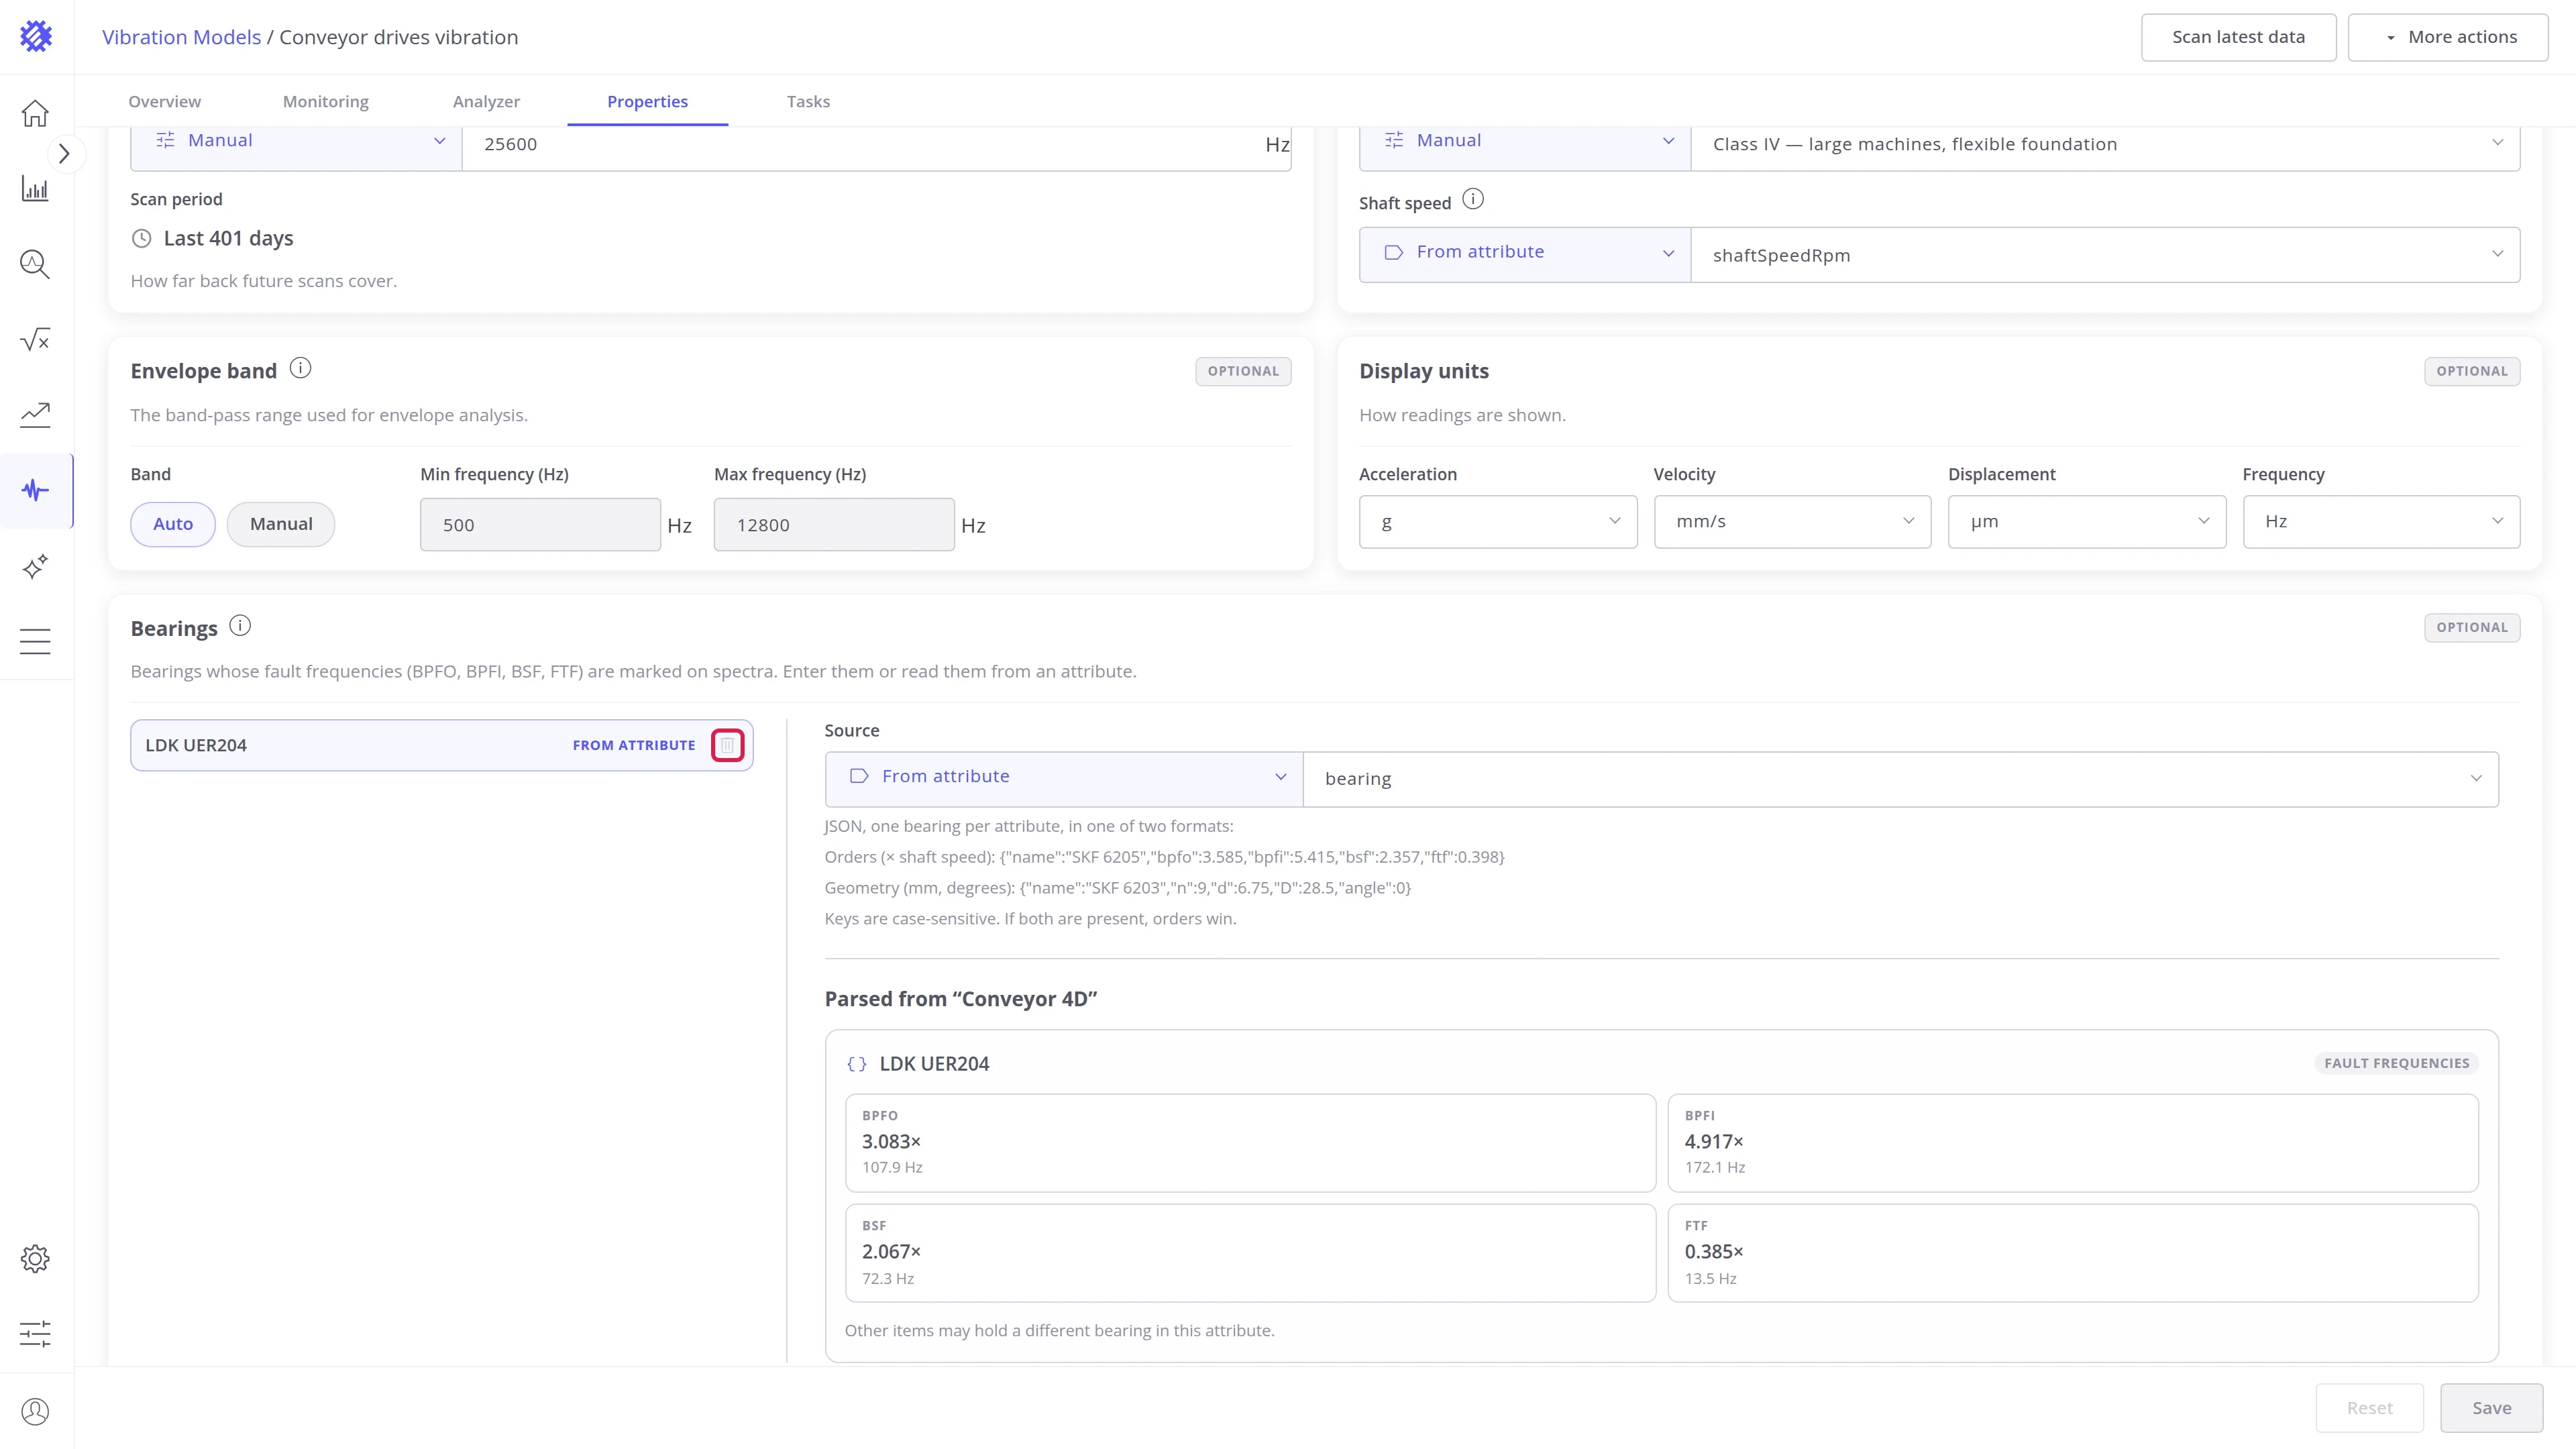
- Click the trash icon at the end of the bearing’s row. The bearing leaves the list at once.
- Nothing is removed from the model yet. Reset and Save become active.
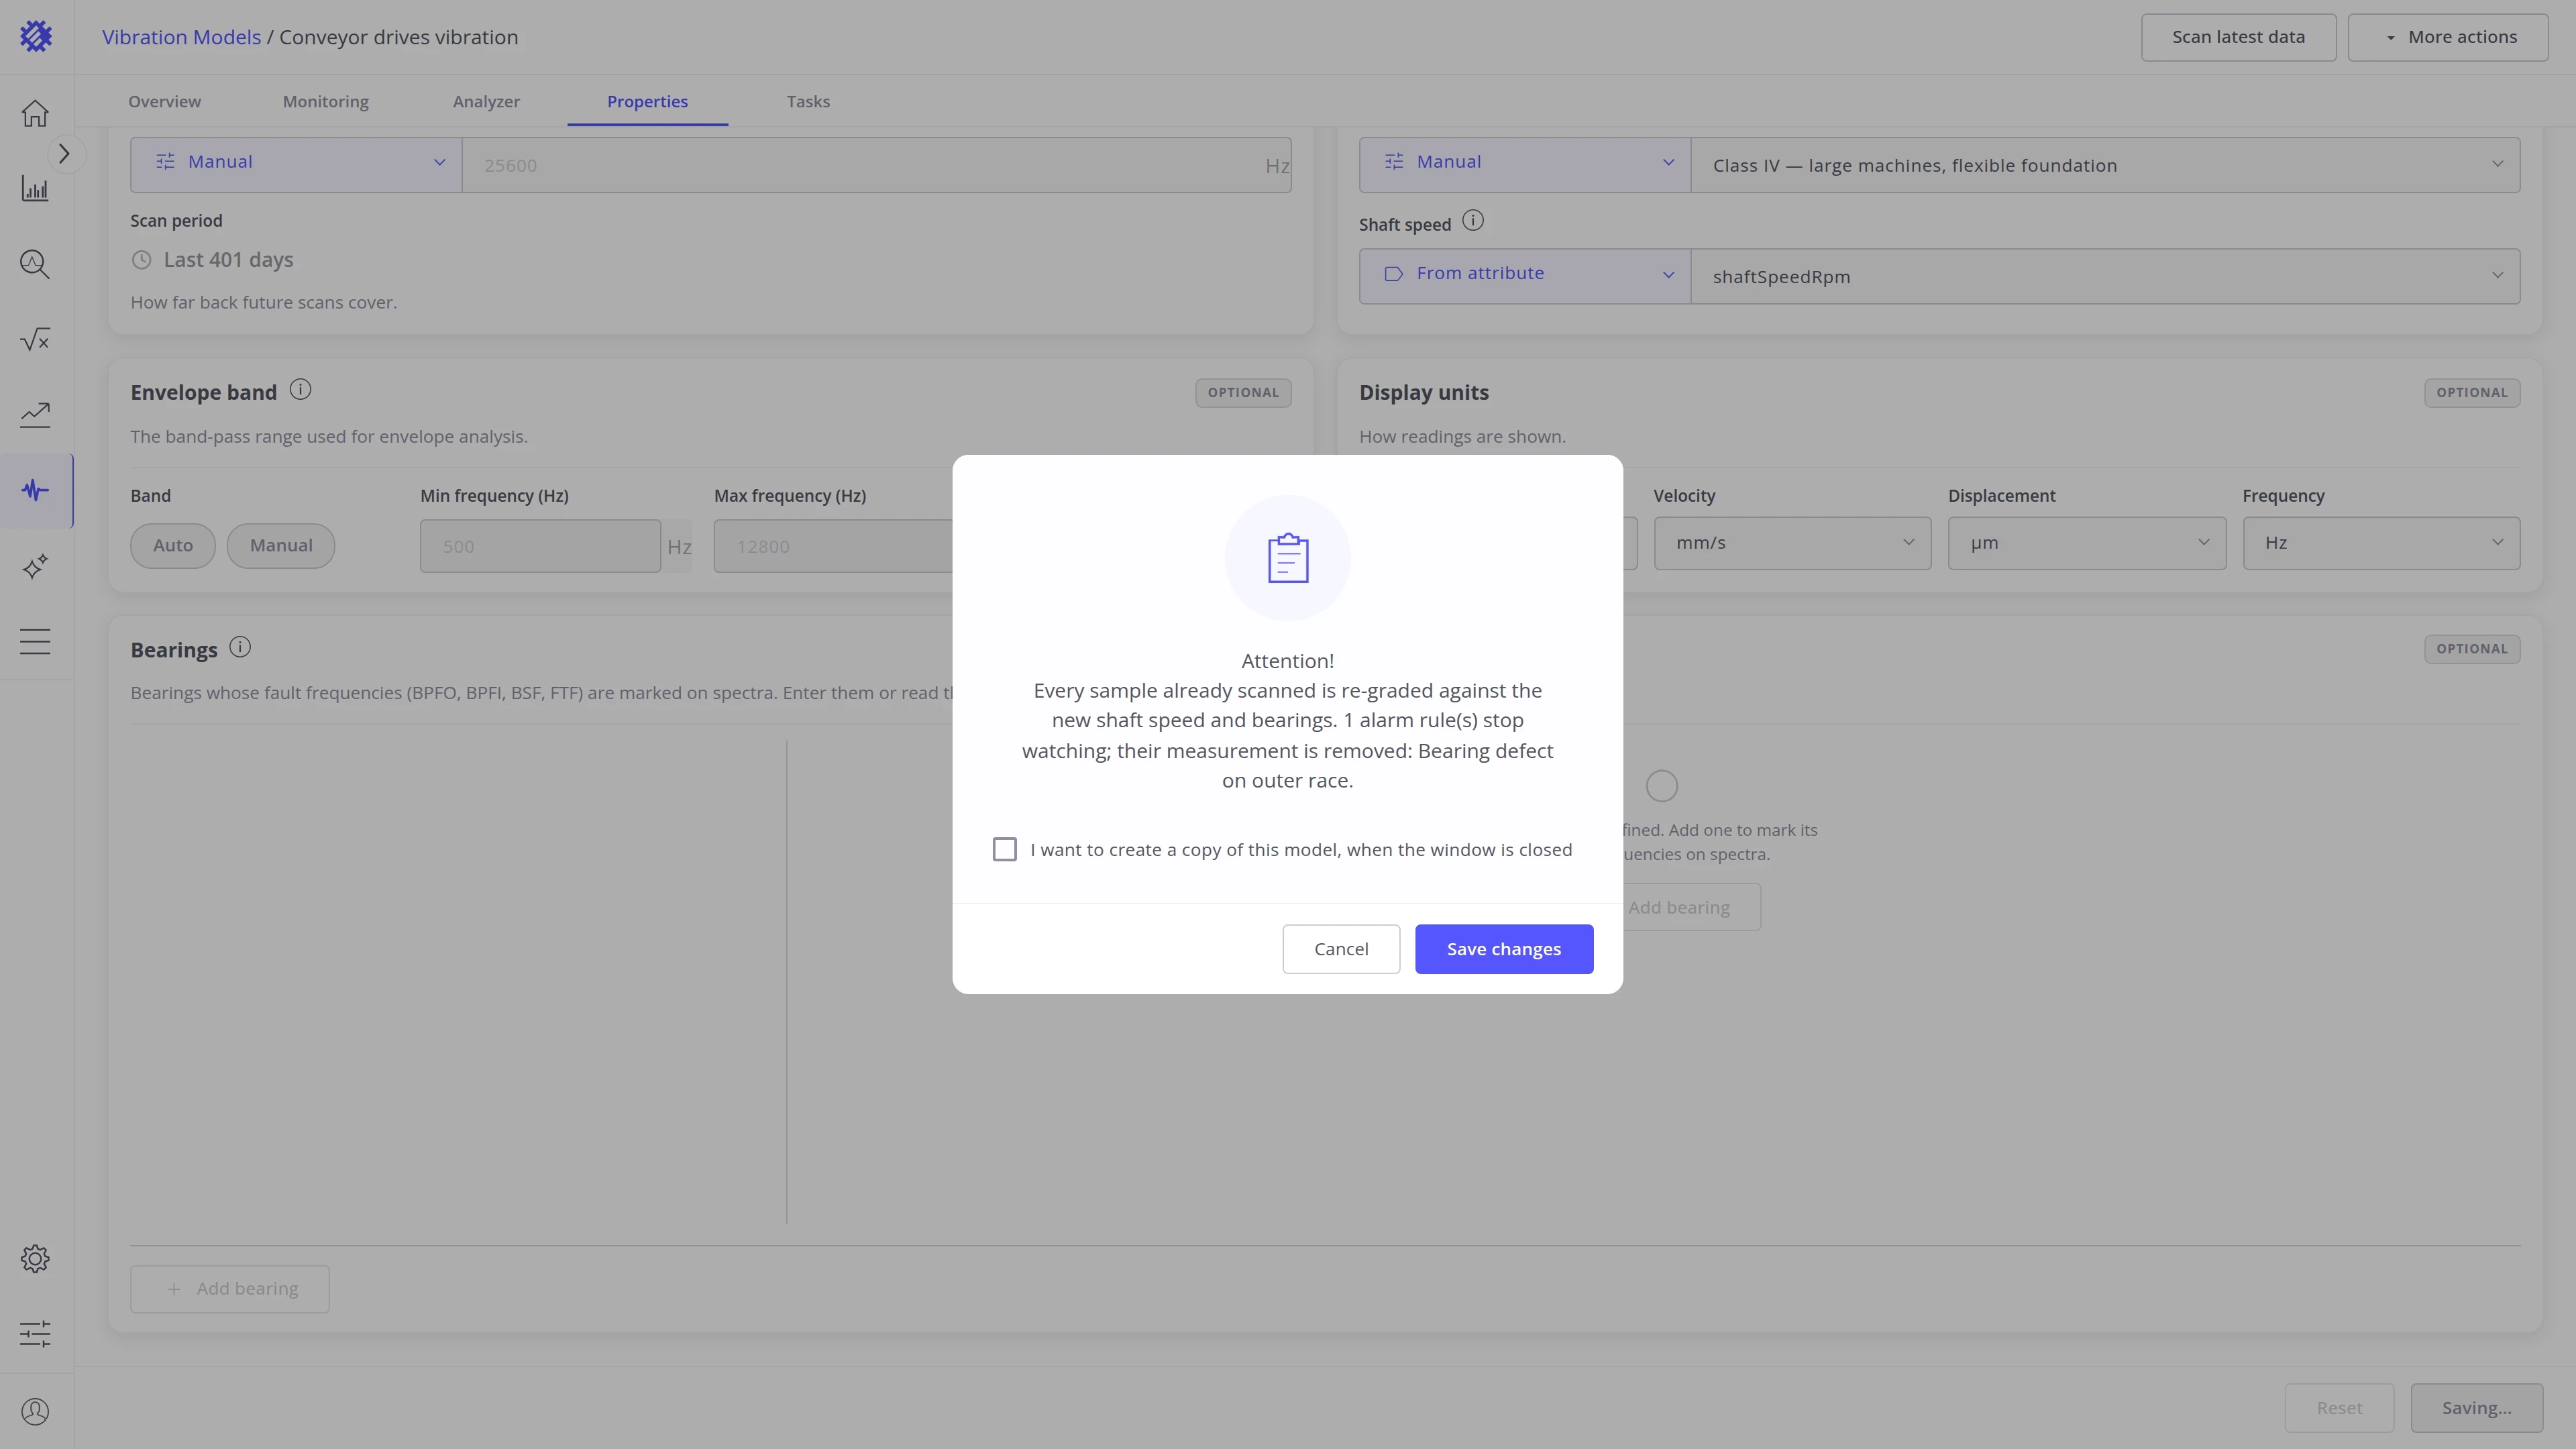
- Click Save. A dialog lists what the removal affects: stored samples are graded again, and alarm rules that watch this bearing stop working. Click Save changes to confirm, or Cancel to go back.
To keep the bearing, click Reset before you save: it comes back with its settings. A new bearing that was never saved is simply gone when you remove it.
Click Save to apply the changes. Adding or changing a bearing grades the stored samples again.
Saving changes
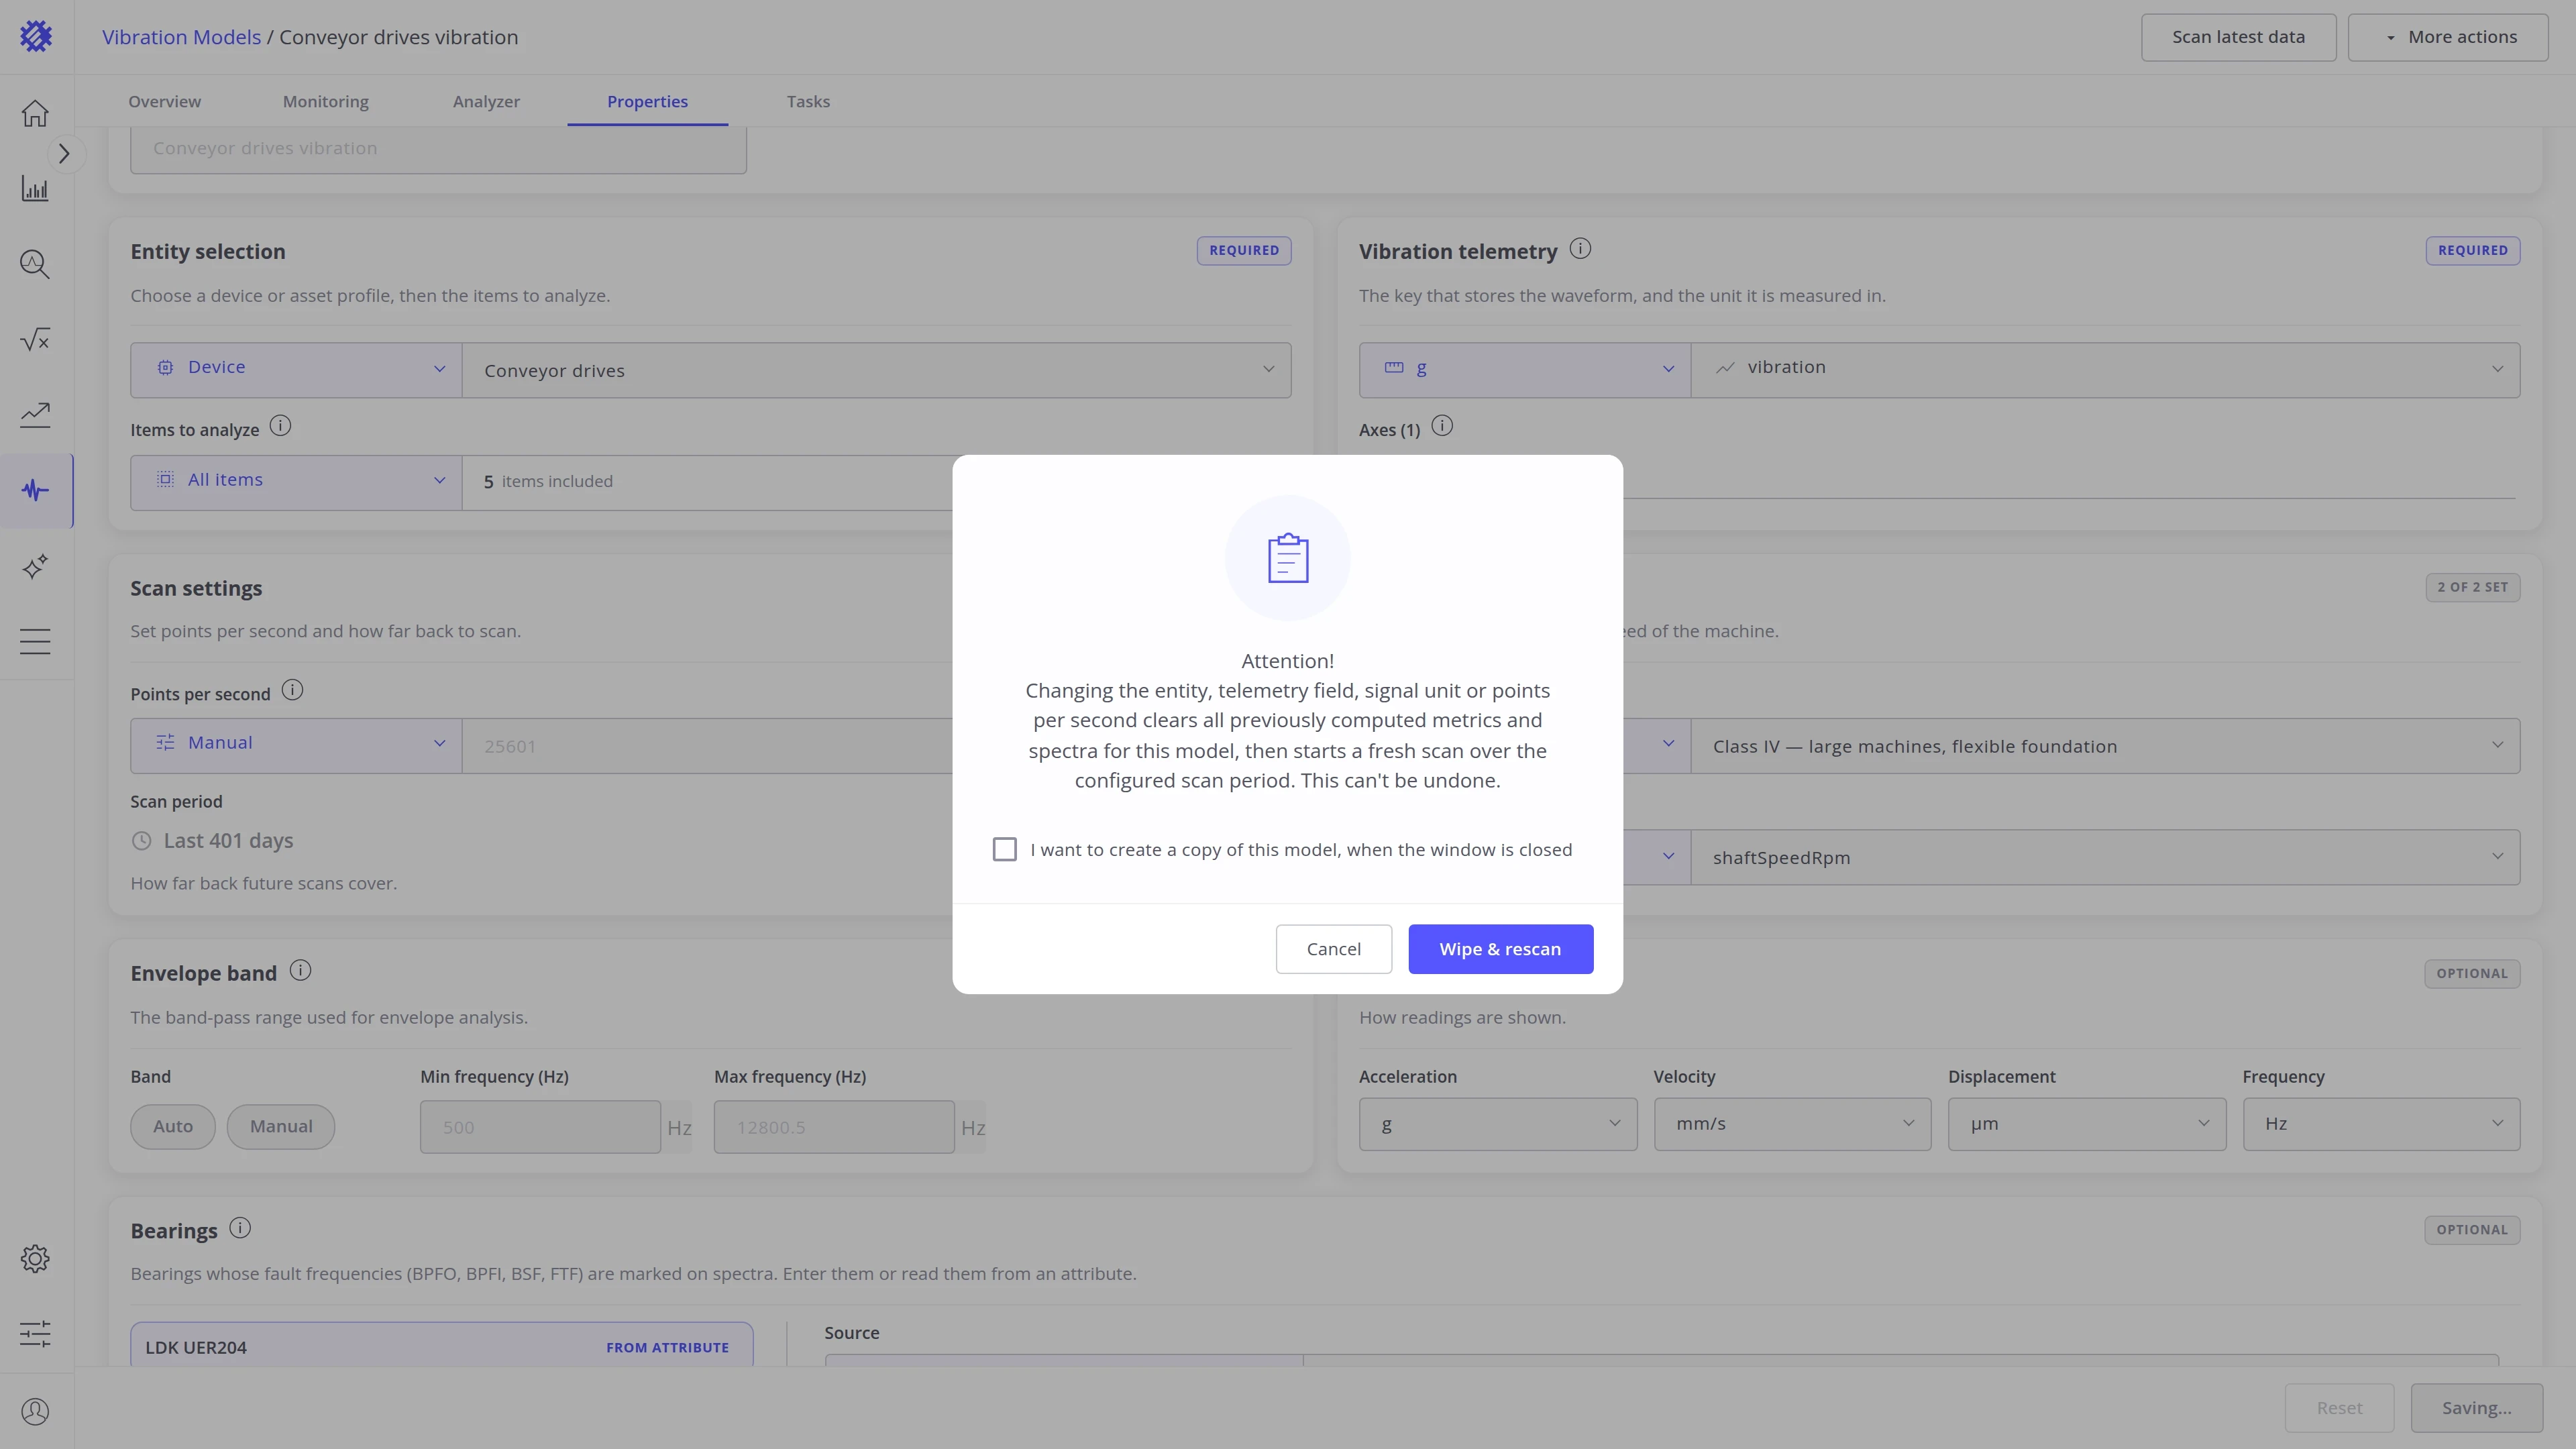
Section titled “Saving changes”When you click Save, Trendz checks whether the change requires recomputing the model. If it does, a dialog opens first and lists what will happen, and nothing is applied until you confirm:
- No dialog: changes that are Saved right away, such as the name or the display units, are applied at once.
- Save changes: changes that are Updated from stored data, such as the shaft speed or the bearings. Stored samples are graded again, and no waveform is read again.
- Wipe & rescan: changes where Stored results are deleted, such as the telemetry key or the points per second. Stored results are deleted and the model is scanned again.
The dialog also names the alarm rules that stop watching because their measurement is removed.
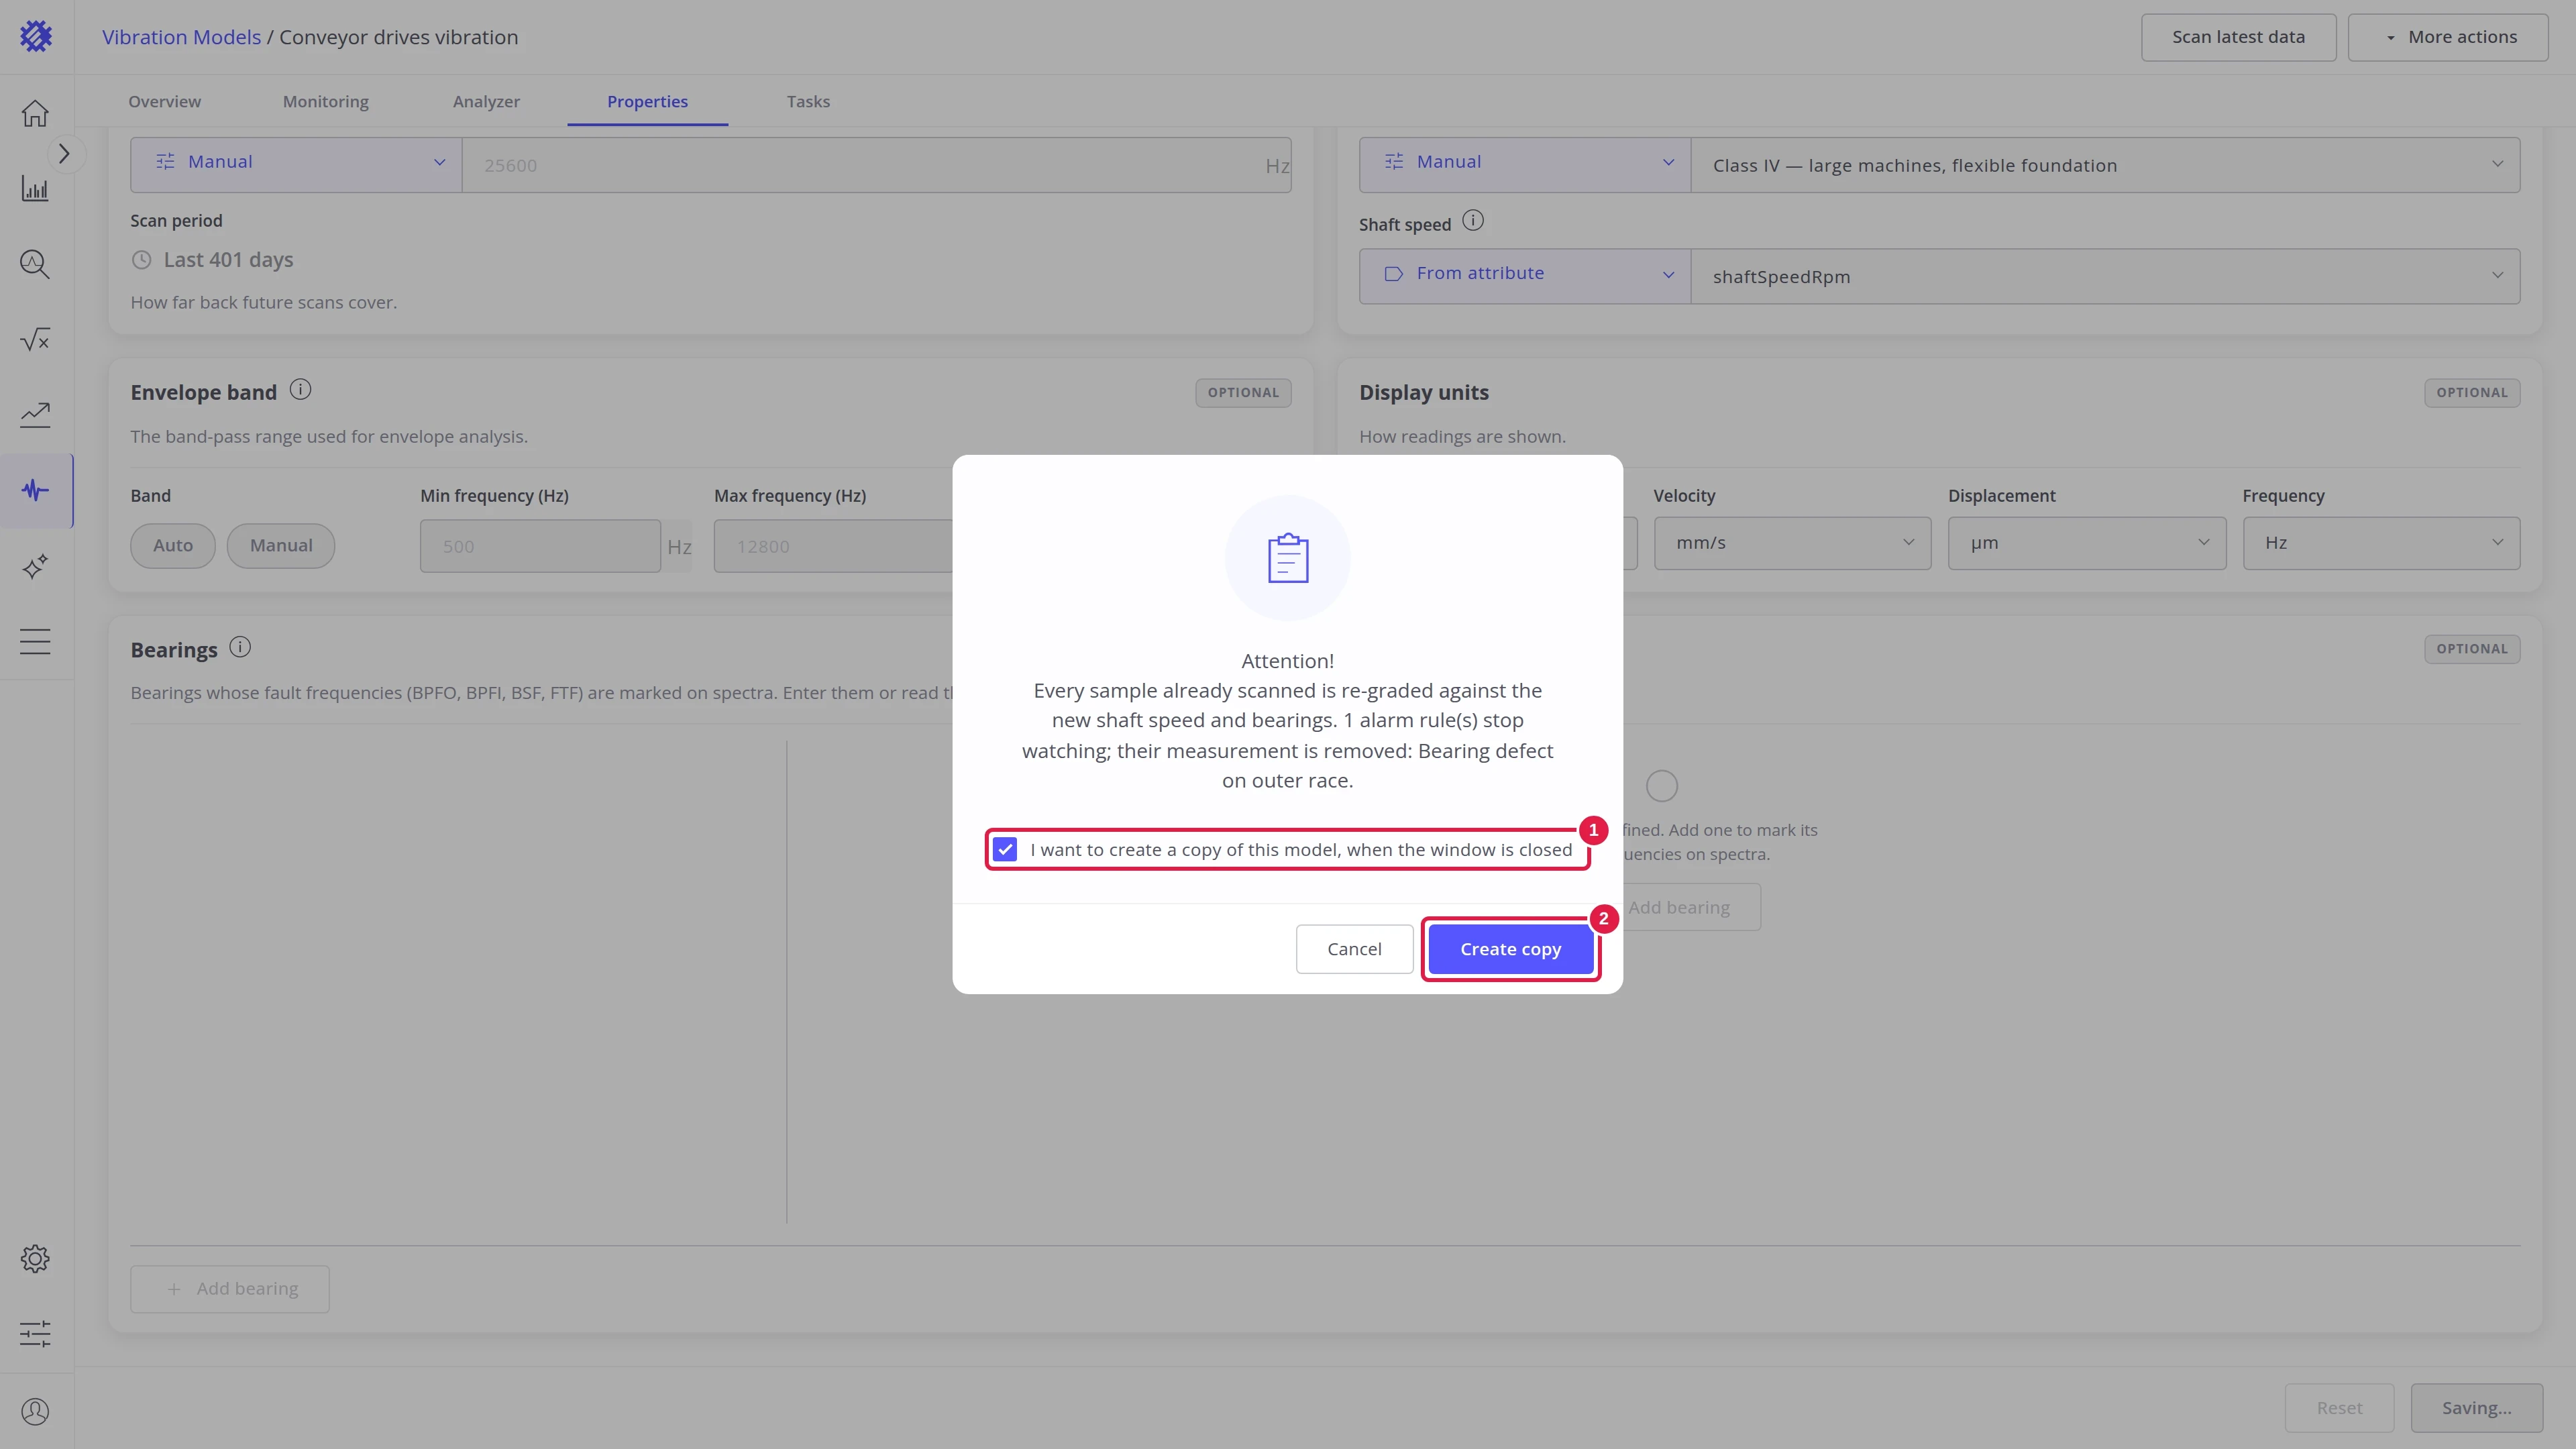
Apply the change to a copy. Use it to try a change without touching this model:
- In the dialog, check I want to create a copy of this model.
- Click Create copy.
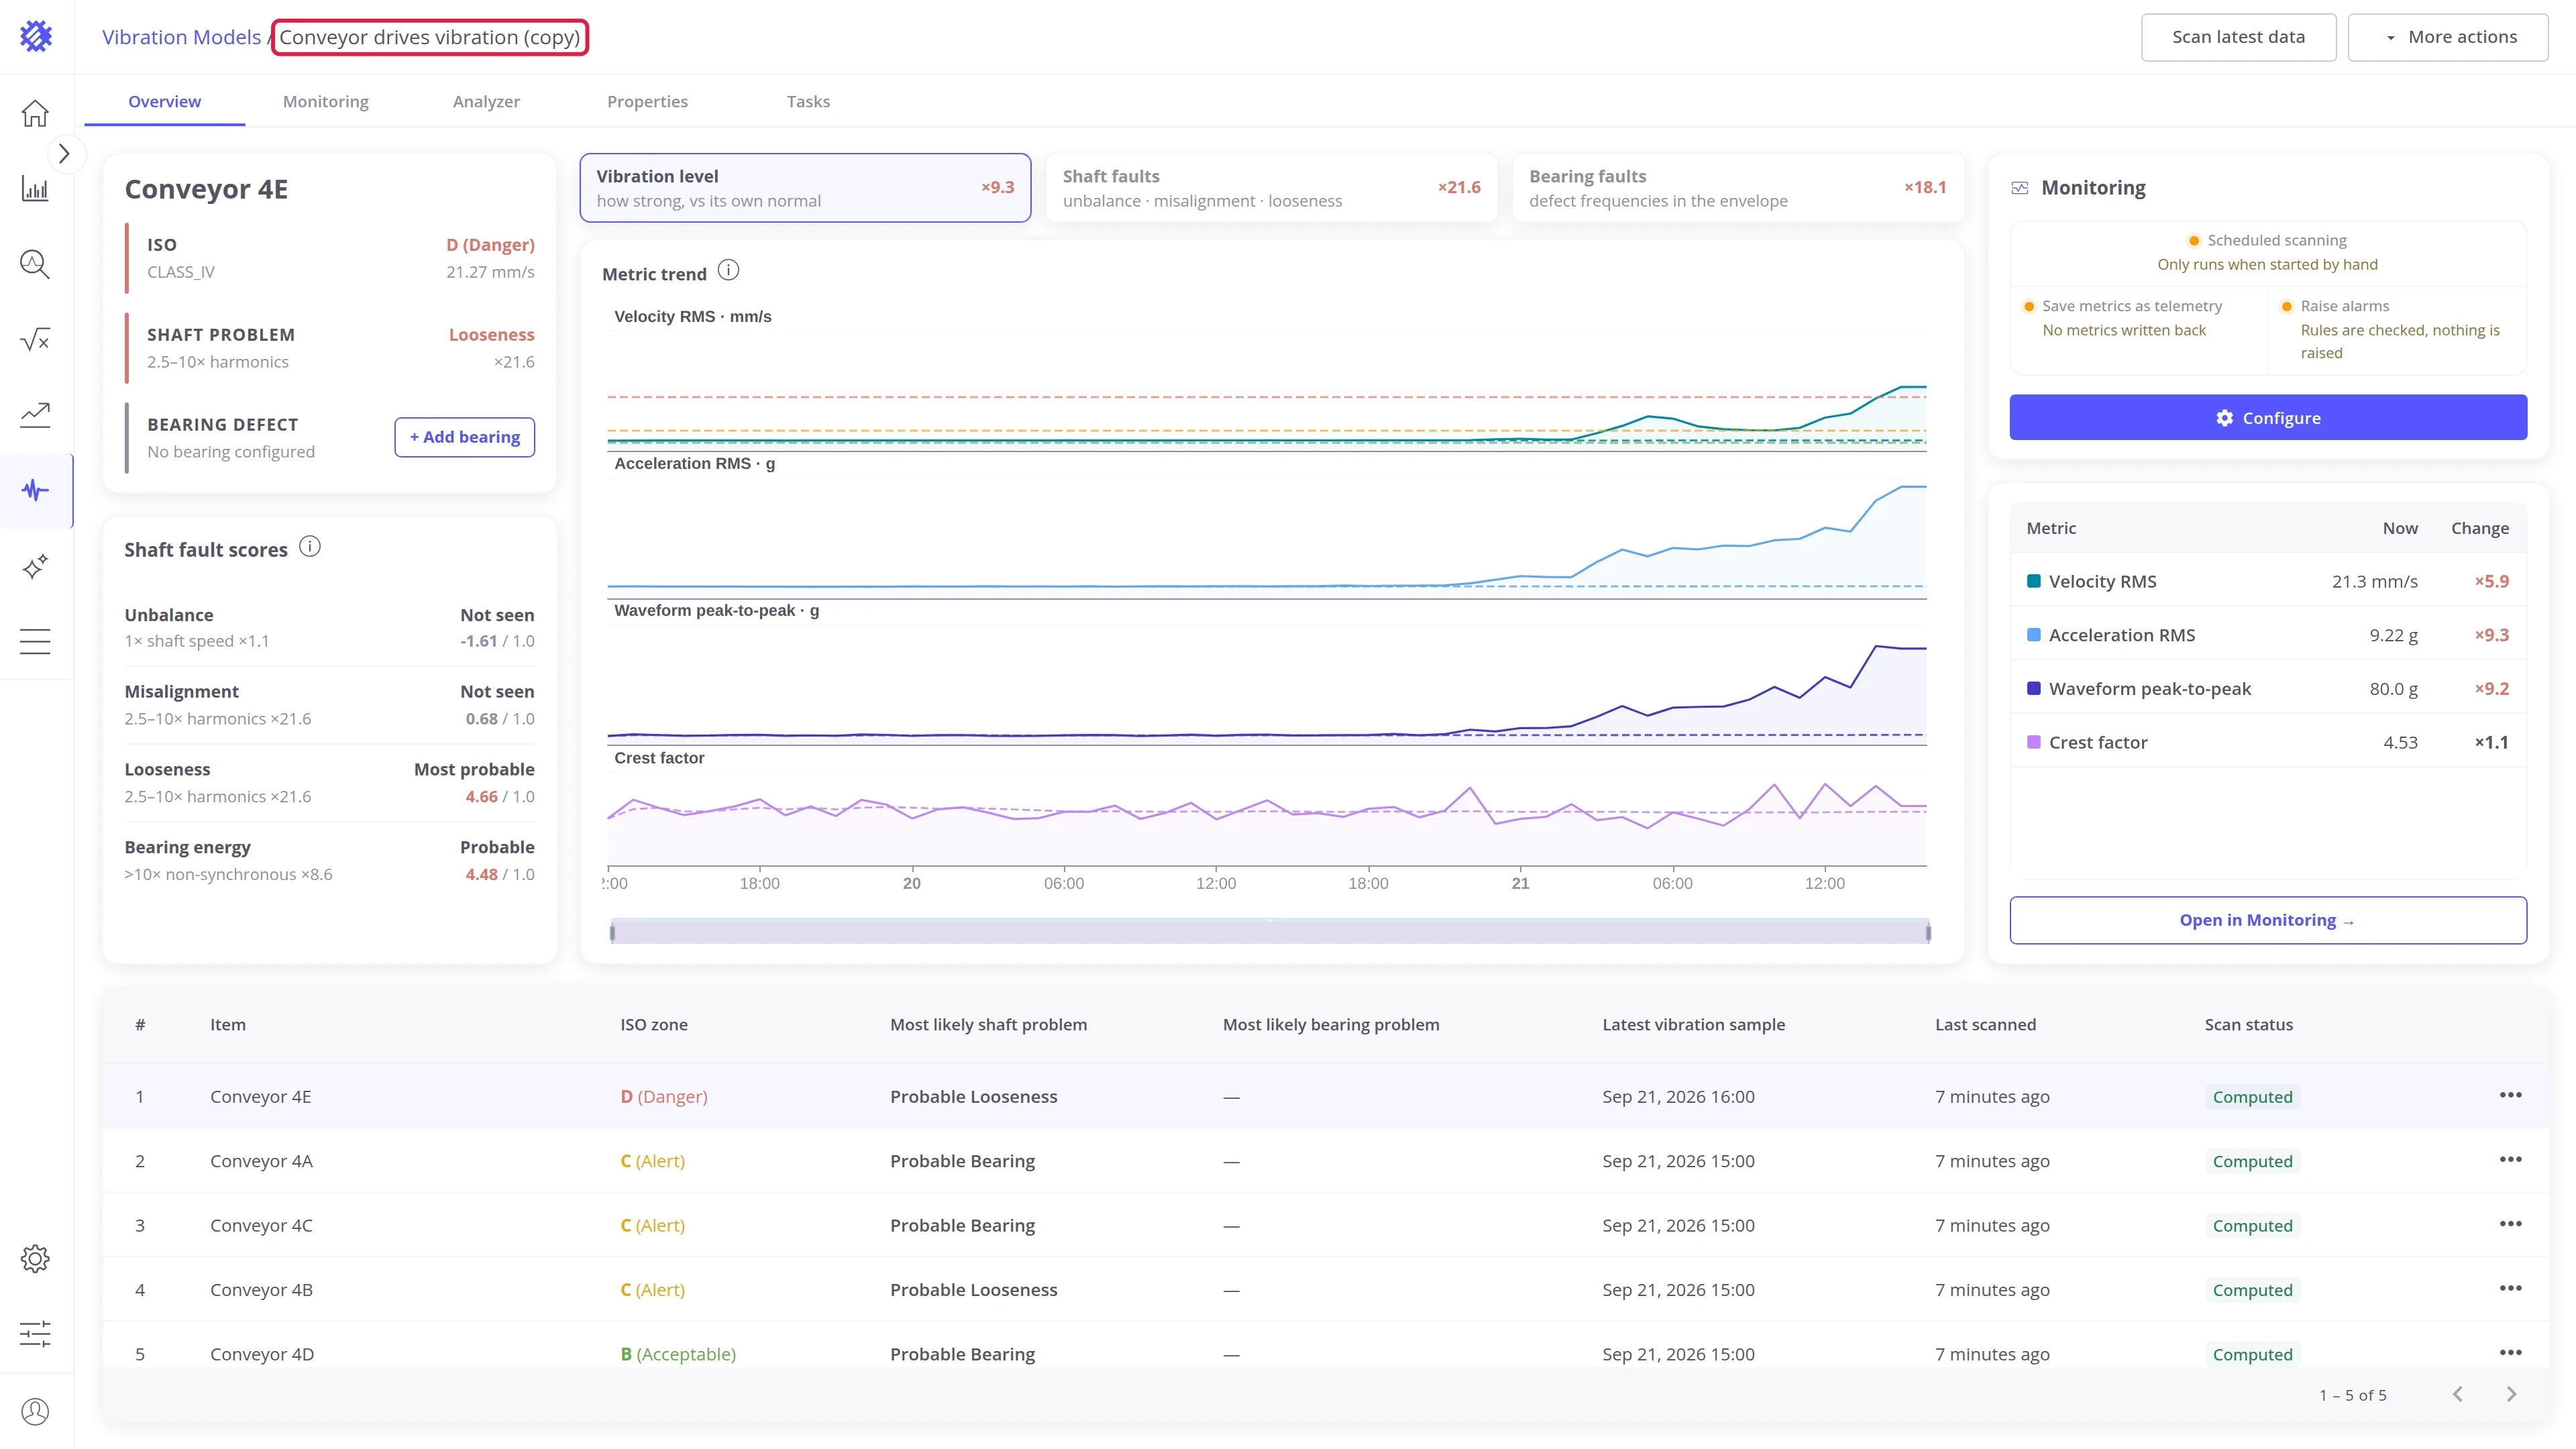
- A new model opens, named with (copy) at the end. It holds your change.
The original model keeps its settings and results.
Explore other tabs
Section titled “Explore other tabs”Was this helpful?