Downlink Data Converter
The Downlink data converter is the encoding stage of every ThingsBoard integration that sends messages to external devices or systems. It transforms a Rule Engine message — such as an RPC command or shared attribute update — into the payload format expected by the external platform.
The downlink converter is optional. Integrations that only ingest data into ThingsBoard do not need one.
ThingsBoard provides two ways to define the encoder:
- Generic: custom script, works with any integration type.
- Library: choose a vendor and model from a catalog of pre-built encoders for select devices.
Each integration uses one downlink converter. A converter can be shared across multiple integrations — changes apply immediately to all.
Creating a Converter
Section titled “Creating a Converter”The downlink converter is configured in Step 3 of the integration wizard:
- Previously created converter — select an existing converter.
- Create new — define the encoder inline within the wizard.
- Library — choose a vendor and model from the built-in catalog (supported integration types only).
- Skip — omit the downlink converter if the integration only ingests data. It can be added later.
The converter is saved to Integrations center ⇾ Data converters when the integration is saved. You can also create converters there in advance.
Generic Downlink Converter
Section titled “Generic Downlink Converter”A generic converter works with any integration type and gives you full control over the encoding logic through a custom script.
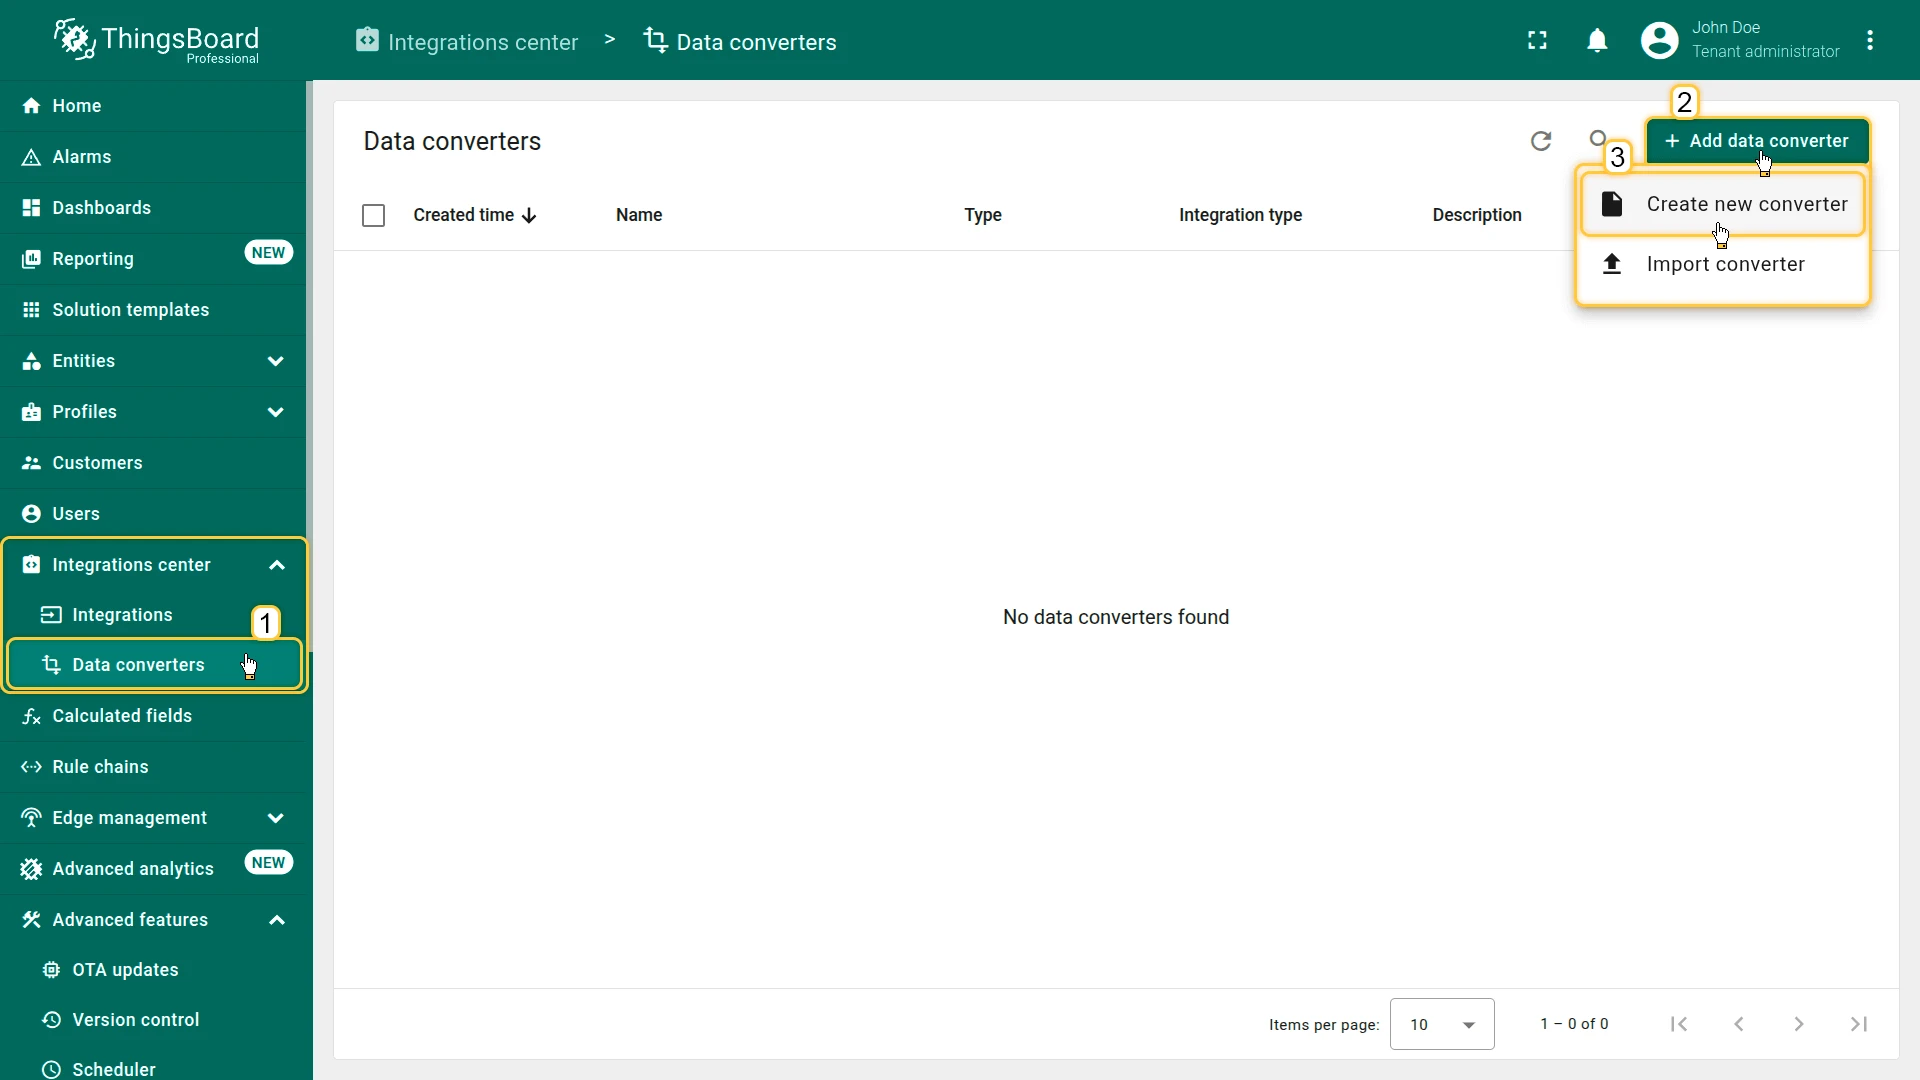
- Go to Integrations center ⇾ Data converters.
- Click + Add data converter ⇾ Create new converter.
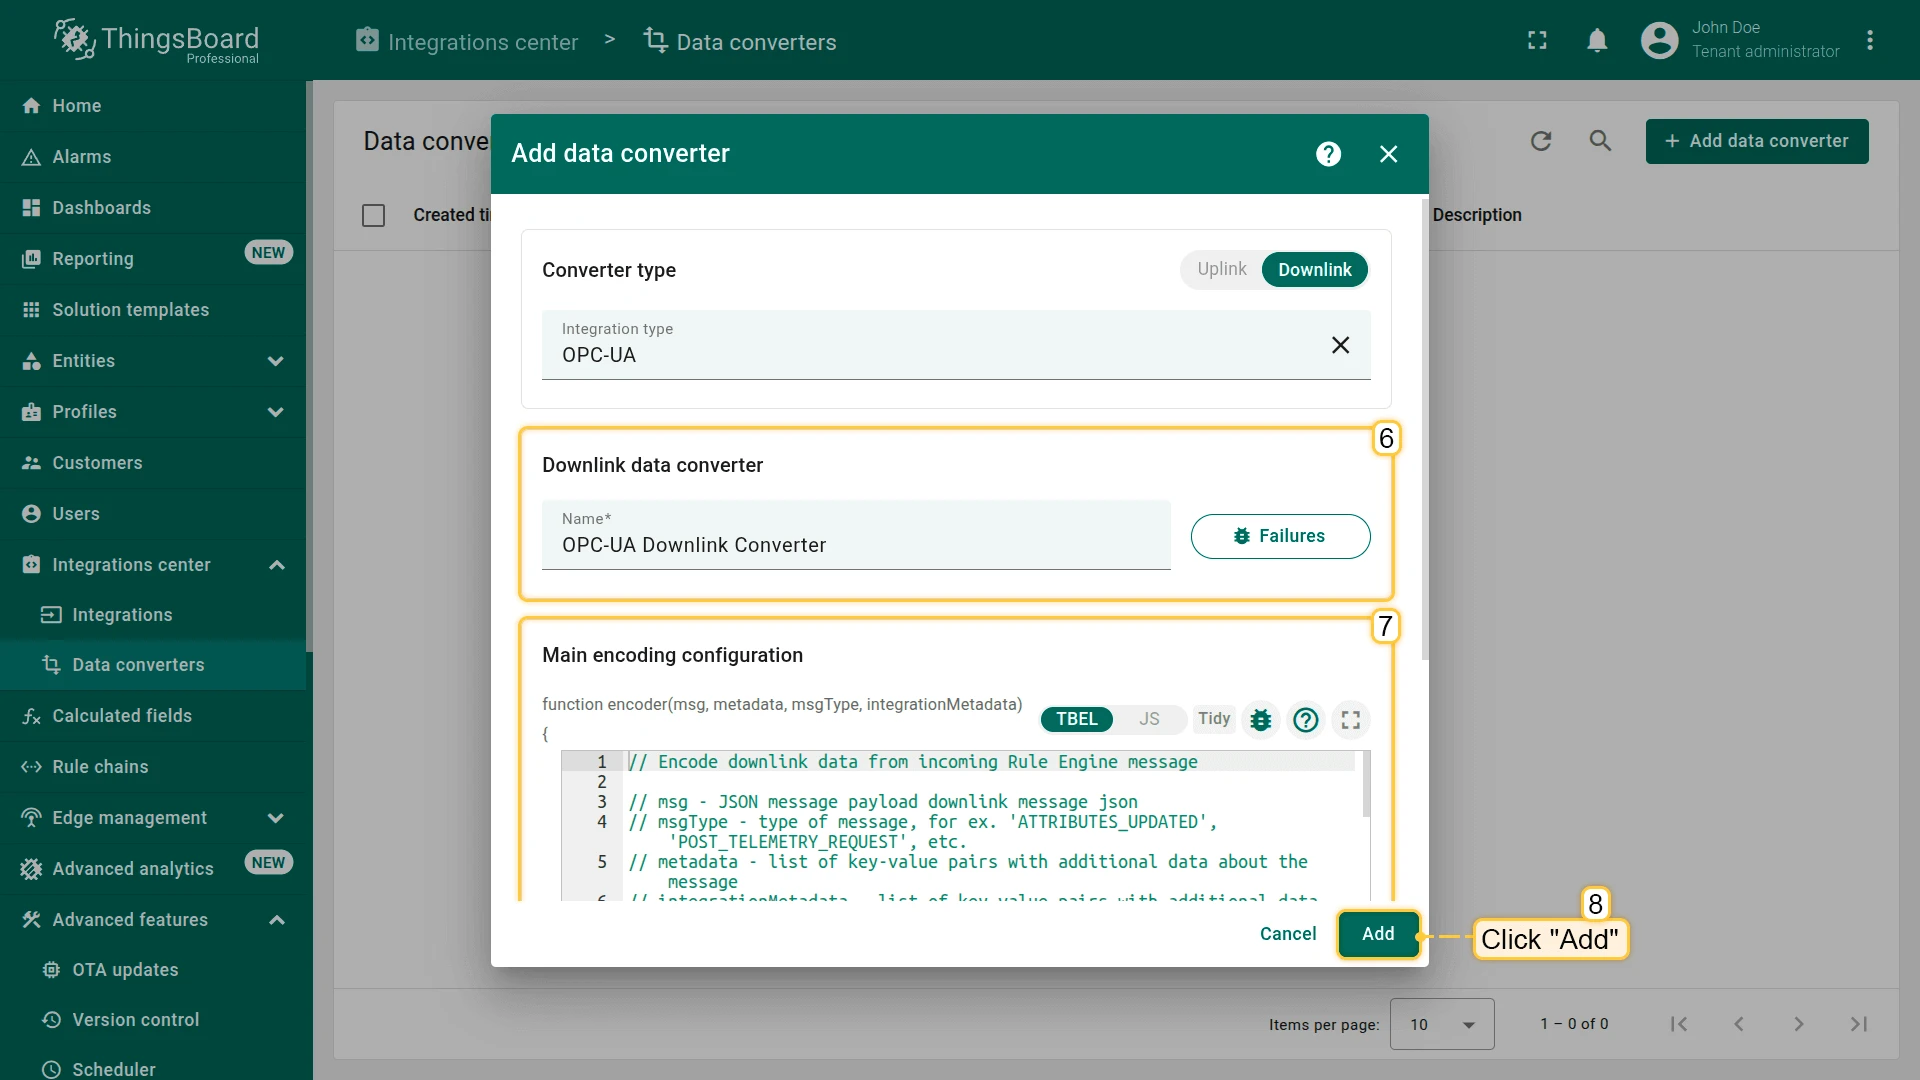
- Switch the Converter type toggle to Downlink.
- Select an Integration type, or leave it as All to apply the converter across all integration types.
- Enter a Name. Optionally configure debug output via the Failures button.
- Write or paste the encoder script in Main encoding configuration.
- Click Test encoder function to validate.
- Click Add.

Encoder Function
Section titled “Encoder Function”The encoder function receives four parameters:
| Parameter | Description |
|---|---|
msg | JSON message payload from the Rule Engine |
metadata | Key-value pairs with additional message data |
msgType | Rule Engine message type (e.g. ATTRIBUTES_UPDATED, POST_TELEMETRY_REQUEST, RPC_CALL_FROM_SERVER_TO_DEVICE) |
integrationMetadata | Key-value map with integration-specific fields defined in the integration’s metadata settings |
The function must return an object with these fields:
| Field | Description |
|---|---|
contentType | Encoding of the payload: JSON, TEXT, or BINARY (Base64-encoded string) |
data | Encoded payload string matching the selected content type |
metadata | Optional key-value pairs forwarded to the integration — e.g. MQTT topic, HTTP headers |
Example encoder:
// Encode downlink data from incoming Rule Engine message
// msg        - JSON message payload// msgType    - message type, e.g. 'ATTRIBUTES_UPDATED', 'RPC_CALL_FROM_SERVER_TO_DEVICE'// metadata   - key-value pairs with additional message data// integrationMetadata - key-value pairs defined in the integration's metadata settings
var result = {    // Downlink data content type: JSON, TEXT or BINARY (base64 format)    contentType: "JSON",
    // Downlink data    data: JSON.stringify(msg),
    // Optional metadata object presented in key/value format    metadata: {    }};
return result;
// Encode downlink data from incoming Rule Engine message
// msg - JSON message payload// msgType - message type, e.g. 'ATTRIBUTES_UPDATED', 'RPC_CALL_FROM_SERVER_TO_DEVICE'// metadata - key-value pairs with additional message data// integrationMetadata - key-value pairs defined in the integration's metadata settings
var result = { // Downlink data content type: JSON, TEXT or BINARY (base64 format) contentType: "JSON",
// Downlink data data: JSON.stringify(msg),
// Optional metadata object presented in key/value format metadata: { }};
return result;Example output returned by the encoder:
{ "contentType": "JSON", "data": "{\"tempFreq\":60,\"firmwareVersion\":\"1.2.3\"}", "metadata": { "topic": "temp-sensor/sensorA/upload" }}Converters Library
Section titled “Converters Library”Built-in catalog of ready-to-use encoder functions for select devices across LoRaWAN network servers.
Supported integrations: ChirpStack, Loriot, The Things Stack Community, The Things Stack Industries, ThingPark, and ThingPark Enterprise.
- Go to Integrations center ⇾ Data converters and click + Add data converter ⇾ Create new converter.
- Switch the Converter type toggle to Downlink and select a supported Integration type.
- Switch to the Library tab.
- Select the device Vendor.
- Select the device Model — the converter name and encoder script are auto-populated.
- Optionally rename the converter or adjust the script.
- Click Add.
The library is open-source and maintained on GitHub.
Test Encoder Function
Section titled “Test Encoder Function”Click Test encoder function below the script to open the built-in testing tool. It lets you run the encoder against a sample Rule Engine message without triggering a real downlink — useful to verify the output format before connecting a device. You can edit the script directly in the dialog to try changes without saving the converter.
Message type: The Rule Engine message type string passed as msgType (e.g. ATTRIBUTES_UPDATED, RPC_CALL_FROM_SERVER_TO_DEVICE).
Message: The msg JSON payload from the Rule Engine. Edit it to simulate different scenarios — different attribute values, RPC parameters, etc.
Metadata: Key-value pairs accessible in the script as metadata. Add entries to simulate integration-level fields such as device EUI, topic, or port.
Integration metadata: Key-value pairs accessible as integrationMetadata. These correspond to fields defined in the integration’s metadata settings.
Click Test to execute the script. Switch to the Output tab to see the raw object returned by the encoder — contentType, data, and metadata — exactly as the integration will receive it.
Triggering a Downlink
Section titled “Triggering a Downlink”To send a downlink from the Rule Engine, add an Integration Downlink action node to your rule chain and configure it to target the integration. The node forwards any Rule Engine message to the integration’s downlink converter, which encodes it and delivers it to the external system.
Synchronous vs Asynchronous Downlinks
Section titled “Synchronous vs Asynchronous Downlinks”Most integrations (MQTT, AWS IoT, and others) deliver downlinks asynchronously — each Rule Engine message is immediately forwarded to the external broker as soon as the encoder completes.
Some integrations (SigFox, generic HTTP) can only send downlinks synchronously in reply to an incoming uplink request. In these cases, the last encoded downlink is queued and delivered as the response body to the device’s next uplink.
Import and Export
Section titled “Import and Export”Converters can be exported as JSON and imported into any ThingsBoard instance, which is useful for sharing custom encoders across environments or team members.
Export: On the Data converters list, click the export icon on a converter row. Alternatively, open the converter details and click Export converter in the panel header. Save the downloaded JSON file.
Import: Click + Add data converter ⇾ Import converter, drag and drop the JSON file or click Browse file to select it, then click Import. All settings are restored: name, type, integration type, script, and any configured parameters.
Managing Data Converters
Section titled “Managing Data Converters”All converters are listed in Integrations center ⇾ Data converters. From the list you can:
- Edit: click a converter name to open it, make changes, and click Apply changes.
- Delete: click the delete icon on a row, or select multiple converters and use bulk delete.
A converter is referenced by ID. If the same converter is assigned to multiple integrations, any change to the converter (script, advanced parameters) immediately affects all integrations using it.
Was this helpful?